Scarf in two yarns: black and a multicolor variegated. Credit: Adrienne Hunter

If you have a knitting machine and have tried out its cool color-patterning abilities, you’ve noticed that the resulting fabric curls at the edges; it’s the nature of single stockinette knitting. For many purposes (garments, wall hangings) the curl can be dealt with in finishing, but for a project like a scarf or blanket you want your knitting to lie flat. The technique we’re using here, known as double bed Jacquard or DBJ, will do just that. Also single-bed colorwork can leave long strands on the back of the piece; DBJ incorporates the strands into the knitting so it’s neat on both sides.

To handle the patterning in 3 yarns, we’re using a method developed by Sarah Spencer at Heart of Pluto. For two yarns you could also use the Classic method, but even with two yarns I found that HoP gives a neater effect.

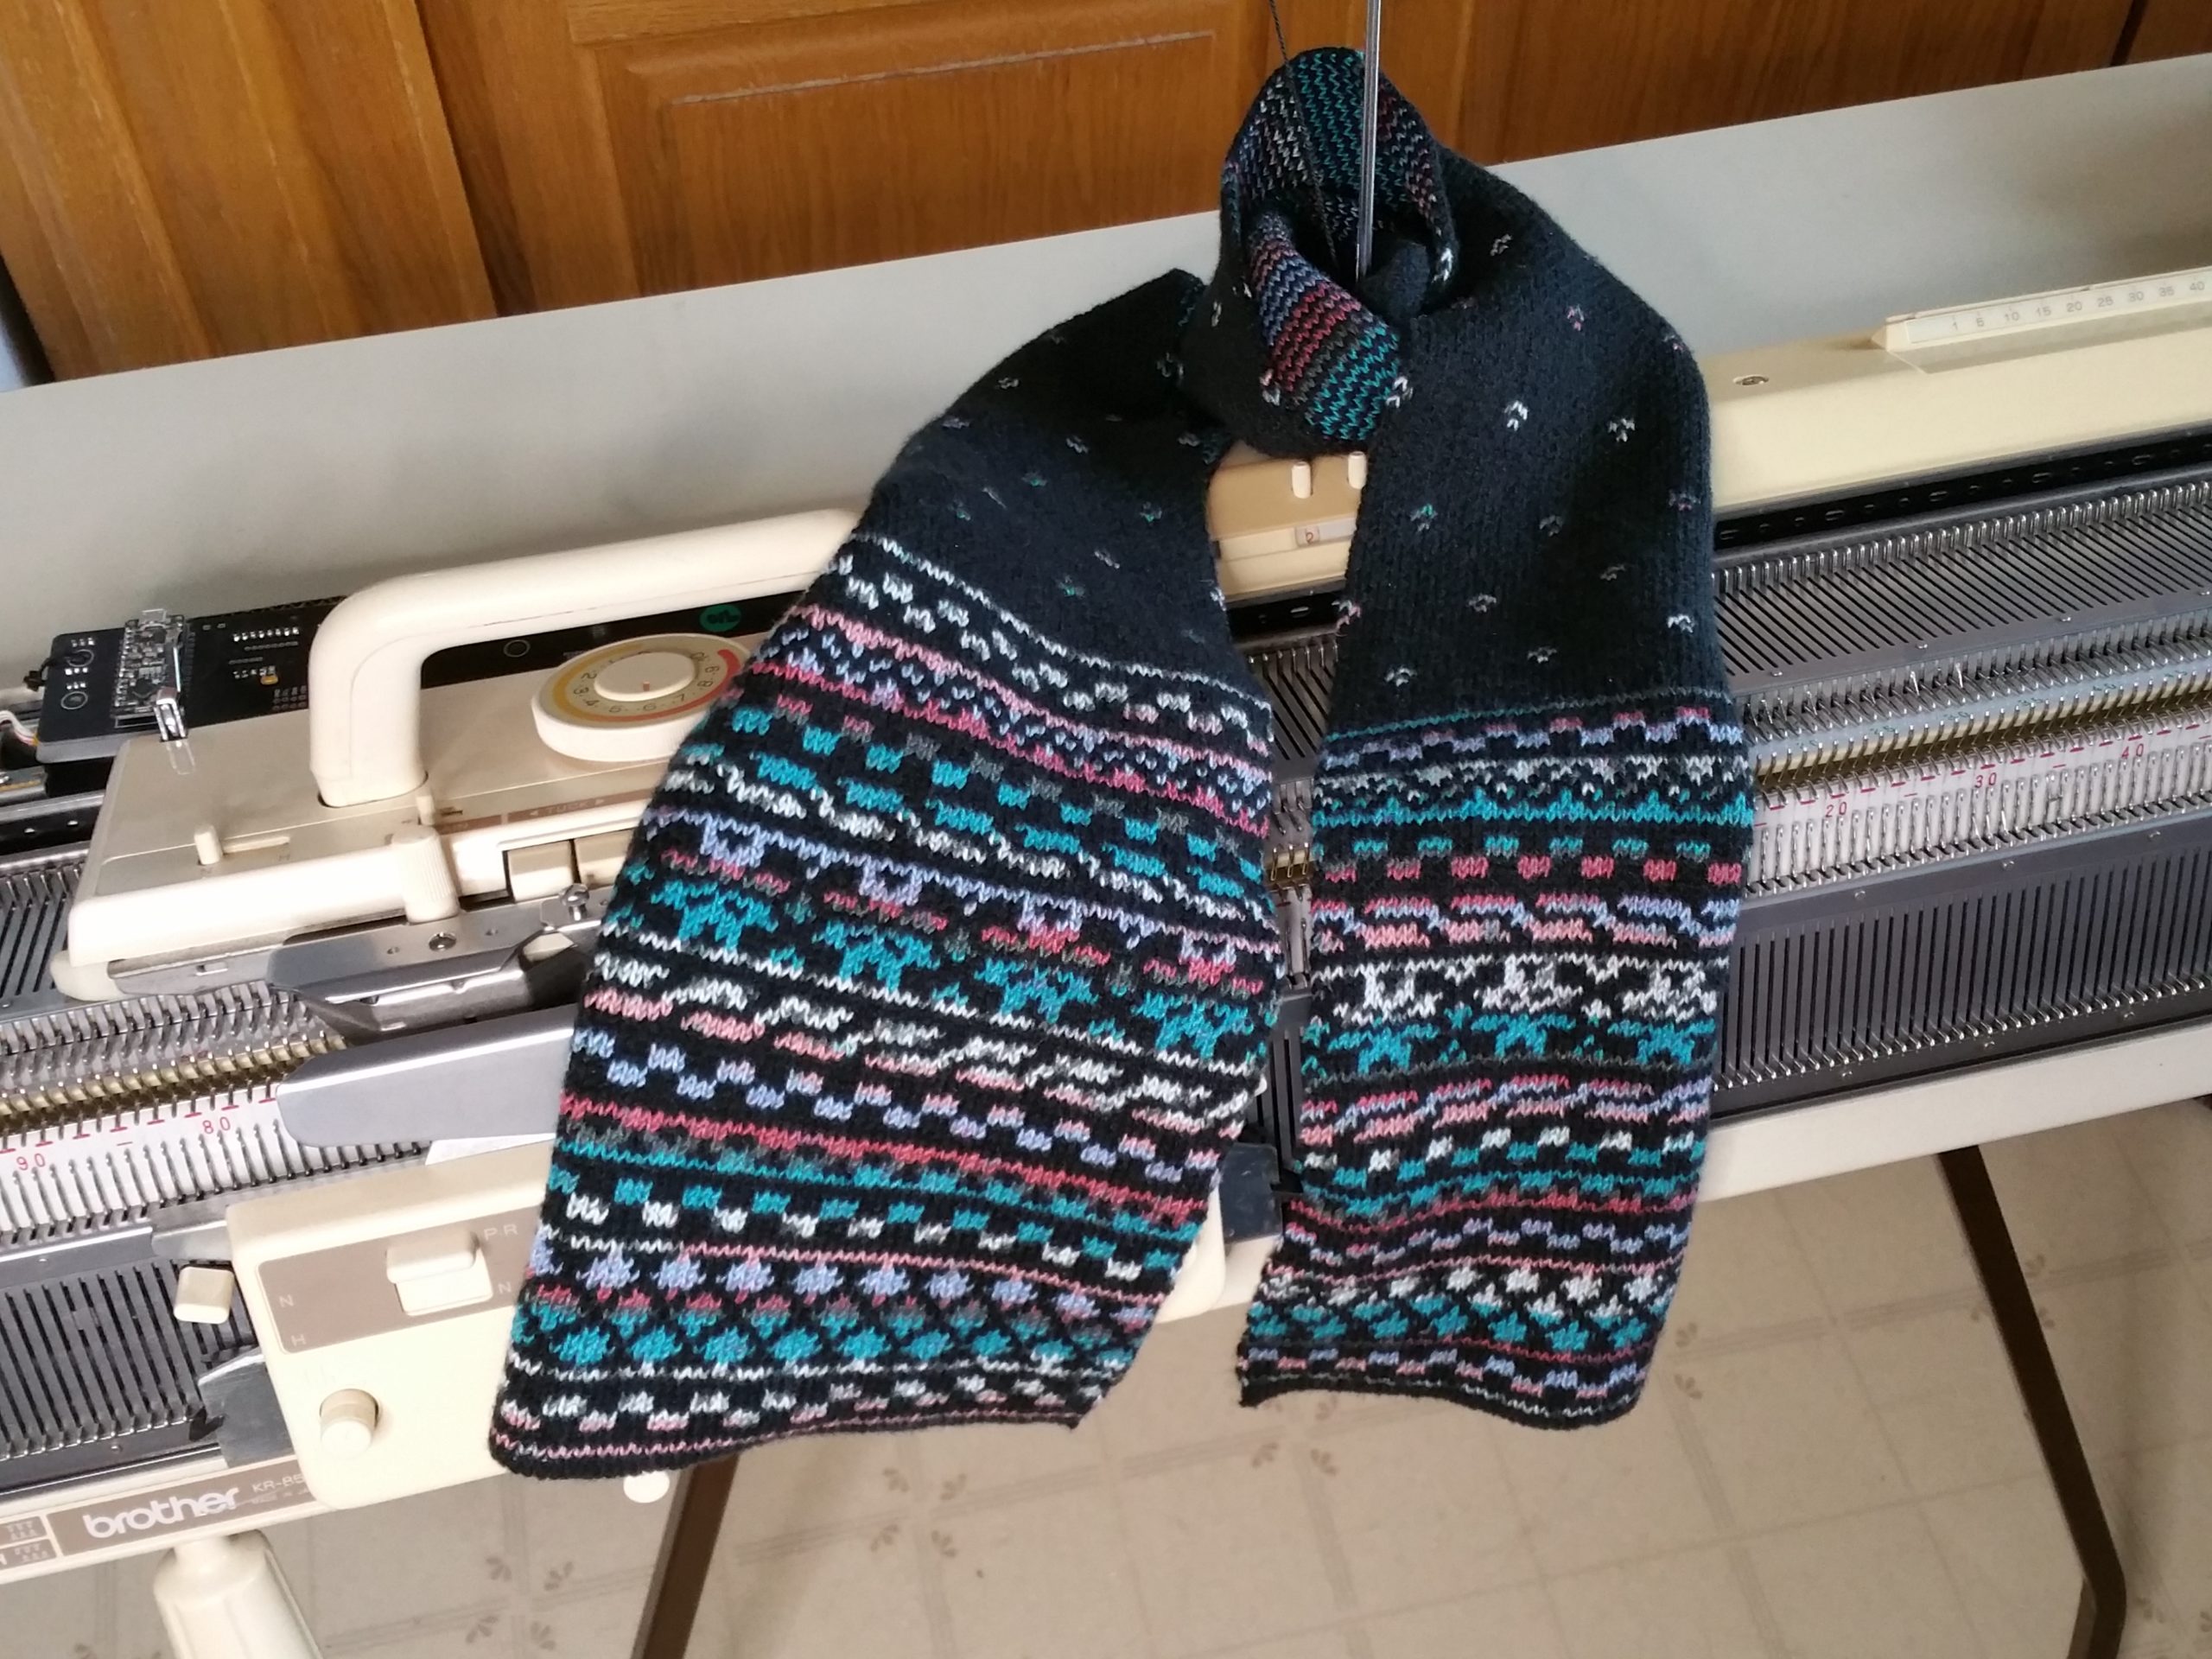
The color effect in the black two-yarn scarf is done by using a yarn dyed in multi-colors, often called a variegated yarn. The square shown beside the balls of yarn (below) is how this yarn knits up if you knit it by itself. Here we’re combining it in a pattern with the black background yarn, and just letting its colors fall where they may.

Our black yarn will knit the white background squares from the pattern file and the multi-colored yarn knits the black squares. AYAB decides which needles knit which color on each row, known as color separation; you just give it a black-and-white pattern, one pixel per stitch, the same as if you were going to do single bed Fair Isle. AYAB currently (v0.95) labels the black/foreground squares as A, and the white squares as B, then starts with knitting with color B. Similarly with 3 colors, AYAB labels the dark squares as A, medium B, then light C. It’s confusing and could change in a future version of the software.

You need to be familiar with your machine and ribber, and have practiced the cast-on from page 19 of the KR850 manual, which is for a 1×1 alternating rib (for manuals, see the “Further Information” links at the bottom of this article). It’s known as a circular or tubular cast-on, because of the passes that take place on one bed each, forming a circle. What we’ll be doing for DBJ (double bed Jacquard) is the similar cast-on called Full Needle Rib on page 26 of the manual, which uses all the needles in our selected group, with the ribber set to H (half pitch) so they don’t collide.

We’ll do it slightly differently than the manual, reversing one of the settings; we press in the right Part button on the main bed and lift the left slider on the ribber. This helps us get straight to the pattern in as few rows as possible, to minimize flaring at the edge.

Yarns for Snow Leopard (left) or black/multi (right). Credit: Adrienne Hunter

Note that some of the colors used in the samples have been discontinued since I started working on this project. Two of the three browns used in the leopard print are no longer available. I’m looking around for alternatives from other manufacturers. The Snow Leopard colors in ivory and two shades of gray are available as of Feb 2022, so are the black/multi and the blue/ivory. The current colors of Woolike can be seen here, and all the available colorways of the Perfect Pair yarn are here. The one called Pink Cadillac works well too.

If you can’t find this yarn or prefer not to use acrylic, look for a lace-weight to light-fingering weight wool. Multicolored yarn similar to Perfect Pair is often sold for knitting socks; look for the thinnest and most flexible sock yarn you can find. You want a color mix that does not include the same color as your background.

Pattern

The pattern for the knitting machine is a small PNG file, one pixel per stitch. The 2-color “Faux Isle” pattern is 71 stitches wide by either 553 rows long for a scarf about 60″ long, or 469 rows for 47″. The 3-color leopard pattern is 65×90 pixels, and can be repeated in both width and length. About 4 repeats makes a 50″ scarf. Download by right-clicking and saving the image, or by clicking the links provided.

Tools

Most of these parts came with your knitting machine or ribber. Credit: Adrienne Hunter

You need a method of entering the pattern; I’m using the AYAB hack. The two-color version of this project could be done using other Brother machine models and other software, or even other brands of knitting machine, including machines that pattern using punch cards. The 3-color version can be done on other models too, but differently.

Measurements

The two-yarn scarf is about 19cm (7.5″) wide and 150cm (59″) long and uses about 115g of the black yarn and 85g of multi. It is knitted to a gauge of about 35 stitches and 40 finished rows to 10cm/4″. I used tension 7 on the main bed and 6 on the ribber, moving up gradually from 3 and 3 during the first few rows. You may need to experiment with your yarn and machine to get a fabric that you like. Expect to start by doing several samples about 6 inches long and take it off the machine to check the result.

Further Information

Project Steps

If your yarn is in skeins, rewind it into cakes using a ball winder.

Set your computer to never sleep, and launch the AYAB software. Download the pattern file or make a pattern file of your own, one pixel per stitch. In the AYAB desktop software, click Load Image File and navigate to your file. Choose a Knitting Mode of “Ribber: Heart Of Pluto” and 2 or 3 colors as needed. For the 2-color scarf the rest of the settings are at their default: Start Row 1, Centered, needles Orange 35 to Green 36. The 2-color pattern is for the whole scarf so we don’t need the Infinite Repeat setting. For the leopard, set it to 3 colors and Infinite Repeat.

Set up your knitting machine, ribber, color changer and computer. (Download the manuals from Machineknittingetc if needed, and see my puppet project and videos at my Make: Projects page for an overview of setting up the main machine and installing AYAB.)

For the 3-color scarf you’ll need either the 4-color mast that came with your color changer, or use your machine’s slot for a second regular mast at the left hand end.

Insert the fine knit bar if you have one. (It helps the stitches knit reliably)

On the main bed, bring forward needles Left 35 – Right 36, and on the ribber, use needles Left 35 – Right 35. For the leopard pattern, it’s Left 32 – Right 33 and L32-R32 on the ribber. It’s important that the ribber uses an even number of needles.

On the ribber, set P-H lever to H, Rack = 5. Set the carriages on the right.

Thread the yarns through the mast and into the color changer.

Two-color: background on the left in button 2 and the contrast (multi-color) on the right in button 1. (For your first experiments it can be helpful to use a light background and dark contrast, while you get used to which yarns go where.)

Three-color: Ivory in button 3, light gray button 2, charcoal button 1.
(If you’re not using AYAB the yarns may need to be the other way around.)

Anchor the tails of the yarns in the clip under the ribber. Press the button for your background yarn and leave it open, take that yarn behind the others and over into the yarn guide on the carriages which are parked on the right.

Set the carriages for plain knitting for the first step of casting on

Main bed:

KC Knob: NL

No front buttons

Stitch dial (tension dial) to below 0

The N-H lever is on N throughout.

Ribber:

All 3 sliders (cam levers) down

Both lili buttons to standard, not lili

Stitch dial to below 0

The side levers are up throughout

The bottom lever is in the center (lili) position throughout.

The bottom lever is in the center (lili) position throughout.

Remove the wire from the cast-on comb and bring the comb up from underneath, through the zigzag, centering it. Hold it from underneath with one hand and thread the wire through the teeth with the other.
Take the two weights underneath and hang them from the holes in the comb, balanced so it hangs straight.

Now set the carriages for circular knitting. Note that we have the right Part button in and left ribber slider up, which is opposite from what the manual suggests. This will allow us to combine the third pass of the cast-on with AYAB’s pattern setup row.

Main bed:

KC Knob: NL

Press the right Part button

Stitch dial (tension dial) to 1.

Ribber:

Left slider up, middle and right down

Both lili buttons to standard, not lili

Stitch dial to 1.

Knit across to the right and back to the left, go into the color changer and stop. Each pass has knit on one bed only, in a circle.

With the carriages in the Color Changer, do not change color. Turn the KC knob to KC2. Leave the other settings as they are for one more pass. Set the machine’s row counter to 000. (Optional, as we’ll also be counting rows in the software.)

In the AYAB software, Click Configure, then Knit. (On a Mac, the Knit button may remain gray. Click it anyway.)

Move the carriage out of the color changer so that its magnet passes the left Turn Mark and stop for a moment; you should hear a multiple-beep which indicates that the software has completed its setup. (This noticeable delay is only needed on AYAB’s first row.)

Notice that the software is telling you color B (2-color) or C (3-color). Knit one pass left-right and stop.

Notice that some or all needles have been selected to D position for the first row of the pattern. And that the color indicator has changed in the software; it’s giving you advance warning of the next color change.

Now we’ll finish the settings for DBJ:

Main bed:

KC Knob: KC2

Both Part buttons pressed in

Stitch dial to 3.

Ribber:

Both outer sliders up, the center one down

Both lili buttons to lili (push and turn)

Bottom lever to lili

Stitch dial to 3.

Knit back to the left and into the color changer. Press button 1 to change to yarn A. The AYAB display should say color A. (Or if using 3 colors, we’re now on color B.)

The first few rows: Every time the carriages are on the left, go all the way into the color changer, press the other button (the software tells you which one is next; for 2-color Color A in button 1 is multi and B is background) and check as it comes out that there’s one and only one yarn in the feeder. Each time you’re turning around on the right, stop and click both tension dials up one number, until you get to 7 on the main bed and 6 on the ribber.

On the two-color scarf, from row 6 onwards you’ll see the pattern selected on the main bed with some needles forward and some back; our first few rows were one color each so it was less obvious.

If you look at the AYAB software while you’re stopped on the right, note that it has already changed to tell you which color you’ll be using next, not the one you’re using now.

Stop after a few rows and check underneath that the weights aren’t caught anywhere, and unhook the yarn tails. Check that the yarns are flowing freely through the mast.

If this is your first time through, knit just a few more inches then drop it off the machine and check your sample to make sure it’s all working. (Also, for one of your samples I suggest practicing the bind-off from steps 13 and 14.) Check that the colors are the right way around, and that the fabric you’re making isn’t too tight or too loose, and measure your gauge. If the edges are too loose, try tightening the tension disks on the masts.

Now you can start the real thing. Repeat steps 1 through 9 (they get faster with practice) then keep going; knit across to the right, knit back to the left, change color, repeat.

Knit until the weights are nearing the floor, changing color on the left every time. You get into a rhythm, don’t try to rush. It can be a bit of a workout, expect to take breaks.

Whenever the weights are near the floor, remove them, wrap the knitting around the comb and secure it with a knitting needle, then rehang the weights. You’ll need to do this 4 or 5 times for a scarf.

Keep going. As you approach row 553 keep an eye on the software; there’s an audible warning but it’s possible to miss it. First the software displays “Image transmission finished. Please knit until you hear the double-beep sound.” Then the extra sound is one pass later; that’s where you stop. Carriage on the left, make one last color change to the background color if needed. (Read step 14 here for an alternative path if you don’t want to do any hand-sewing.)

Reset the carriages for circular, as you did in Step 6:

Knit two passes at these circular settings, in the background yarn.

Change to a different contrasting color (waste yarn) and do about 6 more rounds (12 passes) still in circular. Cut the yarns, leaving a tail of about one yard/meter of the background yarn, and 6″ (15cm) of the contrast yarns. Hold the knitting from underneath and pass the carriages back and forth with no yarn to let it drop off. Remove the cast-on comb by pulling out the wire.

We’re going to hand-sew the edge closed, so that it will look almost identical to the cast-on edge, a process known as grafting or Kitchener stitch. Insert the needle from outside to inside of the same stitch that was occupied by the previous stitch, then inside to outside of its neighbor. Then cross the gap and do the same on the other side — outside to inside making a second operation in the previously worked stitch, and inside to outside in the next stitch. Then cross the gap again and repeat. Every few stitches stop and snug up the stitches to be approximately the same size as the stitches of your project.
Then unravel the waste yarn.

Alternatively — if the Kitchener sewing step is more complexity than you want, you could put the stitches from the circular rows onto thin hand-knitting needles and do a 3-needle bind off by hand. Or back at step 13, stop before the change to circular settings and use your double-eyed bodkin to lift the ribber stitches up to join their corresponding stitches on the main bed. Switch to the single-bed sinker plate and knit one row at tension 10, then do a loop-through-loop bind off.

Conclusion

Double bed Jacquard knitting looks complicated the first time through, but the setup is quite quick with a little practice. You can design any pattern you like, one pixel per stitch, up to 200 stitches wide and as long as you want. You can start from a photograph and use dithering, color reduction, and other image manipulation in programs such as Photoshop or Gimp.

If you like this two-color scarf, try knitting the matching hat. Have fun!