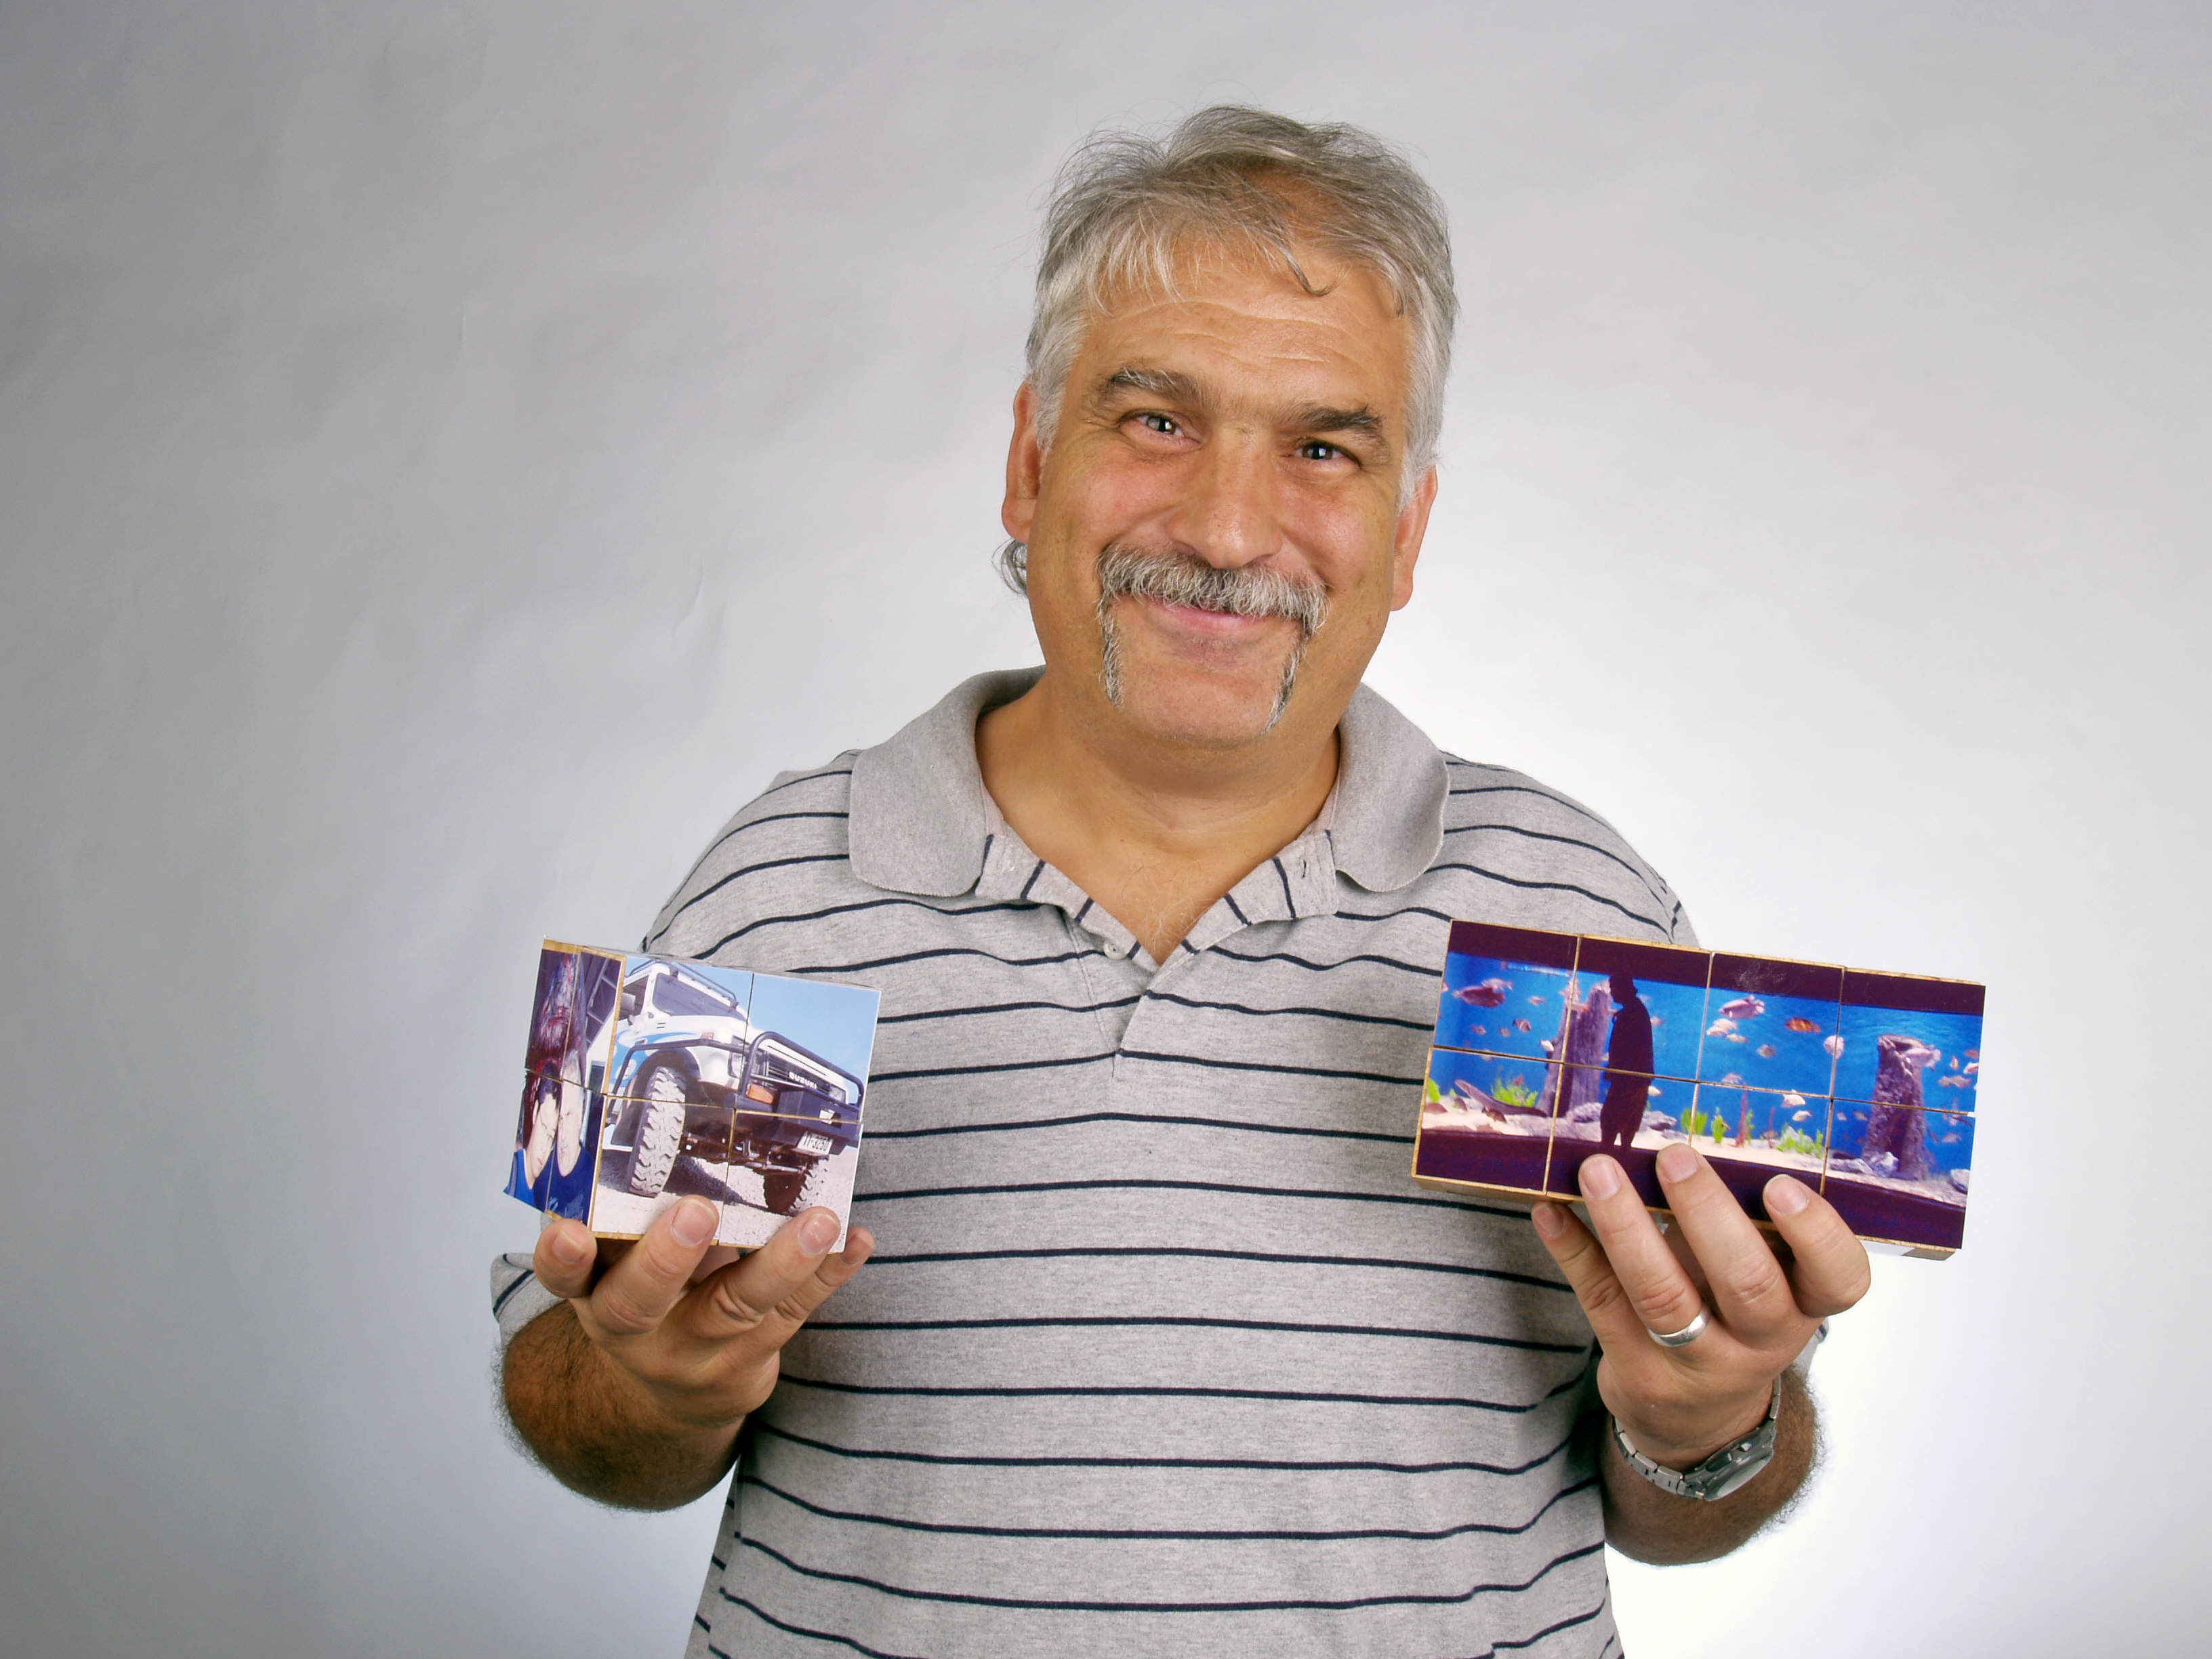
Sometimes something comes along that snaps you out of the blur of even the most mind-numbing meeting. I was at this stage when the speaker passed around a demo of the newest training tool — a “magic story cube” that pulls kids into the learning process.

The speaker’s words didn’t grab my attention but the remarkable object in my hands sure did. This was cool. I had to make one.

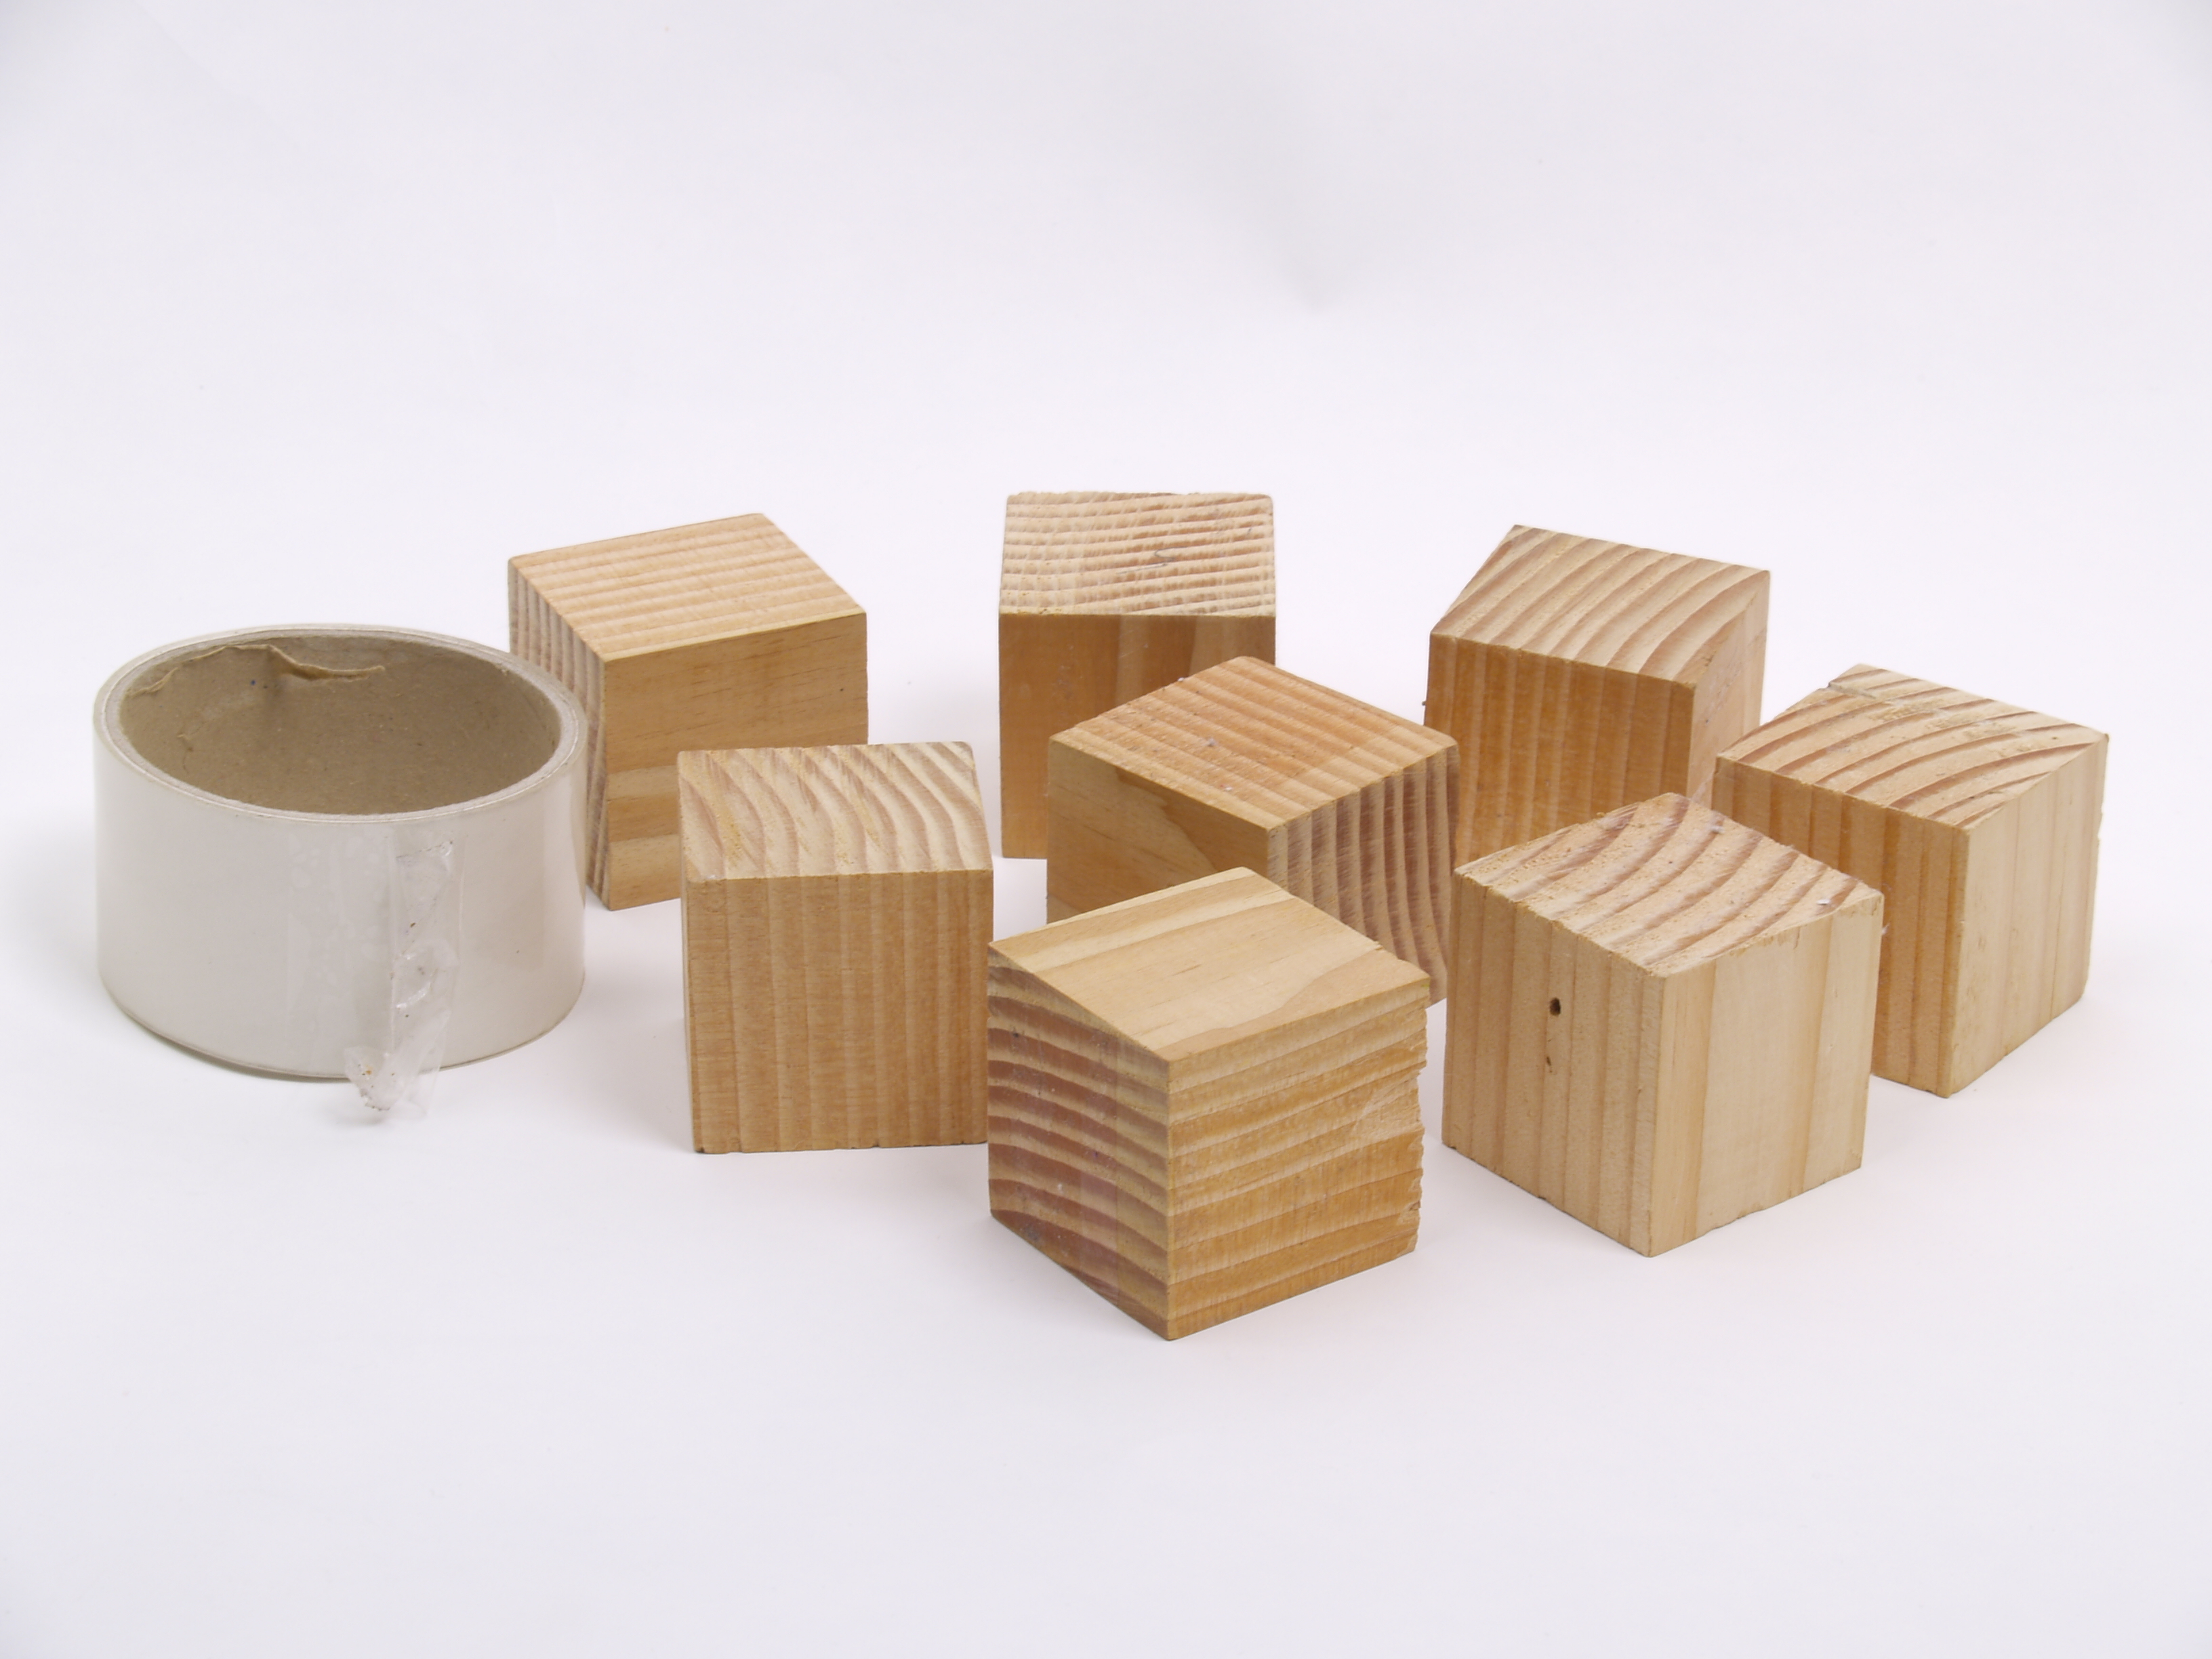
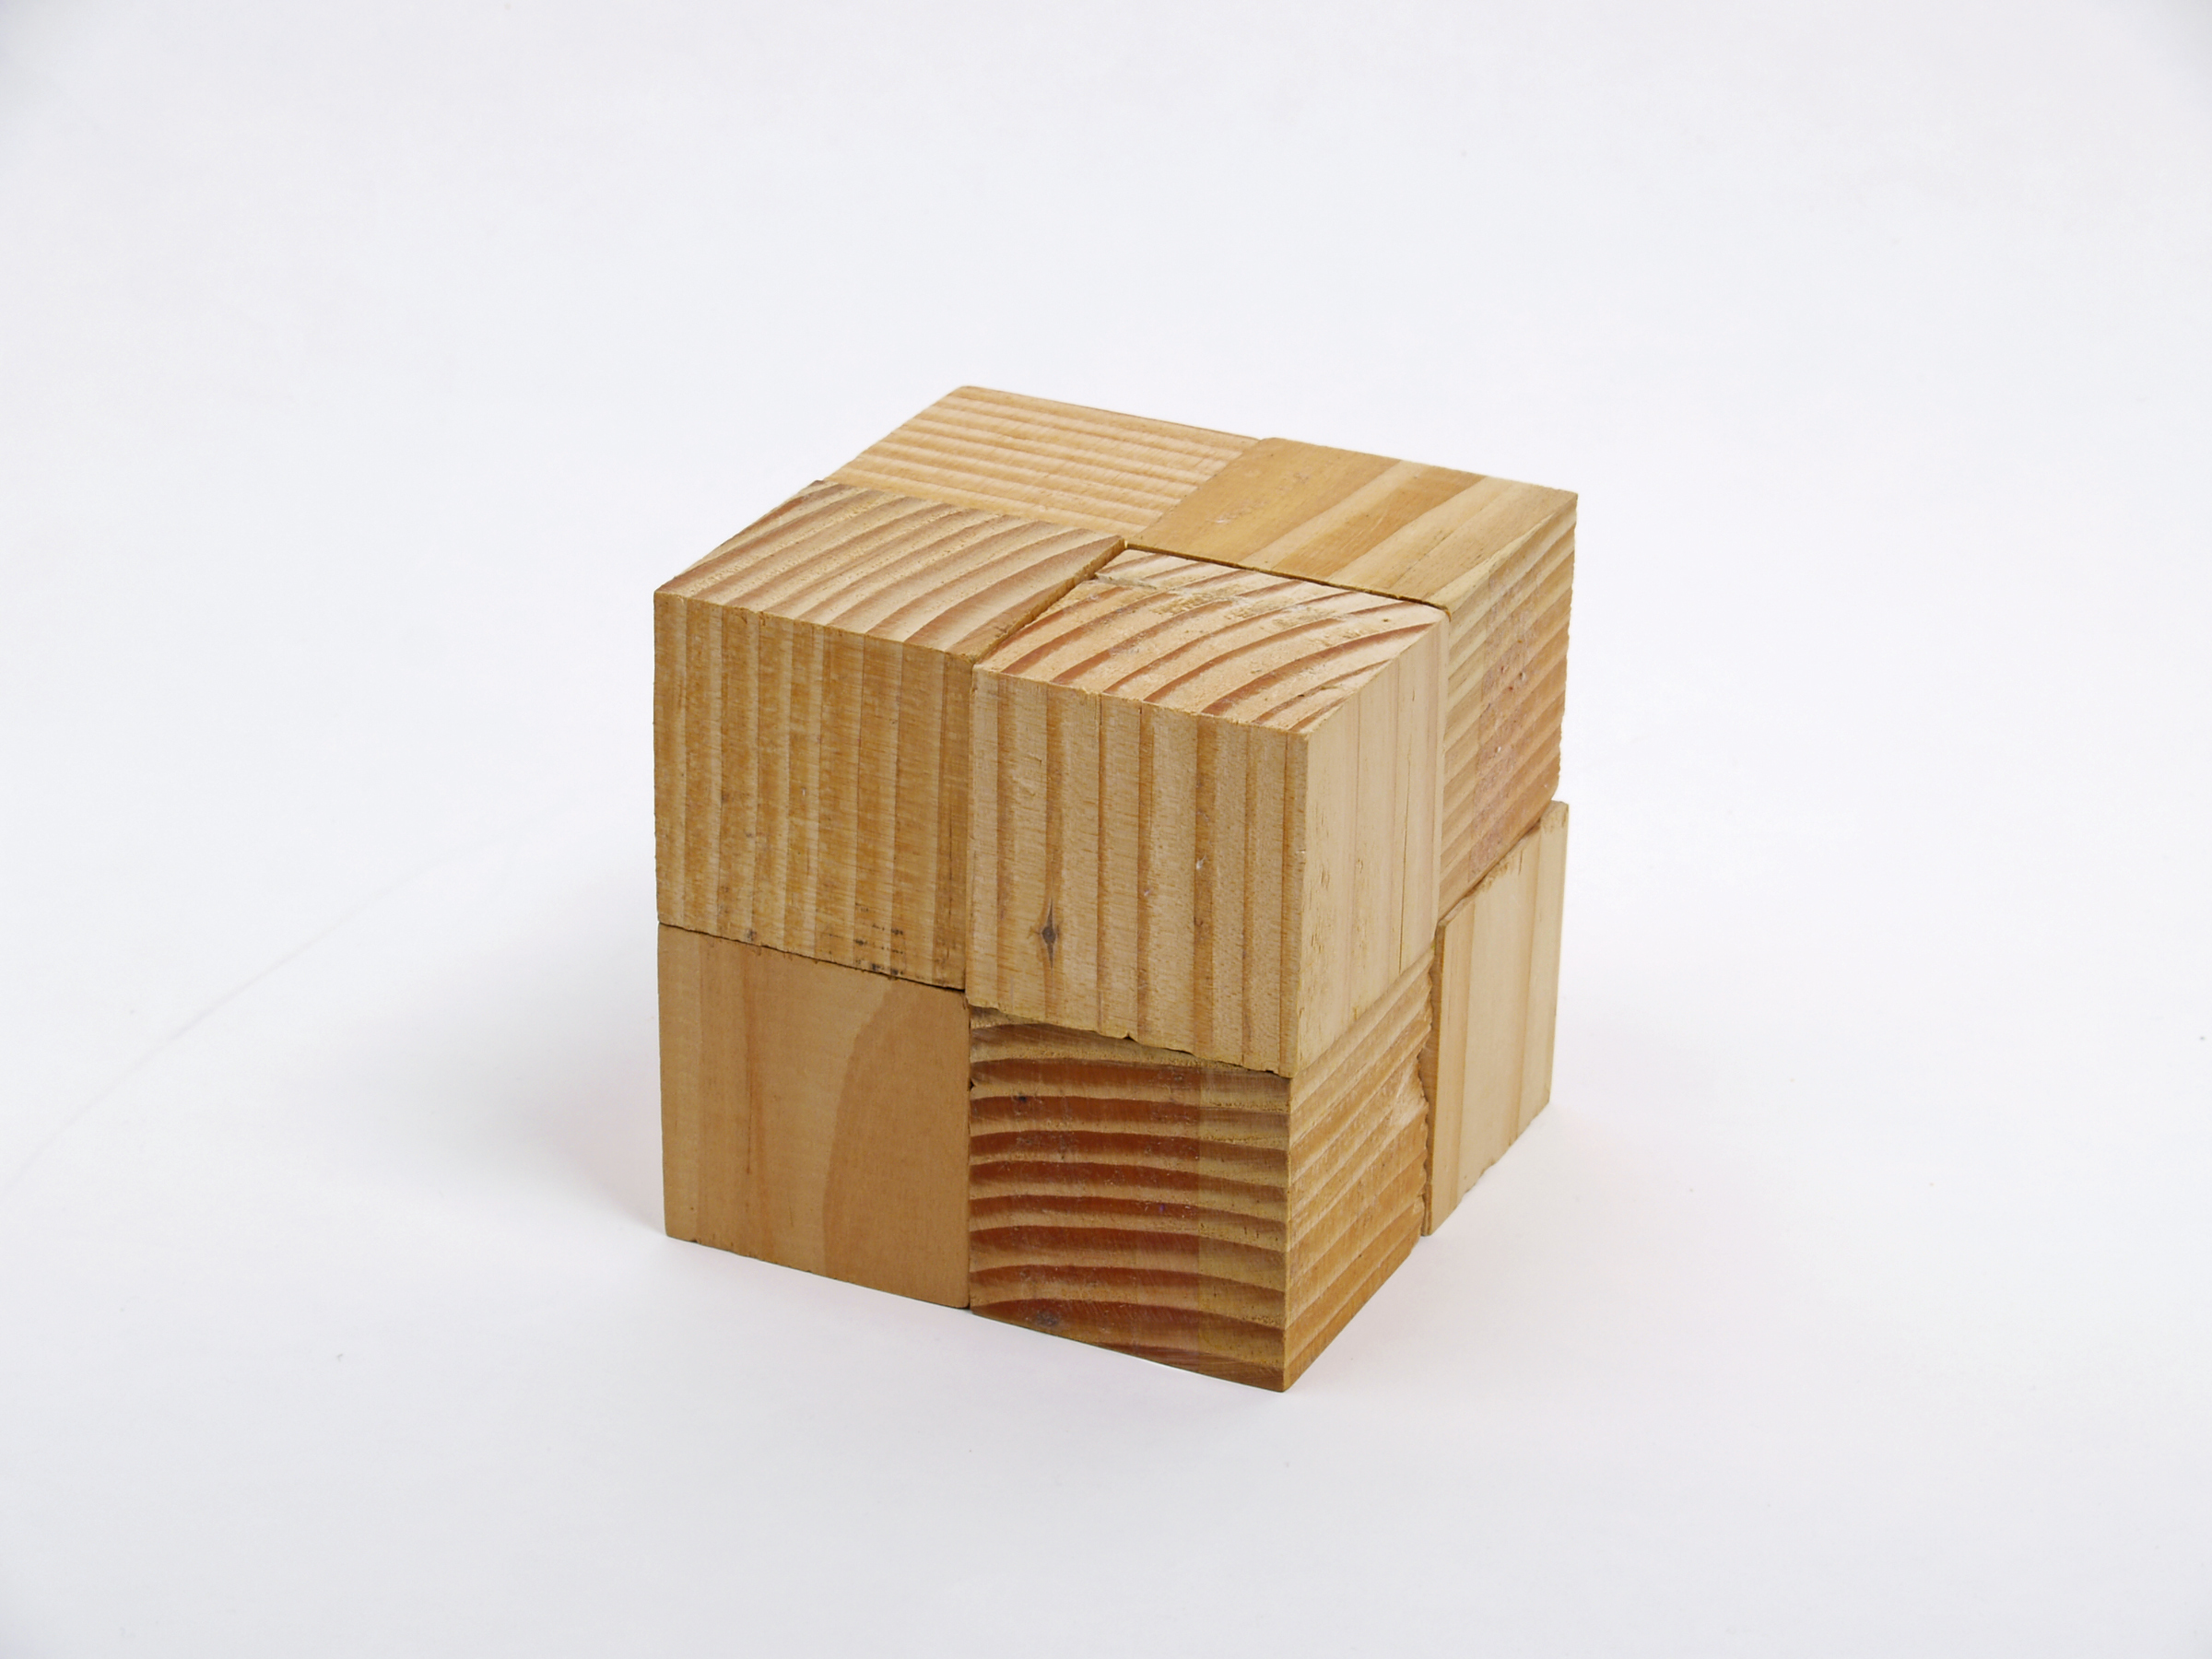
The magic photo cube (the easy half of a Yoshimoto Cube, a truly impressive object invented in 1971) is made by the clever hinging of 8 smaller, identical, and perfect cubic blocks. I had our local woodshop make 40 nearly identical cubic blocks from scrap. After mixing and matching I was able to make 4 magic photo cubes, each consisting of 8 blocks.

The size of the cubic block doesn’t make any difference for the project. The sides of mine are about 5cm, the perfect size for 48mm-wide clear packing tape.

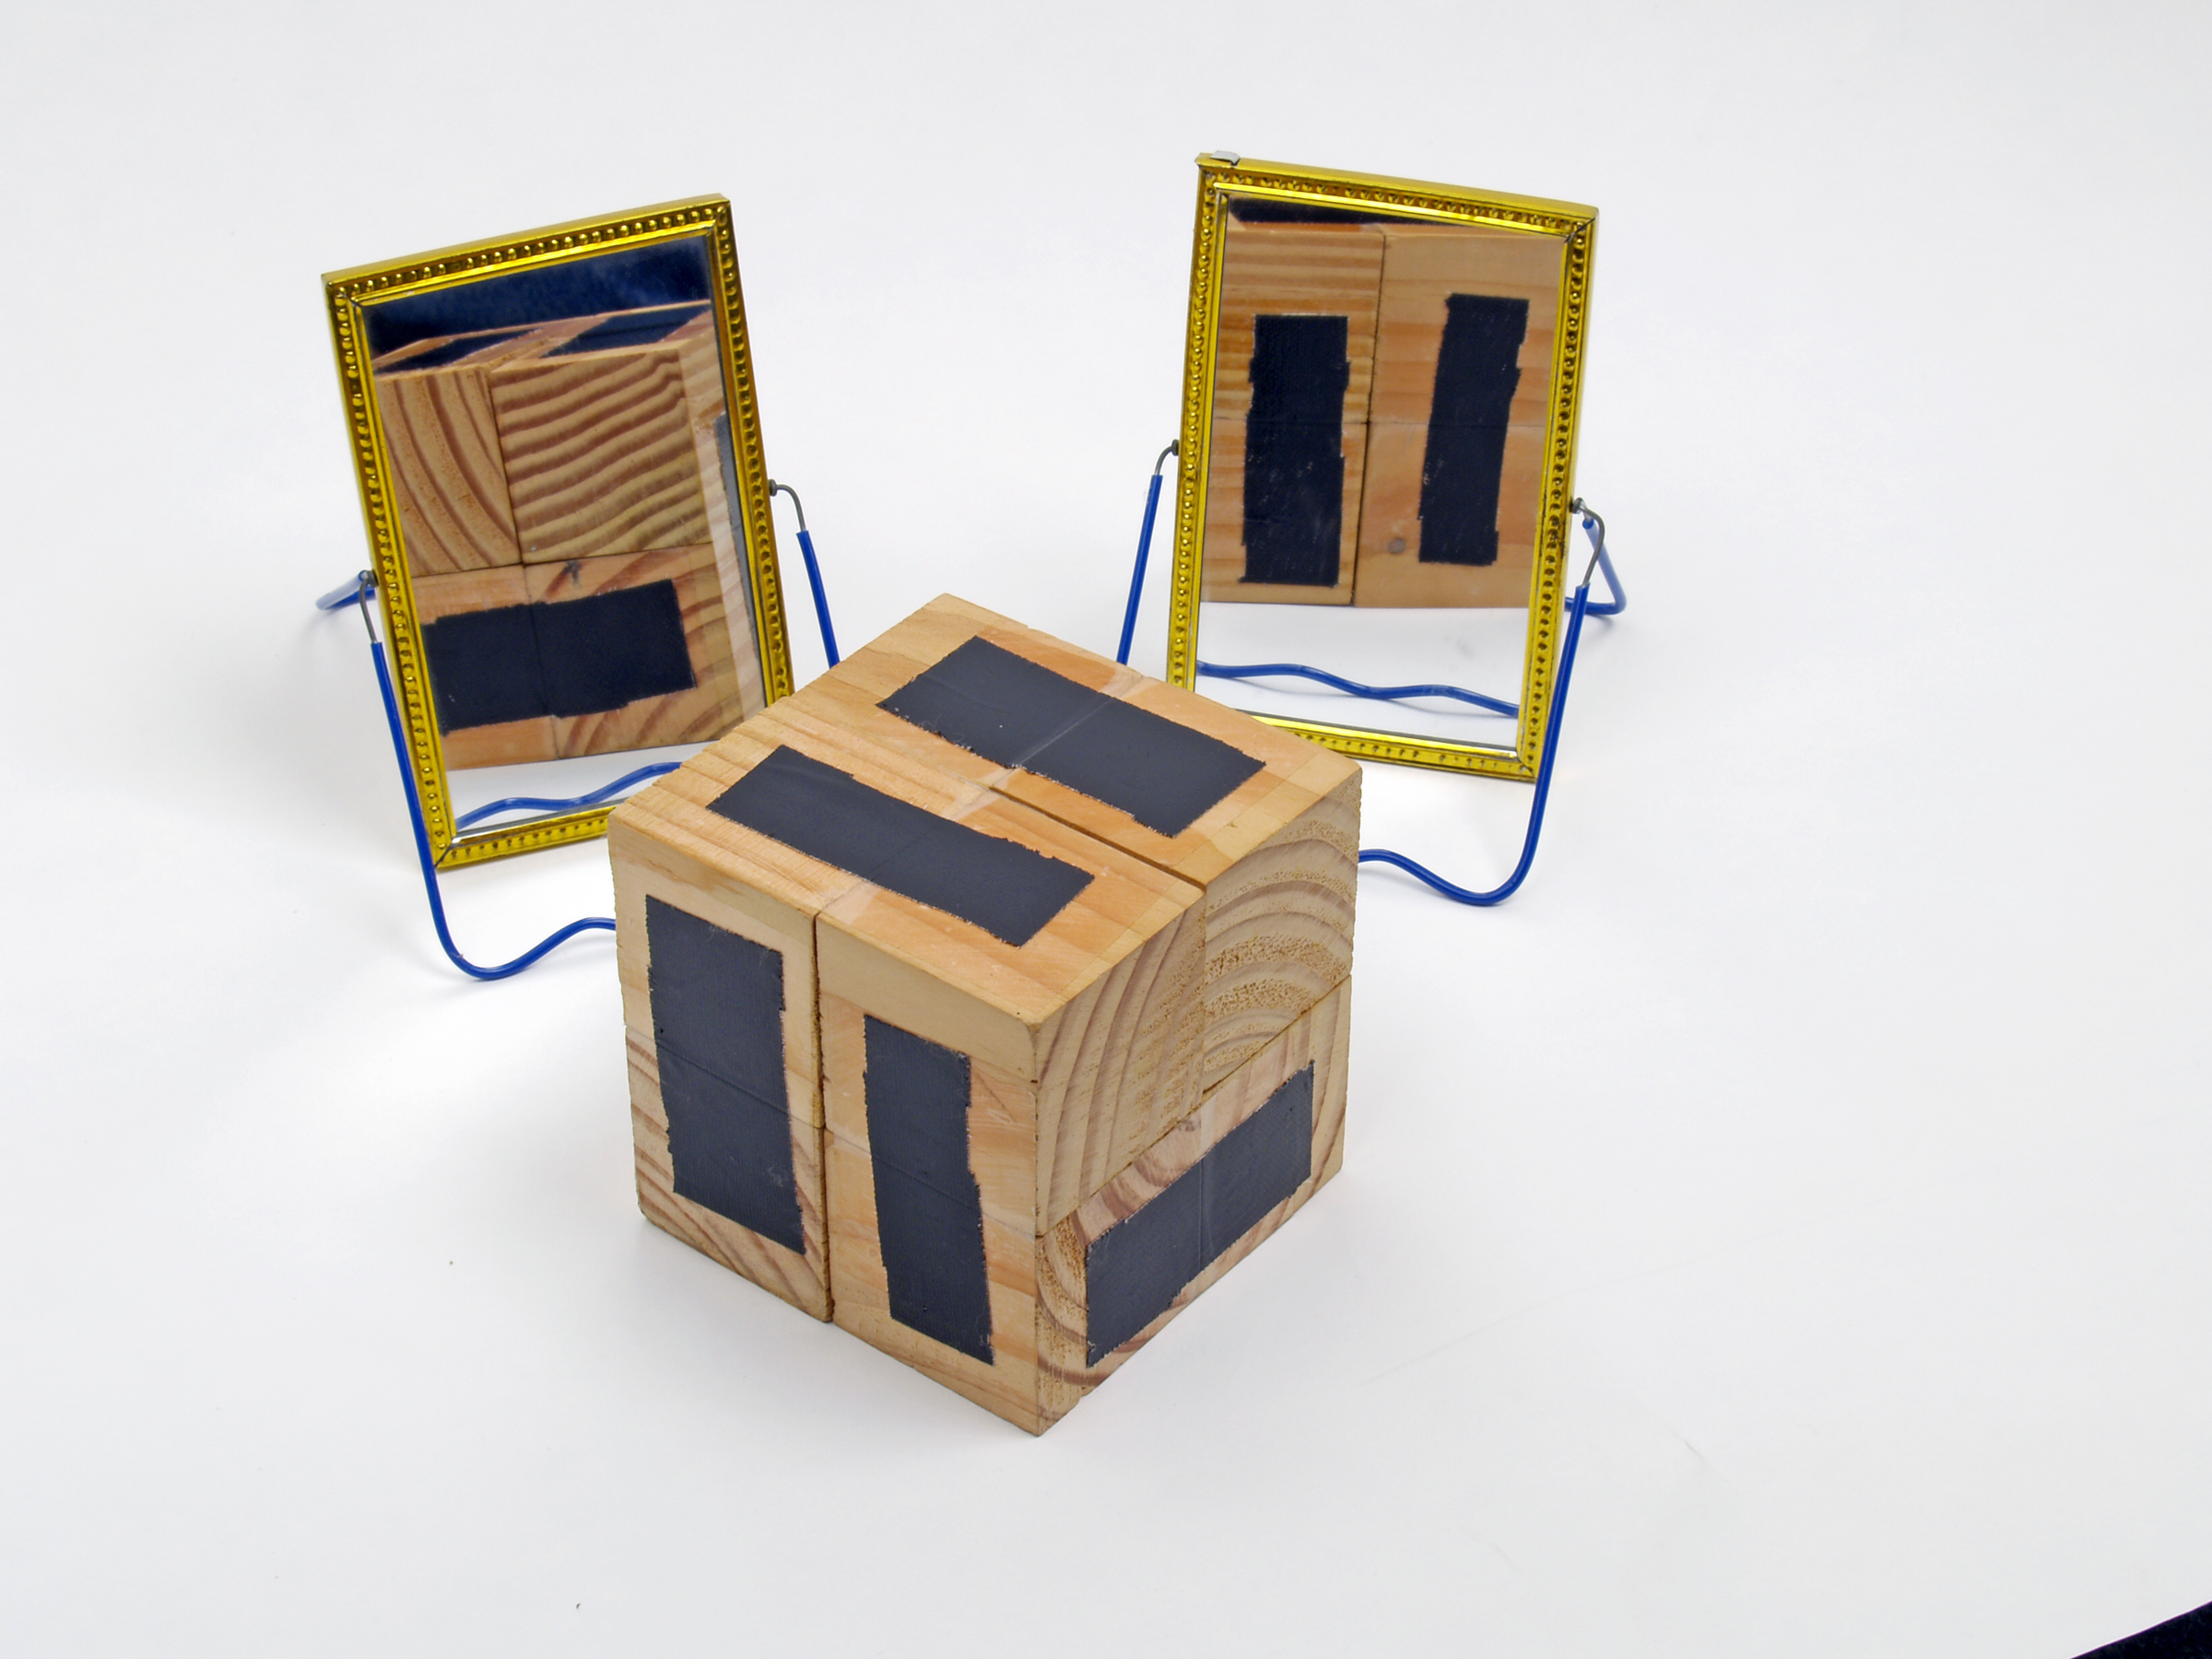
The magic is all in the hinges. Use strong, clear packing tape for hinges, taping the front and back of each joint. Rub the tape down with a “bone” — that’s what my dad called whatever smooth steel thing he used to make tape stick — such as a socket out of the tool chest.

Project Steps

Stack the 8 cubic wooden blocks into a larger cube; 4 for the base and 4 on top. Keep them nice and tight.

Carefully tape the blocks together as indicated. The clear packing tape is nearly invisible, so I’ve used black duct tape to clearly show which 2 blocks to tape together to make each all-important hinge. Your packing tape should cover the whole joint between blocks, unlike my duct tape here.

Tape a hinge connecting 2 bottom blocks to make the front face of the magic photo cube. Tape a hinge on the back face connecting its bottom 2 blocks the same way. The front and back faces of the magic photo cube should be identical.

Tape 2 hinges connecting the top and bottom blocks to make the left face of the magic photo cube. Tape 2 hinges on the right face connecting the top and bottom blocks the same way. The left and right faces should be identical.

Tape 2 hinges connecting the front and back blocks to make the top face. There are no hinges on the bottom face.

Rub the tape on each individual cubic wooden block with the bone. Carefully open the magic photo cube and reinforce the backside of each hinge with another strip of clear packing tape.

Now you’ve got to play with this thing. There are 6 faces on the magic photo cube, and after manipulating it you’ll discover you can turn it inside out showing 6 totally new faces. Along the way you’ll discover other orientations of different dimensions.

Do the math. There are 8 cubic blocks in the magic photo cube and each has 6 faces, totaling 48 faces. The full magic photo cube has 6 faces, each made of 4 faces from the cubic blocks. So, the full photo cube shows 24 of the possible 48 cubic block faces.

When you completely turn the magic photo cube inside out, the other 24 cubic block faces are visible on the 6 new magic photo cube faces. The surfaces of the intermediate orientations combine the 48 cubic block faces in different ways.

Only after manipulating the magic photo cube and thinking about your prize pictures are you ready to measure, print, and apply the pictures.

Cut each picture into the required number of little wooden squares for the selected surface. If the blocks aren’t perfect, measure each cut.

Apply the pictures to one surface of the magic photo cube at a time using a good glue stick.

Adjust the picture portions to allow a smidgen of room for the hinges to bend in each direction.

Glue can really mess up your pictures. Watch their edges, as they tend to shave off bits of glue that stick to something later.

Conclusion

Check out this video of a real Yoshimoto Cube in action: http://www.makezine.com/go/yoshimoto.

This project first appeared in MAKE Volume 21, page 136.