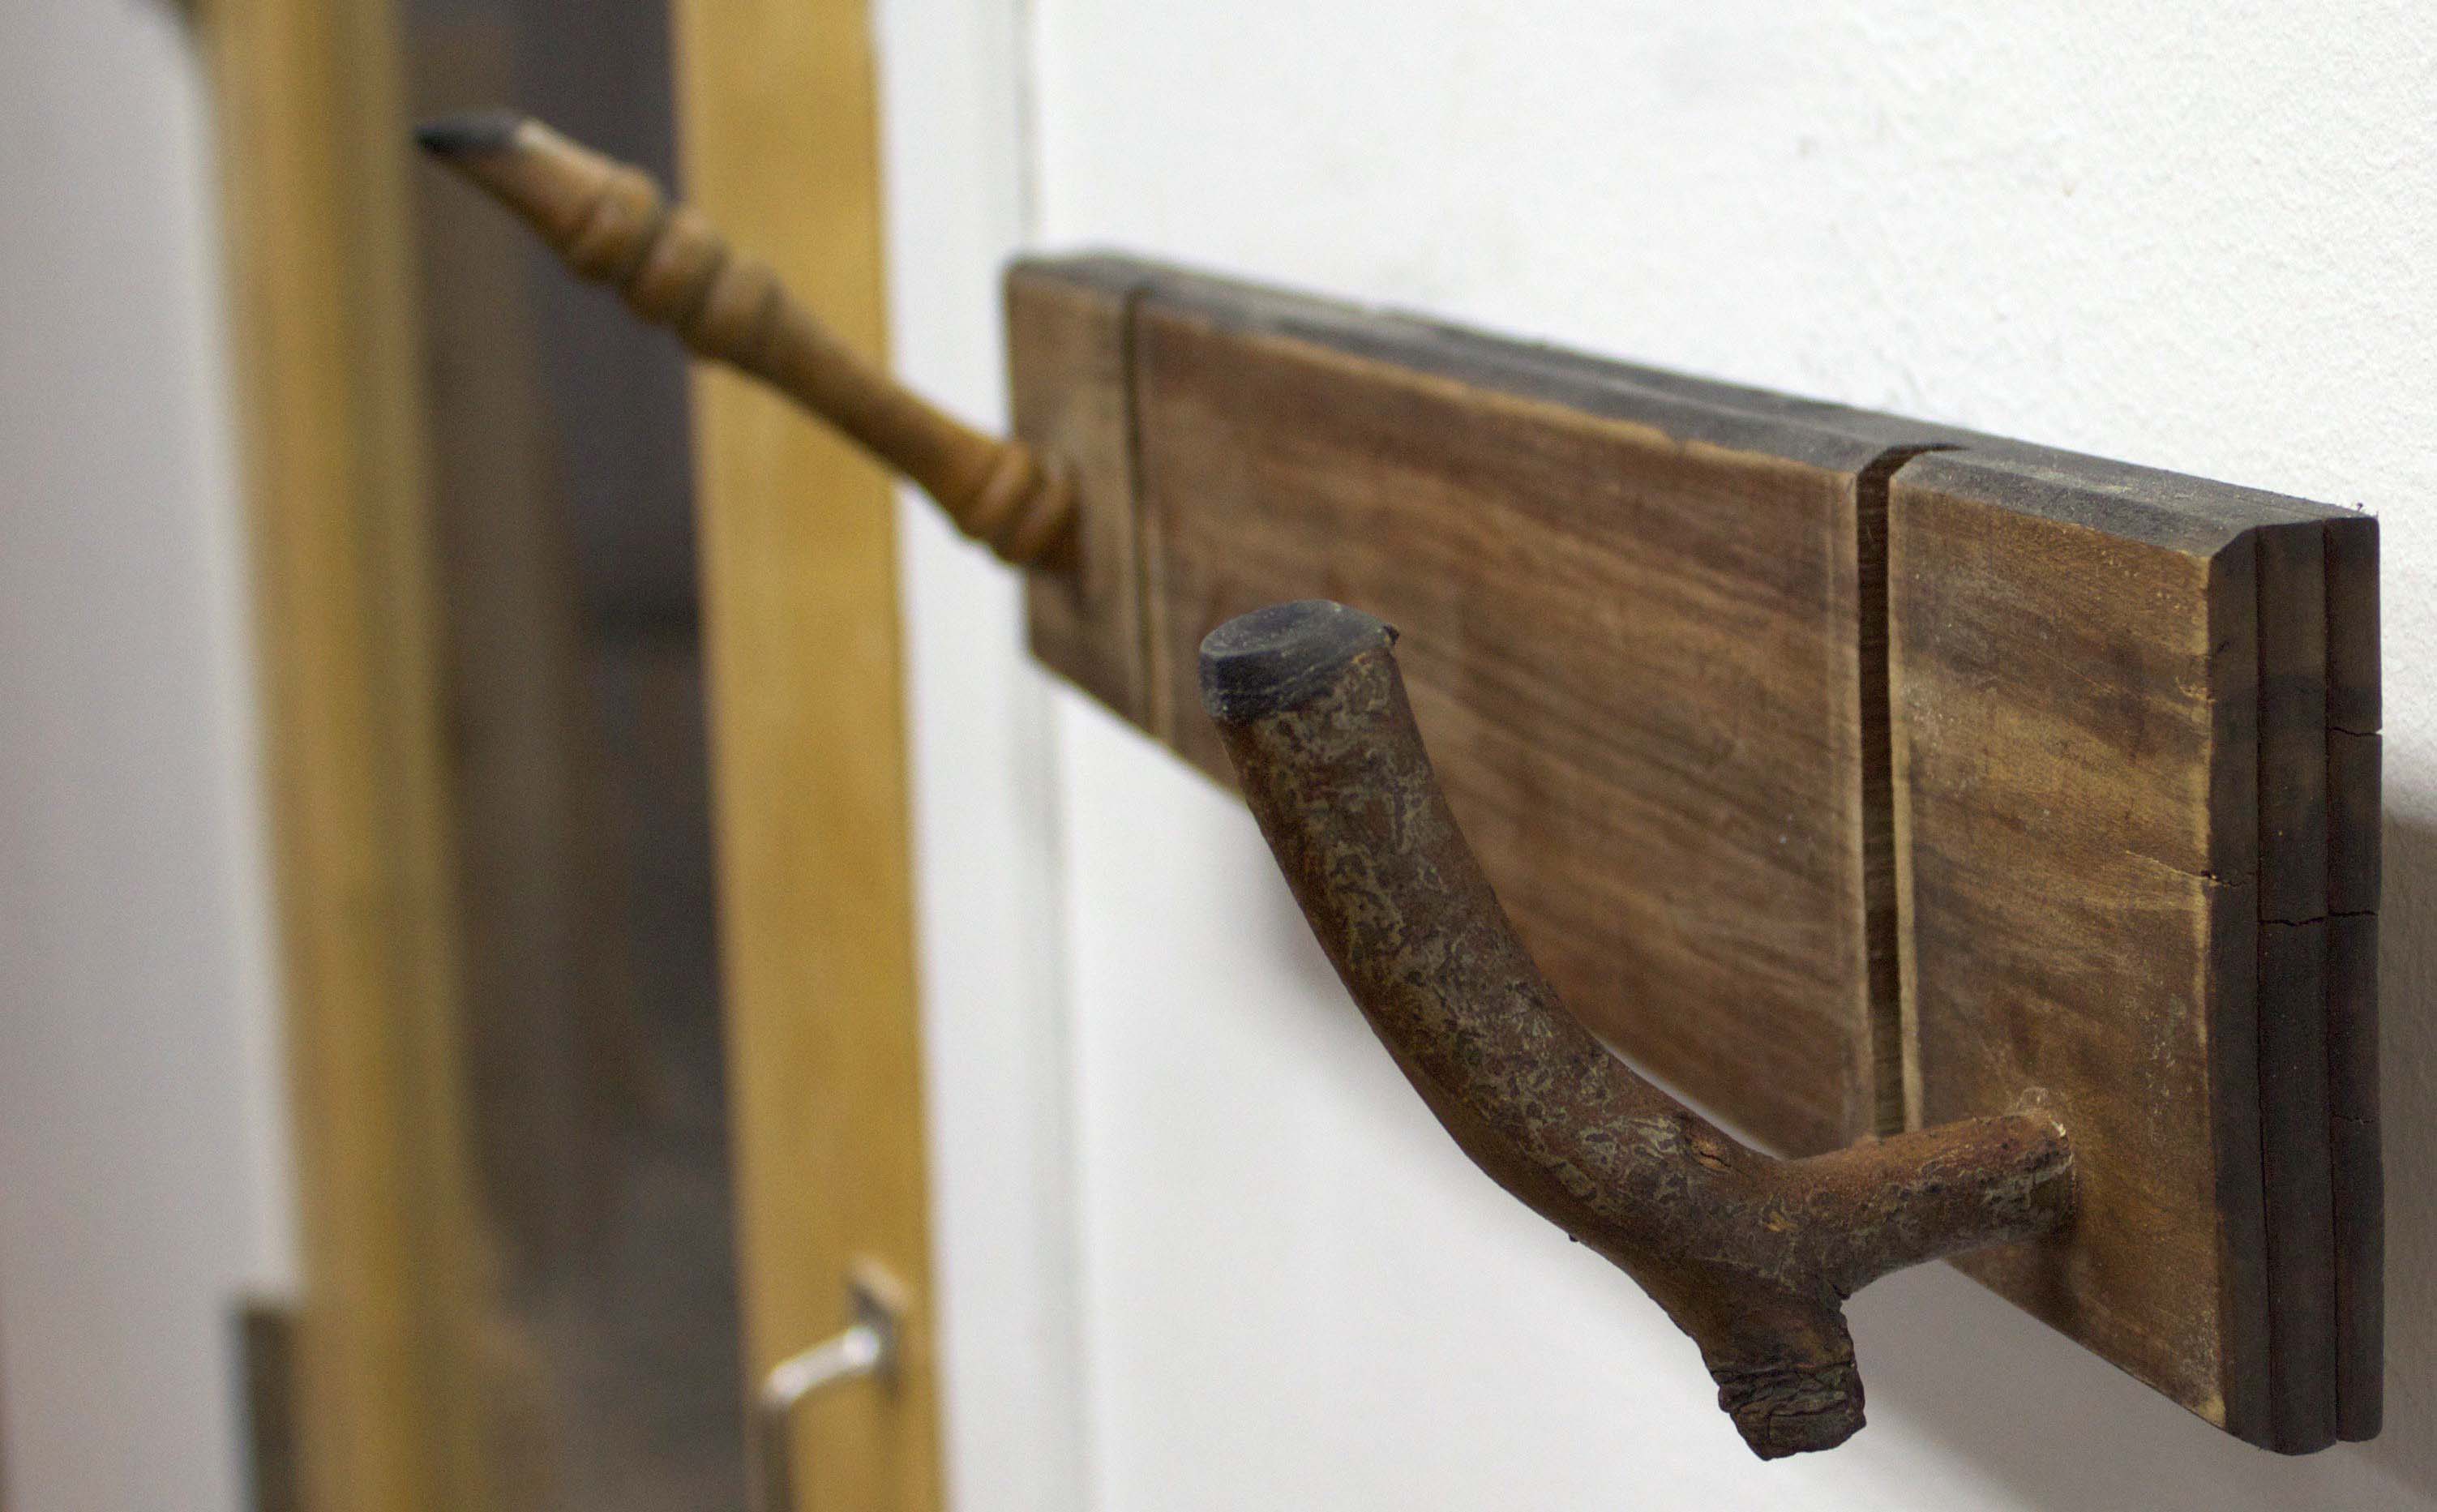
This tutorial will show you how to make a wall-mounted hook system using found objects. When I started designing and building this project, I found that I became extremely observant of objects left out on the street. The process of observing lead to collecting. Once I had a good collection, I began to disassemble and build from the the parts.
Designing and manifesting an object from scratch is definitely very satisfying. It feels amazing to start with an idea in your sketchbook and bring it to life when building it with stock materials. However, there has always been a level of guilt that comes along with building from scratch because I am well aware that Earth’s resources are dwindling. The process of using discovered items is really empowering because I know that I am giving objects, that would have normally ended up in the landfill, a new life.
In addition, I have found that I learn more when I am working with found objects. In my work, I am always looking to experiment with new forms with each and every object that I create. Altering found objects is a really great way to work with a variety of interesting forms. You can really come up with fascinating shapes when you are taking parts from 4-5 different objects and combining them. I have found that this process has inspired my work in directions that I could have never imagined.
I use this process to make functional objects and I use it to come up with new forms. Sometimes I am just making sculptures as form studies that are directly funneled back into my design practices. There is a great interplay between making sculpture with found objects and designing objects inspired by the forms that come of the sculptures. In the end, I find myself using items that would have been thrown away.
Follow along with this tutorial to learn how to make your own handy hooks from found materials. Your project may come out different than mine, but that’s the whole point!


