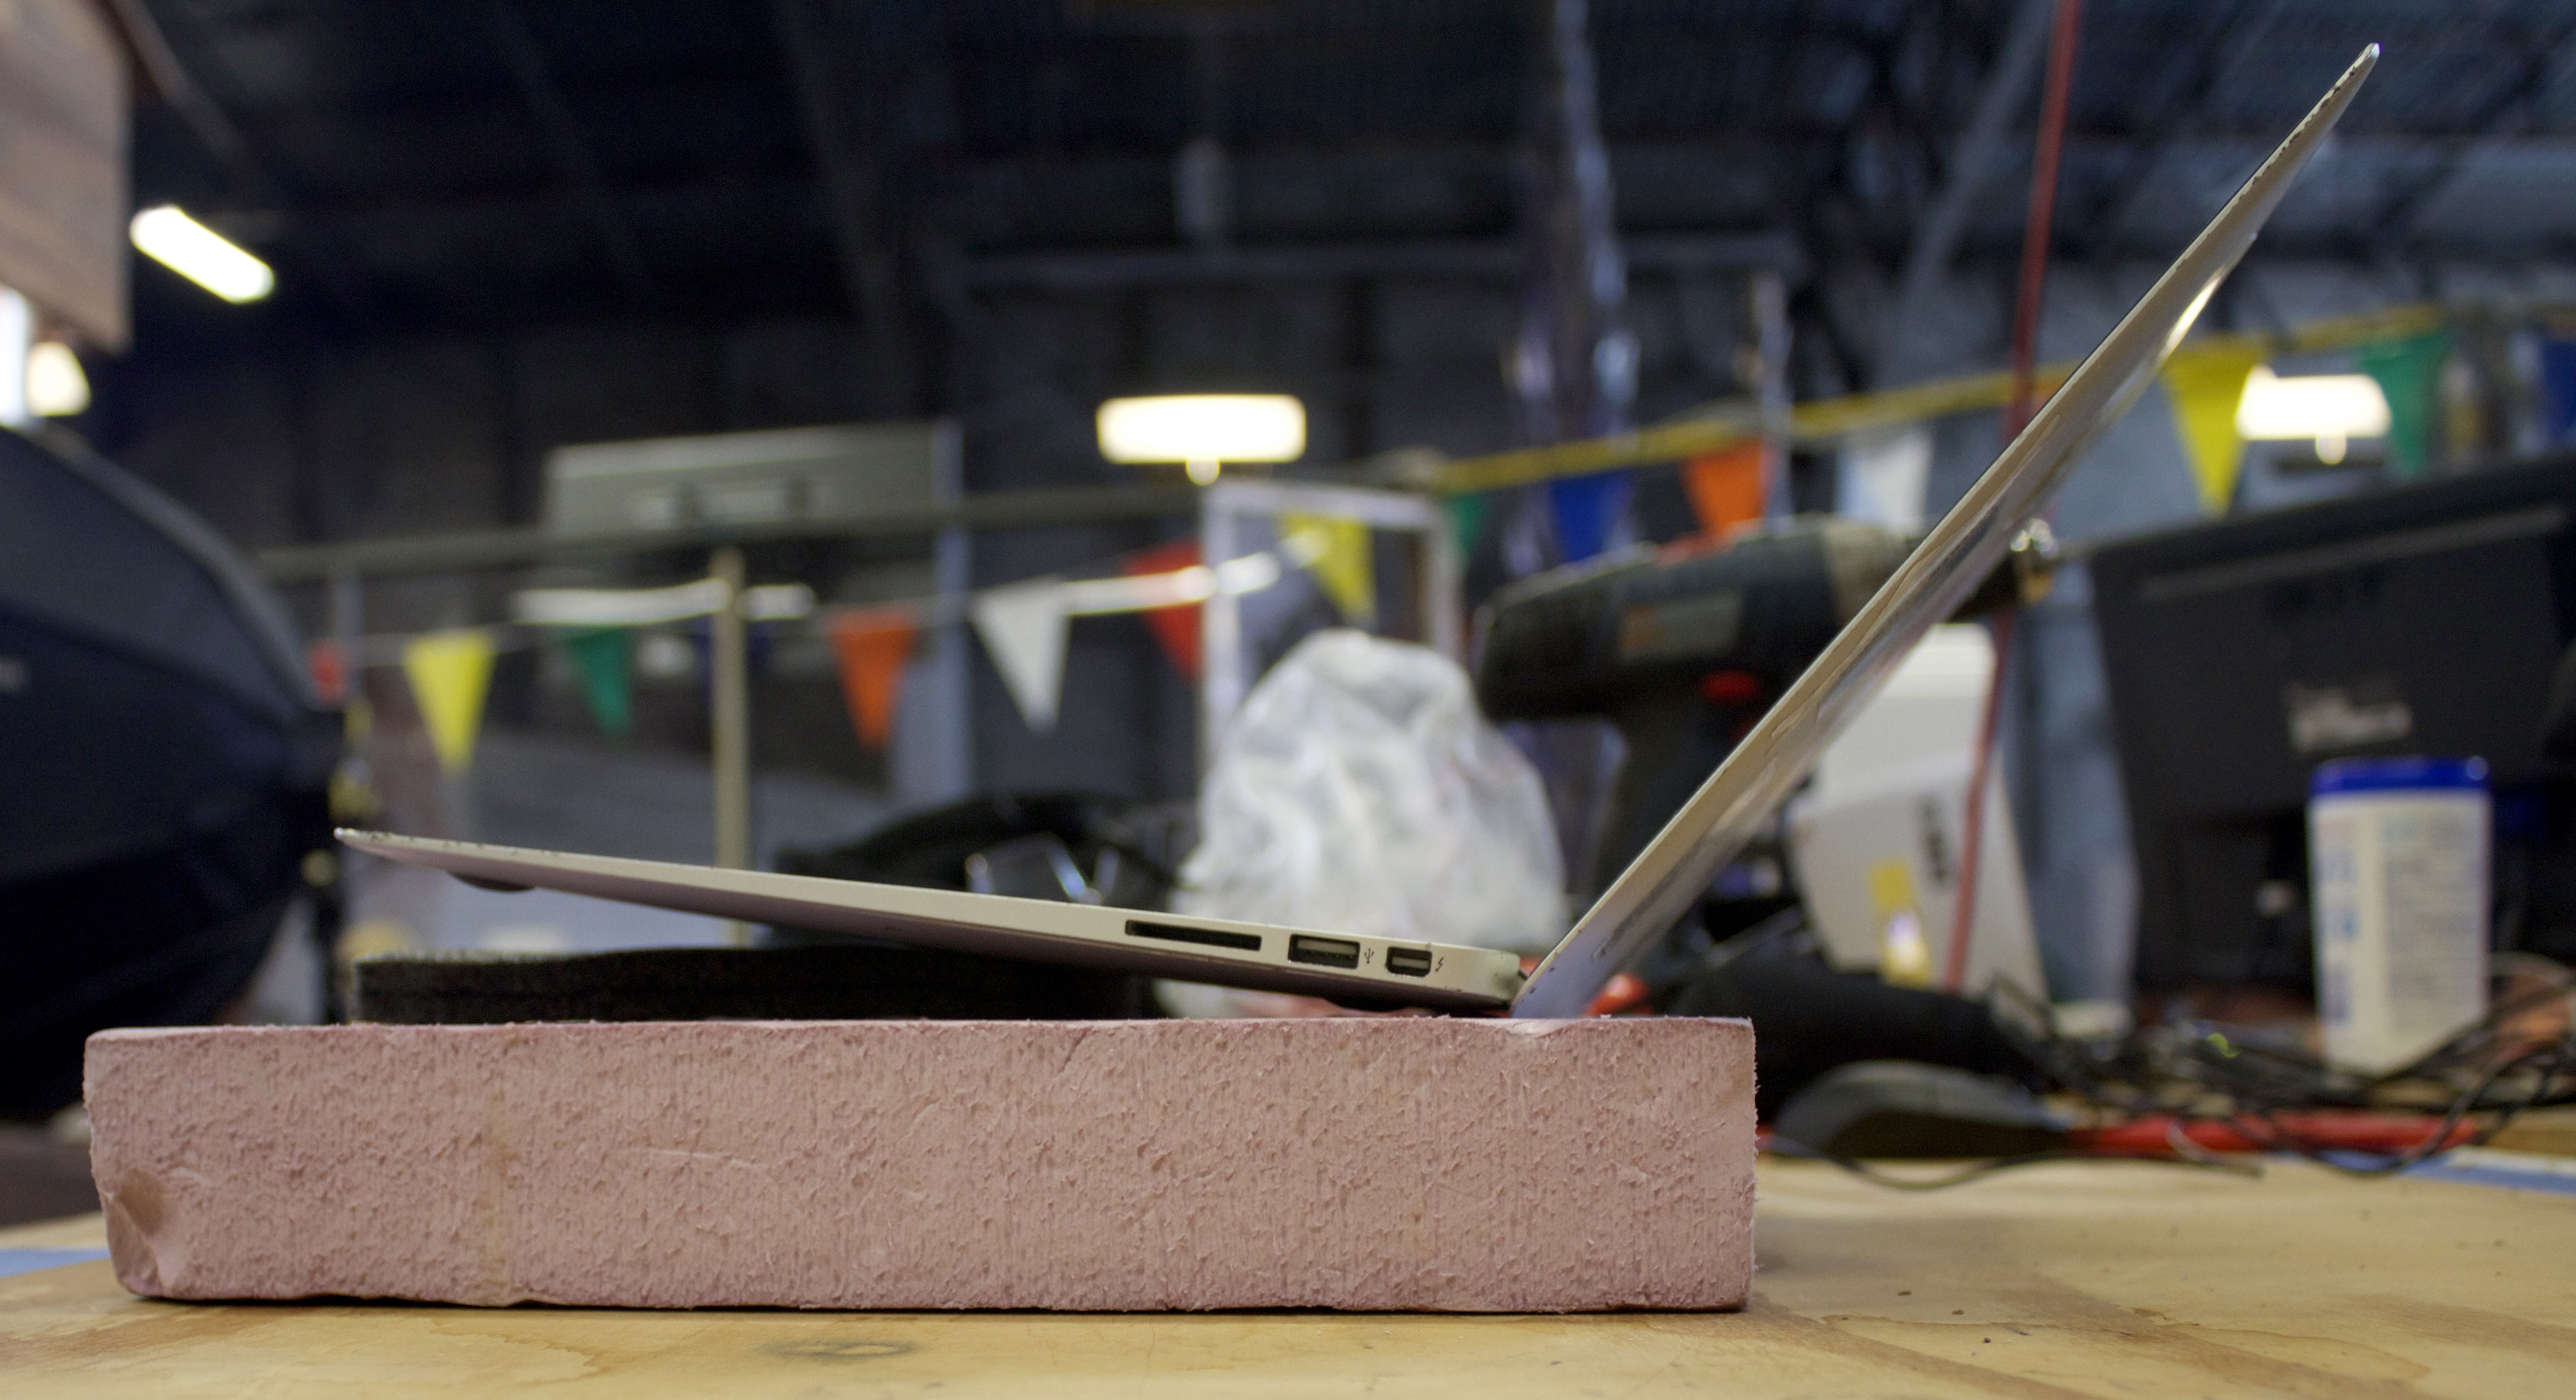
I have found that my forearms and hands ache while I’m using my laptop. I have been stacking up pieces of foam on my desk and then placing my laptop atop the stack in order to reach an ergonomic height. This is a perfect temporary solution, and though it isn’t something you are going to want to do every day it is a great way to figure out the perfect ergonomic height for your computer to sit at. It can take a while to figure out what height is perfect for you, so I would suggest experimenting with multiple heights over the course of a few days, but make sure that stacking items is just a temporary solution. For me, my solution of stacking items had lasted for far too long, and it definitely was not fun when my computer slid off. So, it was time to come up with a more permanent setup and make a laptop stand.
I have been very lucky for the past three years because I have had access to my school which is generously equipped. I am incredibly grateful, but also realistic that I will not always have this type of shop come spring 2016 when I graduate. I have been doing my best to think of projects that can be done without shop access.

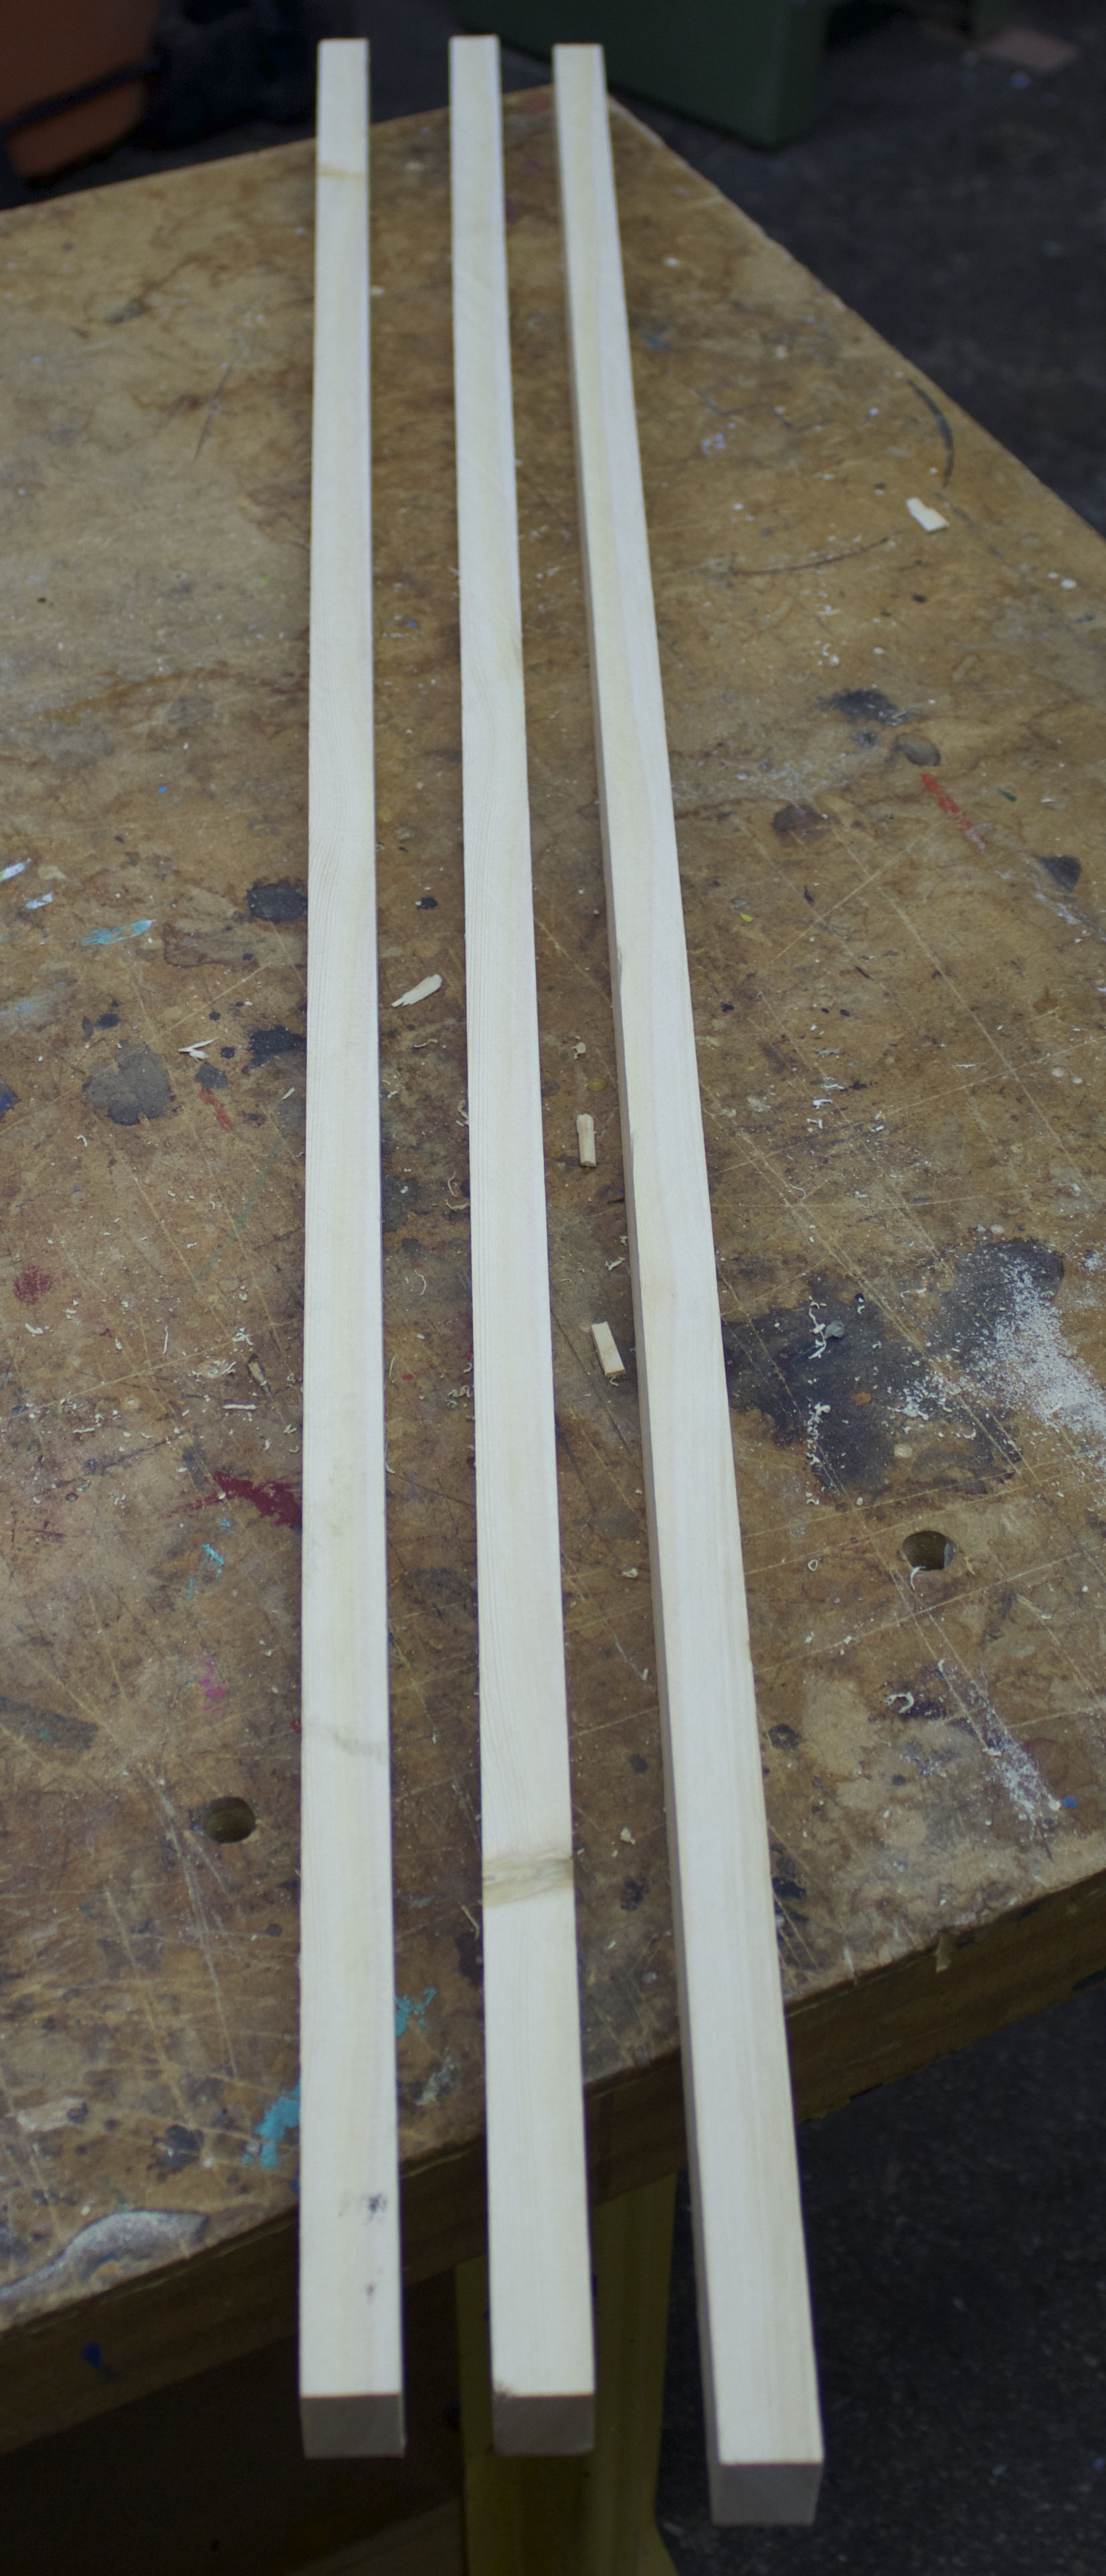
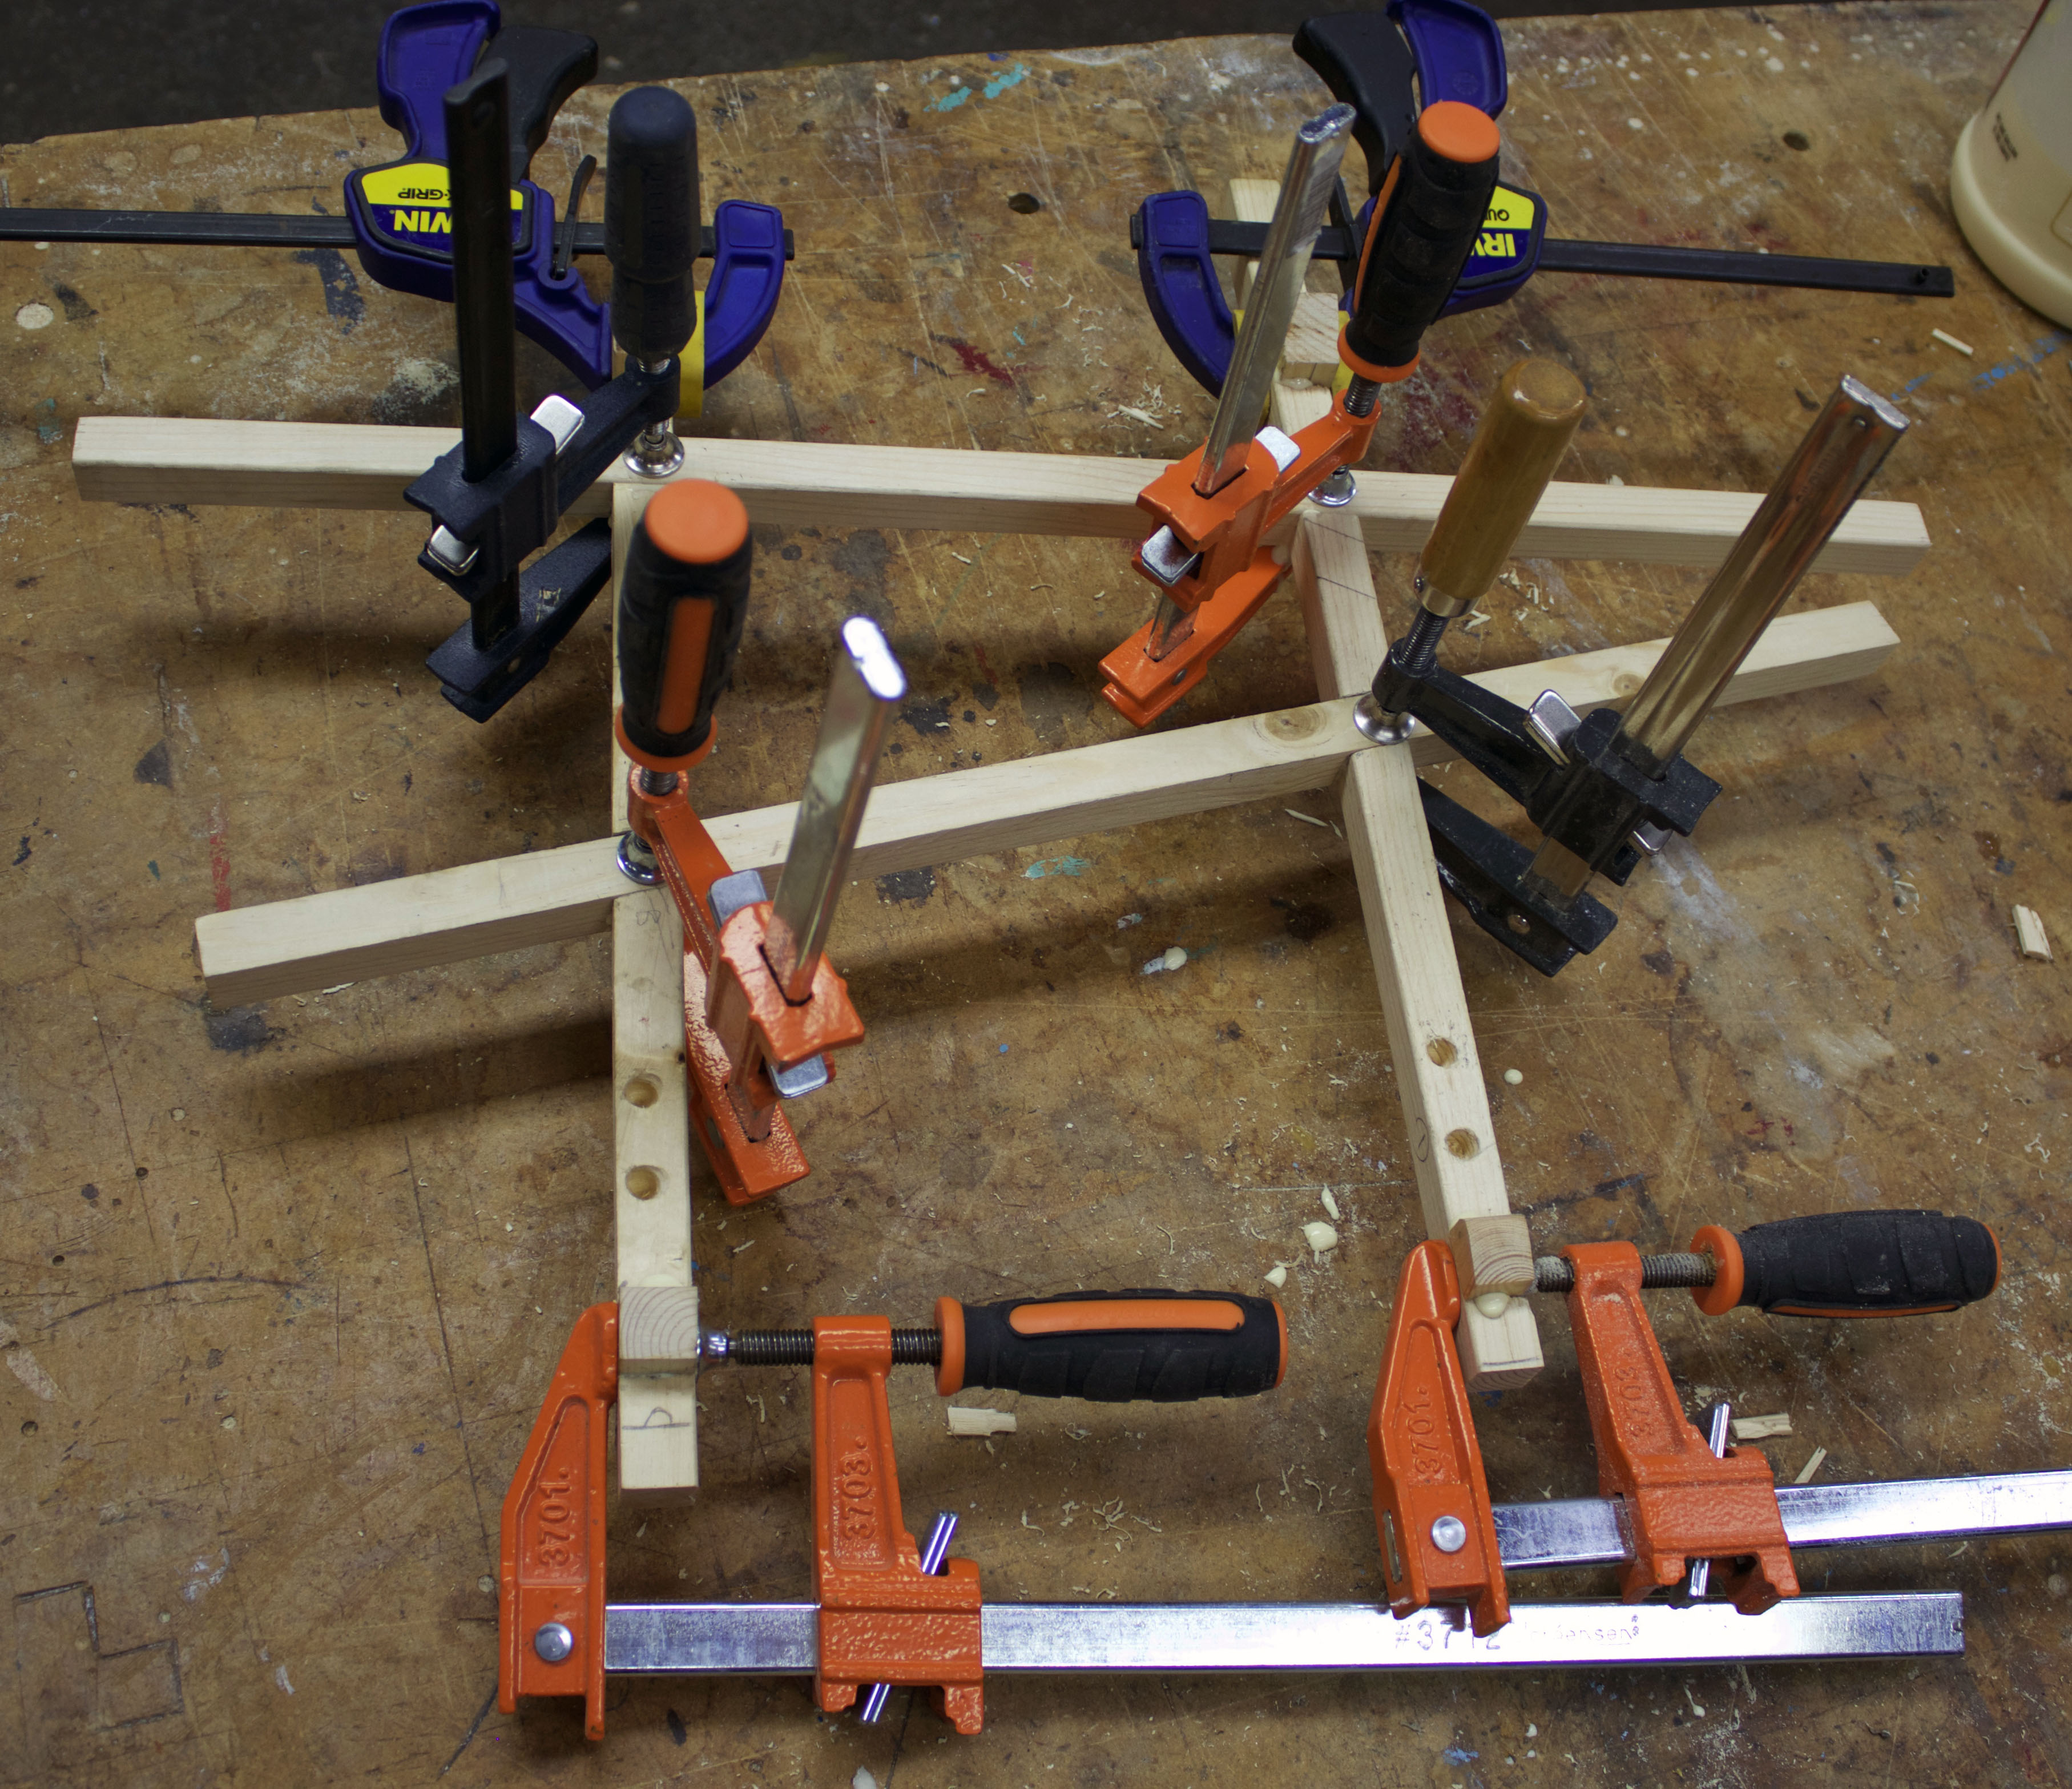
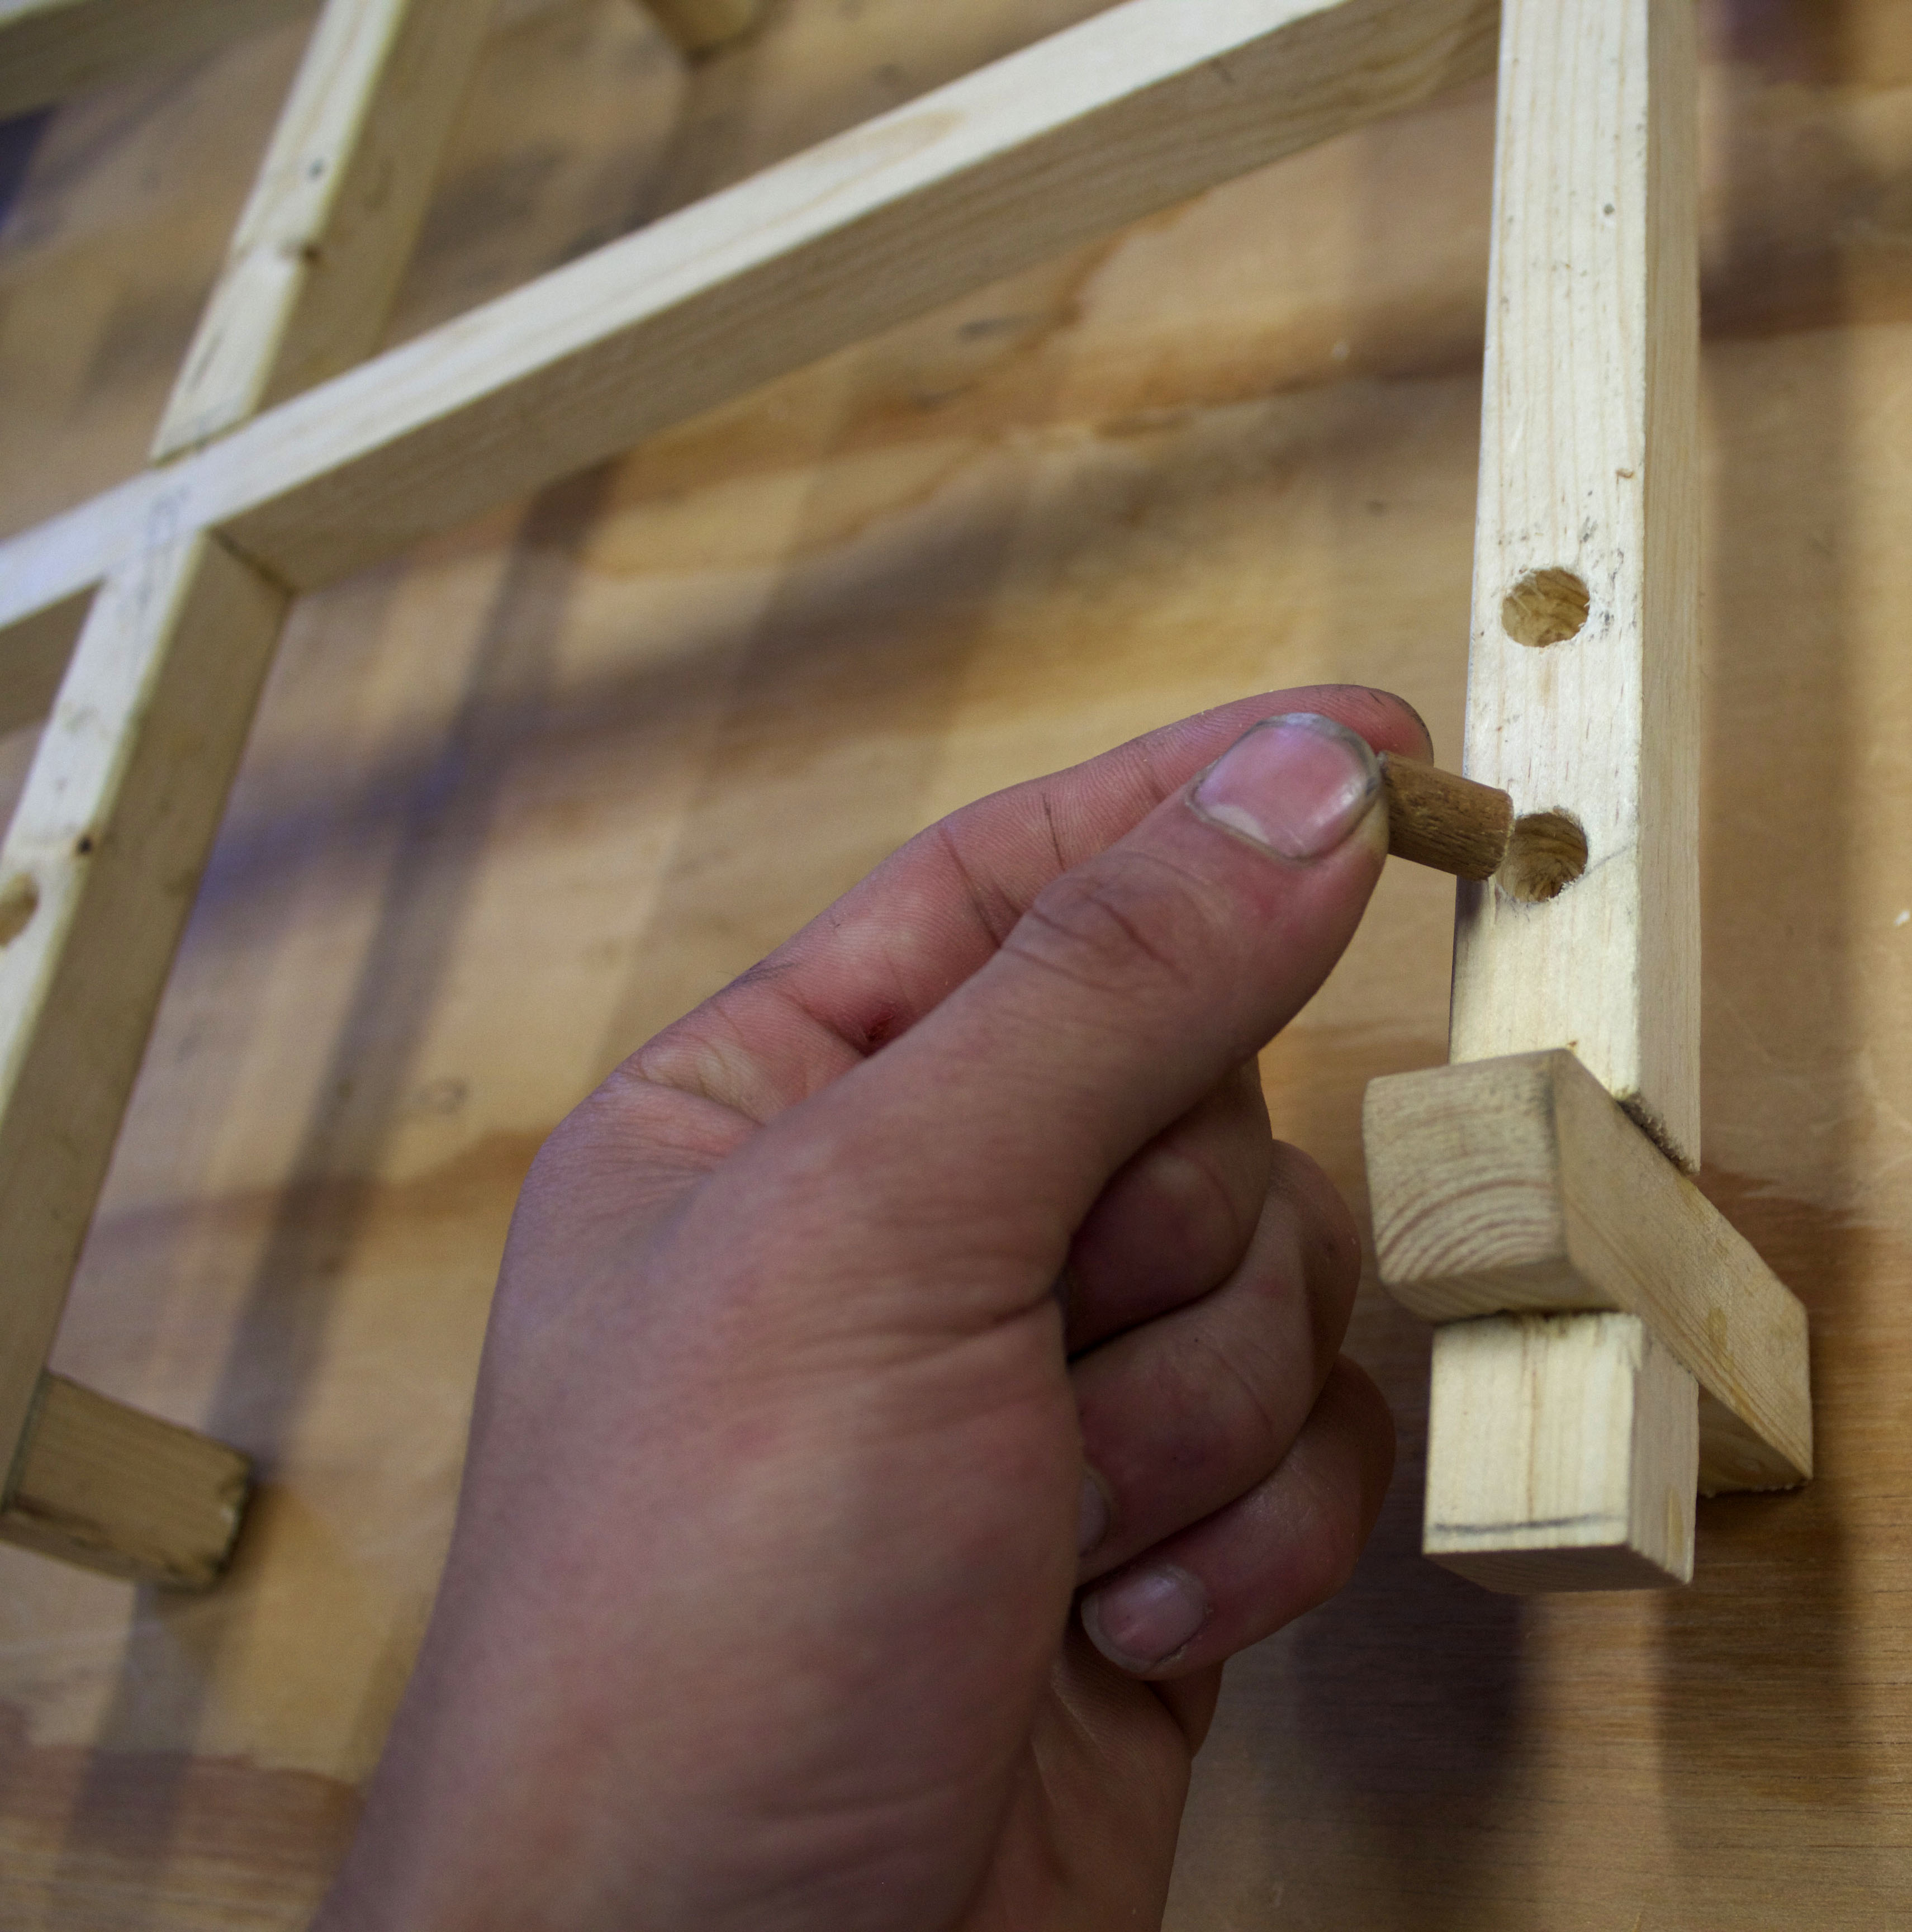
This laptop stand could easily be done with out access to a shop or specialized machines. In this tutorial, I ripped 1×4 stock on the table saw, but you could easily buy 1×1 stock at your local lumber store to make this project even easier as this would eliminate your need for a table saw. The rest is all done with hand tools.
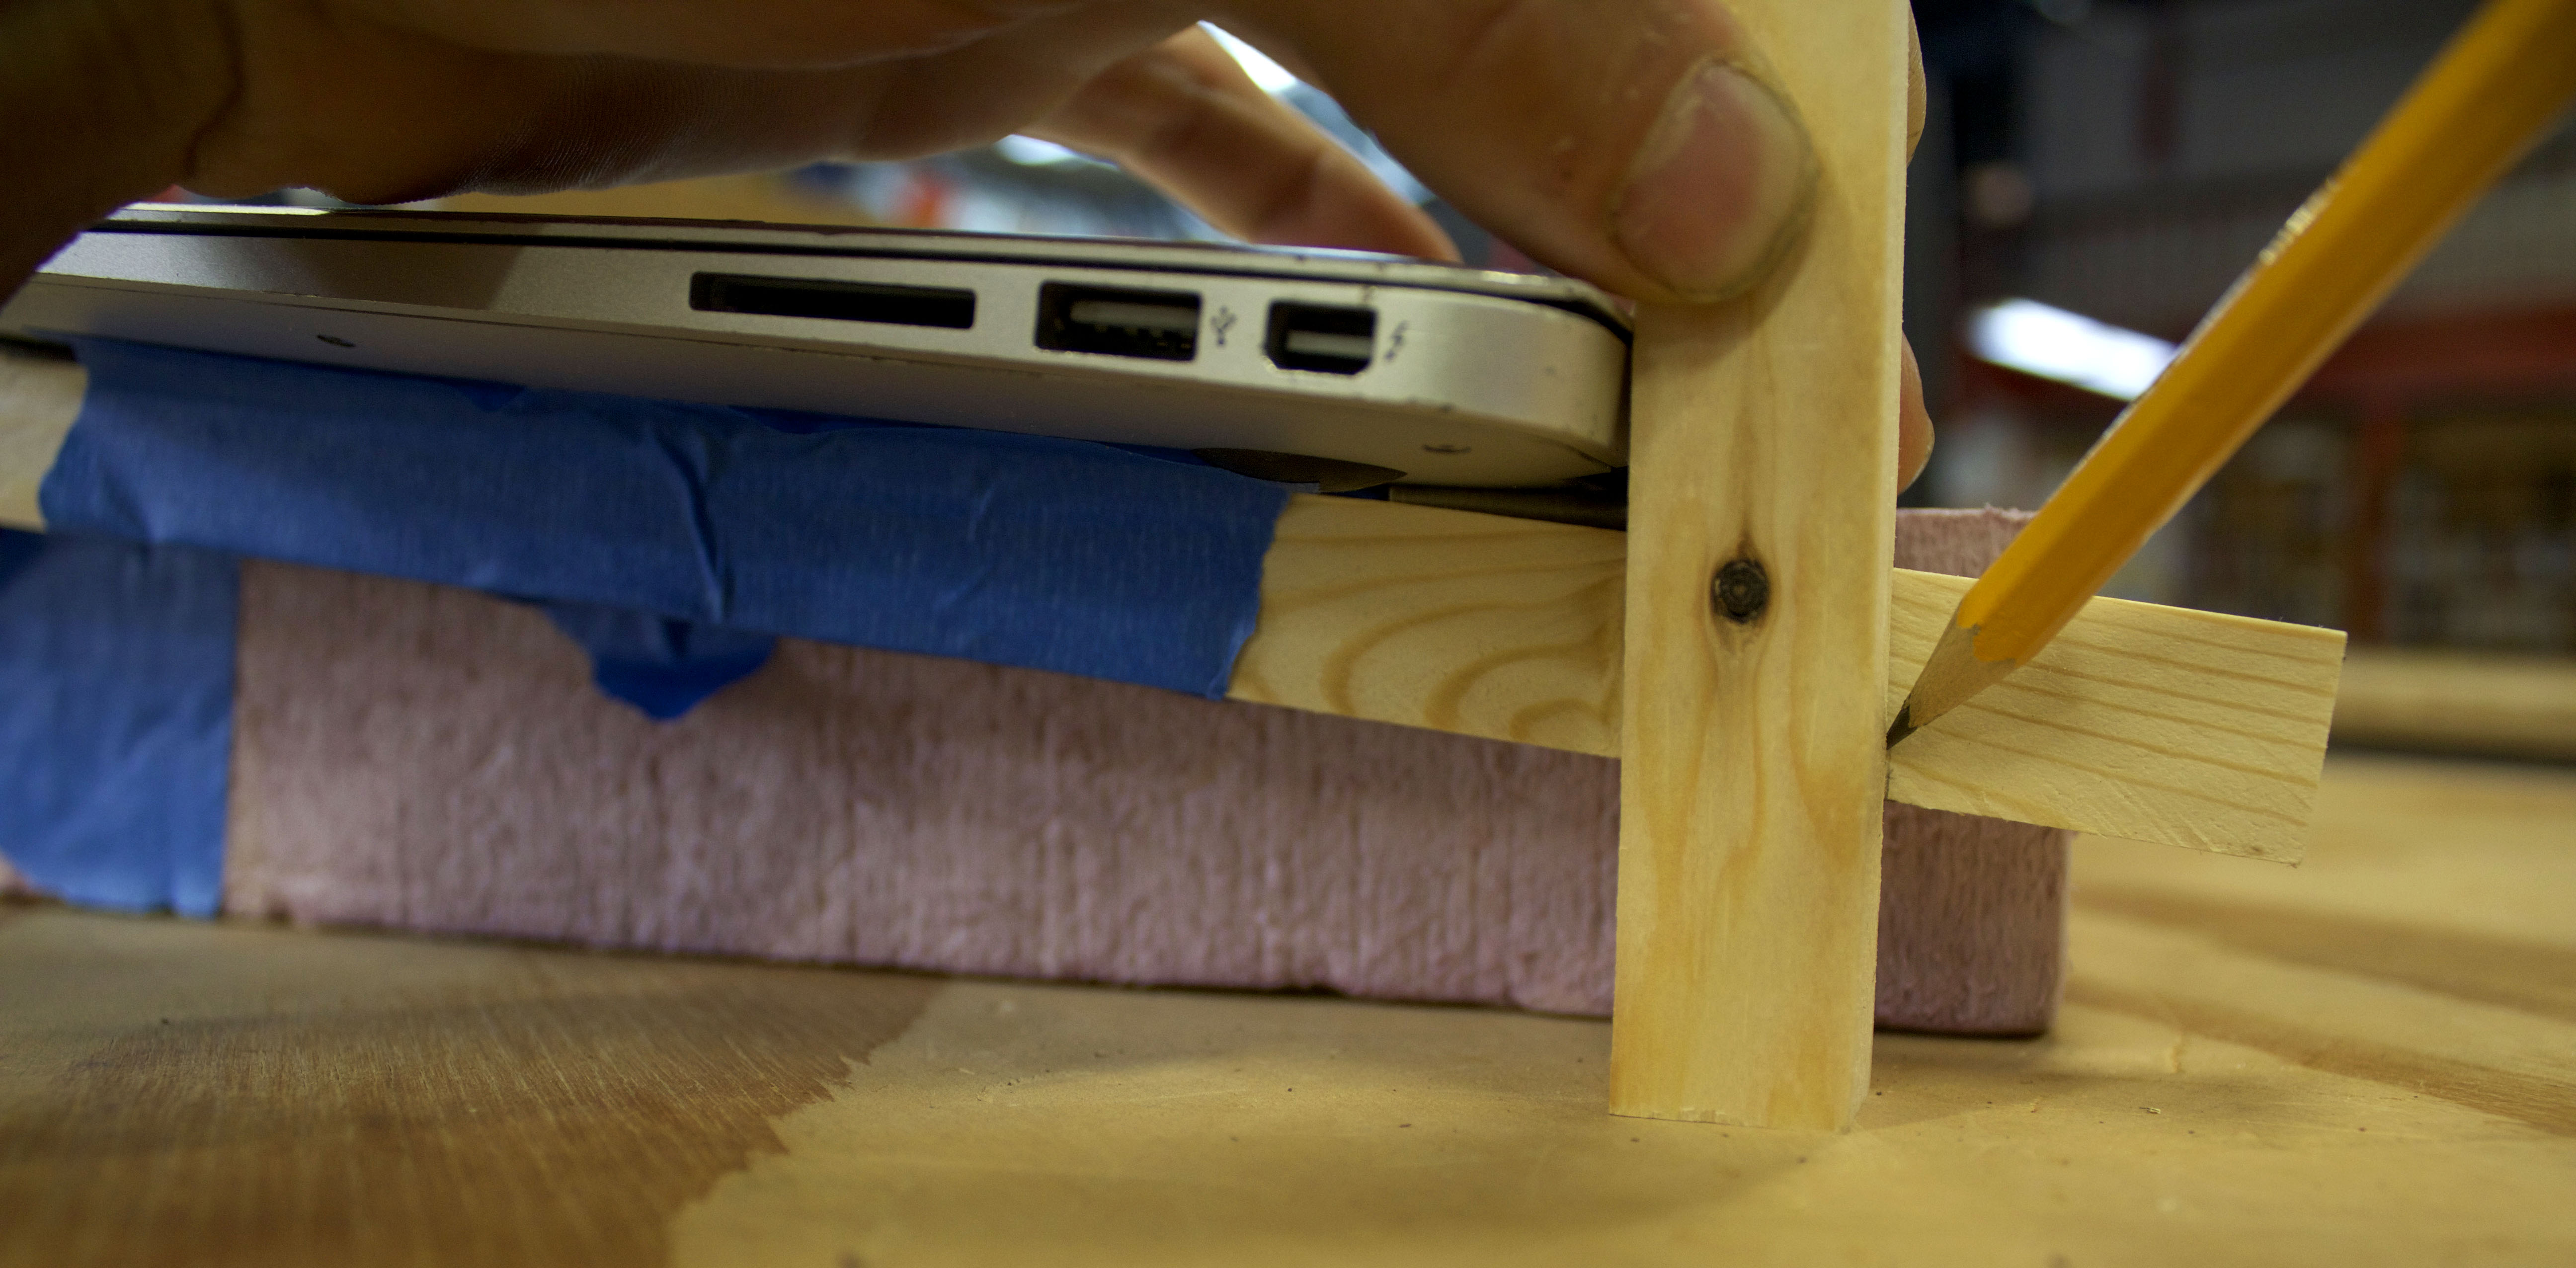
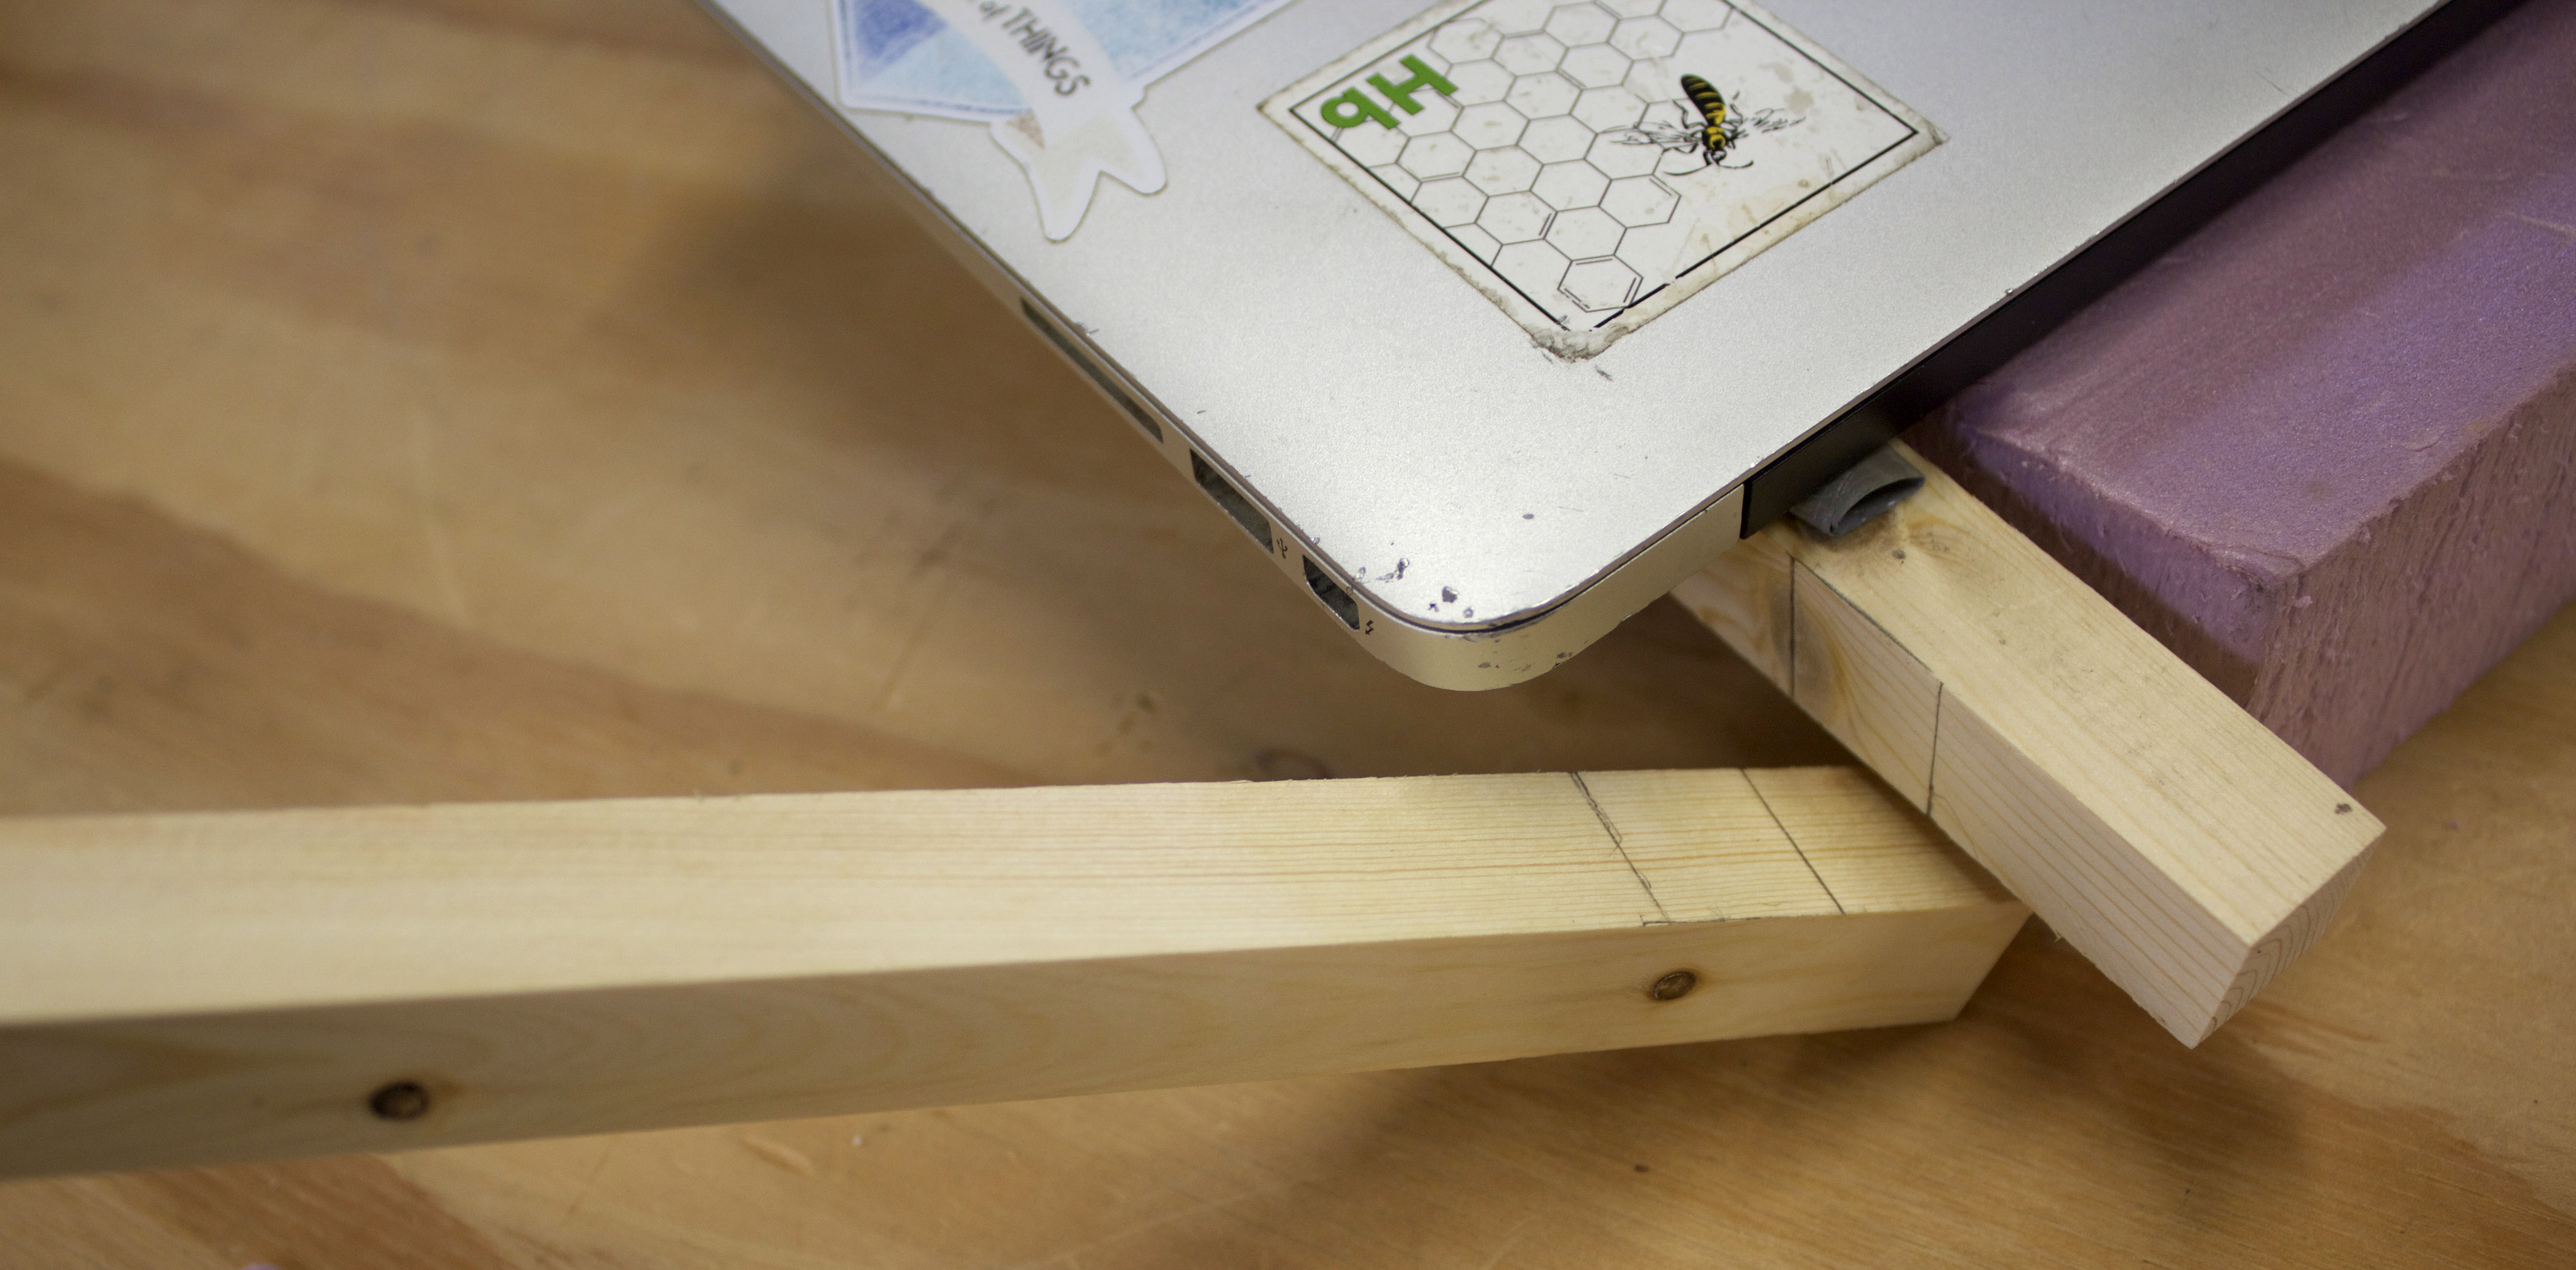
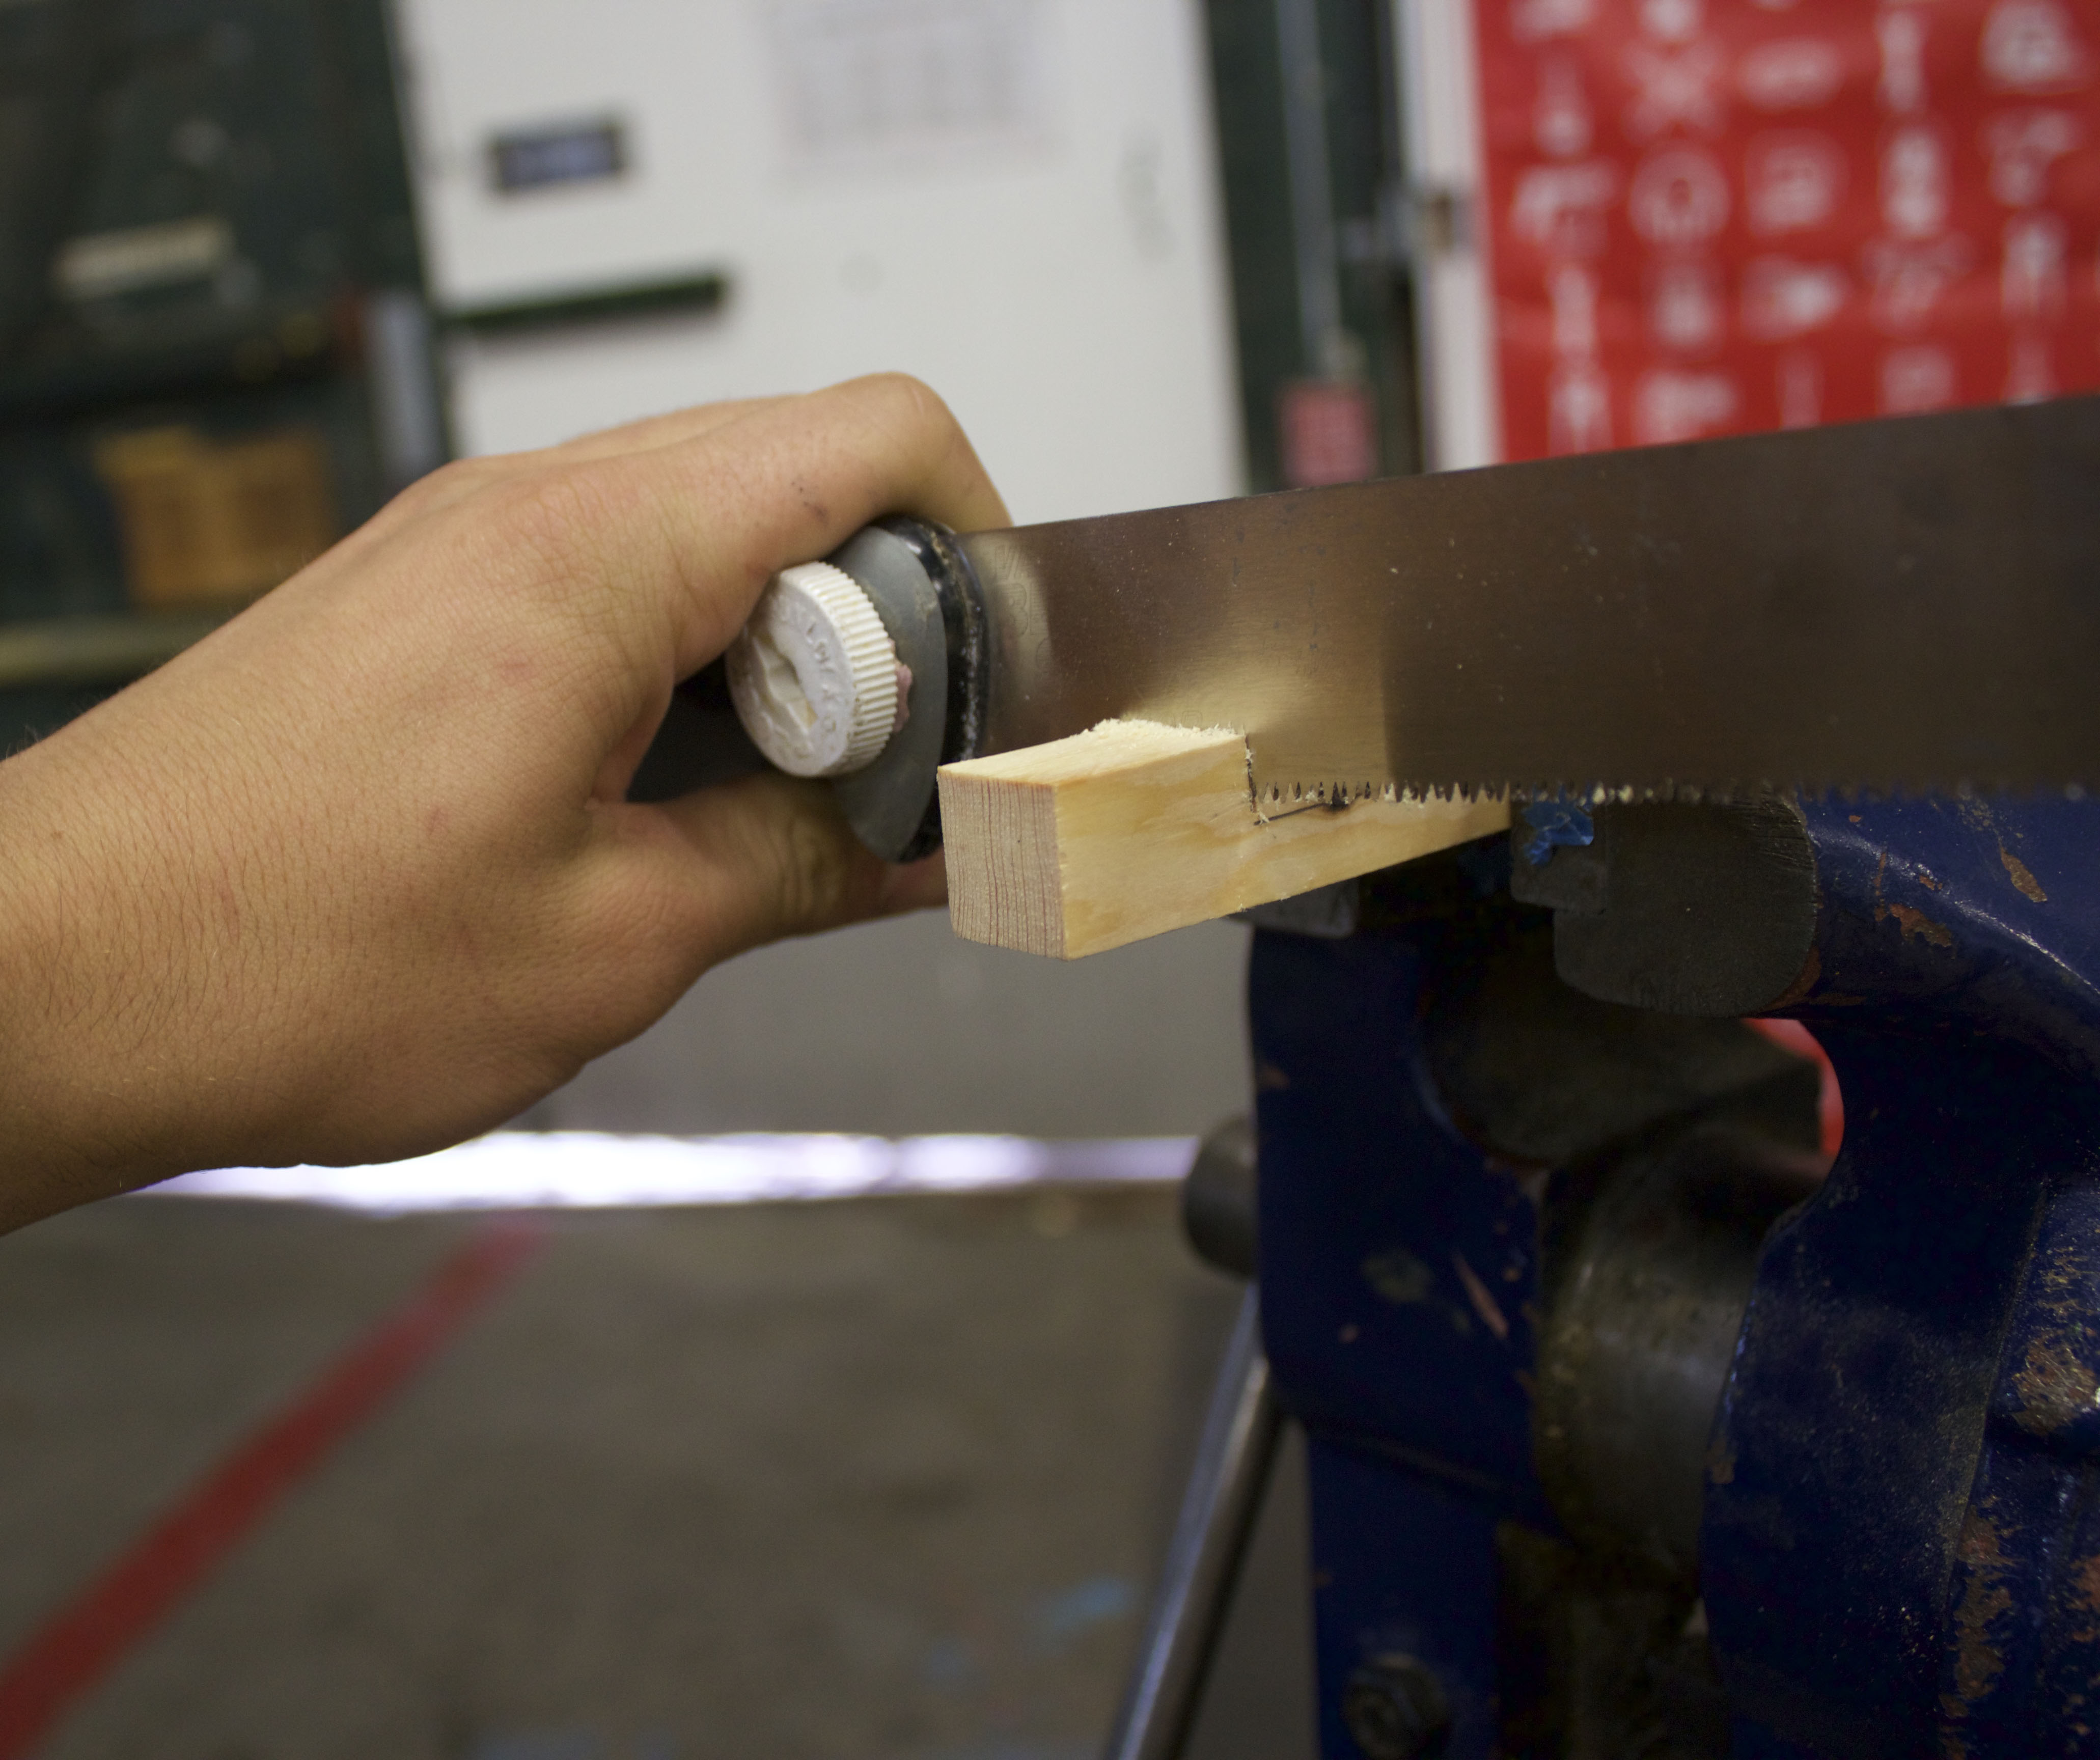
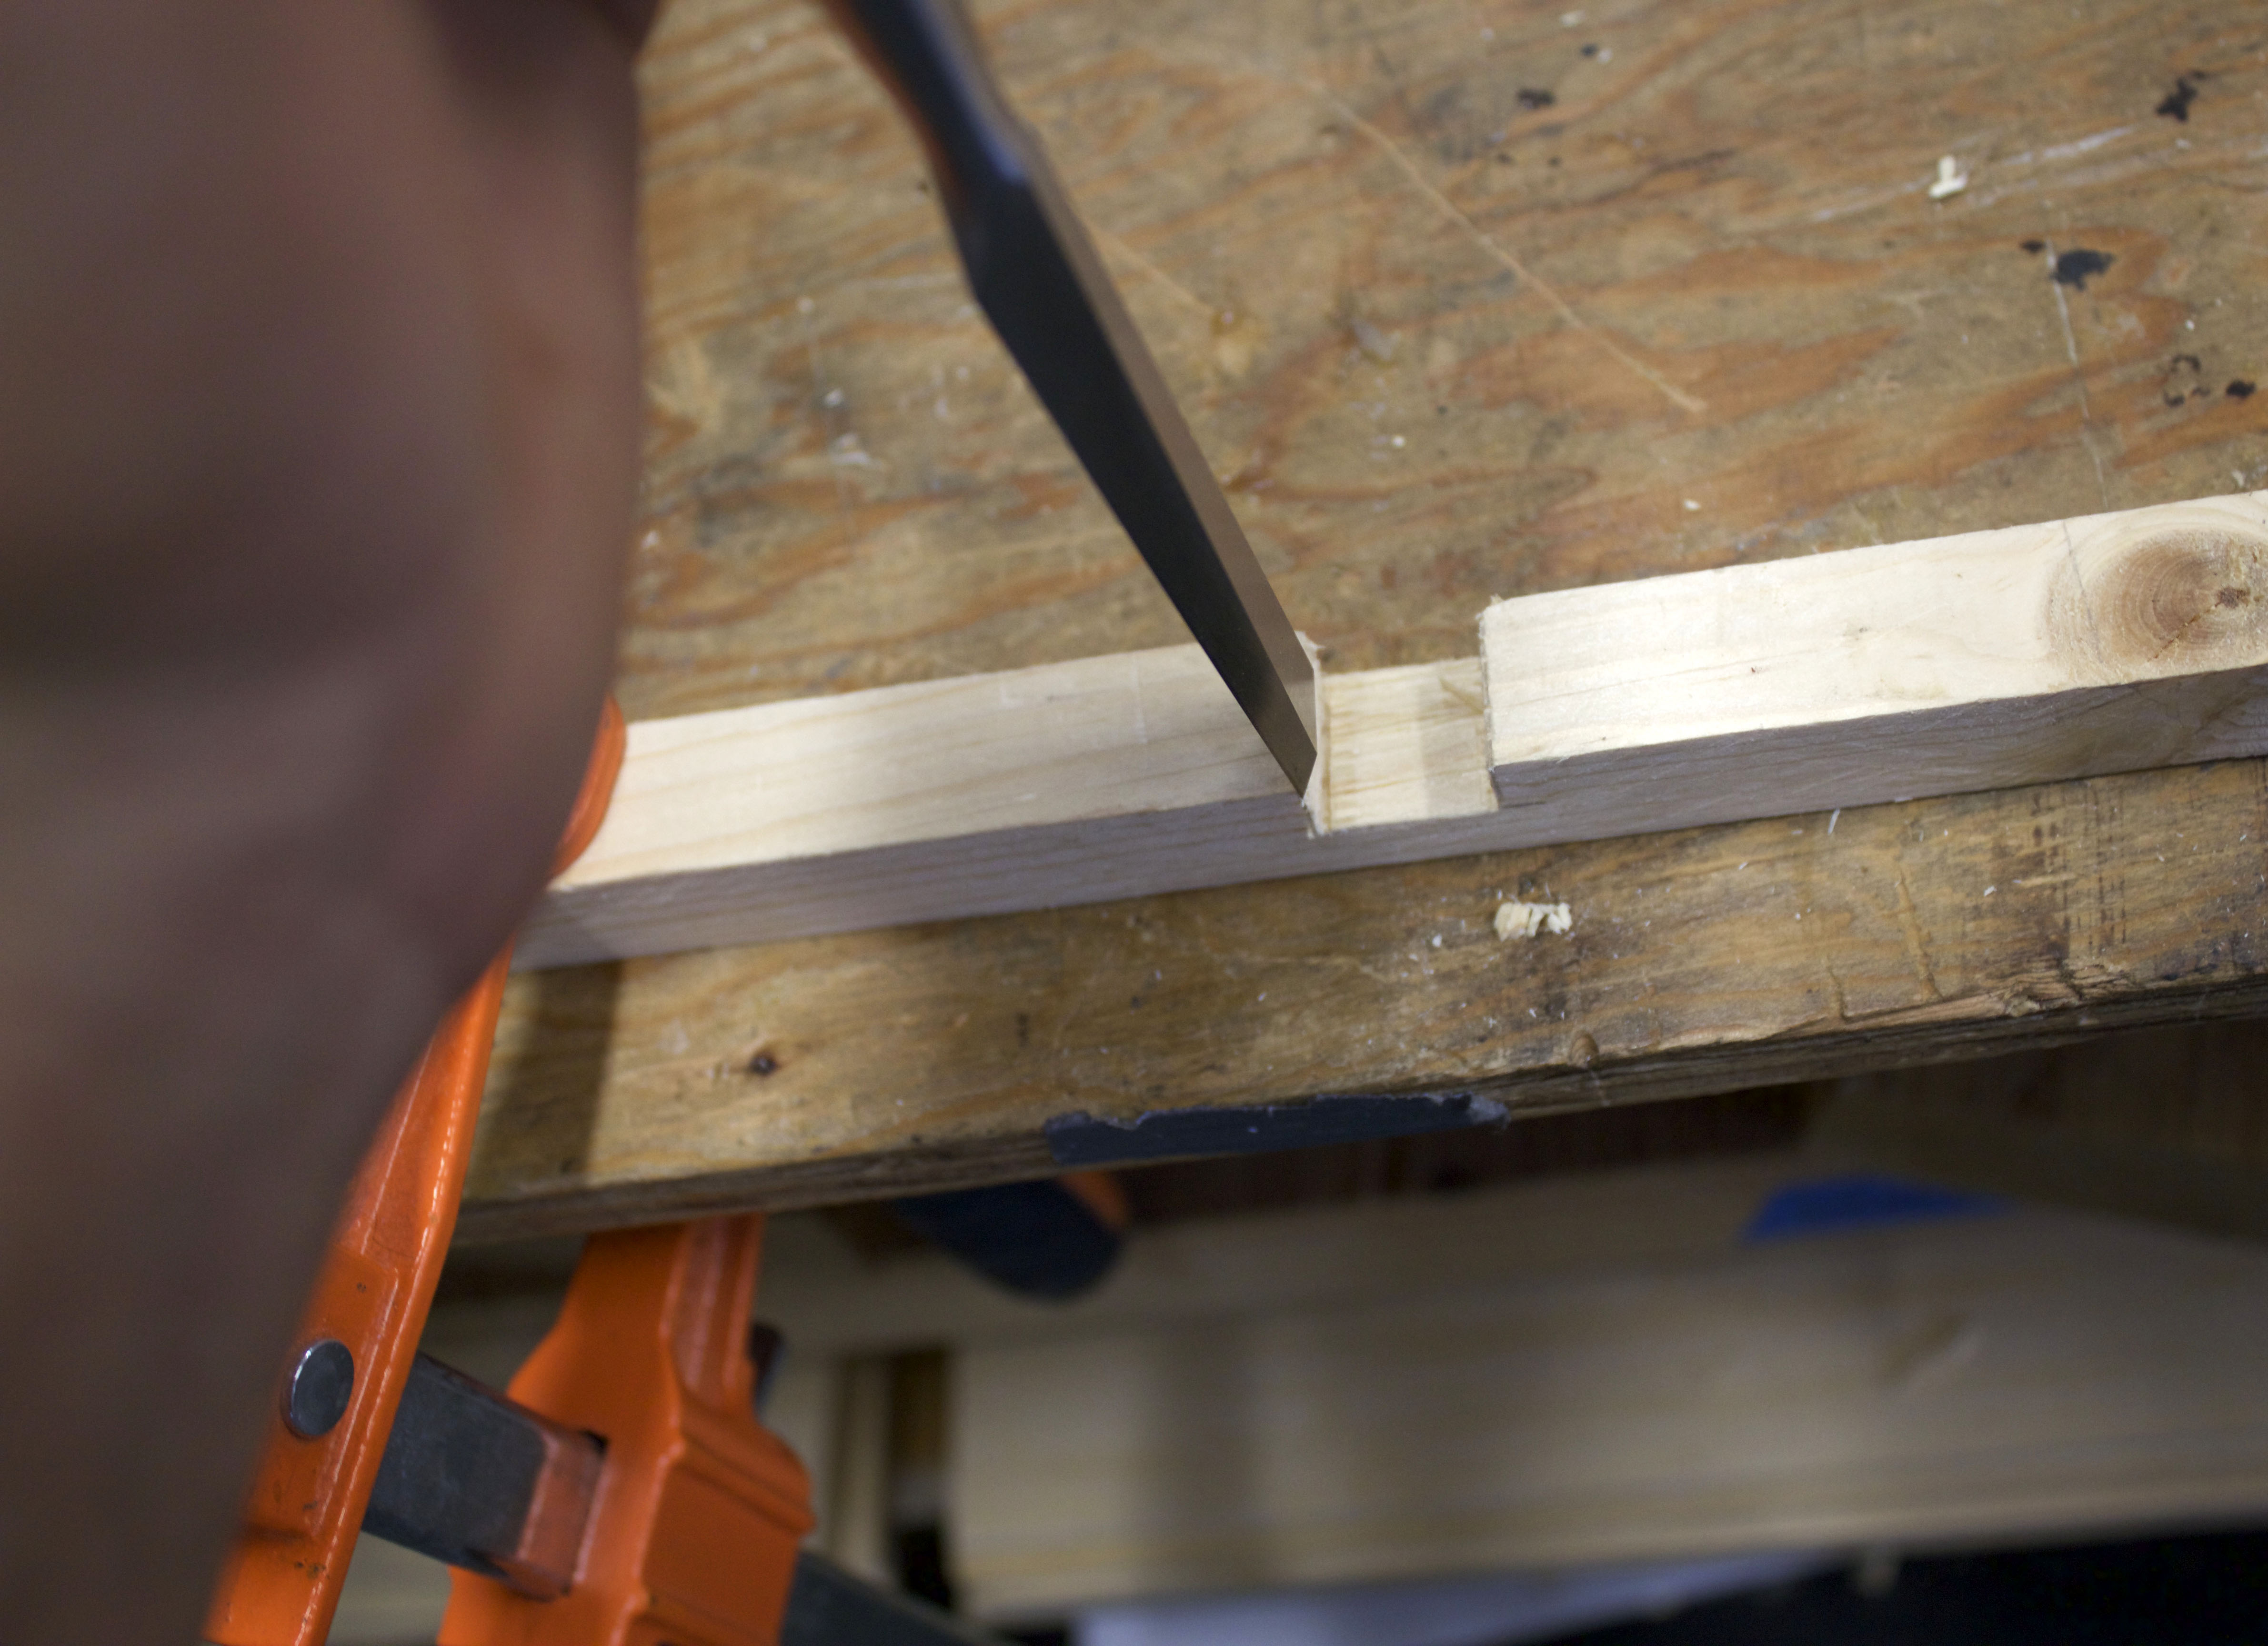
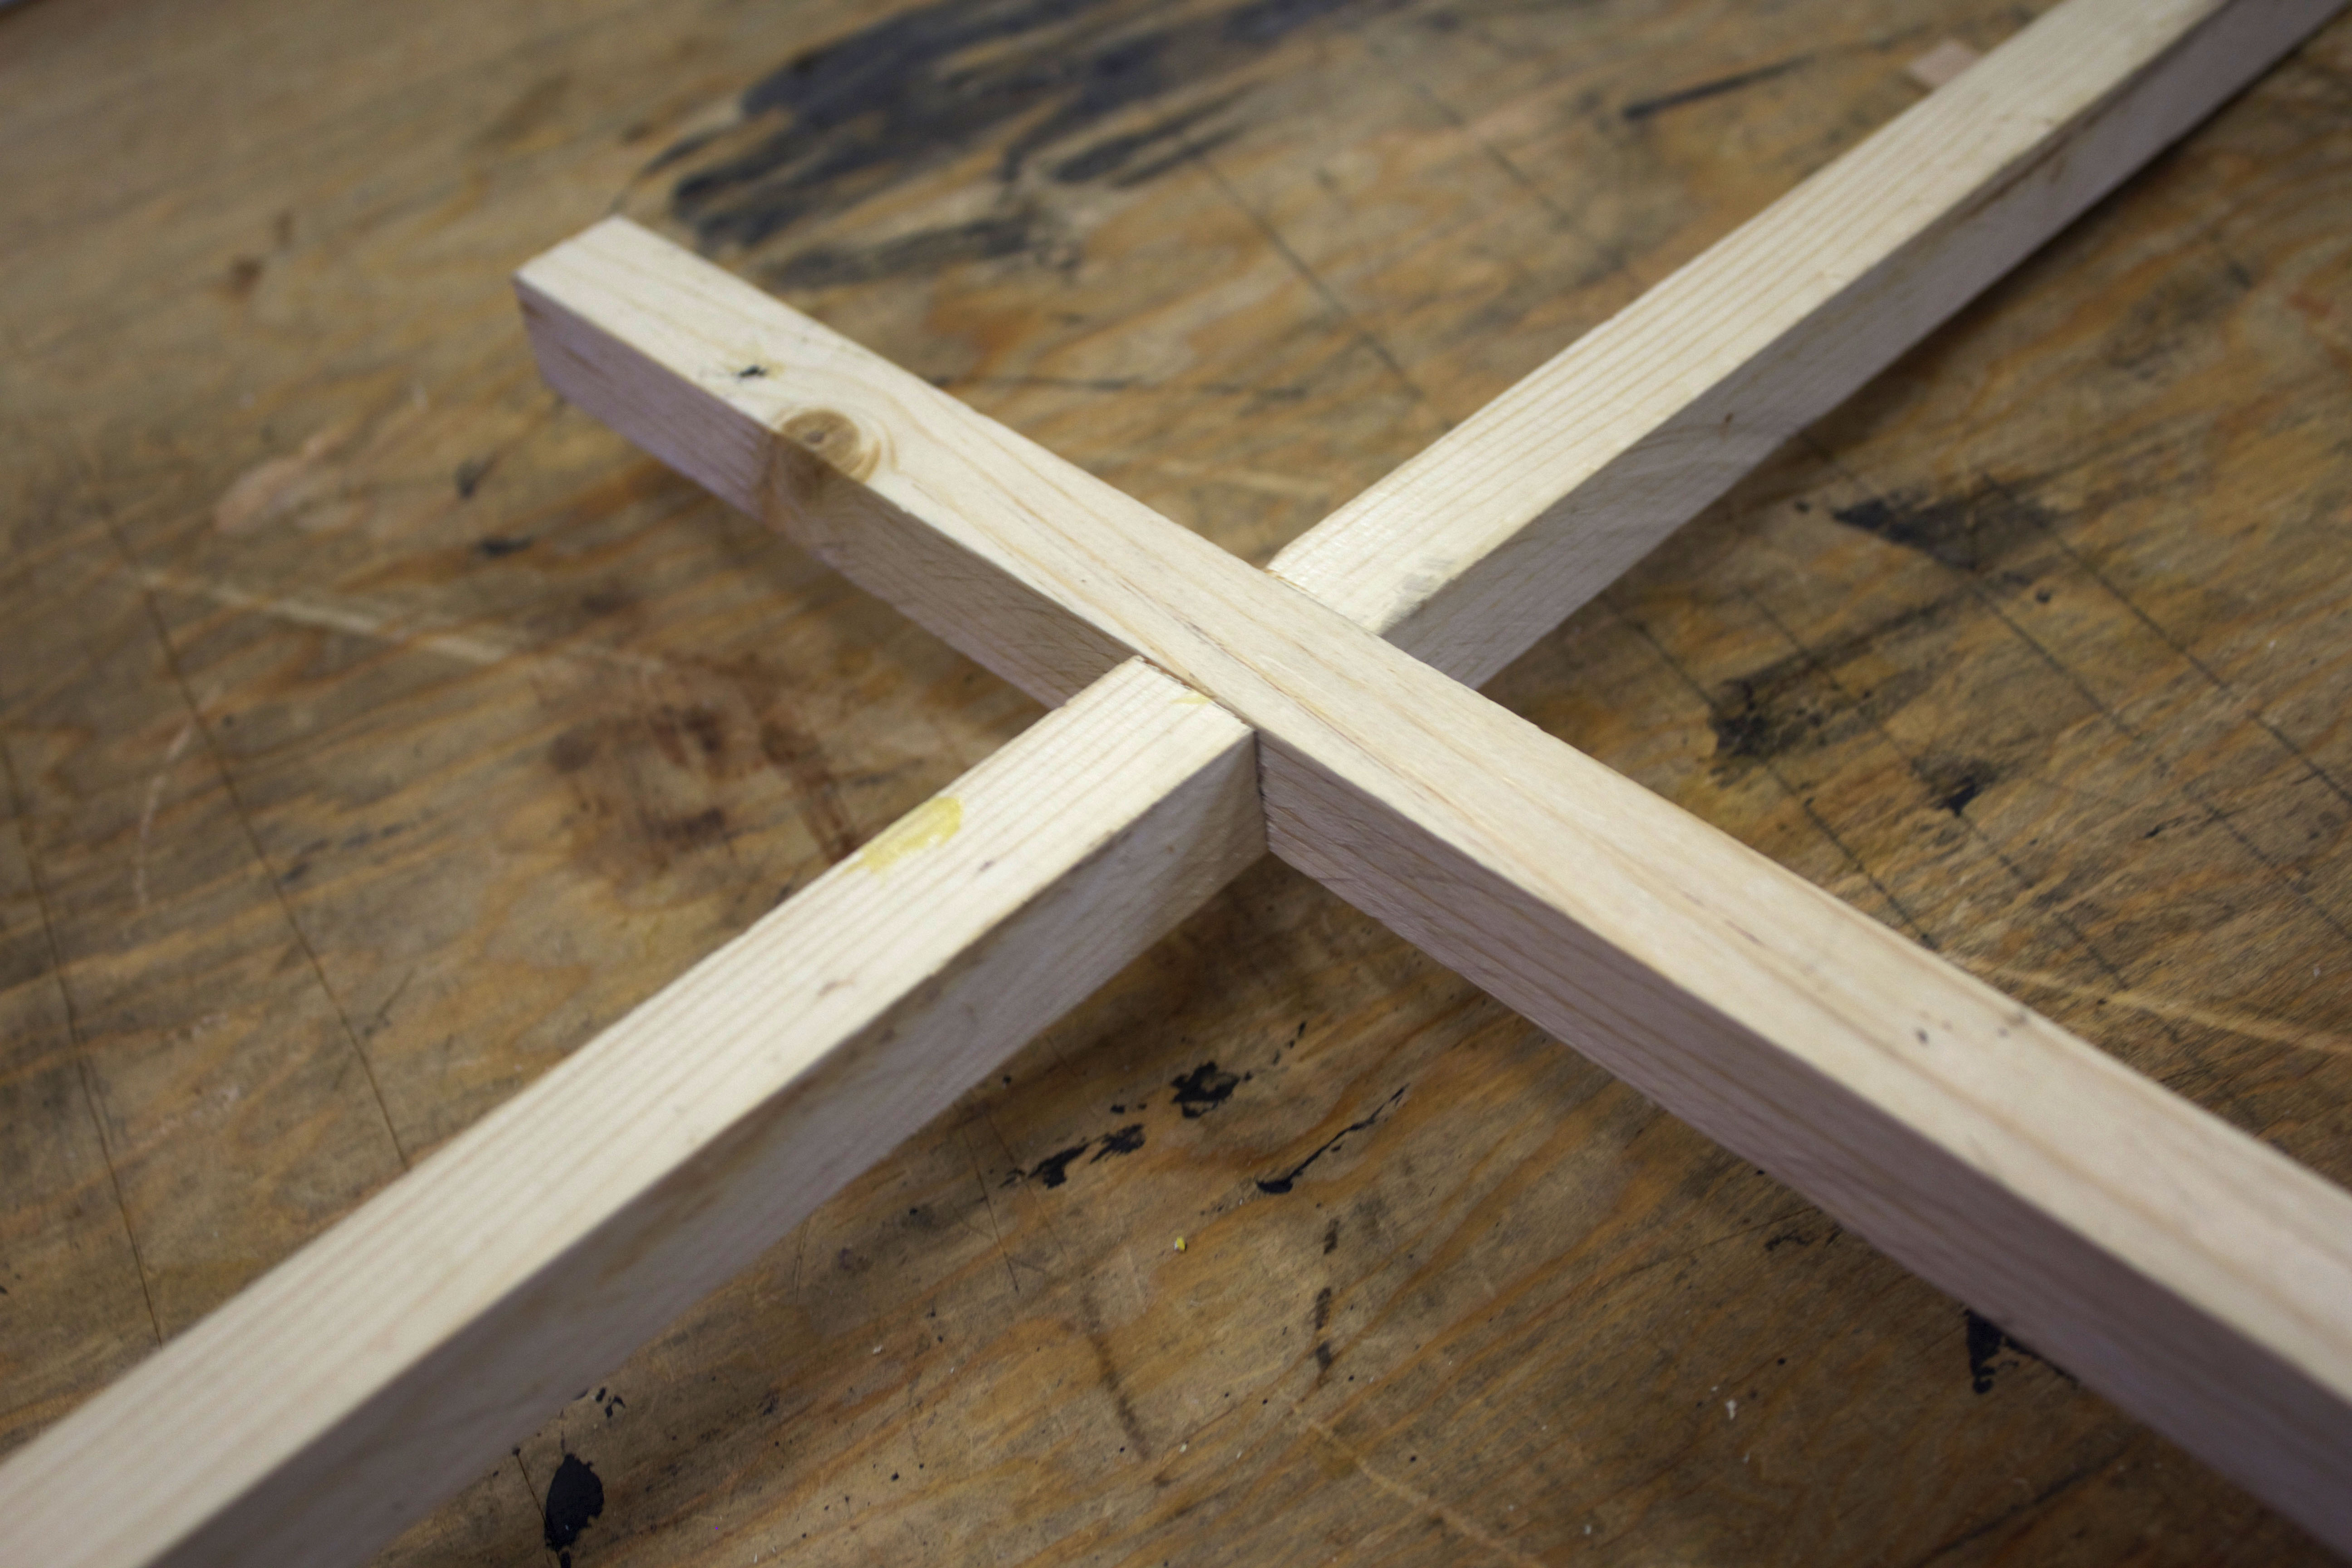
In this tutorial, you will be taught how execute a simple half lap joint using hand tools. If you have access to a table saw, you can easily cut the grooves on a cross cut sled. However, if this is the first time you are attempting joinery I would suggest that you use hand tools. The time spent doing this will allow you to develop the muscle memory that will allow you to really understand joinery.