8 (1)

In this project, I am going to show you how to use motorized nerf guns and water guns to make automated turrets that you can use to shoot your friends.

The gun is controlled with an infrared motion sensor and an Arduino microcontroller. The motion sensor detects when someone walks in front of the gun, and then the Arduino activates a relay that is connected to the trigger and fires the gun. You can set it up in a hall or in a doorway and it will shoot anyone who walks by. This is a fun way to prank your friends.

YouTube player

Project Steps

Select a Motorized Toy Gun

The first thing that you need to do is find a motorized toy gun that continuously fires projectiles when you pull the trigger. There are a lot of different kinds to choose from. Most of them will either be a Nerf-style gun or a water gun. Any of these will work, as long as you can access the firing switch.

For this project, I am using the “Cyclone Water Blaster.” This is an automatic water gun that is designed to mount to a bicycle handle bar. I chose this one because it has a built-in motor that turns the gun from side to side. This allows me to hit a wider area. The handle bar attachment also made it easy to mount it to a platform.

Open the Housing and Locate the Firing Switch

Now you need to open up the housing of your gun and locate the firing switch. In most cases, this will require you to unscrew the whole side of the gun. In my case, the firing button is an external switch that is connected to the gun with a set of wires, so I just had to open up this smaller housing.

On some guns, the housing may be glued together. If this is the case, use a knife to cut the plastic along the seam. Work slowly and be careful not to accidentally crack the plastic as you cut.

Solder an Extension Wire onto Each Switch Terminal

In order to be able to control the gun with an external circuit, we need to solder a wire onto each switch terminal. On most guns this will just be a single switch with two terminals. My gun, however, has three switches. There is one wire for each switch and a fourth that acts as a common positive terminal. So I soldered four extension wires onto the circuit board. After soldering the wires, I wrapped the board in tape to help insulate the connections.

Prototype the Relay Circuit on a Breadboard

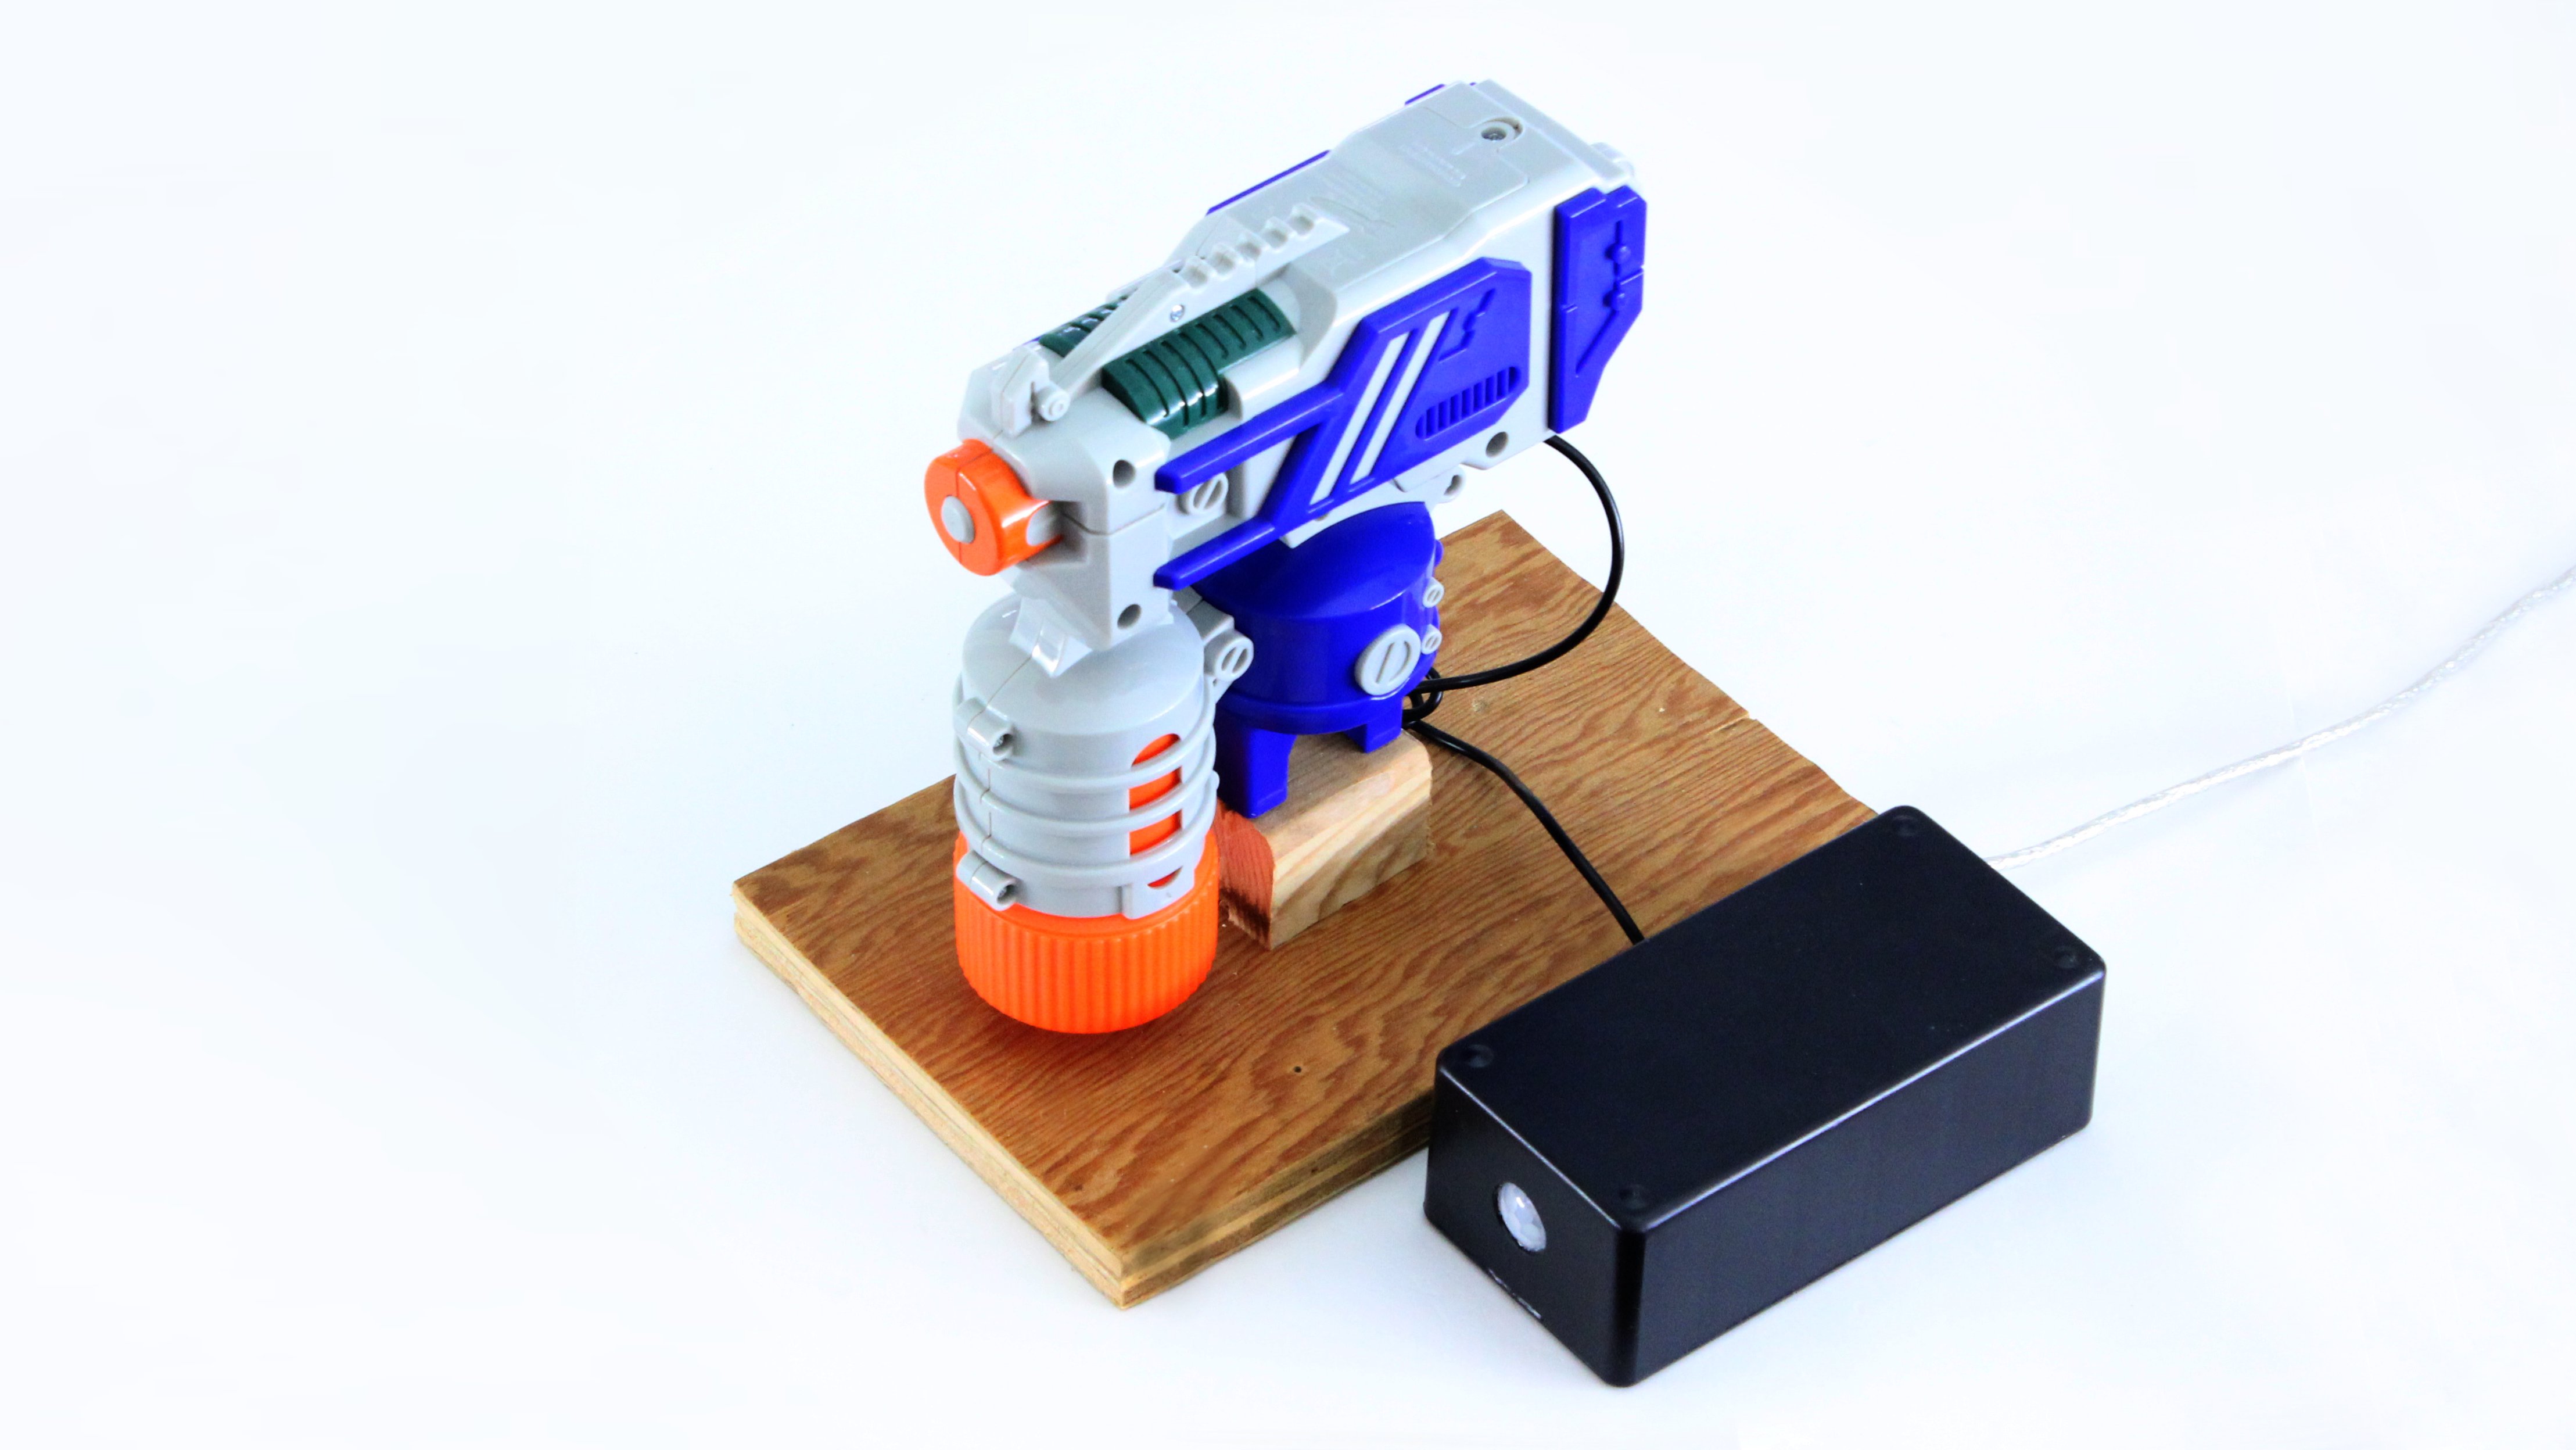
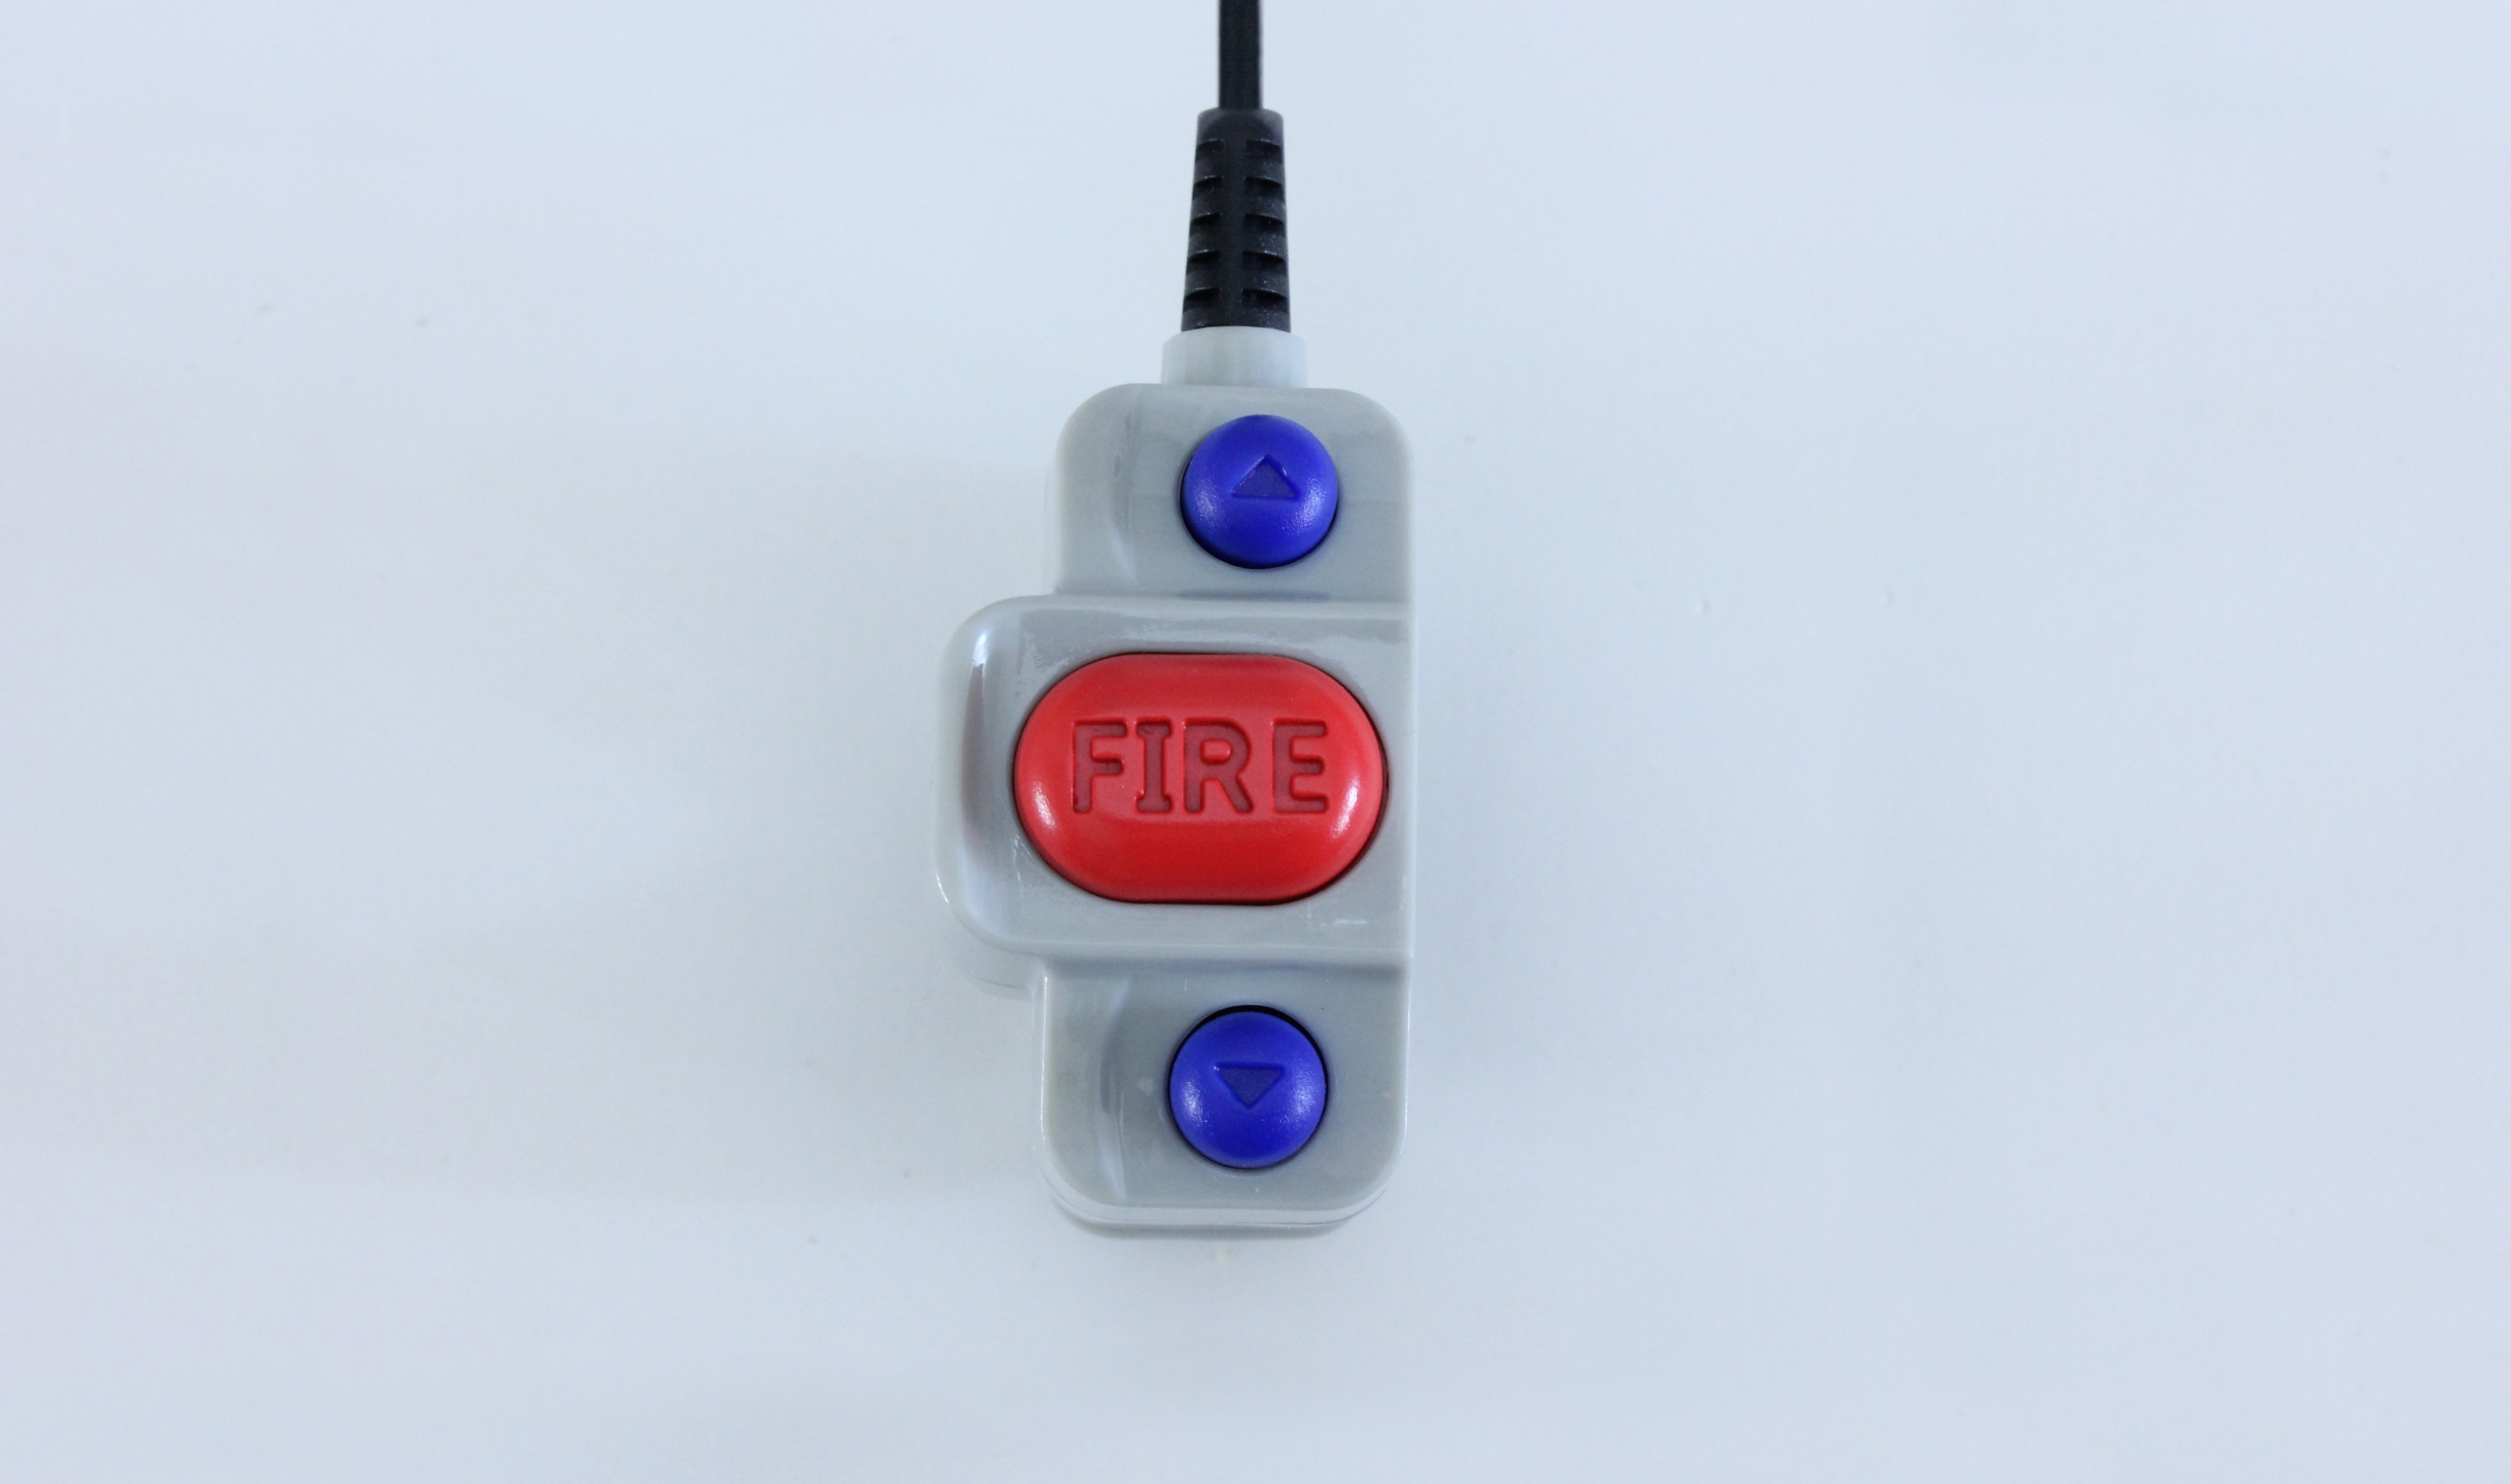
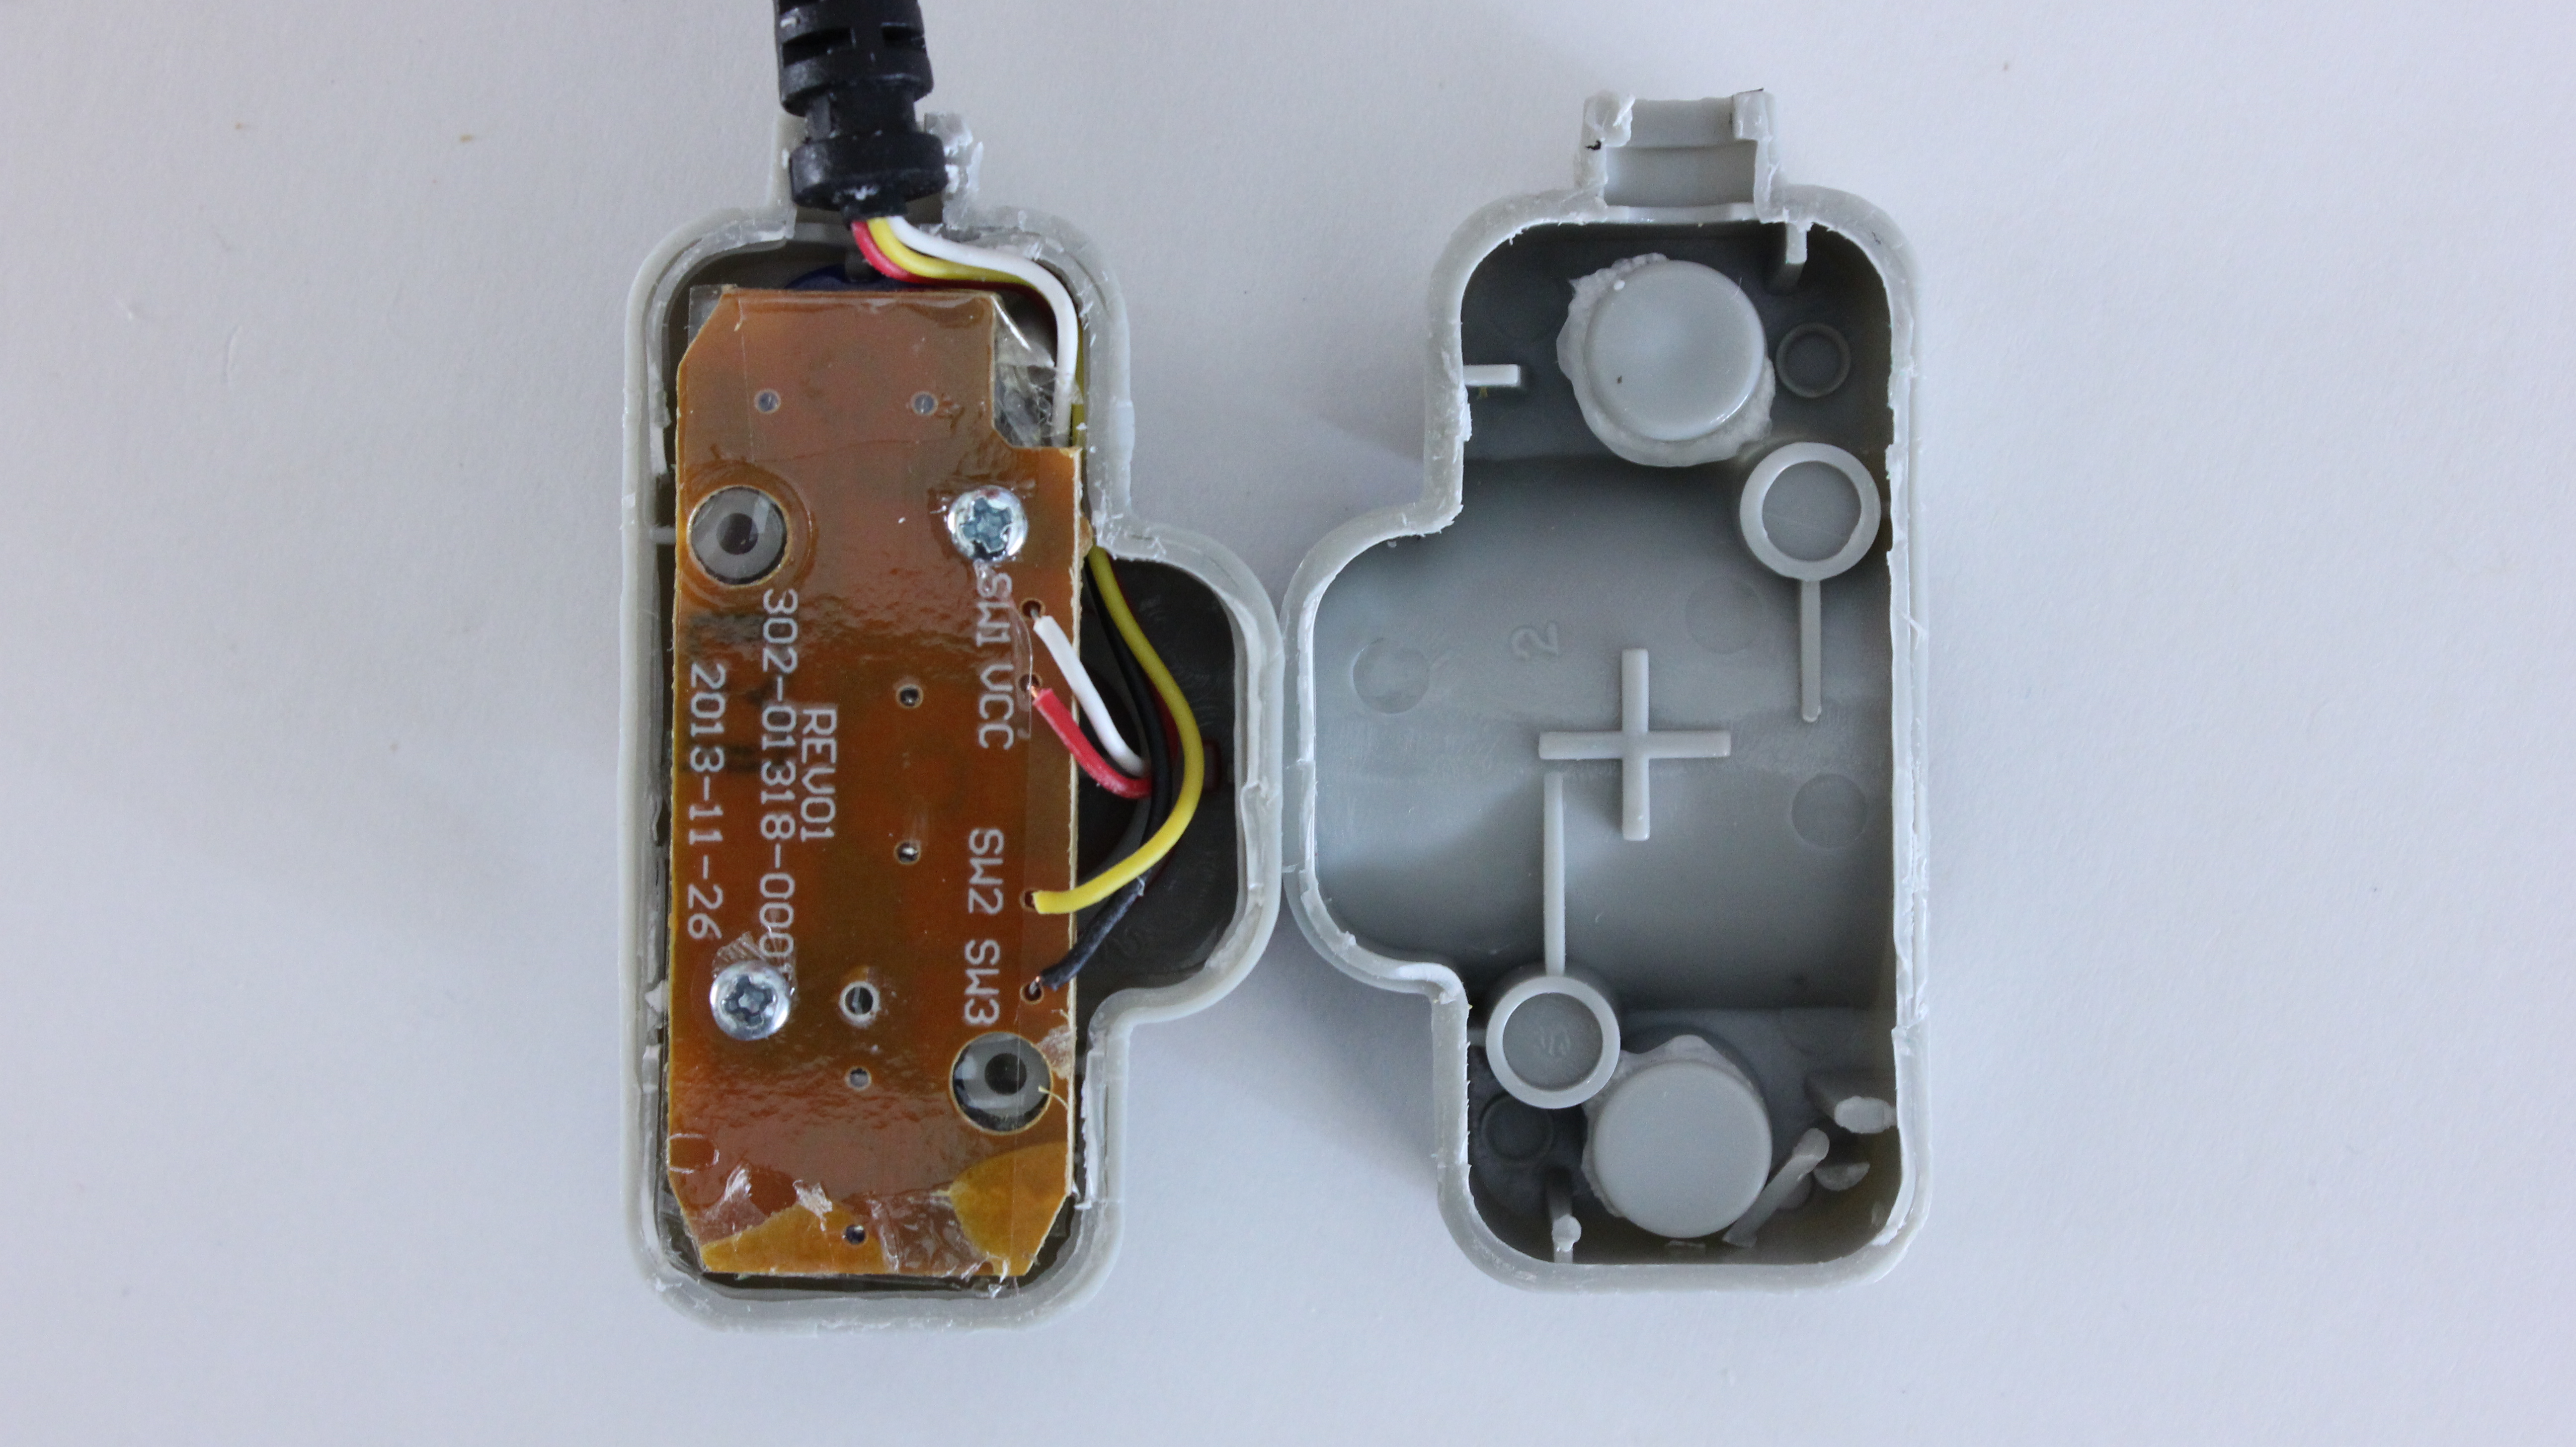
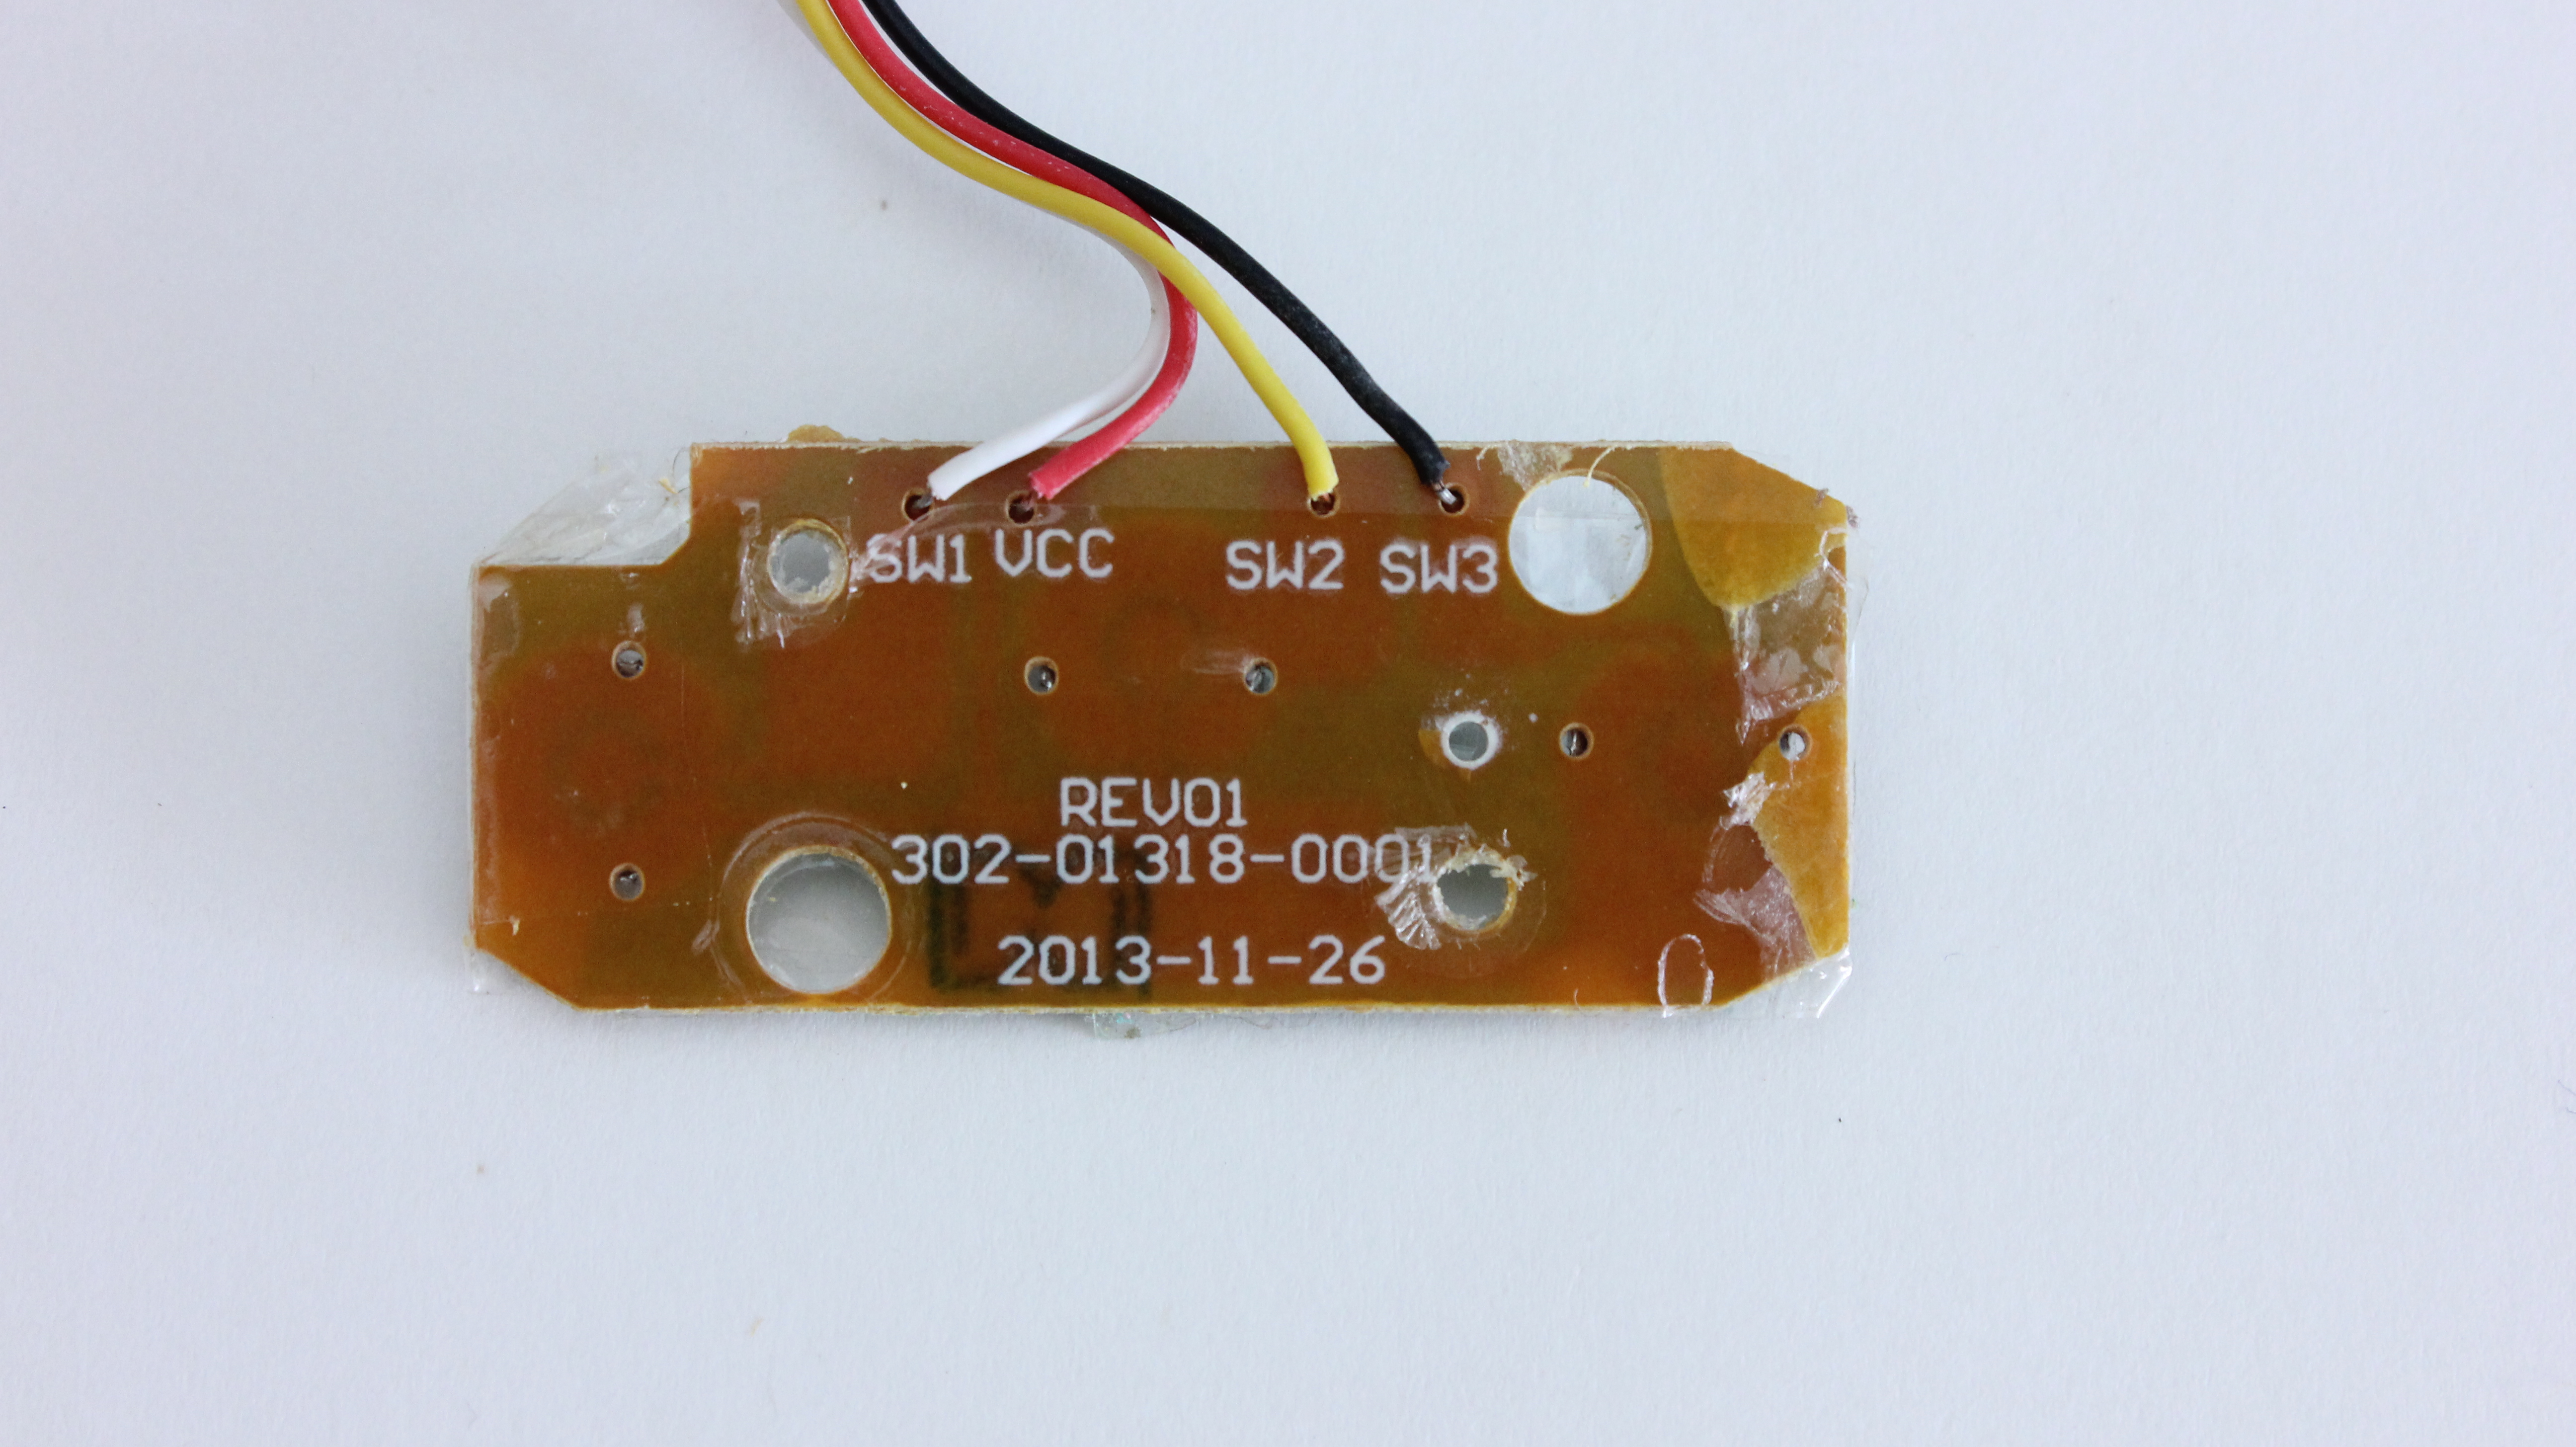
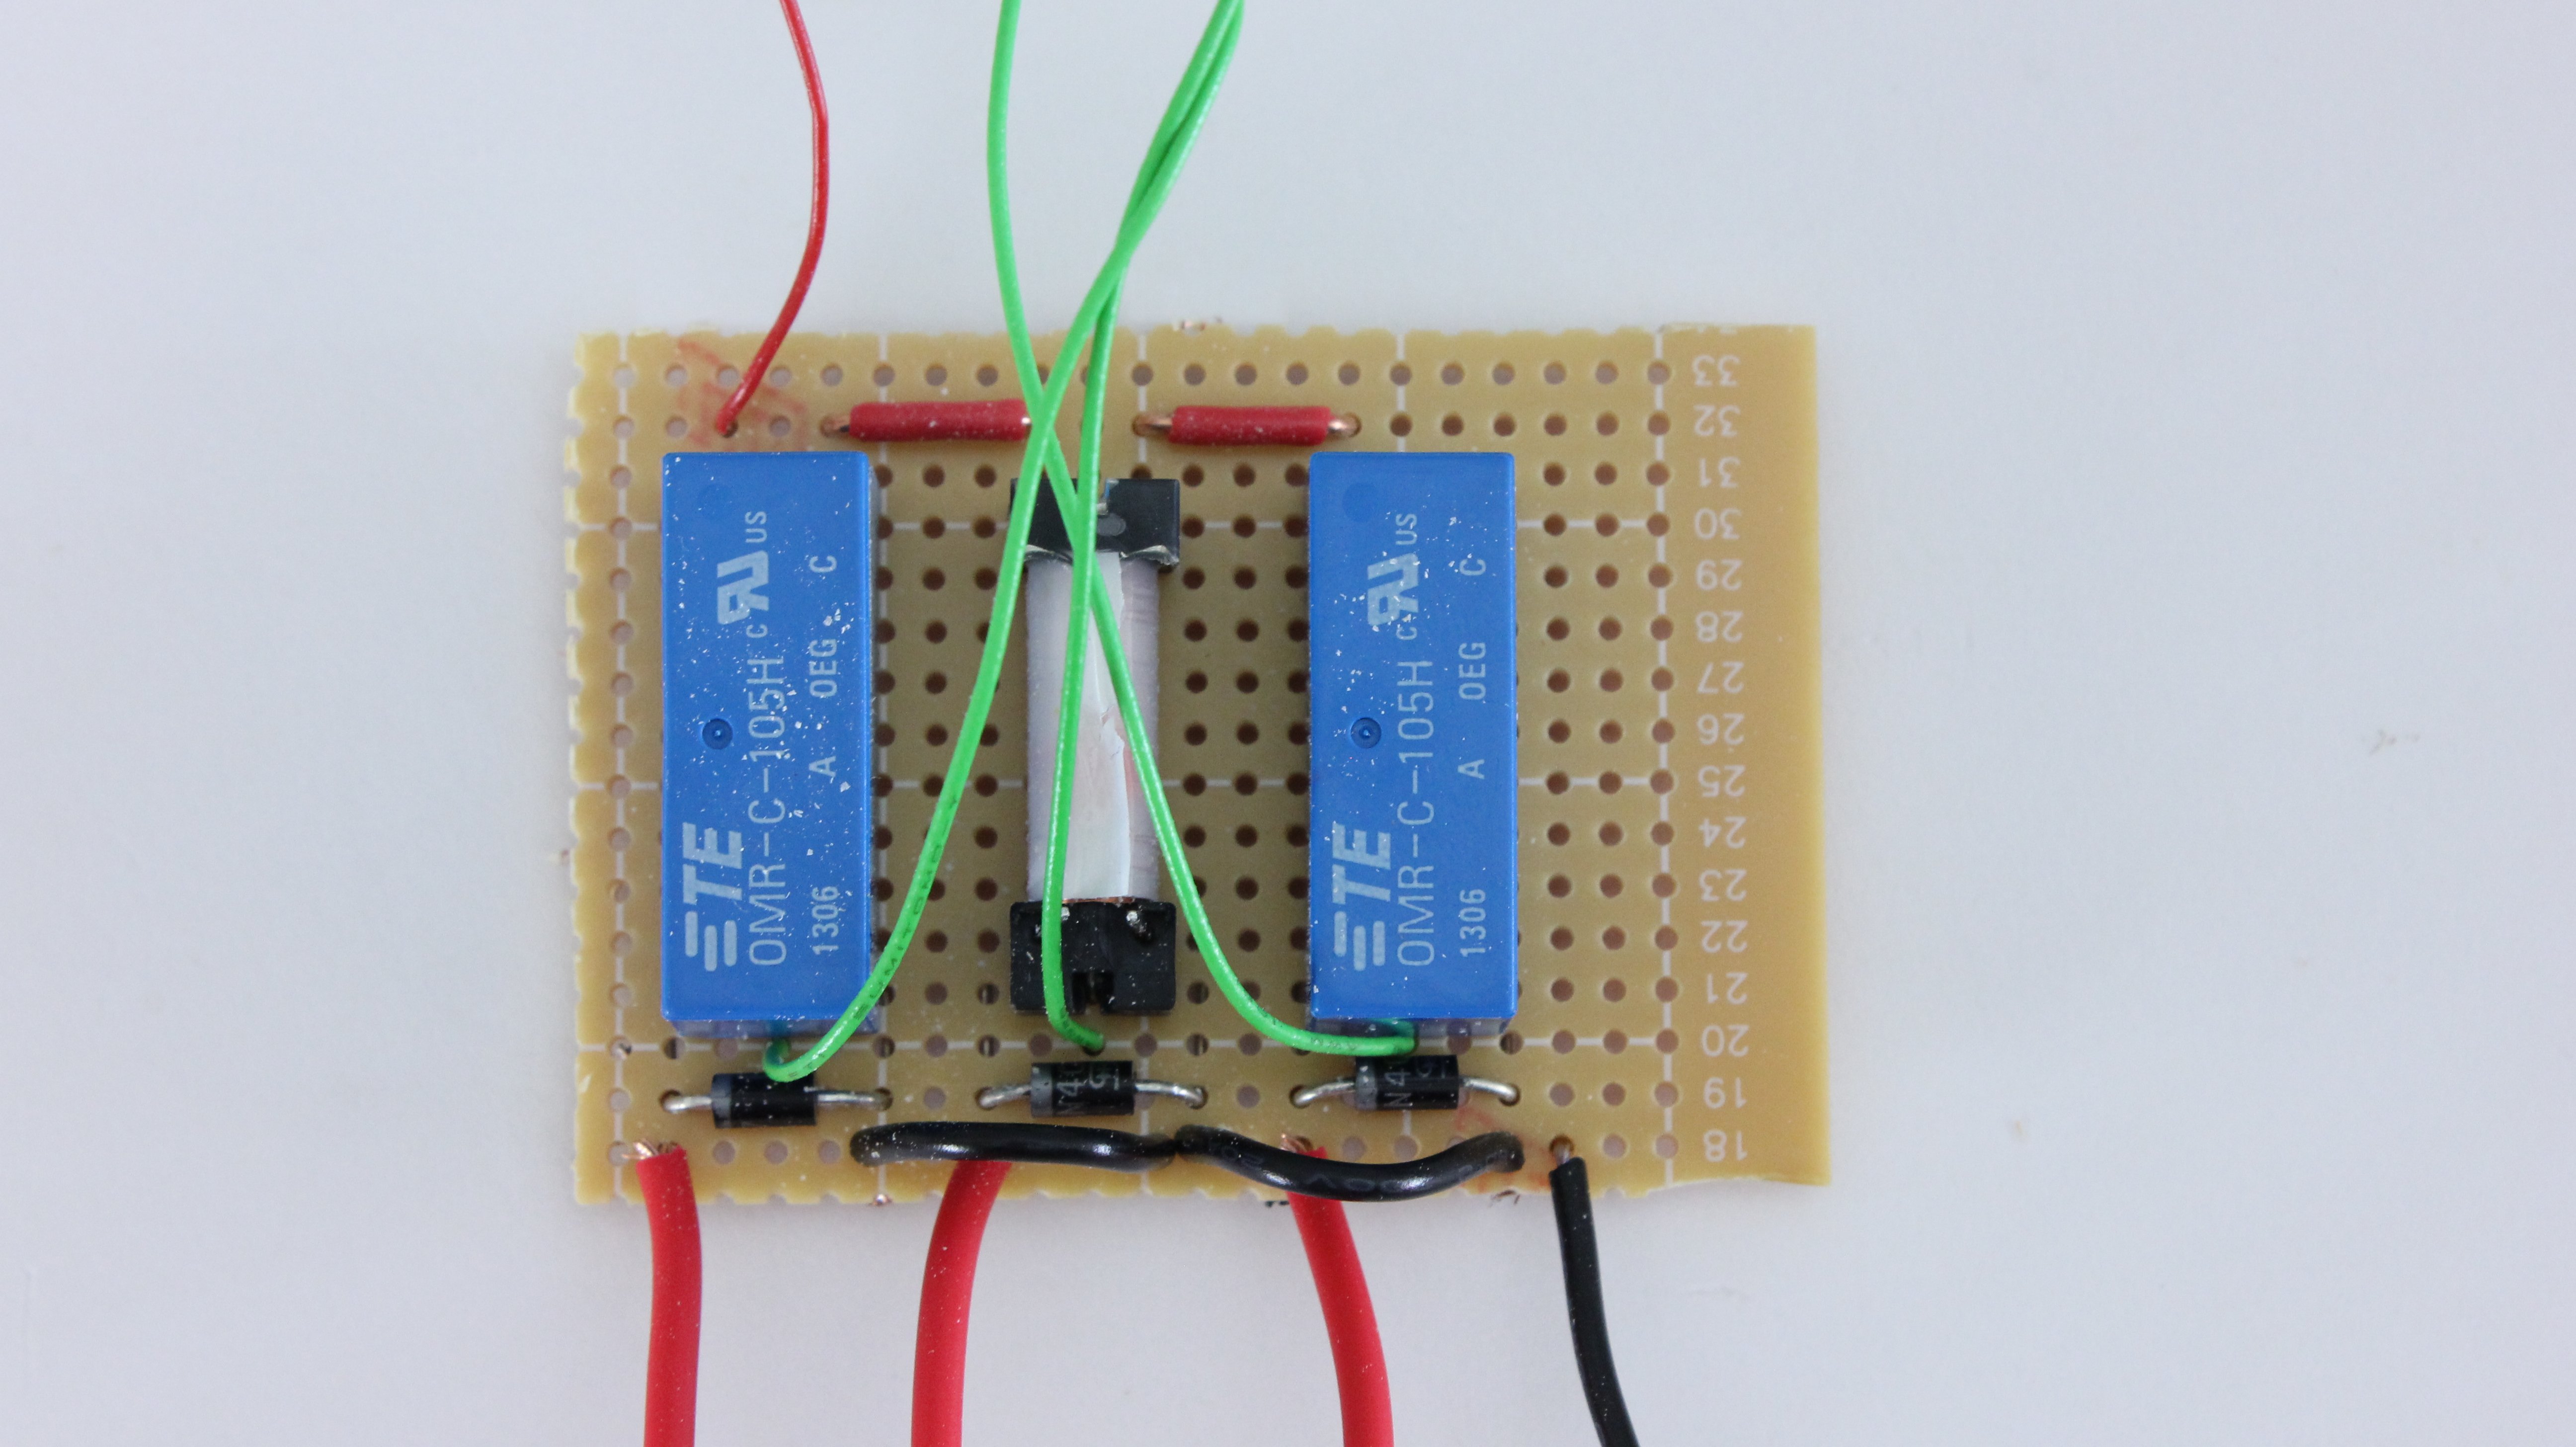
To simulate the buttons being pressed, I am using a set of relays. The relays are connected in parallel with the switches on the gun. One side of the relay switch needs to be connected to each side of the switch on the gun. When the relay is turned on, the functions on the gun will activate just as if the button had been pressed.

The relays that I used only required 20mA to activate, so I was able to connect them directly to the Arduino. If your relay requires more than 30mA, then you need to use some kind of driver circuit to activate it. You can also use an Arduino relay shield.

Any time you have a relay connected to a sensitive circuit such as a microcontroller, you should connect a diode across the terminals of the relay coil. This helps to prevent damage from the voltage spikes that occur when the relay turns off.

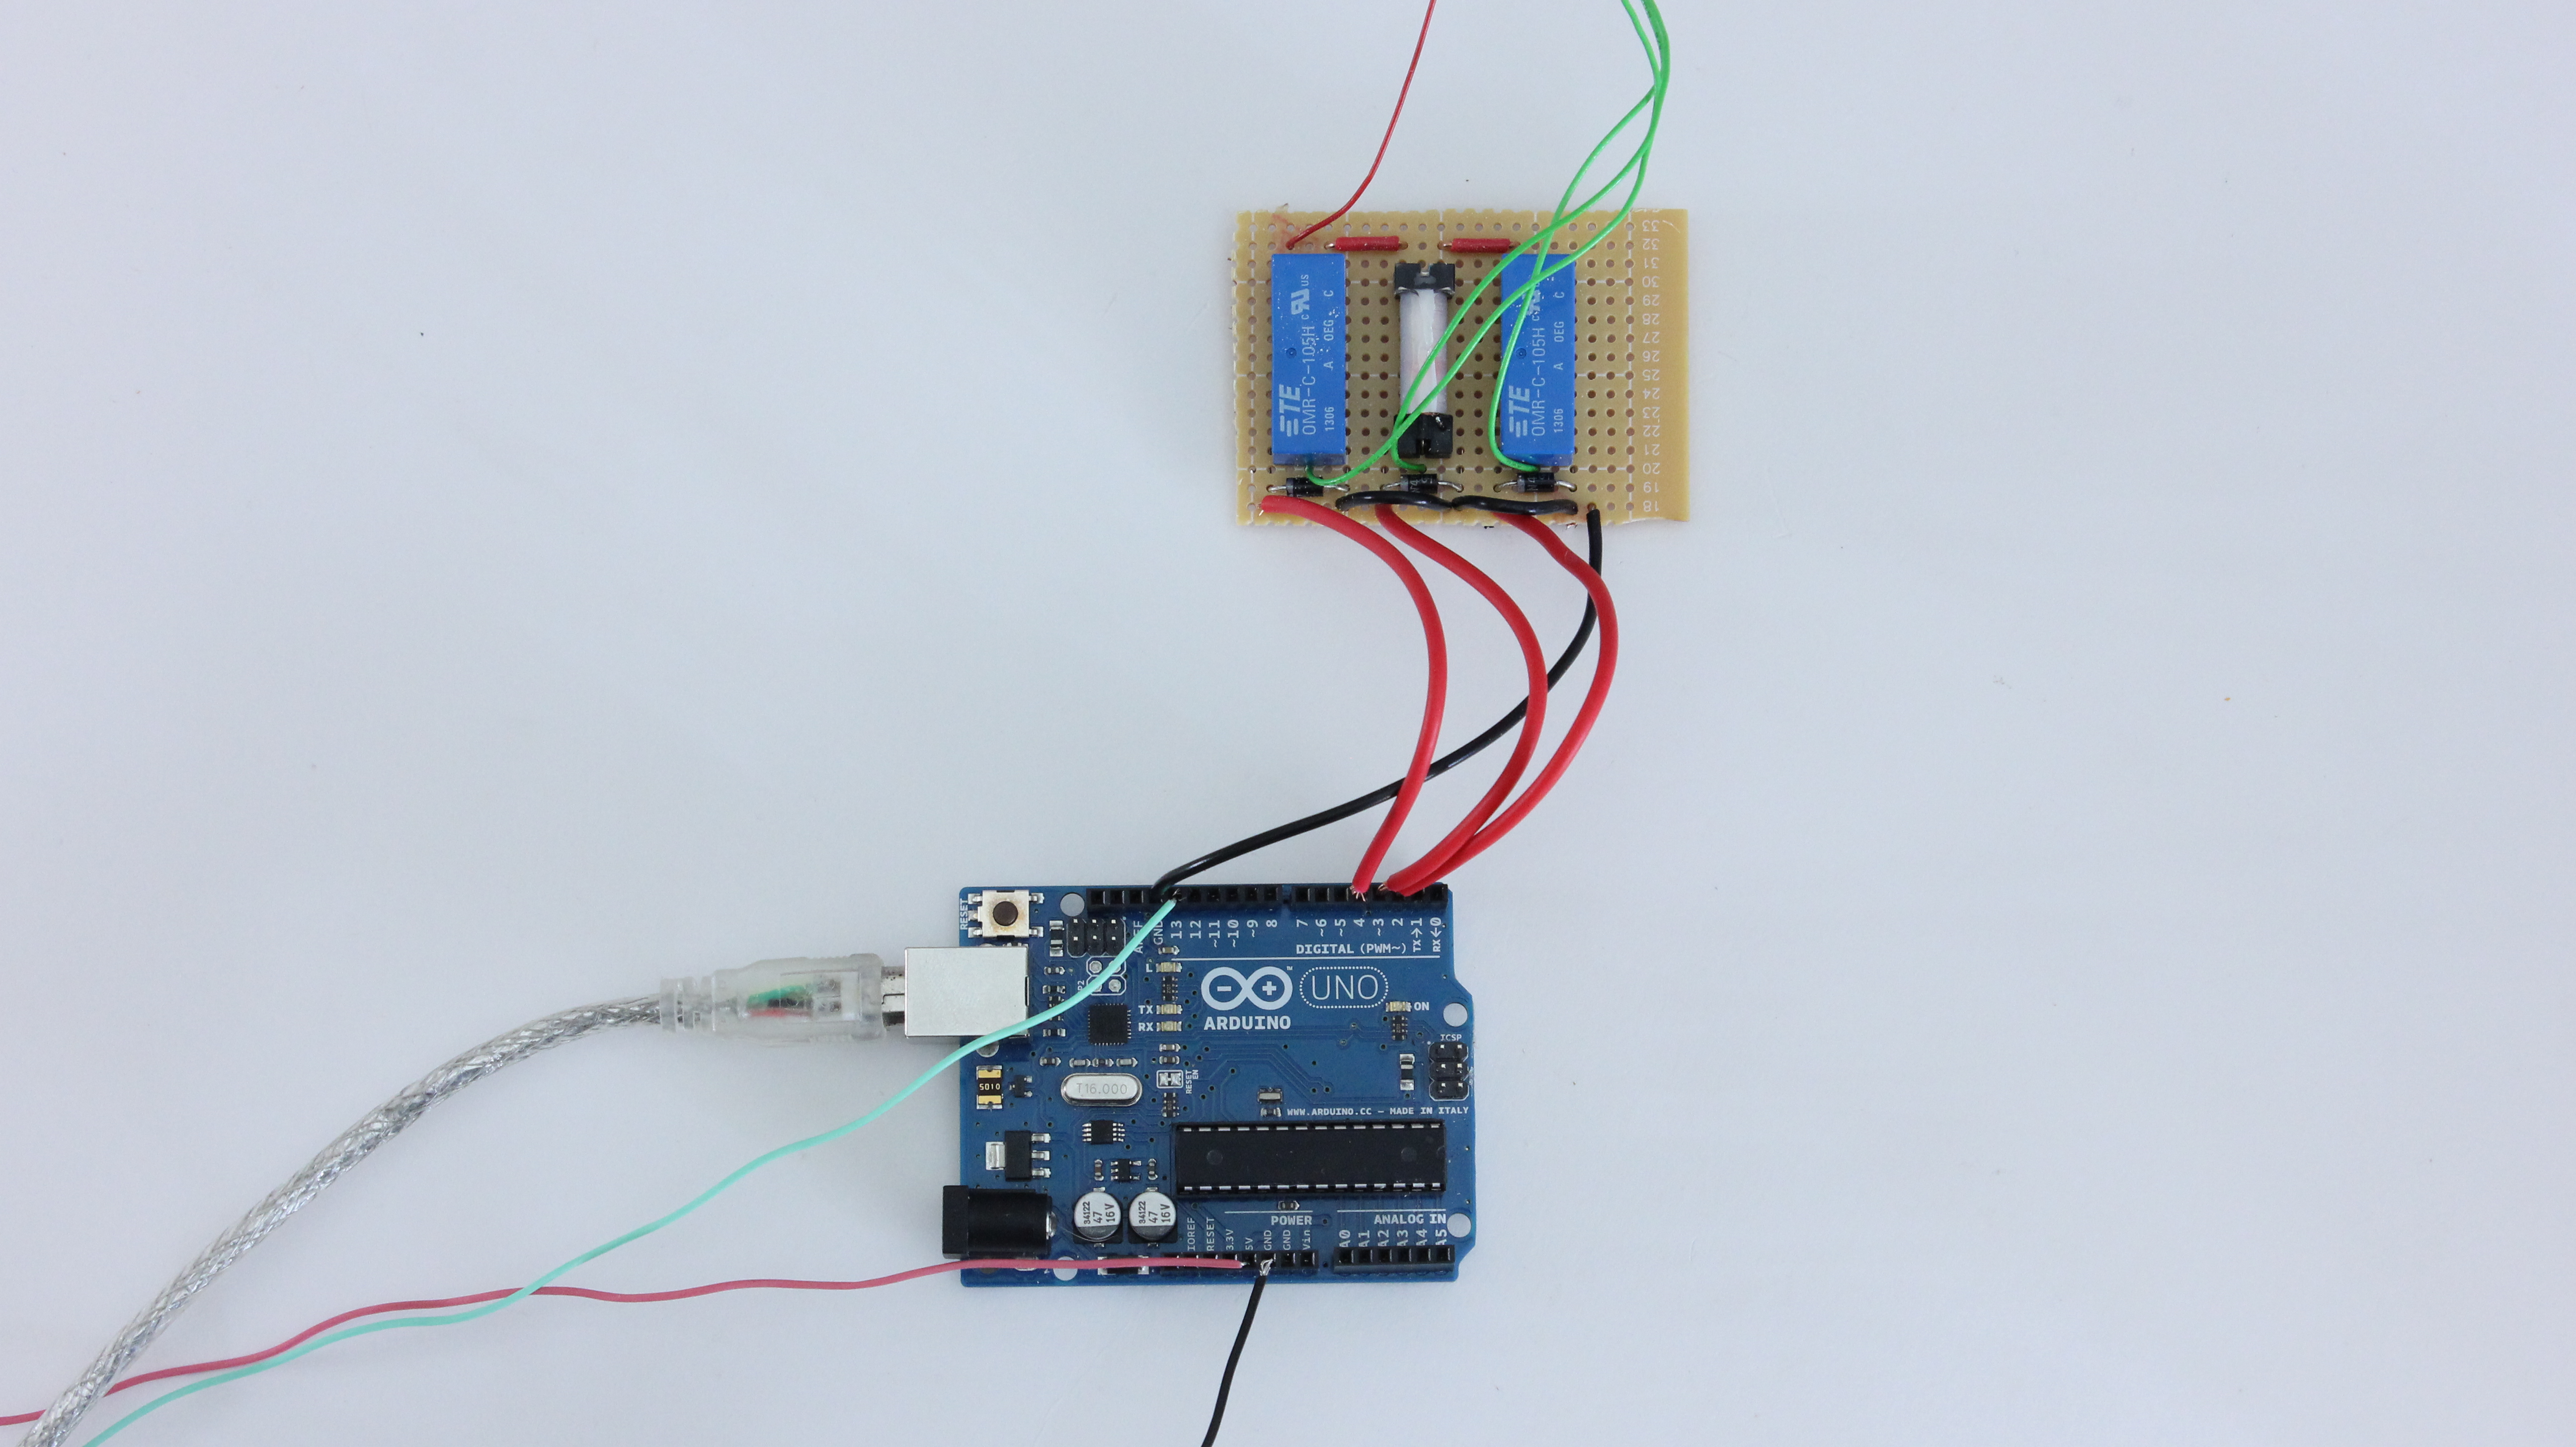
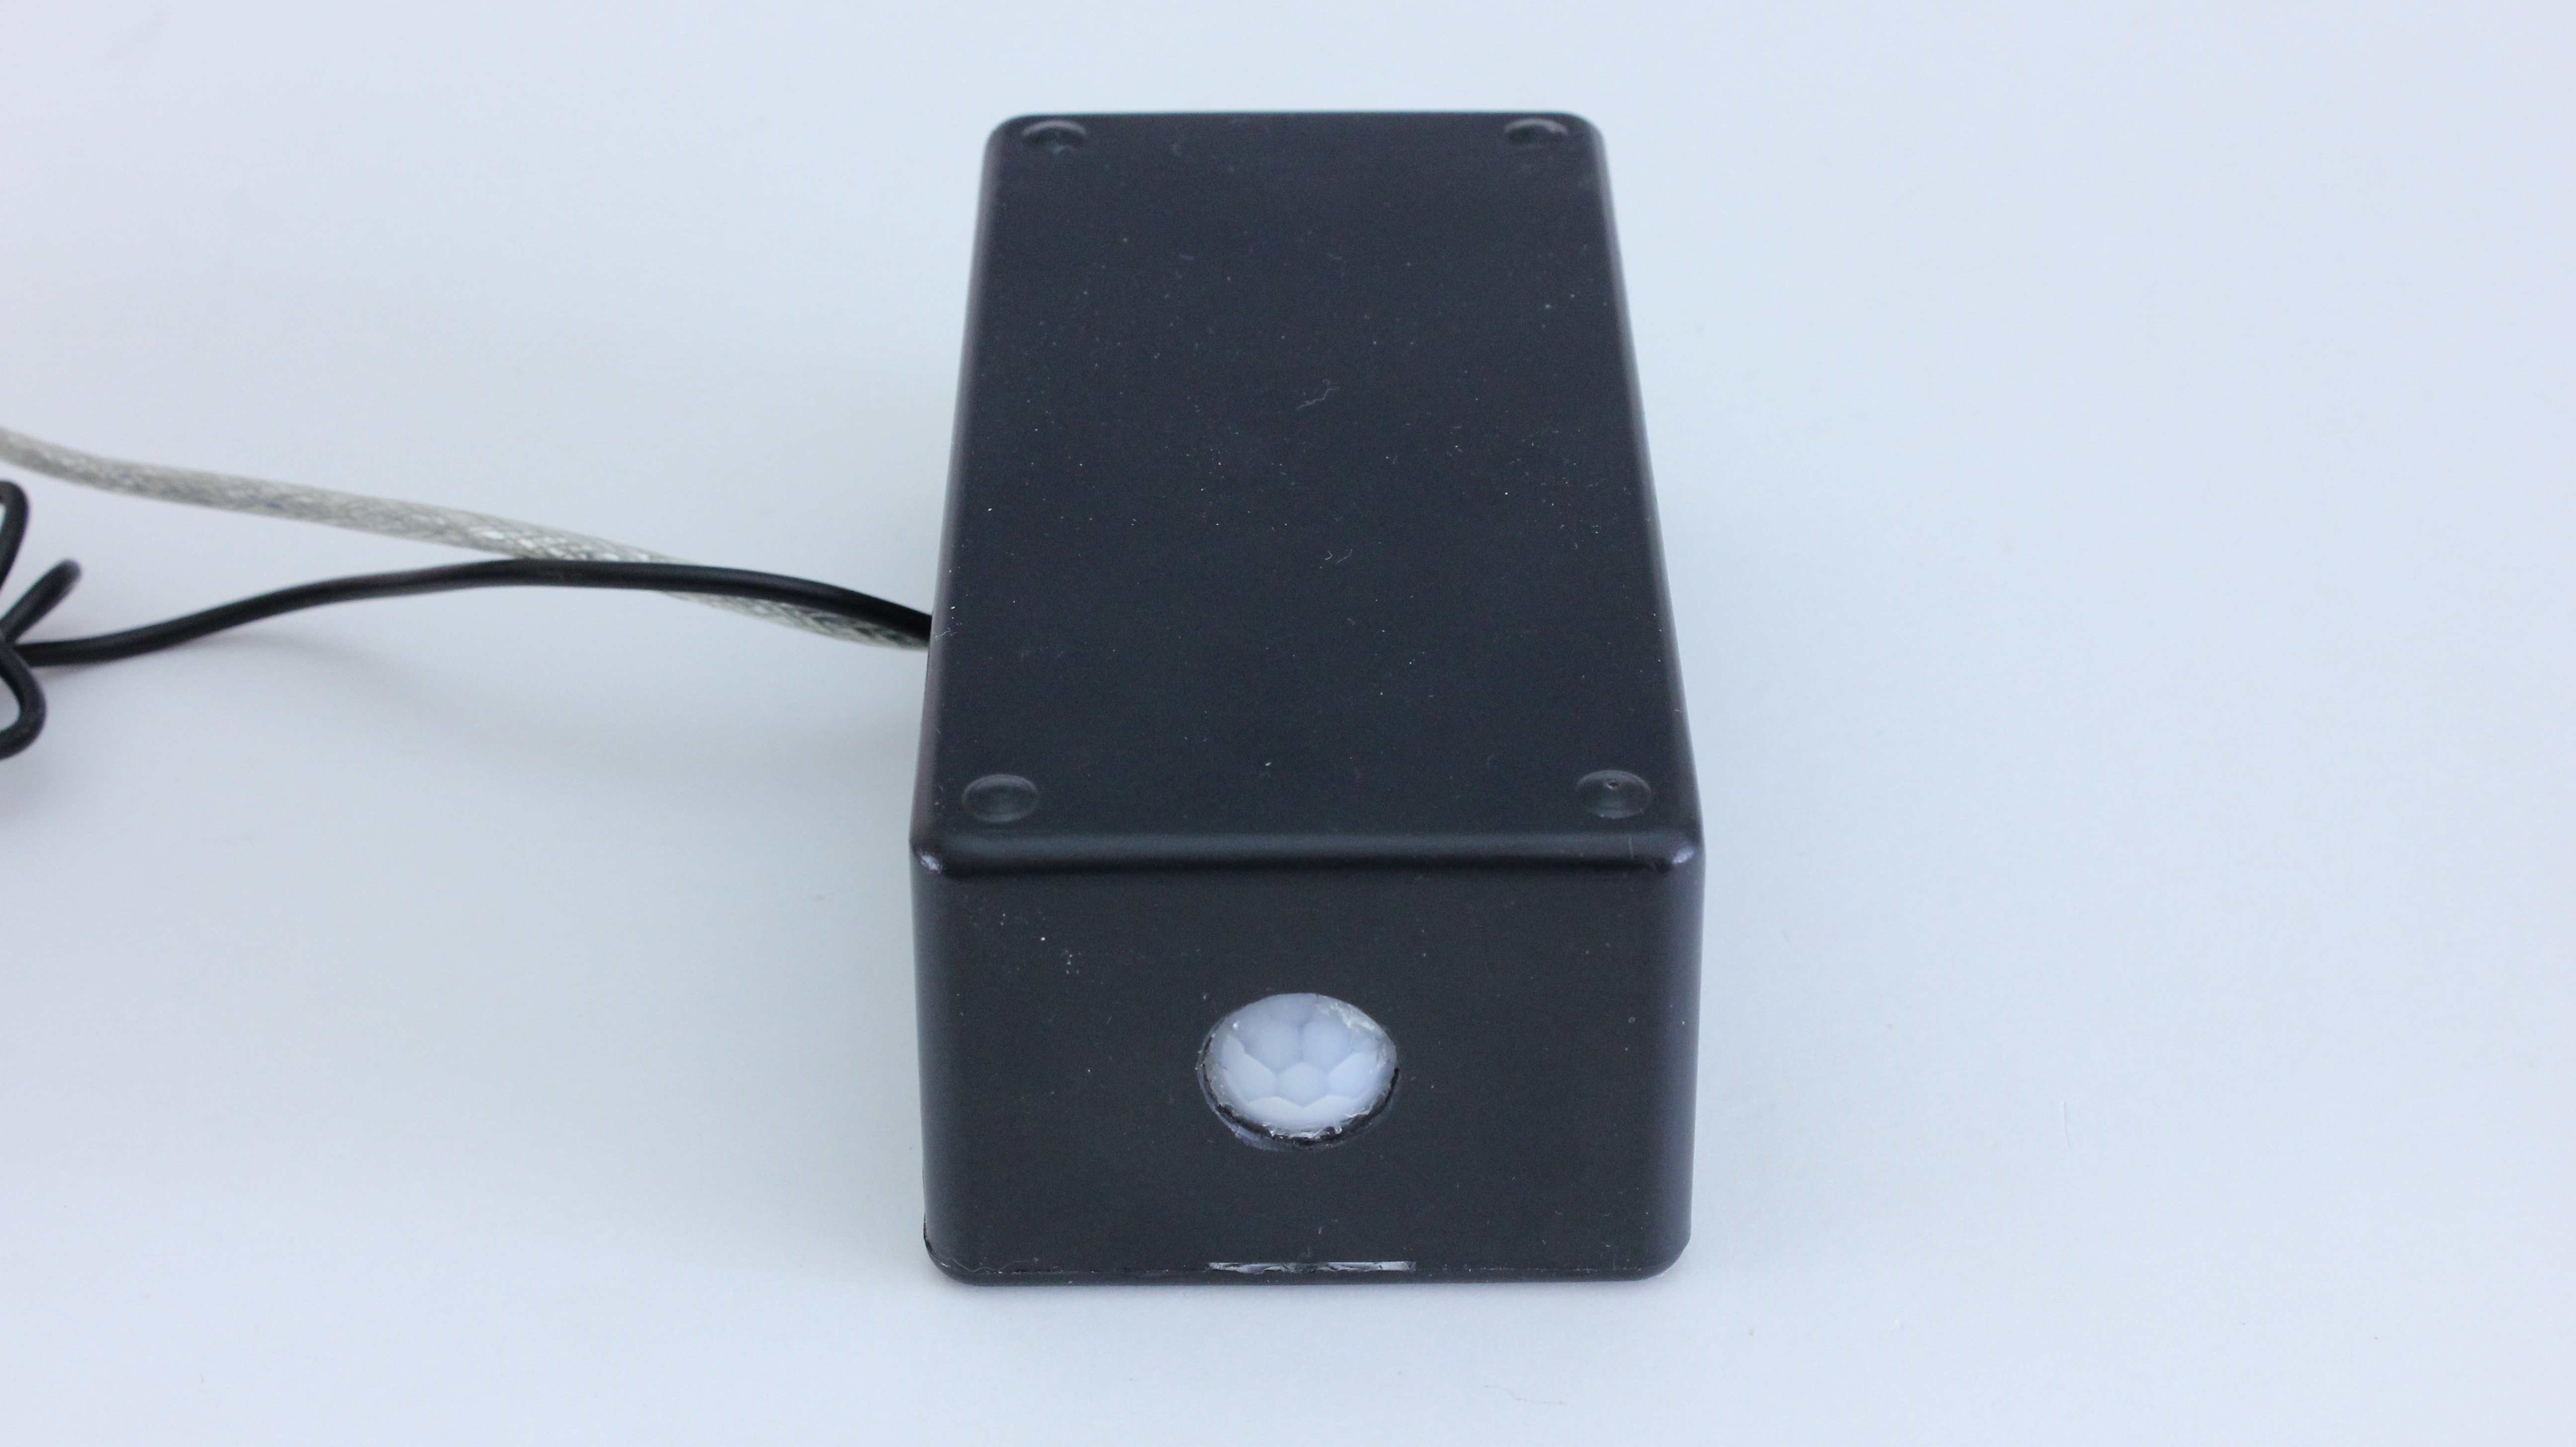
First I prototyped the relay circuit on a breadboard. Then I connected the wires from the gun and the Arduino. This let me test it out to make sure that I could control all the functions with the Arduino. Once that was working, I connected to the motion sensor.

Upload the Arduino code:

// Here is some sample code that you can use to start the project.

int relayOne = 2; // Relay connected to digital pin 2
int relayTwo = 5; // Relay connected to digital pin 4
int relayThree = 6; // Relay connected to digital pin 6
int motionSensorPin = 13; // Motion Sensor connected to digital pin 13
int motionSensorState = 0;

void setup()
{
pinMode(relayOne, OUTPUT); // sets the digital pin 2 as output
pinMode(relayTwo, OUTPUT); // sets the digital pin 4 as output
pinMode(relayThree, OUTPUT); // sets the digital pin 6 as output
pinMode(motionSensorPin, INPUT); // sets the digital pin 13 as input
Serial.begin(9600);
}

void loop()
{
motionSensorState = digitalRead(motionSensorPin); //read output of motion sensor

if (motionSensorState == HIGH) // if motion is detected, fire gun
{
digitalWrite(relayTwo, HIGH); // turns the second relay on to fire the gun
delay(1000);
digitalWrite(relayOne, HIGH); // turns the first relay on to turn the turret
delay(150);
digitalWrite(relayOne, LOW); // turns the first relay off
delay(500);
digitalWrite(relayThree, HIGH); // turns the third relay on to turn the turret back
delay(300);
digitalWrite(relayThree, LOW); // turns the third relay off
delay(500);
digitalWrite(relayOne, HIGH); // turns the first relay on to turn the turret
delay(300);
digitalWrite(relayOne, LOW); // turns the first relay off
delay(500);
digitalWrite(relayThree, HIGH); // turns the third relay on to turn the turret back
delay(300);
digitalWrite(relayThree, LOW); // turns the third relay off
delay(500);
digitalWrite(relayTwo, LOW); // turns the second relay off to stop firing the gun
digitalWrite(relayOne, HIGH); // turns the first relay on to turn the turret all the way to one side
delay(700);
digitalWrite(relayOne, LOW); // turns the first relay off
delay(500);
digitalWrite(relayThree, HIGH); // turns the third relay on to turn the turret back to the center position
delay(375);
digitalWrite(relayThree, LOW); // turns the third relay off
delay(1000);
}

else // if no motion is detected, default to setting all motors off
{
digitalWrite(relayOne, LOW);
digitalWrite(relayTwo, LOW);
digitalWrite(relayThree, LOW);
}

}

Solder the Relay Circuit onto a Piece of Perf Board

Once the circuit is working properly, solder the components onto a printed circuit board or perf board.

Mount All the Parts Into a Project Enclosure

To keep all the parts neatly together, I mounted them all inside a plastic project enclosure. I used a hole saw to cut a large hole in one end of the enclosure. Then I attached the motion sensor to the inside of the hole with hot glue. The Arduino and the other two circuit boards were also attached to the inside walls of the enclosure with hot glue. Lastly, I cut slots in the side of the housing for the power cord and the cable that connects to the gun.

Mount the Gun on a Platform

Now you need to find a way to mount the gun. I just attached my gun to a small wooden board. This was portable enough to be easily carried around and stable enough for firing.

In order to make room for the water canister, I used a piece of 2×2 lumber to raise the gun up off the platform. This allowed the gun to rotate without hitting anything. To accommodate for this extra piece, I had to replace the original screws with longer ones.

Finished Motion Activated Gun Turret

Now your motion activated gun turret is complete. Set it up and wait for your unsuspecting victim to walk by. When they do, your gun will automatically sense them and shoot them.