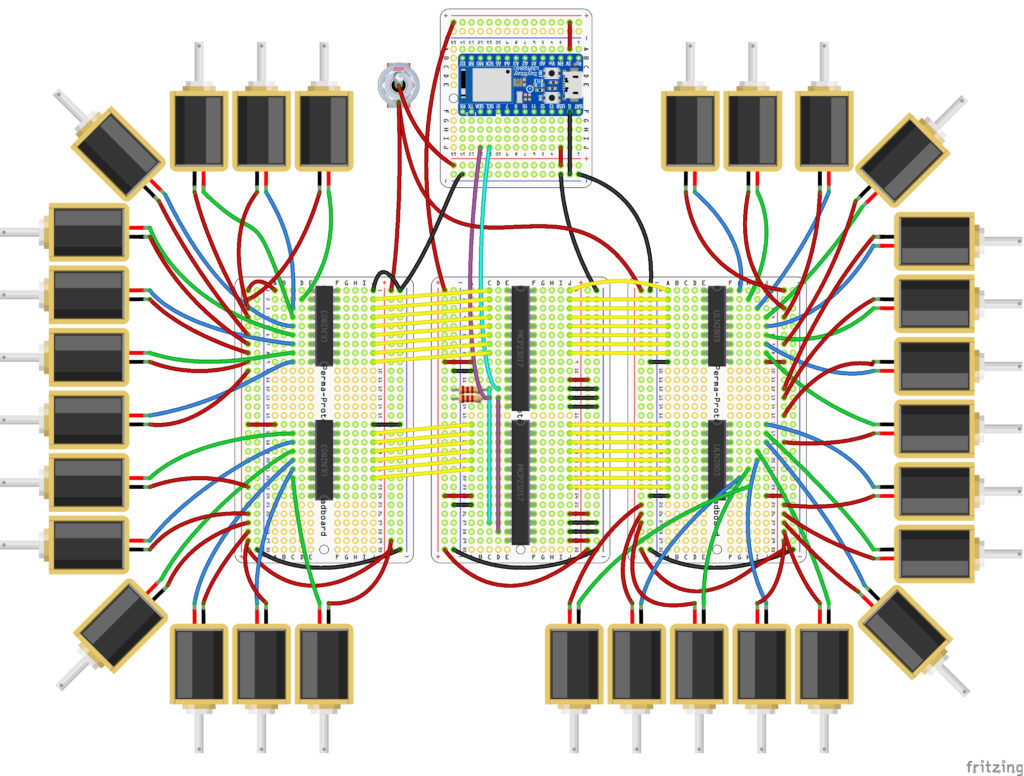
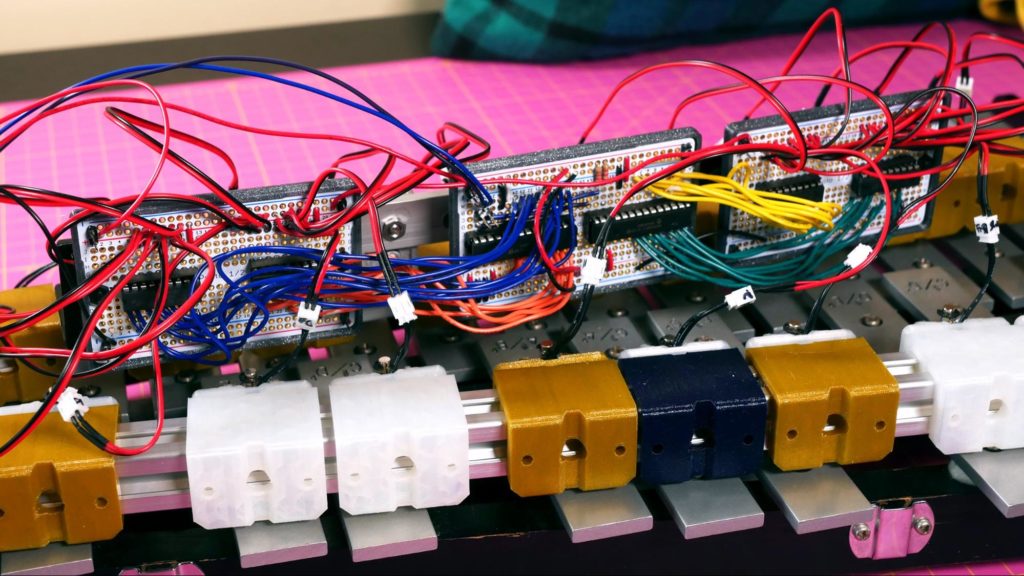
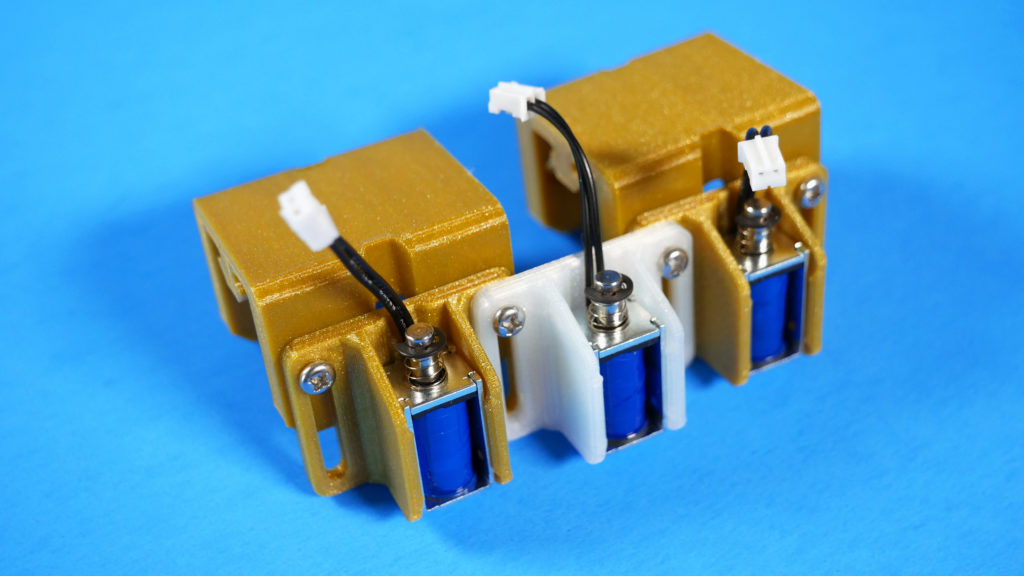
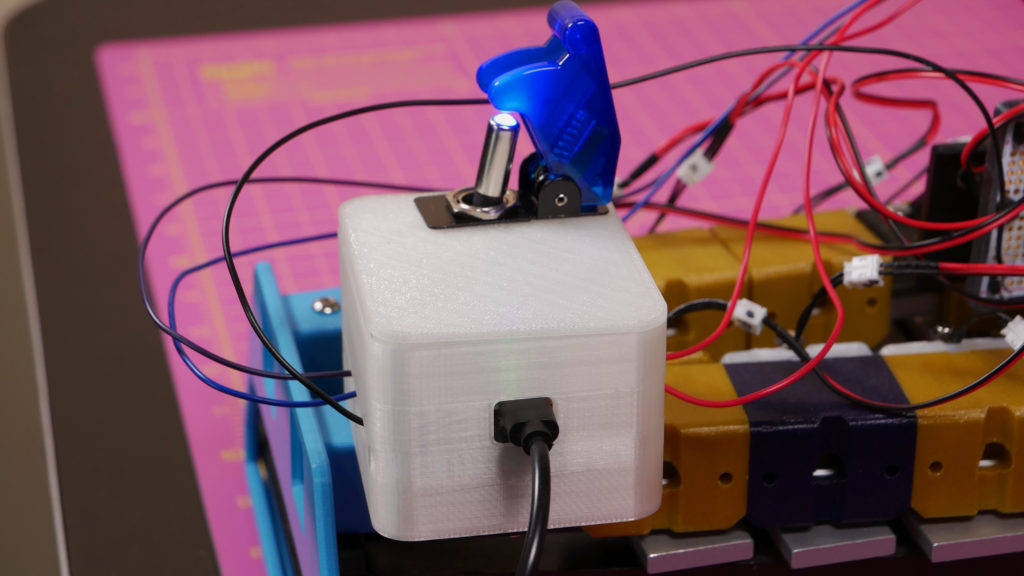
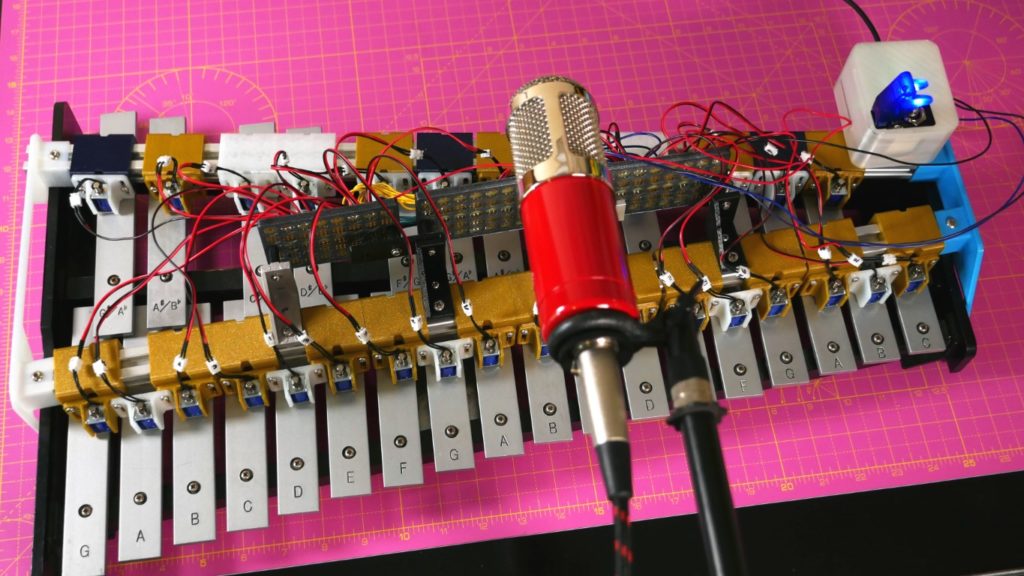
My BLE MIDI Robot Xylophone is, as its name implies, a robot instrument. It uses 30 mini solenoids to strike the xylophone (technically, it’s a glockenspiel)’s keys. The solenoids are triggered by MIDI data that is received over Bluetooth Low Energy (BLE). The code is written in CircuitPython, which has libraries for BLE MIDI for use with Adafruit’s nRF52840 boards (this project utilizes the ItsyBitsy nRF52840).

this project is from the latest issue of Make: Magazine. Get yours now!

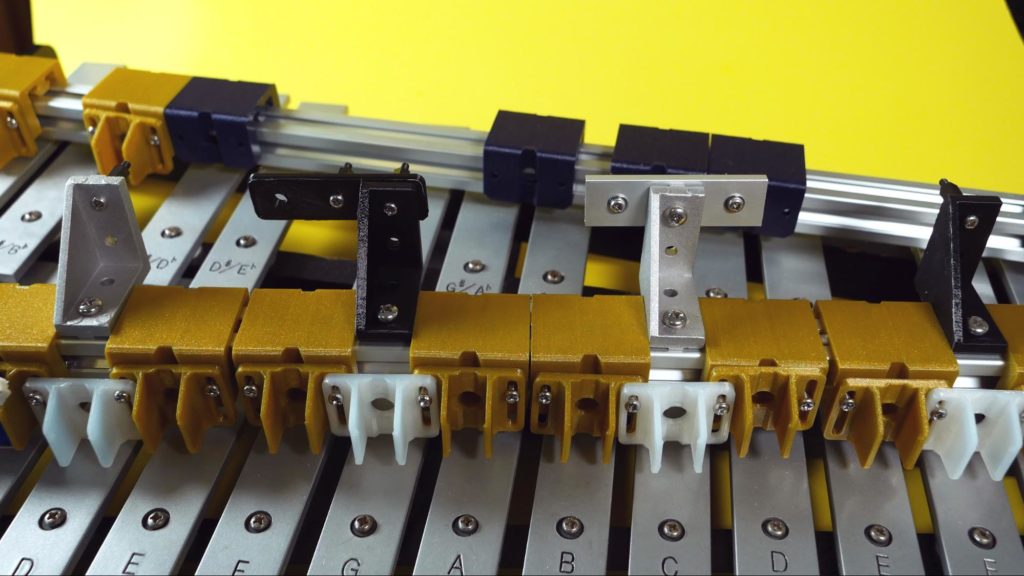
The main purpose of this robotic xylophone is to play music with the instrument that would not be possible with the standard human method. Mallet instruments can be limited in the music that can be played on them; traditionally, a player uses two mallets to play with a maximum of two-note polyphony, or two notes at a time. More advanced players can use 4 mallets, but this is still limited to only four notes at a time. My robotic modification allows for music to be played on the xylophone that goes well beyond that. Technically, all 30 notes could be played at the same time, although it might not sound very good.

In this project you’ll see how you can build complex robotic instruments that are controlled wirelessly with BLE MIDI. If you’d like to build your own, a fully detailed, step-by-step build guide is available on Adafruit’s Learning platform.

WHAT IS BLE MIDI?

BLE MIDI is a wireless protocol that allows an instrument to receive command data. It’s great for a large build, like this xylophone, since you can set up the instrument where it fits comfortably, rather than having to be close enough to your computer to be physically connected for data or power. This gives you a lot more freedom, especially for setting up an ideal recording situation with microphones.

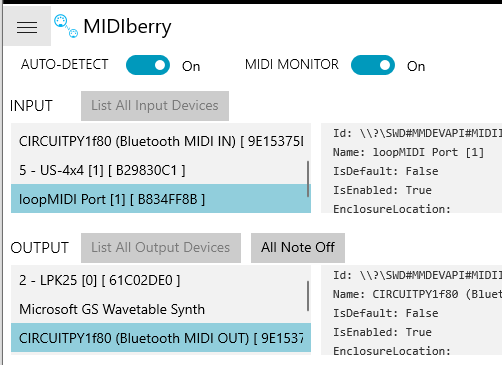
BLE MIDI also requires less hardware. Previously to use MIDI you would possibly need an audio interface with MIDI ports. Now, however, most computers have BLE built in, or you can get a cheap BLE USB dongle that’s plug-and-play. Once you set up your BLE MIDI device, your software will recognize it as a MIDI device just like a standard USB or 5-DIN connected device.

Project Steps

BUILD THE CIRCUIT

Despite the advanced BLE communication involved in this project, most of the components for the circuit are fairly old-school in the form of two ICs: the MCP23017 and the ULN2803. The MCP23017 is a multiplexer that allows for 16 inputs or outputs to be communicated over I2C. This is how the build can use the ItsyBitsy form factor board but still control 30 solenoids.

The ULN2803 is a Darlington motor driver. It takes in the logic signal from the ItsyBitsy and outputs the voltage needed to trigger the solenoid. In theory, this means you could have a 3.3V logic level from your microcontroller but still trigger a high voltage motor.

For the circuit, the ItsyBitsy nRF52840 acts as the central command. The project is powered via the USB input since the mini solenoids only require 5V. The ItsyBitsy sends the data signals to the two multiplexers over I2C. The multiplexers then output that on/off signal to the Darlington motor drivers, which turn the solenoids on and off to strike the keys on the xylophone.

To keep the wiring nice and neat, I recommend using PermaProto boards and IC sockets so that you can easily exchange the multiplexer or driver ICs if needed.

THE CODE

I wrote the code for the xylophone in CircuitPython. Each output on the multiplexers corresponds with a specific MIDI note number, matching the physical notes on the xylophone. When it receives a matching MIDI note in a NoteOn message, the solenoid triggers, and after a very short delay it retracts. The code allows for polyphony, or multiple notes to play at the same time.

You can download the code on GitHub and in the full guide on the Adafruit Learn system page.

ASSEMBLY

The robot xylophone consists of two pieces of 20×20 aluminum extrusion and 3D-printed parts, which Noe Ruiz of Adafruit designed.

Two 3D-printed legs hold the two pieces of 20×20 extrusion at an angle so that they run across the middle of each key on the xylophone. This puts the solenoid mounts in perfect position to get the best tone from the solenoids striking the keys. The solenoid mounts are designed to be adjustable so you can raise or lower the solenoids as needed.

The PermaProto boards have snap-fit cases that you can screw into the 20×20 aluminum extrusions using 3D-printable mounting pieces (or you can make them with aluminum). This keeps the wiring centralized so that the solenoids can easily plug into the main circuit.

The ItsyBitsy and its power connections sit in a 3D-printed enclosure that mounts to the top of the 20×20 aluminum extrusion. On the top of the enclosure, I added a large toggle switch that controls the power flow to the Darlington driver ICs for the solenoids.

MAKING THE BLE CONNECTION

How you approach setting up your BLE MIDI connection will vary depending on your computer’s operating system. If you’re using macOS, BLE MIDI is supported natively and Apple has documentation showing how to connect your BLE MIDI peripherals with no additional software.

Windows requires a few more steps. First, to have your digital audio workstation (DAW) recognize your BLE MIDI device as a hardware connection, you need to set up a virtual software connection to essentially “trick” the software. To do this, you can use loopMIDI, which is a software project by Tobias Erichsen.

After this MIDI connection shell is created, you need a software bridge to connect your BLE MIDI device to your DAW or computer-connected MIDI controller. There are a few options to achieve this, but the one tested with this project is MIDIberry. It’s a freeware option available through the Windows store that works very well. You can select your MIDI input and output devices in the GUI and it also has a MIDI message debugging stream.

In MIDIberry you can set up loopMIDI as the input and your CircuitPython BLE MIDI device as the output. This allows the loopMIDI connection to receive the MIDI data inside your DAW and then send it out to your BLE MIDI device.

After the BLE MIDI connection has been established, you can open your preferred DAW and select your loopMIDI connection as the MIDI output.

After this you can play the xylophone live from a MIDI keyboard, or send entire songs to the xylophone and it will play them like a player piano. It’s great for recording, and it lets you play pieces that would be impossible when limited to two or four mallets.

CONCLUSION

Adding BLE MIDI functionality to a robotic instrument is a great twist on a classic project. You could use this technique for other instruments as well, such as drums, guitars, or really any instrument that utilizes a hitting or plucking motion to be played. There is a MIDI solenoid drum project that I worked on in collaboration with the Ruiz brothers for Adafruit, also available on the Adafruit Learn system.

Beyond a purely musical application, you could use this technique to trigger motors or other components over BLE. Perhaps you want to turn on a light every time you play a C chord? Or press the button to your game system with a solenoid when you play the note E3? There are a lot of ways to interpret this project for your own unique use cases.