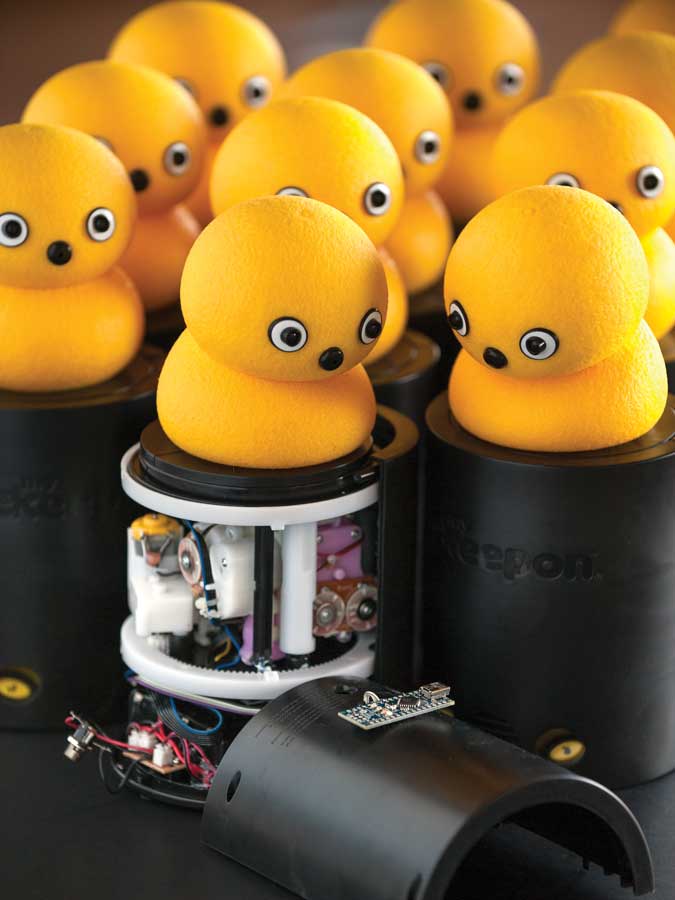
Designed by scientists studying social development, Keepon Pro is a small, “friendly” robot that interacts with children. My Keepon is a low-cost version released by BeatBots and UK-based toy company Wow! Stuff. Unlike the original Keepon, My Keepon lacked the ability to be teleoperated — until now.
These instructions show you how to connect an Arduino to My Keepon’s electronics, so you can control it using just about any sensors, devices, and interfaces you can imagine!
The basic principle of this hack is to send commands to the microcontrollers inside My Keepon over the I2C bus. I2C is a two-wire serial interface commonly used for communication between embedded systems and peripherals (wikipedia.org/wiki/I2C). We’ve provided access to all commands for setting motor speeds and positions, playing sounds, and retrieving information about audio perception, motor EMF, and encoder positions.
Be warned: performing this surgery will void your warranty, so please don’t try to take it back to a retailer after doing this. But it’s a straightforward procedure, and you’ll easily be able to impress other Keepon fans with your new dance choreographies, Kinect mash-ups, and Wiimote-control demos.
In these instructions, we show you how to do this modification in the simplest way, with only a single additional hole drilled into the cylindrical base. You can go further by installing the Arduino Nano board inside the battery compartment, running the USB cable directly into the base, and powering My Keepon with an adapter. But if you want to continue powering the My Keepon with batteries, or if you plan to use Arduino Uno/Mega shields (for wireless communication, additional sensors or actuators, etc.), you’ll probably want to “backpack” the components on the base as shown here.


