YouTube player

Project Steps

Gather tools and materials.

Grip the wool roving with your hands a good distance apart, and pull gently.

Twist up the fibers. The more criss-crossed they are, the easier it is to felt.

Fold it together into a disc-like shape and begin to poke it with felting needles.

Safety! Felting needles are the sharpest sharp thing you’ve ever played with, unless you’re a surgeon.

Always watch your hands while felting.

Never felt when you’re tired.

Use shallow, soft pokes instead of heavy pokes.

When you do stab yourself, just put a bandage on it and keep felting!

Once it starts to form a shape and is a little bit combined, pull the disc off the foam and turn it over.

Continue poking.

After a while, there won’t be any more loose fiber to poke.

Loosely twist up another wisp of wool roving and wrap it around your disc.

Lay it down on the foam and keep poking until all of the new fiber is incorporated into the disc.

Twist, wrap, and poke many more layers of roving.

When it’s nice and thick in the middle, but the edges are still fuzzy, use tiny pokes along the edge of the disc.

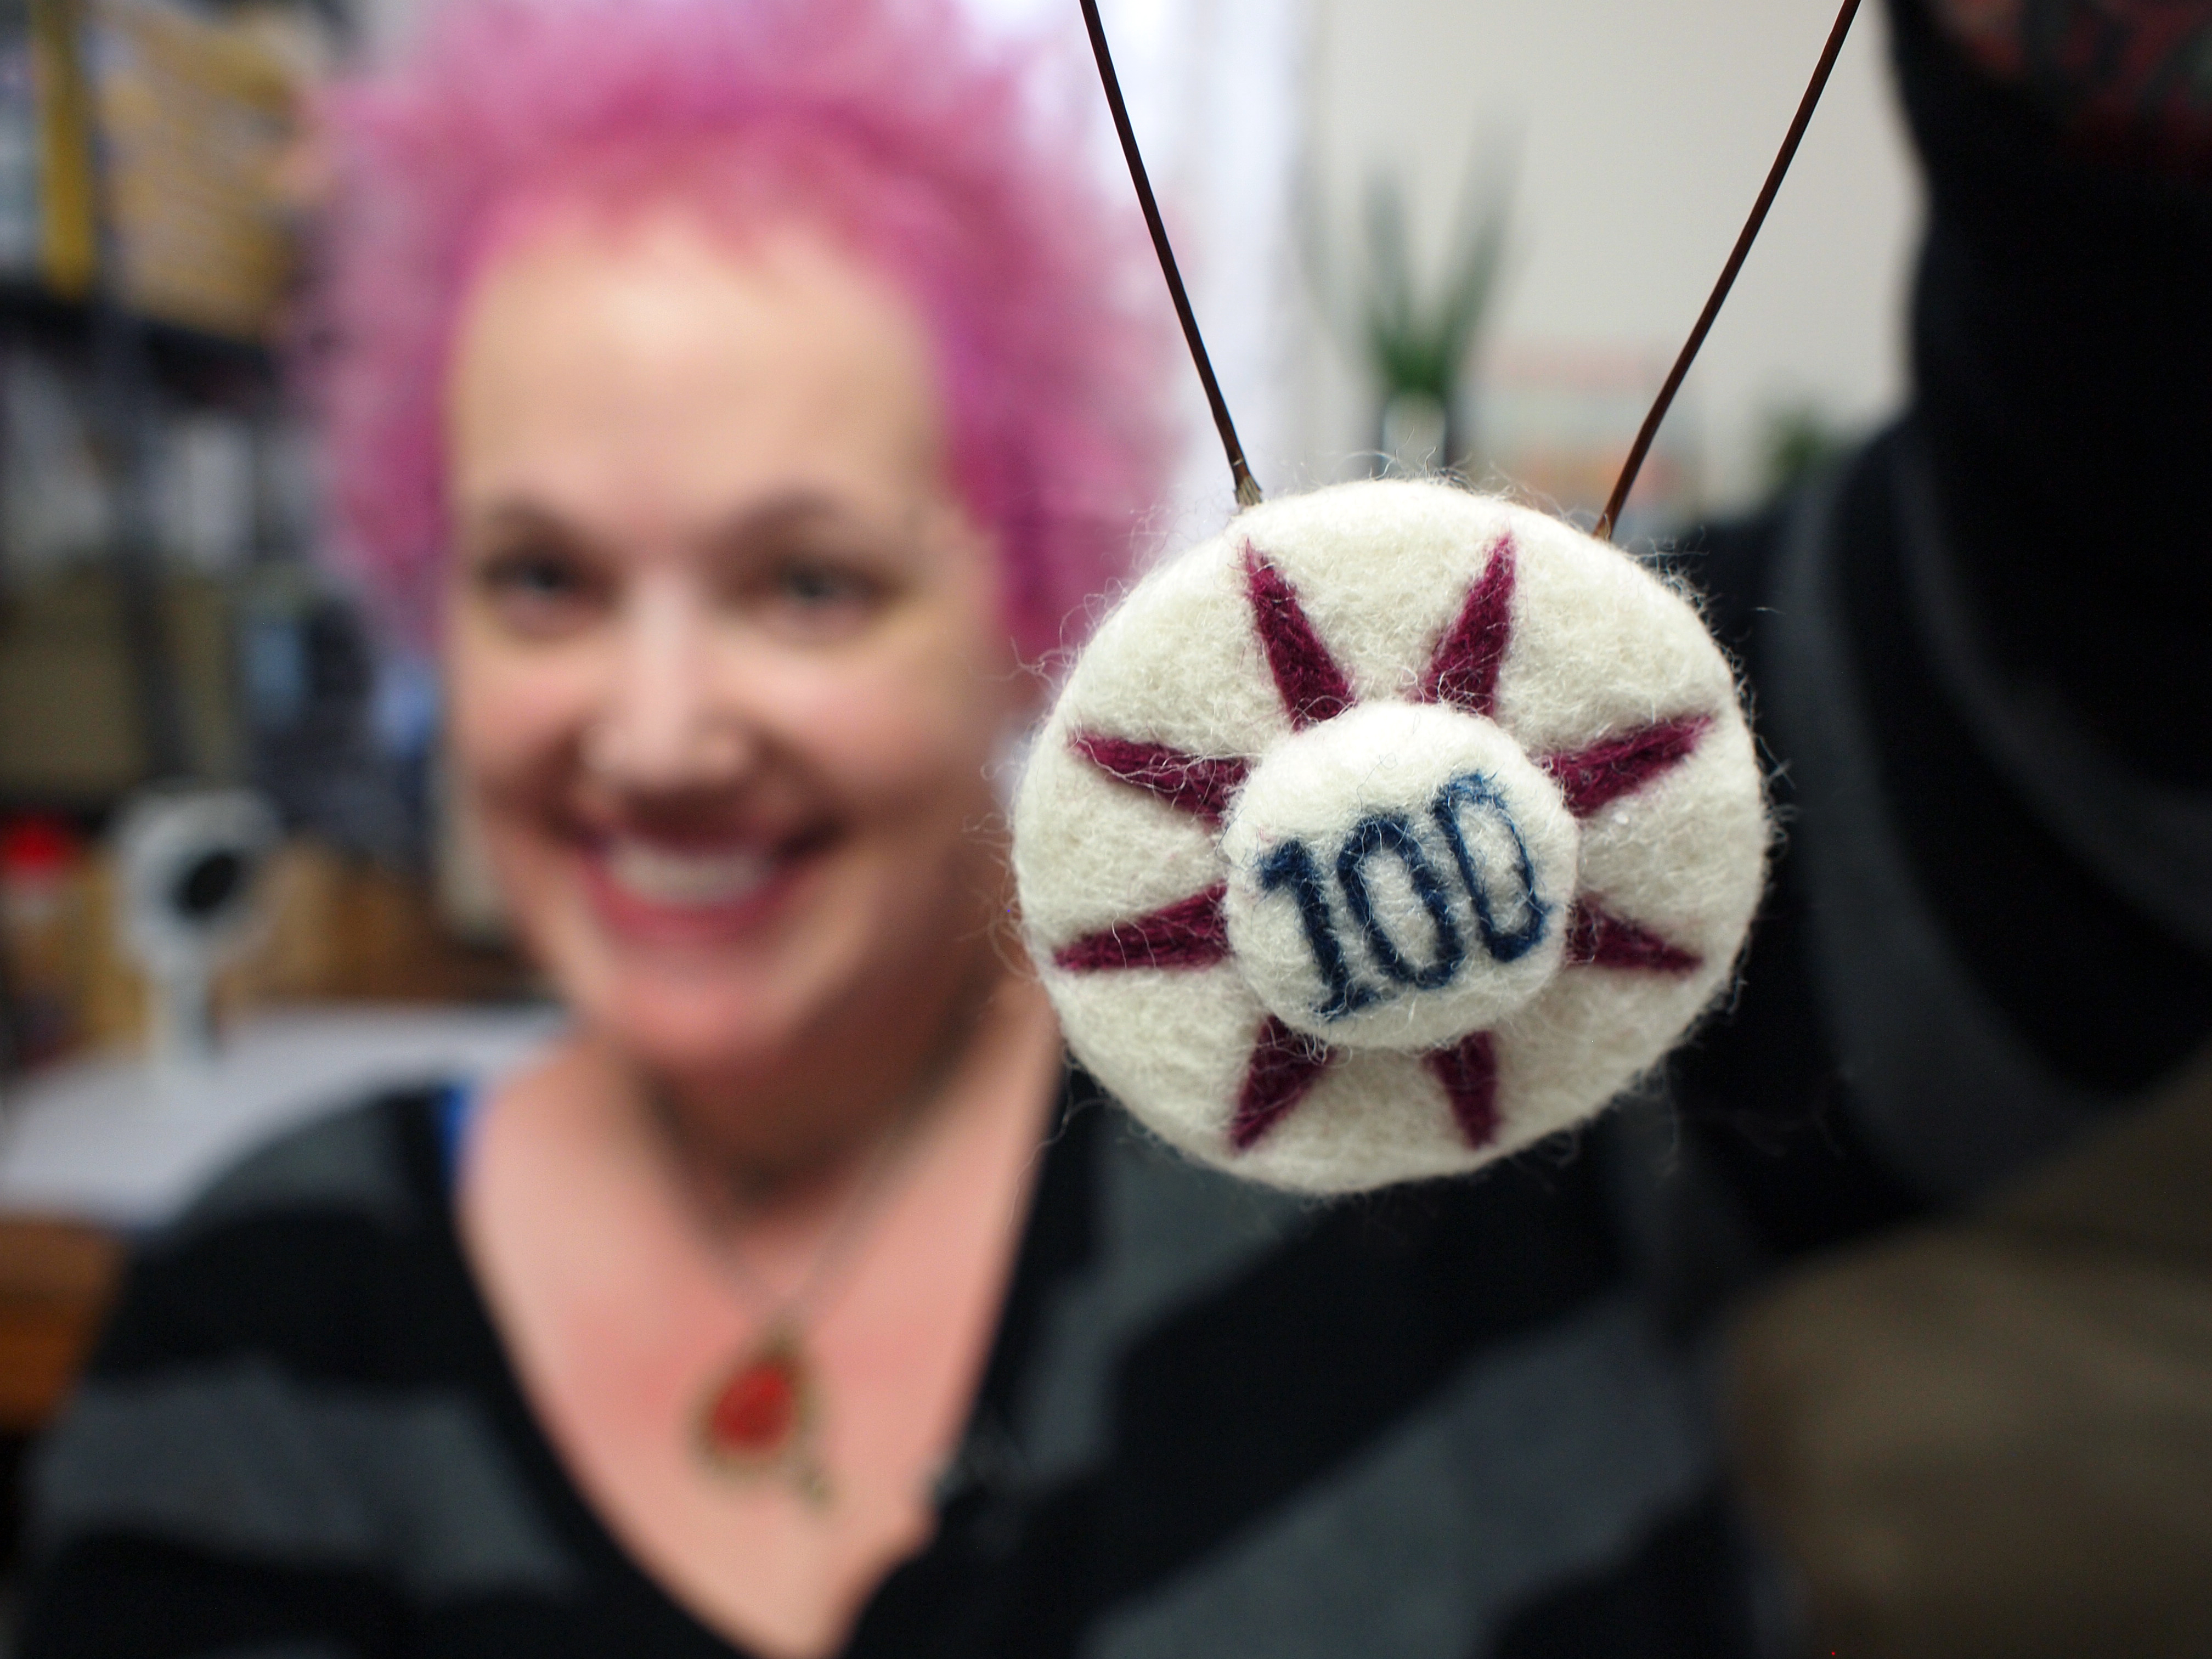
Create one large backing disc and one smaller accent disc and check that the sizing is how you like it.

Felt shrinks as you work, so allow for things to get a bit smaller during finishing.

Twist up a small wisp of fiber for the accent design.

Lay it on the surface, overlapping the edges.

Poke in a straight line across the disc.

Pull the long tails toward the center and tack them down.

Now do the details for the top disc using tiny wisps of fiber.

If you want your pinball bumper to light up, cut a hole in the back disc with very sharp scissors, then widen the hole with needlenose pliers.

Affix the LED with wire or conductive thread to the battery holder. See the soft circuit sample project.

Felt around the LED and affix the top disc.

Affix the finished pendant to a necklace.

Conclusion

Photography by Becky Stern.