

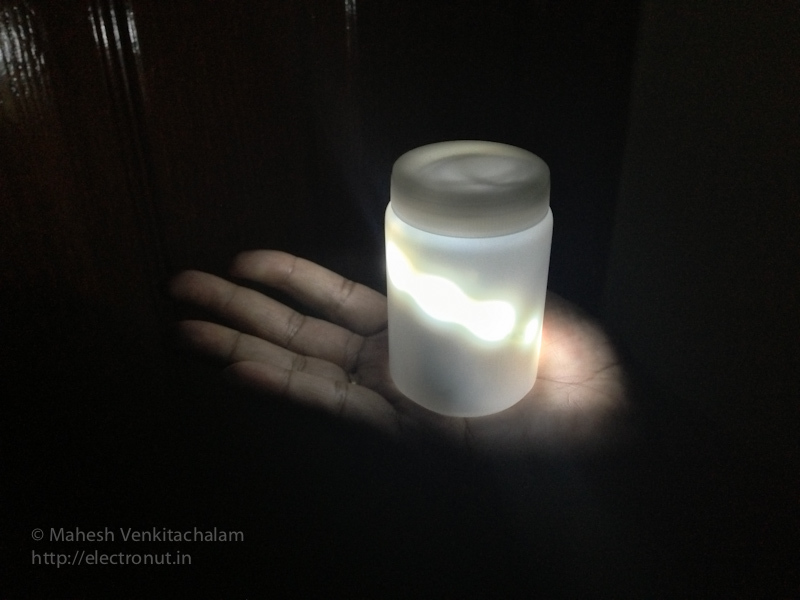
For this project, I wanted to try and make a simple night lamp – something that you can put under your cot and use it simply by picking it up. Useful in case you get up in the middle of the night and need a quick light. So I used a tilt switch and a 555 IC to design the circuit.
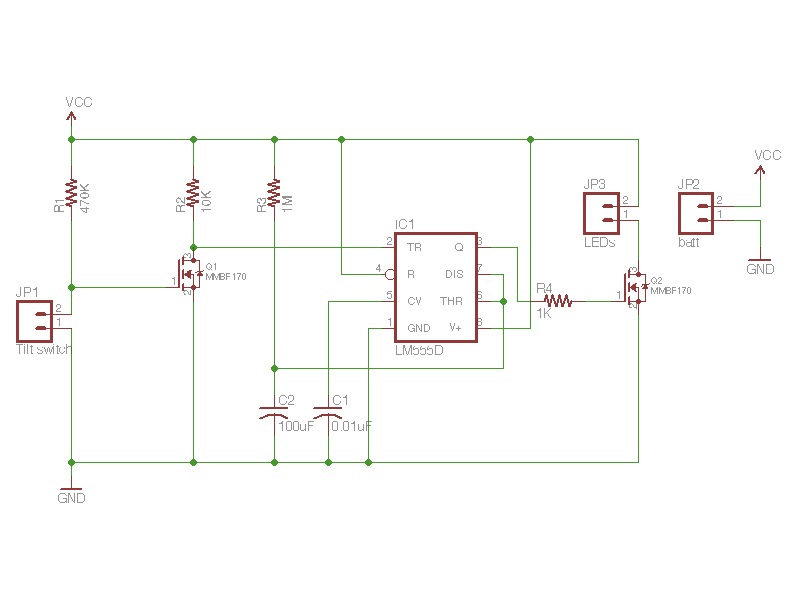
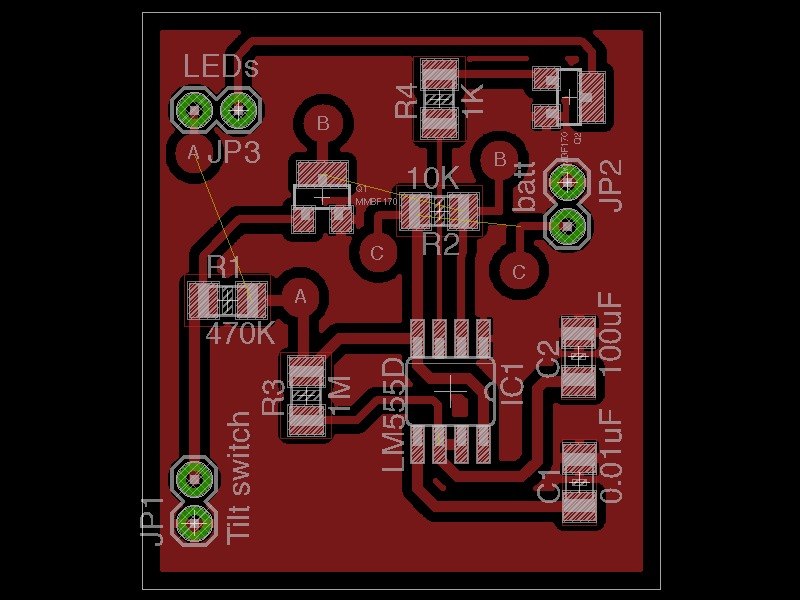
Download schematic and PCB design (EAGLE files) from here.
The tilt sensor I used is closed when upright. If you get one which is open when upright, no worries. Just mount it upside down, and you can use the same circuit. The important thing is that the switch should be closed in the default position of the lamp. You can read about tilt switches here.
You can read about the project in detail here.
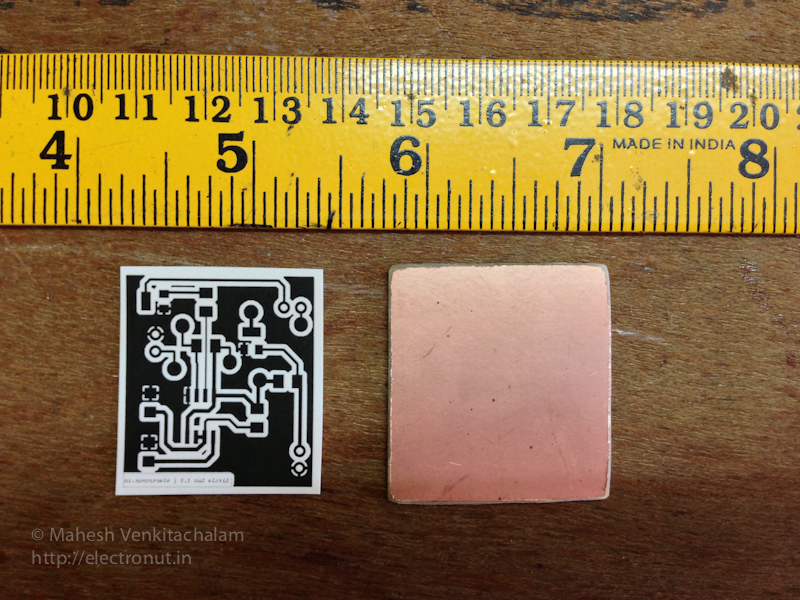
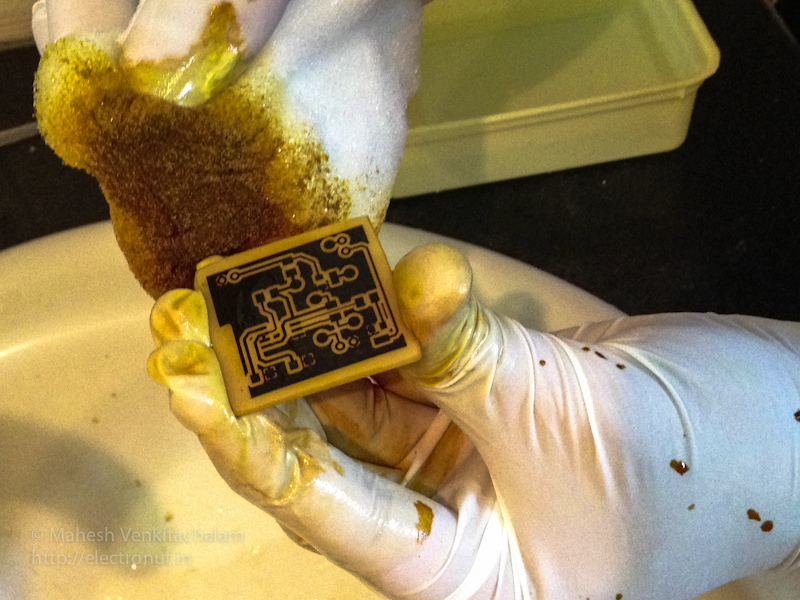

This project uses surface mount (SMD) components. If you haven’t done an SMD circuit before, don’t be intimidated by it. You don’t need any fancy equipment to make an SMD circuit at home.
Here is a wonderful cartoon guide to SMD soldering.
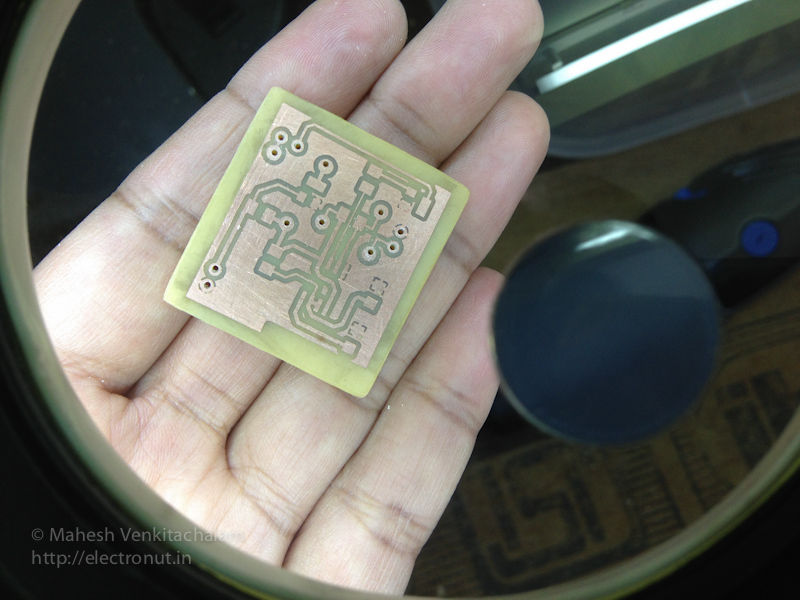
As you can see from the photo, using SMD results in a very compact board compared to regular (through-hole) components.

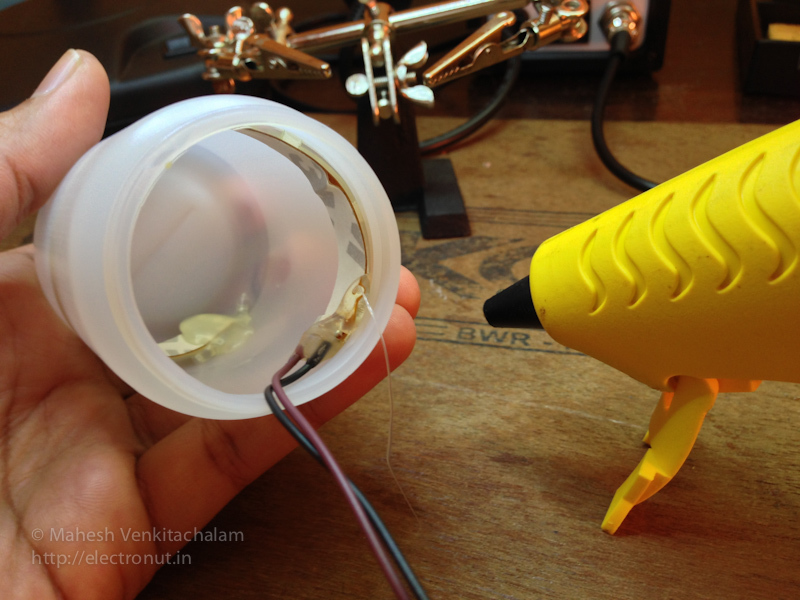
I used a cheap translucent plastic container to house the circuit.
The LED strip can be hot glued onto the inside of the container in the shape of a helix.
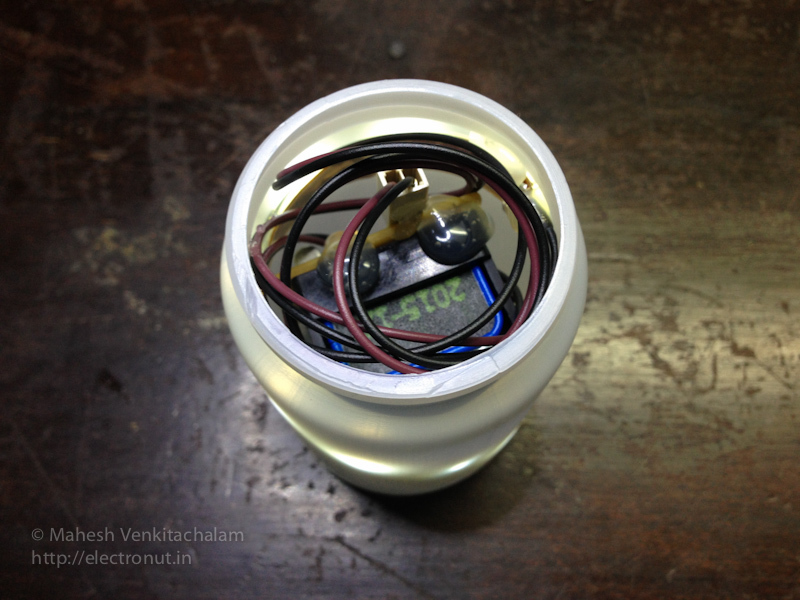
The 9V battery holder is glued to the bottom of the container, and the PCB glued on to the side of it. Ensure that the title sensor is oriented so that the switch is closed in the default position.
Have fun making your night lamp!


