IMG_0971
The clamp rack in action.

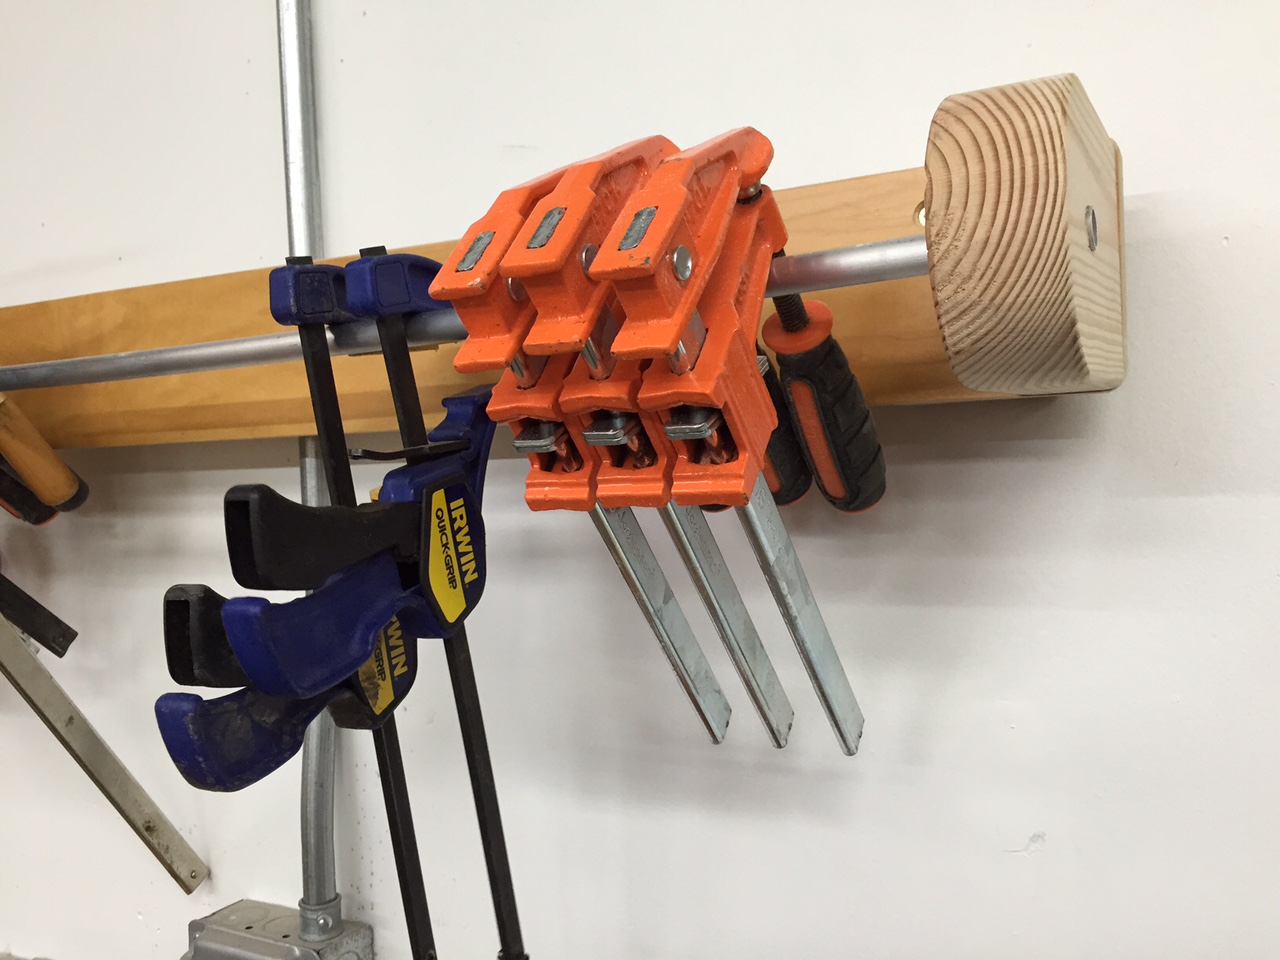
This simple clamp rack provides easy-access storage for a number of different clamp styles. It only takes about an hour or two to build, and uses common materials, making it a great project for those looking to organize their shop. Check out the photos to see how to hang C-clamps, bar clamps, and Quick-Grips.

IMG_9607
This rack can hold many different types of clamps.

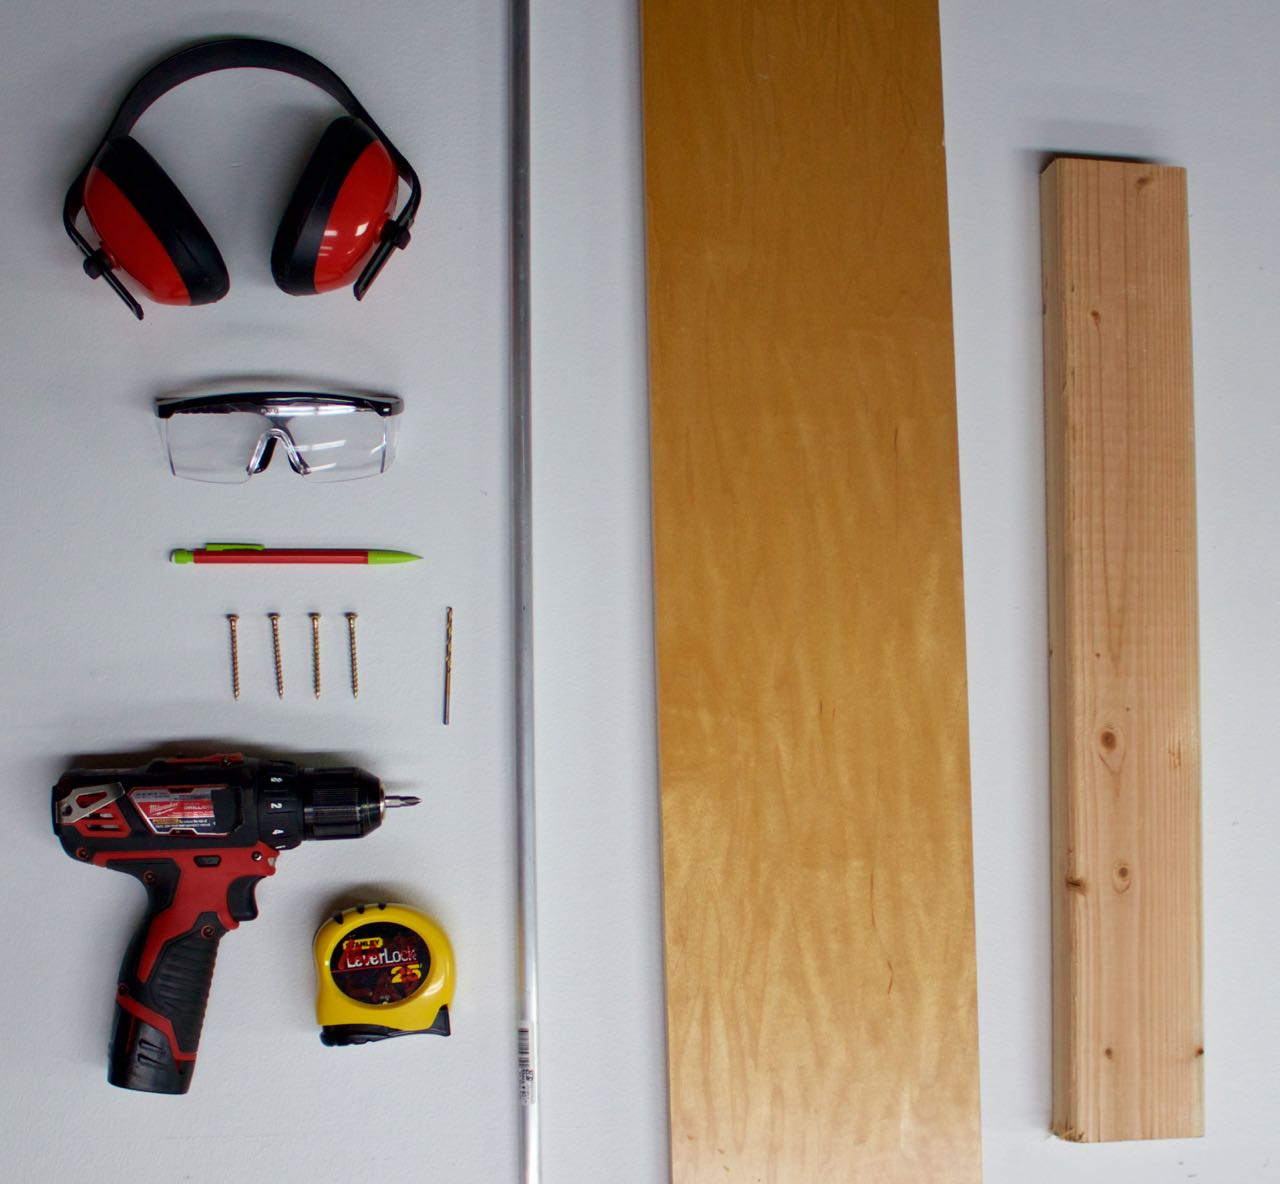
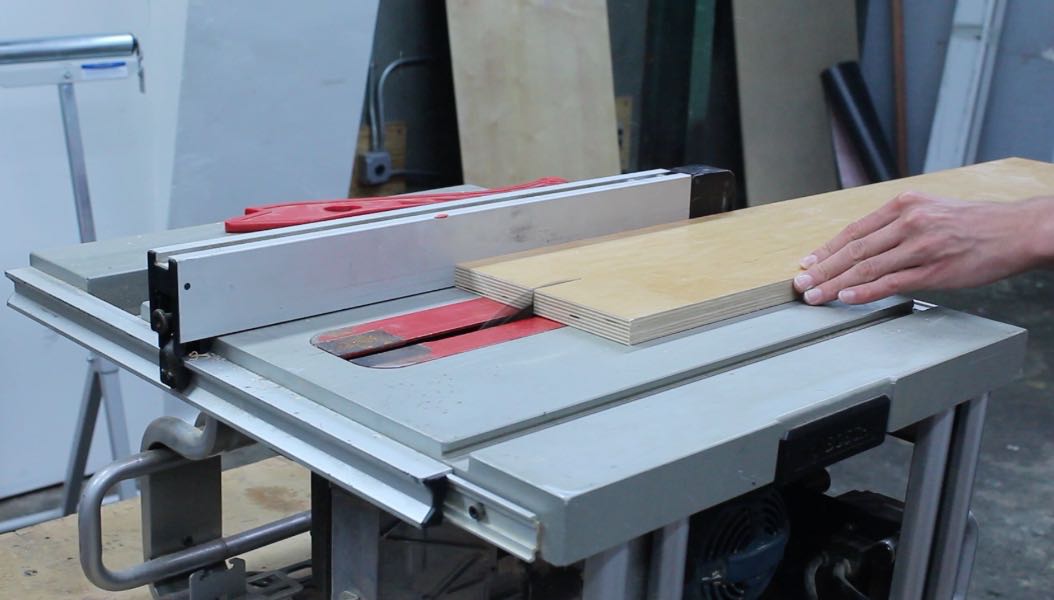
To make this project, check out the step-by-step instructions below. You’ll need some basic woodworking skills and a few common tools. If you don’t have these tools then head over to the closest makerspace.

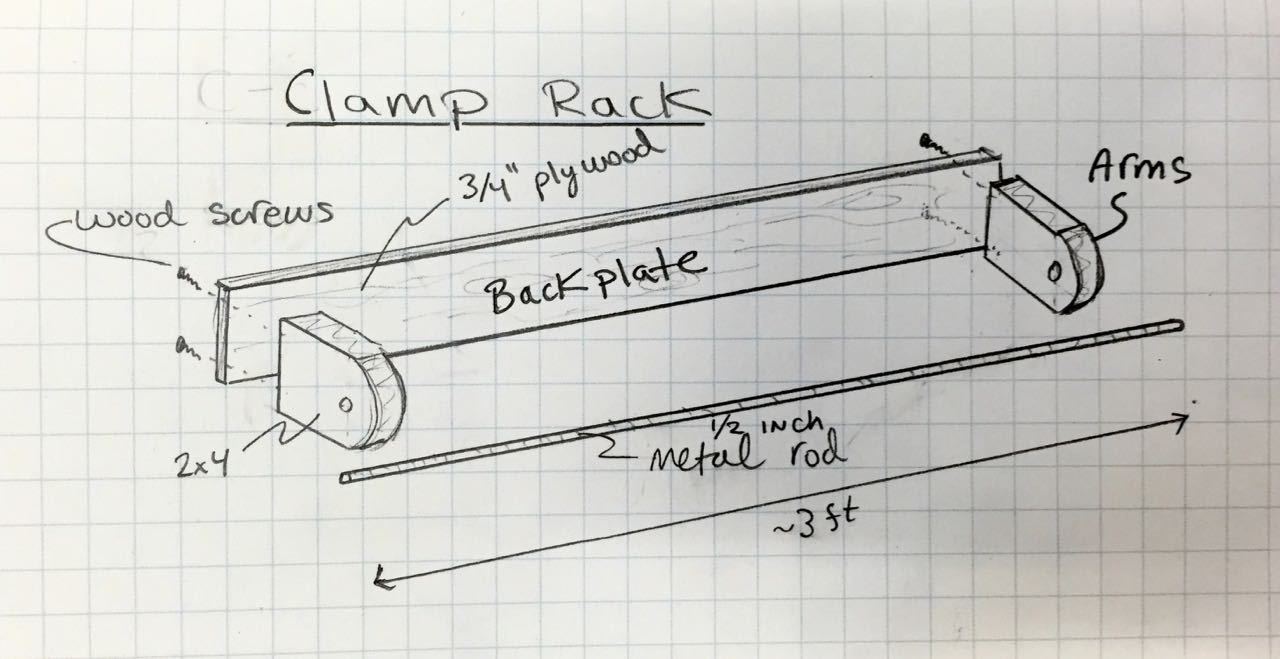
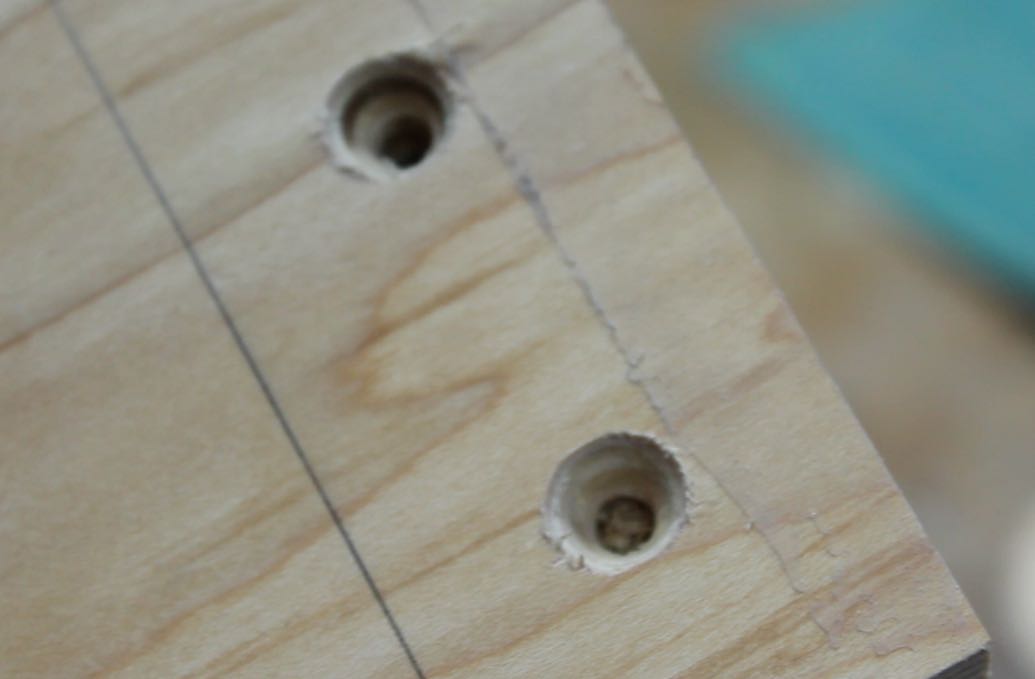
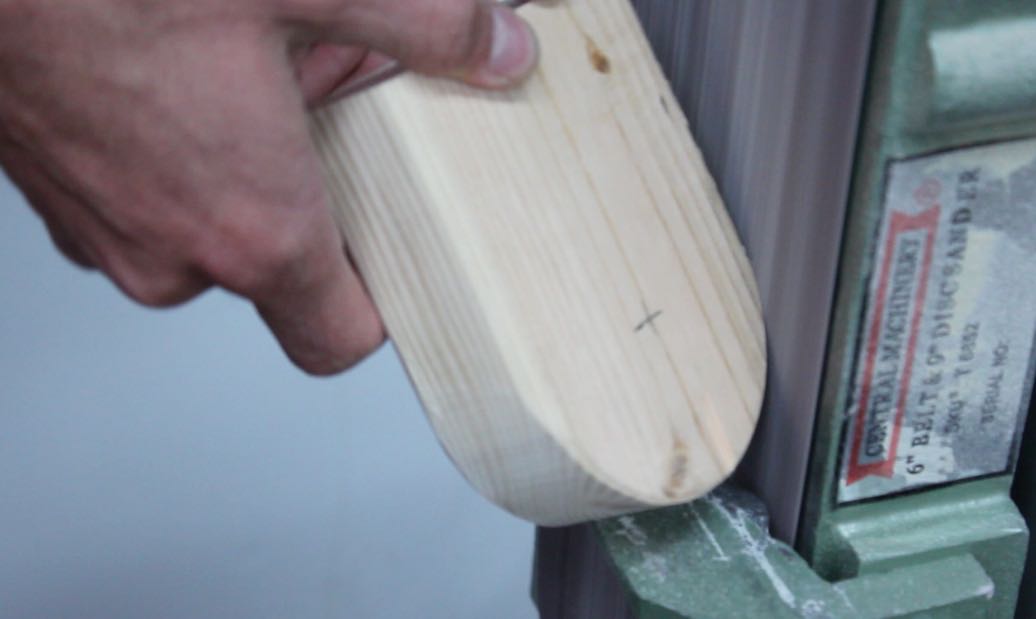
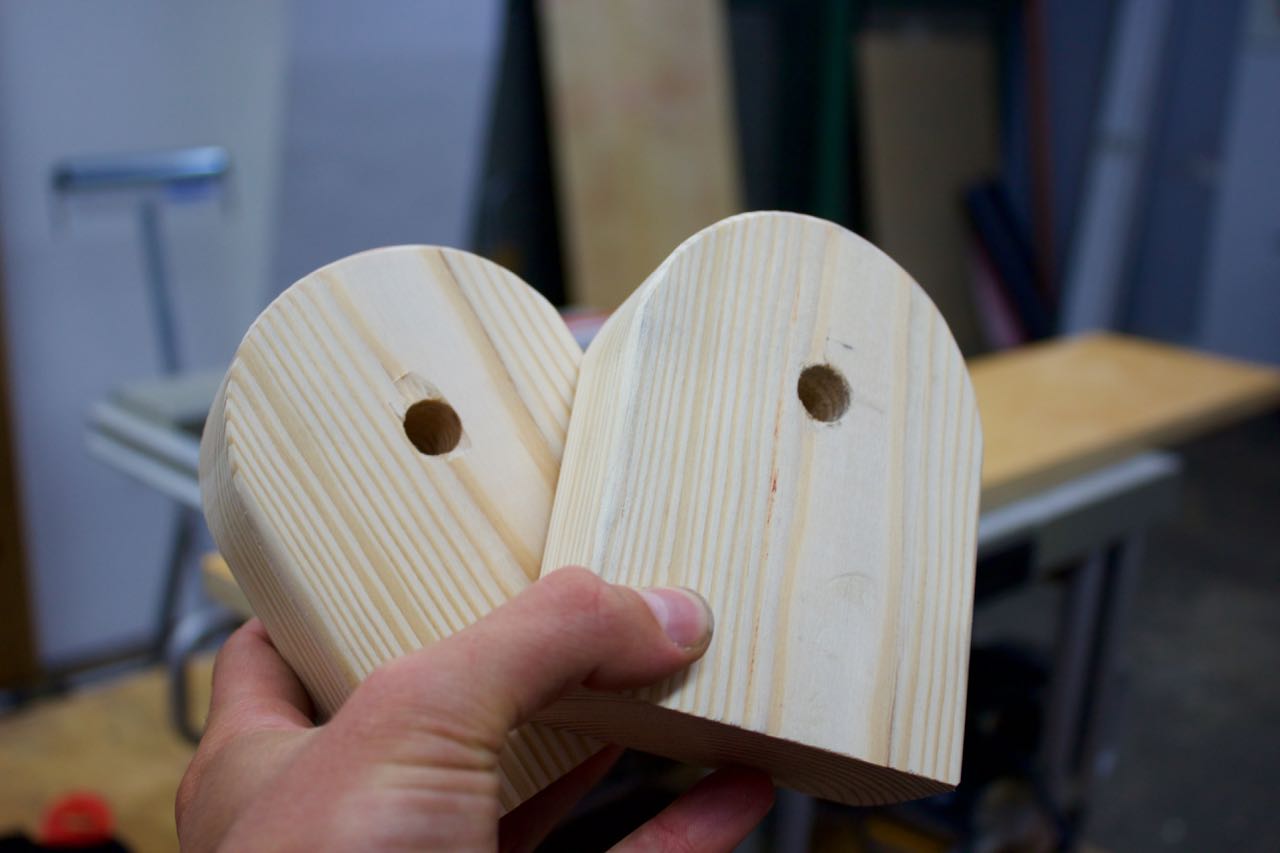
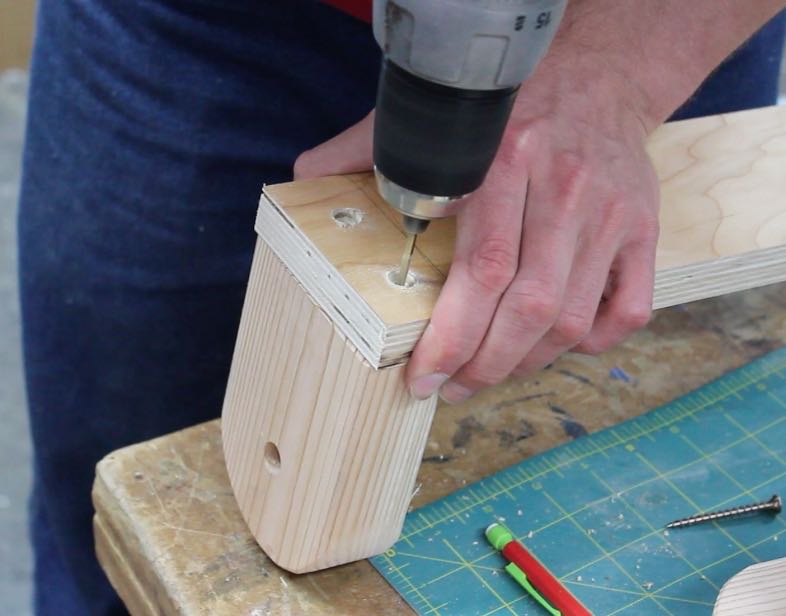
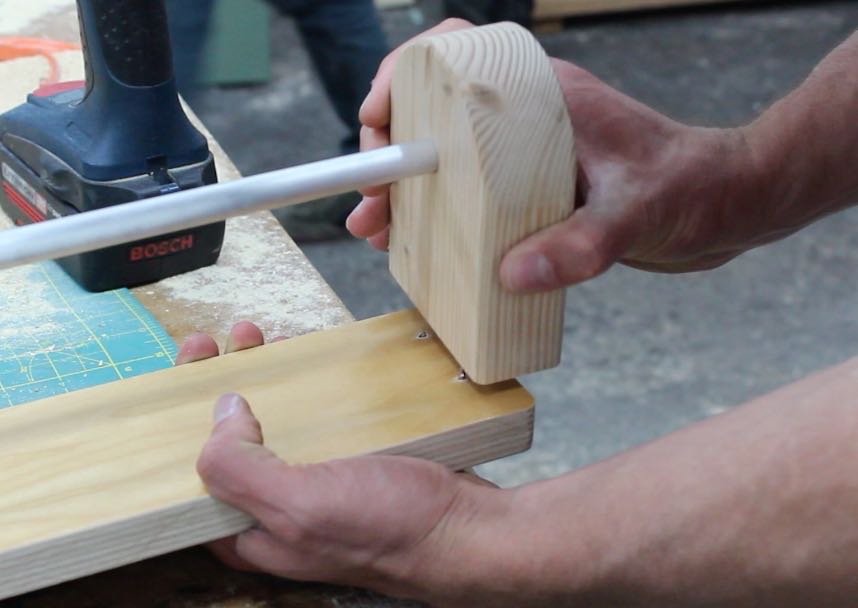
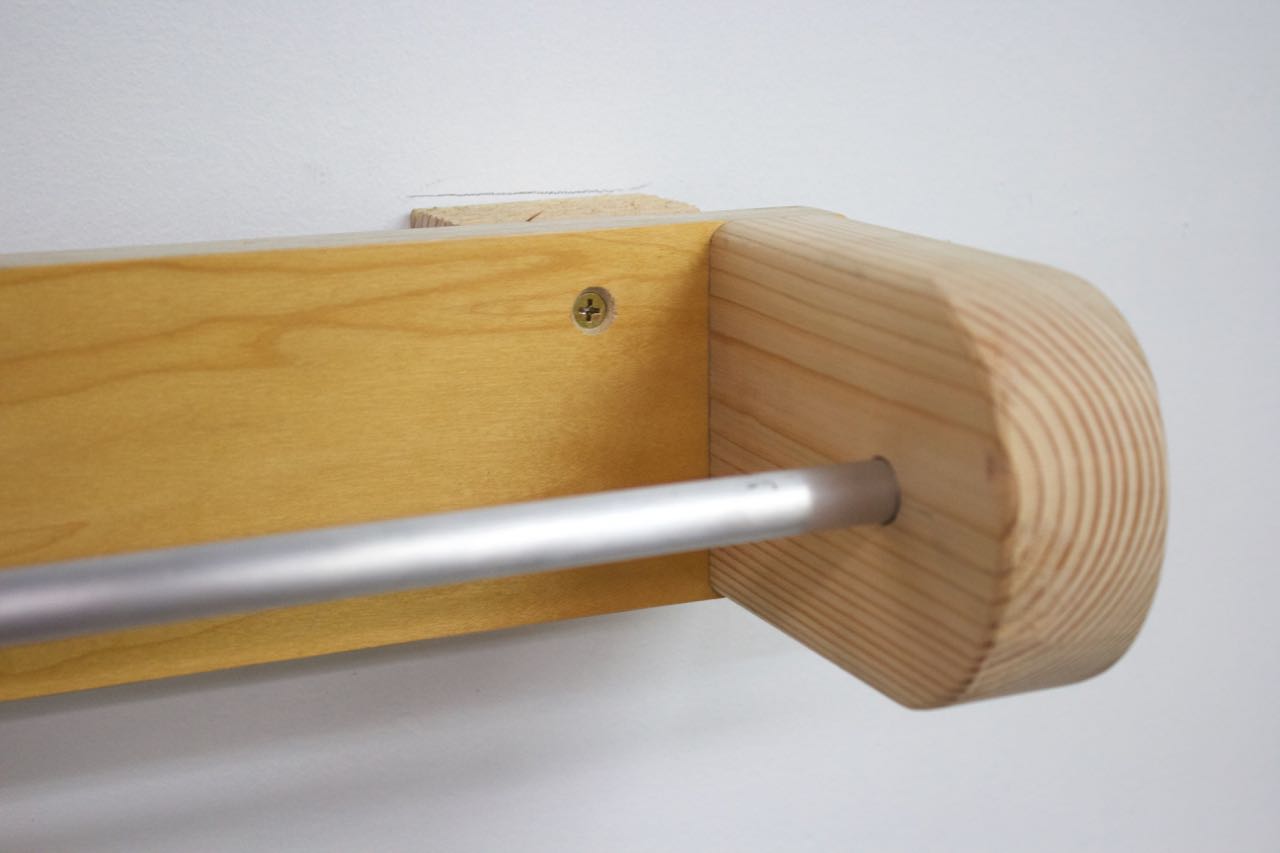
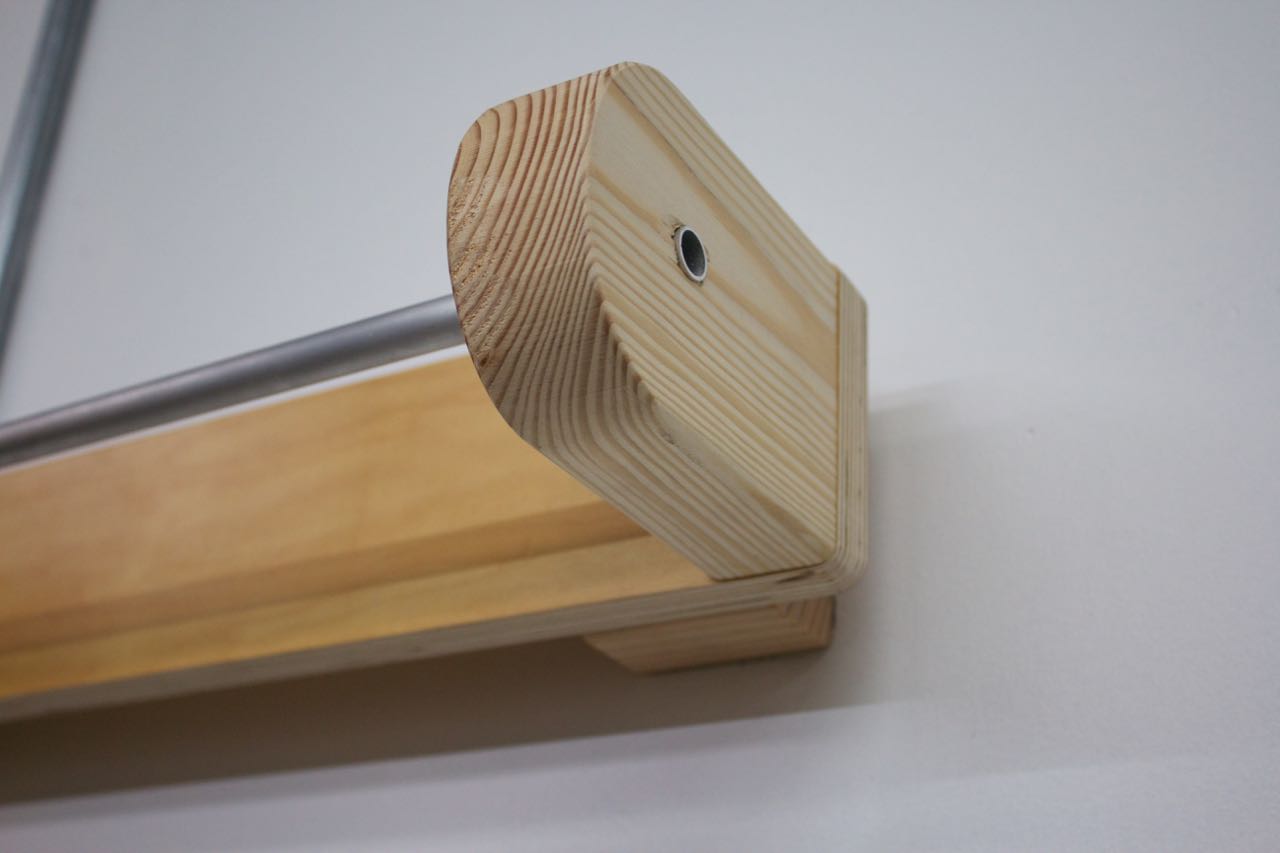
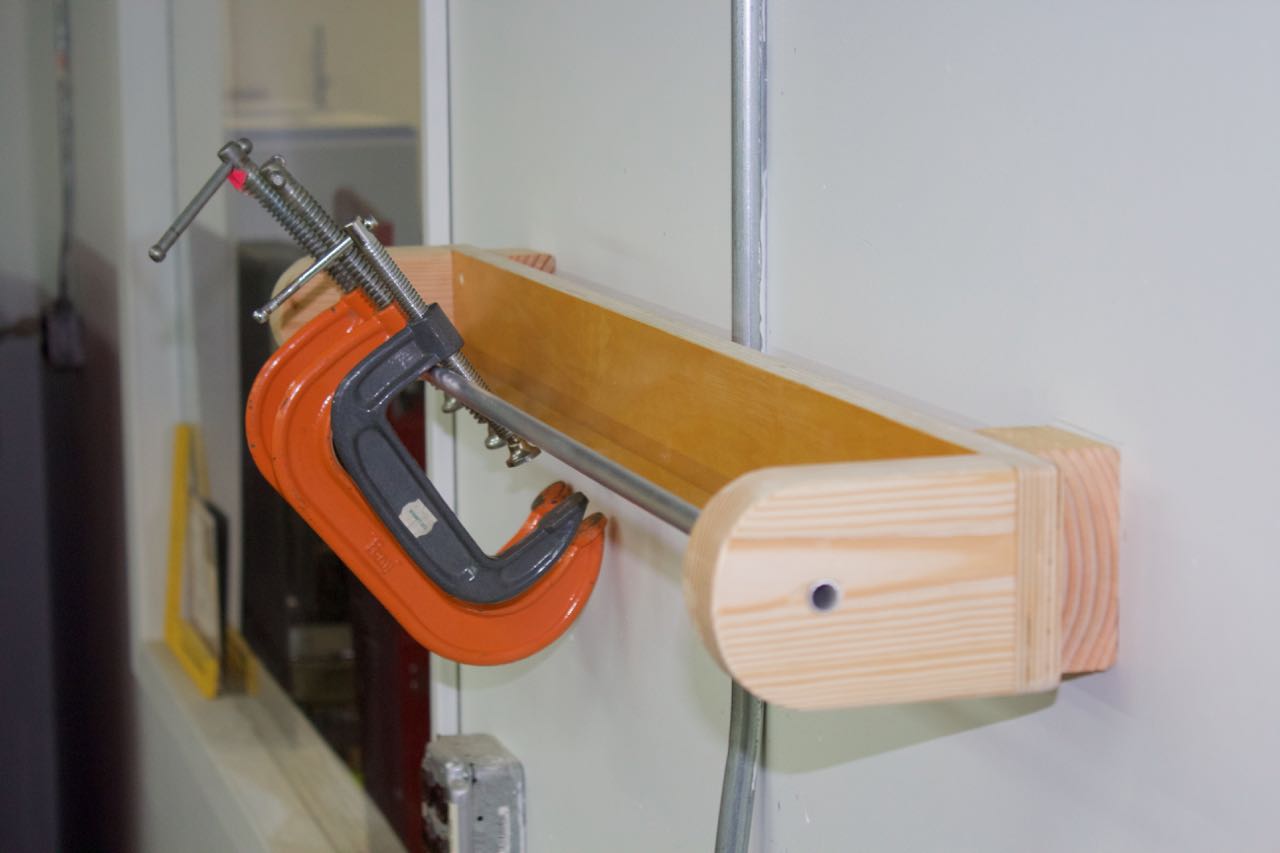
The rack design can be altered to accept different types of clamps and to accommodate whatever materials you have on hand. The backplate is shown as ¾” pre-finished maple plywood, but 2×4 lumber can be used instead. Additionally, the arms that hold the metal bar can be made from other types of wood or hardware, such as shelf-hanging brackets. The length of the rack can also be adjusted to fit your particular shop. In this project, you’re going to learn how to build a 3′ rack, which is a pretty good length for most walls and can hold 10–20 clamps, depending on the size. Before you build the rack, you should inventory your clamps to see how big a rack you will need, and factor in a bit of extra room in case you acquire more clamps in the future.

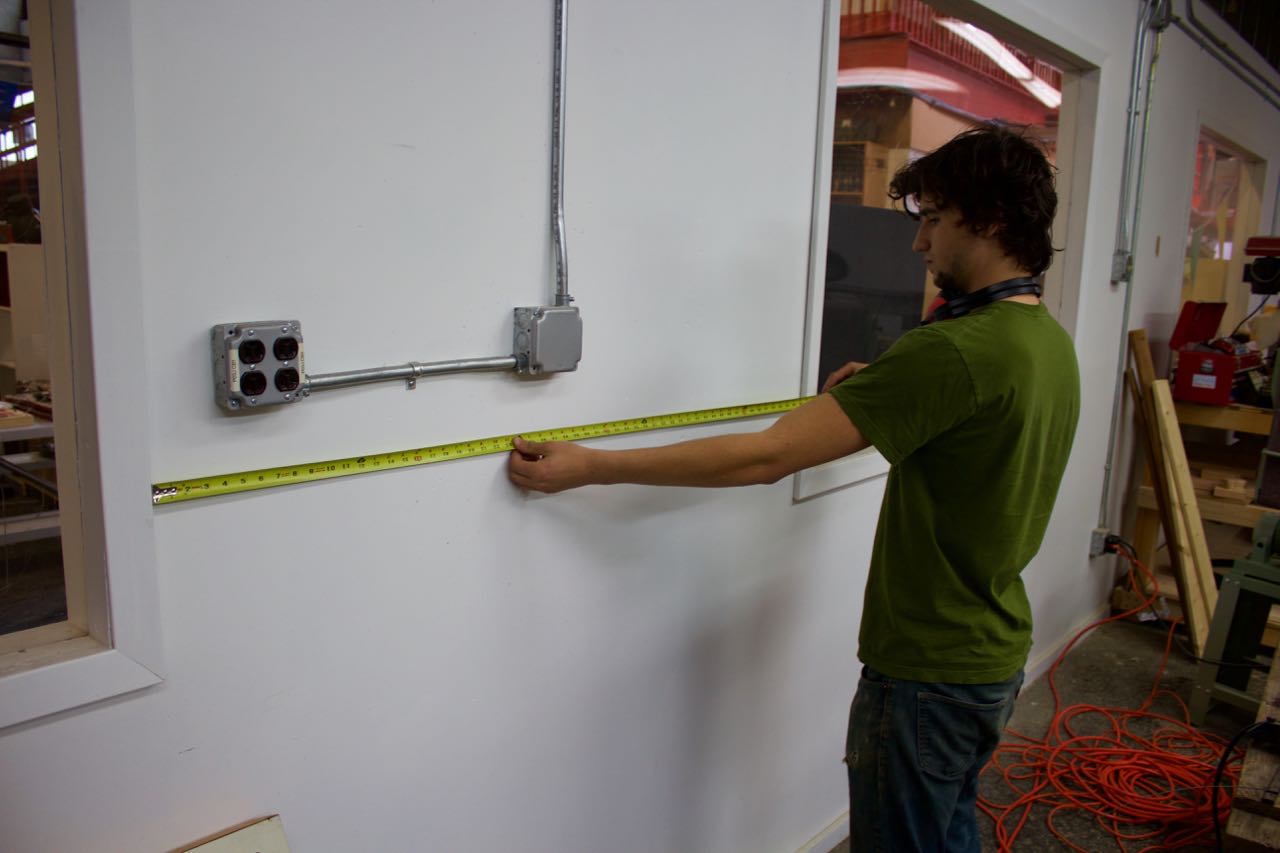
Over here at Maker Media Lab, we are still in the process of setting up our new shop, so we developed this project in an effort to organize and clean up our workspace. This post is part of a larger initiative to document our internal shop setup process, so look out for more posts about shop organization!

Project Steps

Setup, Tools, & Materials

Before you start, plan out where you want to mount your clamp rack. Measure the area and decide how long it will need to be. This project shows how to build a 3′ rack, but the dimensions can be adjusted to fit your particular requirements.

Gather the tools and materials listed in the sidebar above.

Refer to the diagram for referencing the names of the different pieces of the rack.

Make the Backplate

The backplate is the piece of plywood (or 2×4) which spans the length of the rack and holds the two arms in place. The backplate also provides a flexible means of attaching the clamp rack to the wall.

The backplate should be 3′ long and 3½” wide so that it’s the same width as the 2×4 arms. Cross-cut the plywood to length with a chop saw, and then rip it to width using a table saw. You can use a scrap 2×4 as a template to set the fence on the table saw.

Mark a line 1½” from each end of the backplate using a 2×4 as a template. Center two holes in this area to attach an arm to the backplate. These should be clearance holes for whatever wood screws you plan on using.

Use a countersink drill bit to cut additional material from each hole so that the screw heads sit flush with the surface of the wood.

Make the Arms

The two arms of the clamp rack attach to the backplate and hold the metal rod between them. To make them, get some scrap 2×4 and cross-cut two 5″ pieces with a chop saw.

To place the holes, make a mark 1¾” from an end, and then mark the center. Connect these marks with a “+” to define the center of the hole. Next, use a compass to trace out a semi-circle that’s centered on the “+”.

Use a bandsaw or a jigsaw to cut along this line. Clean up the cut marks with sandpaper or a belt sander.

Using a drill or drill press, drill a hole for the rod. The rod will be press-fit into place, which means it will just be held in place by friction, thus, we want the hole a bit tight. Start with a small bit and gradually work up to the correct size. Use this drill bit to drill a hold in the other arm too.

Assembly

Hold or clamp the arms in place on the backplate, and drill a pilot hole through one of the clearance holes in the backplate. Then screw in one of the wood screws. Repeat this process for the second hole.

Press fit the metal rod into the hole in the arm. You may need to use a hammer. Press fit the second arm onto the other end of the rod and line up the second arm with the backplate. Repeat the drilling and screwing process on the second arm.

Step back and admire your work!

Mounting & Use

The mounting method you should use will depend on where you want to mount the rack. If mounting into drywall, you can use drywall anchors, or you can screw into the wood studs with wood screws (you’ll have to find them with a stud finder first). Our wall is drywall over metal studs, so we used expanding drywall anchors mounted through the metal studs. Either way, choose at least two mounting points to attach your rack to the wall.

Once the rack is mounted, fill it up with your clamps!