Project Steps

Let’s make a super cool star! Flip it over and WOW – it’s another design.

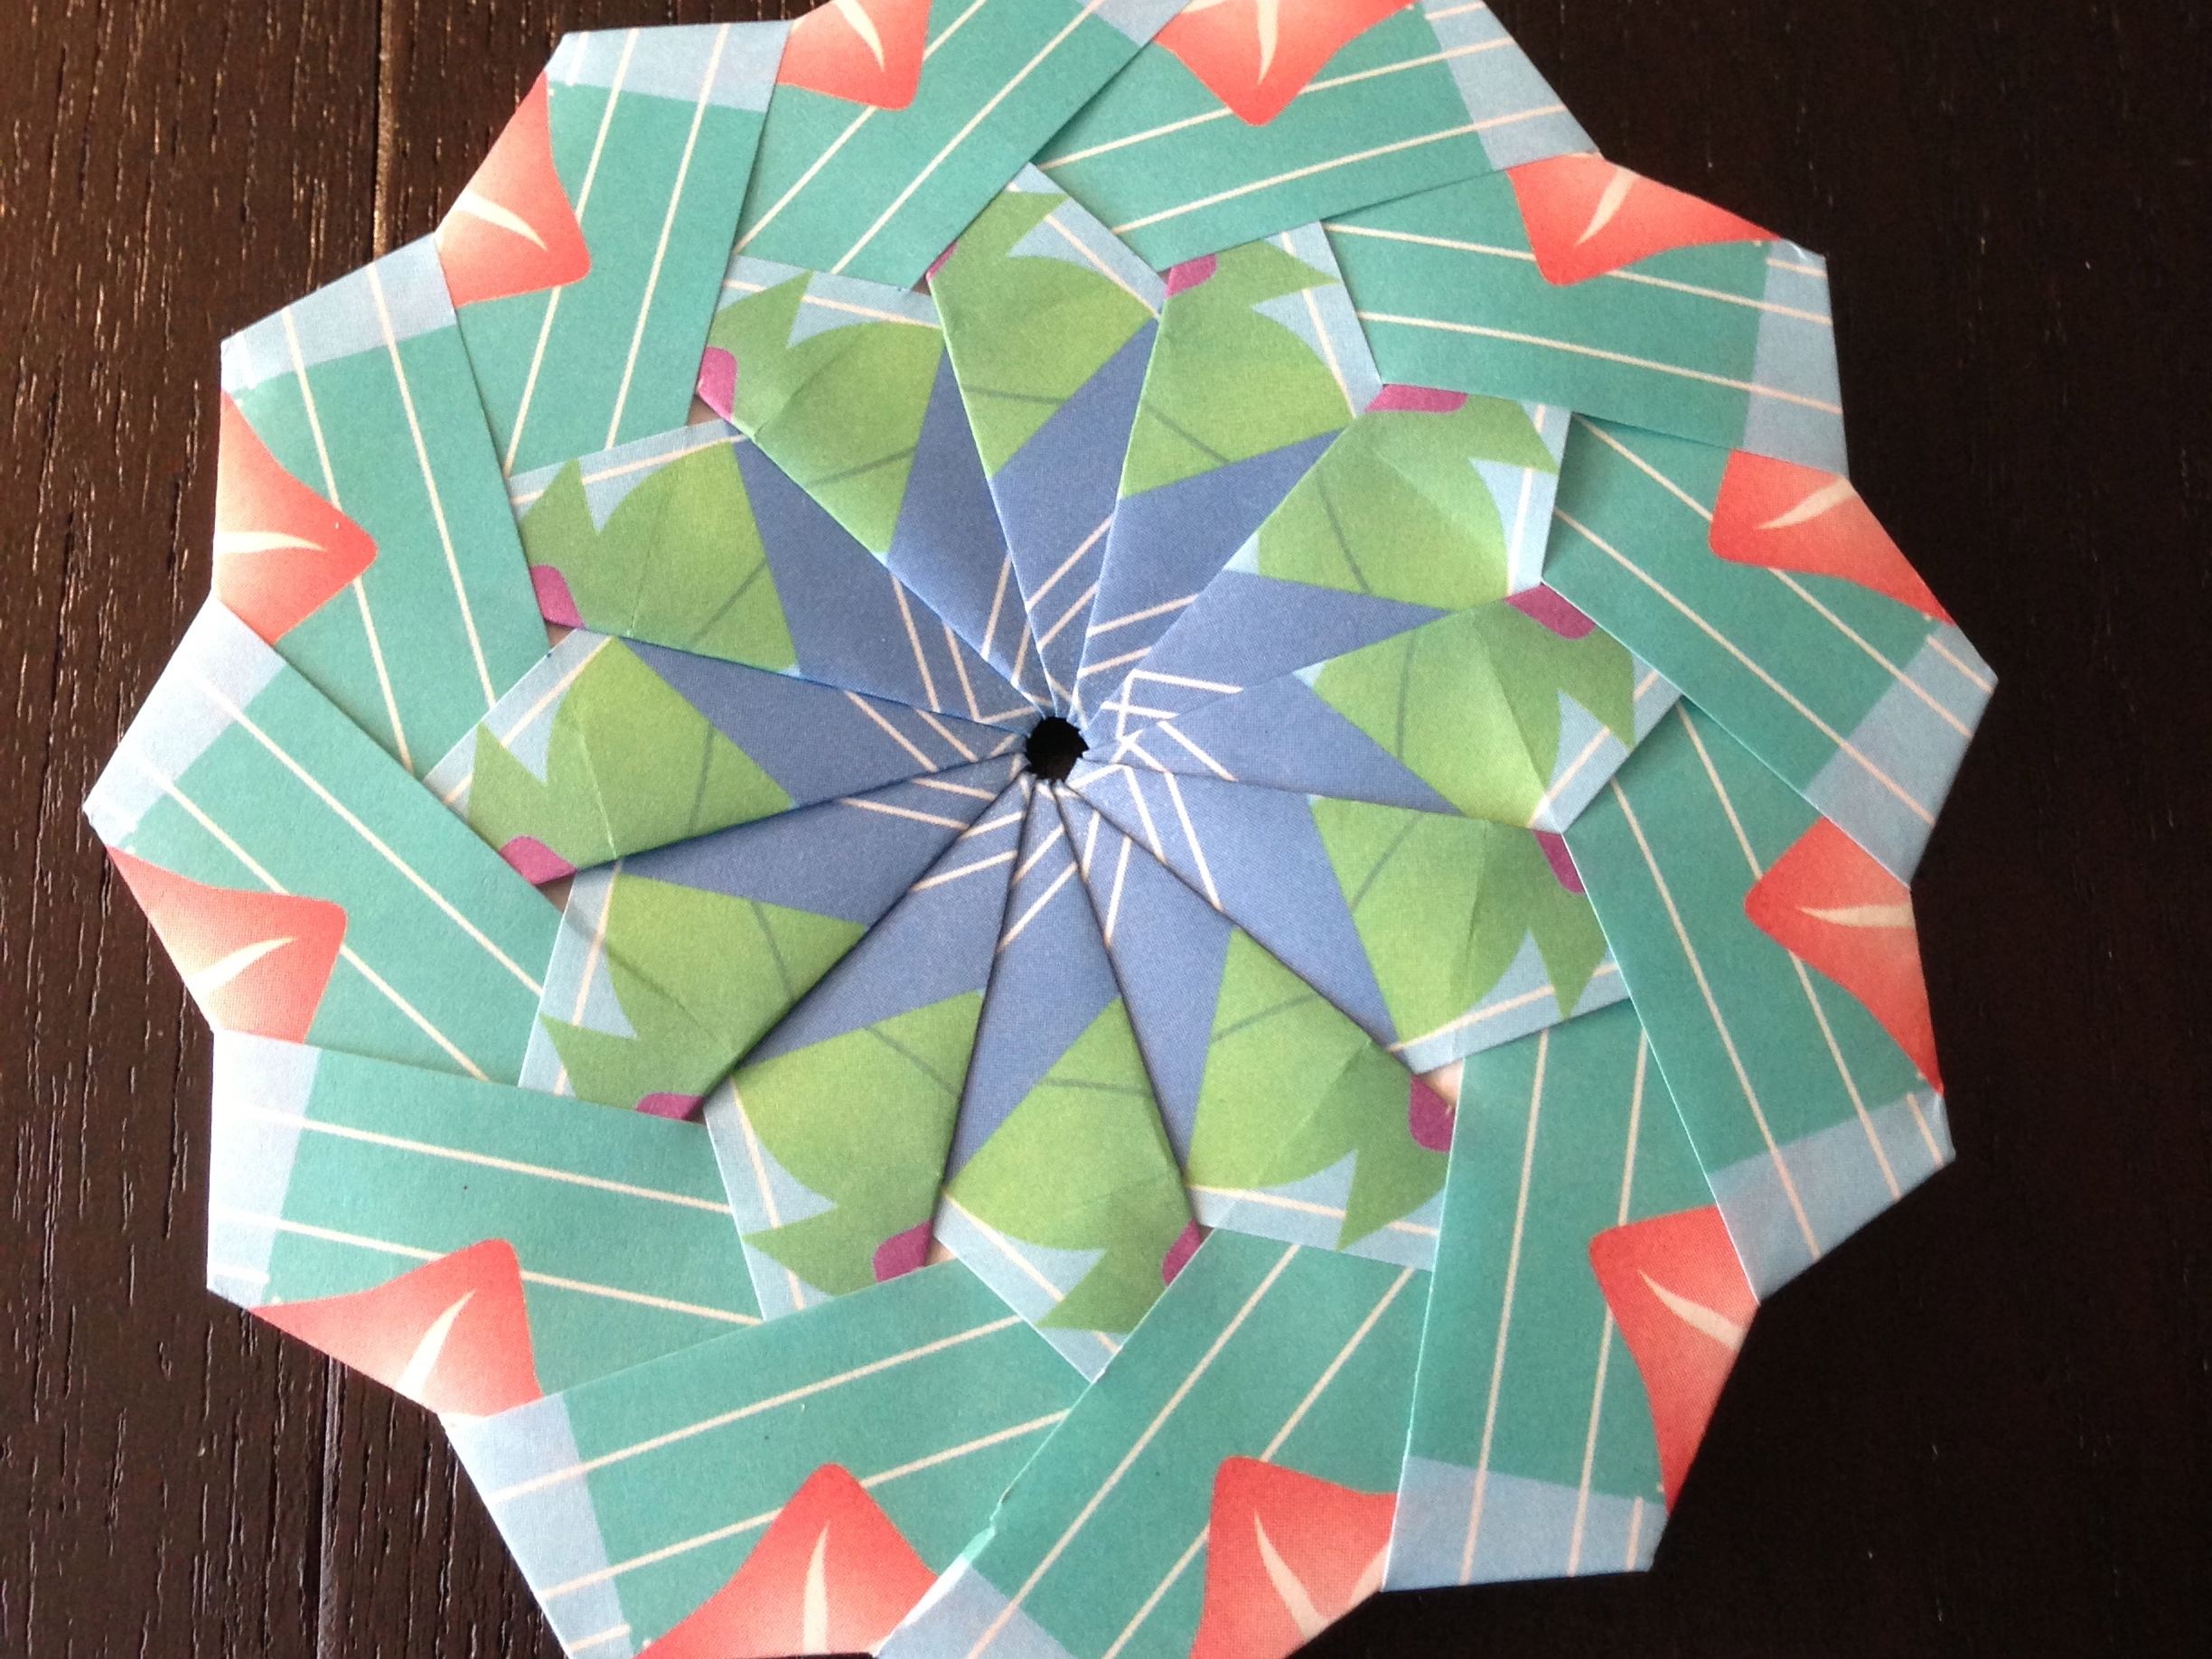
You need 12 Pieces of 3×3 origami paper.

If you want to have cool pattern designs on each side, you need to make sure your paper’s pattern is always going the correct direction.

Pick a side, then make a small crease by folding it in half. Crease only the top section.

This will be your guide in the first step, but folding all of them now will help keep the pattern correct.

First piece – color side up, with the small crease you made in the last step on the left.

Fold the bottom-right point up to the crease while making sure it makes a super point in the top right. You may have to fidget with it a bit.

Fold back, with the edge along the crease you just made.

Fold the other side over to meet the right side, again making sure that you have a nice point at the top.

Again, fold paper back. Both sides should look the same.

Fold in half, making sure the “wings” are on the outside.

Fold the top down along the straight “wing.”

Another view.

Open up the whole unit with color side down.

Fold in each side “wing.” You will not be making a new crease; you should be using an existing crease.

Turn over – color side up.

Fold the bottom point up. You should fold it up to where the 2 side creases meet.

Let the model collapse. Folding the unit in half will make the “shovel” fold outward.

This is the finished unit.

Make all 12. Lay 2 out as shown. I like to call the piece of the unit that sticks out the “shovel.”

Take 2 pieces and place the “shovel” under the inside point of the other piece.

Slide the “shovel” up to the top. Fold.

Take the little flap and tuck it into the other piece. This will lock the two together.

Continue with the rest of the pieces.

Locking the last piece can be tricky. Just take your time.

Voilà! Each side of your star is different!!