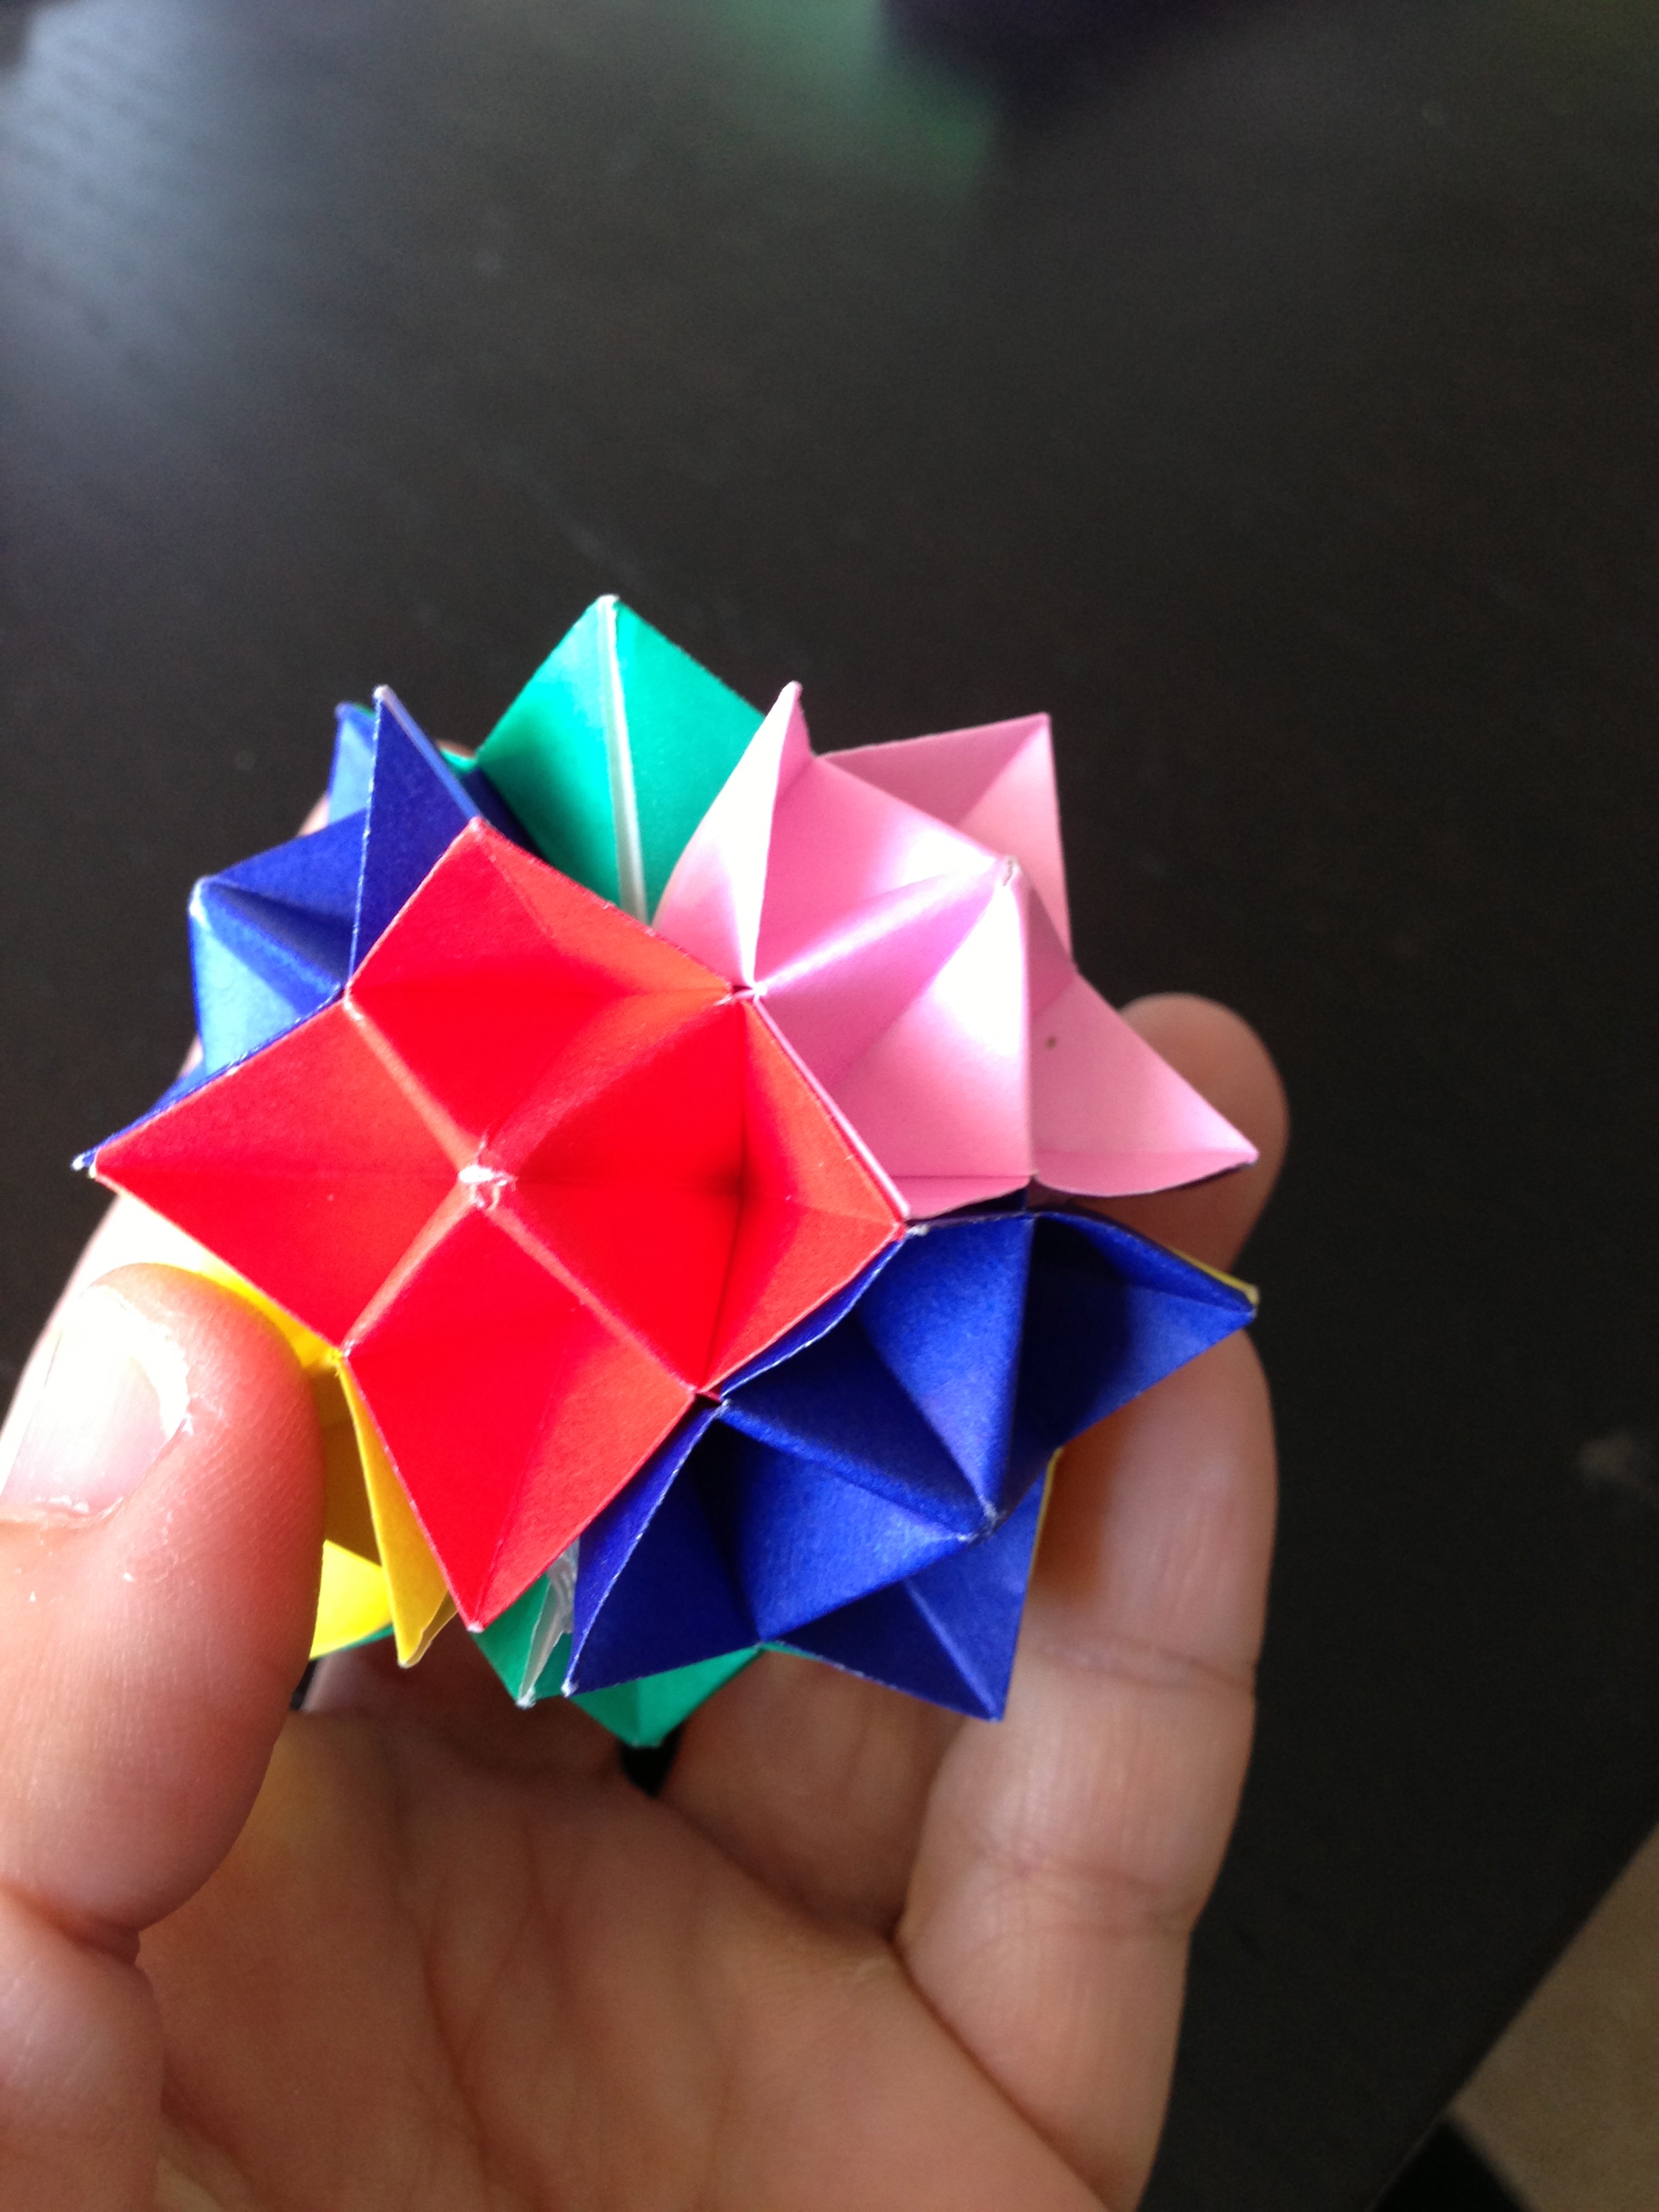
I think this Spike Ball is really cute. It reminds me of a bunch of “cootie catchers” all stuck together.

This interesting project was initially designed by Rona Gukewitz and Bennett Arnstein in 1996 in 3D Geometric Origami: Modular Polyhedra by Dover Publications.

Project Steps

Getting Started

You will need 12 pieces of Origami paper. I used 3×3 paper – but you can use whatever size you wish.

Origami Spike Ball Step 1

Fold a + in the paper. Starting with the color side down.

Step 2

Origami Spike Ball Step 2

Turn the paper over so the color is showing.

Origami Spike Ball Step 2

Fold edge to the center on both sides.

Origami Spike Ball Step 2

Do the same on the other side.

Step 3

Origami Spike Ball Step 3

Turn over to color side down

Origami Spike Ball Step 3

Origami Spike Ball Step 3

Fold each point to the center.

Step 4

Origami Spike Ball Step 4

Turn over to color side up.

Origami Spike Ball Step 4

The next few steps should pop right into place. Fold up the right side and push just the center down.

Origami Spike Ball Step 4

Do the same for the bottom. You will see a little square emerge in the corner.

Step 5

Origami Spike Ball Step 5

It will look like this after all sides are pushed in.

Origami Spike Ball Step 5

Turn the paper over.

Origami Spike Ball Step 5

Fold the point to the center – but be careful and let the underneath pop out.

Step 6

Origami Spike Ball Step 6

It should look like this after all 4 sides are folded in.

Origami Spike Ball Step 6

Turn over.

Origami Spike Ball Step 6

Turn back over so color side is down. Fold corner to corner – in both directions. This will be a bit hard – there is alot of paper. Just take your time.

Step 7

Origami Spike Ball Step 7

Hold on to each side and push in toward center. This reminded me of a cootie catcher.

Origami Spike Ball Step 7

Origami Spike Ball Step 7

Carefully pop out each flap.

Step 8

Origami Spike Ball Step 8

Make 11 more!

Step 9

Now lets put it together!

Origami Spike Ball Step 9

Place two units next to each other.

Origami Spike Ball Step 9

Origami Spike Ball Step 9

It doesn’t matter which side goes on top. Pick one and slide it into the other unit.

Step 10

Origami Spike Ball Step 9

Origami Spike Ball Step 10

Take your 3rd piece and connect the triangle. It will get a bit tight trying to slide each piece in. Just work slowly.

Step 11

Origami Spike Ball Step 11

Origami Spike Ball Step 11

You just made a triangle so this time we are going to make a square. The pattern just goes back and forth. You will use 2 units to make a square.

Origami Spike Ball Step 11

Continue this pattern all the way around.

Step 12

Origami Spike Ball Step 12

Origami Spike Ball Step 12

The last few pieces are pretty hard to get in. Sometime they don’t want to slide in easily. I usually try a different side, sometimes that works.
Have fun making a cute Spike Ball! Happy Folding!