When the inspiration hits to start weaving, pull out your handy pocket loom and you’re ready to go. The portable loom is provided here or online as a PDF at craftzine.com/08/pocketloom.

With the set of measurements in this project, you can easily weave a scarf. For further instruction and other weaving projects, go to actionweaver.com.

Project Steps

Prepare your pocket loom.

Carefully cut out the cardstock loom and shuttle card, separating them along the magenta lines.

Use scissors or an X-Acto knife to cut out the gold diamond holes. It helps to fold the loom lengthwise, cut all the red lines first, then cut all the yellow lines to finish.

Now go back across the folded loom, cutting out all the blue slots. When they’re all removed, unfold the loom.

Measure out 28 lengths of yarn by wrapping it around your arm, from thumb to elbow, 28 times, then cutting the bundle at the top.

Thread these 28 lengths through the 28 slots and holes in the loom card and pull them through about 6″.

Tie the strings you just pulled through the loom card to 1 of the sticks, in bundles of 4 to 7. Don’t worry about what type of knot — just make sure it’s secure.

Secure the stick to a wall, table, doorknob, patient friend (I used my own toes), or anything stationary that can handle a clamp, a nail, or more string binding the stick to it. You’ll be tugging it hard, so it has to remain steady.

Move the loom toward the other end of the strings, working out any tangles as you go. When you get close, tie these string ends in bundles of 4 to 7 to the second stick. It helps to have a friend hold the stick while you tie the outermost bundles on the far left and far right of the stick. Then, with the outer strings taut, tie the inner ones to match that tension.

Use a stronger yarn to tie the second stick to your belt loops or around your waist. Now lean back to hold the threads tight. These threads are the warp. The loom card will act as a heddle to raise and lower the warp. You and the materials you have manipulated are now a loom.

Cut out the shuttle. Wind another, thicker yarn around the shuttle, in a figure-8 pattern, following the green arrows. This is the weft.

Weave on your pocket loom.

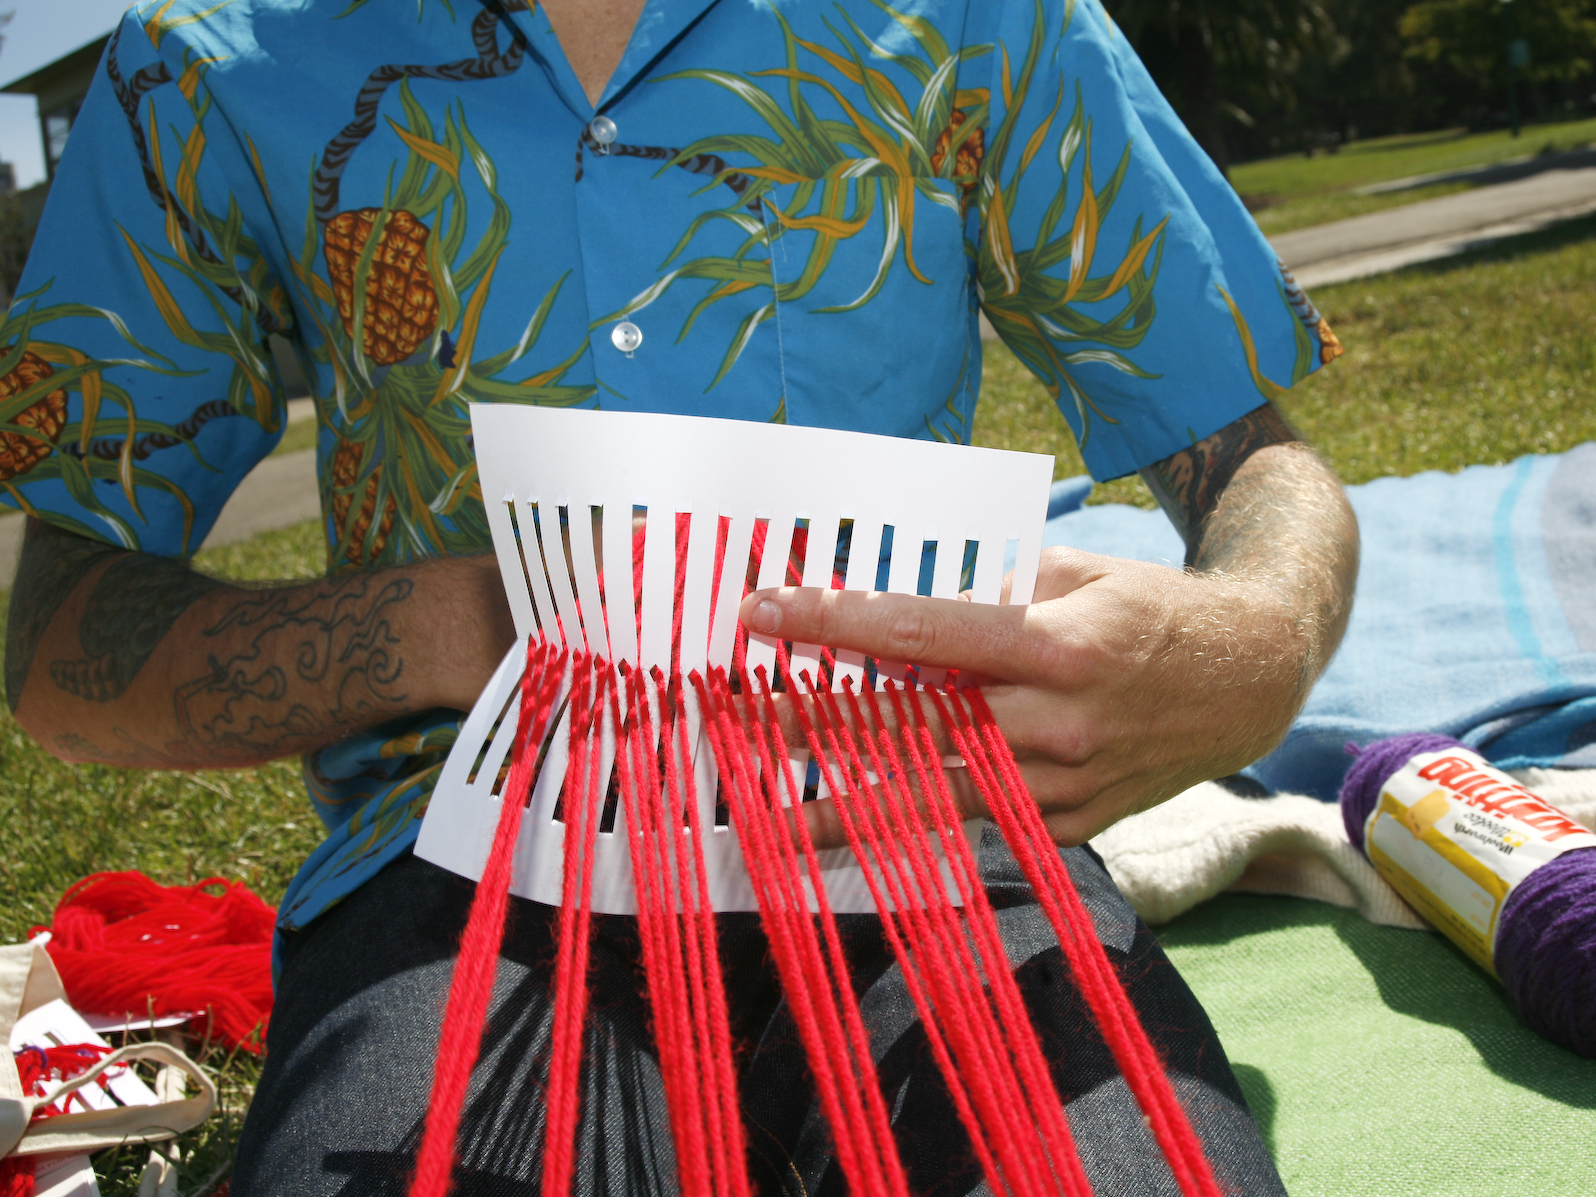
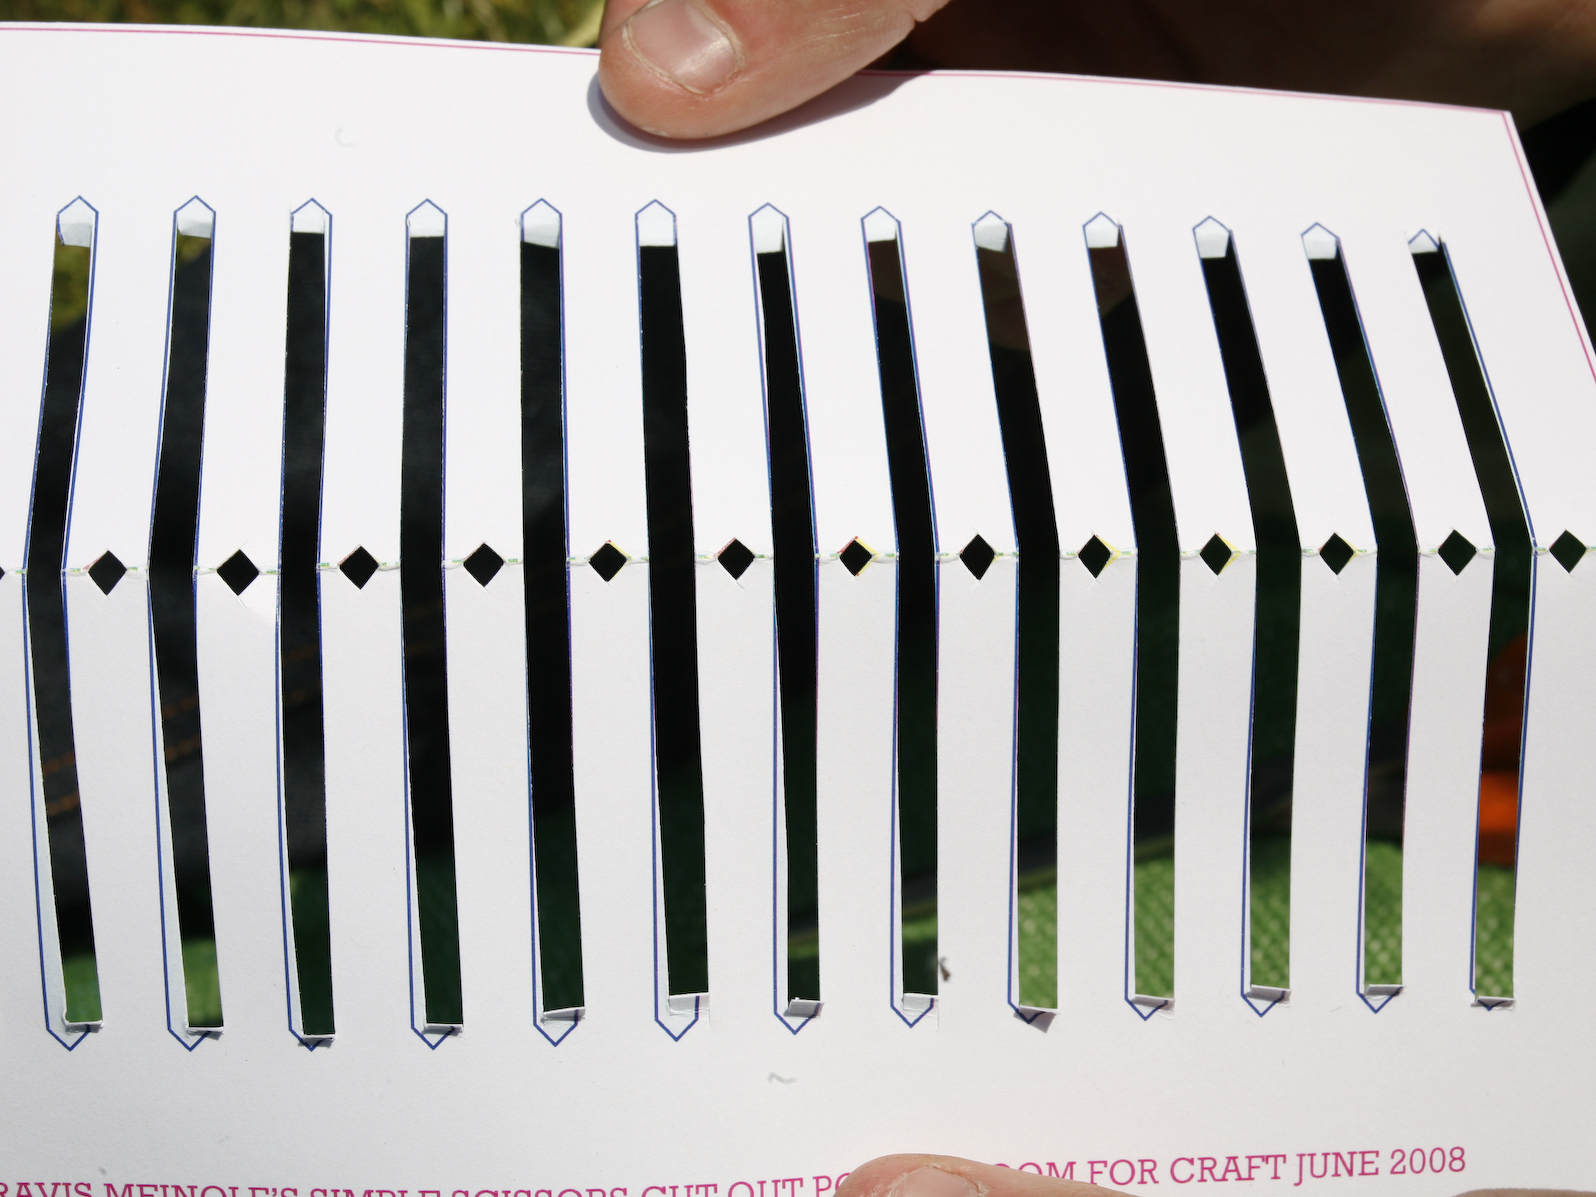
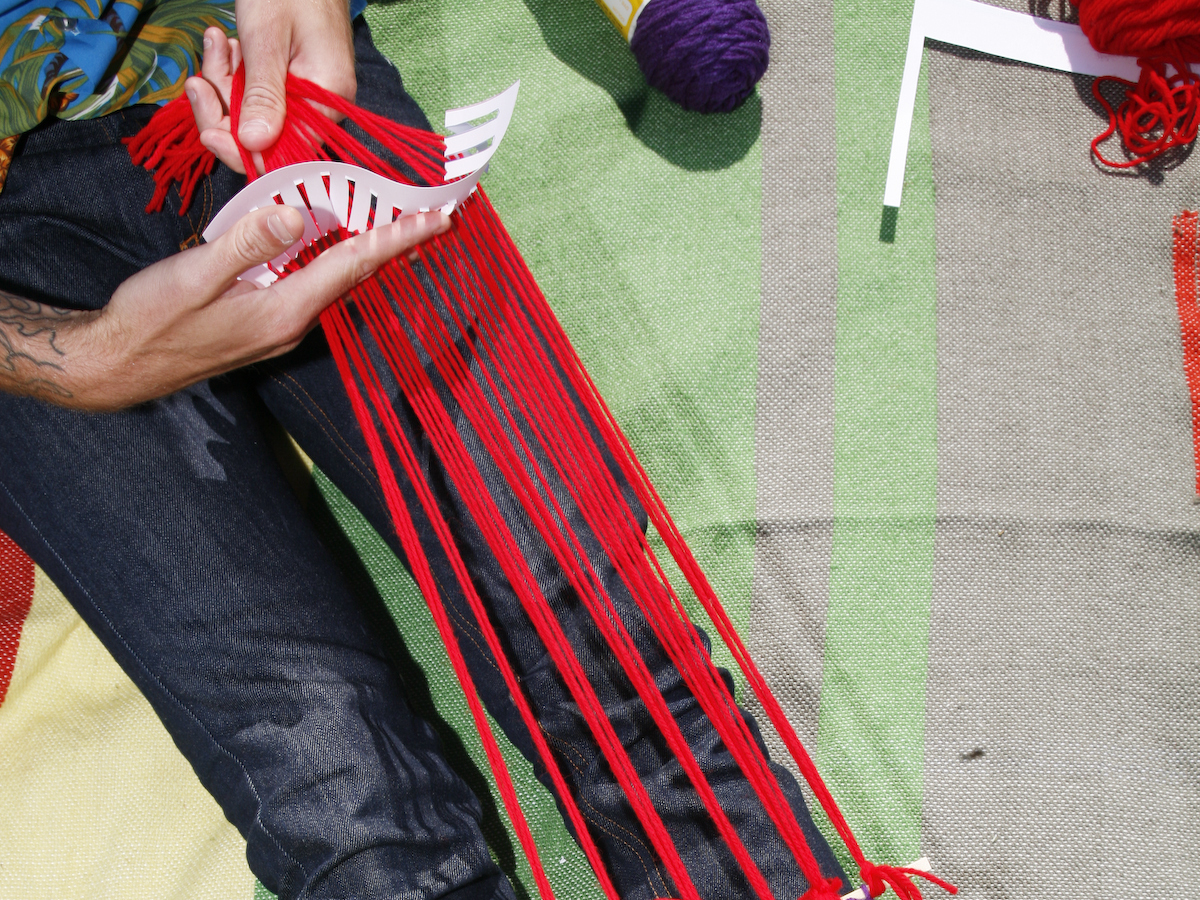
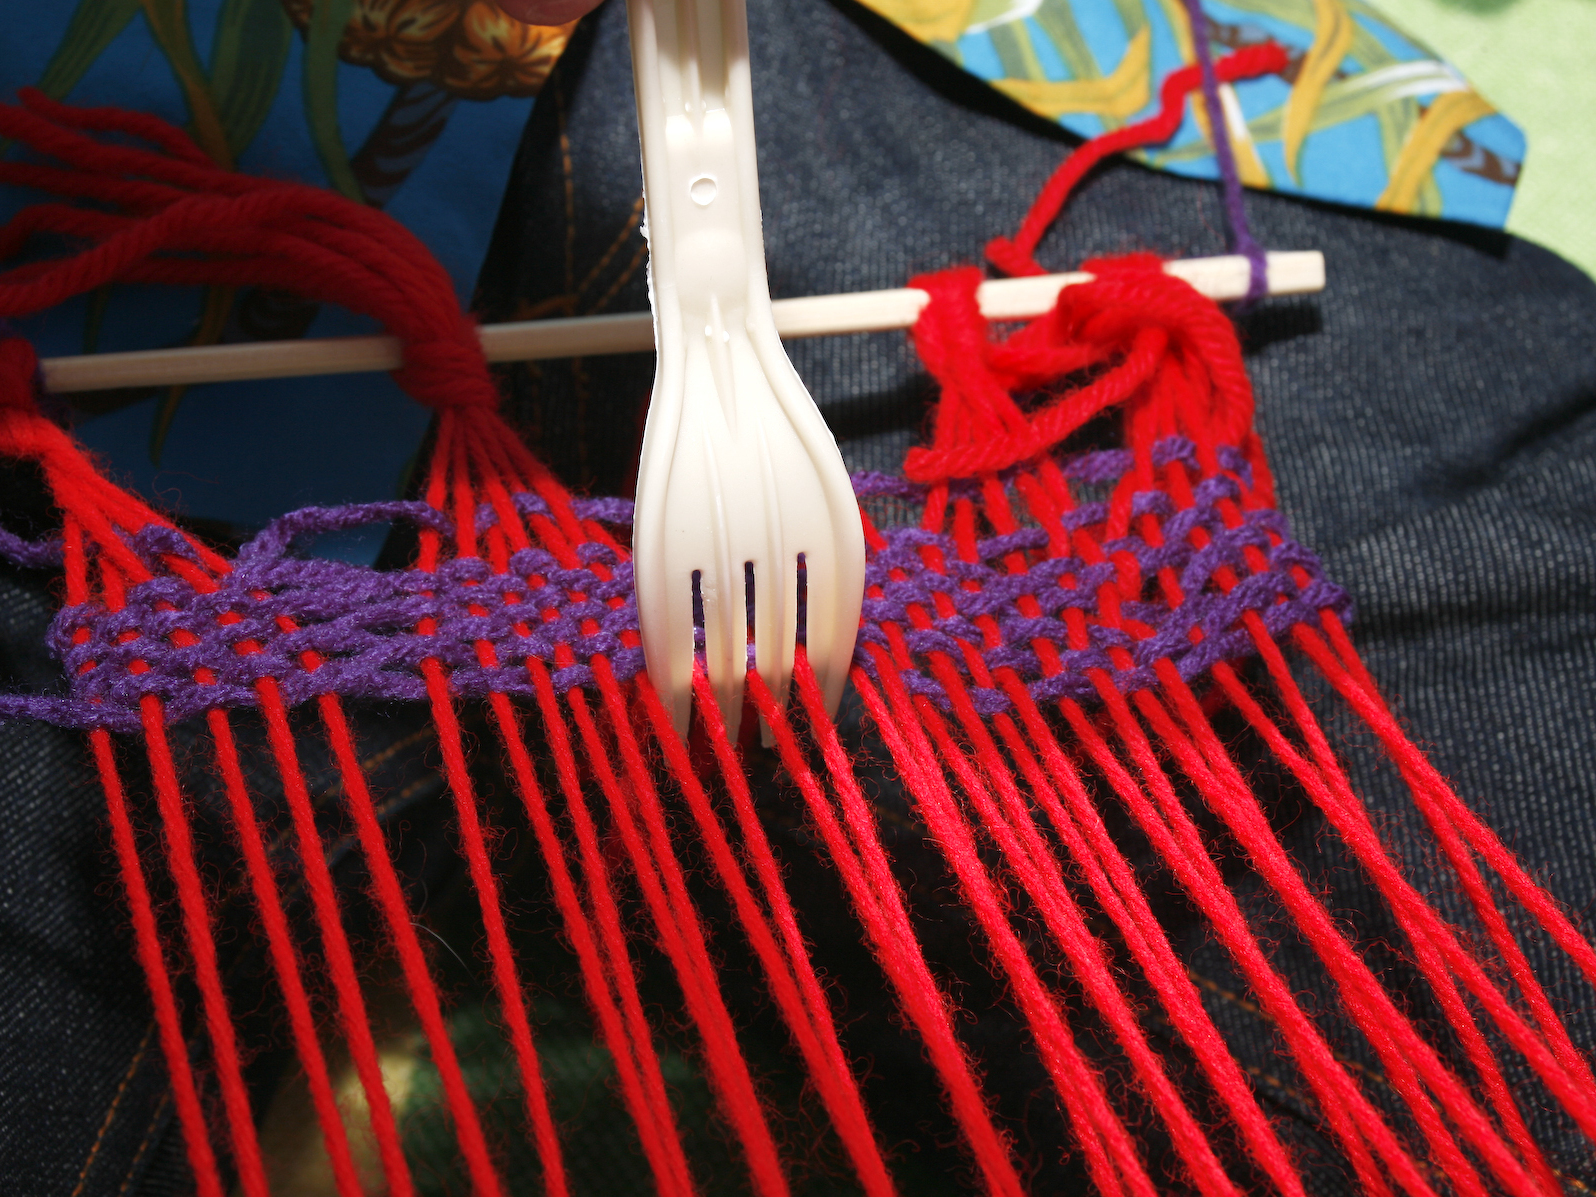
Pulling back with your body to hold the warp threads taut, pull the loom card upward, so that the half of the warp that’s threaded through the golden diamonds lifts above the other half, which should drop to the bottom of the blue slots. The space between is called the shed. Leaving a length of weft hanging off, pass the shuttle through the shed. Then use a fork or the loom card to pull the weft toward the stick that you’re tied to.

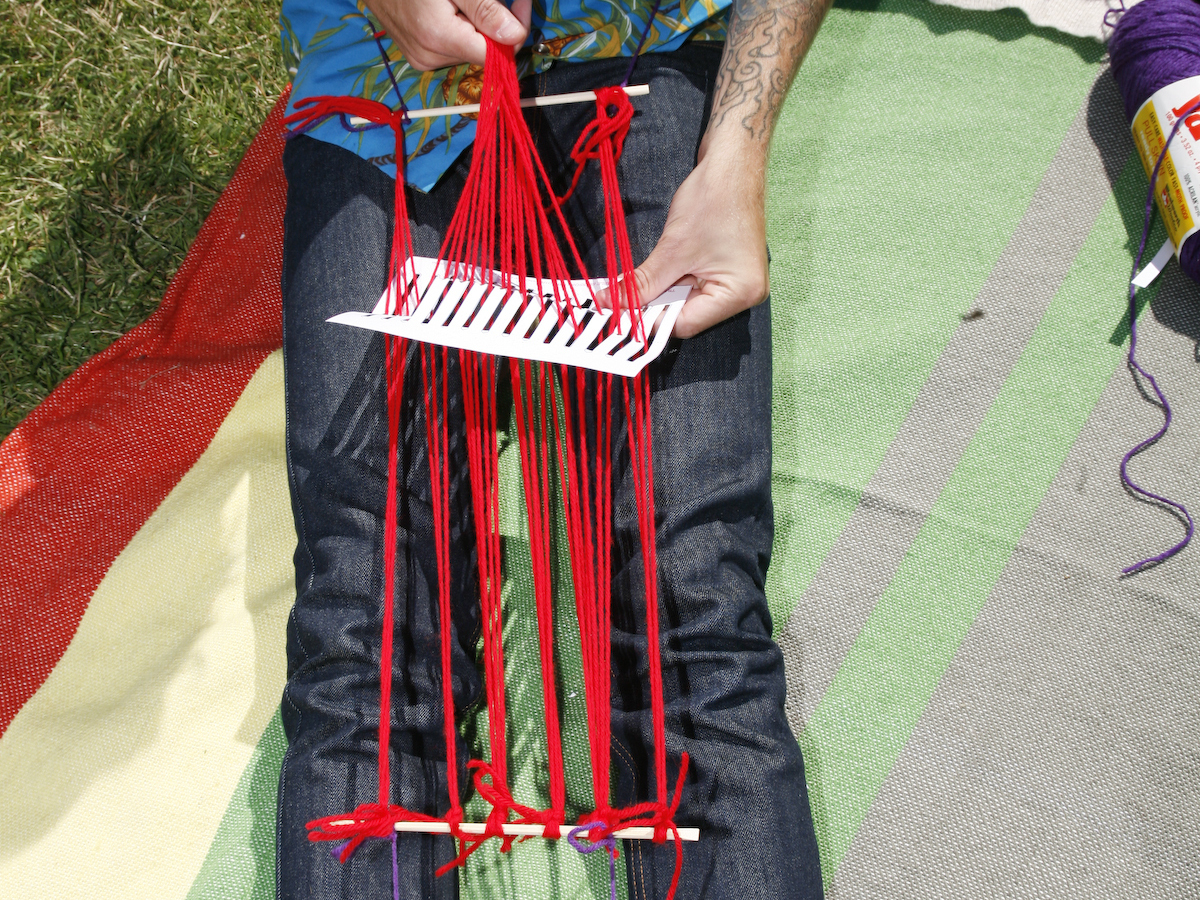
Continue to hold the warp tight with your body. Reach underneath the loom and pull the loom card downward, so the threads through the golden diamonds dip down below the threads which now rise to the top of the blue slots. Wind more weft yarn off the shuttle, and pass it back through the shed, in the direction from which it came. Again, use the loom to pull the weft toward you and pack it in.

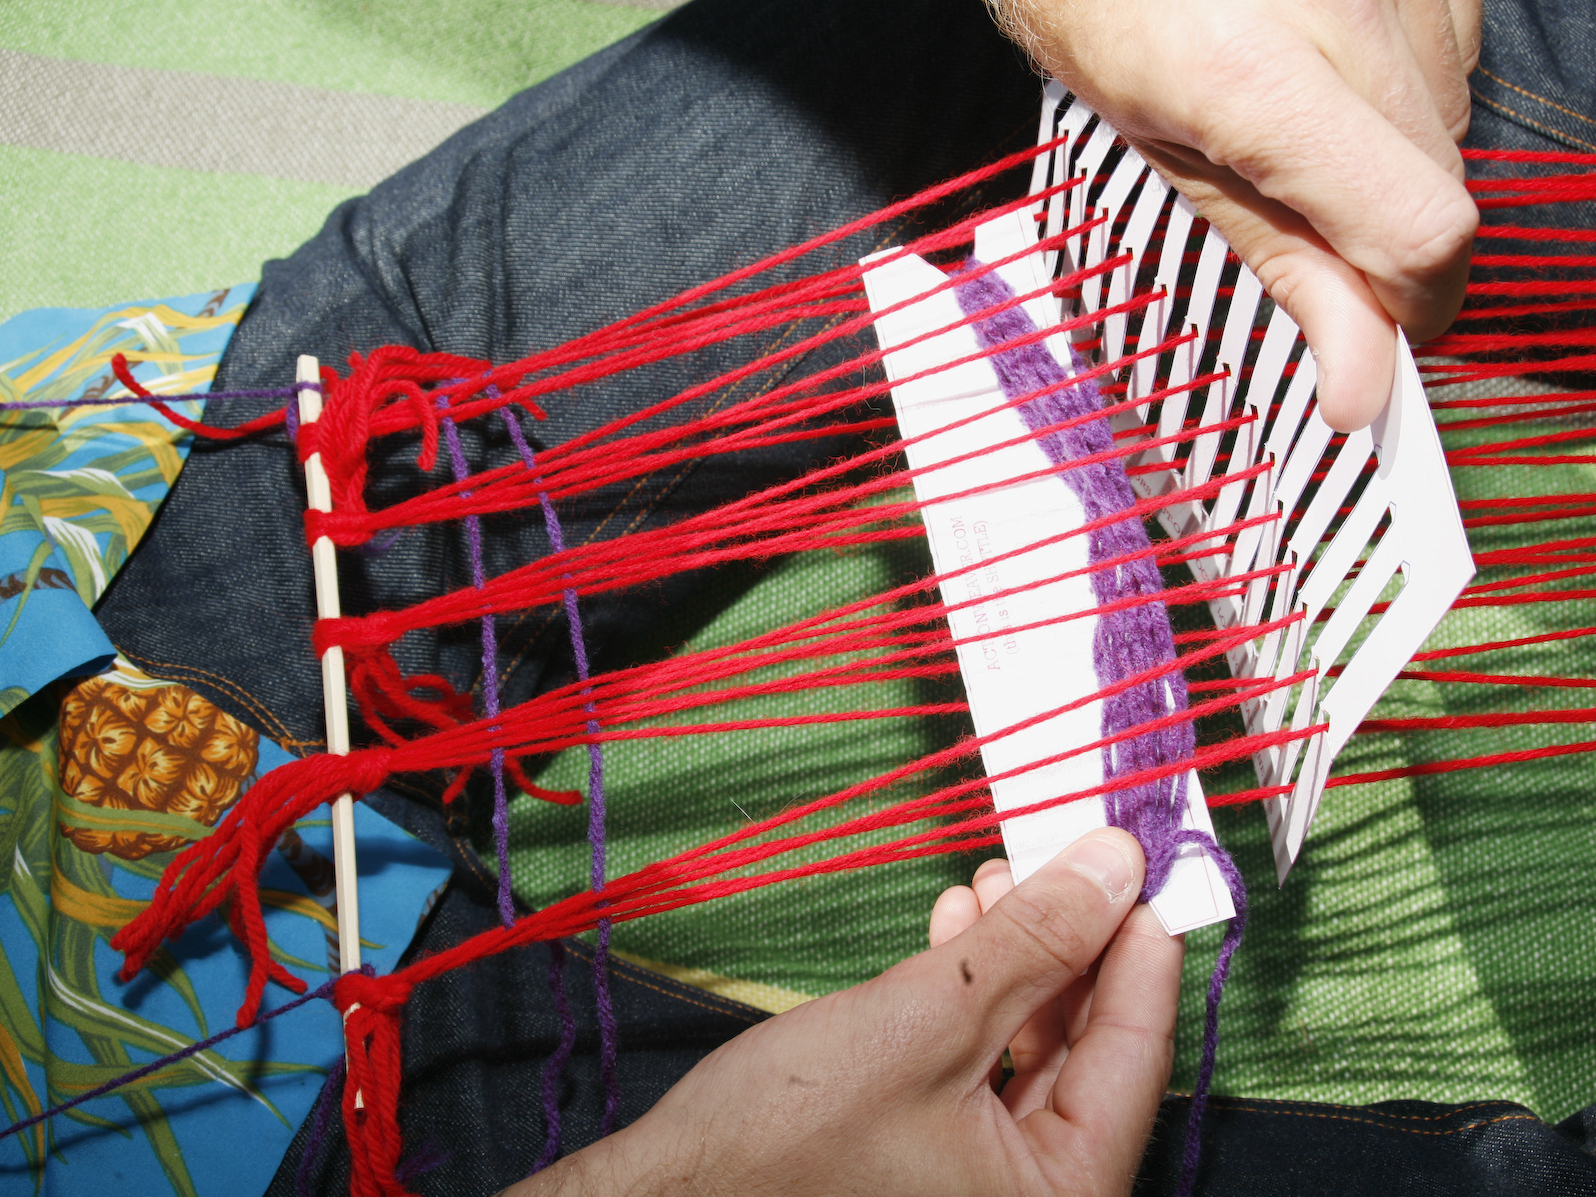
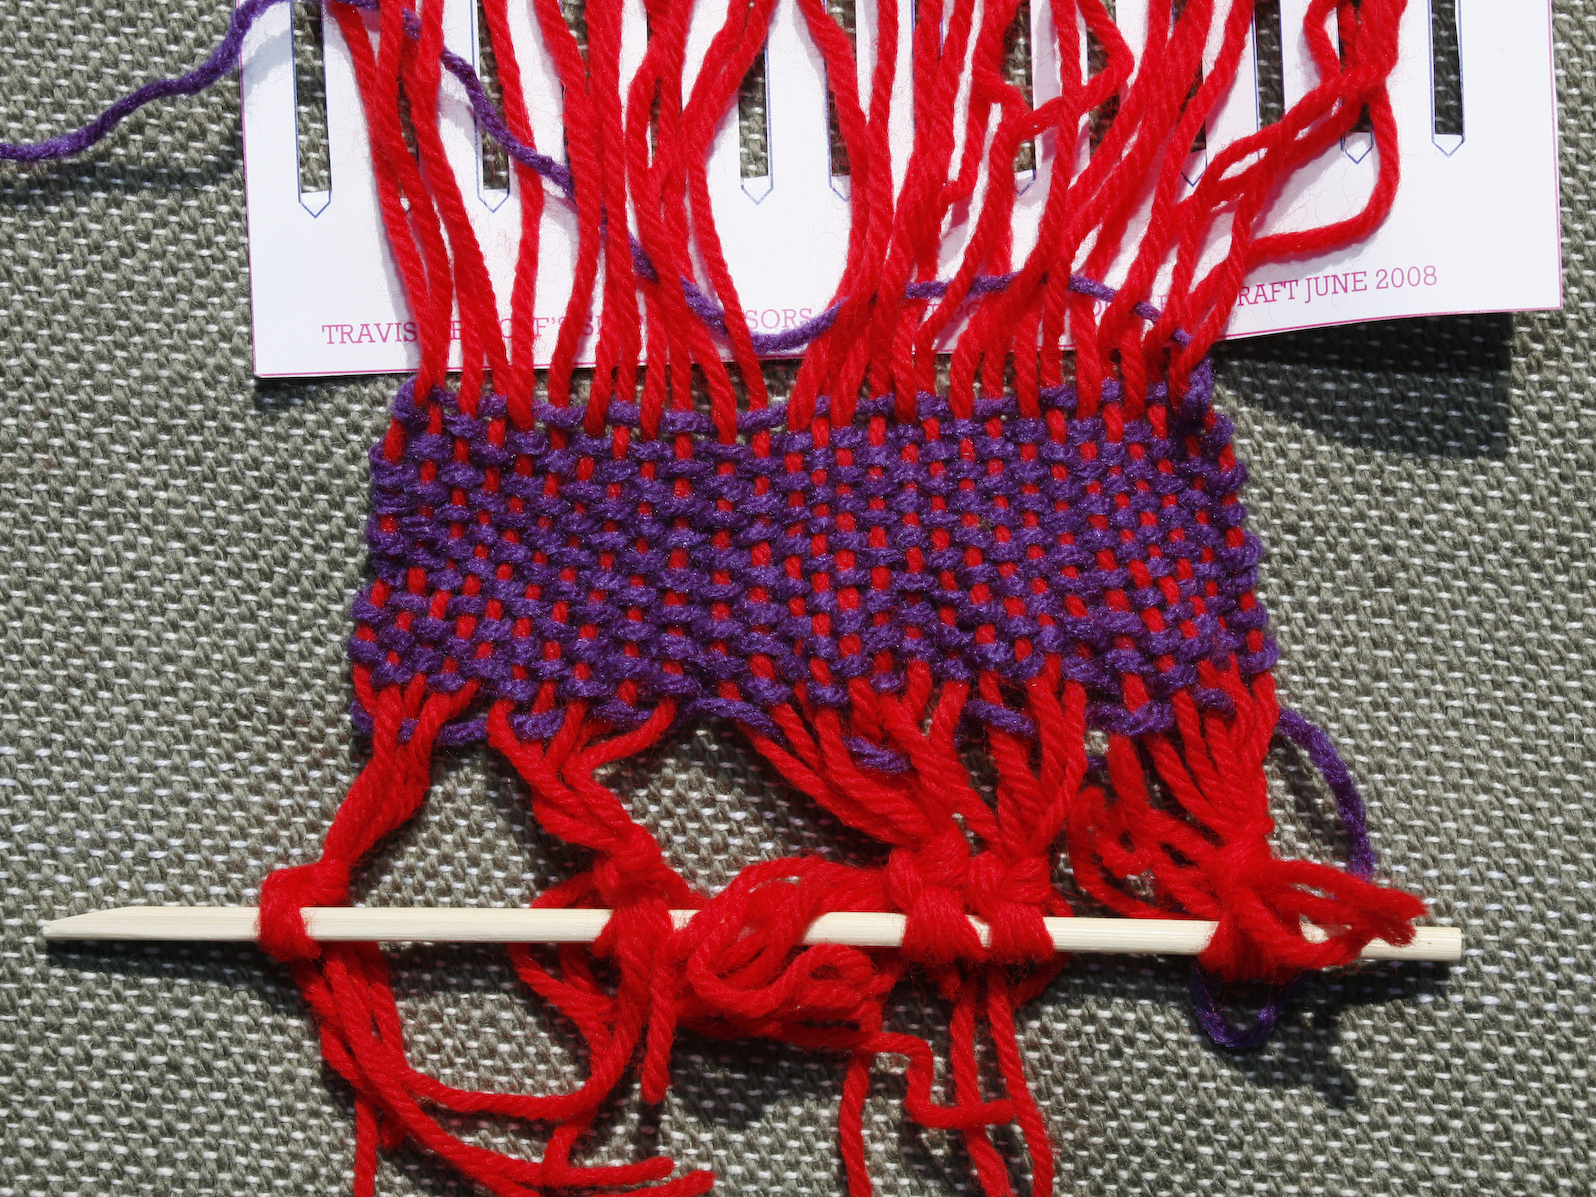
Repeat— you’re weaving! When you’re done, slip the sticks out, knot the warp threads at the weft edge, and you’ve got your cloth to do as you wish. This length makes a perfect scarf.

Conclusion

This project first appeared in CRAFT Volume 08, page 48-51.