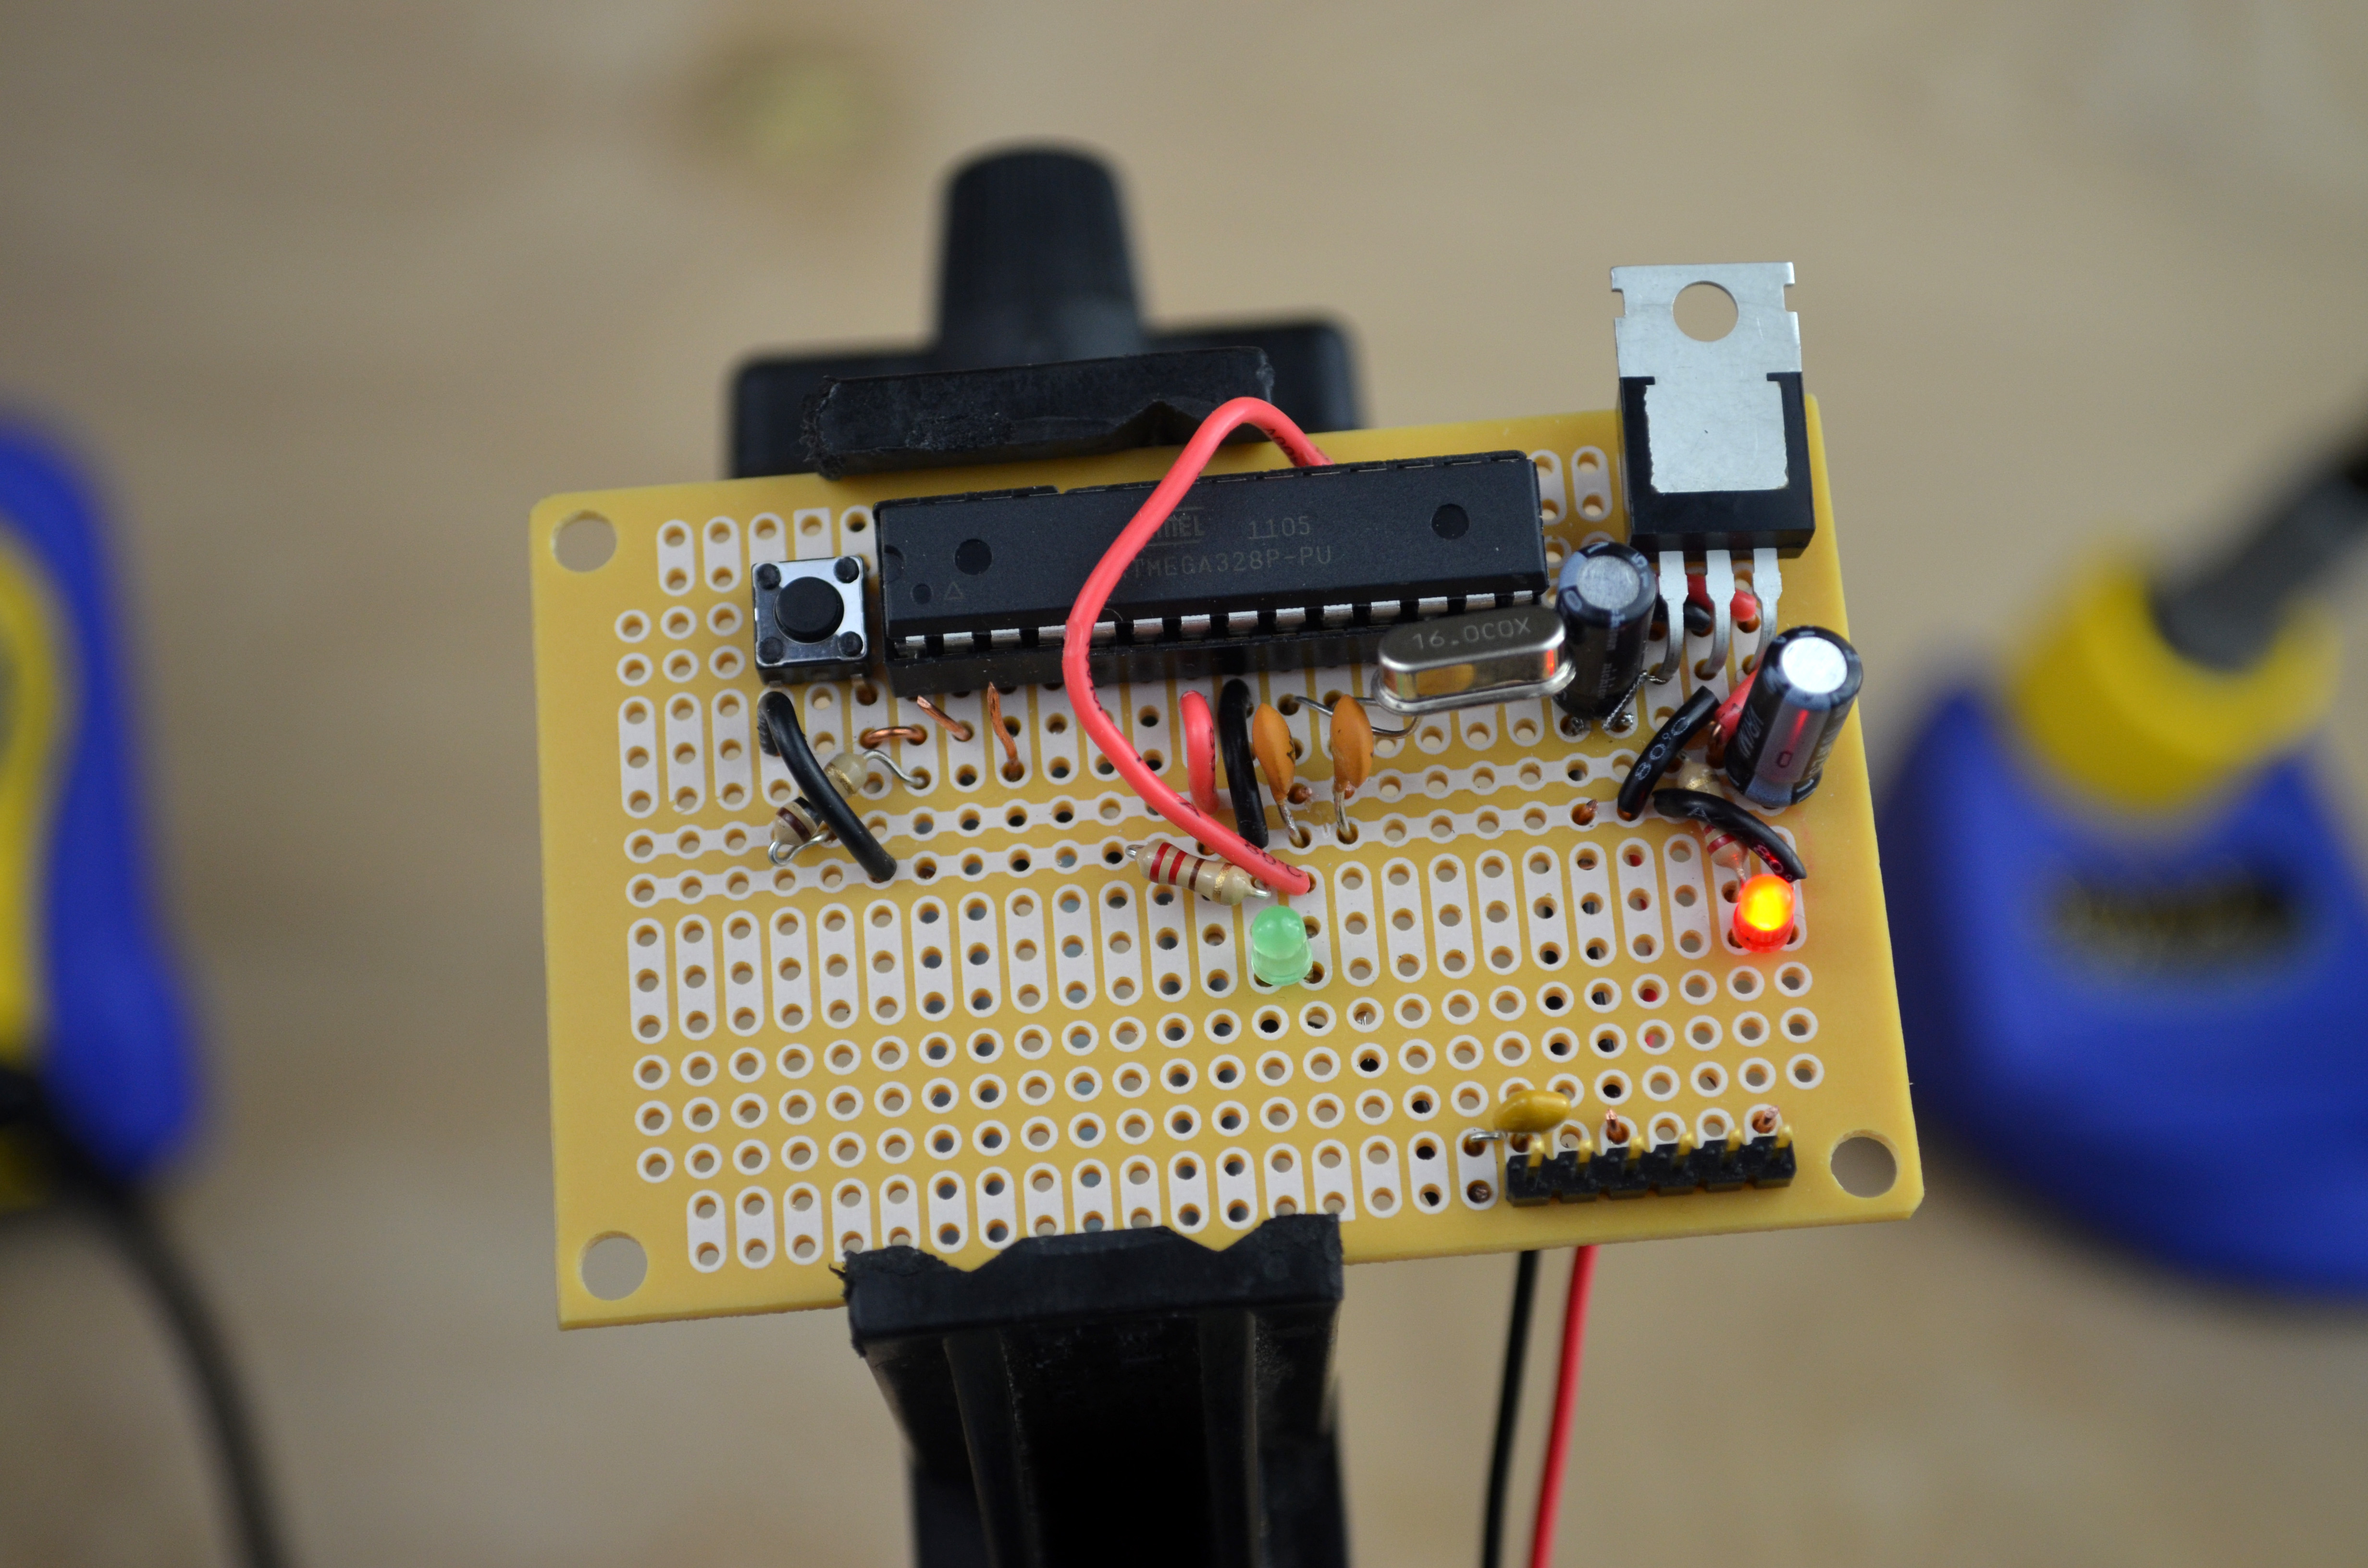
The MintDuino kit is a fantastic project to help you learn the basic circuitry of an Arduino clone, but it is not mechanically sturdy enough for most projects. This breadboard-to-perfboard project will provide a solution to make your MintDuino as strong as the tin it comes in! Plus, this board layout even allows a 9V battery to fit in the tin alongside the perfboard MintDuino.
Projects from Make: Magazine
Transfer the MintDuino from Breadboard to Perfboard
- Like
- Digg
- Del
- Tumblr
- VKontakte
- Flattr
- Buffer
- Love This
- Odnoklassniki
- Meneame
- Blogger
- Amazon
- Yahoo Mail
- Gmail
- AOL
- Newsvine
- HackerNews
- Evernote
- MySpace
- Mail.ru
- Viadeo
- Line
- Comments
- Yummly
- SMS
- Viber
- Telegram
- Subscribe
- Skype
- Facebook Messenger
- Kakao
- LiveJournal
- Yammer
- Edgar
- Fintel
- Mix
- Instapaper
- Copy Link
Steps
Advertisement
Step #1: Build Preparation & Things to Consider


- Experience building the breadboard MintDuino is not necessary, but it might help you appreciate the board layout. This project mimics the build steps of the original MintDuino kit. If you need more explanation of the circuit, check out the original MintDuino project.
- Not all perfboards are electrically identical to breadboards. Electrically connected holes on a board are often called strips. All sorts of names exist for different overall board layout of strips, but you do not need to learn them. All you really need to do is look at your perfboard and determine if it has any strips or not. If it has strips, such as the board in this project, then look to determine how similar or dissimilar the component layout will be given the strip orientation. Planning ahead is your best tactic in doing a new layout!
- Note: the perfboard in this build is not identical to a breadboard i.e. the connected strips exist, but they are electrically different in layout.