For most people, the word “party” conjures up an image that is so intimidating, so overwhelming, so terrifying that they just want to skip the whole thing — it’s just too much pressure.

A party doesn’t necessarily have to be a big, extravagant to-do. A party can be as simple as a few people getting together for conversation and snacks. As my guests leave even my most simplest parties, I consistently hear the same thing: “That was the best time I ever had,” and it’s always me saying it. But I do know in my heart they all feel the same way, probably.

I don’t even like to use the word “party” because often the word gives people grand expectations. So when you see the word “party,” don’t think of pony kegs and loud Southern rock or cigarillos and businesswomen. Don’t think about cockfights — even though it’s hard not to. Don’t think tiki lights and fruity cocktails served in coconut shells on the patio, or a large group of drunken seamen clustered together shouting over each other.

Think simplicity. Because if there is one thing I am, it’s clinically simple.

Project Steps

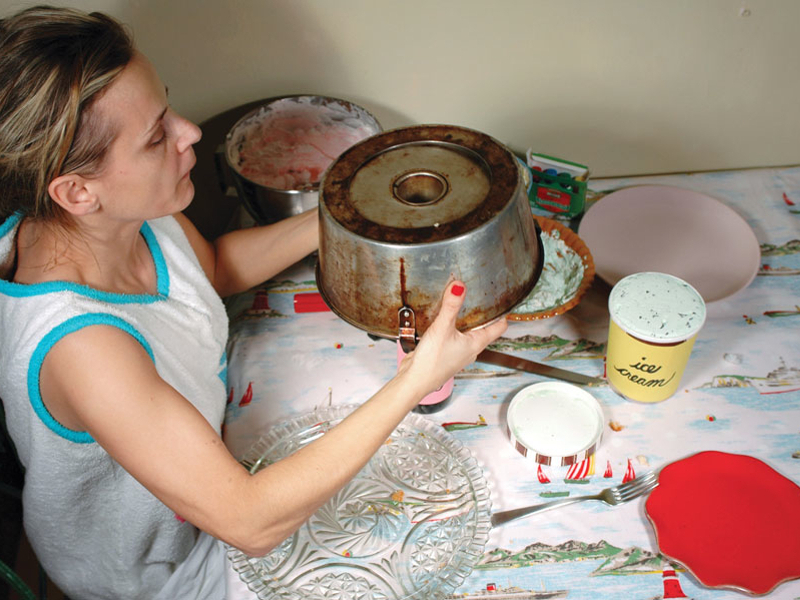
Make an angel food cake from a box.

Take your 10″ angel food cake and place it on a plate

.

This is the only boxed cake I ever make, because to me it tastes just like a homemade one and you don’t have to deal with egg whites. Egg whites intimidate me (for some people it’s phyllo), but either way, the best part of making an angel food cake is that you get to hang it upside down on a wine bottle for an hour, and you can still do that with a boxed angel food cake.

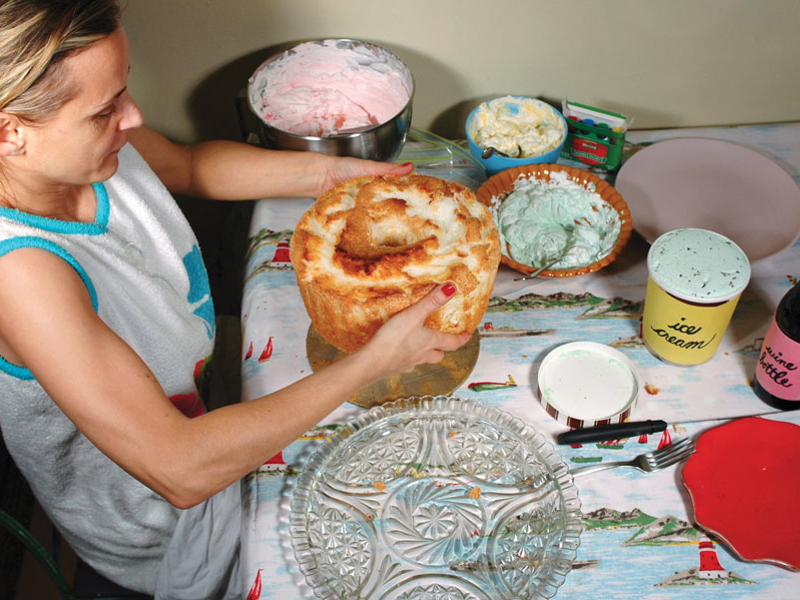
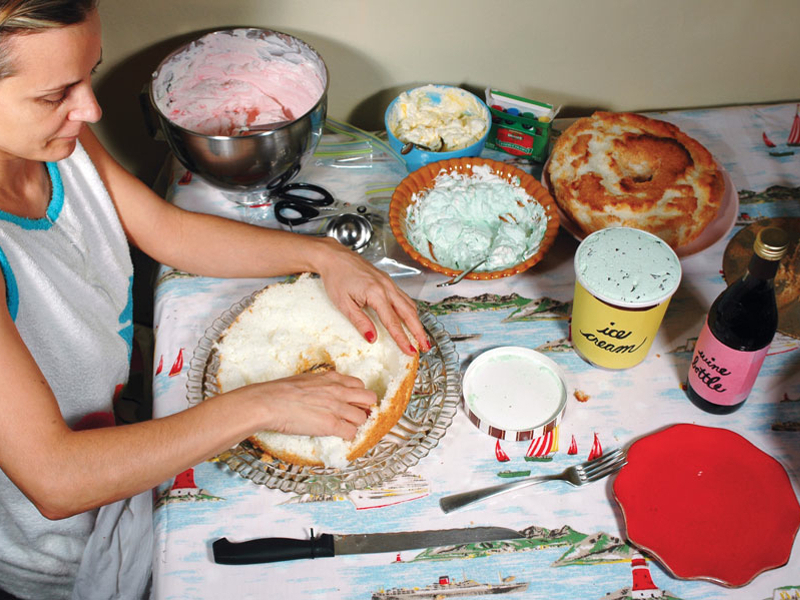
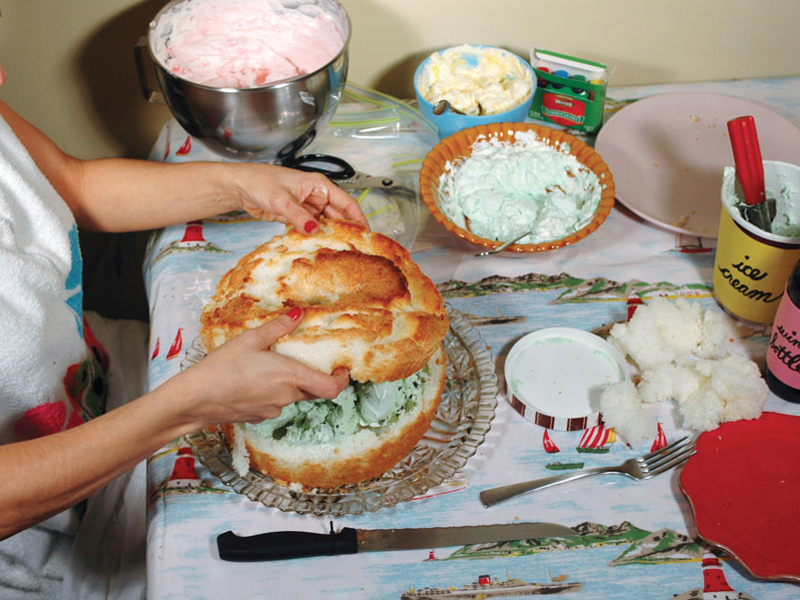
Slice the top and make a tunnel.

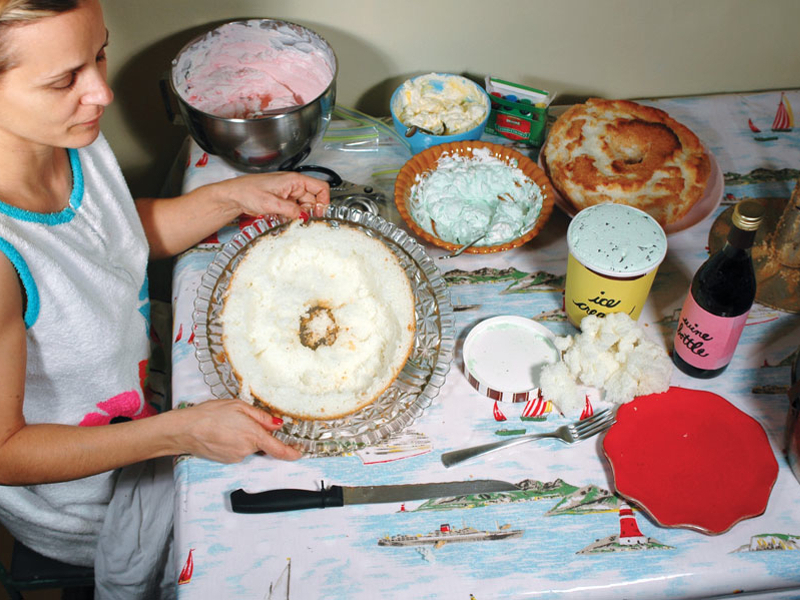
Slice the entire top from the cake, about 1 1⁄2″ down. Lift off the top and put it somewhere else.

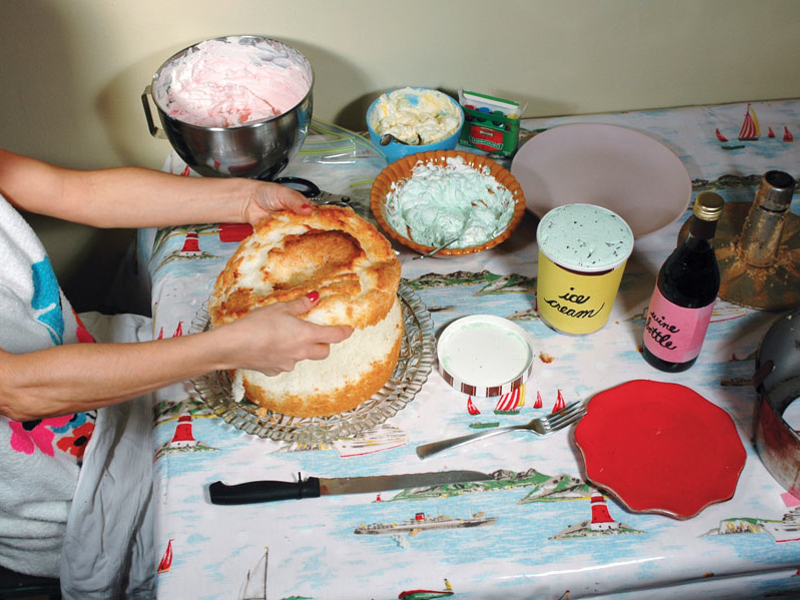
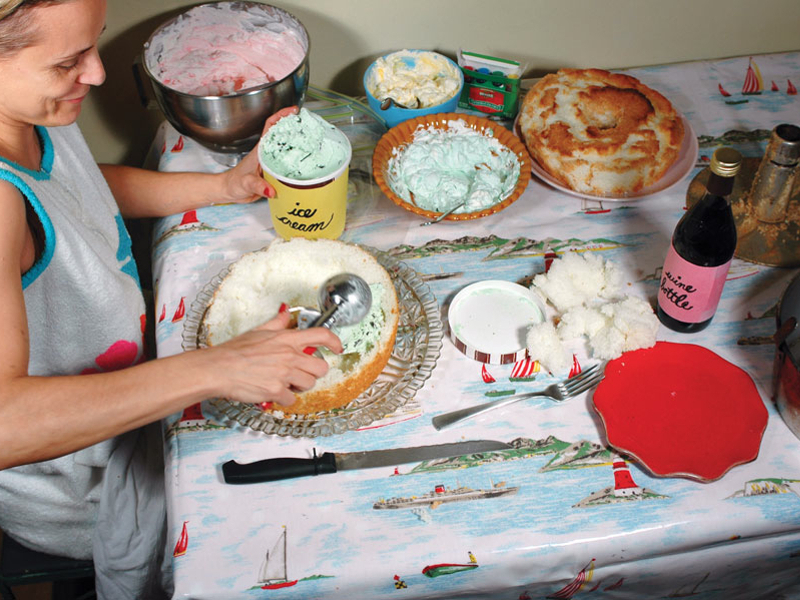
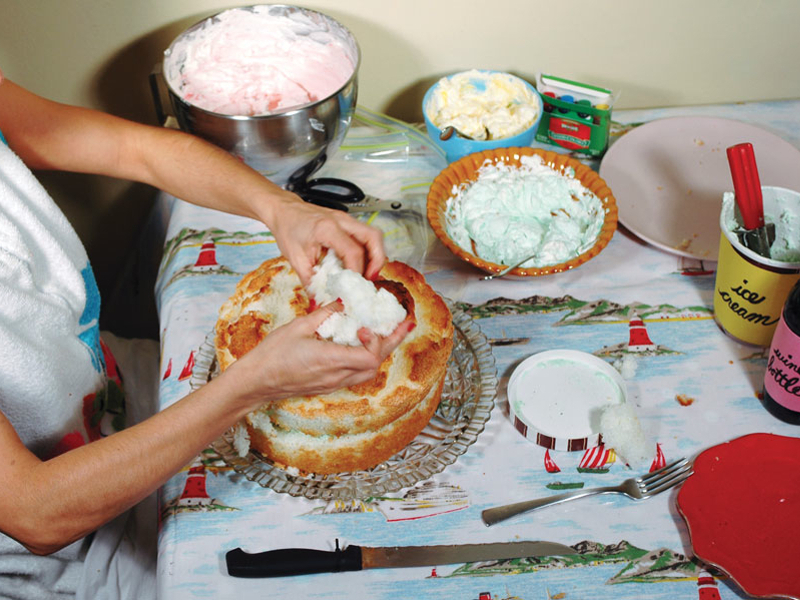
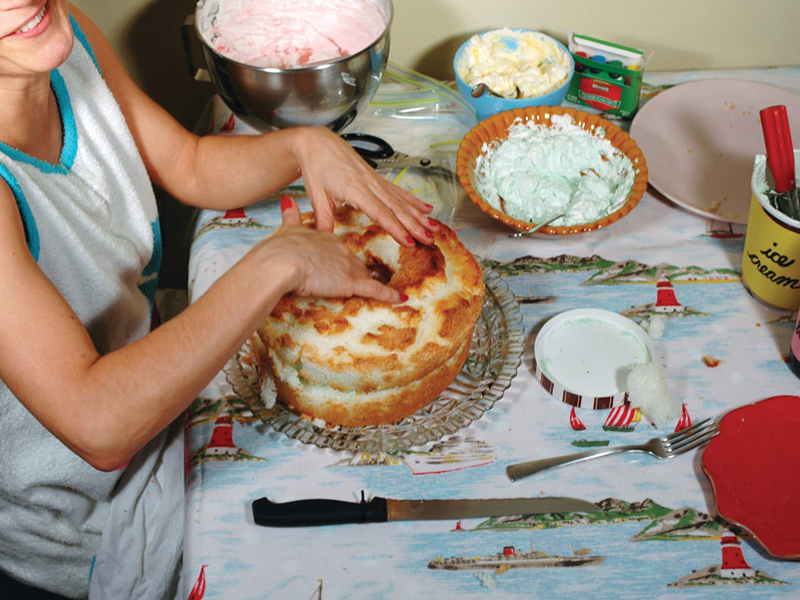
Make a tunnel and scoop out the angel food cake.

Now there is a wall; it will look similar to a Jell-O ring mold. Take the angel food cake that you scooped out and put it on another plate.

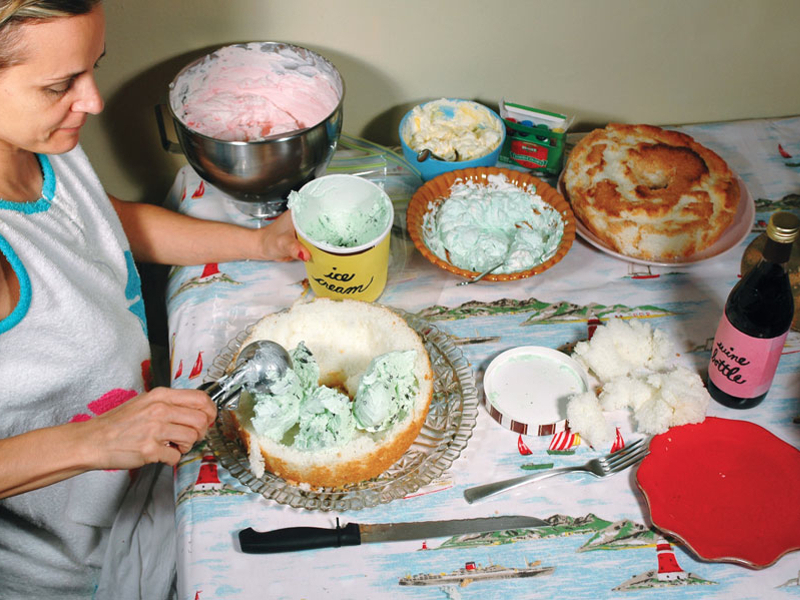
Fill the tunnel and replace the top.

Completely fill the cavity with either the chilled whipped filling or with an ice cream of your choice.

Put the top of the cake back on.

Fill the top hole.

I like to use the cake left over from the tunnel and stuff it in the center hole.

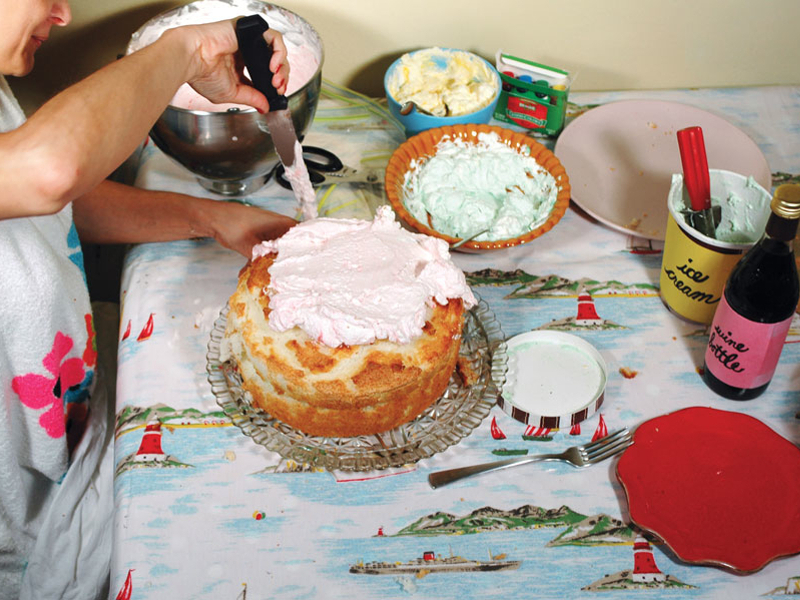
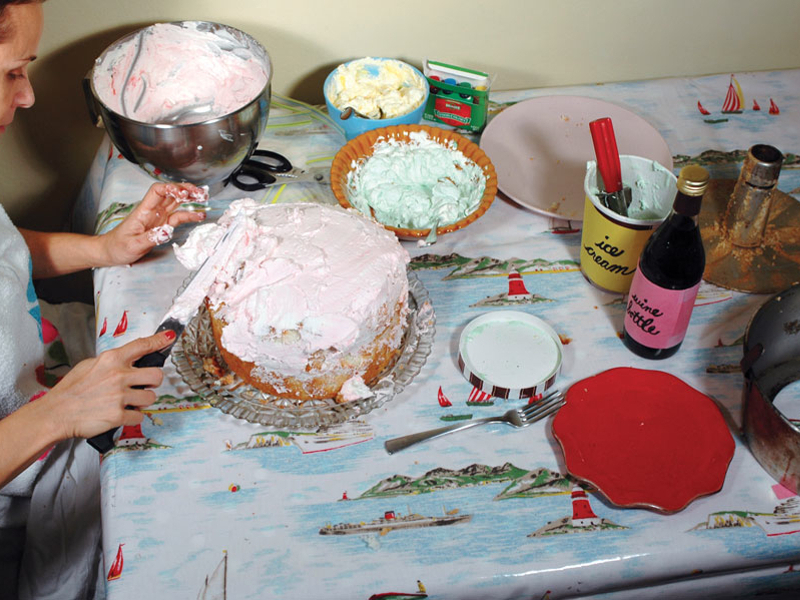
Cover the cake.

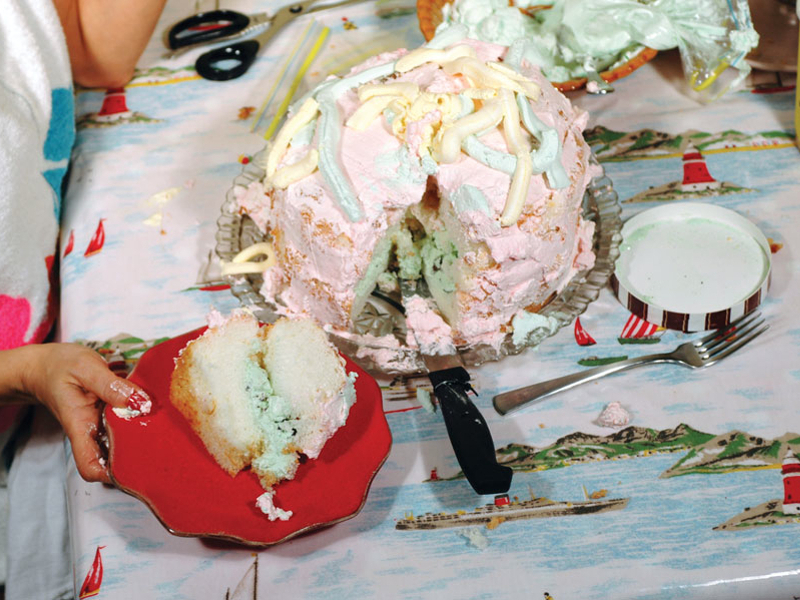
Completely slather the sides and top with whipped cream.

TIP: You can optionally include 1⁄2c of toasted almonds in the cake cavity and then sprinkle the outside with 1/3c of shaved toasted almonds.

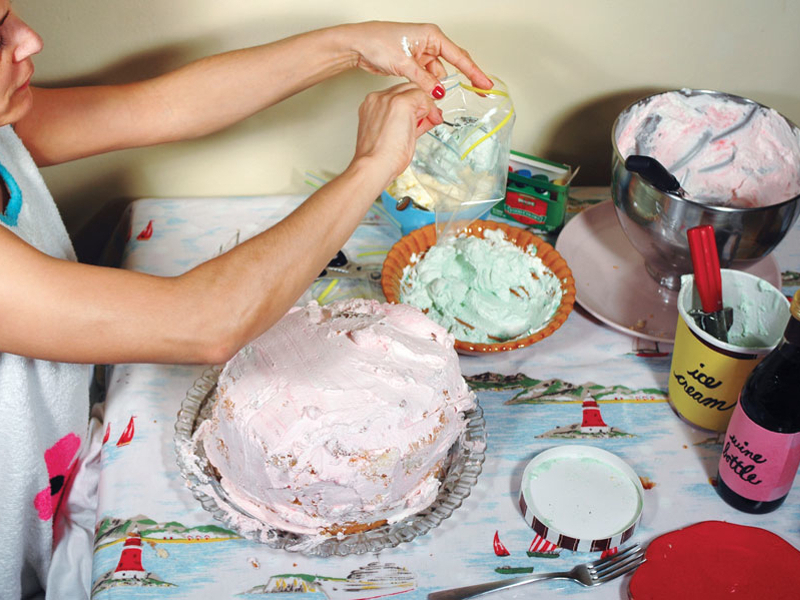
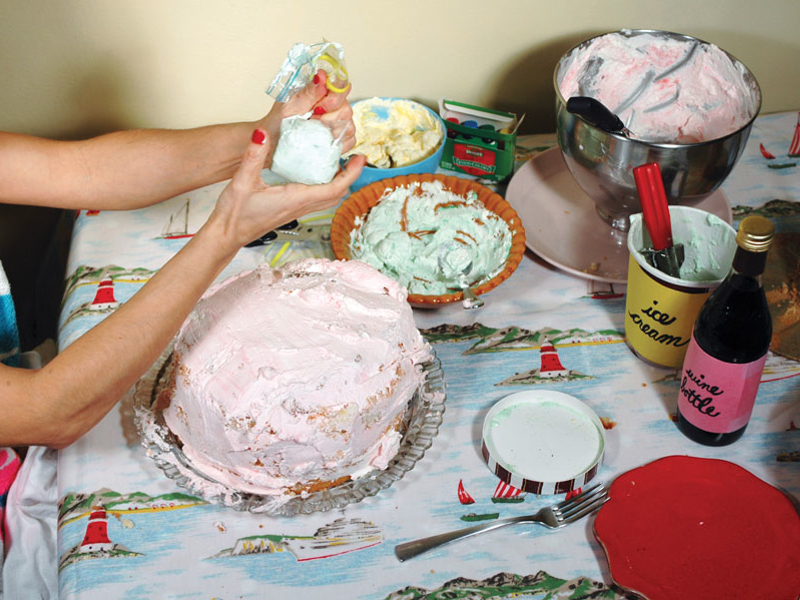
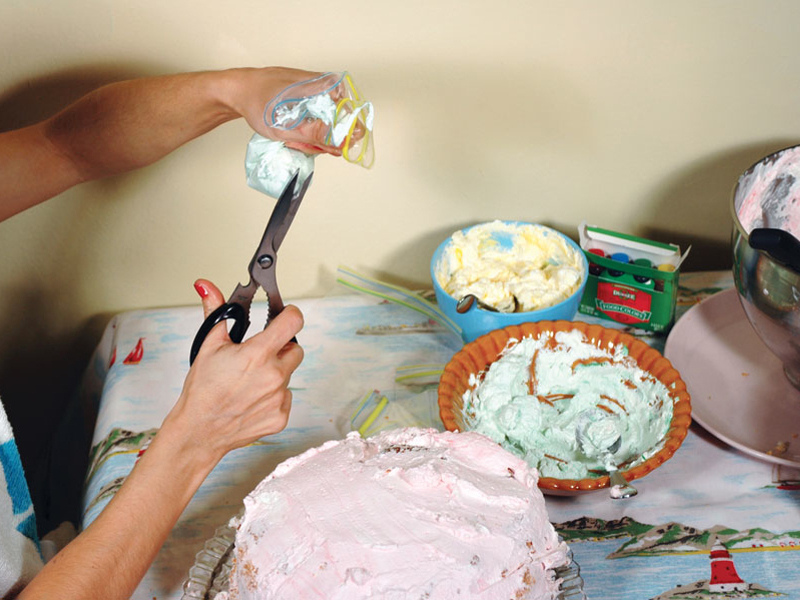
Make a decorating tool.

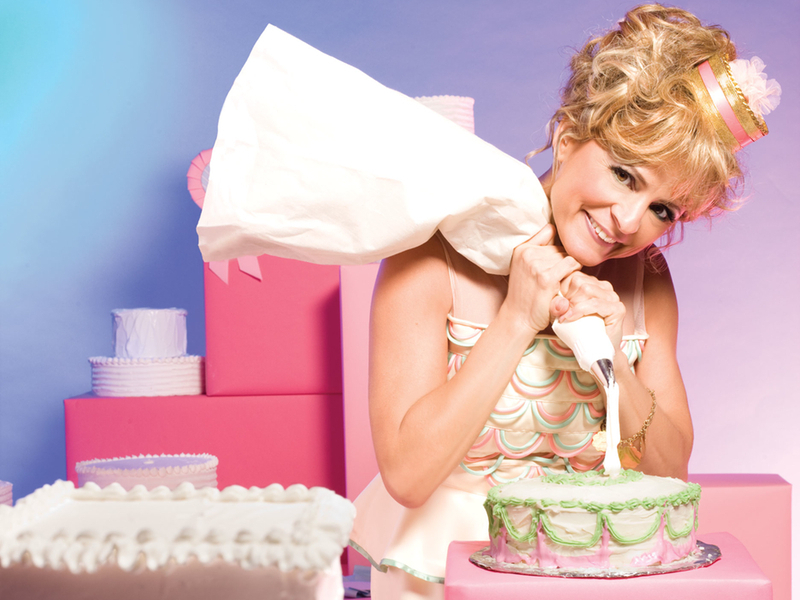
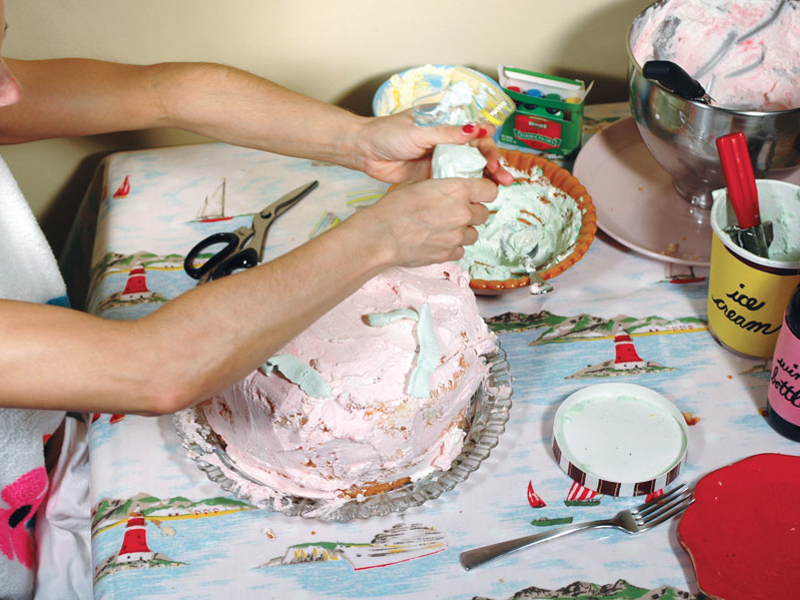
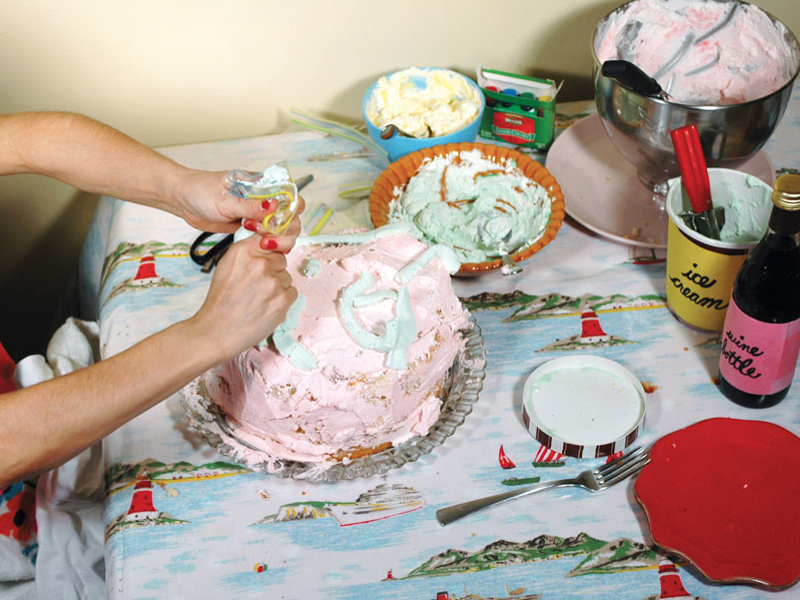
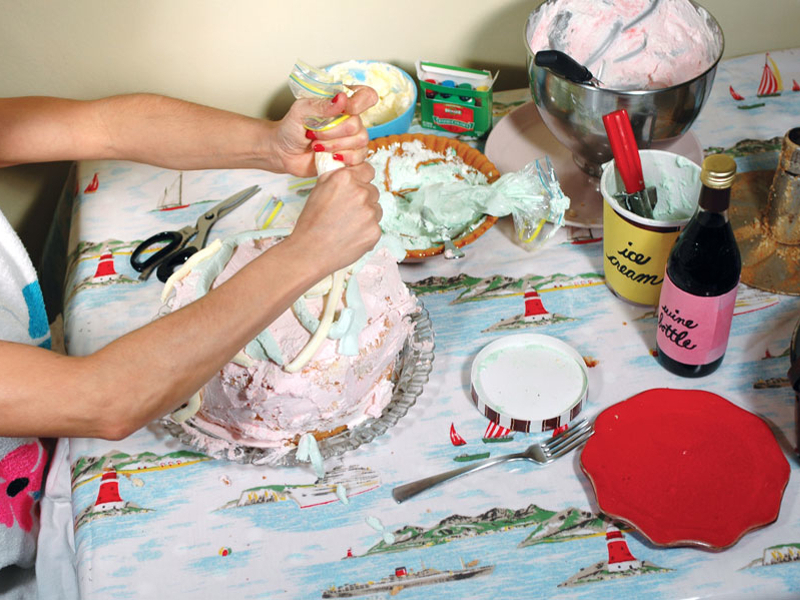
Scoop frosting into a plastic bag, and twist the top tight. Cut the tip off the plastic bag.

Decorate the cake.

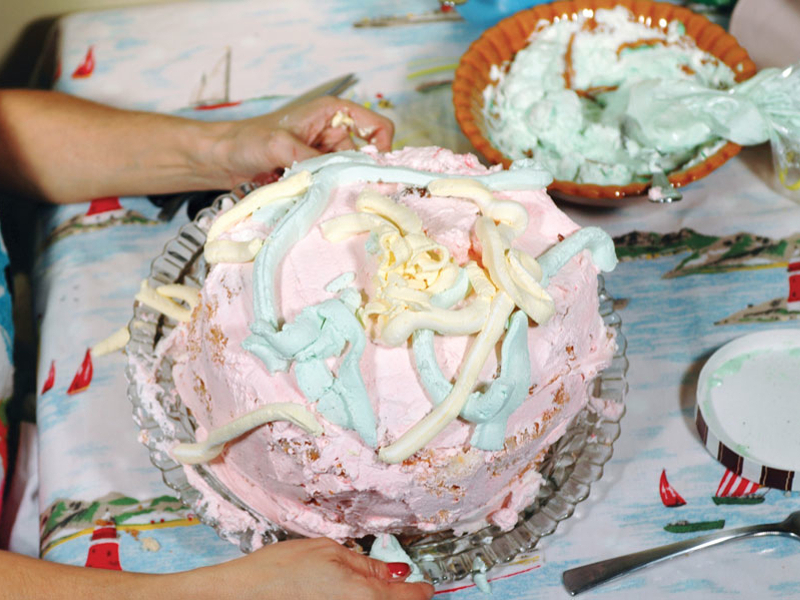
Squeeze the bag carefully so the frosting comes out, and decorate the top of your cake how you like.

Repeat with different colors of frosting for an elegant, layered look.

Enjoy!

Cut the cake and scoop it onto a plate.

Conclusion

This project first appeared in CRAFT VOLUME 10, pages 42-46.