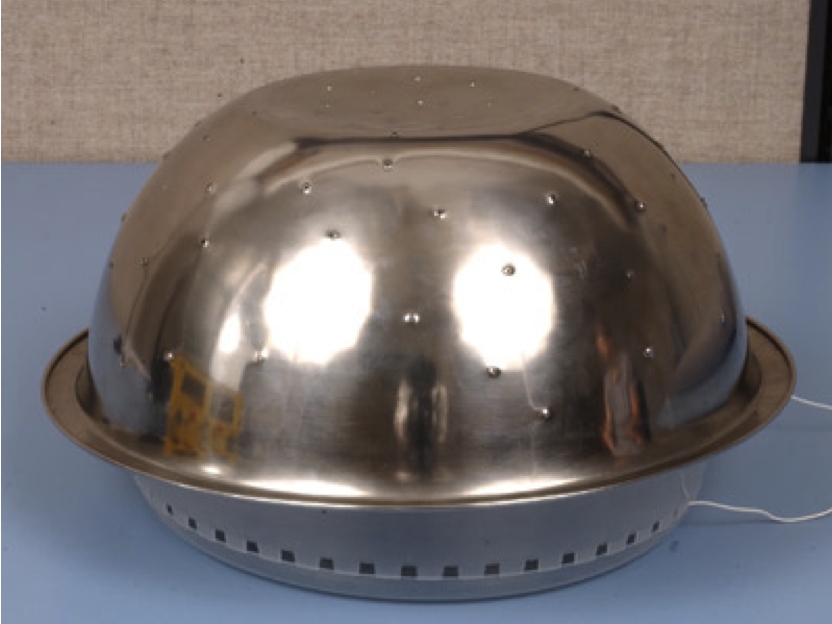
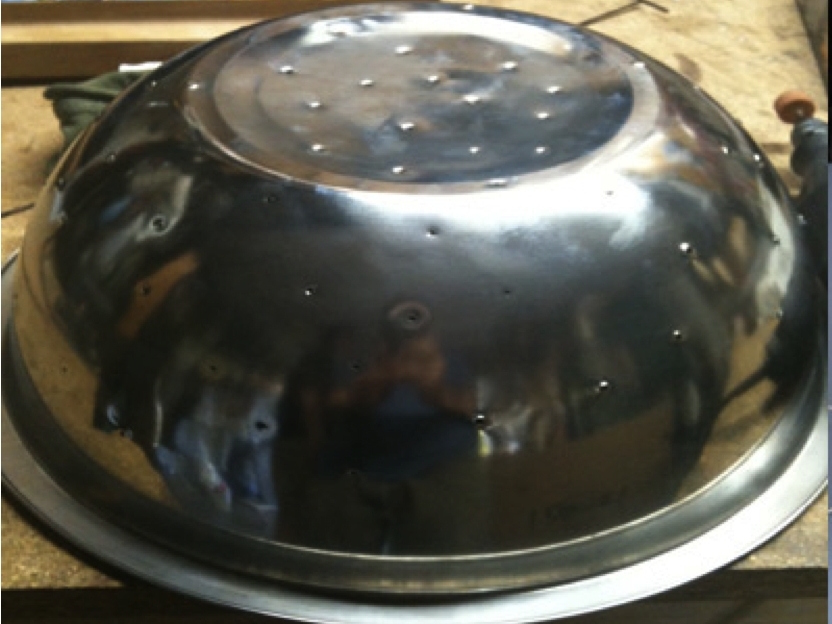
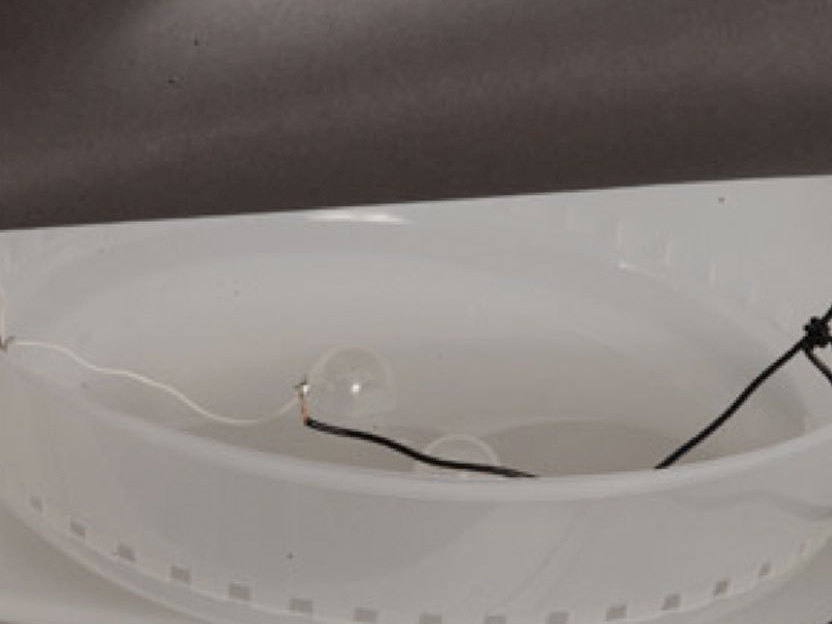
Using a few electronic components and some common household materials you can create a simple planetarium for your home.

Project Steps

It’s important to put together a list of materials you will need. This project requires a few electronic components and things you may already have.

There are many different ways to make your dome. I used a nail and hammer. I had an extra hand help me with this step as I hammered a nail through the bowl into a wooden block — simple, yet effective. These holes should be relatively small since you want your projections to look like the actual night sky.

Make sure to file down the dome. The punched holes are sharp. If you want to create constellations, print out a sheet that has the constellations and place the sheet over the bowl as you drive a nail through it.

Prepare the high power LED by soldering wire to its terminals.

Connect switch and assembly. I soldered the wire to the switch, attached it to the base and connected it to the power supply. I cut the end off of the Wall Adapter Power Supply so that I could connect one end to the switch and the other to the LED.

It is important to make sure light doesn’t escape from your enclosure except through the holes in the dome. In order to ensure this I covered the base with black paper.

Secure the LED on top of the base with glue or double-sided tape. Warning: LED is extremely bright.

Place the dome on top, turn off the lights and enjoy!

Troubleshooting Issues: Make sure the LED isn’t shorting on the enclosure’s base. Check to be sure your soldering is secure on terminal and switch.