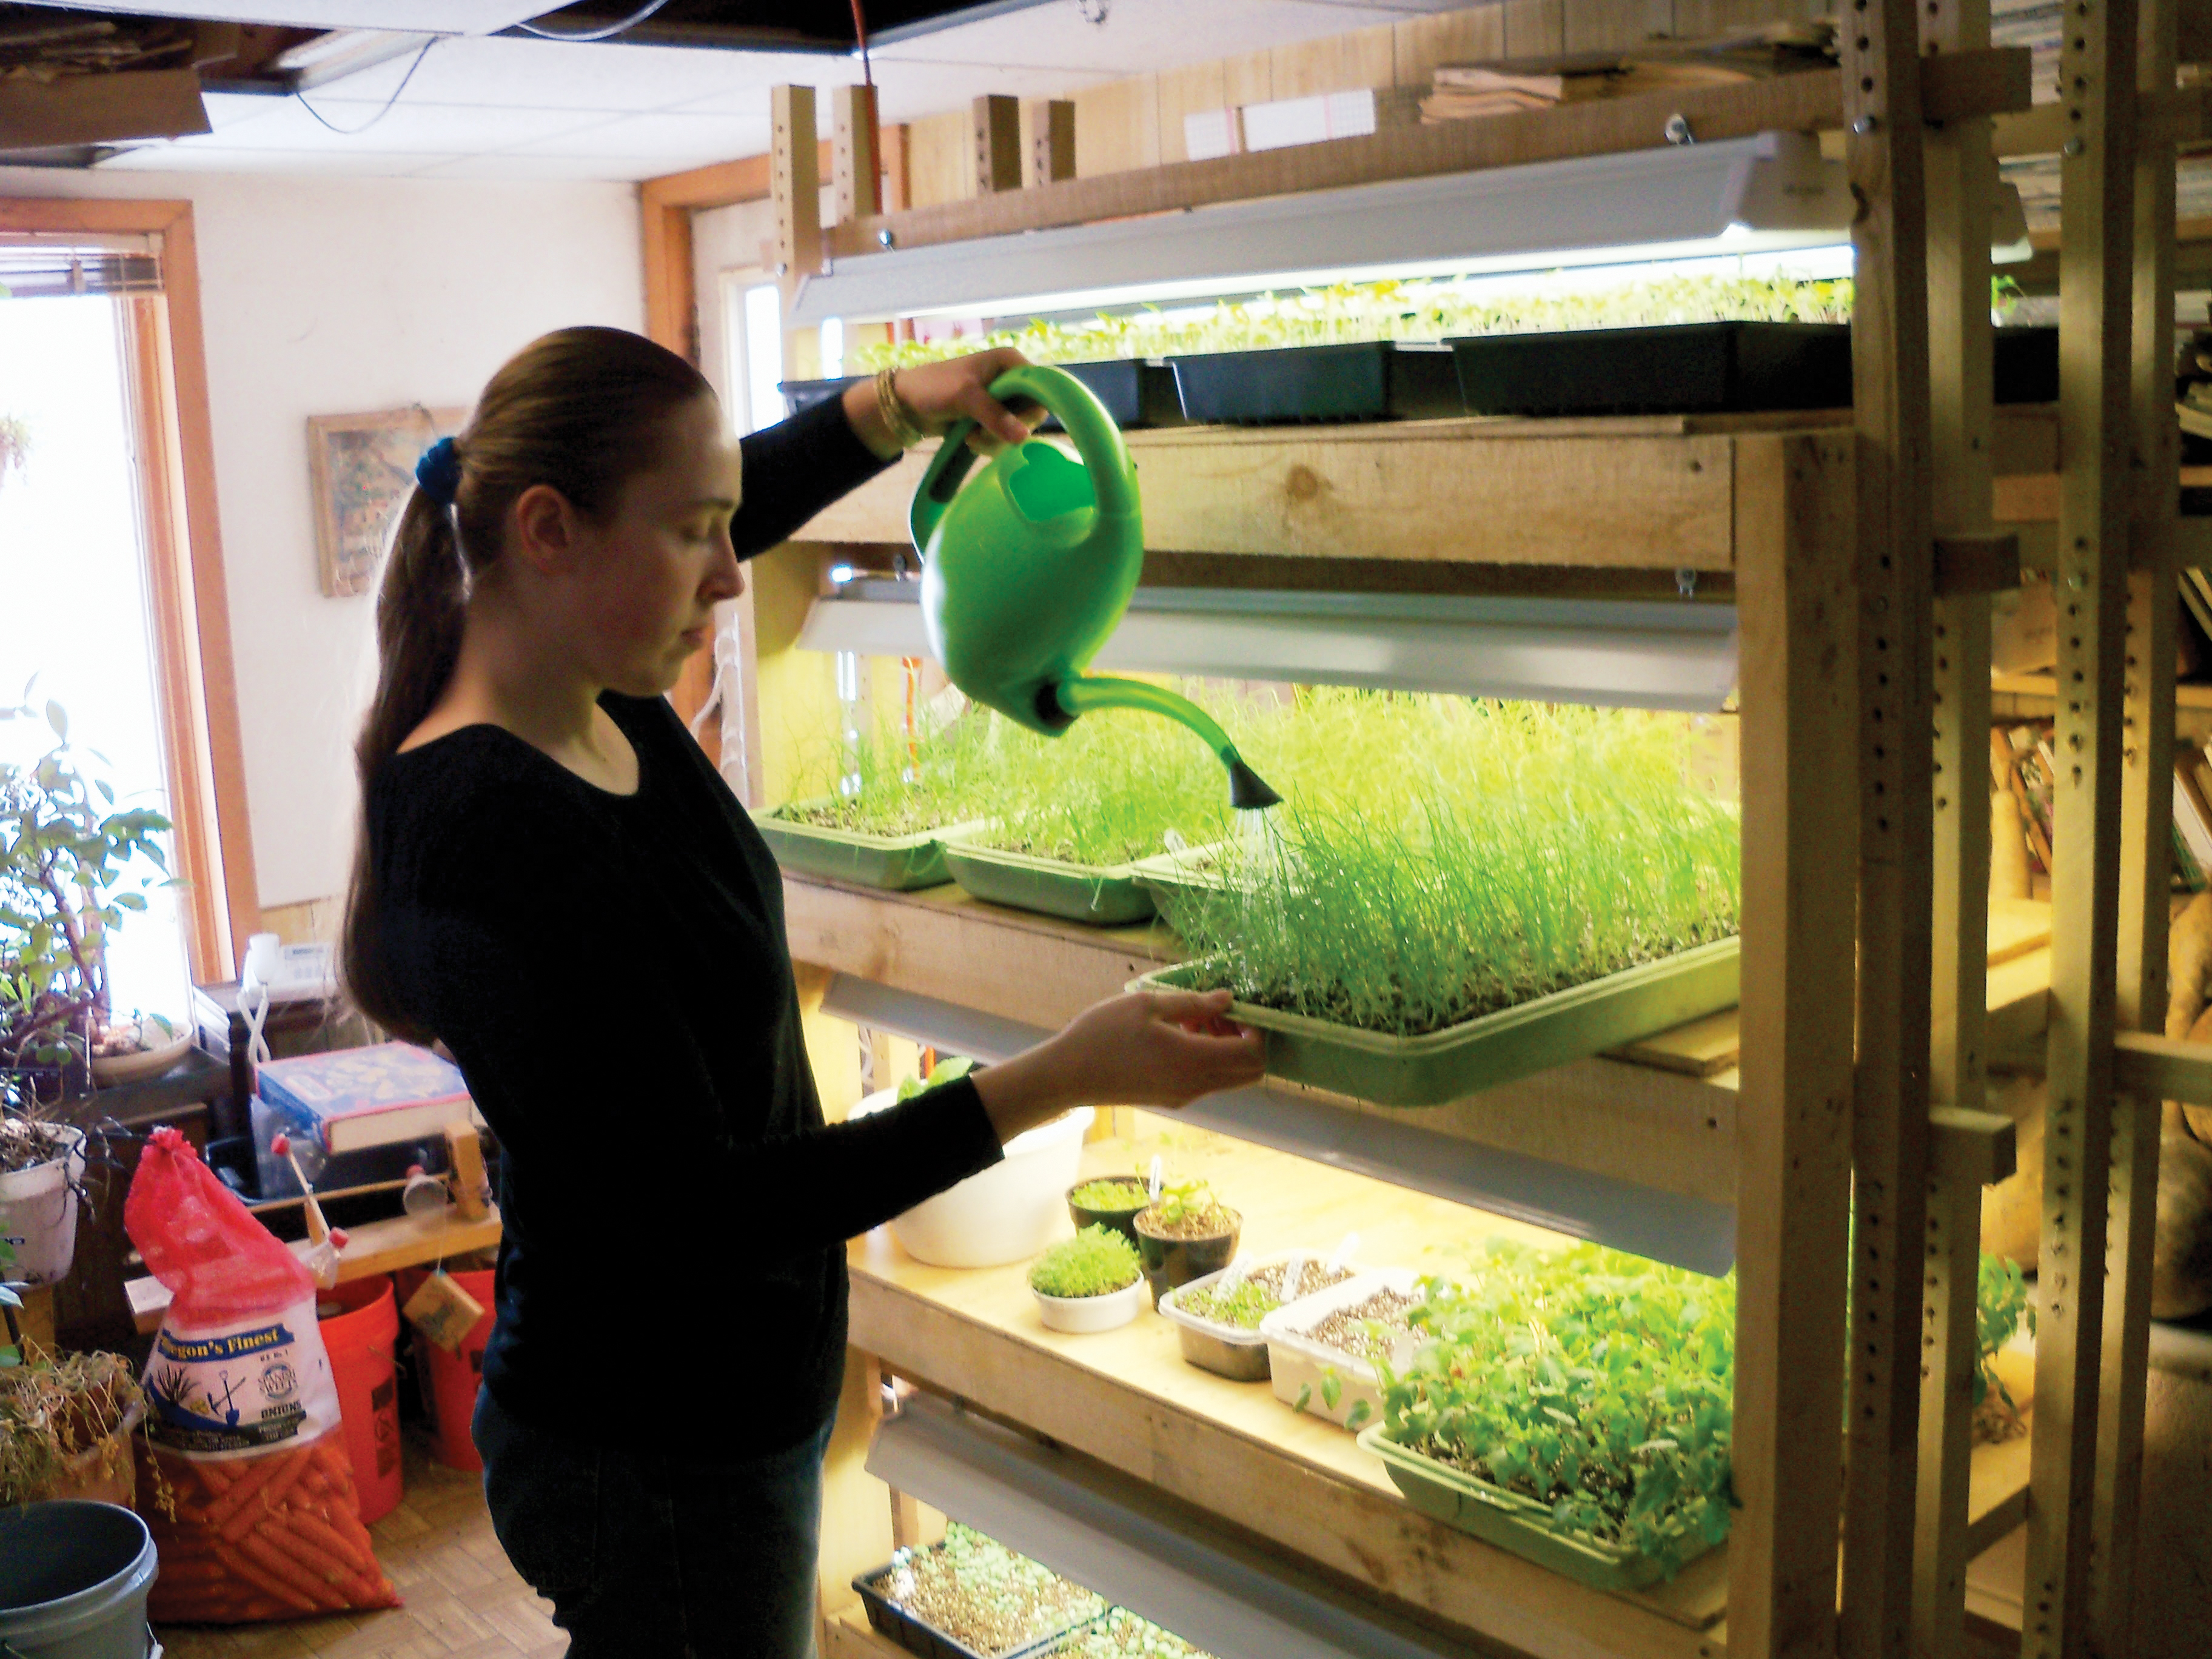
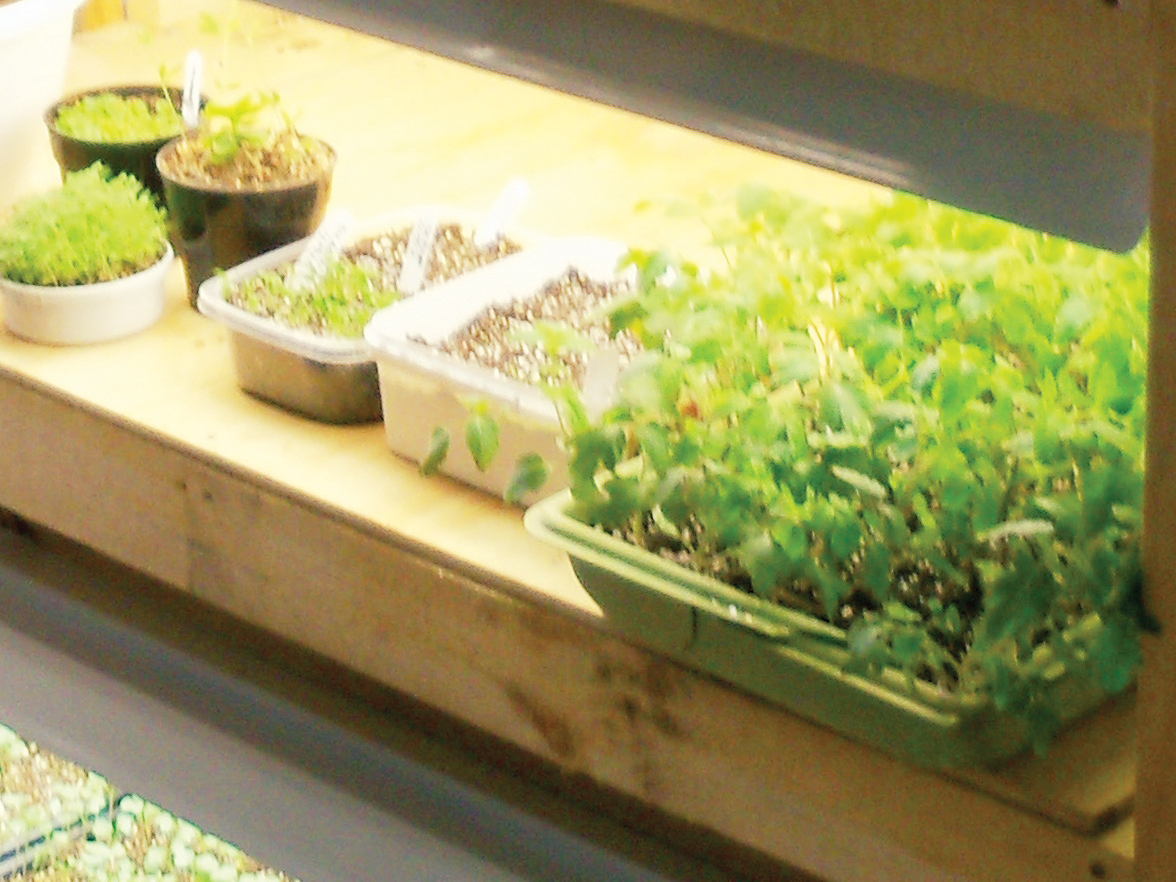
If you aren’t fortunate enough to have a heated greenhouse but still want to start your own plants from seed in the winter, this inexpensive plant light stand will get your plants growing — even in a dark, dungeon-like basement. It’s made primarily from common 2×4 boards, 3/8″ plywood, and fluorescent shop lights.

A neat feature of this stand is the adjustable height of the lights over the plants. You can easily raise the lights as the plants grow, which keeps the leaves from burning and gives the plants plenty of light for good, healthy growth.

This free-standing, 4-shelf plant light stand can hold as many as 8 shop lights and 16 standard-sized 10″×20″ plant flats. If you don’t need that much space for growing plants, you can start out with just 2 shop lights over one shelf and easily expand it in the future if you want to grow more. In the meantime, you can store your growing supplies on the unused shelves.

Project Steps

Mark the legs.

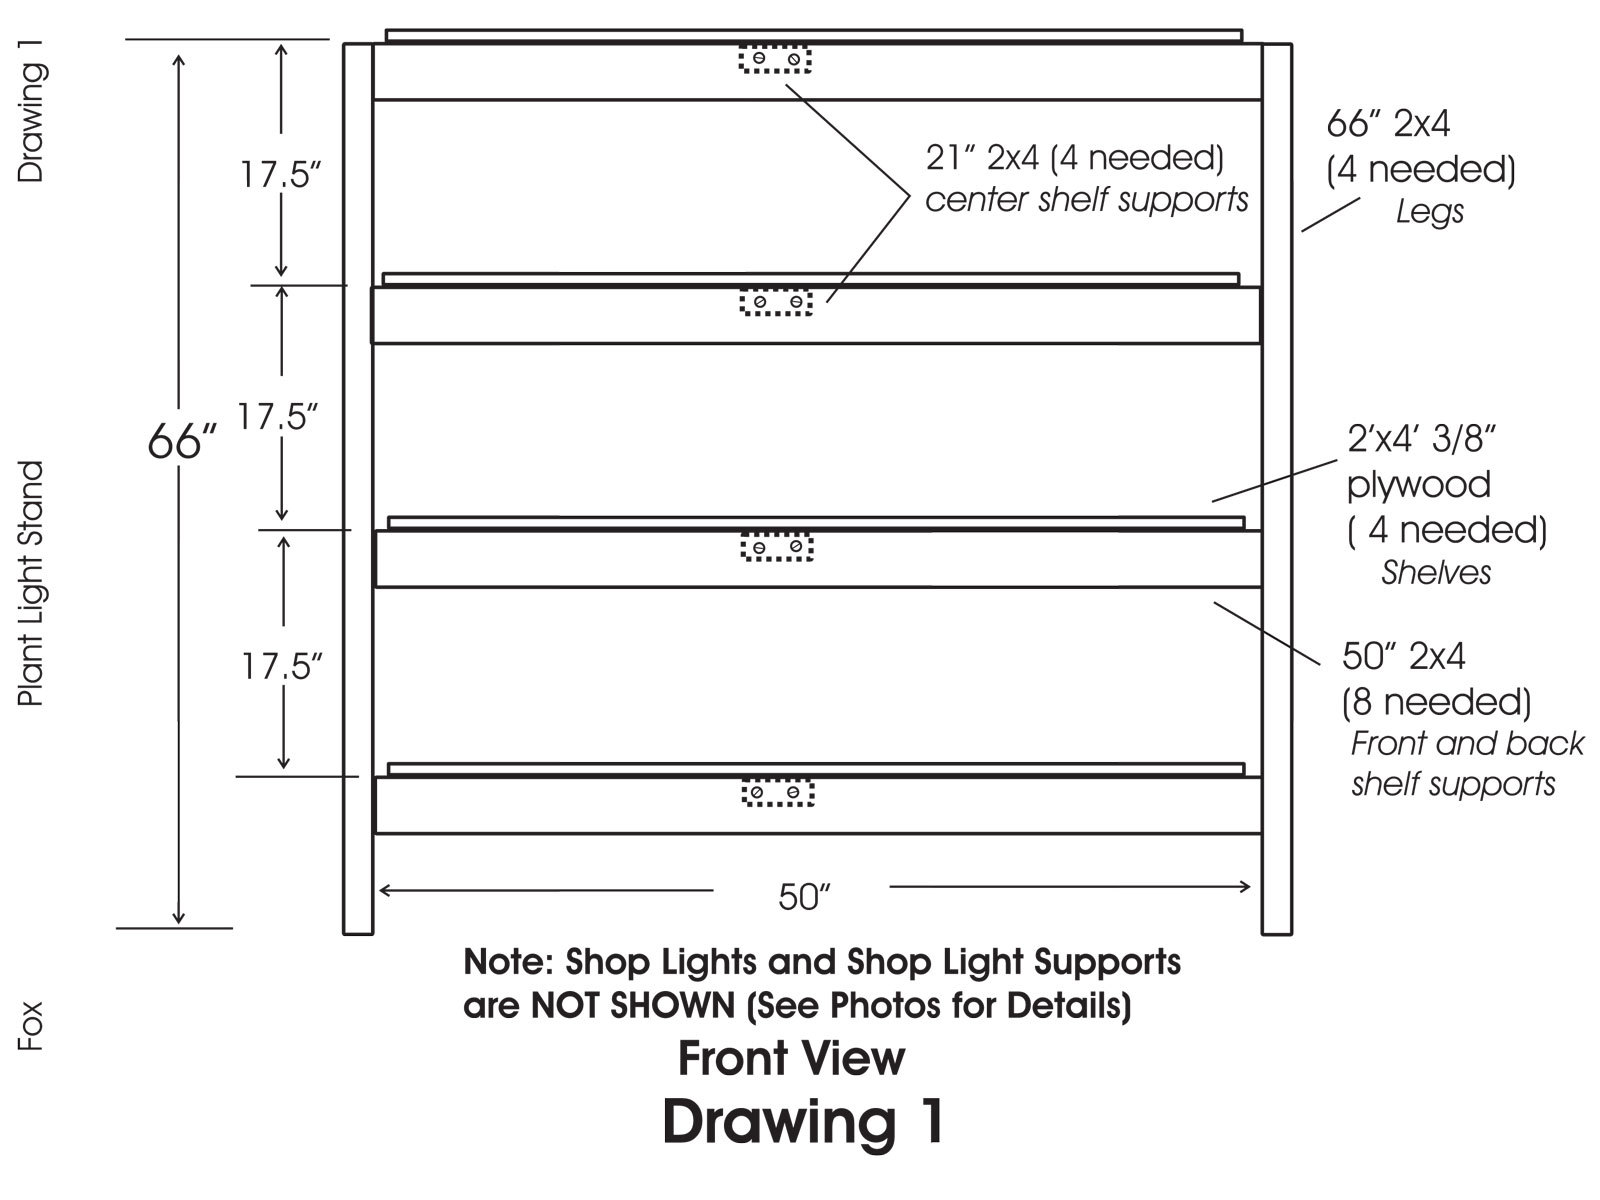
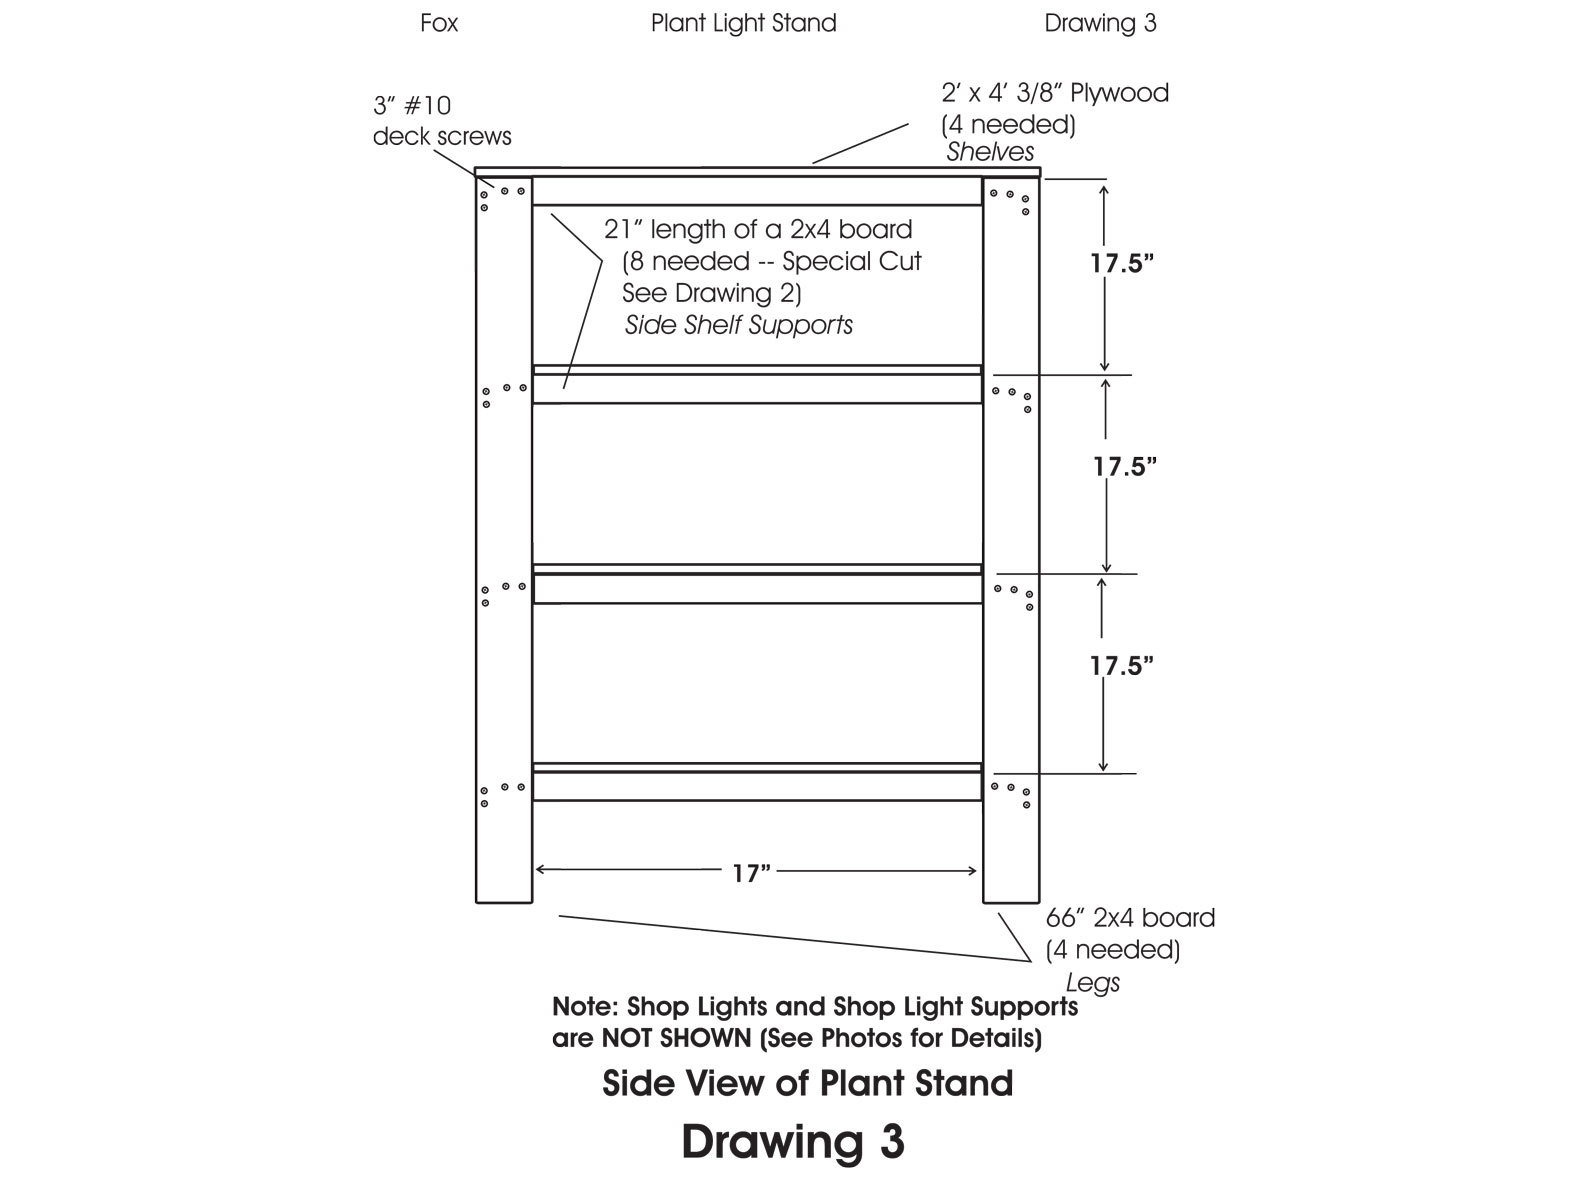
Mark the 66″ 2×4 legs where you’ll attach the shelf supports, following the figures. You can download the full-sized drawings
 at makeprojects.com/v/28, see Drawing 1 and Drawing 3 for this step.

Note that the shop lights, shop light supports, and power strips are not shown in the figures. You’ll install them later, after you’ve built the shelving.

Cut some corners.

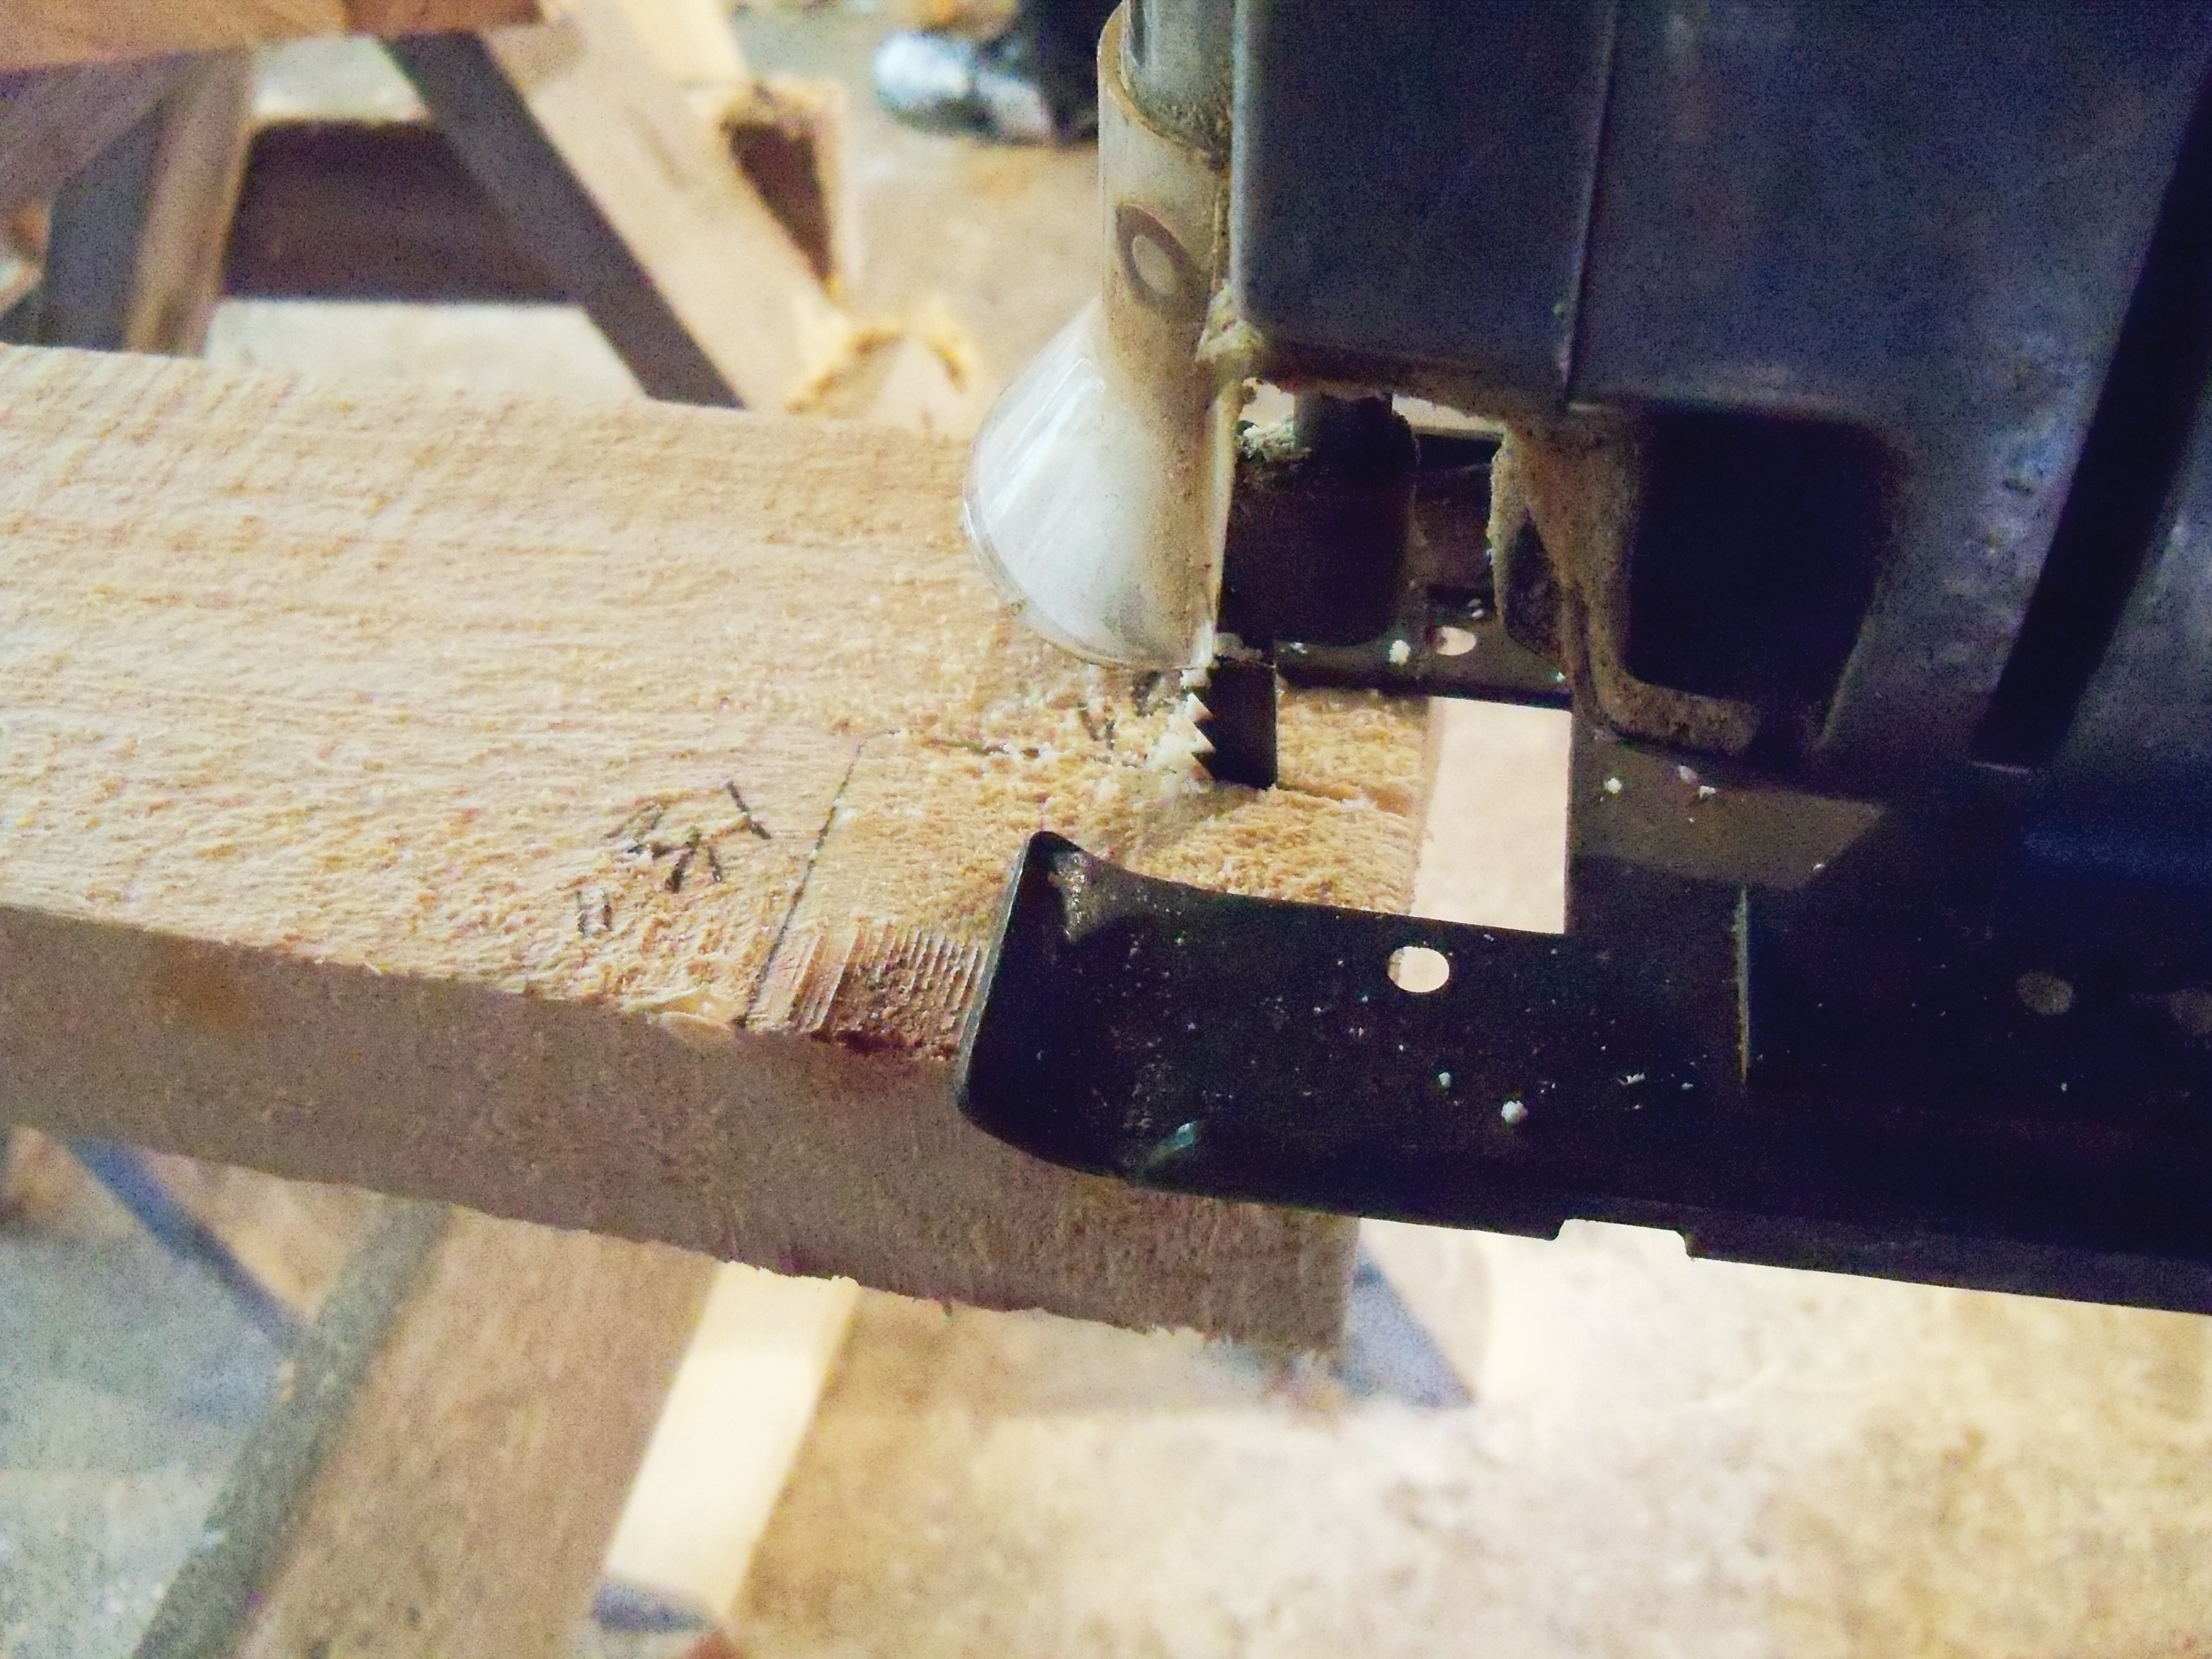
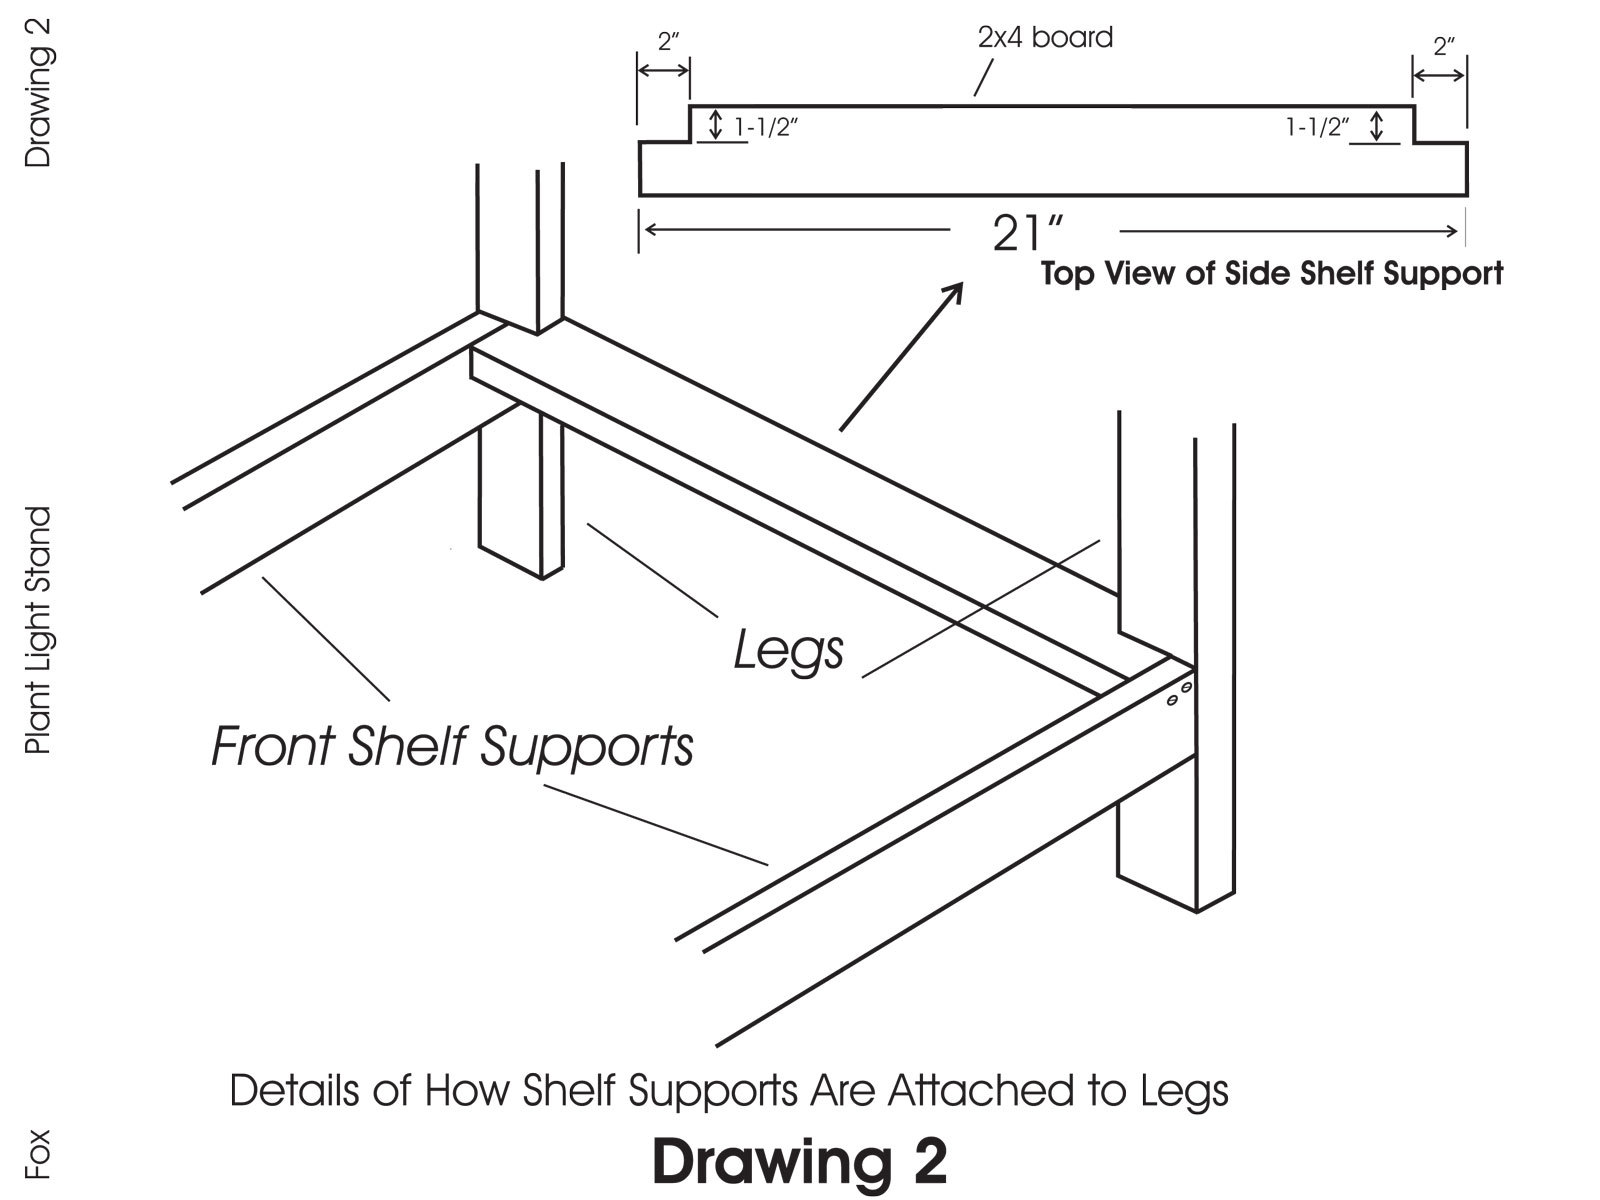
Make the special cuts required on the ends of the eight 21″ side shelf supports to make simple corner laps with the legs, as shown in Drawing 2.

Attach the shelf supports.

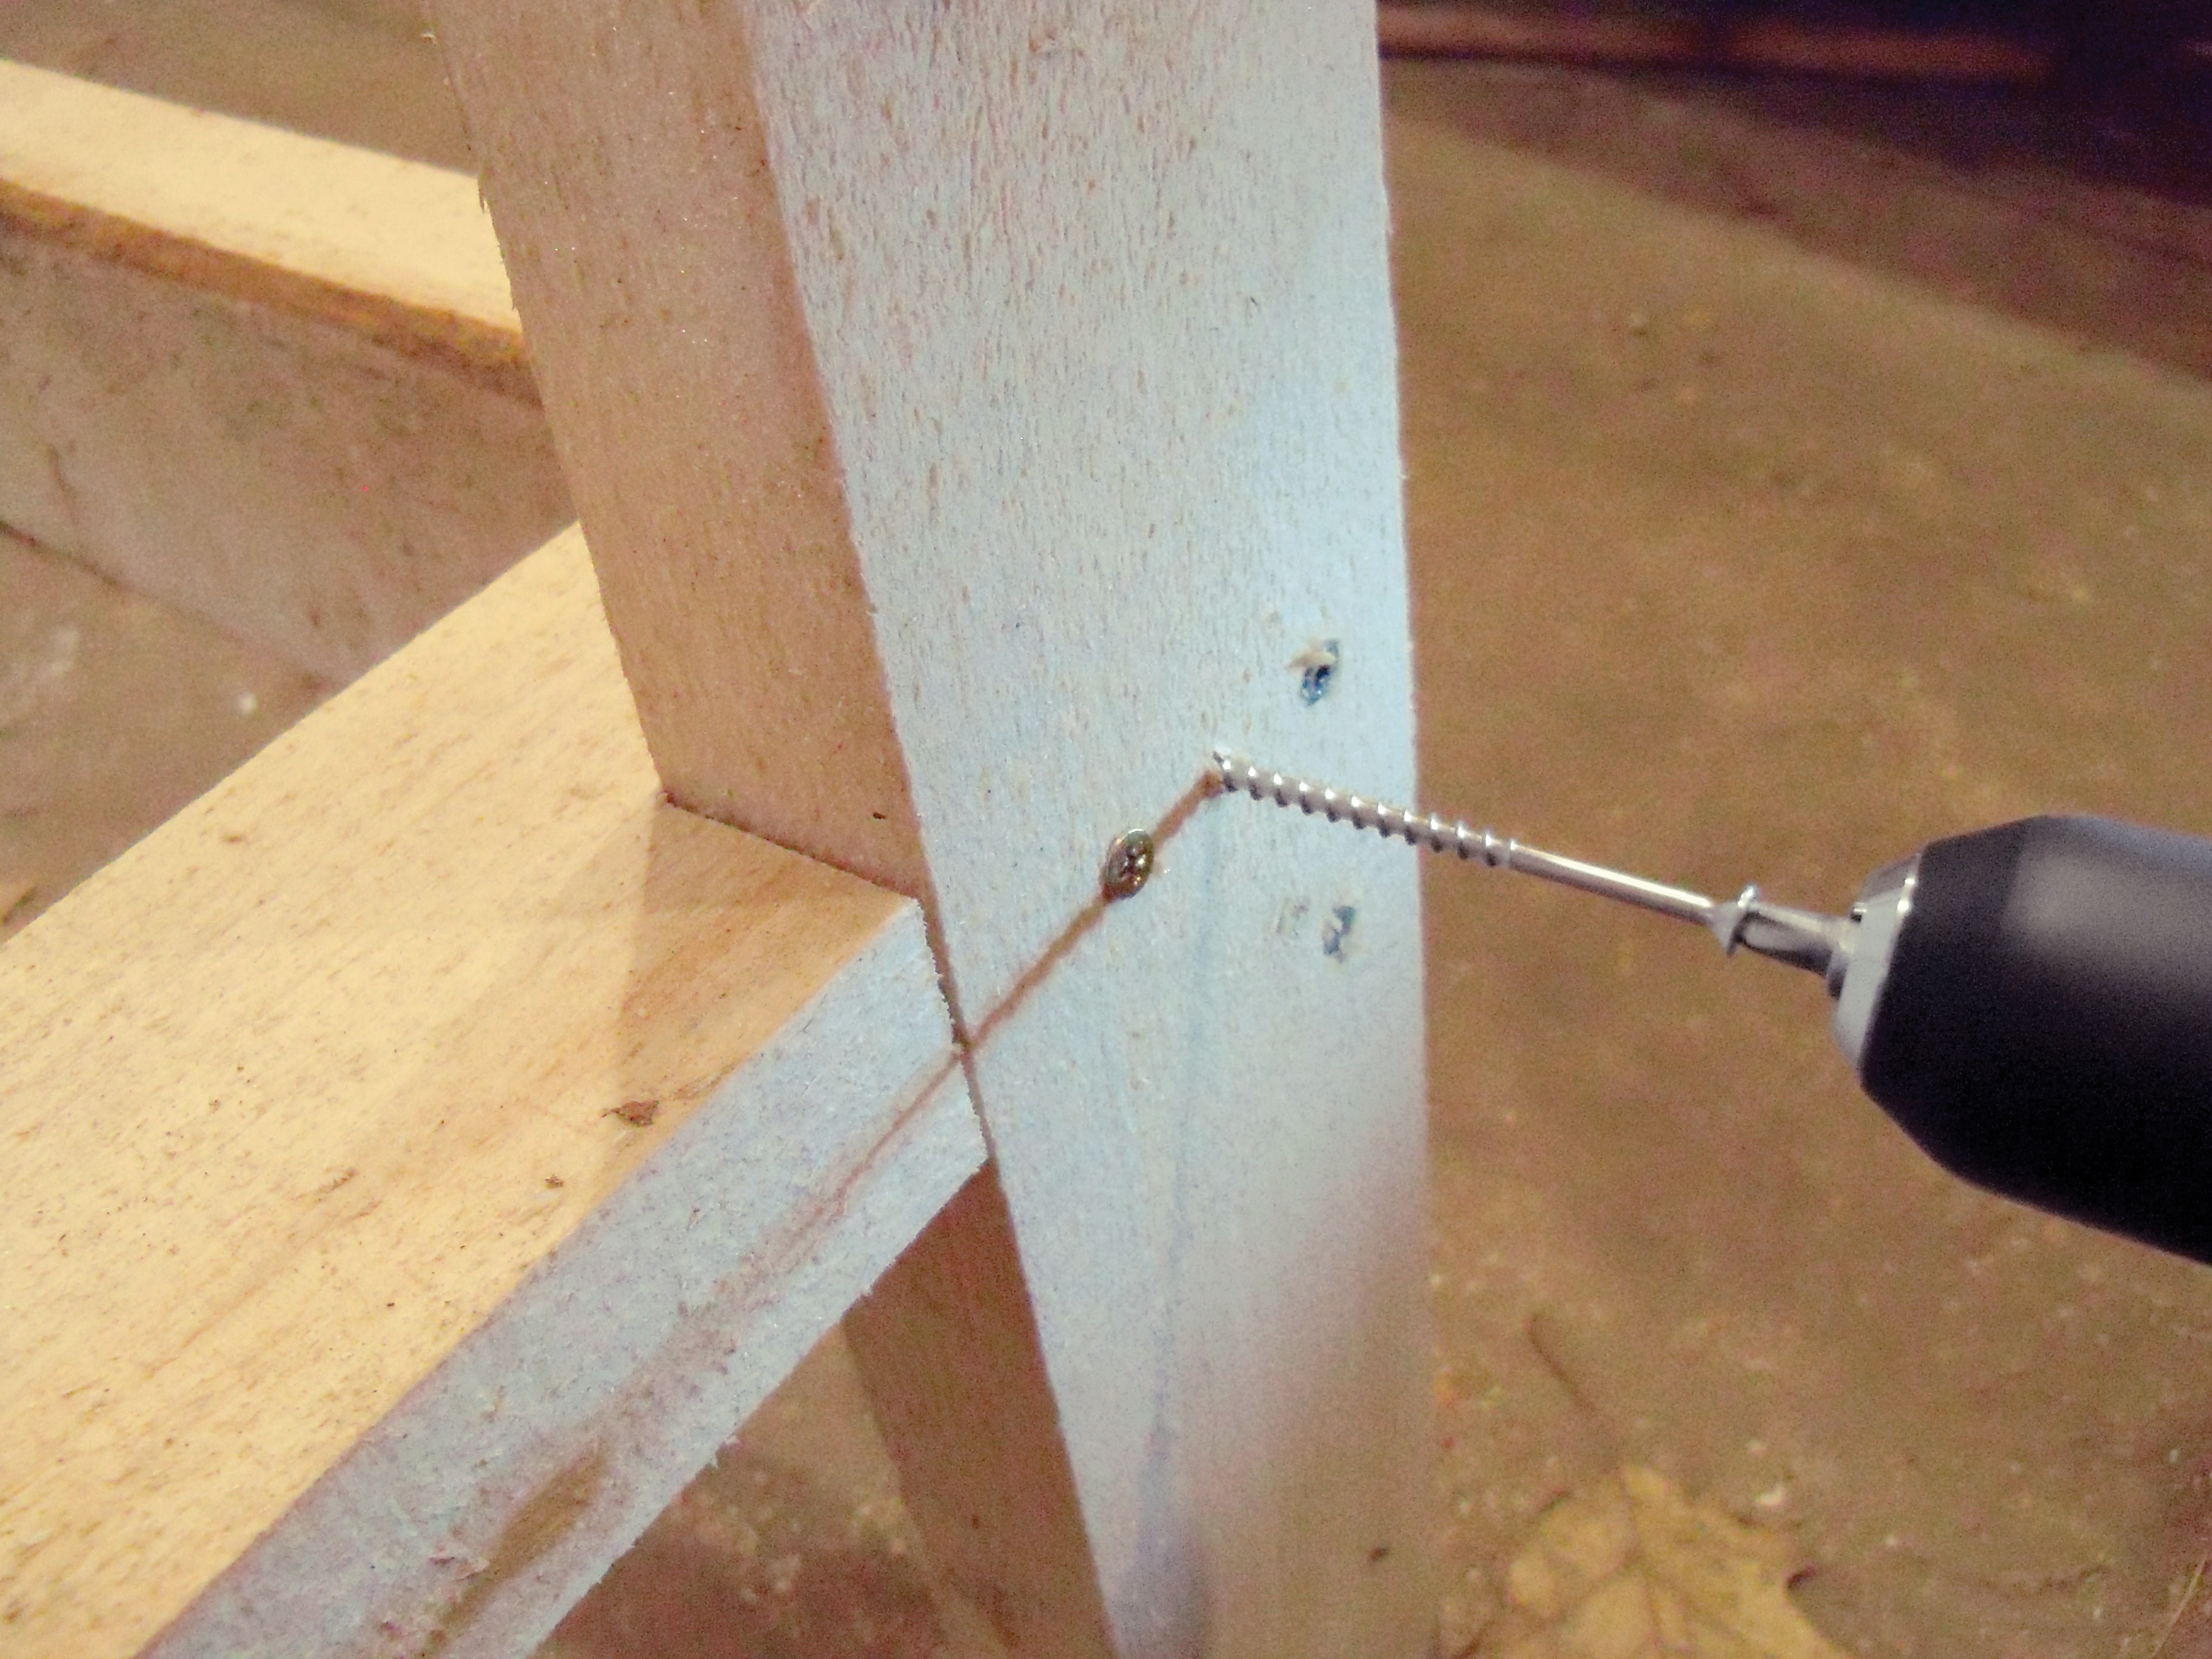
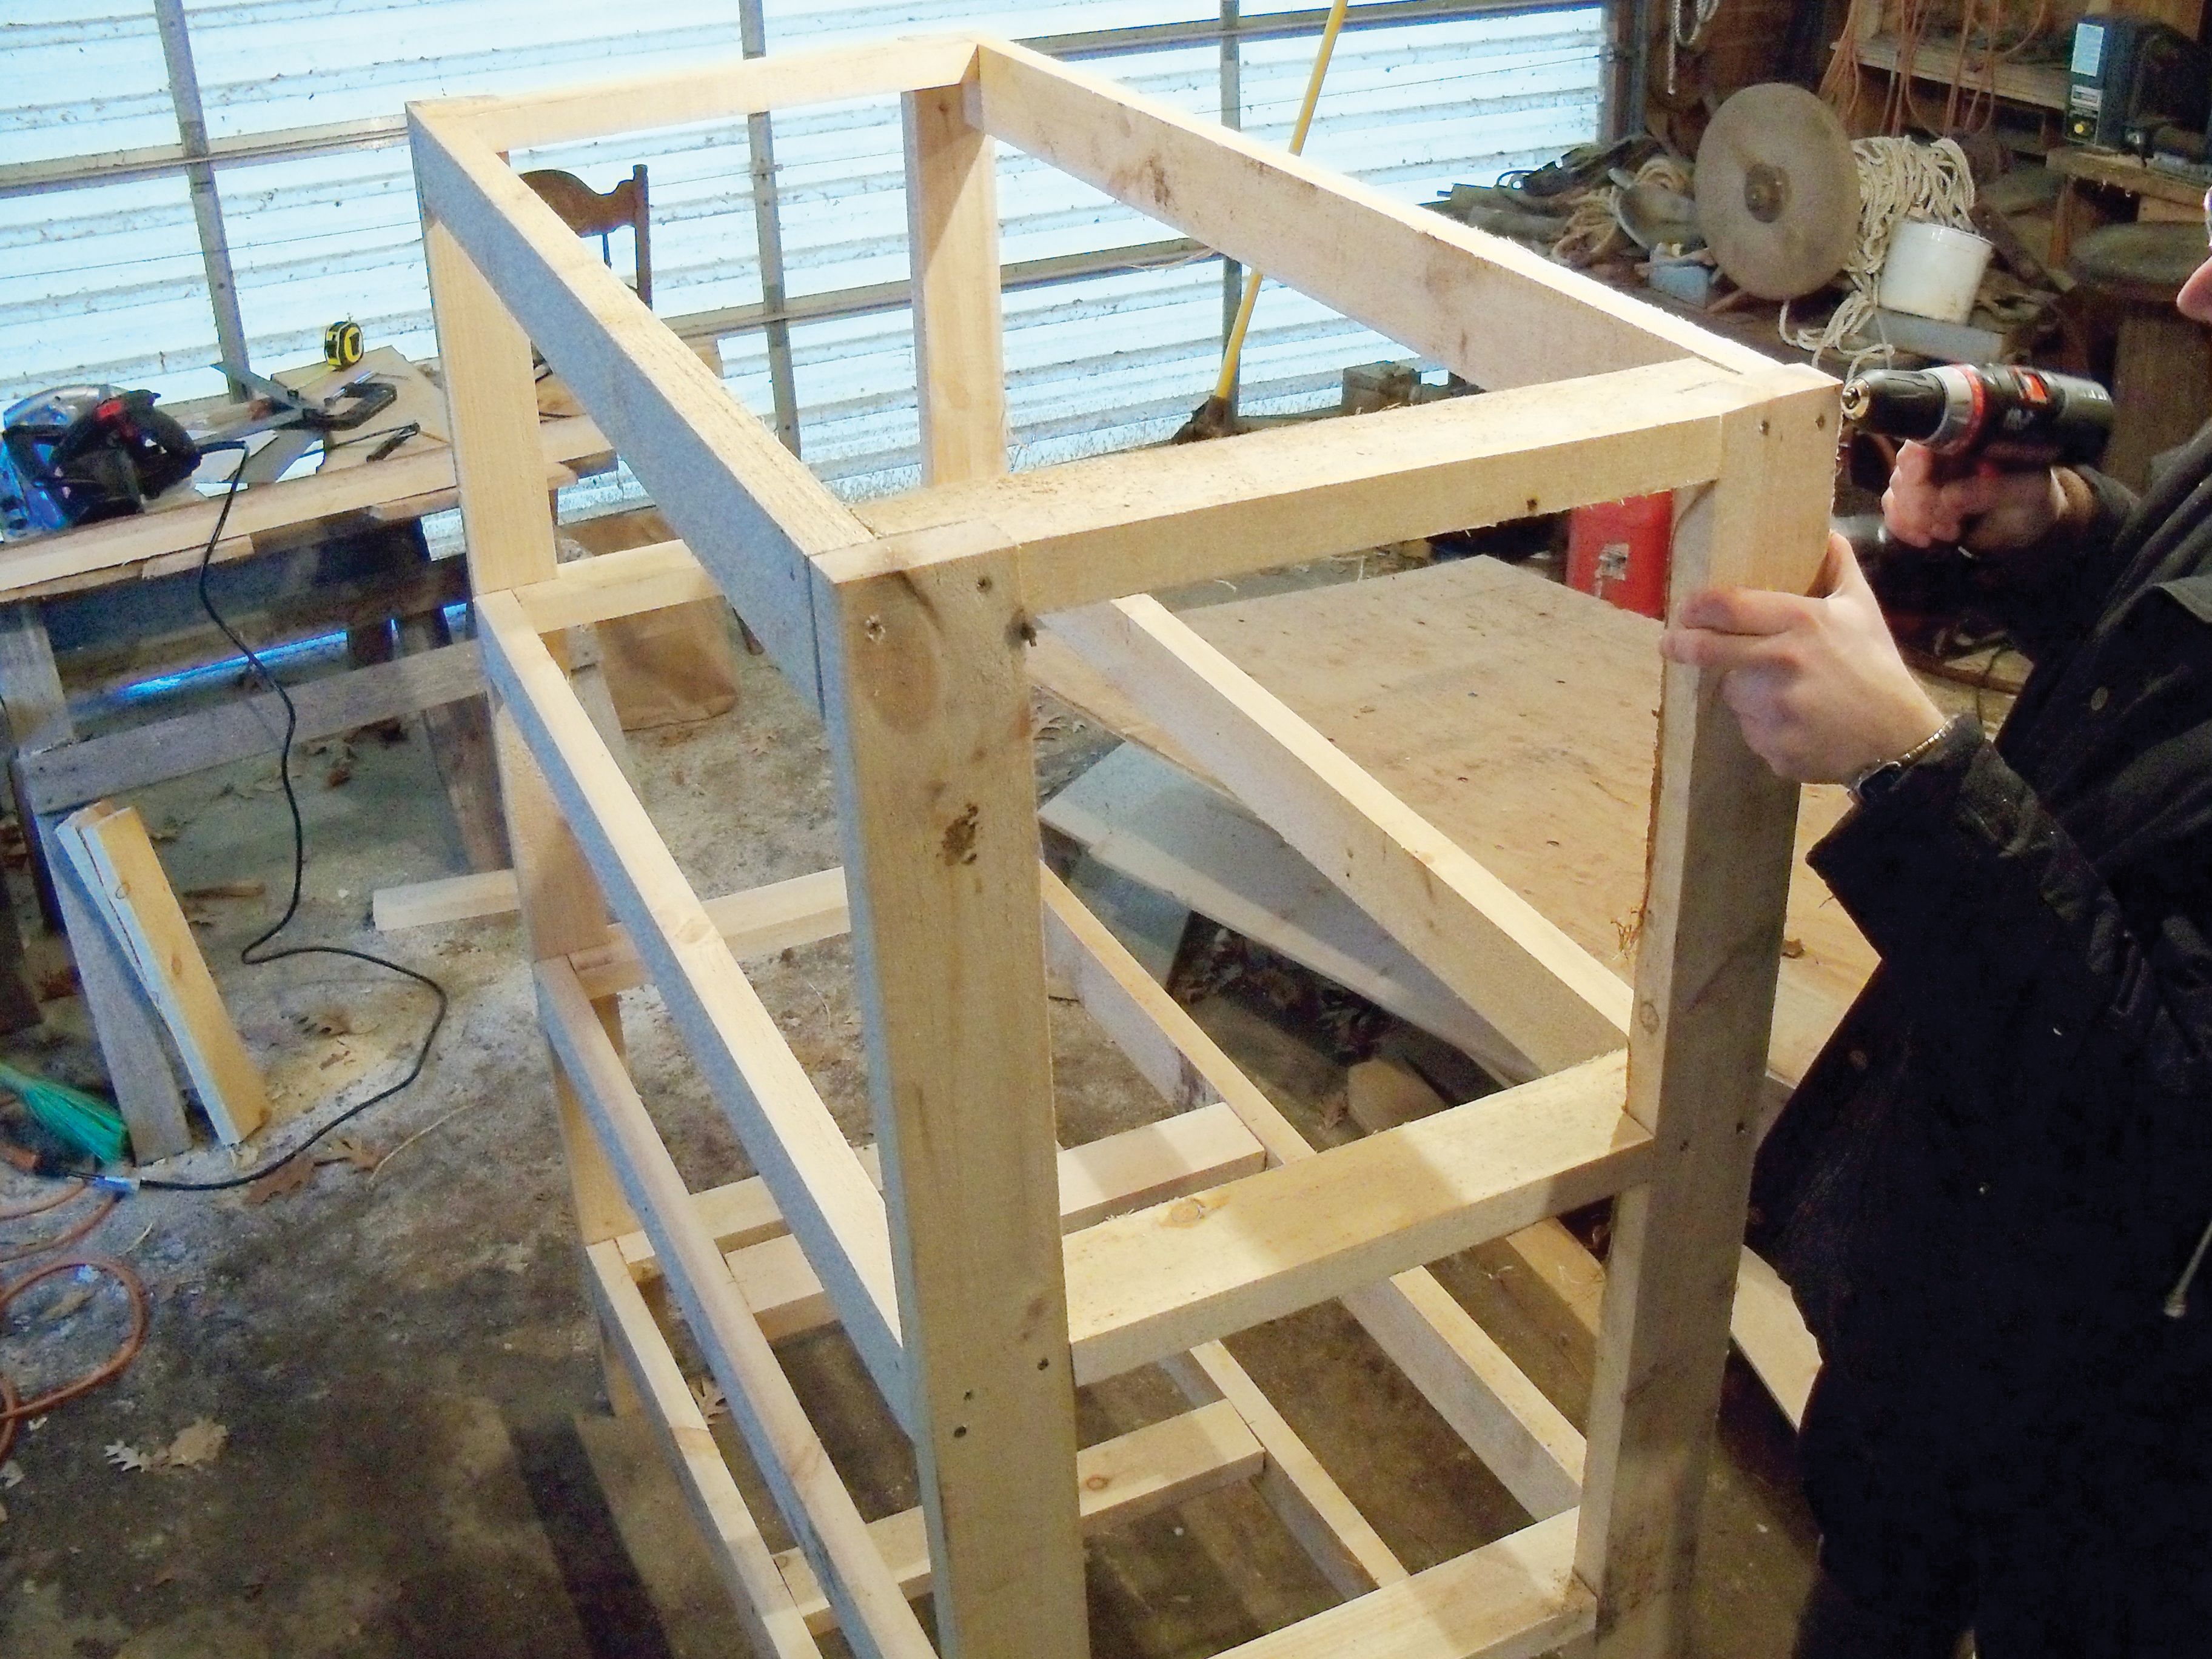
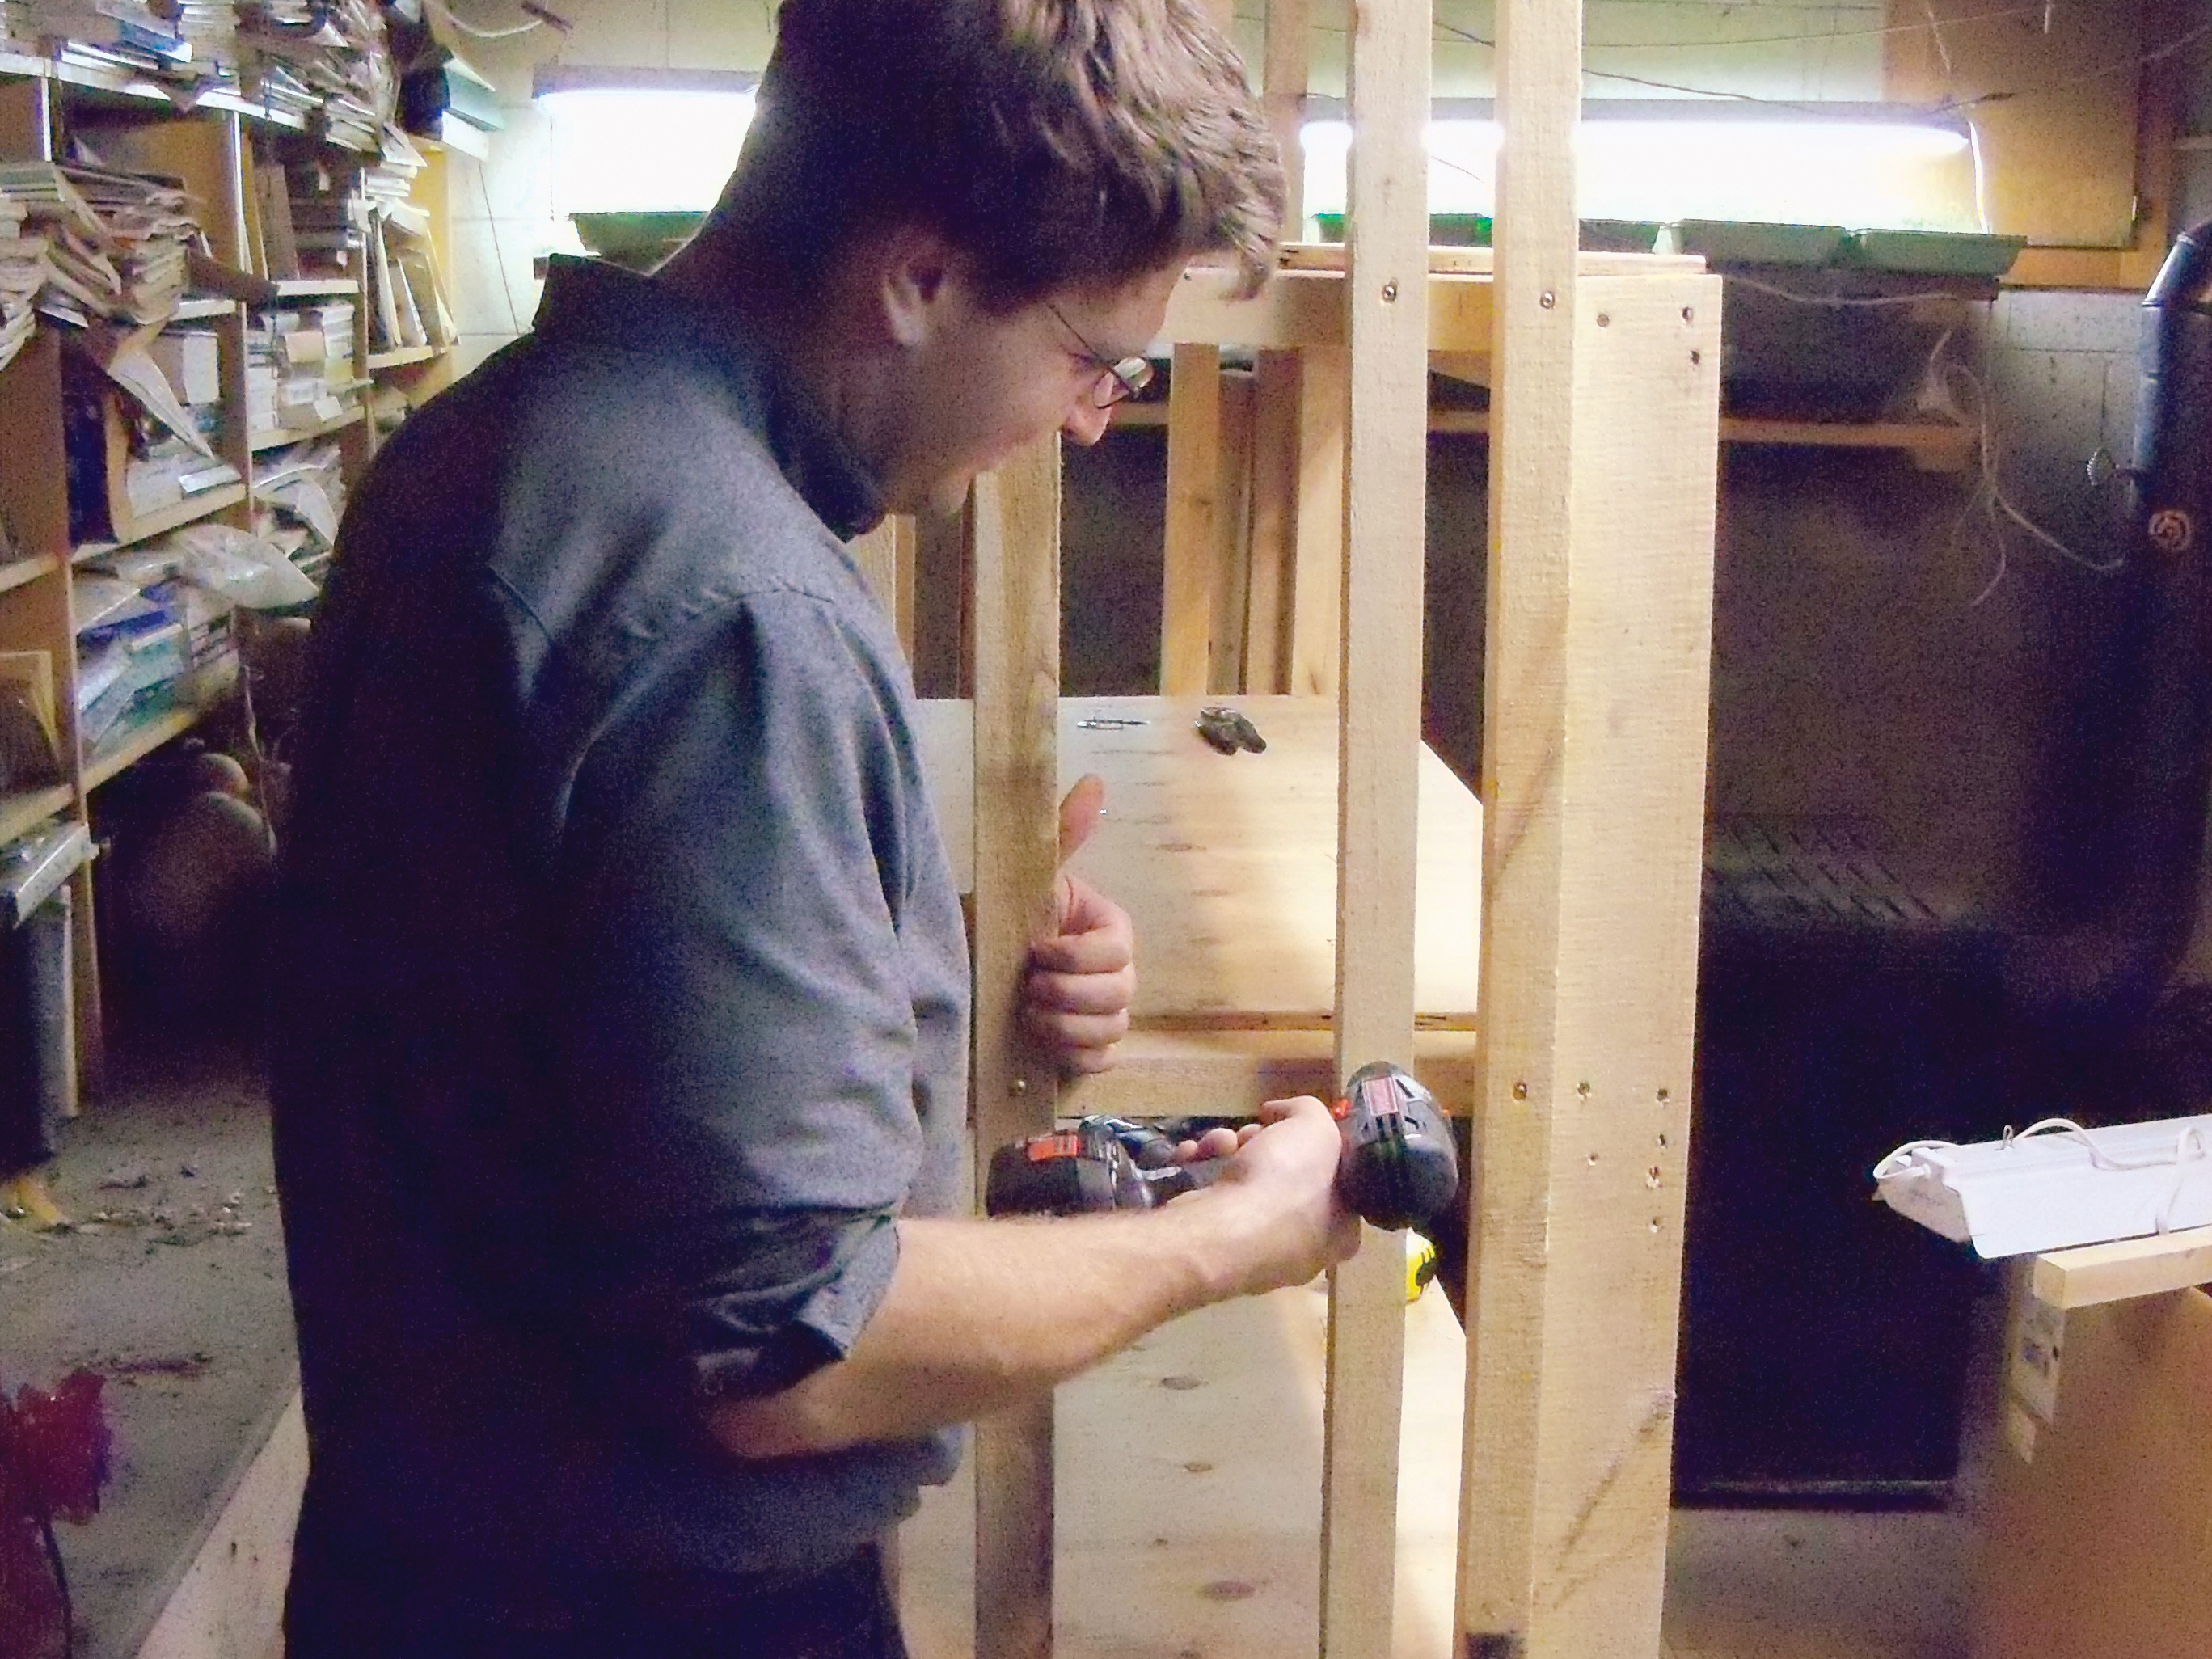
Use 3″ #10 deck screws to fasten the 50″ front and back shelf supports and 21″ side shelf supports to the legs. Start at the bottom and proceed upward. It’s easiest if you have a helper when you attach the bottom shelf supports to the legs.

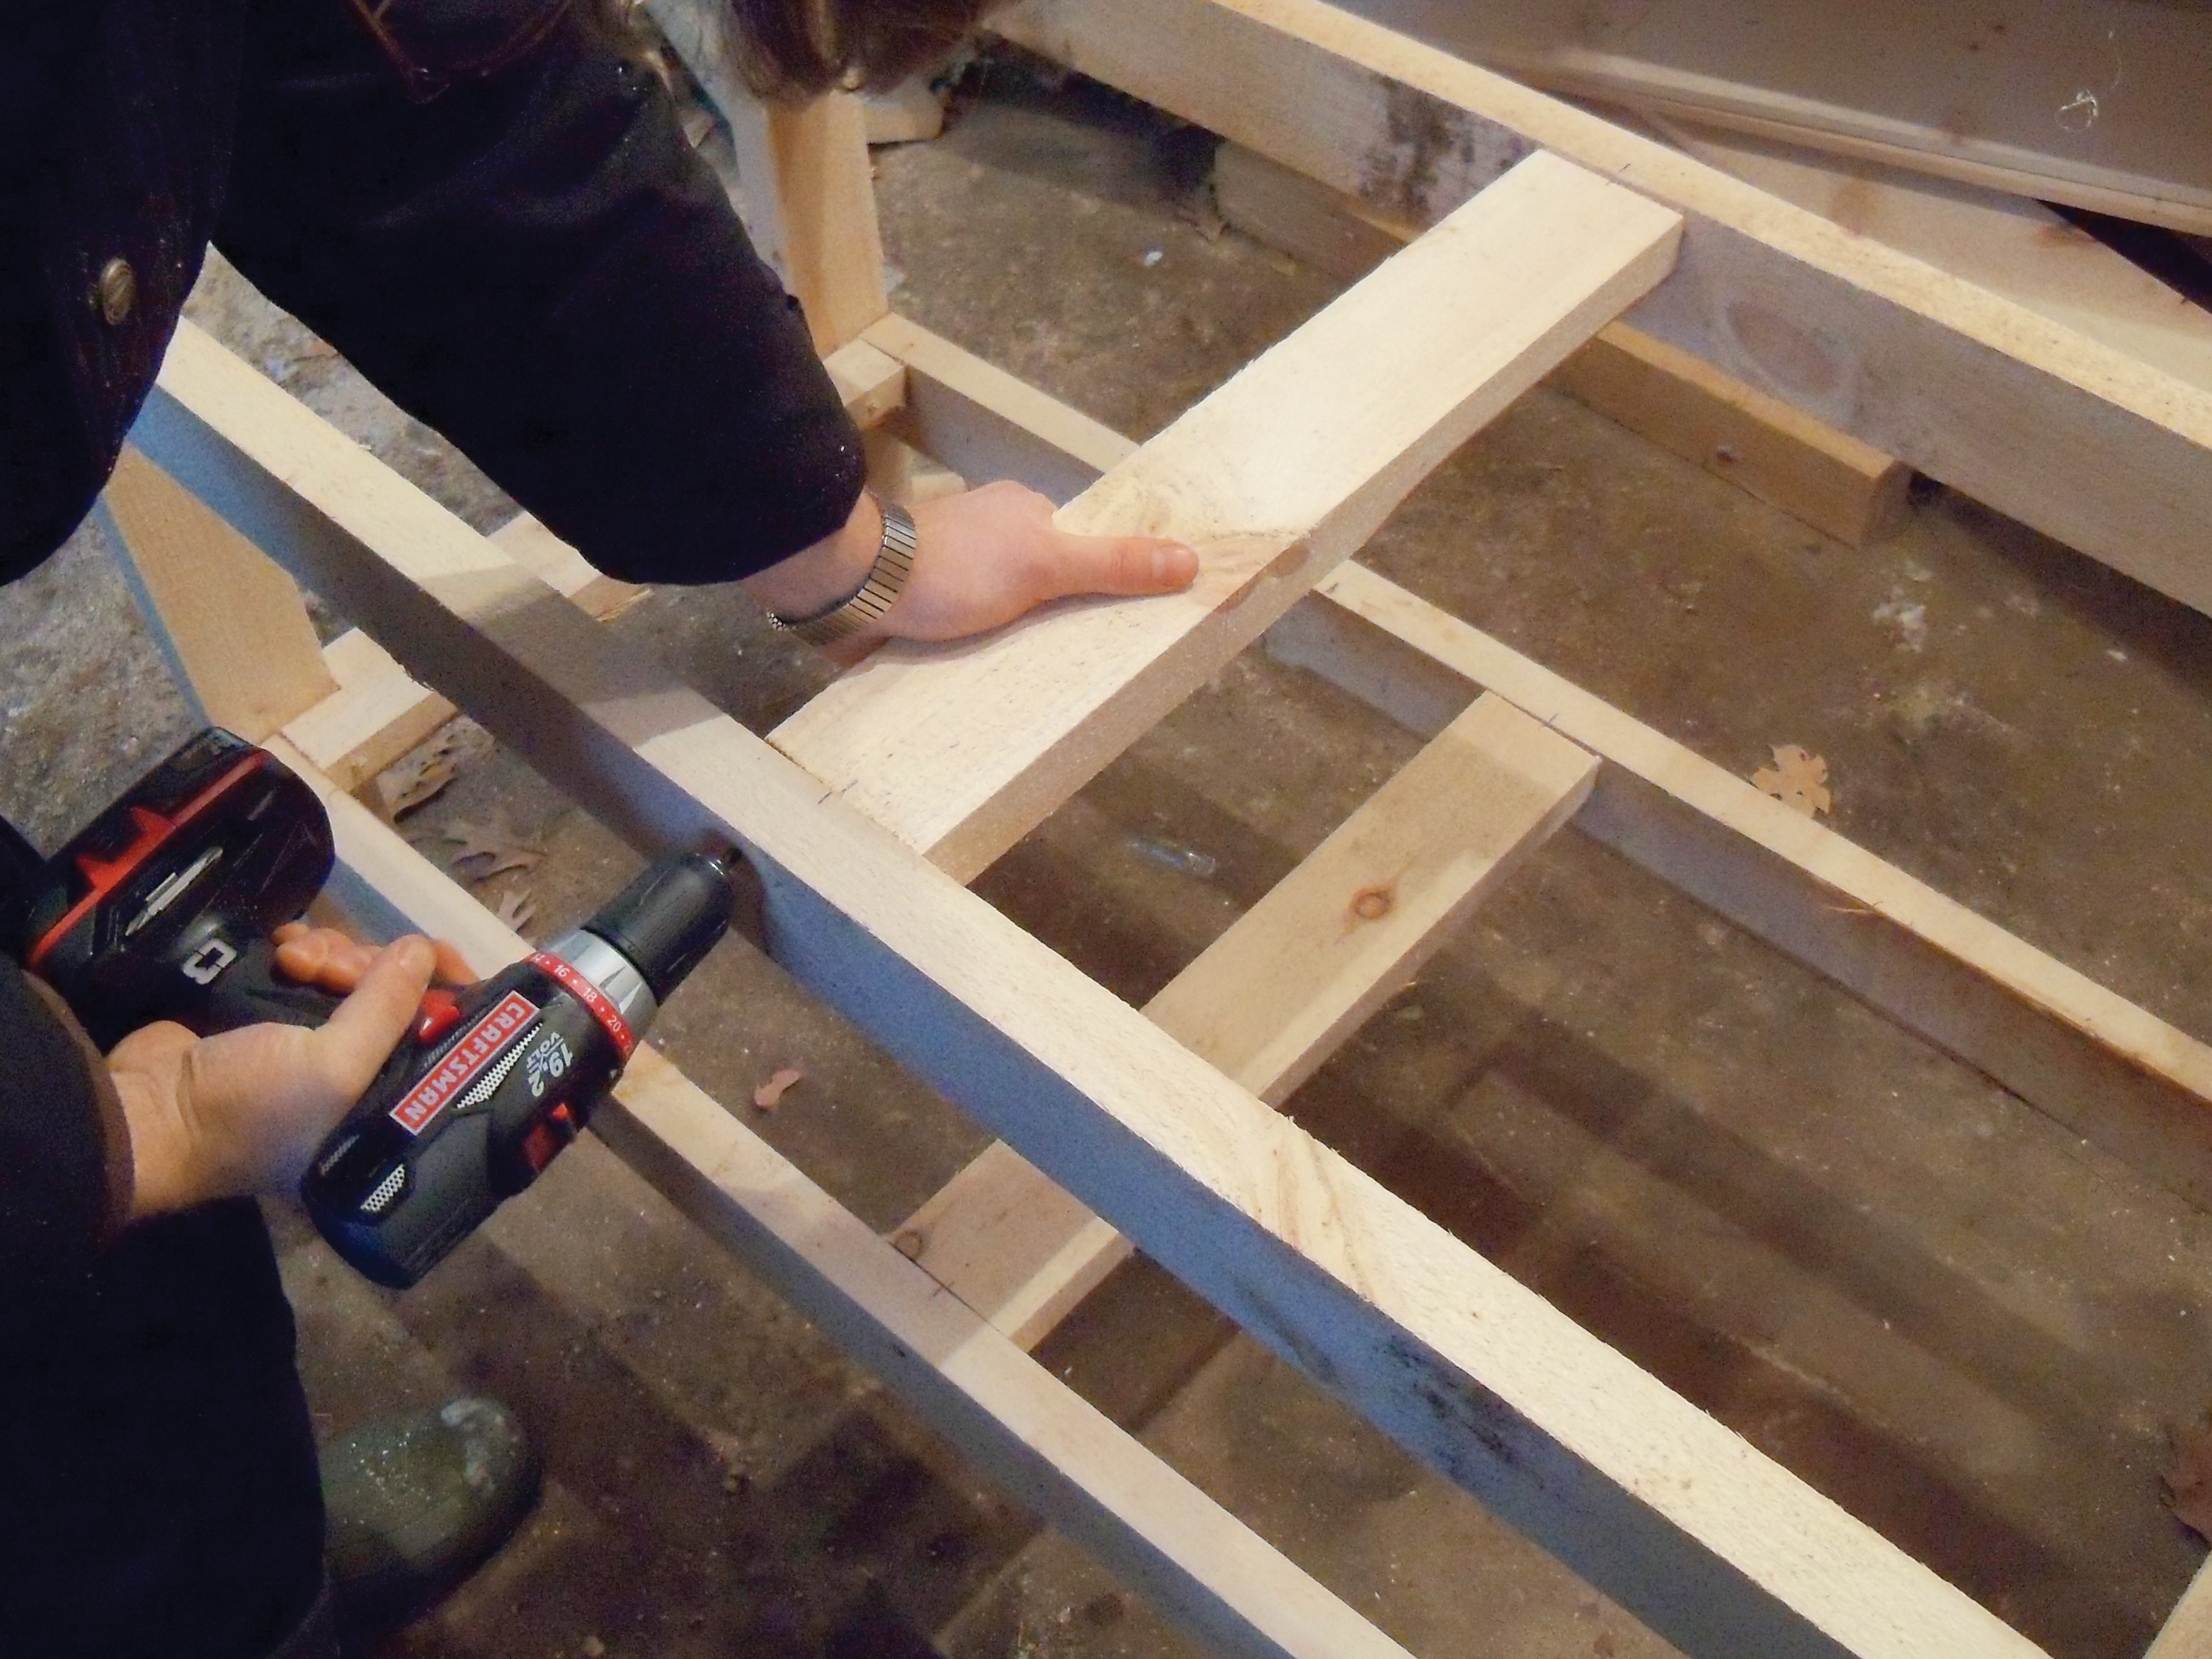
Use 3″ #10 deck screws to attach the four 21″ center shelf supports to the front and back shelf supports.

Attach the shelf support.

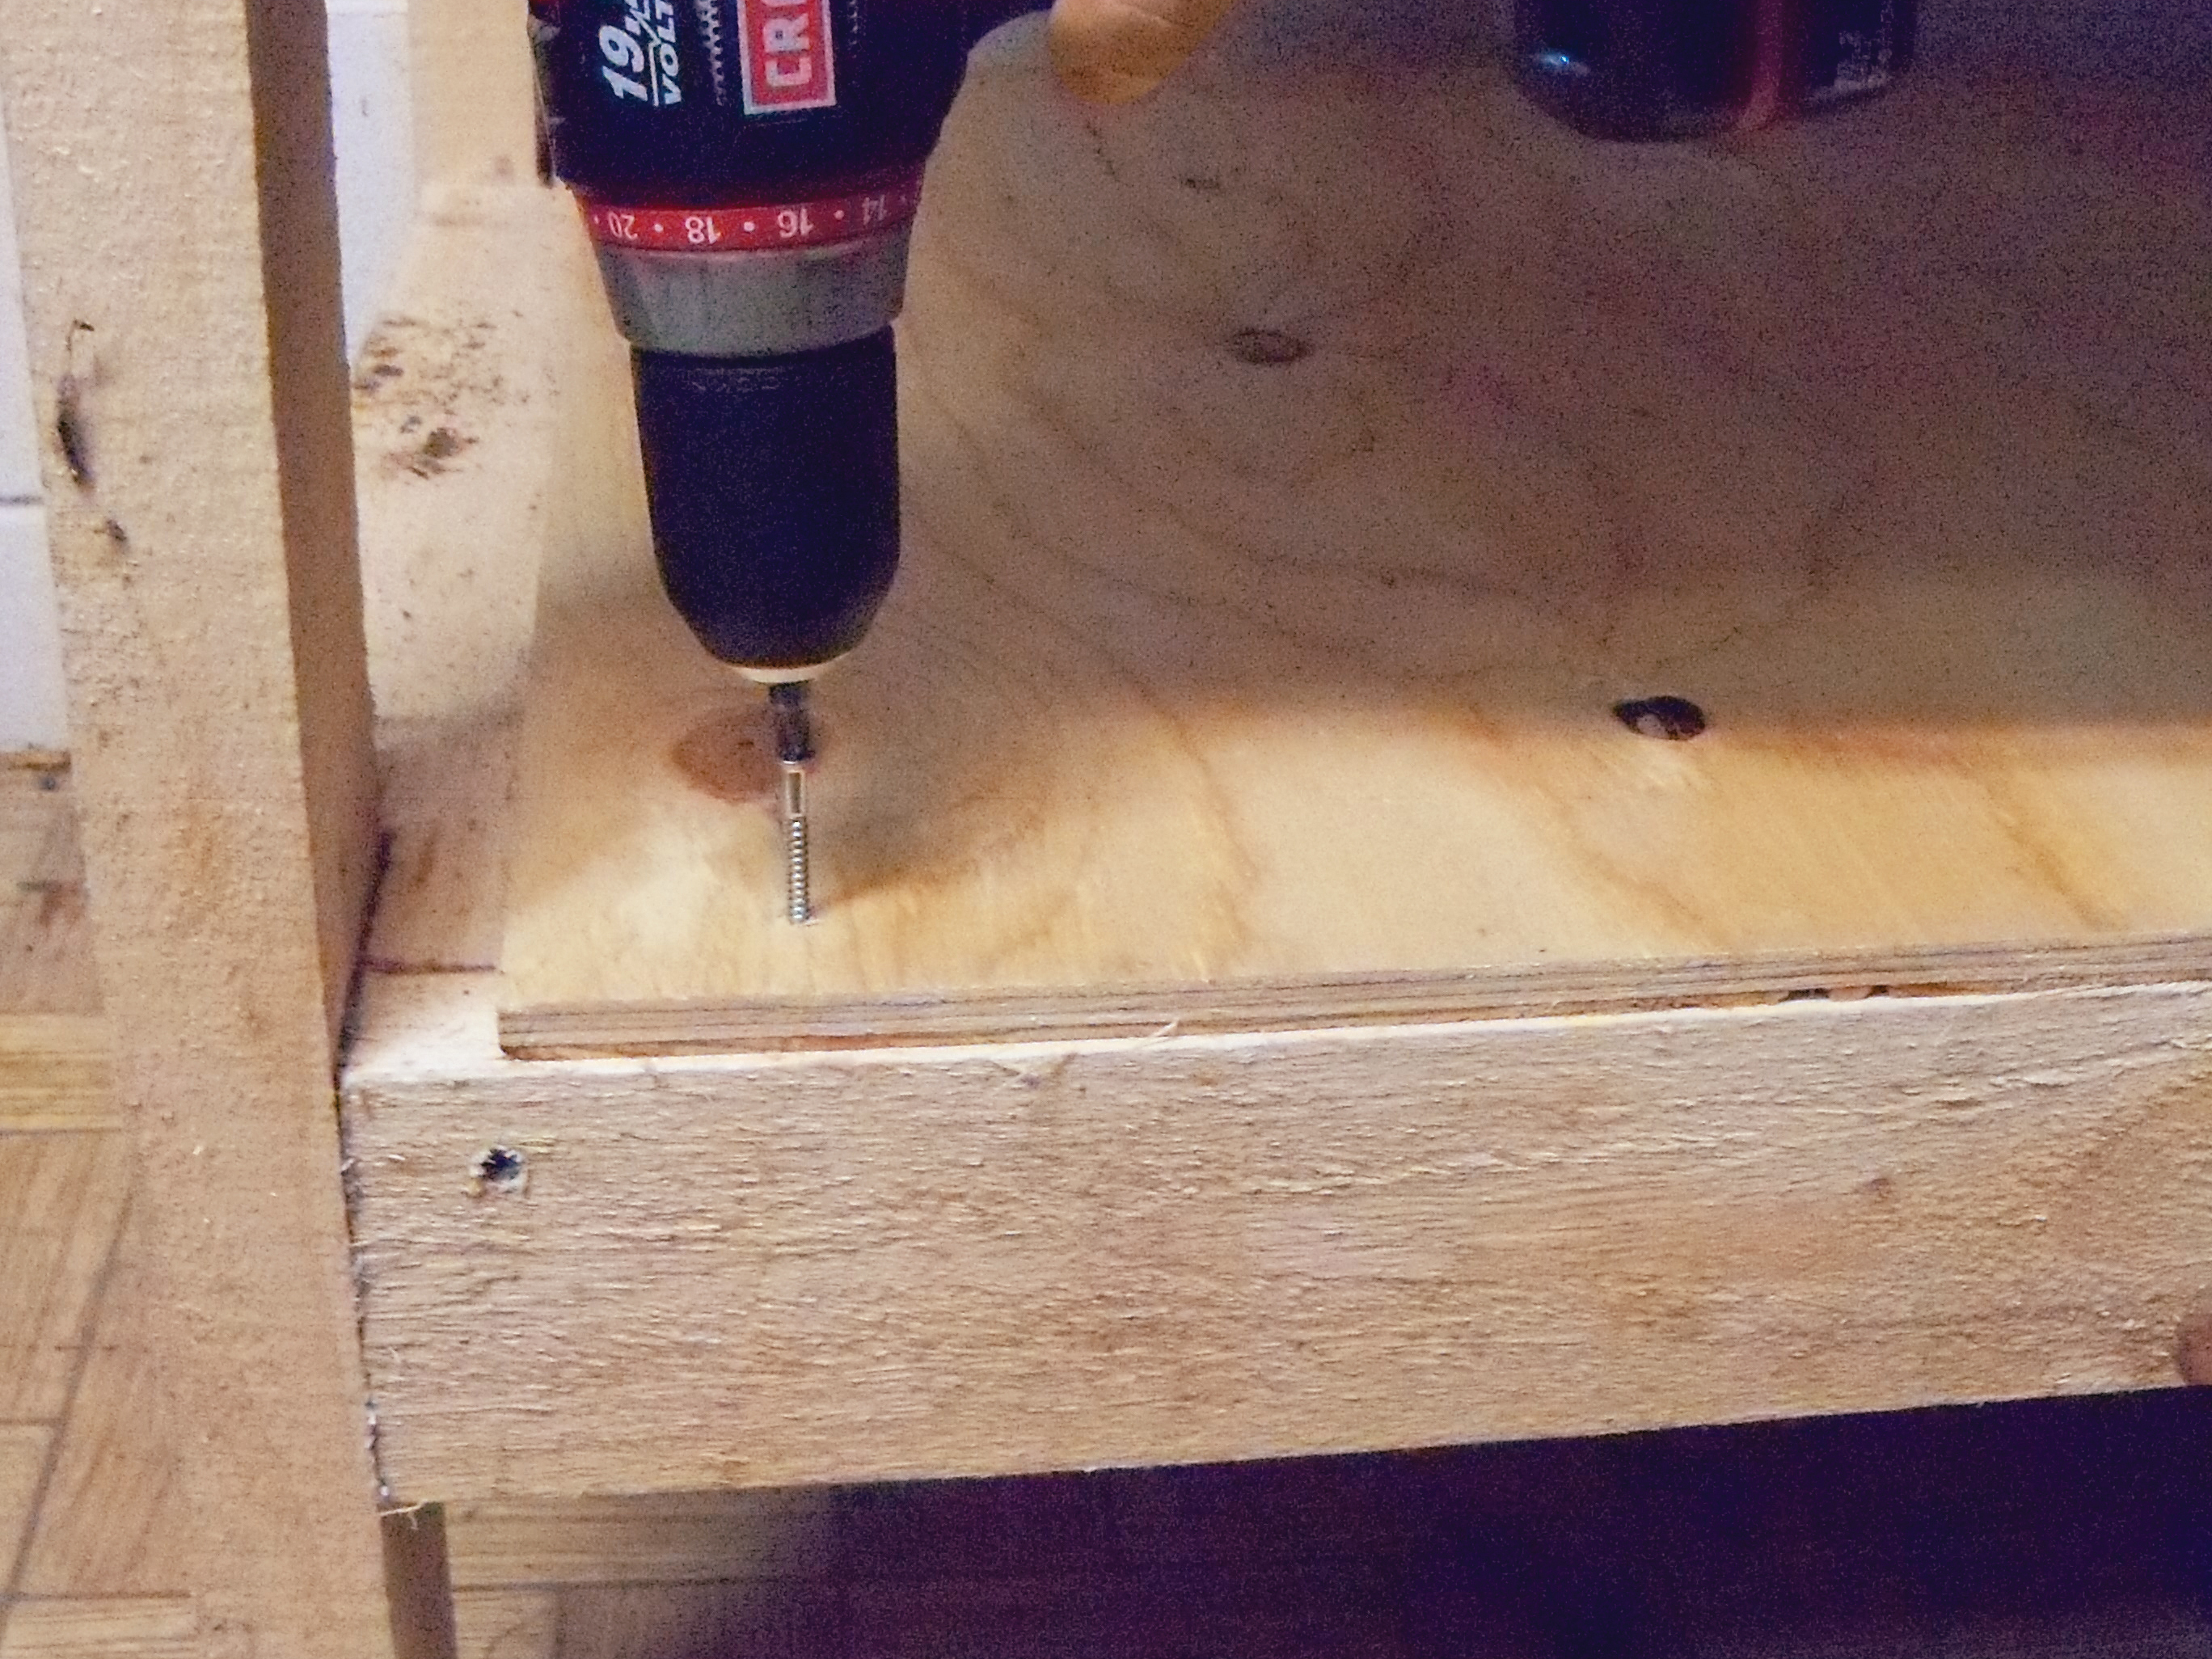
Use 1½” #8 deck screws to fasten the 2’×4′ 2″ plywood shelves to the shelf supports. This completes the shelving.

Make the adjustable light supports.

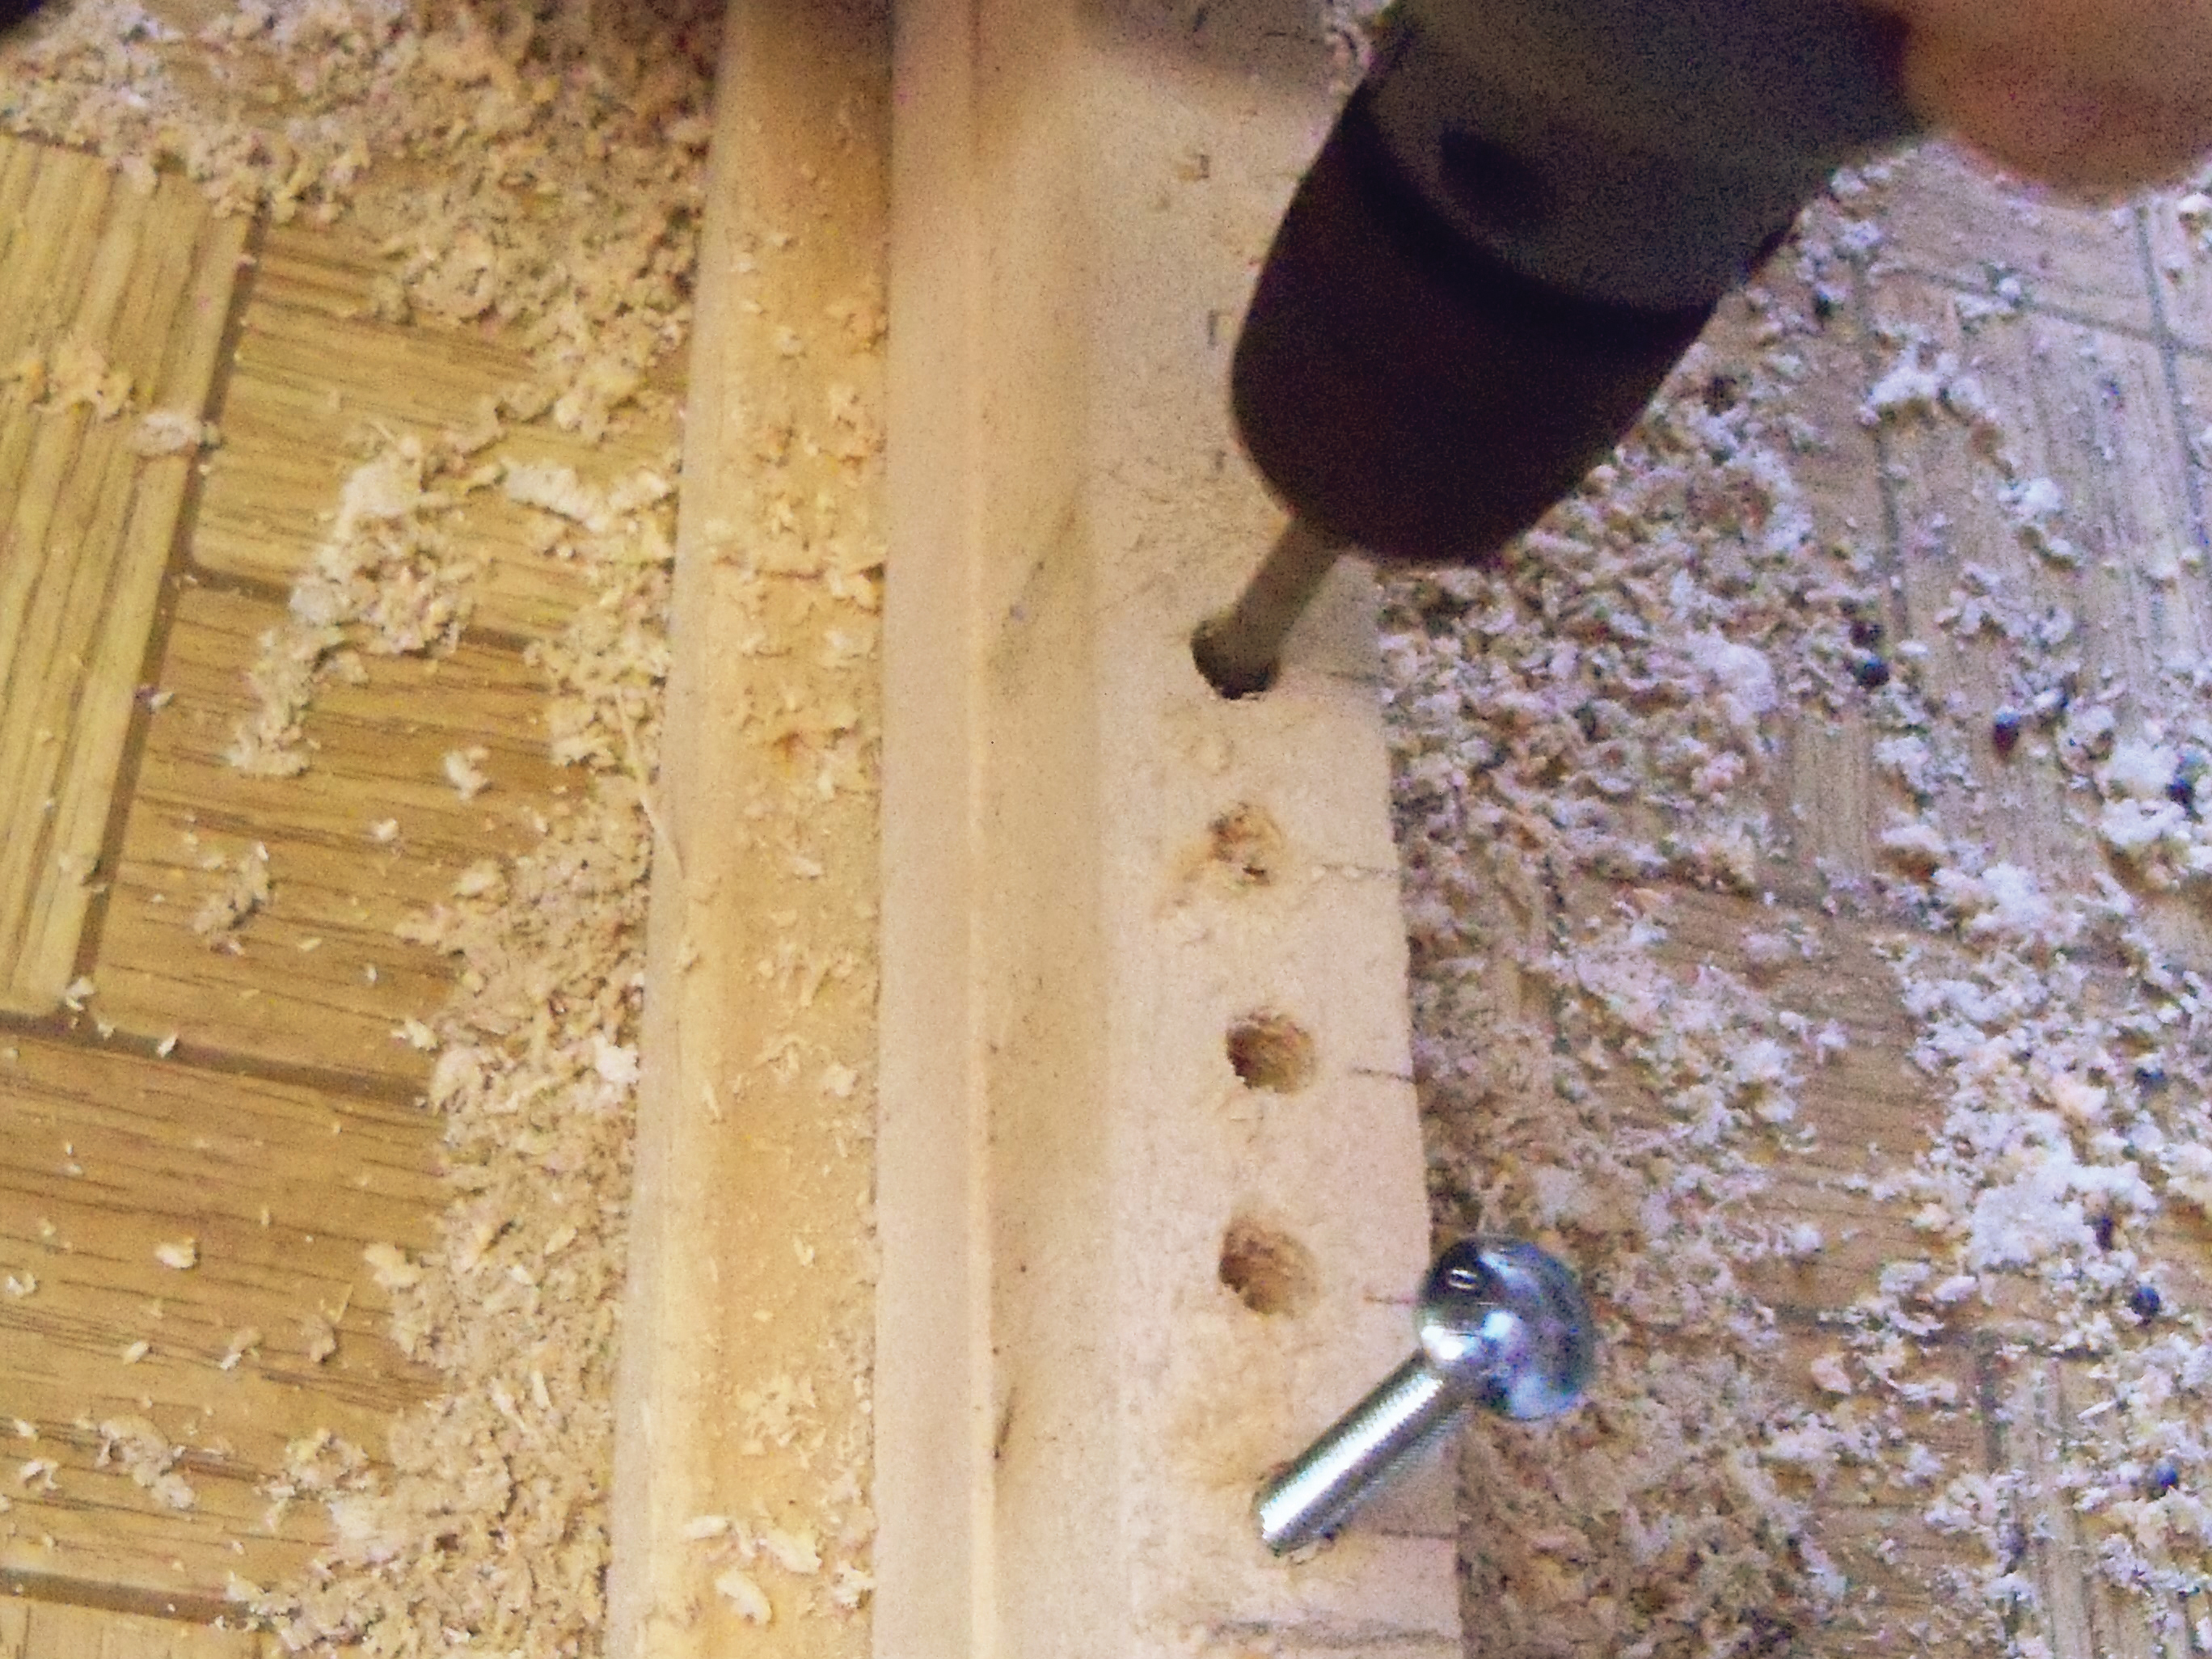
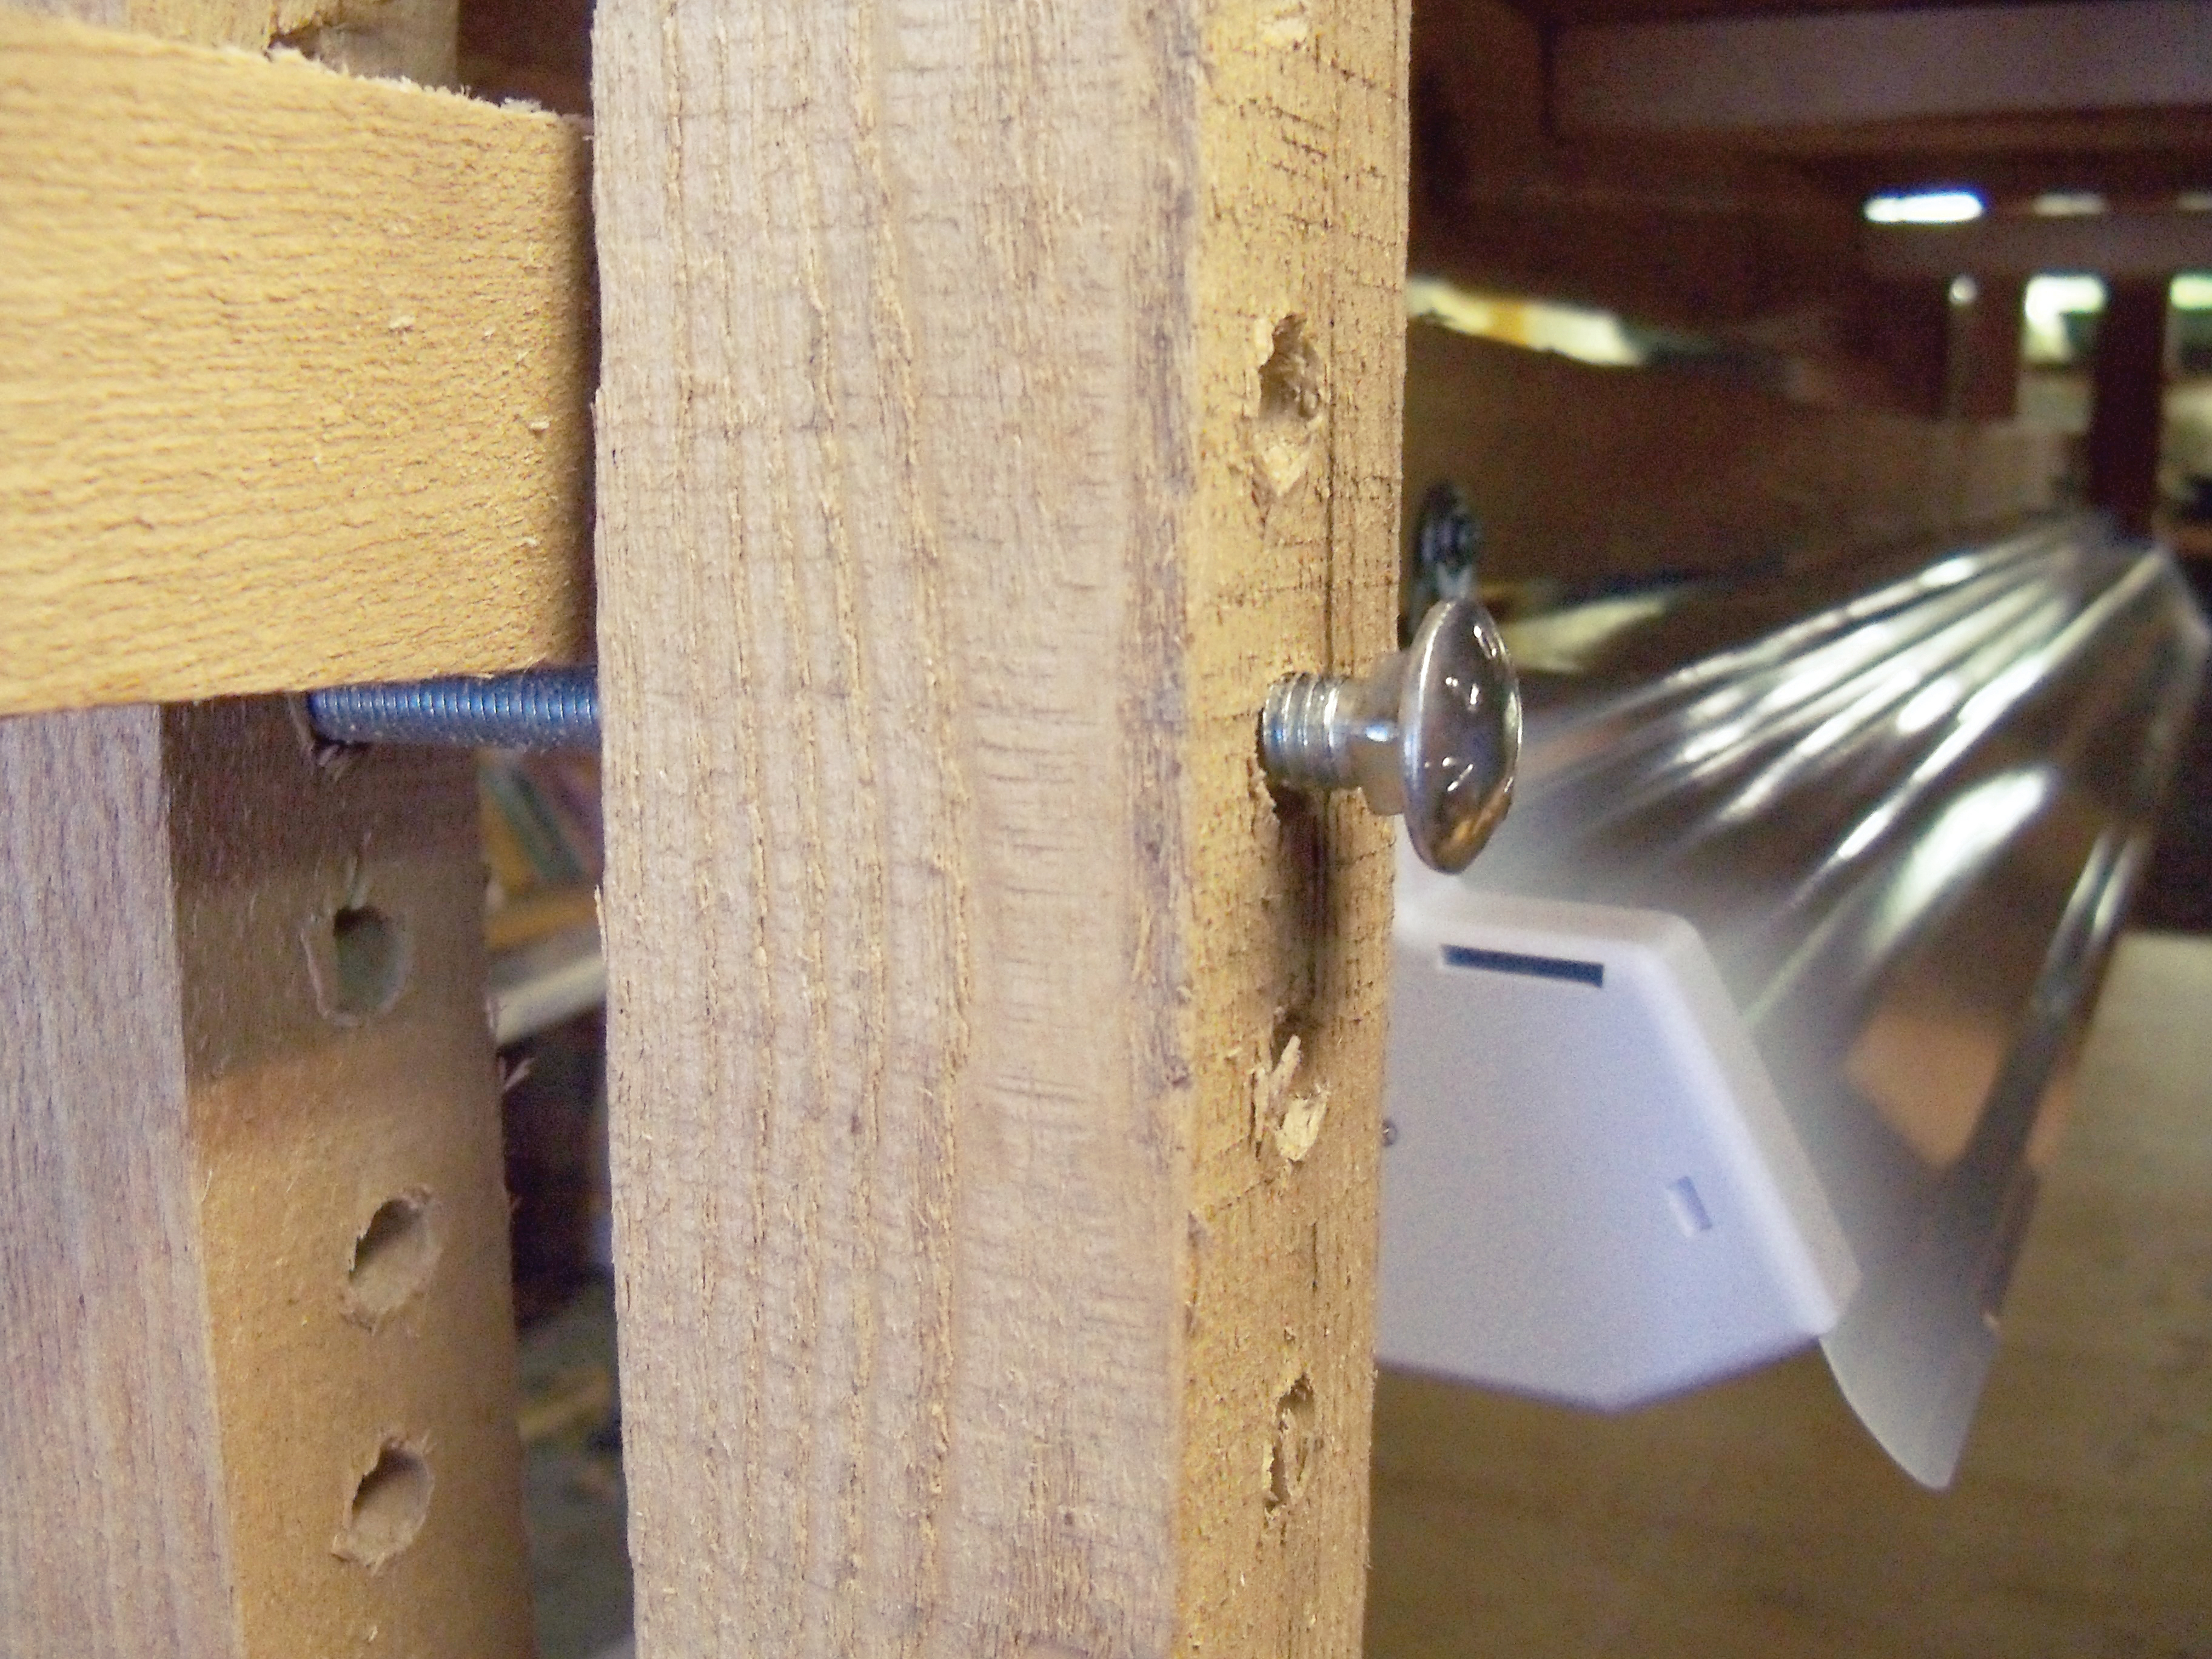
Next, you’ll add shop light supports to the shelving. These adjustable supports consist of 2×2 boards with 2″ holes drilled 1″ apart. Then 6″-long ¼” bolts are placed through the holes. This arrangement makes it quick and simple to raise or lower the shop lights in 1″ increments.

Marking all holes first, start 9″ from the end of a 72″ 2×2 board, and drill ten 2″ holes spaced 1″ apart. Then 10″ from the last hole of this group, drill 10 more holes, each 1″ apart. Repeat this process until you have 40 holes in 4 groups, with a 10″ space between each group. Using the first drilled light support as a guide, mark and drill the same 40 holes in each of the other seven 6′ 2×2s.

Attach the adjustable light supports.

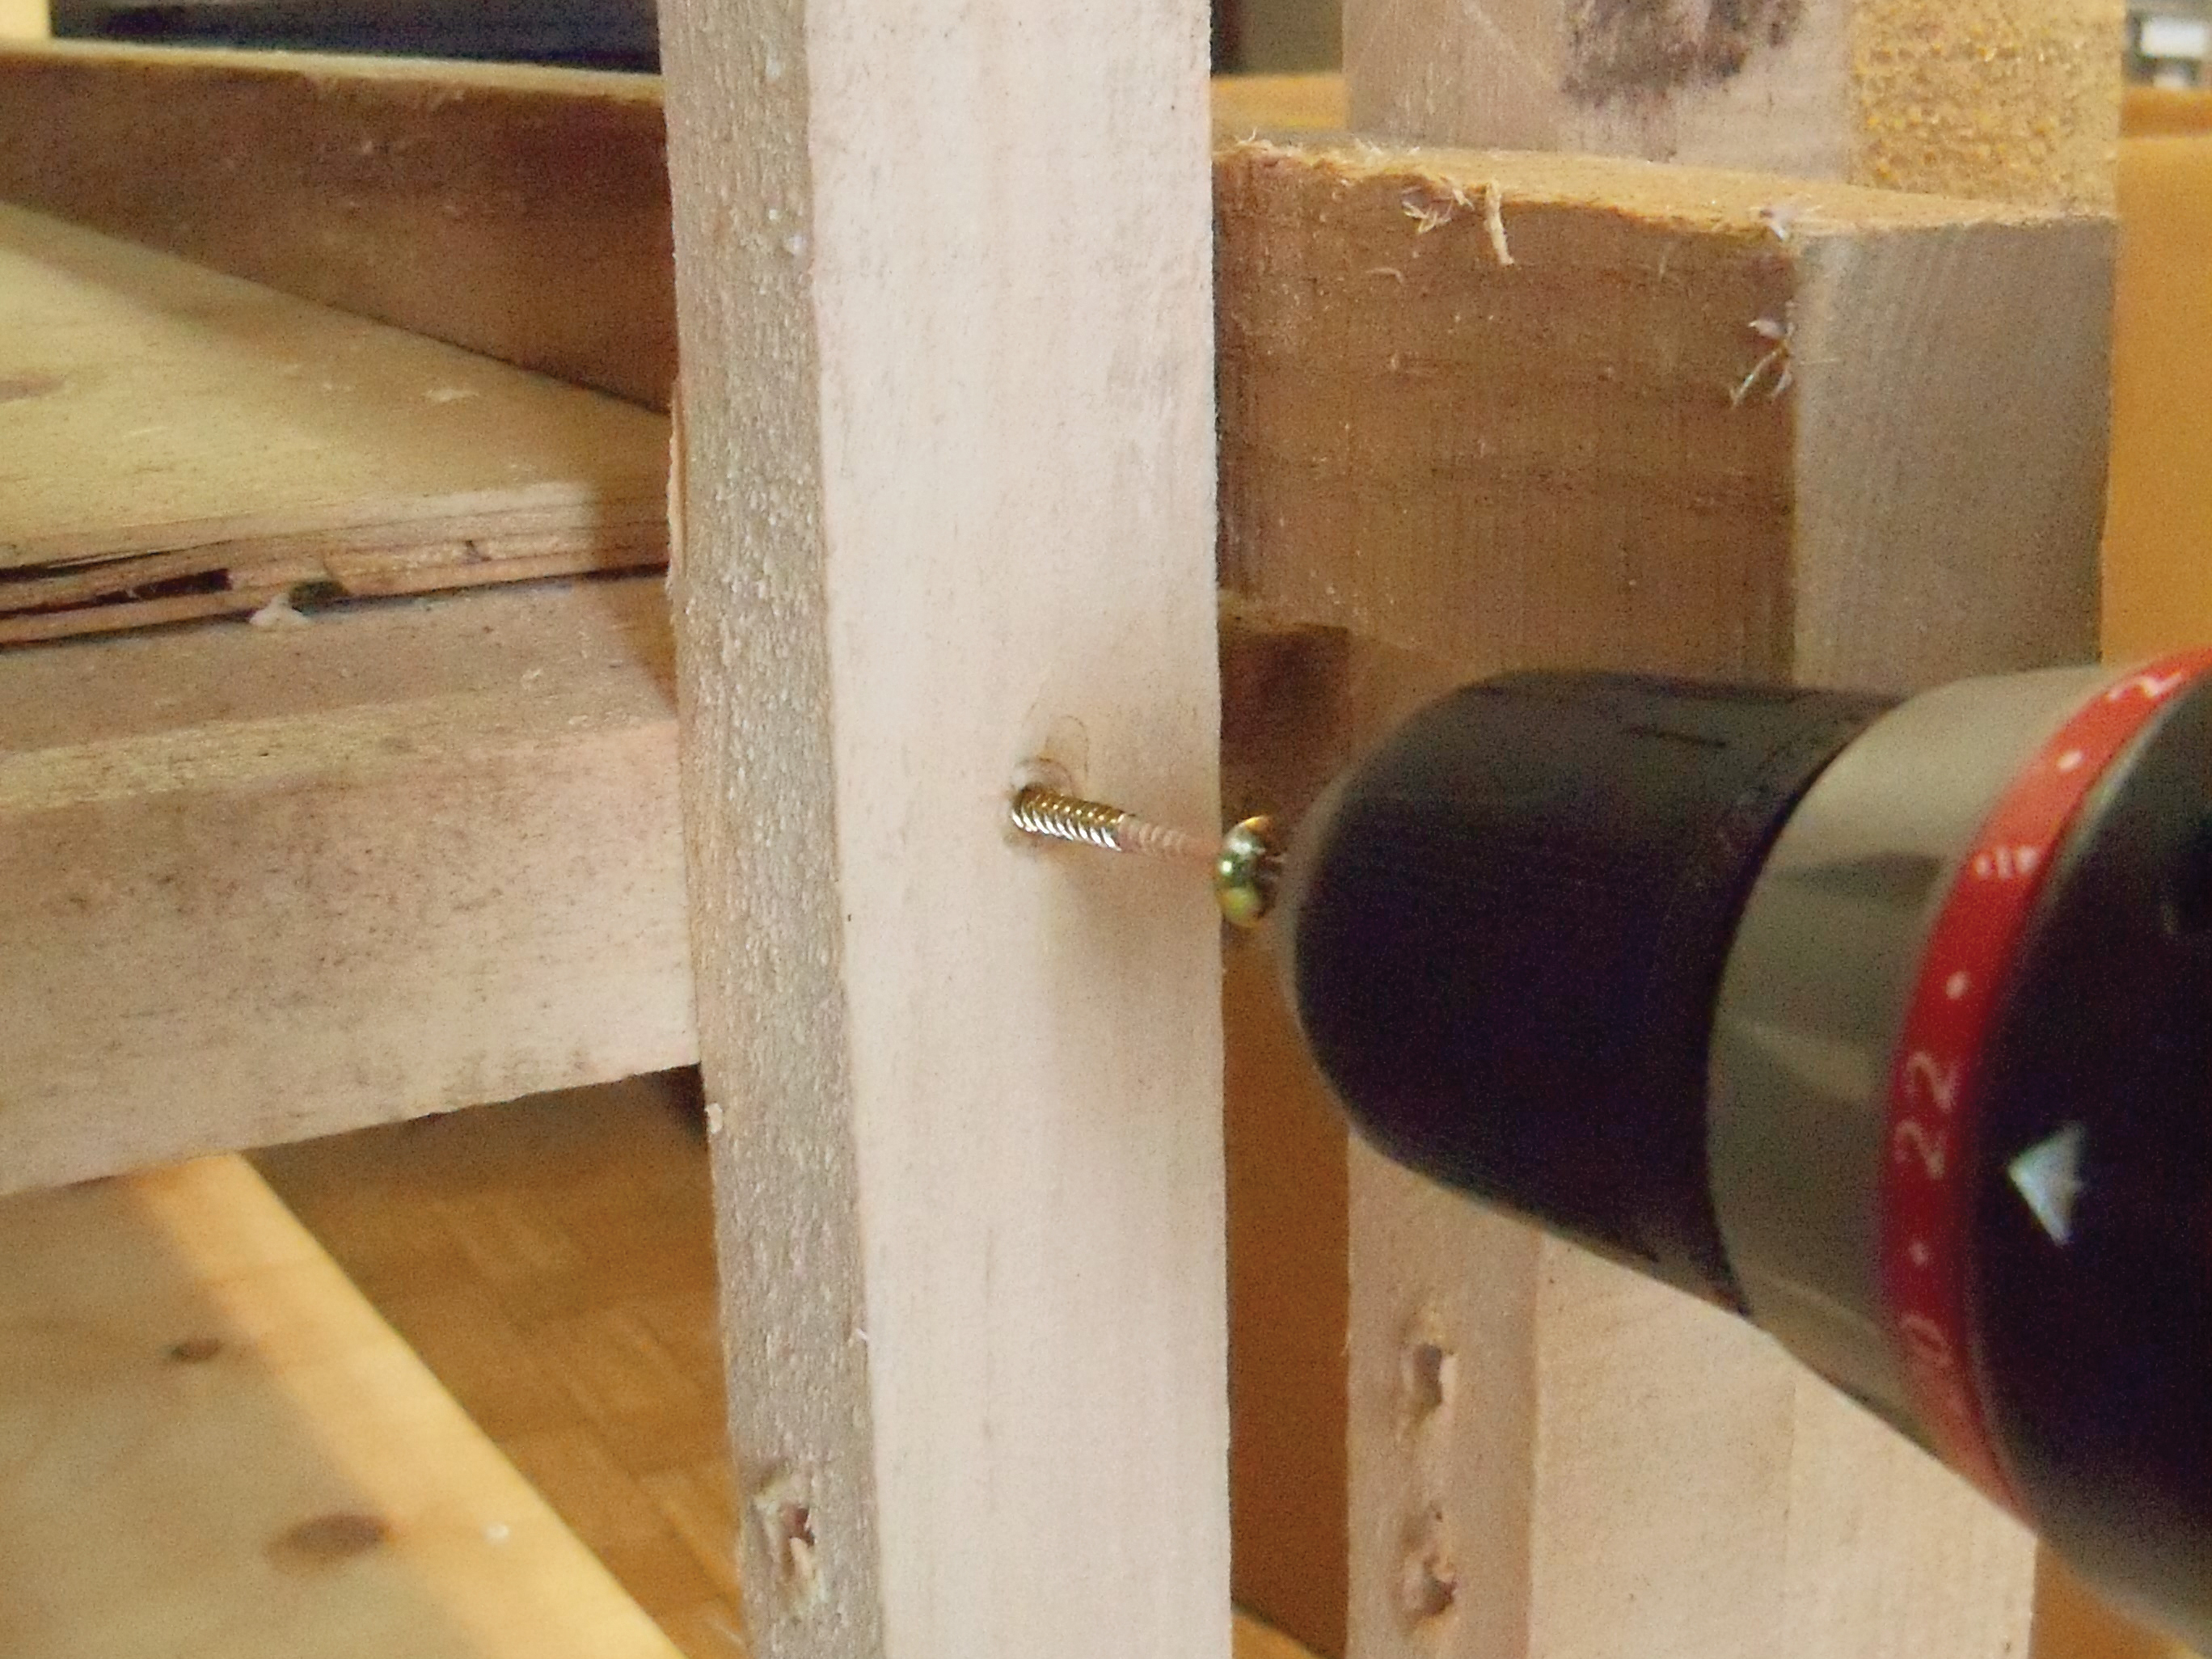
Mount the adjustable light supports vertically to the sides of the stand using 3″ #10 deck screws. Each pair of companion supports should be spaced about 1¾” apart so that a 2×2 board can slide between them. The outside light support on each side should snug up next to the adjacent leg and line up with the bottom edge of the lowest shelf support. The 6″-long ¼” bolts will be placed through the holes in these supports, so make sure all the holes are lined up and oriented as shown in the photos.

Mount the lights.

Remove the 2 S-hooks from the box that the shop light came in, and place the shop light (without bulbs) on one side of a shelf. Slide a 62″ 2×2 board between both pairs of adjustable light supports and let it rest on top of the shop light.

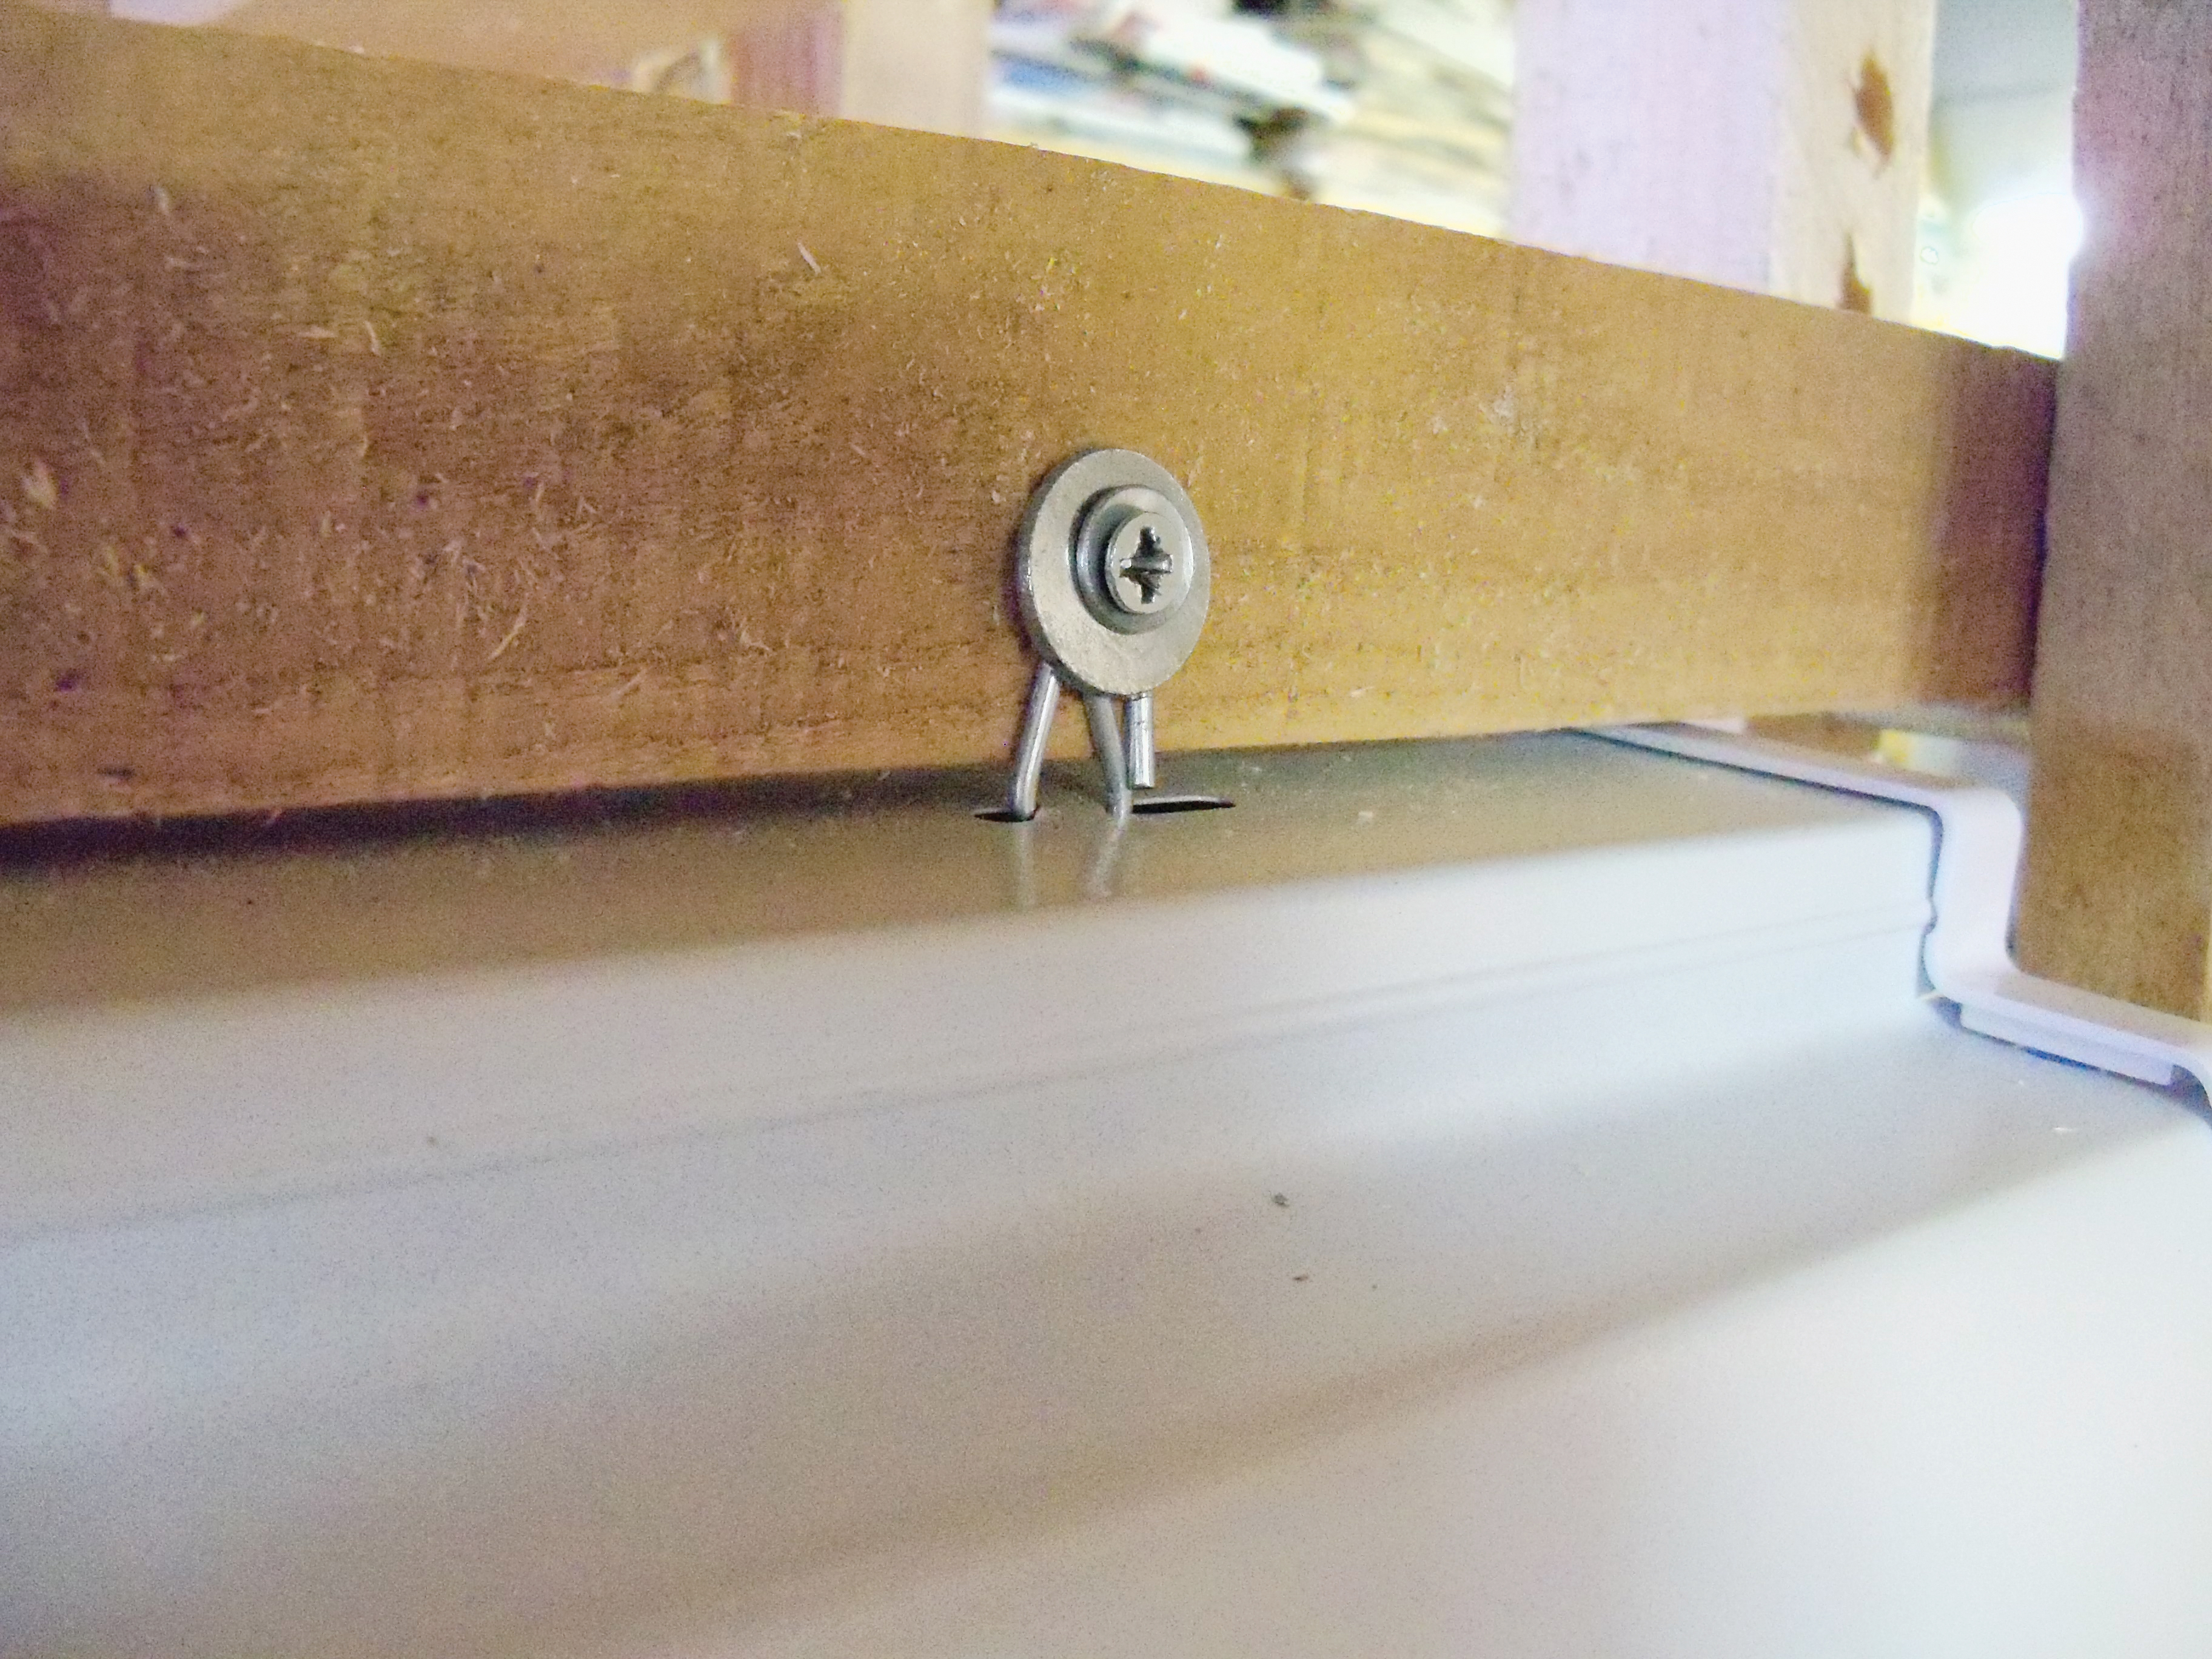
Insert one end of each S-hook into the small holes on top of the shop light, and use long-nose or needlenose pliers to squeeze the hook so it won’t slip out of the holes. Then (adjusting the position of the light as necessary) attach the other end of each S-hook to the 2×2 with washers and a 1½” #8 deck screw.

After attaching your lights to the 2×2s, slide each assembly up through the light supports to the desired height and hold it in place with the bolts.

Use your light stand.

Mount the power strips and plug in the shop lights. If you’re using more than 4 shop lights, it’s a good idea to use at least 2 power strips. Keep in mind that nearly 7 amps of current are being used when all 8 shop lights are on at the same time, and that most household circuits are designed for a maximum of 15 amps.

Standard residential or utility-type 32W– 40W fluorescent lamps can be used. However, for best plant growth, you’ll want to use widespectrum fluorescent lamps, such as Gro-Lux or Vita-Lite. A slightly cheaper alternative, which will provide light nearly as good as widespectrum bulbs, is to use one cool white and one warm white bulb in the same shop light.

Tips on Starting Plants from Seed

Many seeds, such as tomato, pepper, zinnia, and marigold, germinate much more quickly and reliably when the soil temperature is above 70°F. If you use your plant light stand in a cool basement that averages below 55°F, it’s best to use soil heating cables to help with germination.

However, in a relatively warm basement — one that averages above 55°F — you can reliably grow warmth-loving plants by simply using the radiant heat energy from the shop lights’ fluorescent lamps.

To maximize the heating effect, adjust the shop lights so the fluorescent bulbs come within 1″–2″ of the soil. Also, leave the shop lights on day and night until most of the seeds germinate. I found from experience that this method works, and it practically eliminates the dreaded “damping-off” diseases that kill seedlings, as long as you use high-quality, professional-grade potting soil.

This method also works fine for starting cool-weather-loving plants such as onions, cabbage, broccoli, impatiens, and poppies. But since these germinate well at relatively low temperatures, you don’t need to leave the shop lights on continuously — usually 12–15 hours per day is sufficient

Conclusion

Tom Fox (tomfox@magiclandfarms.com) is an Michigan-based electronics/science/weather geek, technical writer, workshop editor, handyman, dirt farmer, and more. His wife and children’s favorite title for him is “repairman.”

This project first appeared in MAKE Volume 28, page 132.