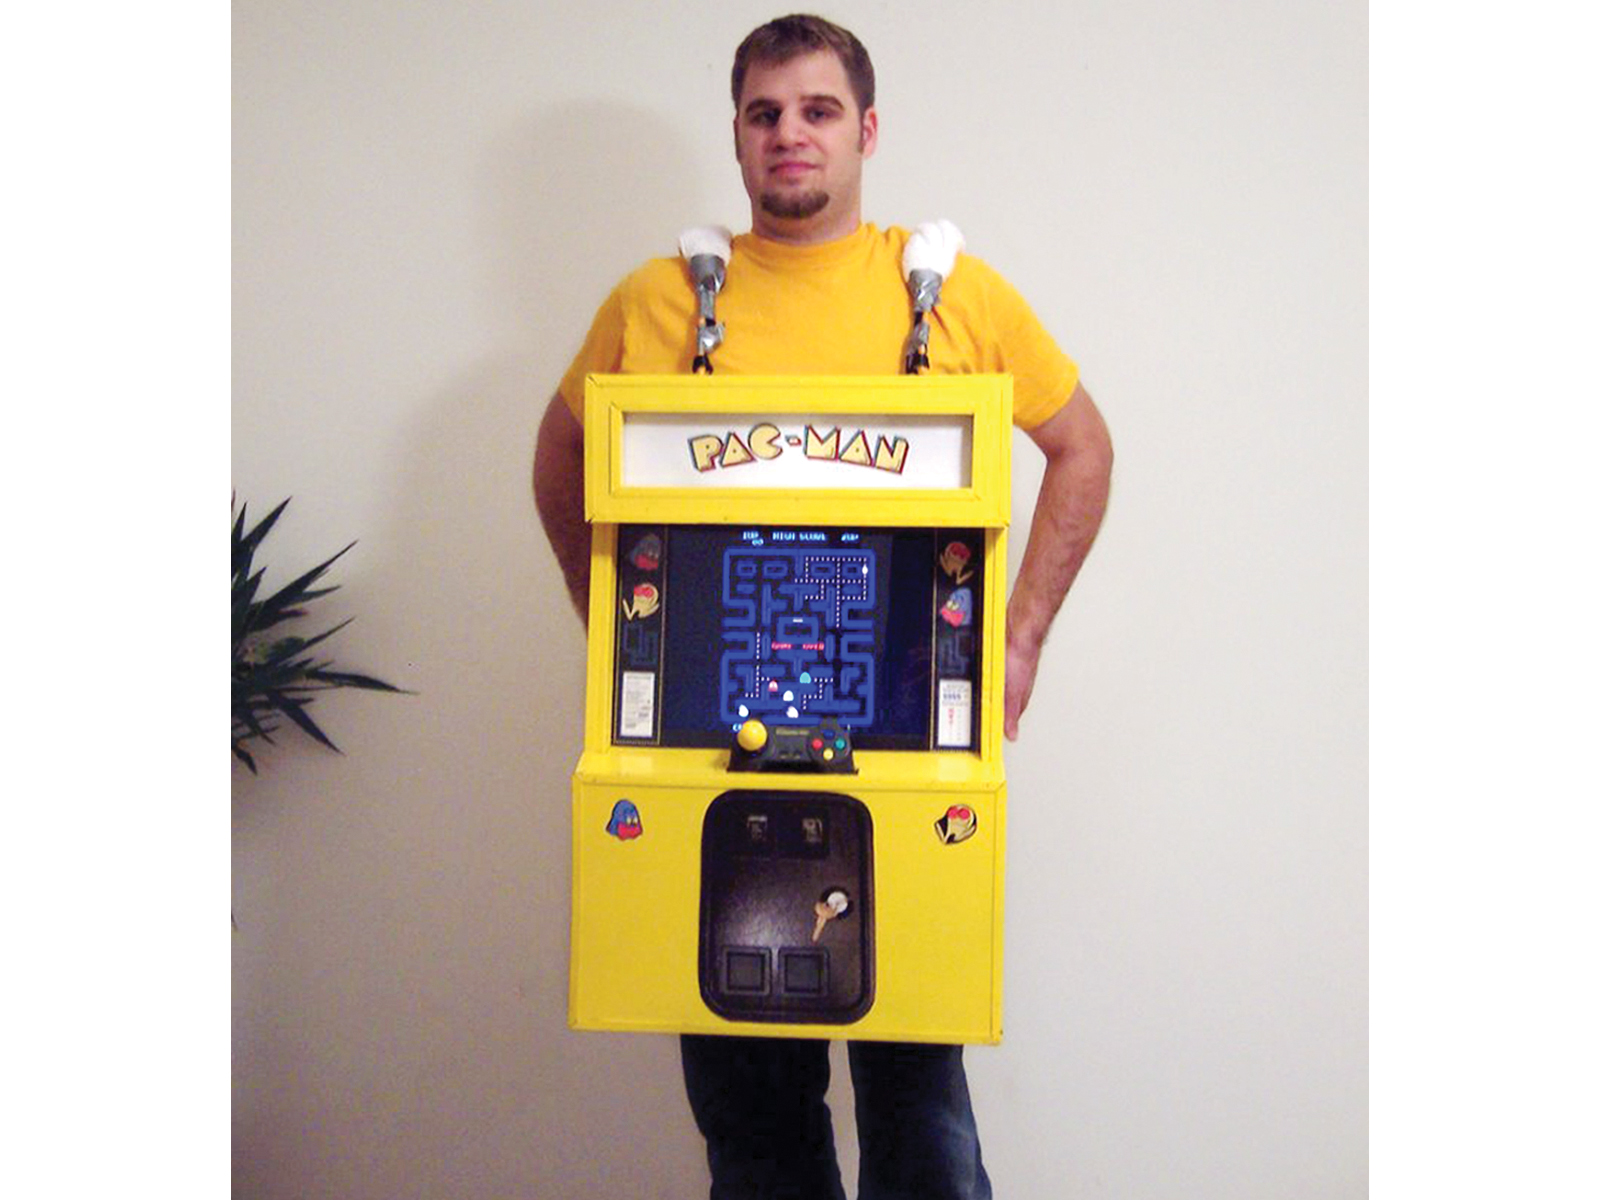
For an 80s-themed Halloween party, I wanted a costume that was unique, incorporated technology, and would be fun for fellow partygoers. I’d been toying with the idea of making a mini arcade machine for my game room, so I decided to come up with one that I could also wear as my costume. What follows is a guide to making your own wearable Pac-Man that guarantees you’ll be the life of the costume party. It’s fun to build and to wear. And I’ve since converted it to a bar-top arcade machine, so this costume can play long after the Halloween parties are over.

Project Steps

Frame the Pac-Man machine.

Start by measuring and cutting the plywood side panels, so you can use them as a template for the frame construction. I made mine 19″ wide by 28″ high, but cater yours to your physical size and preference.

Using the furring strips, make the 2 square frame pieces that form the top and the bottom of the frame. Assemble with drywall screws (pre-drill the holes or the wood will split).

Use a square to ensure that everything will fit later in the assembly. Make sure the frame is wide enough to accommodate both the width of your chest and the width of your laptop (with your controller plugged in).

Using the plywood templates, measure and cut the 4 main vertical frame supports. I angled the 2 front supports to line up with the angle of the soon to-be arcade screen. Attach all 4 supports to the 2 square pieces with drywall screws.

Frame up the control panel area in the same way, and then firmly secure the laptop to the cabinet frame. I first made a small ledge to support the laptop’s weight, and then added a horizontal piece just above that and behind the laptop. This allowed me to lock the laptop into place by sliding it into the newly made slot. By this point, I was already running the necessary software to play Pac-Man. A simple internet search of the word “MAME” will point you in the right direction.

Finish framing the marquee and a pocket for the controller. I made the joystick removable, so people didn’t need to be right in my face while playing. The directional pad on my Gravis Gamepad Pro joystick included a removable joystick ball, but I replaced that with a larger wooden ball from a craft store.

Add paneling and trim.

Assemble the plywood panels and plastic corner trim onto the frame. The trim slides onto the edges of the paneling, which makes the whole process pretty forgiving. Use small finishing nails to secure the paneling and trim directly to the frame. The image shows the pocket I made for the gamepad.

It was small enough for the joystick to be wedged in pretty securely, yet still allowed for it to be removed.

Paint and add finishing touches.

Time to paint! Make sure the room is well ventilated, and wear a mask. I gave the paneling a sand-down and then slapped on a layer of primer. Next up were 2½ cans of sunshine yellow enamel spray paint.

After 3 coats, install the plexiglass for the screen and marquee. I used a utility knife to cut the plexiglass pieces, then fastened them in place with screws and washers. Figure 3 shows the marquee and screen installed, along with the screen’s bezel. I found all the cabinet artwork online, printed it on a laser jet printer, and covered it in clear plastic laminate.

I added the side art and a picture of a coin mechanism, and then mounted a small, battery-powered light to backlight the marquee. For shoulder straps, I used bungee cords wrapped in kitchen towels. With that, the build was complete.

Wear it, then try some variations.

While I tried to make the cabinet as light as possible, the costume still weighed upward of 30lbs. Make your shoulder straps as comfortable as possible. You might experiment with lighter materials.

Also note that the costume is playable only as long as your laptop battery holds out. You might want to bring the laptop charger to the party and use it to give your battery a charge and your shoulders a rest.

I used a picture of an arcade coin mechanism, but a real one can be purchased online at a reasonable price. Finally, while the removable controls worked well enough, I recommend fashioning some kind of locking mechanism to keep the controller from slipping out while being used. Or permanently secure the controller to the cabinet.

Conclusion

This project first appeared in Make: Halloween Special Edition, page 46.