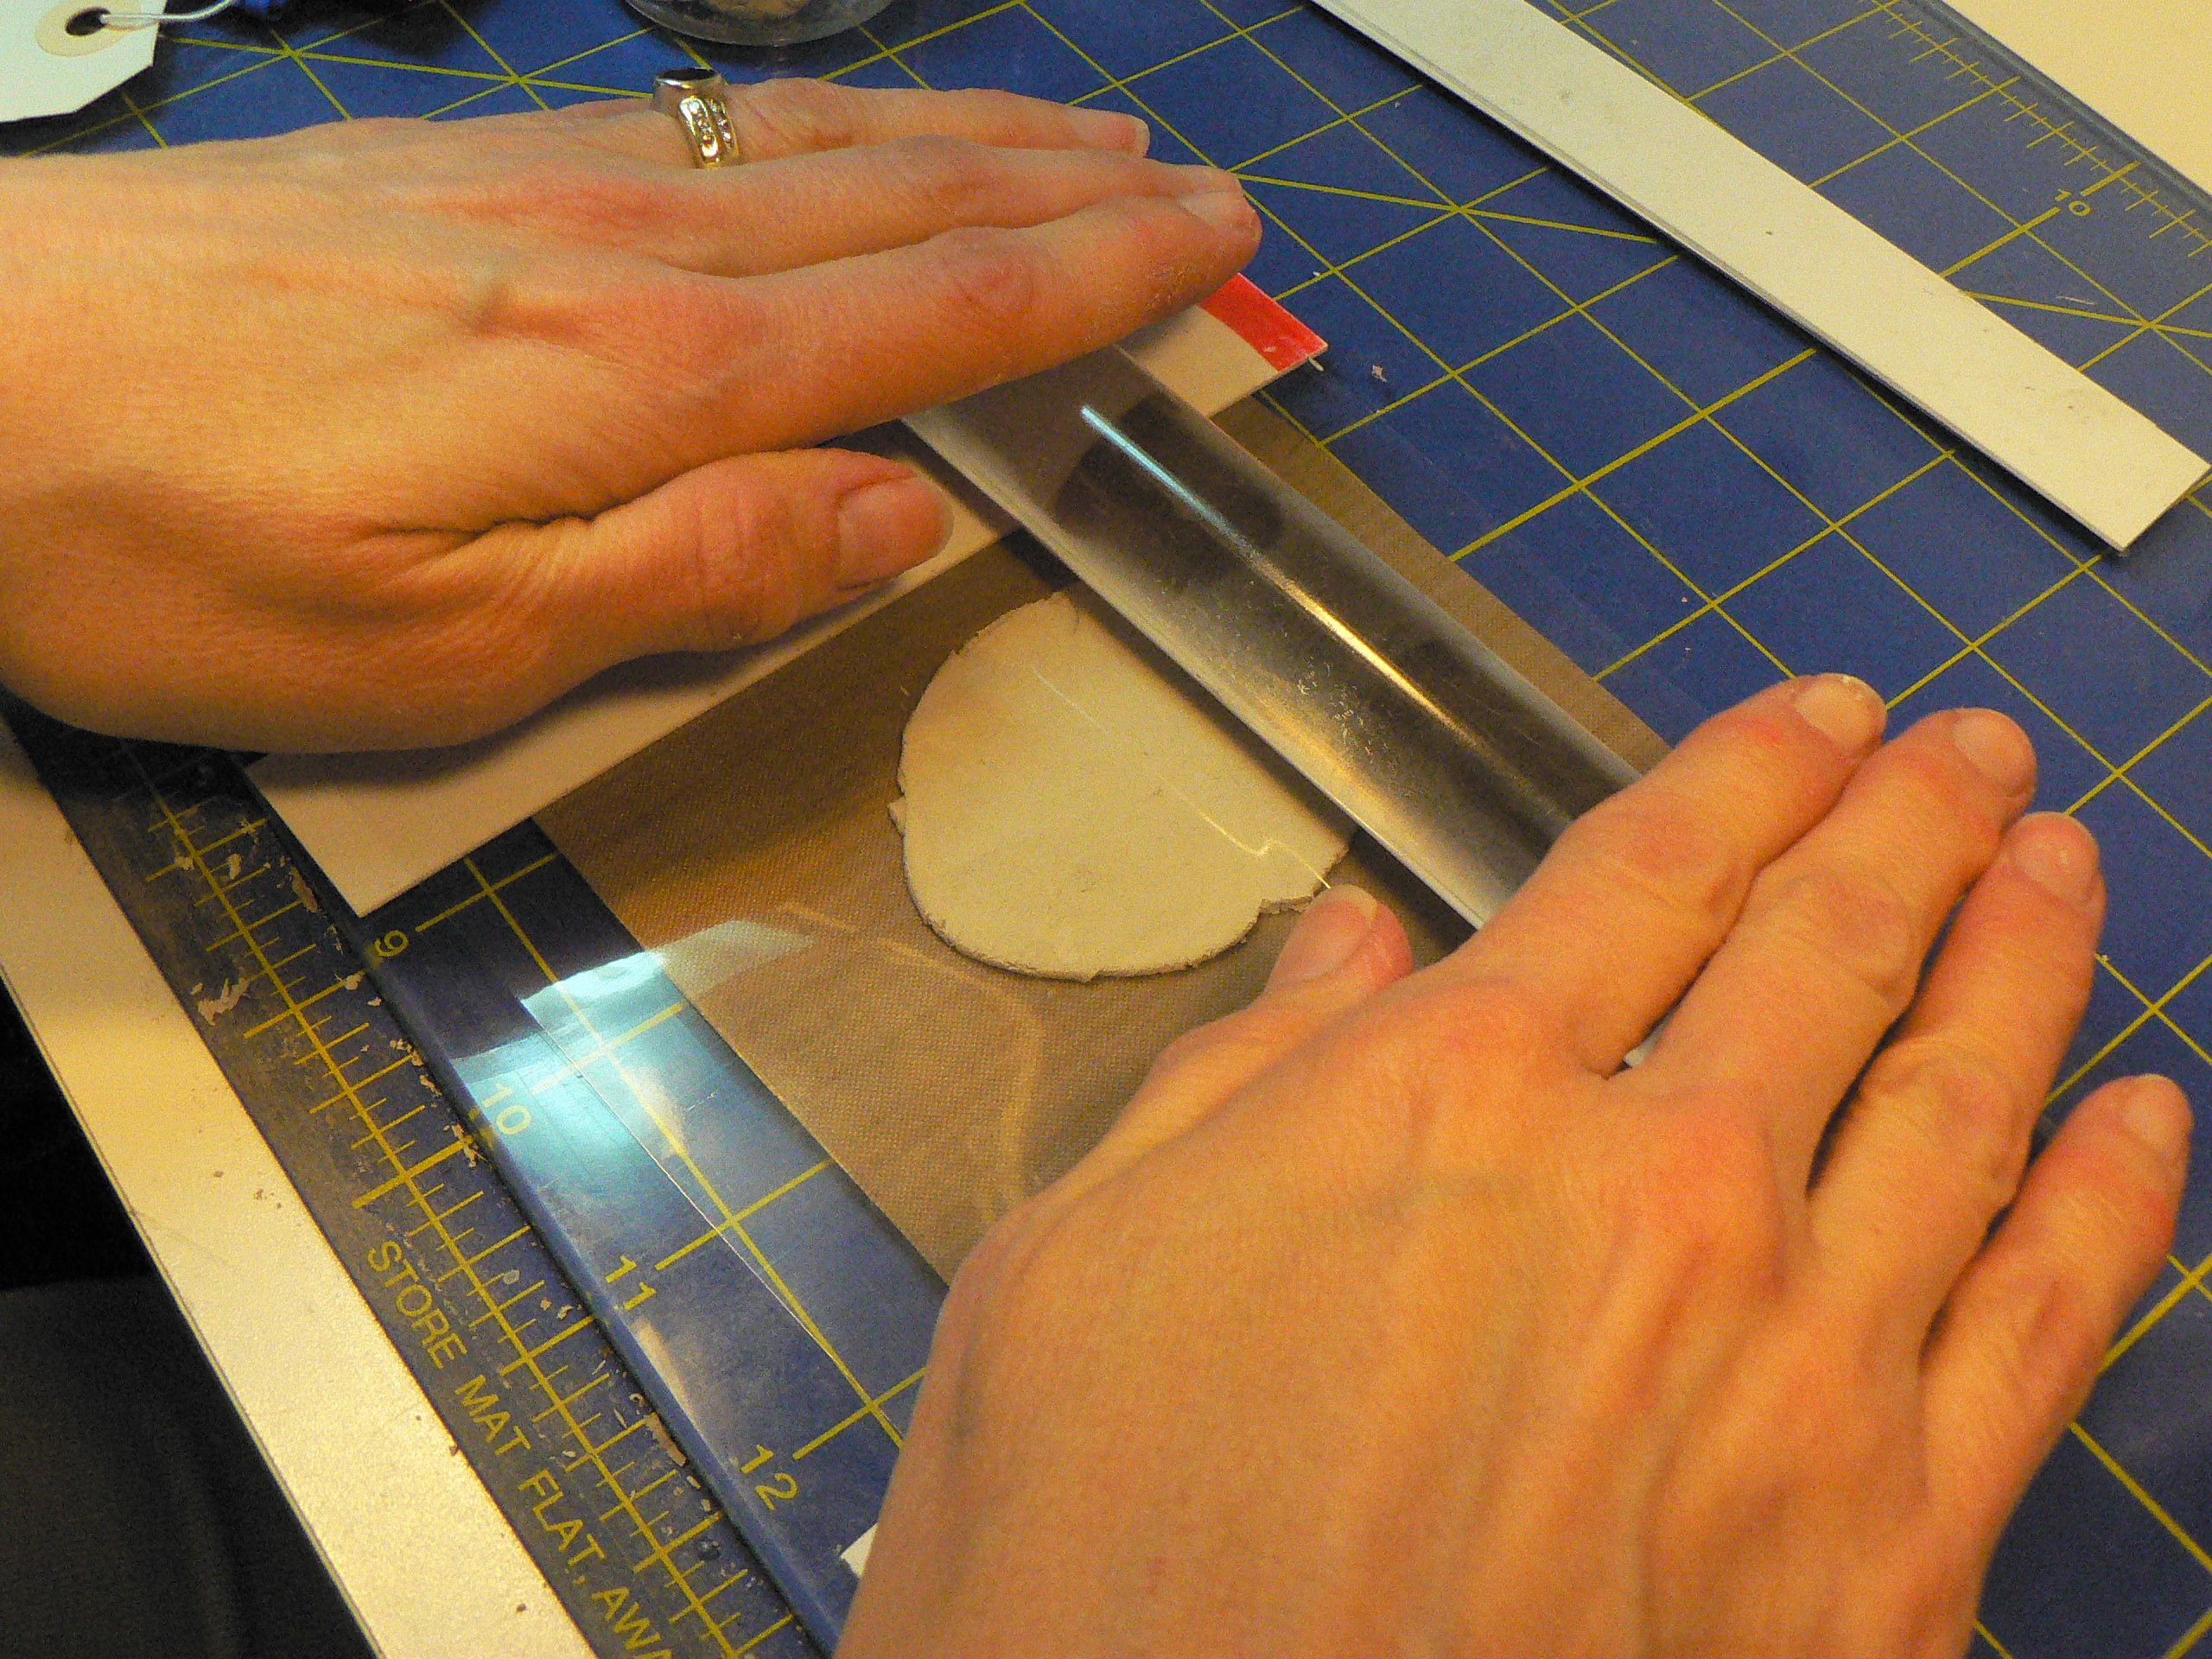
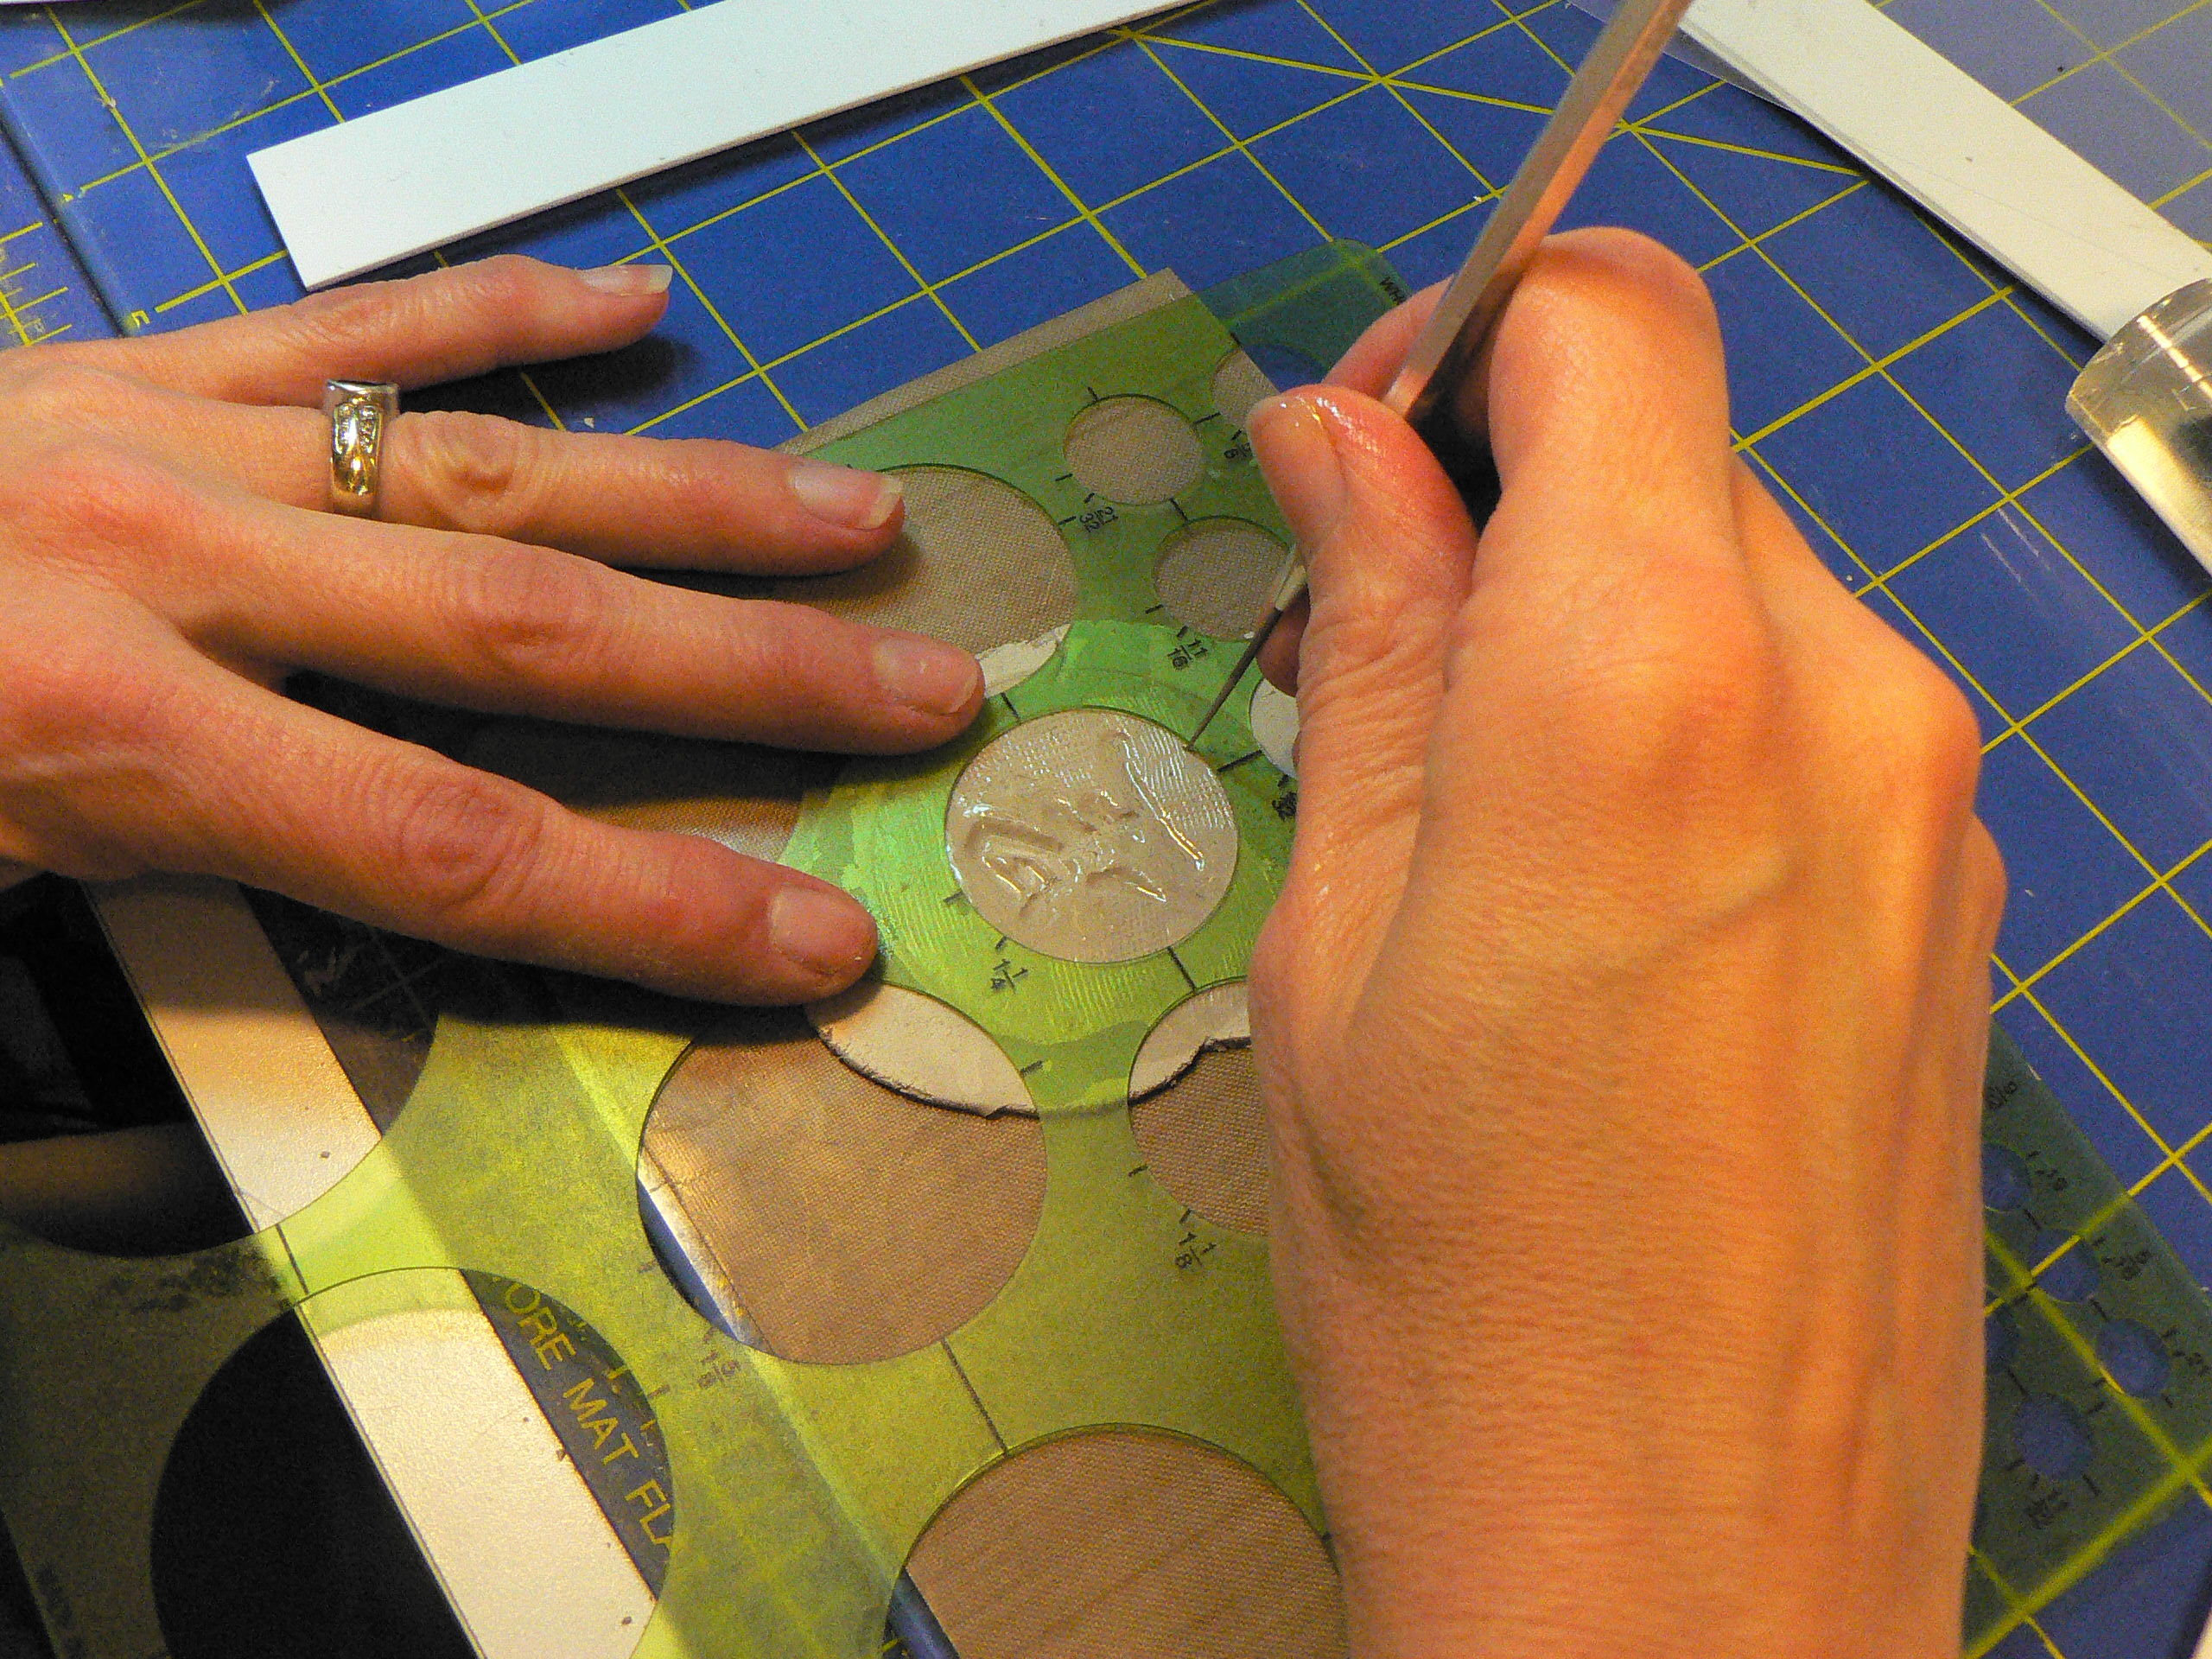
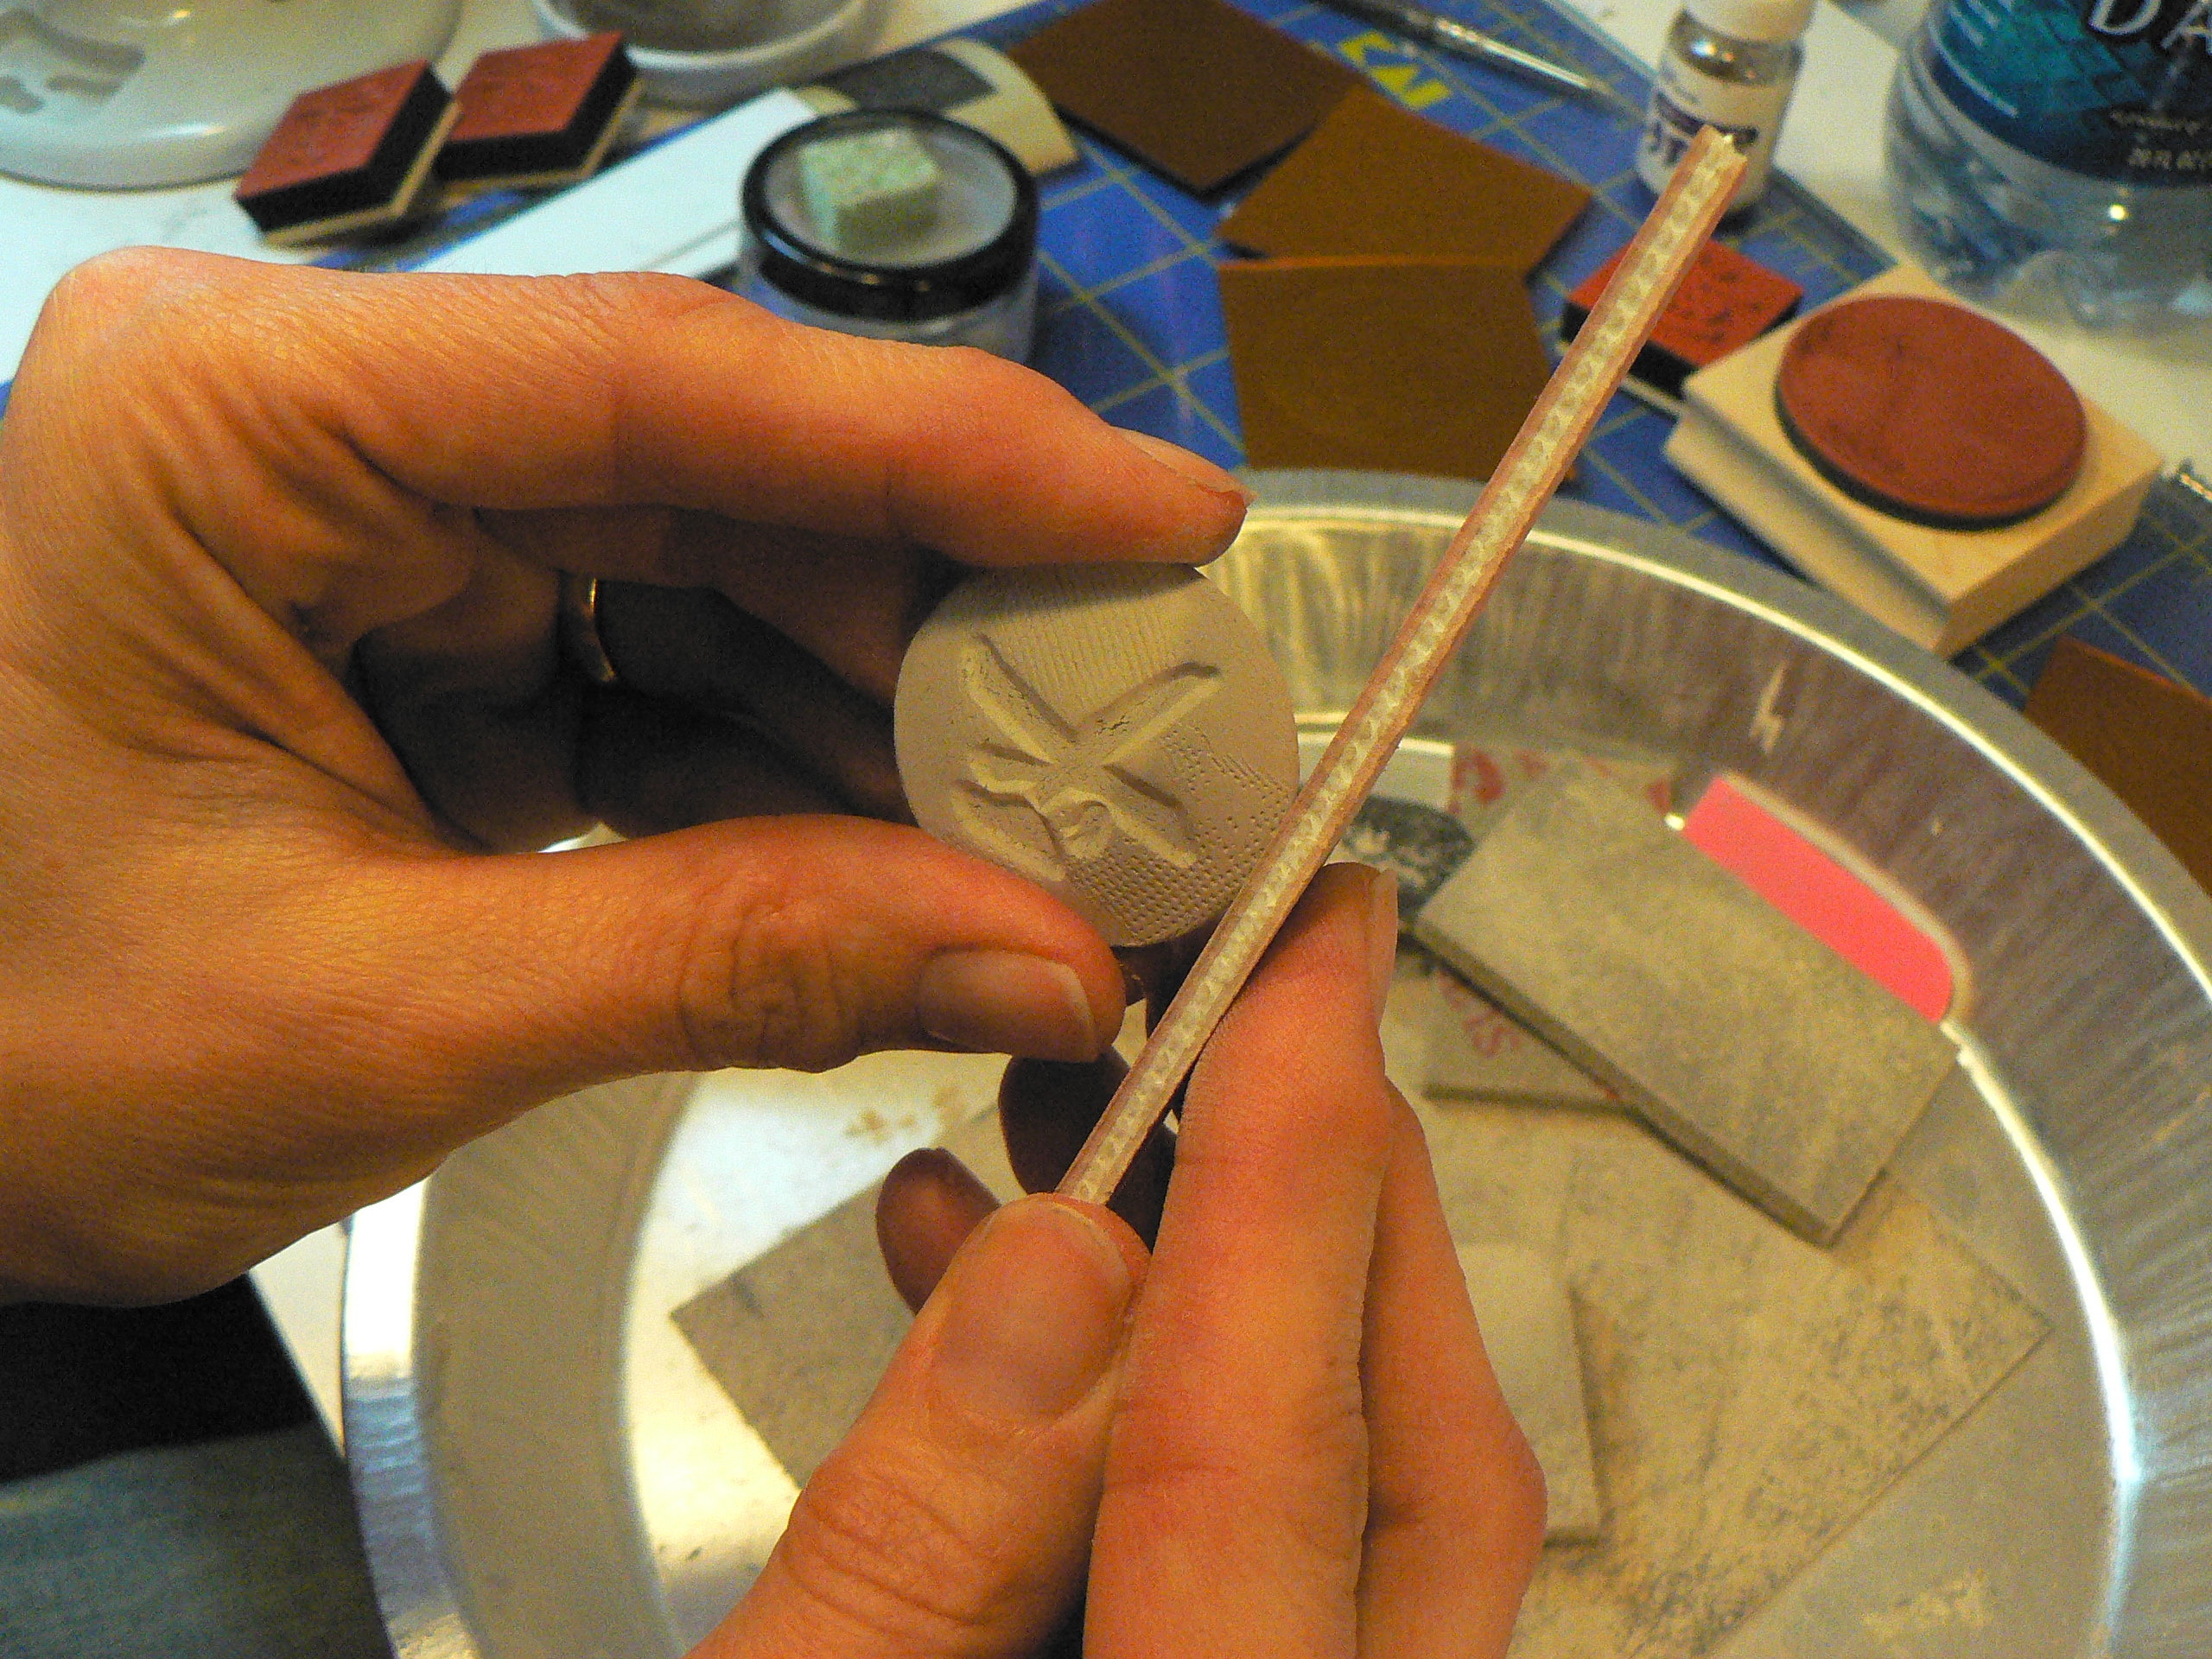
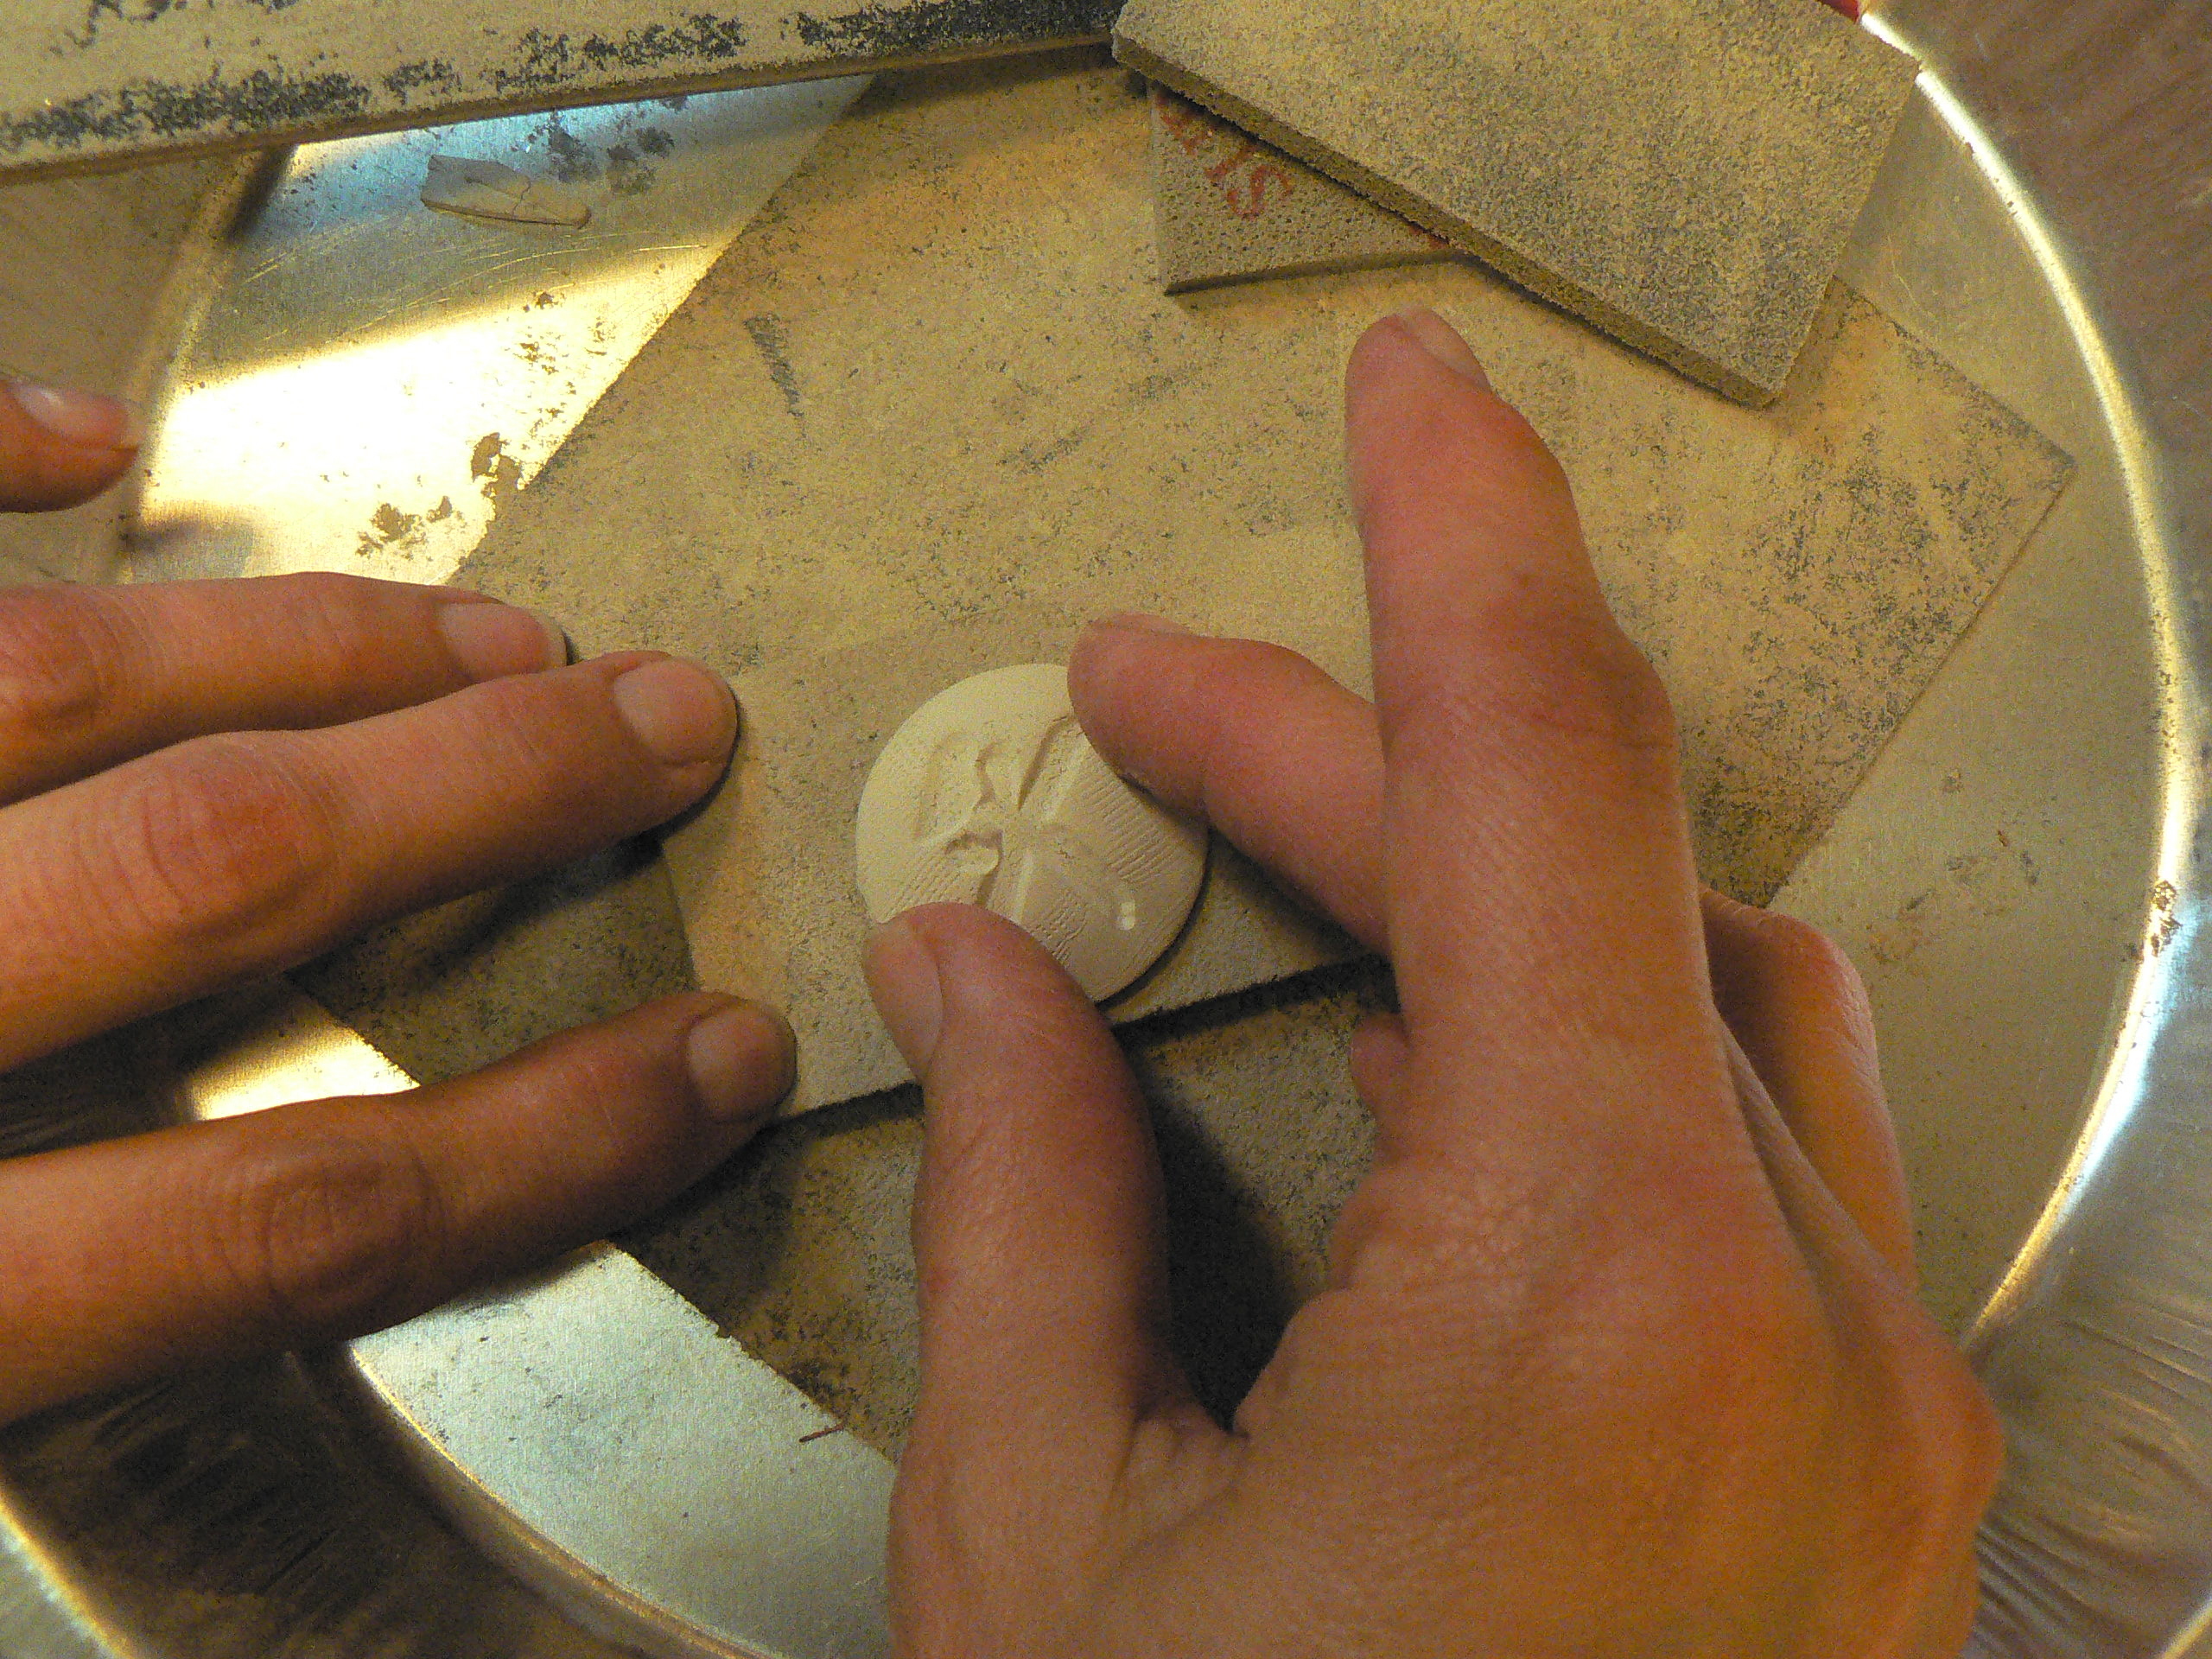
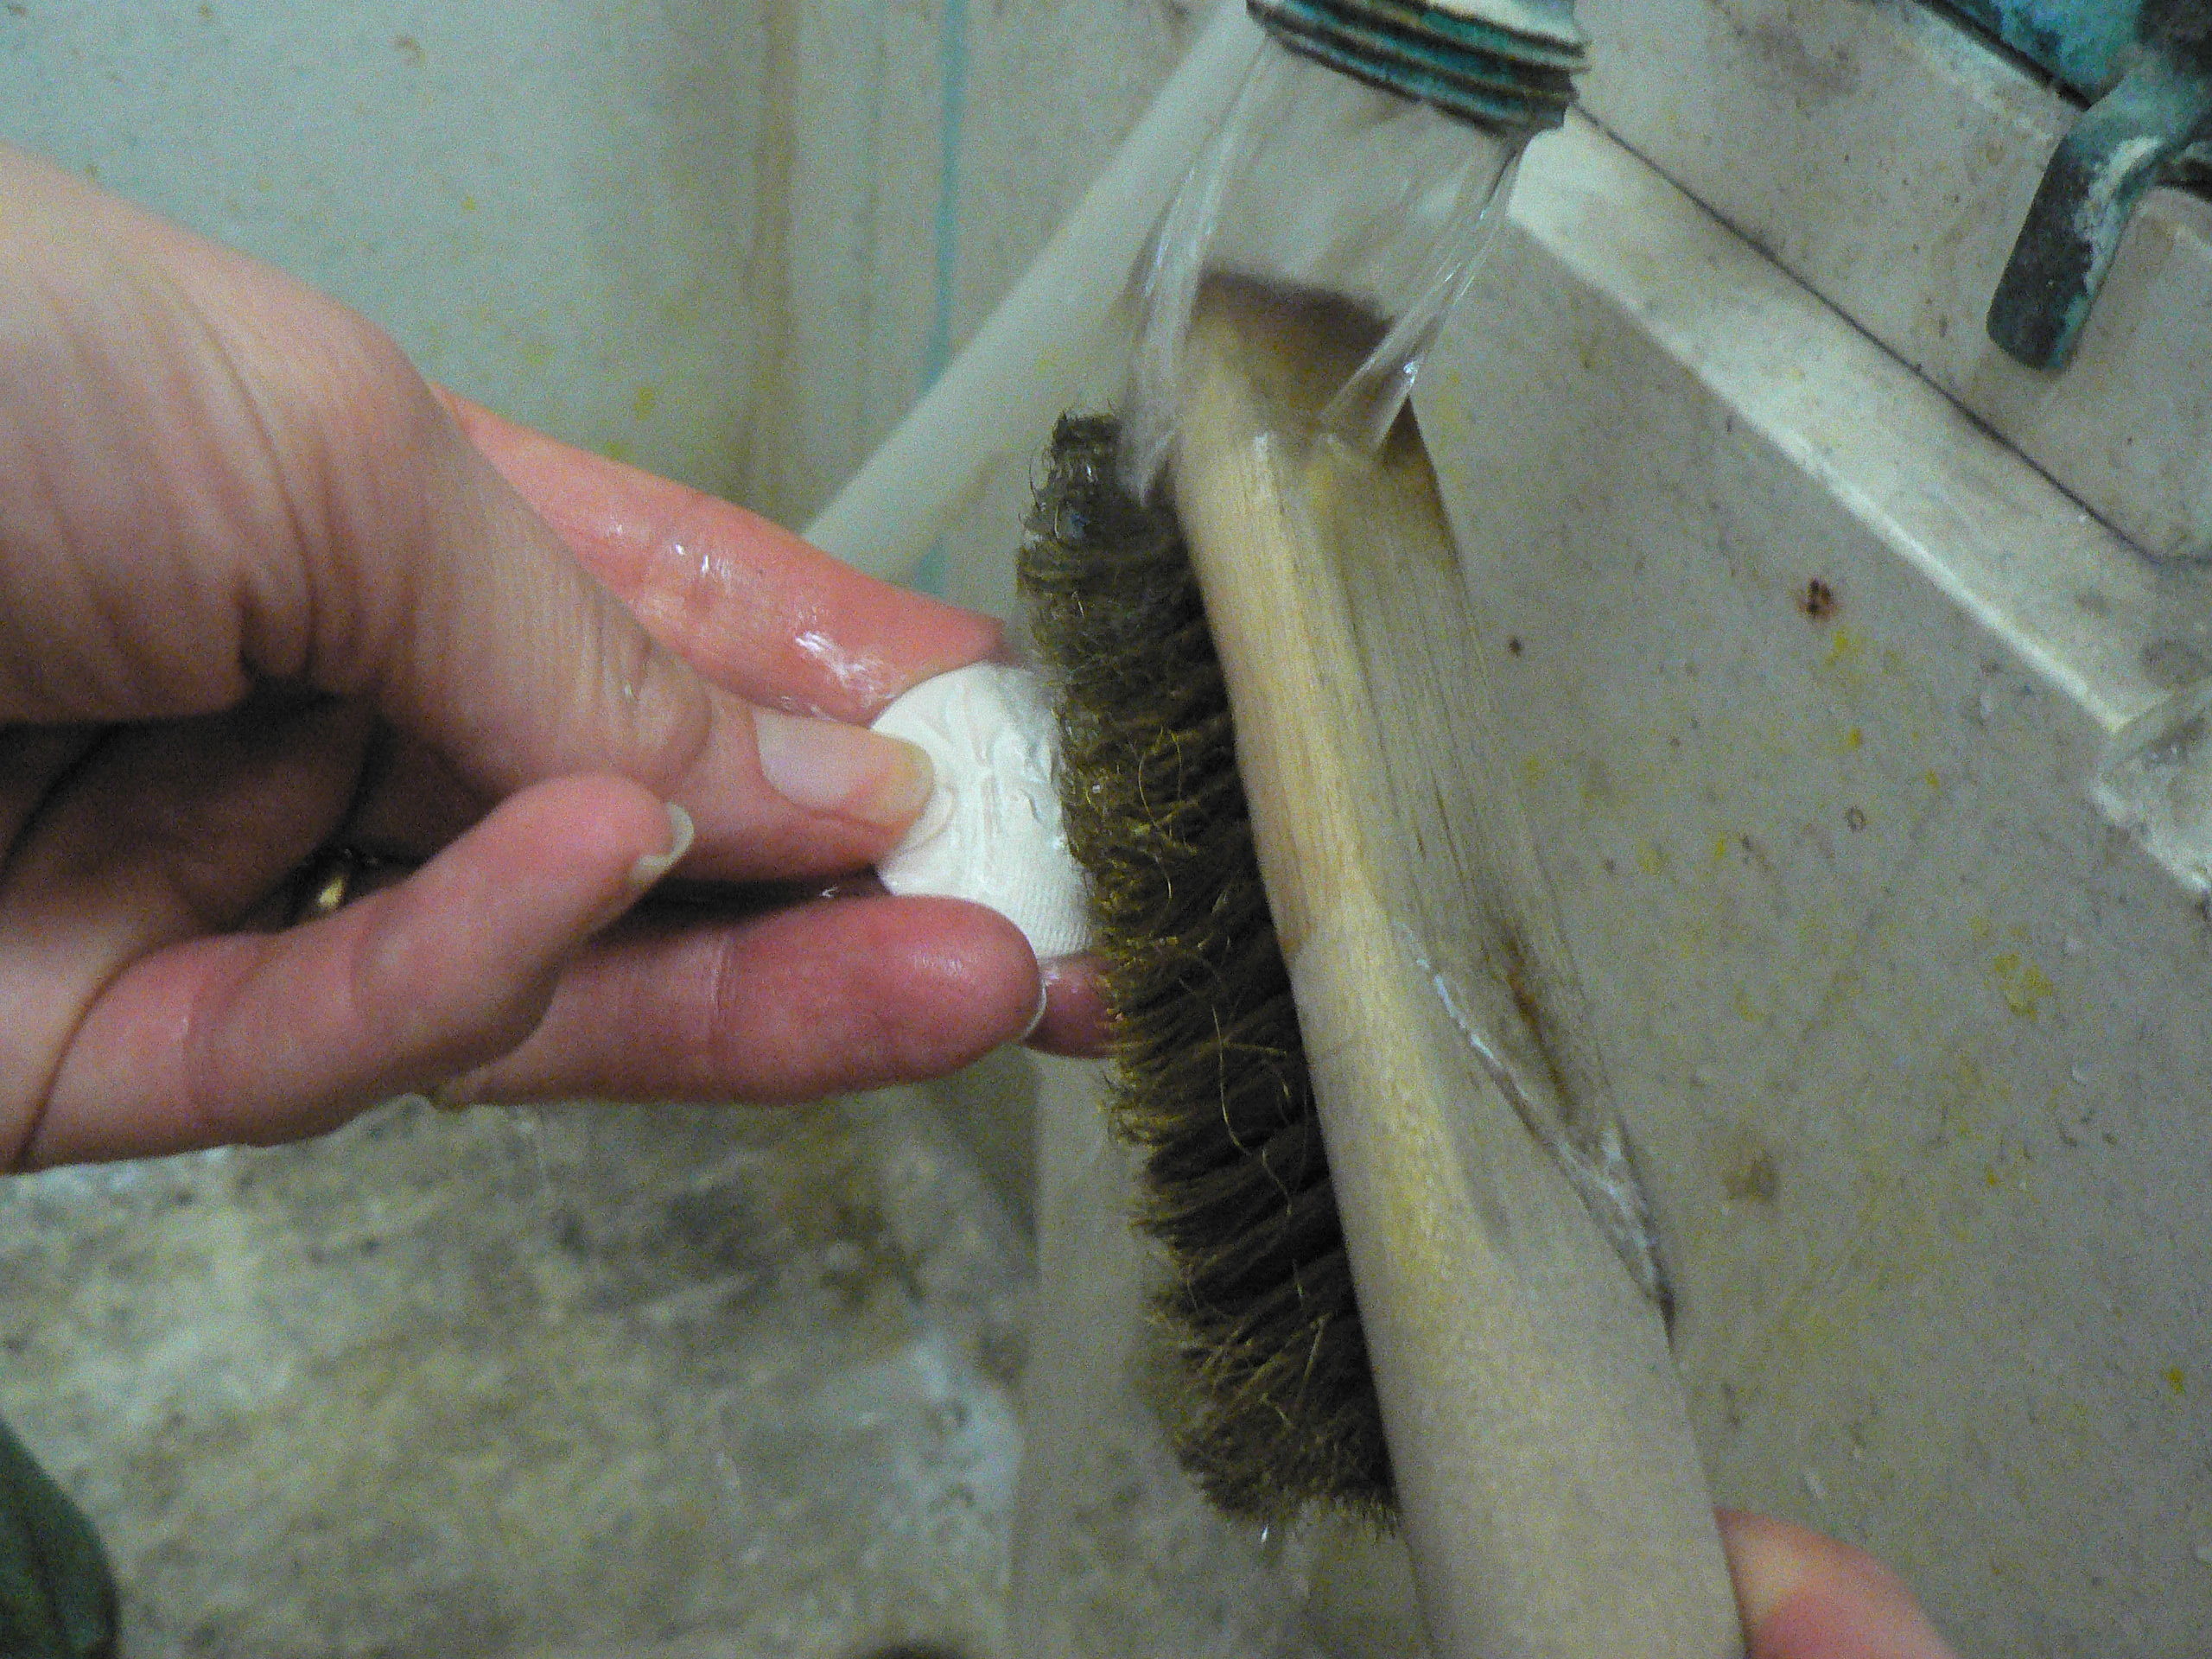
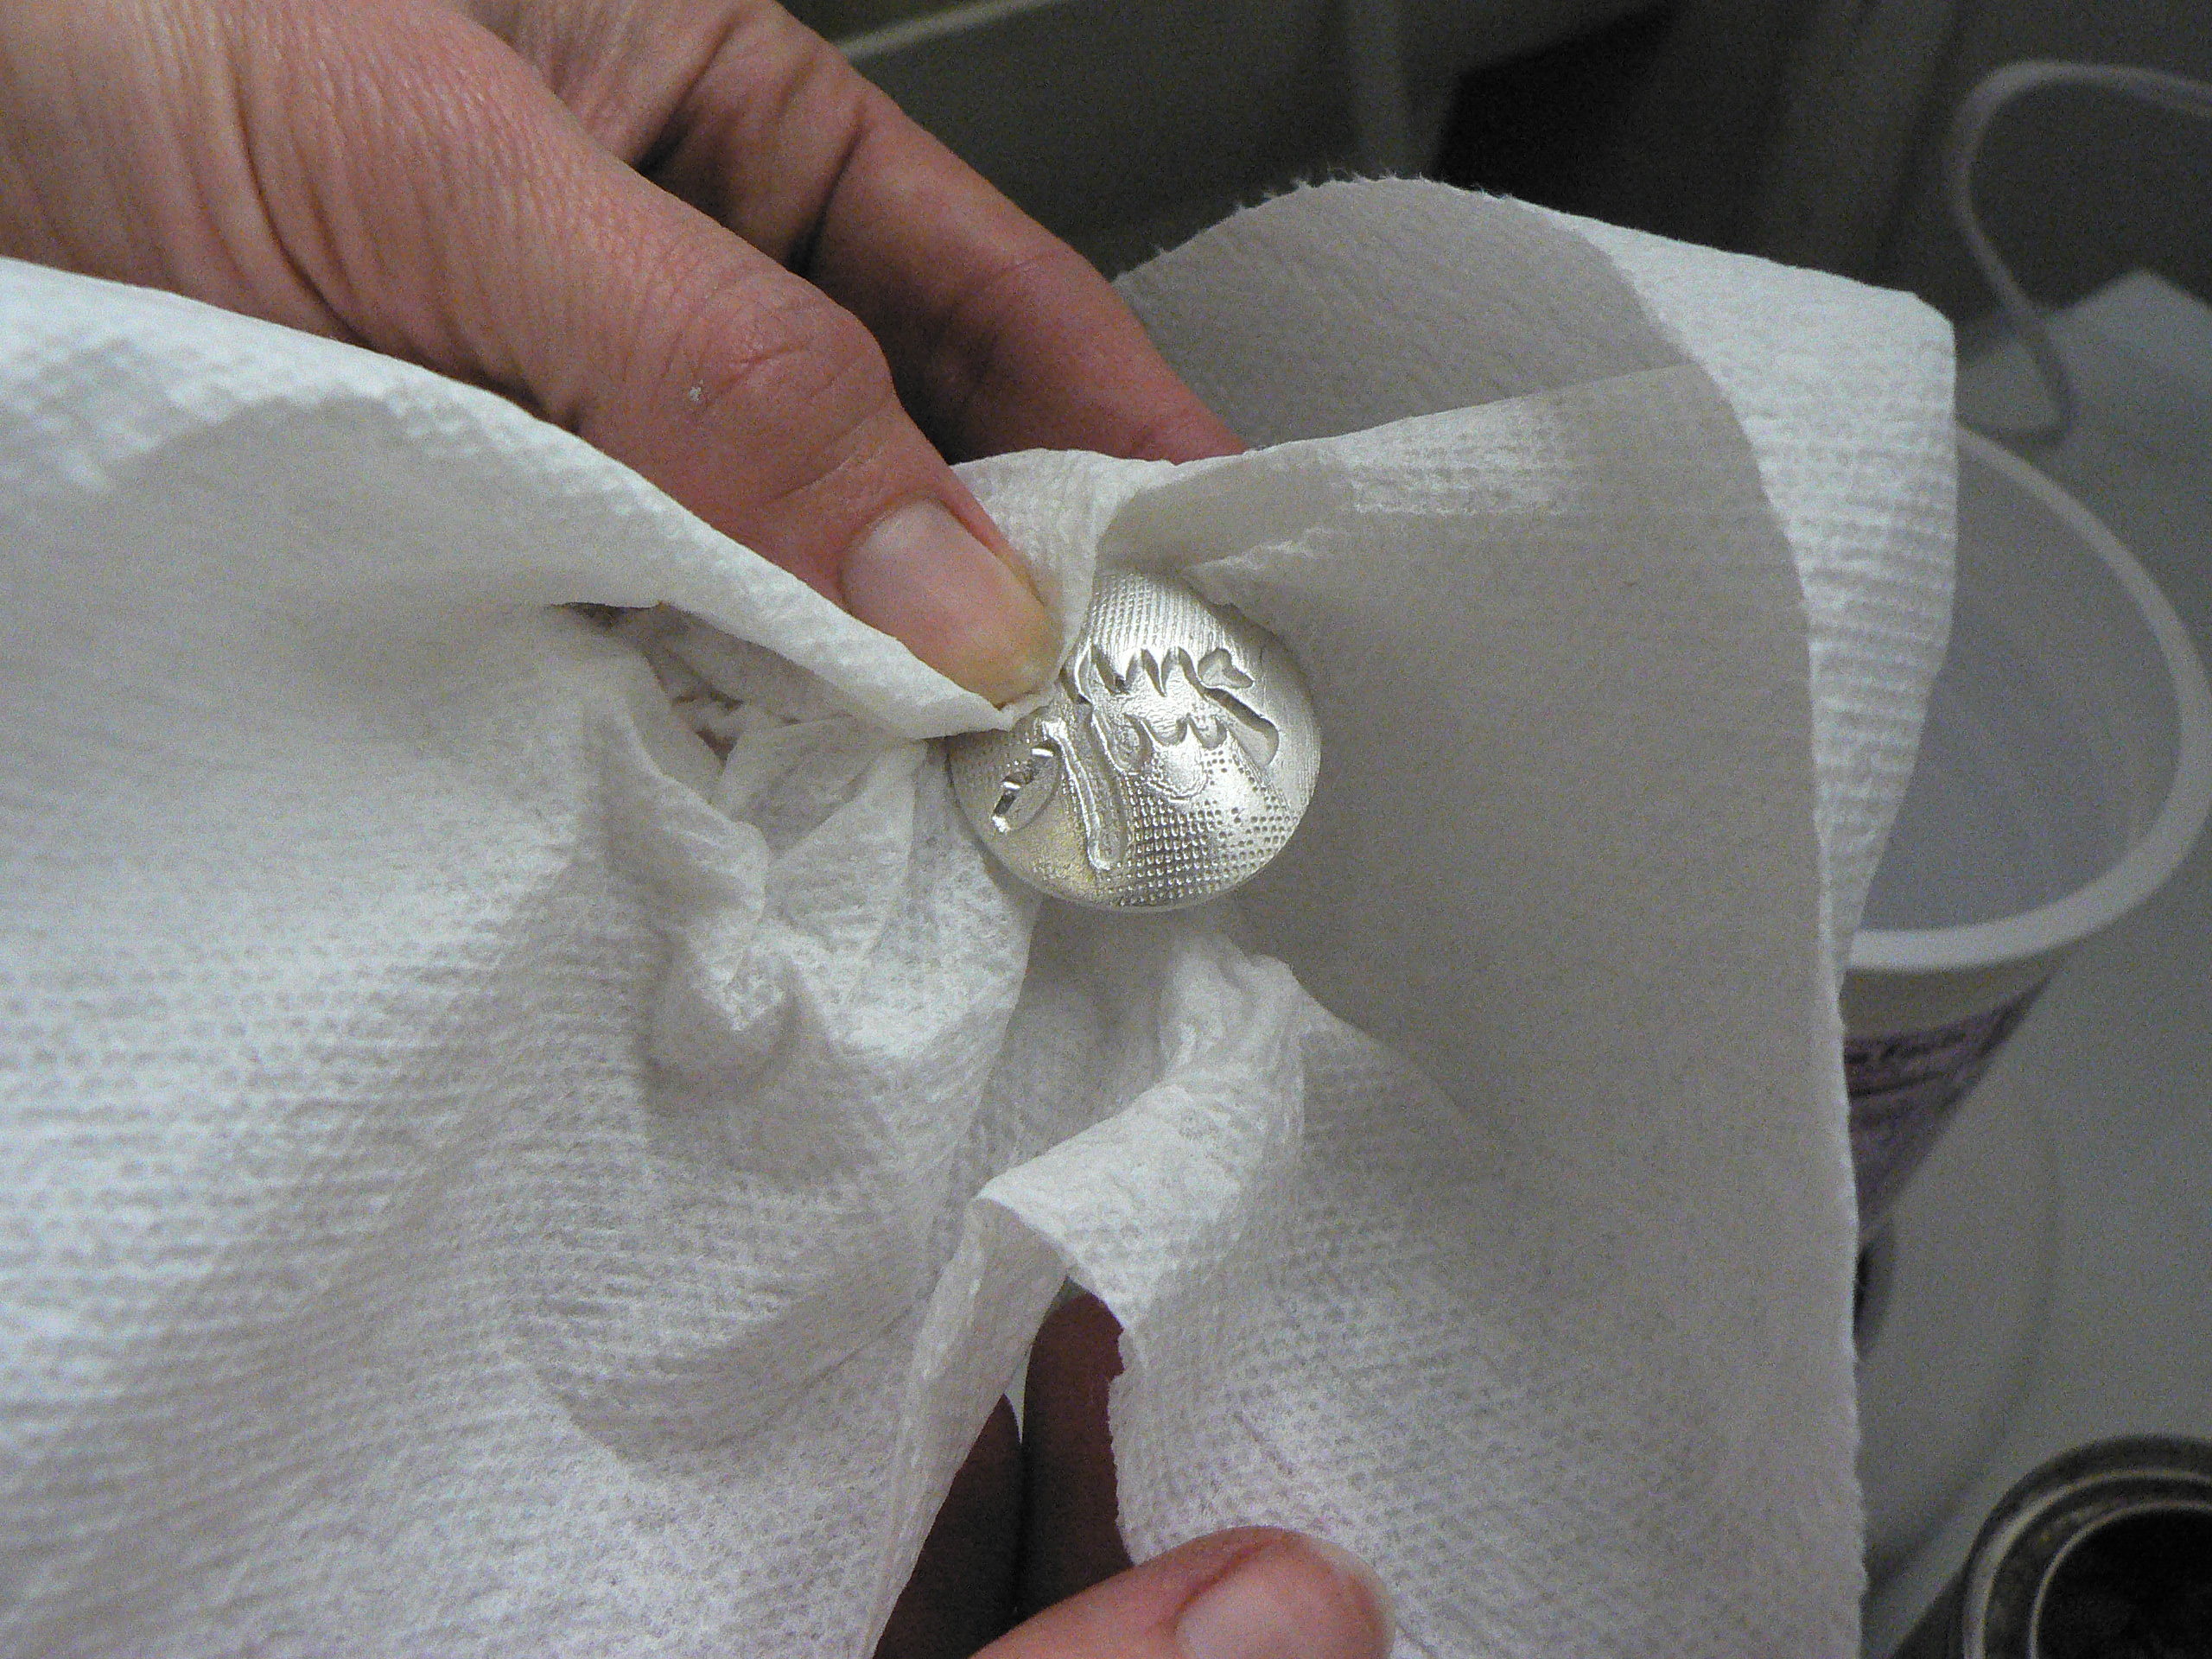
From the moment I first touched precious metal clay (PMC), I never looked at the world in the same way. Instead of seeing fruits and vegetables in the grocery store, I saw amazing textures that could find their way onto my artistic creations. Ancient textile designs became jewelry designs. The ability of this magic clay to hold detail is unsurpassed!

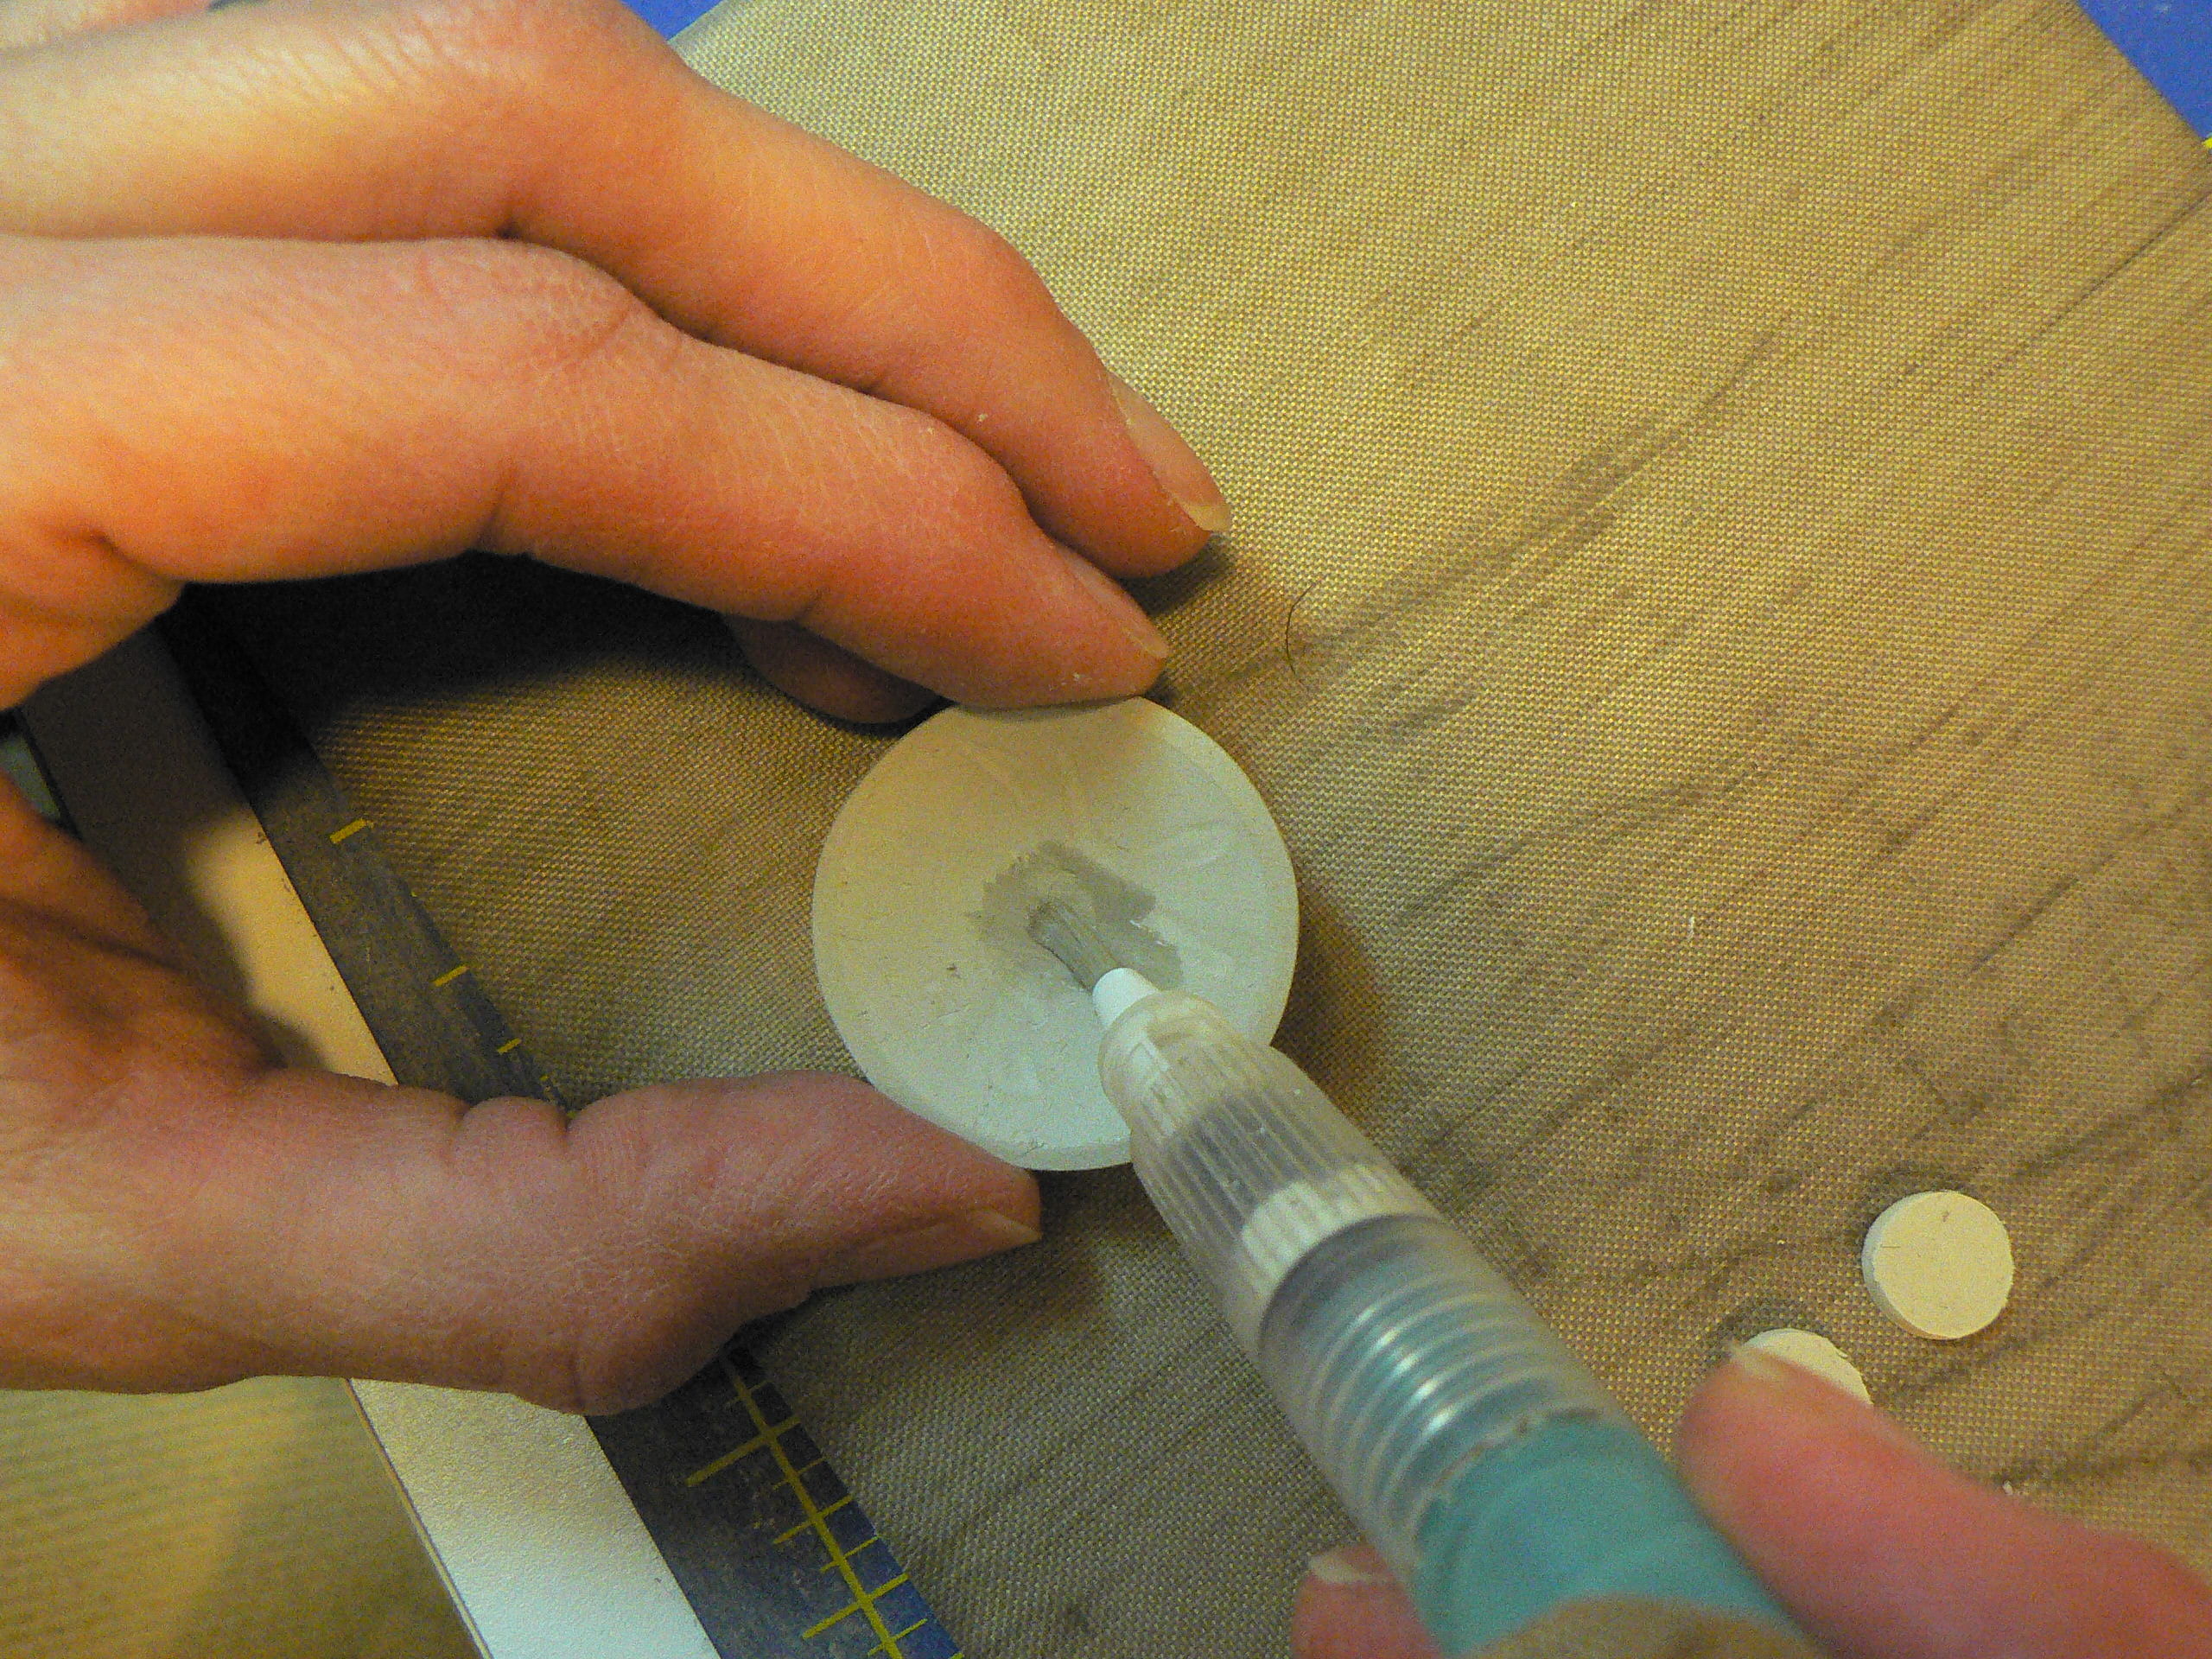
Mitsubishi Materials, Japanese manufacturer of highly refined gold for microchips, developed this amazing clay to answer the question “Can it be done?” Precious metal clay is made of fine metal particles suspended in an organic binder that burns away when fired, leaving just the precious metal. This is a new kind of alchemy, and it comes in 22-karat gold and fine silver, in lump, paper, and paste forms. The possibilities are endless!

Project Steps

Texturize the clay and cut.

Oil your fingers with the balm. Roll the clay between a Teflon sheet and a sheet protector to 1mm thick.

Dab the oiled sponge onto the shallow rubber stamp. Press the stamp evenly into the clay for texture. Oil a symbol stamp and repeat.

Use the circle template and the clay pick to cut a 1 1⁄4″ clay circle. Oil the light bulb top with the sponge.

Carefully lift the circles of clay off the Teflon and place them on the oiled light bulbs. Press the edges down very gently. Let dry overnight, or under a halogen lamp (1 hour).

Make the shanks.

Cut the wire into three 22mm pieces.

Bend each piece around the round-nose pliers to form a U shape.

Cut the bottom of the U shape to about 7mm using flush cutters.

Refine.

Carefully remove the buttons from the light bulbs. If they stick a little, just apply gentle pressure at the edges and they will come off. (Broken clay can be reconstituted, so don’t stress.)

Gently sand the edges using the salon board.

Place each button flat onto the sanding pad and gently move them in circles to create a finished edge.

Attach the button shanks.

Wet the center back of each button using water and the paintbrush. Set aside.

Using slats or cards, roll remaining clay to 1mm thick (6 cards). Cut out three 2″ circles. Press each circle gently into the center back of the buttons.

Using tweezers, place each shank into the circles. Dry completely.

Fire and add patina.

Support the buttons on a few tablespoons of vermiculite. Follow the directions for firing metal clay for whatever method you are using. Hold for 10 minutes at 1,650°F. The pieces can be quenched in water immediately after firing, or left to cool in the kiln.

Using hand soap and the wire brush, scrub the cooled buttons vigorously under running water. Dry with a paper towel and don’t touch! Patinas do not like finger oils.

Add a small chip of the LOS and the ammonia to about 1⁄2 cup hot water.

Use the tweezers to dip the buttons in and out of the patina solution. Go slow — stop at the color you like best. If you don’t like it, reheat the piece in the kiln and repeat.

Resources: Metal clay supplies: http://wholelottawhimsy.com, http://cooltools.us, http://riogrande.com, http://pmcguild.com Chinese stamps: http://amazon.com

Conclusion

This project first appeared in CRAFT Volume 03, pages 115-117.