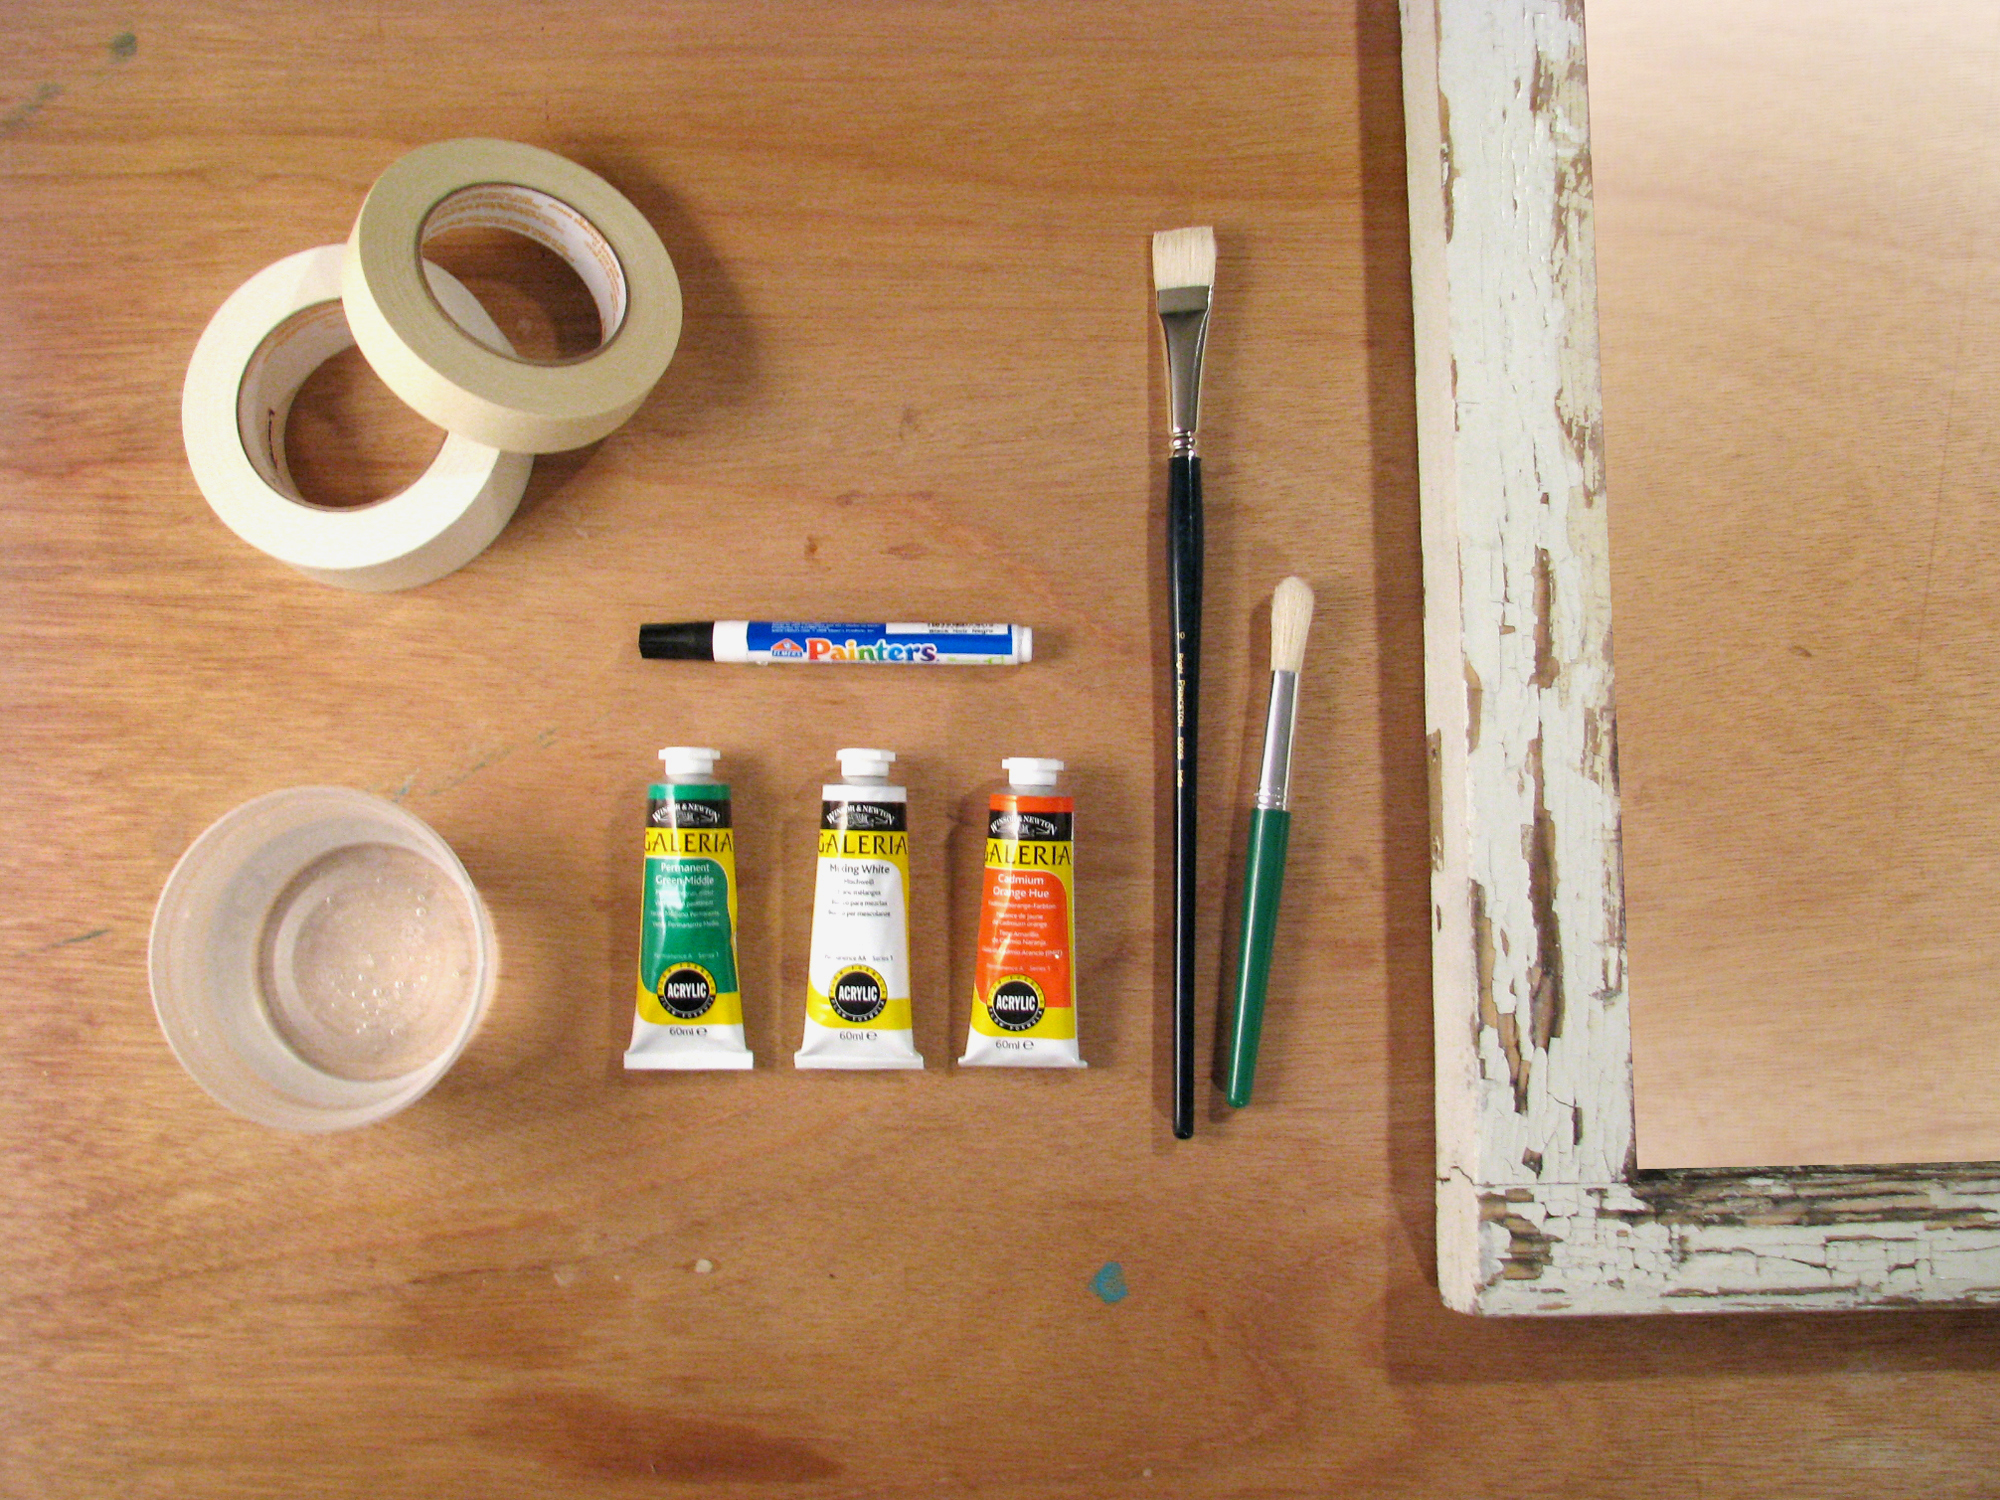
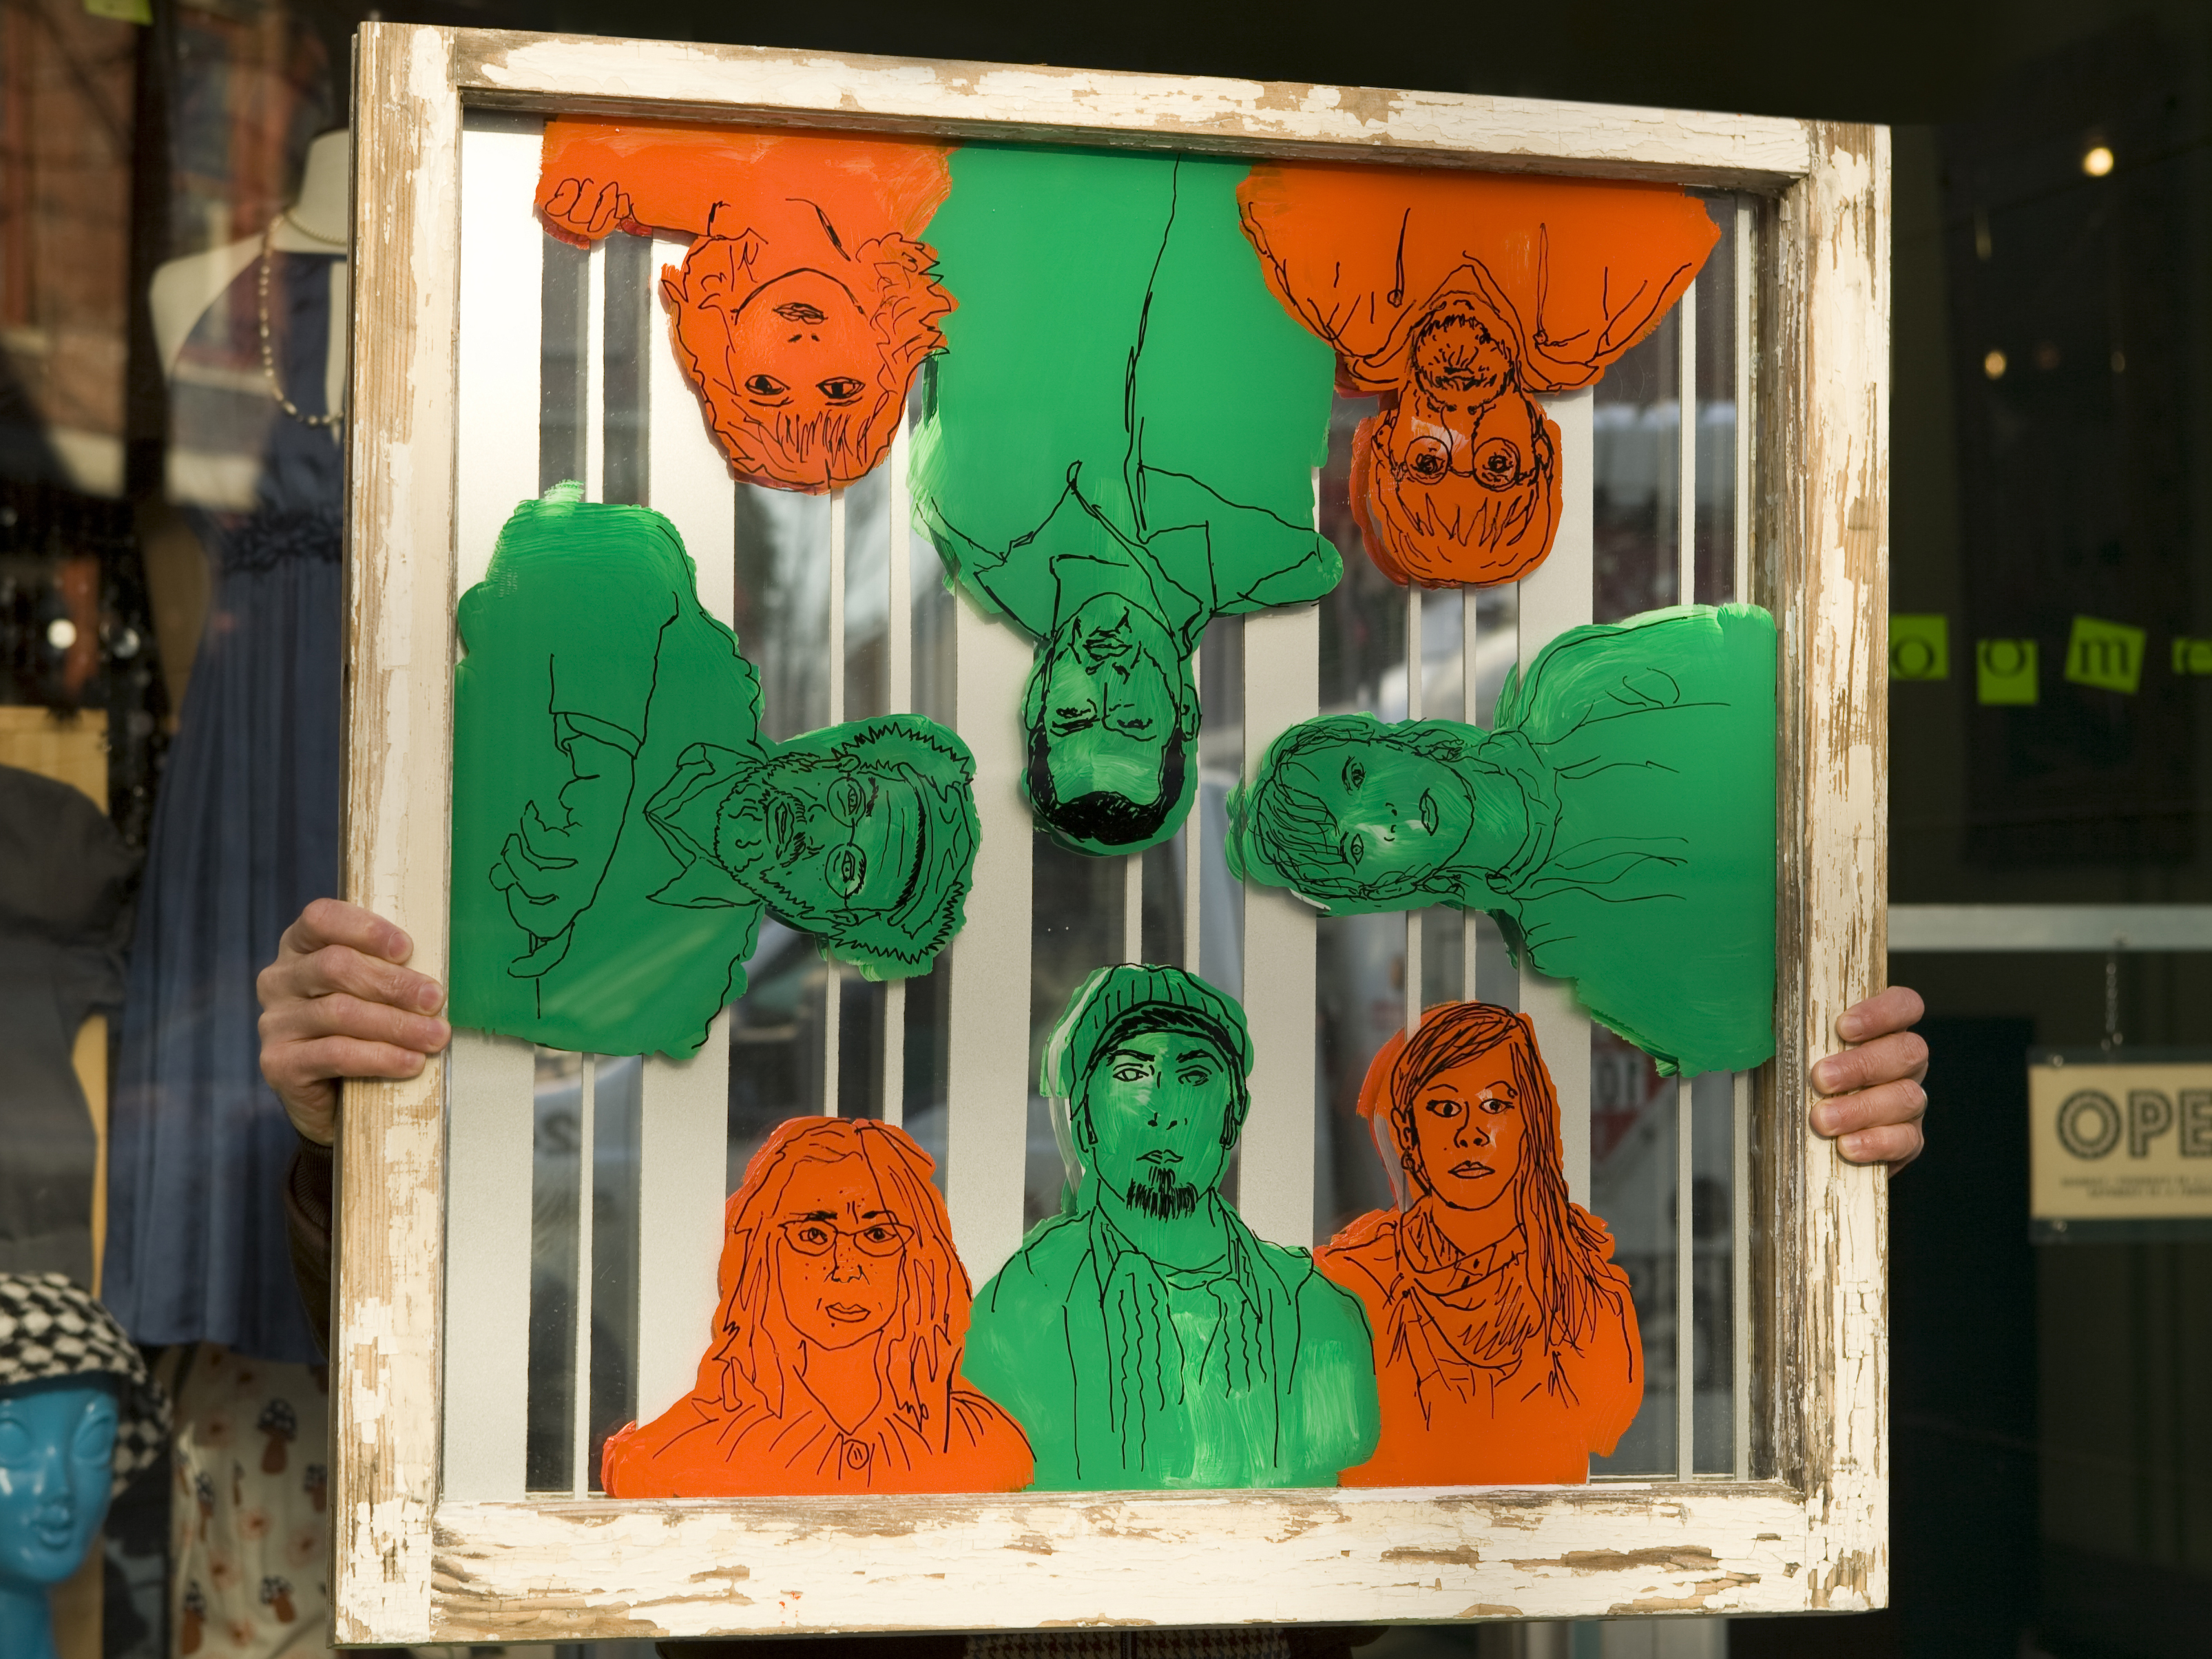
This is a project that celebrates friends. The core group. The people you can count on for a ride to the airport at 6:30 in the morning, or to help you drag a new sofa up three flights of stairs. The people who allowed themselves to be seen with you in public through some of your worst hairstyles. These are the people who have always been there, and since they keep a special place in your life, why not give them a special place on your wall? A little trick with mirrors lets them draw their own self-portraits. With some artful curbside filching, they’ll have their place of honor faster than you can say, “Can I borrow your truck on Sunday?”

What will the next generation of Make: look like? We’re inviting you to shape the future by investing in Make:. By becoming an investor, you help decide what’s next. The future of Make: is in your hands. Learn More.

Project Steps

Select and prep your window.

Cruise older parts of town where the homes date back to the last century — people can’t get rid of those drafty, heat-leaking windows fast enough, opting instead for more energy-efficient upgrades. These old windows are as plentiful as exercise bikes and castoff sofas tagged with a “FREE” sign the day after a yard-sale weekend. Beggars can’t be too choosy, however, so learn to work within the limits that your window might require.

If you can’t find the window of your dreams, try a salvage yard or the dump.

On whichever side of the window you choose to be the front, use a plastic putty knife to scrape flaking paint off the sash — a metal putty knife or traditional paint scraper might gouge the wood. Wearing a painter’s mask, lightly sand the surface smooth, then vacuum the windowpane with a brush attachment to clear all the dust from its surface.

CAUTION: The paint on an older window is more than likely to contain lead, so keep children, pets, and anyone else you know who might eat peeled paint flakes away from your work area. It’s a good idea to use a painter’s mask to prevent the possible inhalation of lead dust.

Clean both sides of the window with glass cleaner.

Collect the portraits.

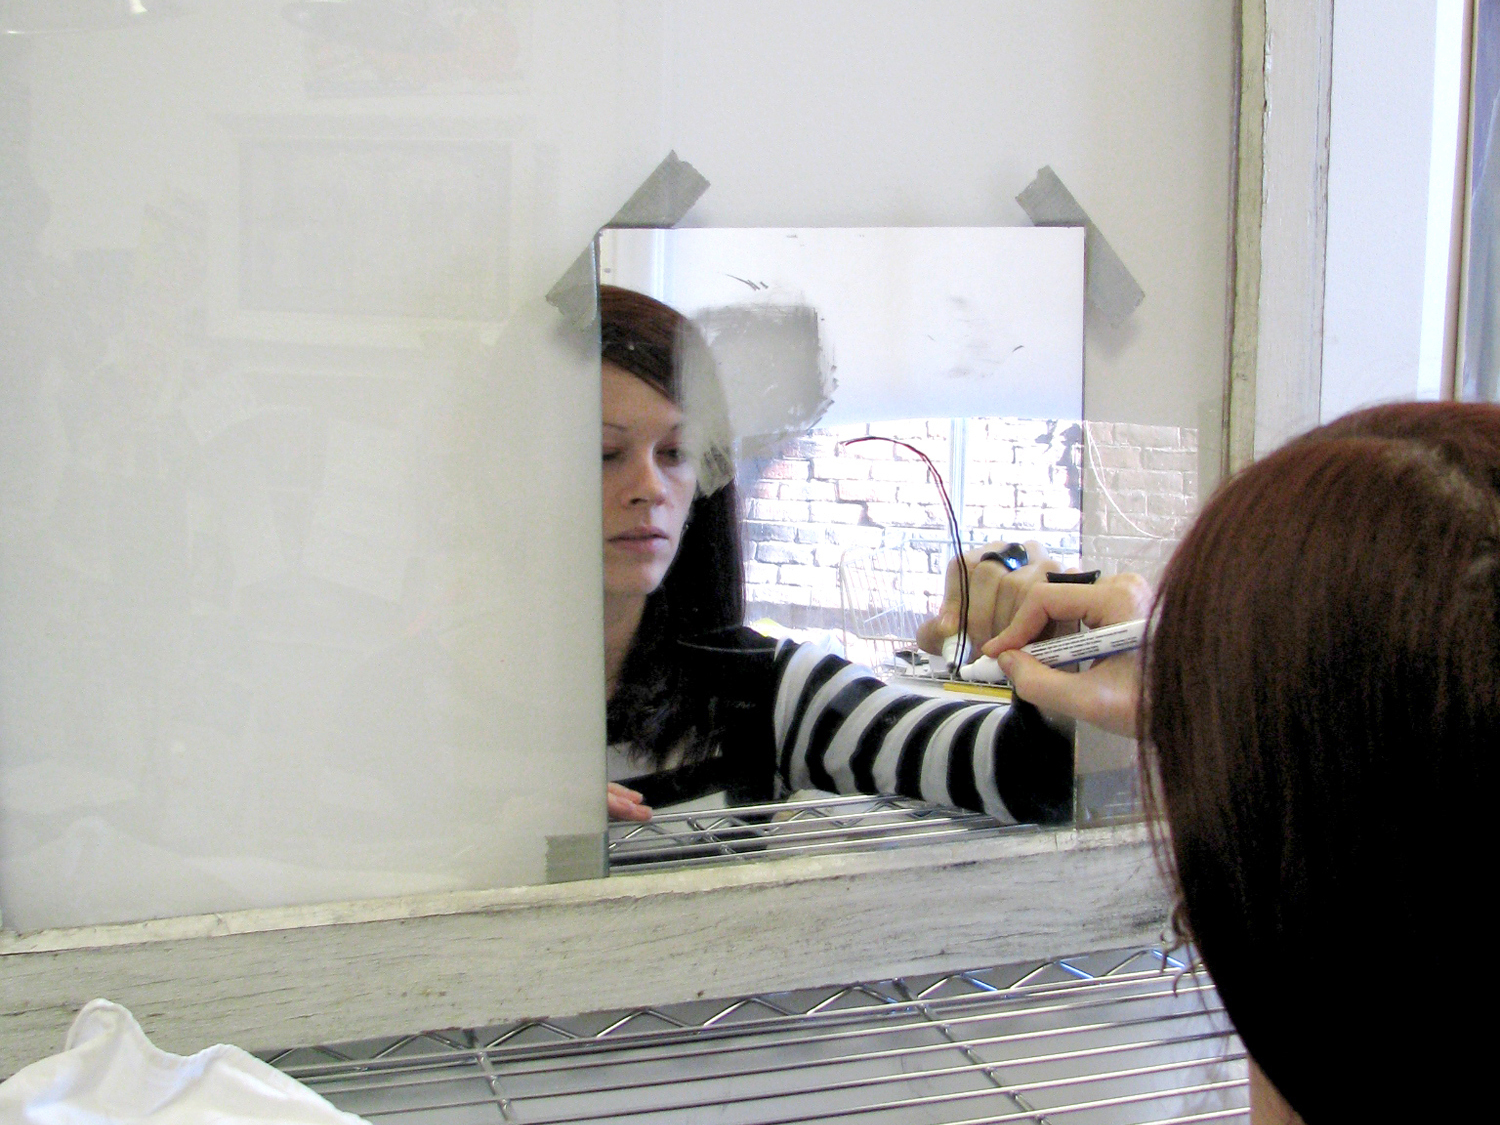
Did you know that you can trace your reflection in a mirror? Test this process on your own first, using a Sharpie marker: if you stand just less than an arm’s length in front of a mirror and slightly squint one eye, you can draw a self-portrait by carefully tracing the lines of your own reflection right onto the glass. (The Sharpie ink will come clean with a little glass cleaner and a paper towel, no worries.)

The net result is a somewhat loose, simple, and yet remarkably identifiable likeness. The especially confounding thing is that you can stand as far from the mirror as your arm will allow, or as close as your eye will permit, and the actual size of the self-portrait never changes. Freaky! Keep in mind, when creating your composition, that the faces will all measure about 4½”×5½”, not including the shoulders and chest area.

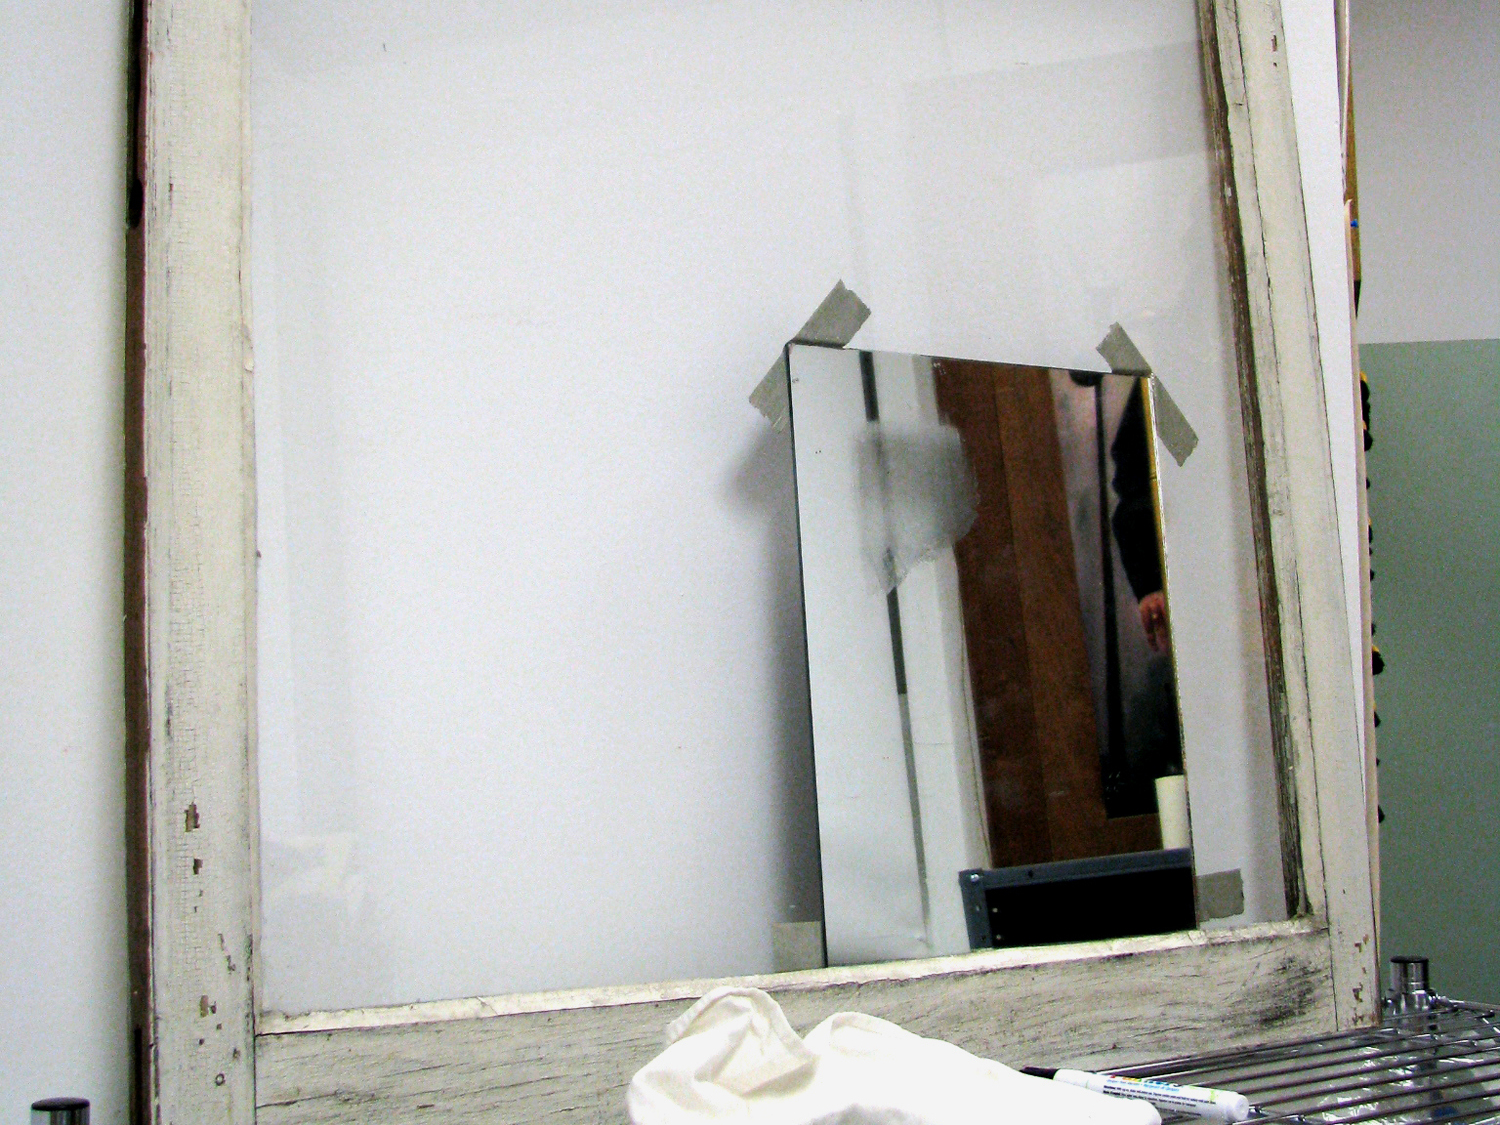
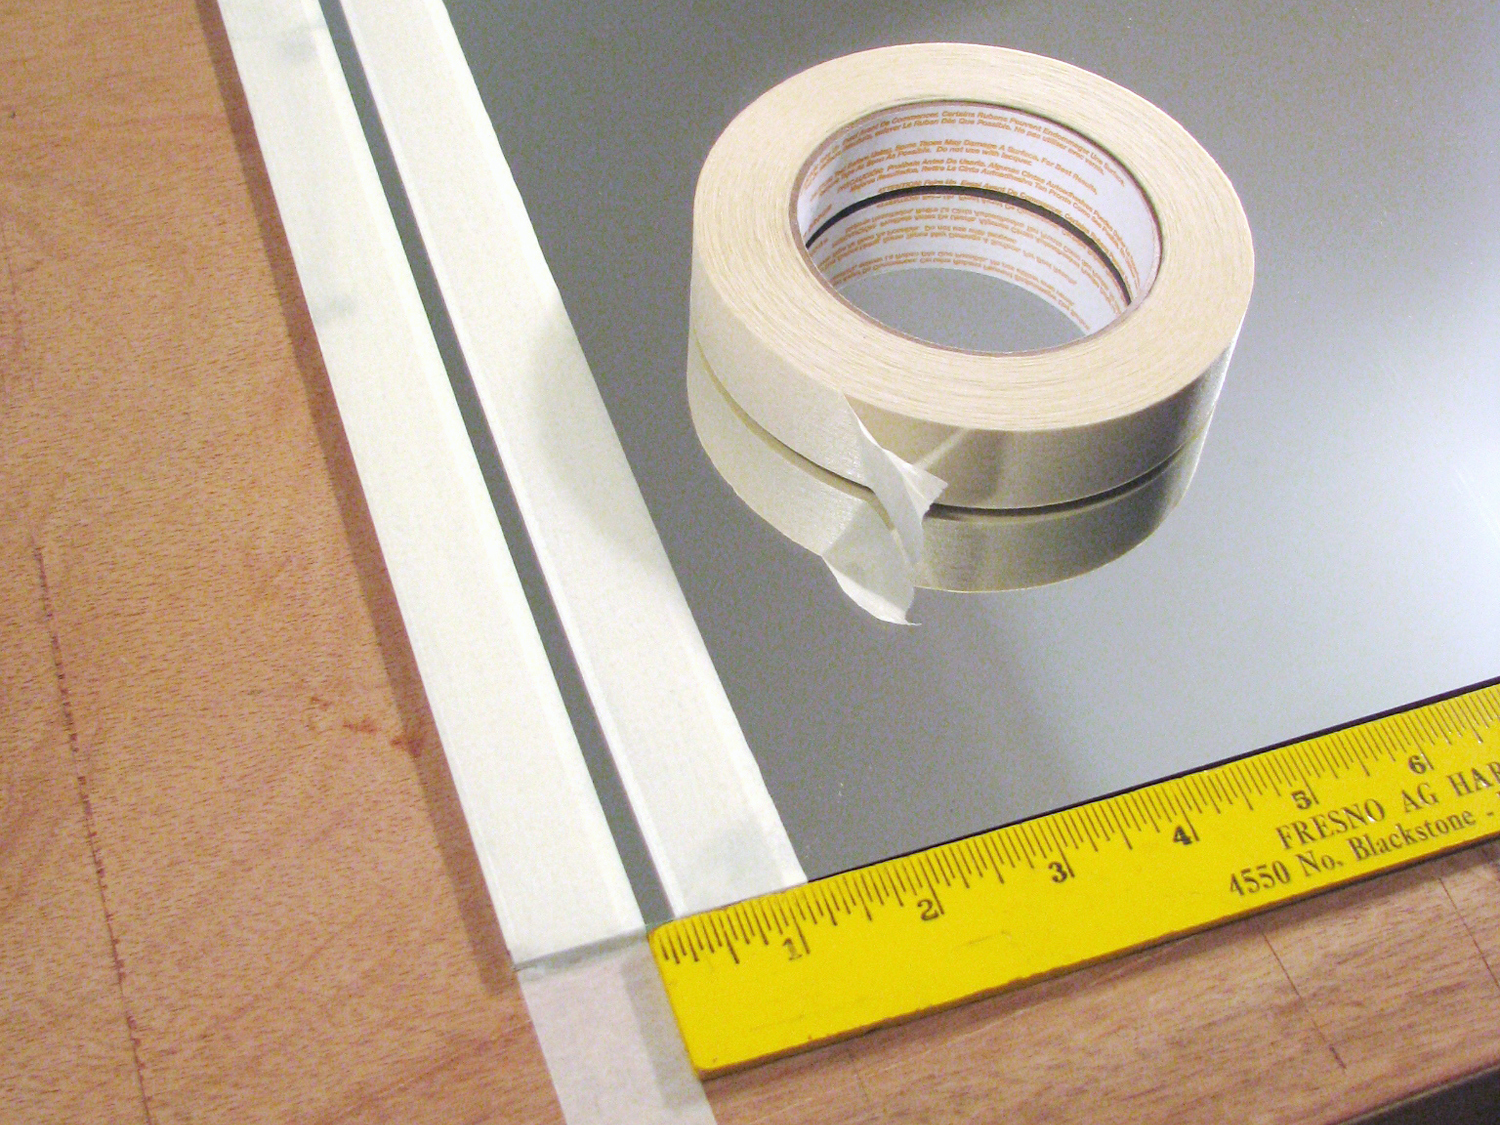
Take the smaller of your 2 mirrors, and secure it with duct tape onto the front side of the window, with the reflective side of the mirror against the glass, in the approximate spot where you want the first portrait. Face the window flat against a wall, at a height that will allow for optimal framing of the reflection.

Recruit your first subject, and give him or her the following guidelines:

Most importantly, stand very still. Whichever eye you use to squint, stay consistent. (Switching eyes will throw the perspective off and make your face look like a Picasso.) Begin by following the line of your silhouette, so in case you do move or shift your body weight, you’ll have a frame of reference to which you can return.

Have your friend stand in front of the mirror and trace her reflection onto the back of the window glass, using the paint marker. Don’t touch the finished tracing, and allow it to dry completely for at least 1 hour.

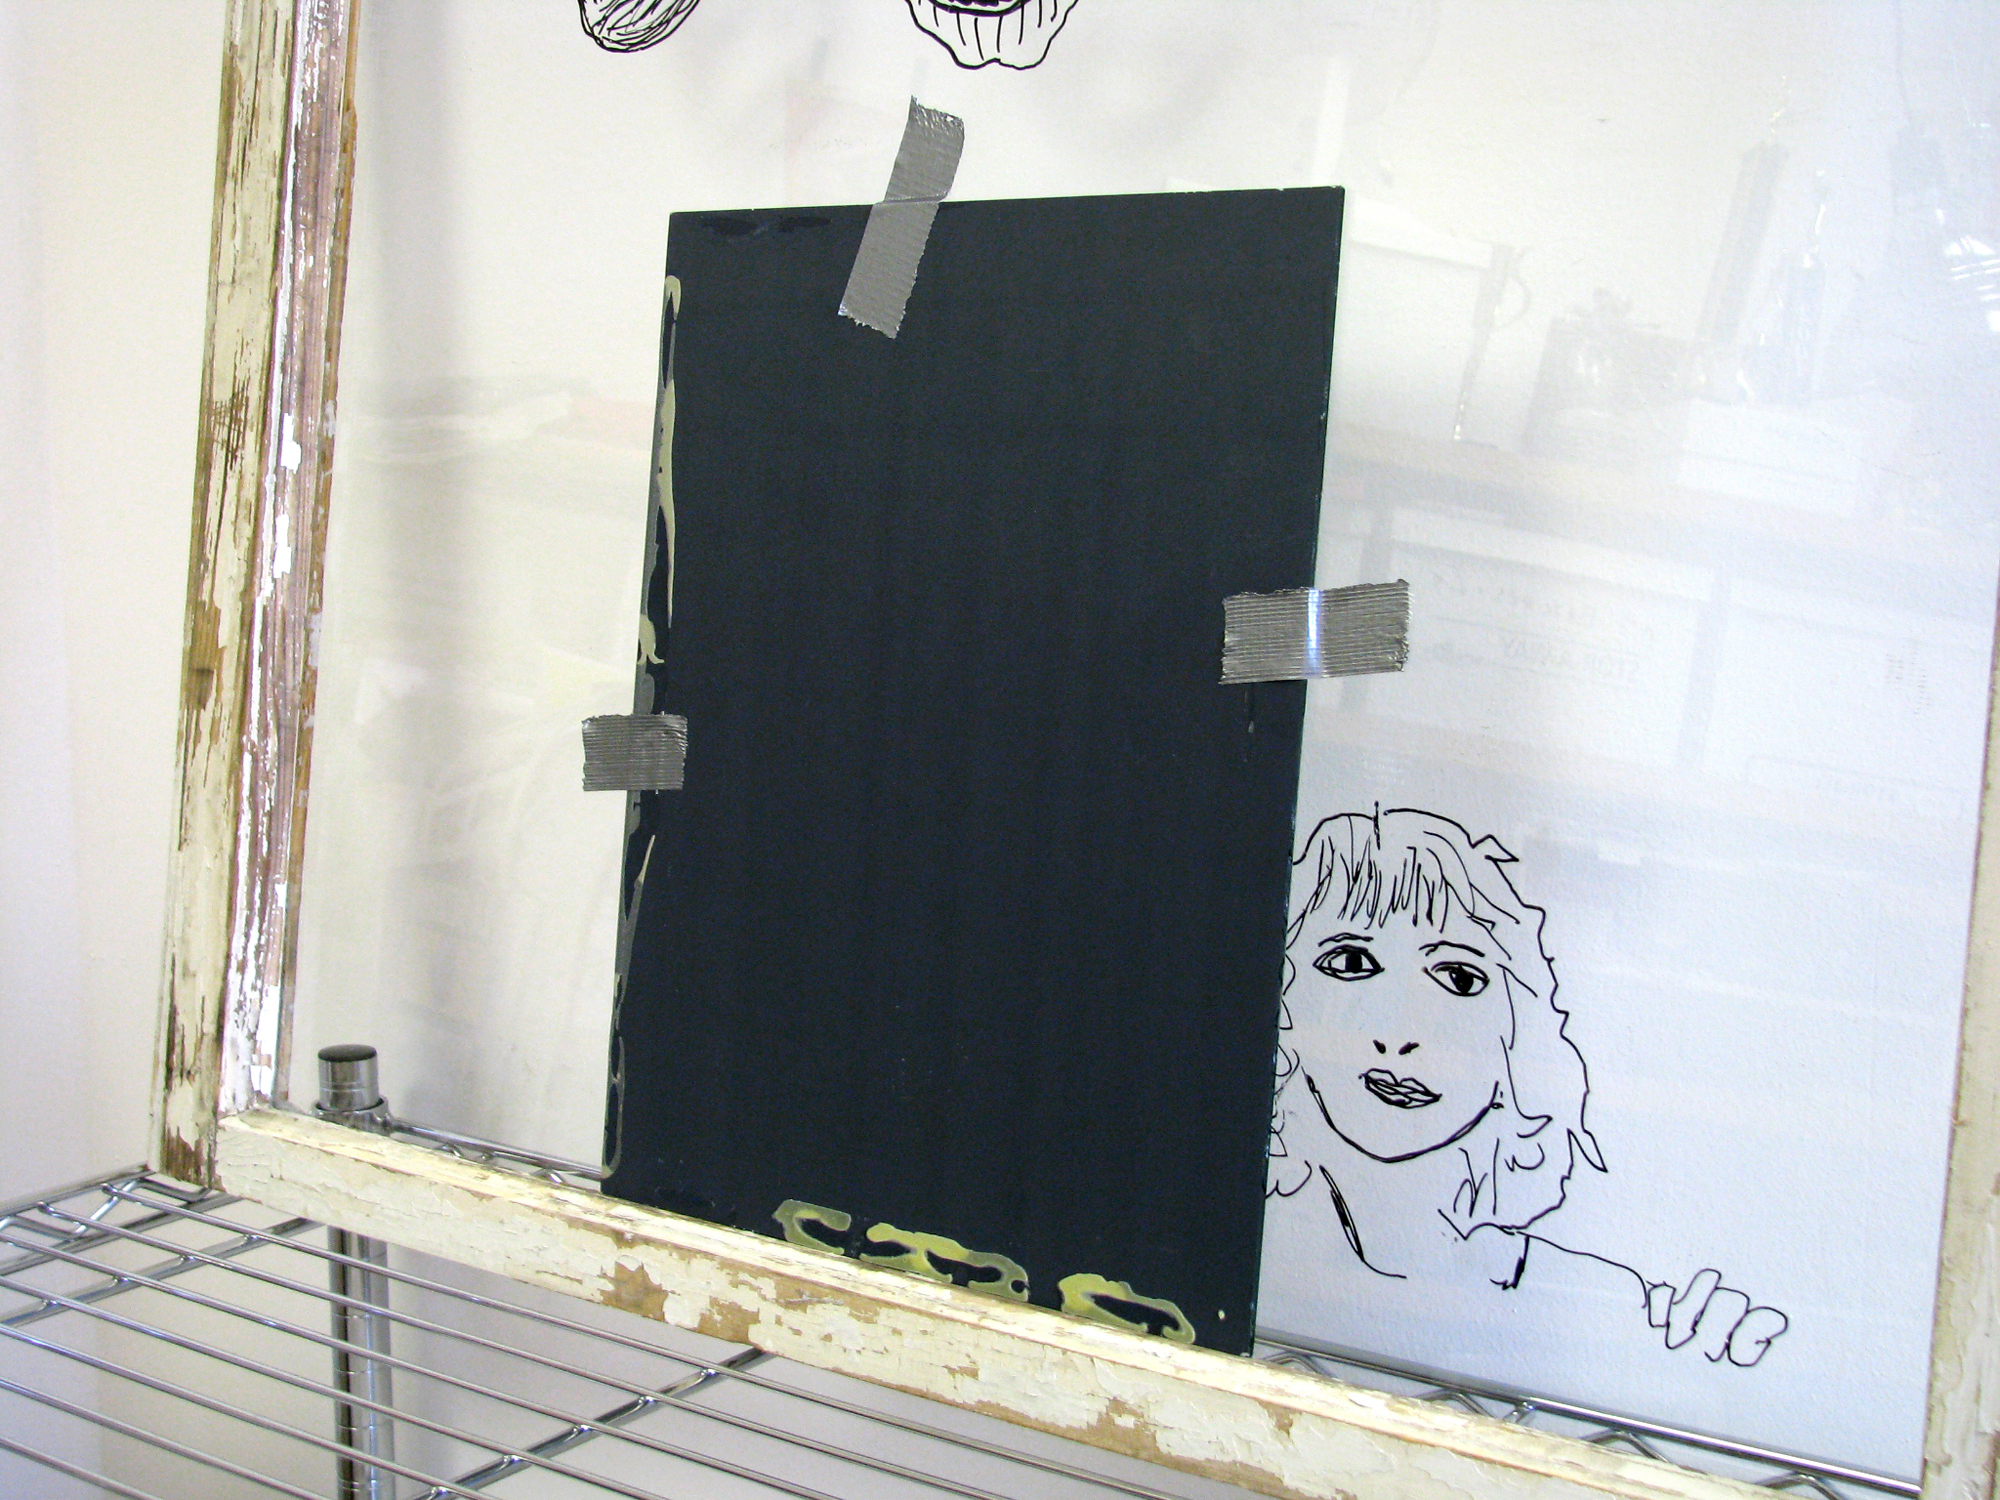
Once the portrait has dried, remove the mirror and reposition it on the front of the window at the spot where you’d like to place the next portrait. Repeat with more portraits, until the back of the glass is filled to your liking.
Paint the drawings.

Once the last portrait is completely dry, remove the mirror and clean any tape residue from the front of the glass.

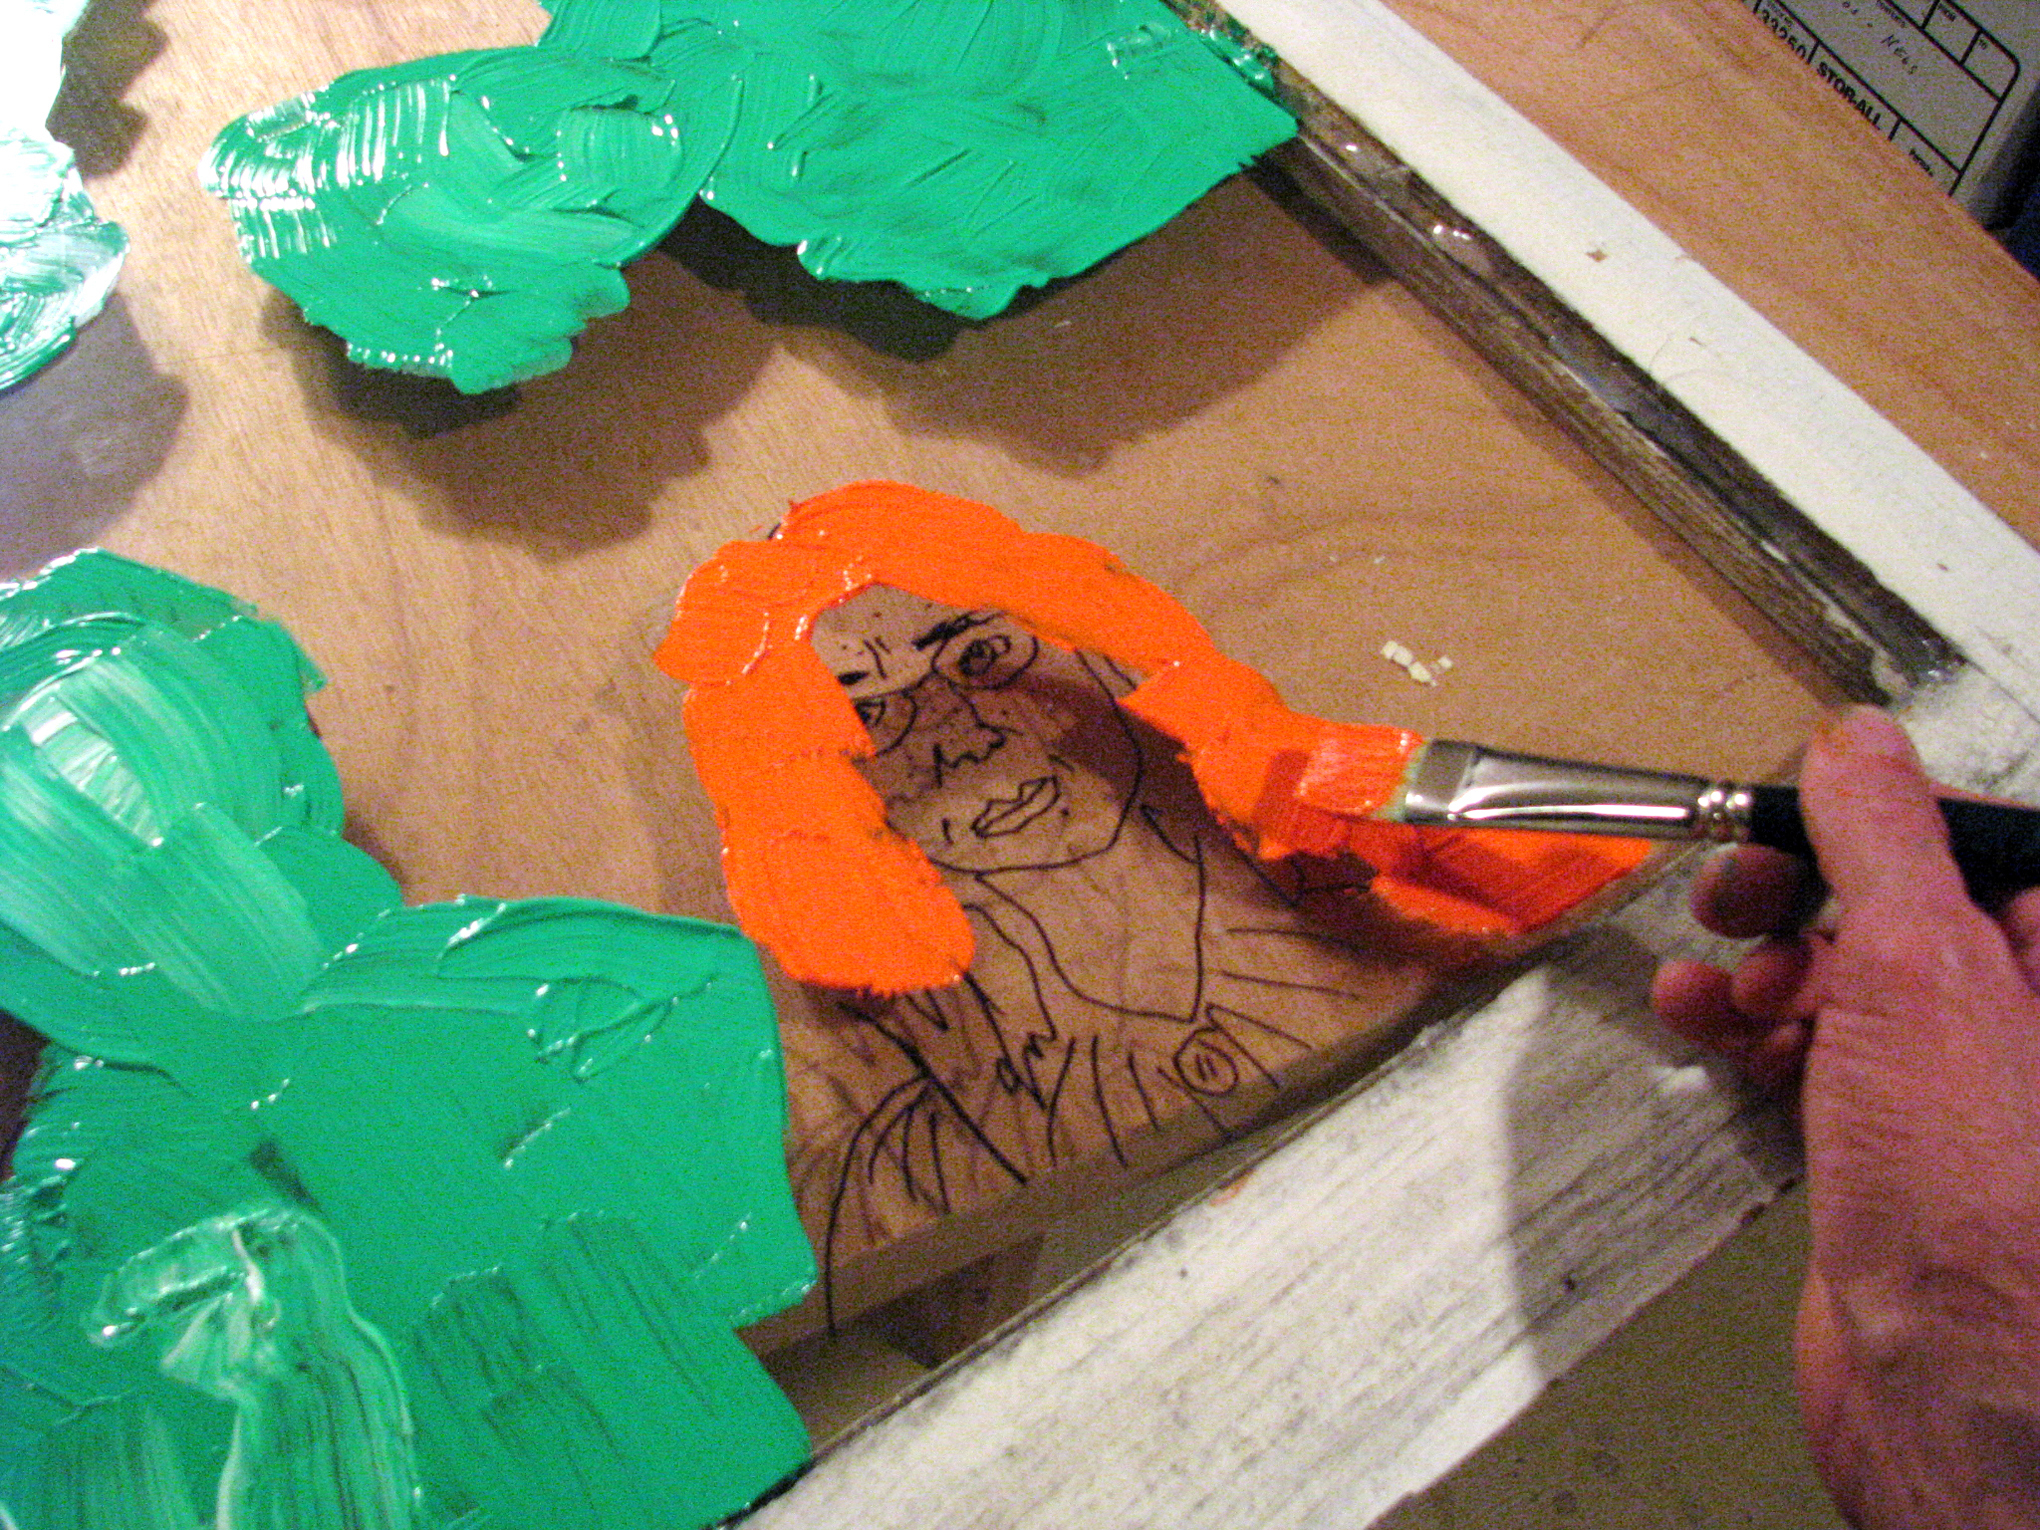
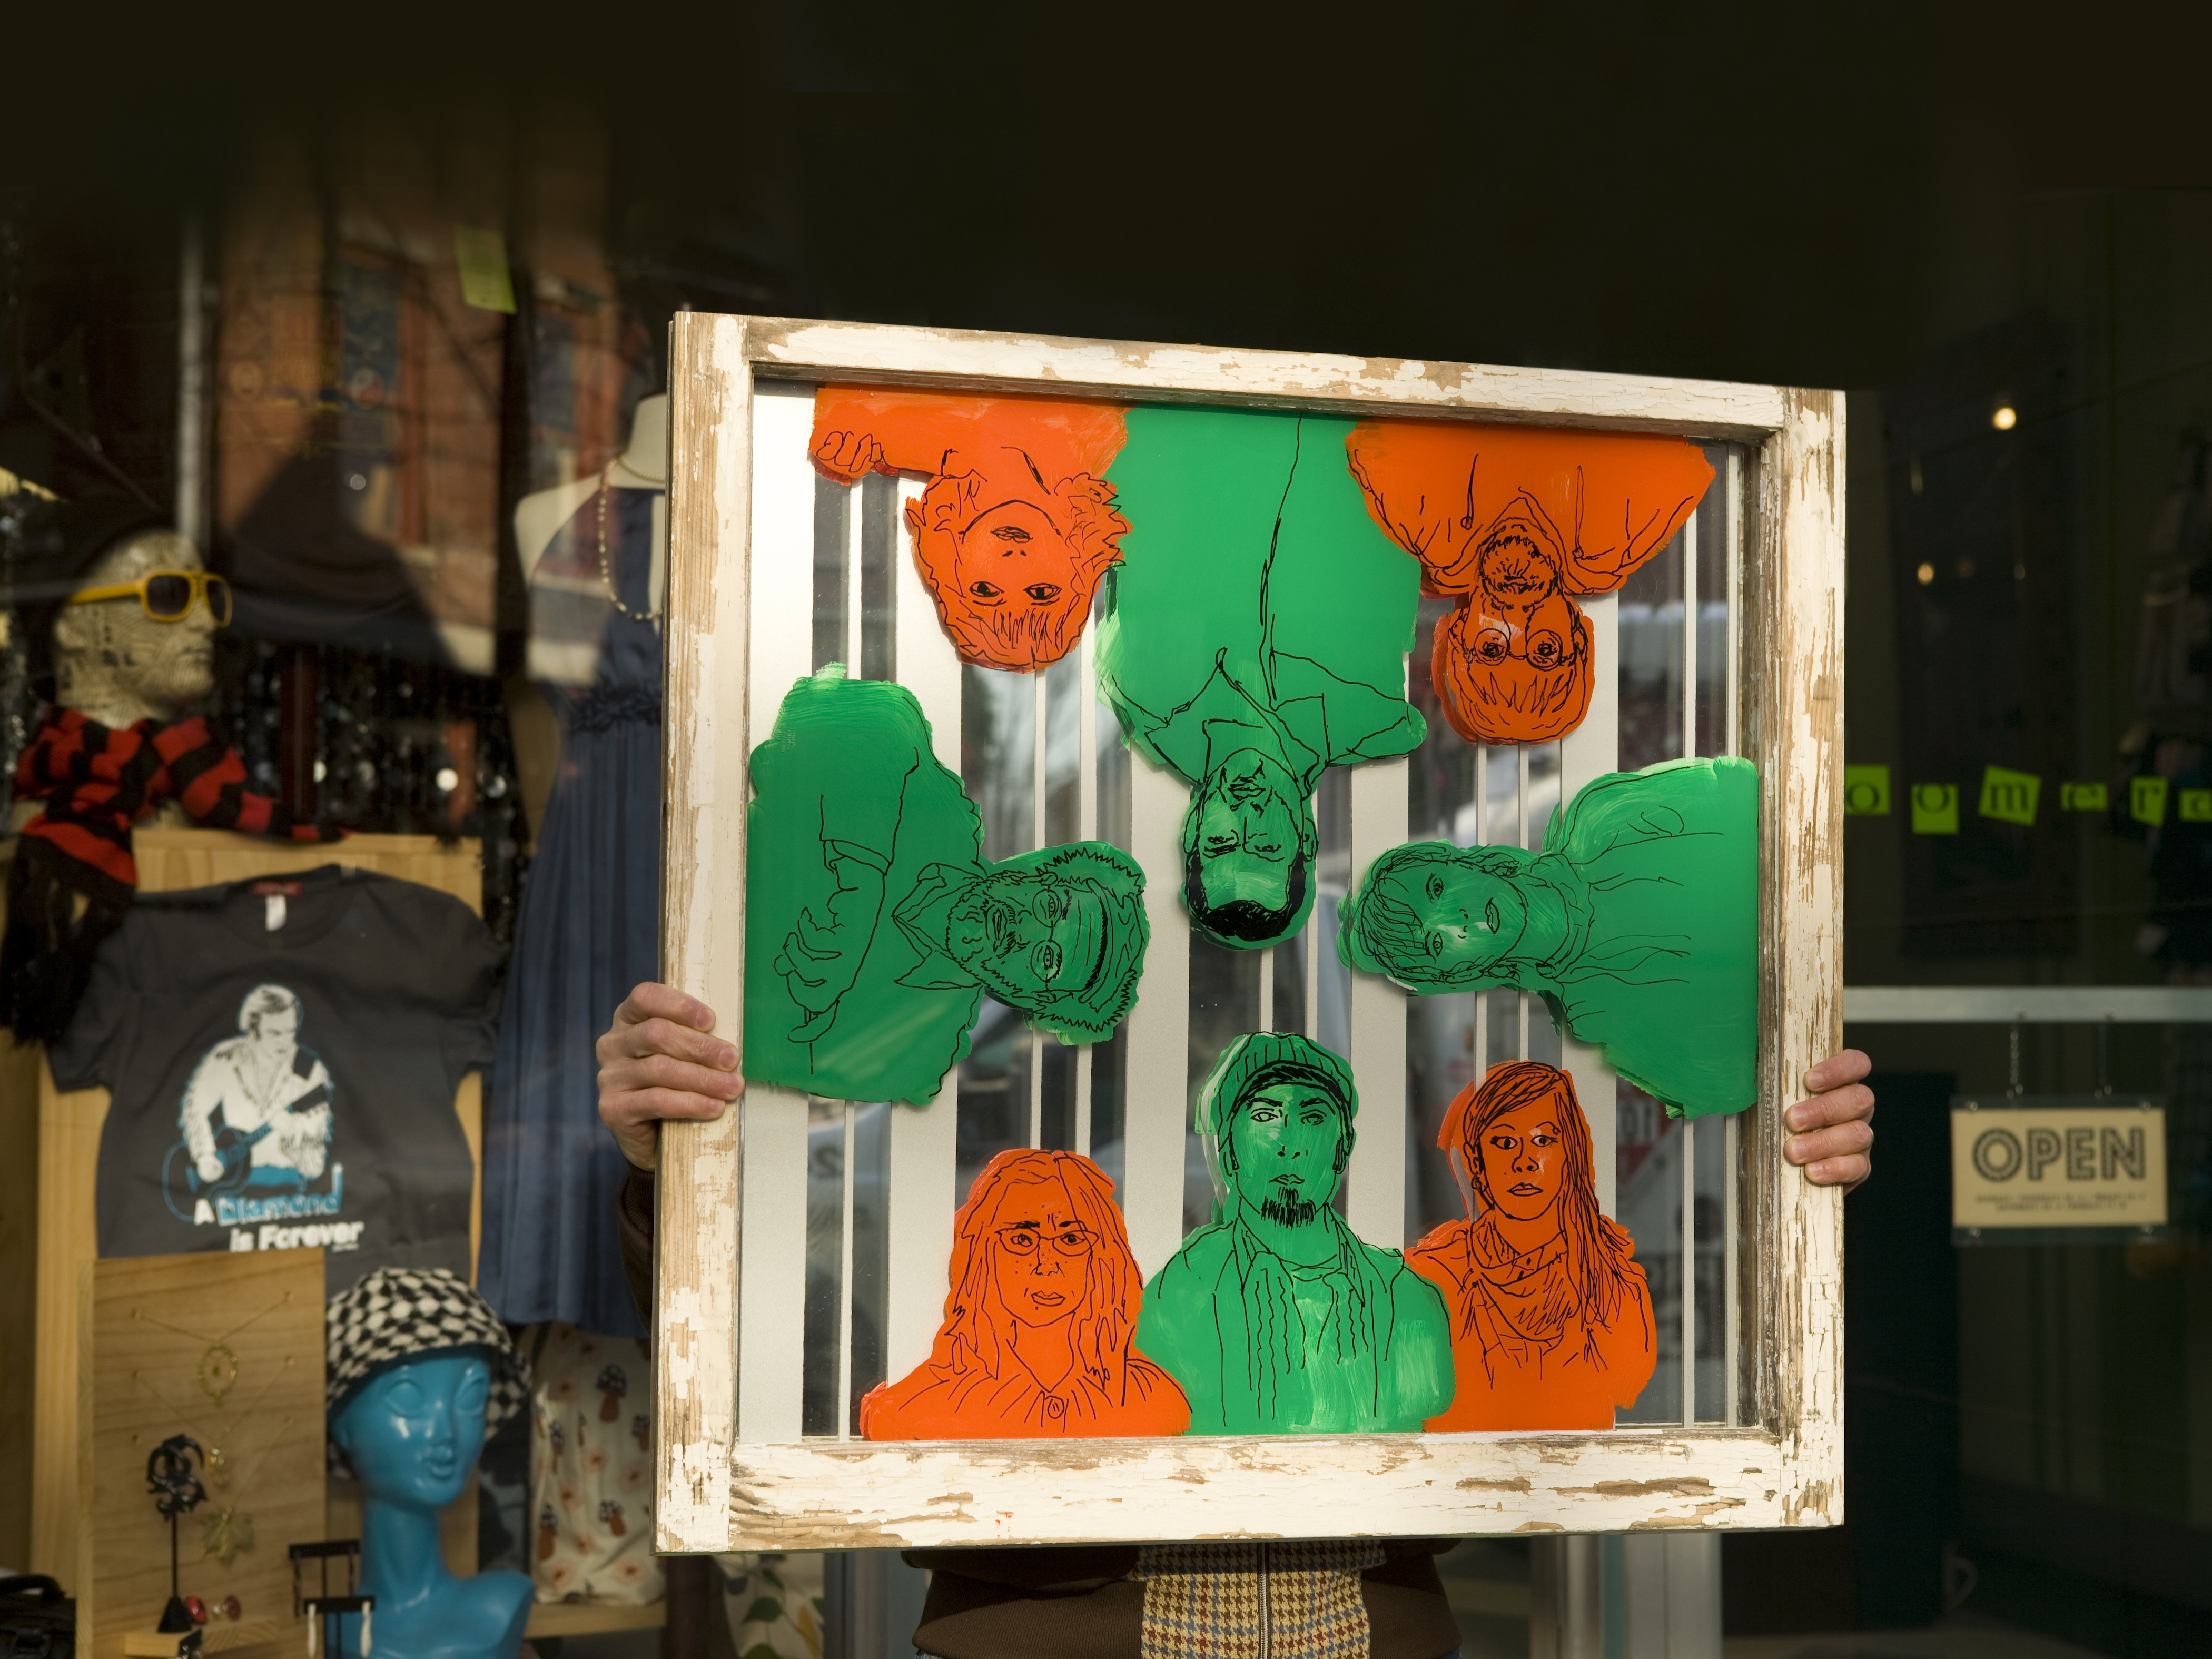
Place the window flat on a work surface with the illustrated side (the back) facing up, and fill the forms with acrylic paint, using the silhouette of each portrait as your border.

With this step you may take liberties, leaving eyes or lips transparent, for instance, or deliberately allowing the paint to cross outside the lines. Try using alternate colors for clothing or hair — or keep the composition monochromatic. Allow the paint to dry.

Prep and place the backing mirror.

Working in a well-ventilated area, place the larger of your 2 mirrors flat on a work surface, over newspapers, with the reflective side up. Clean the glass.

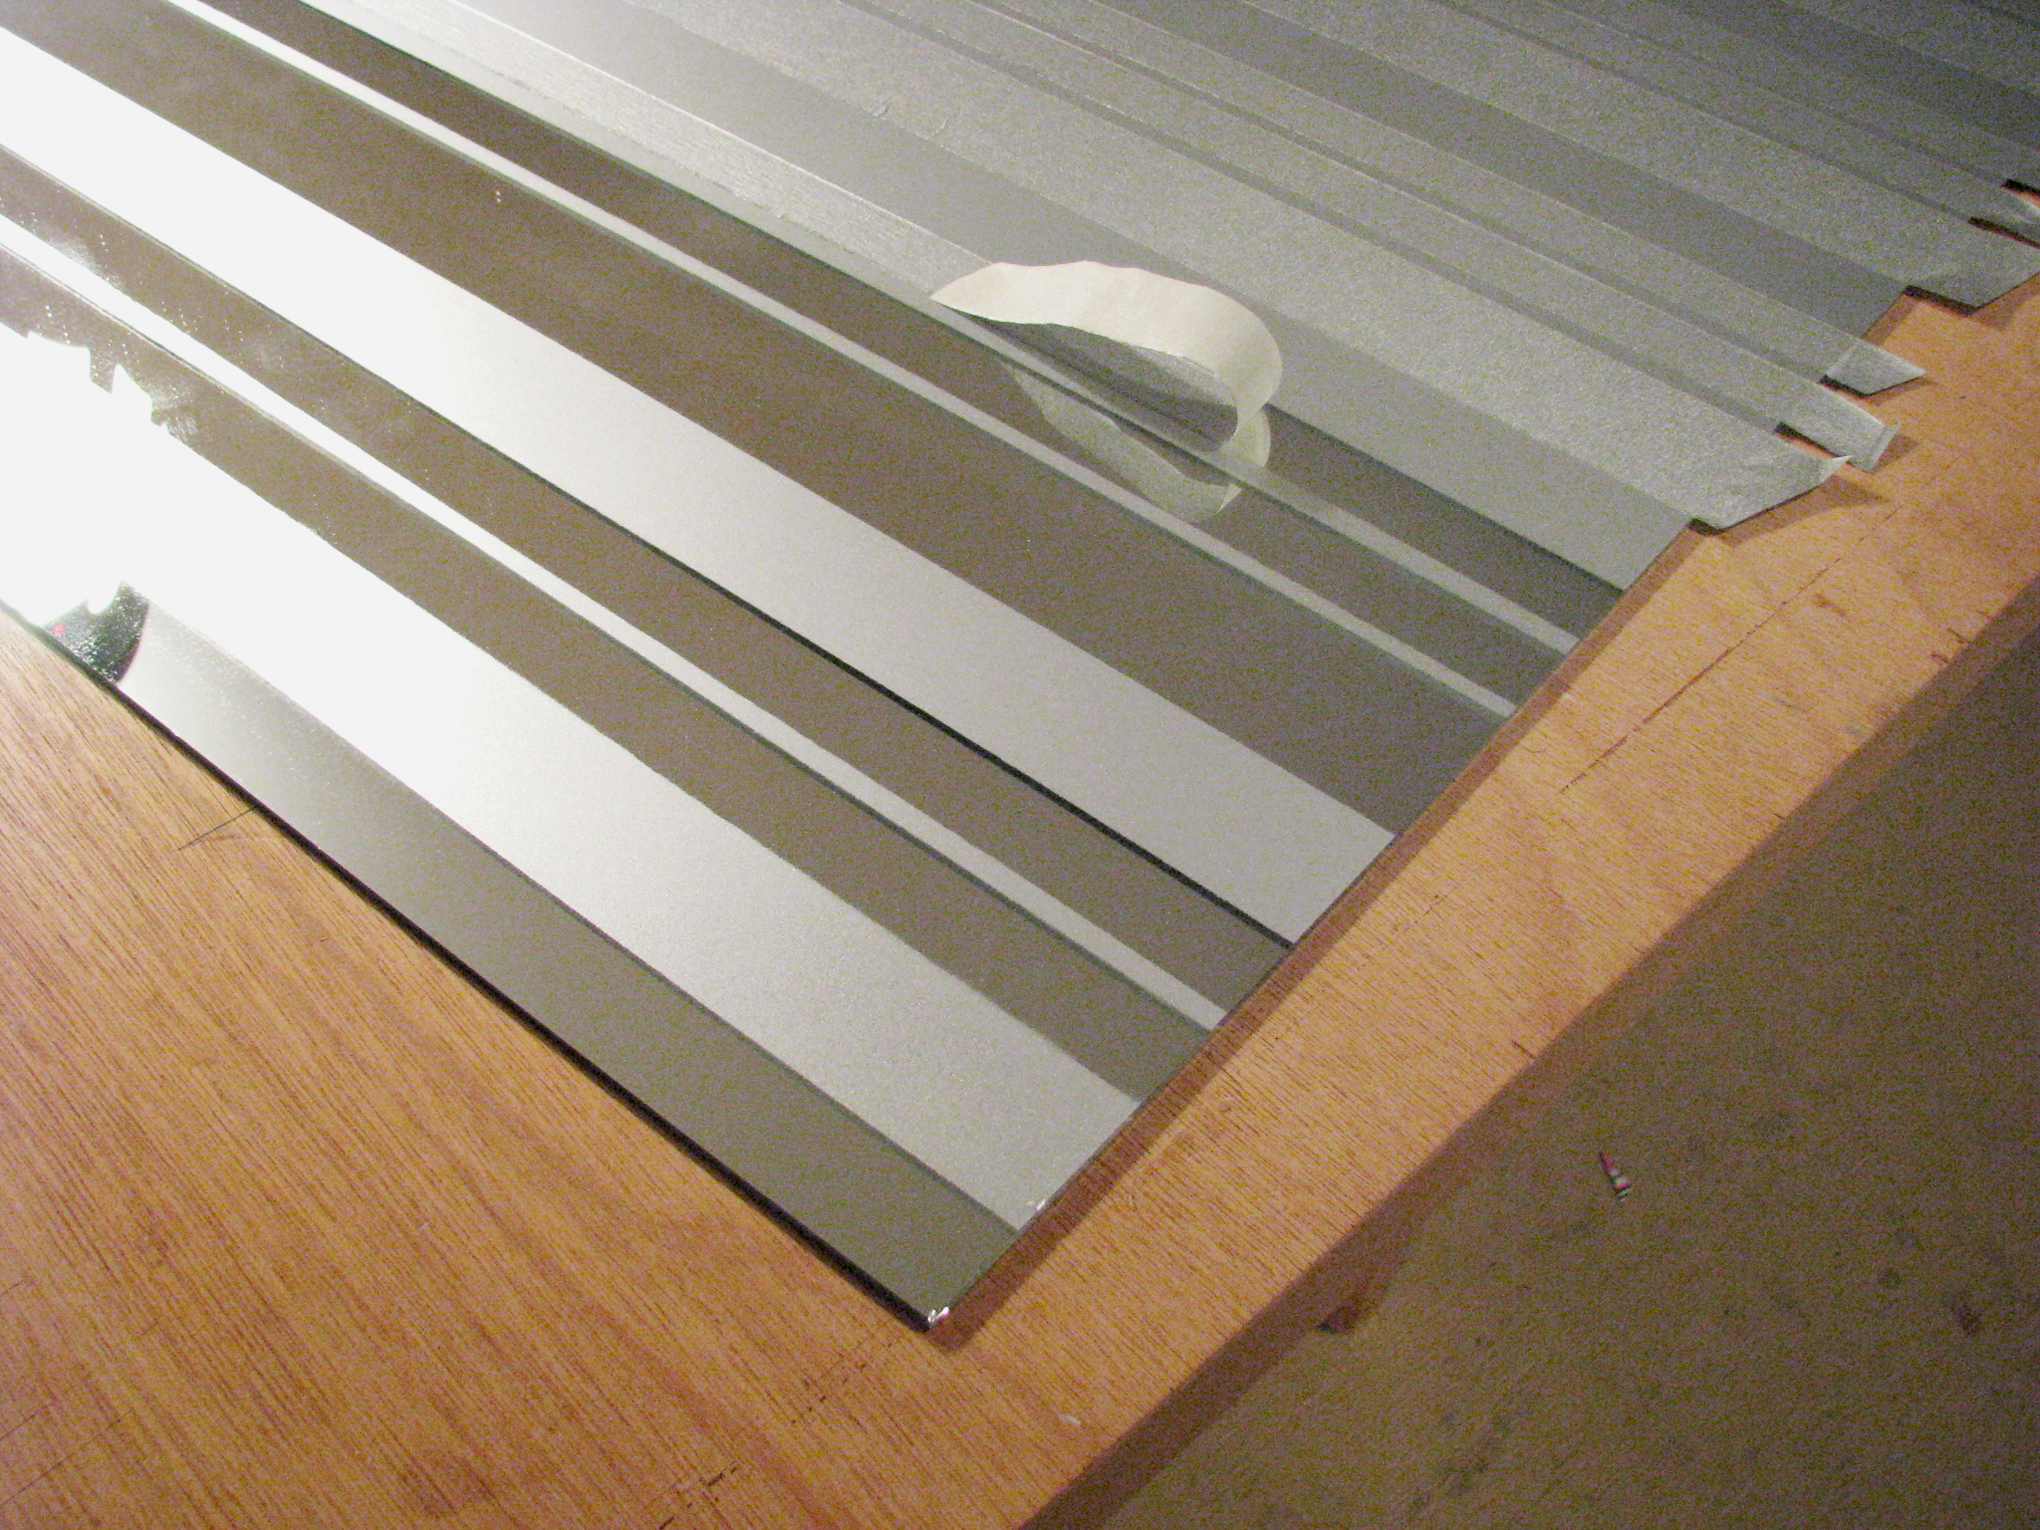
Using the masking tape, create a striped pattern on the glass, as in the picture at far right. For this project, I used 1″ and 2″ widths of tape, in a repeating pattern of two 1″ and one 2″ strips spaced ¼” apart, followed with a space of 1½”.

Spray a thin, even coat of the metallic silver spray paint over the exposed surface of the mirror. Allow the first coat to dry, and follow with a second.

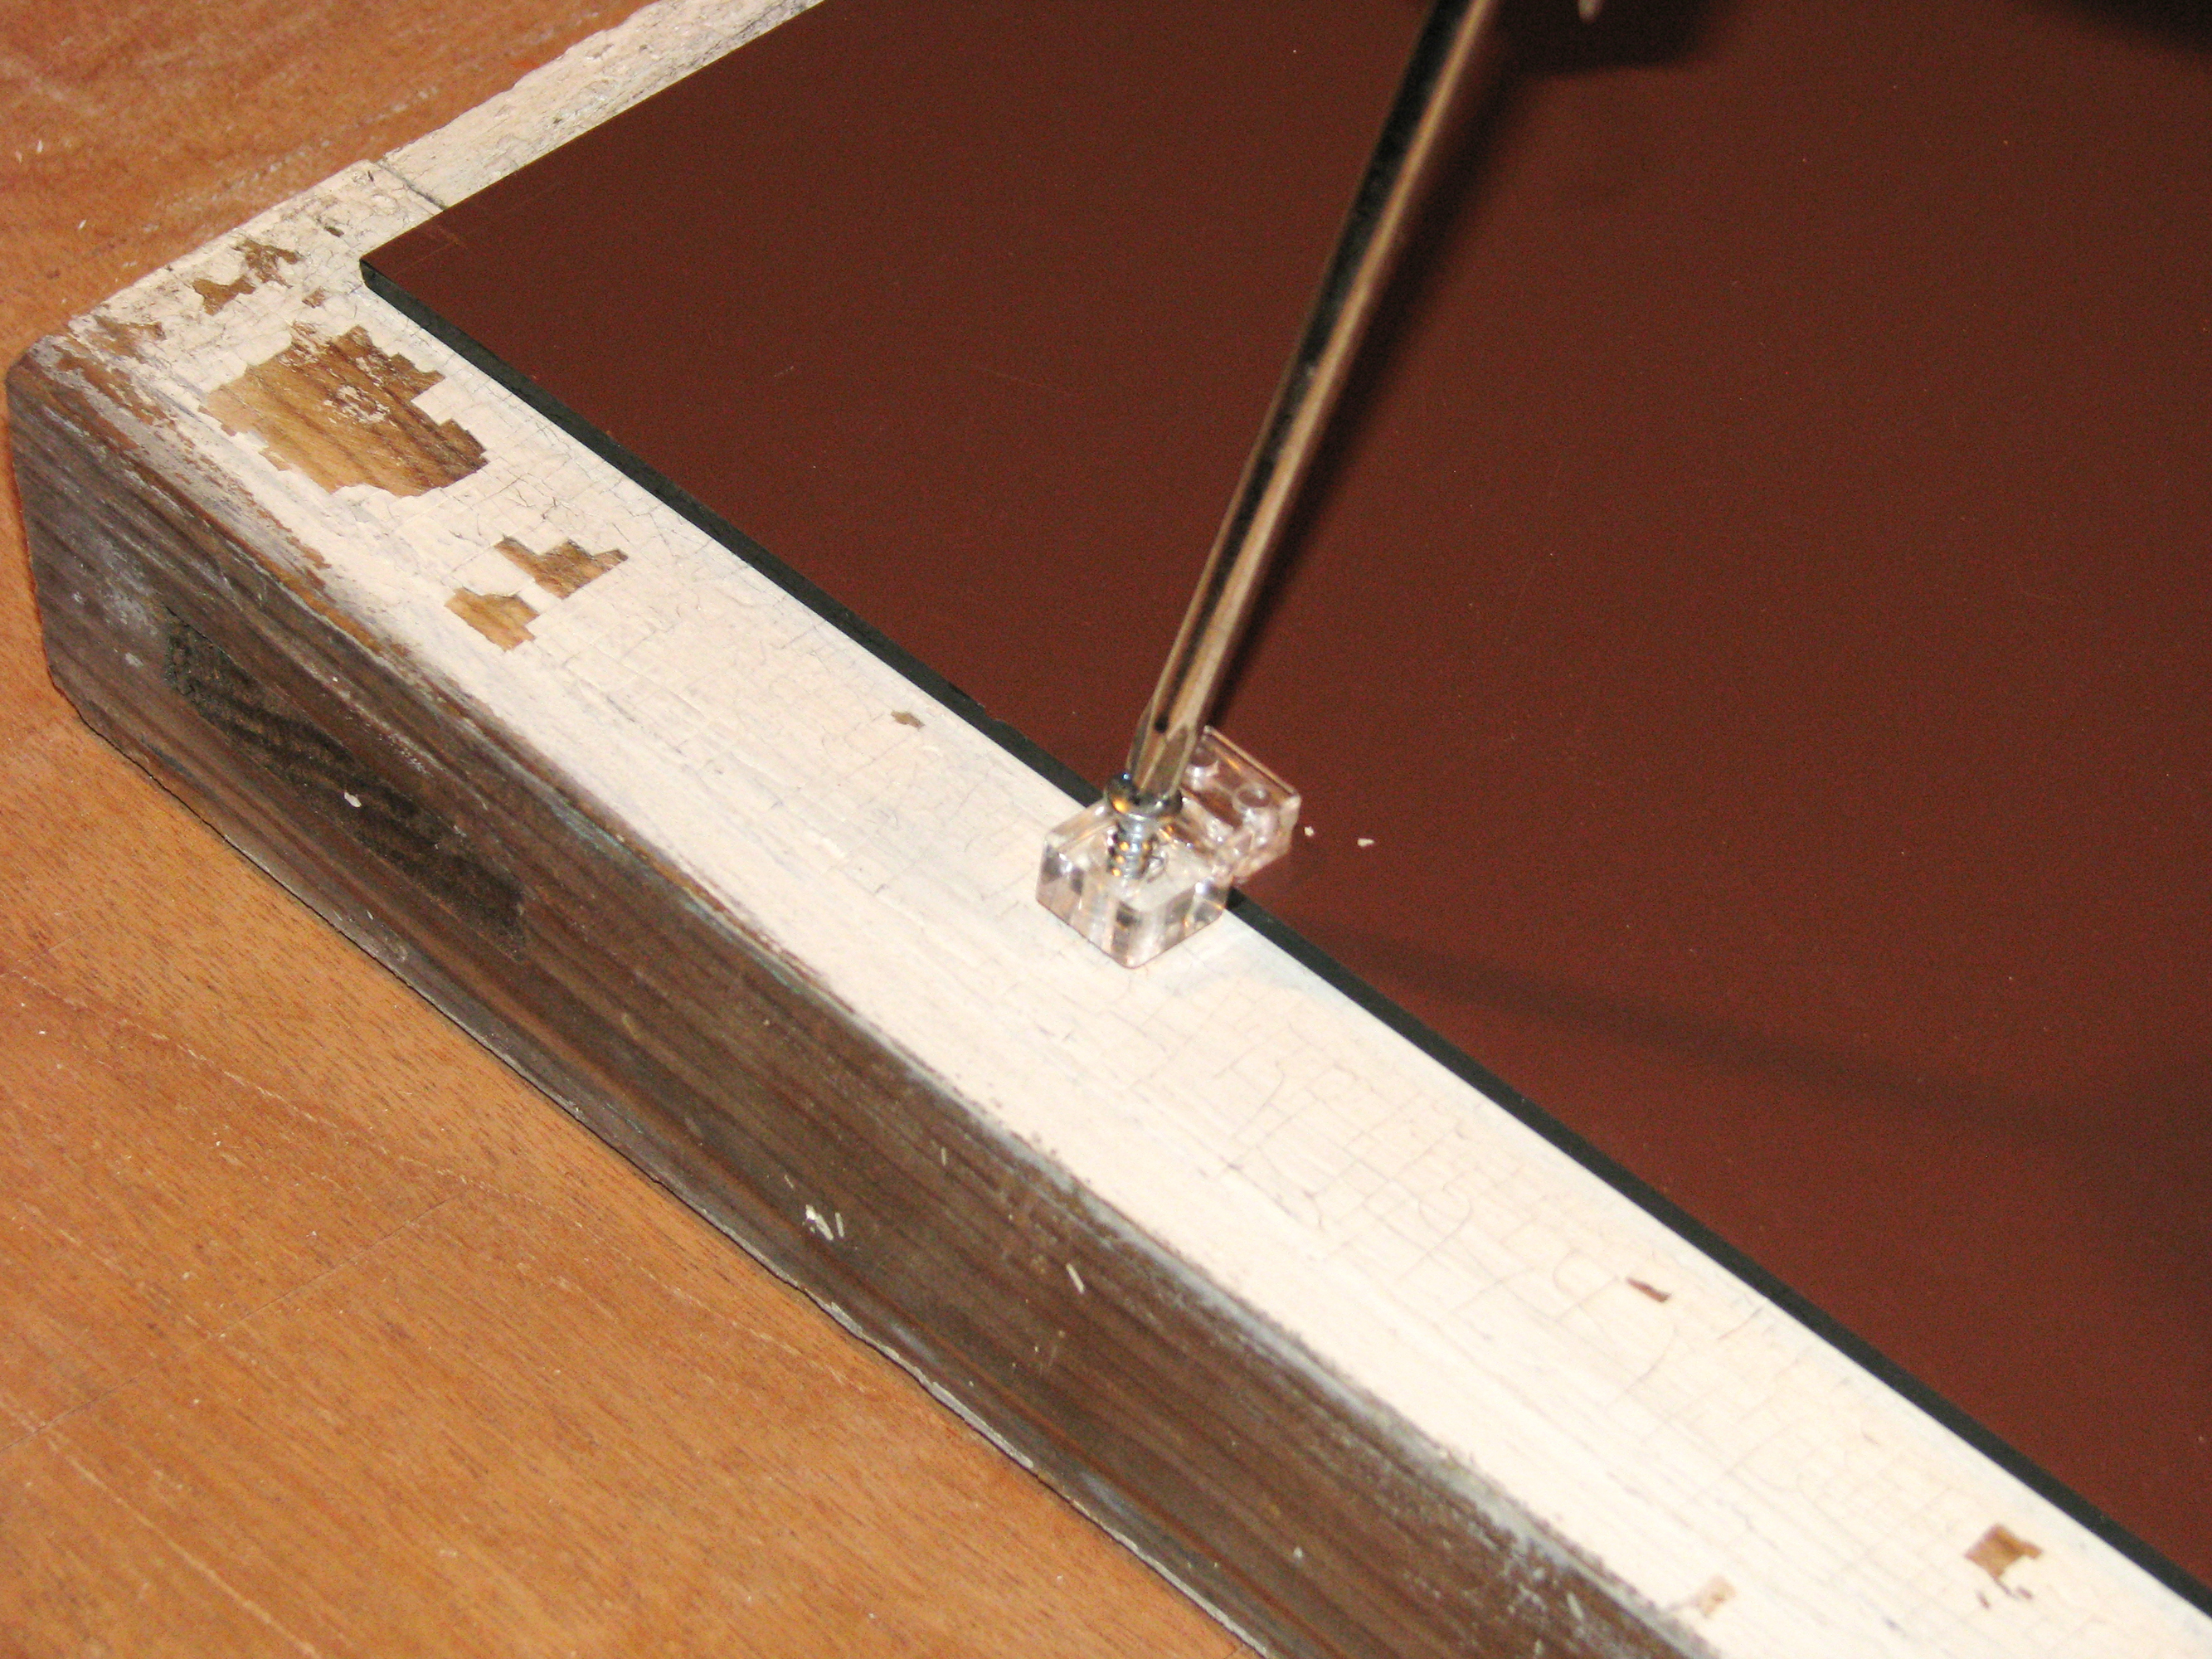
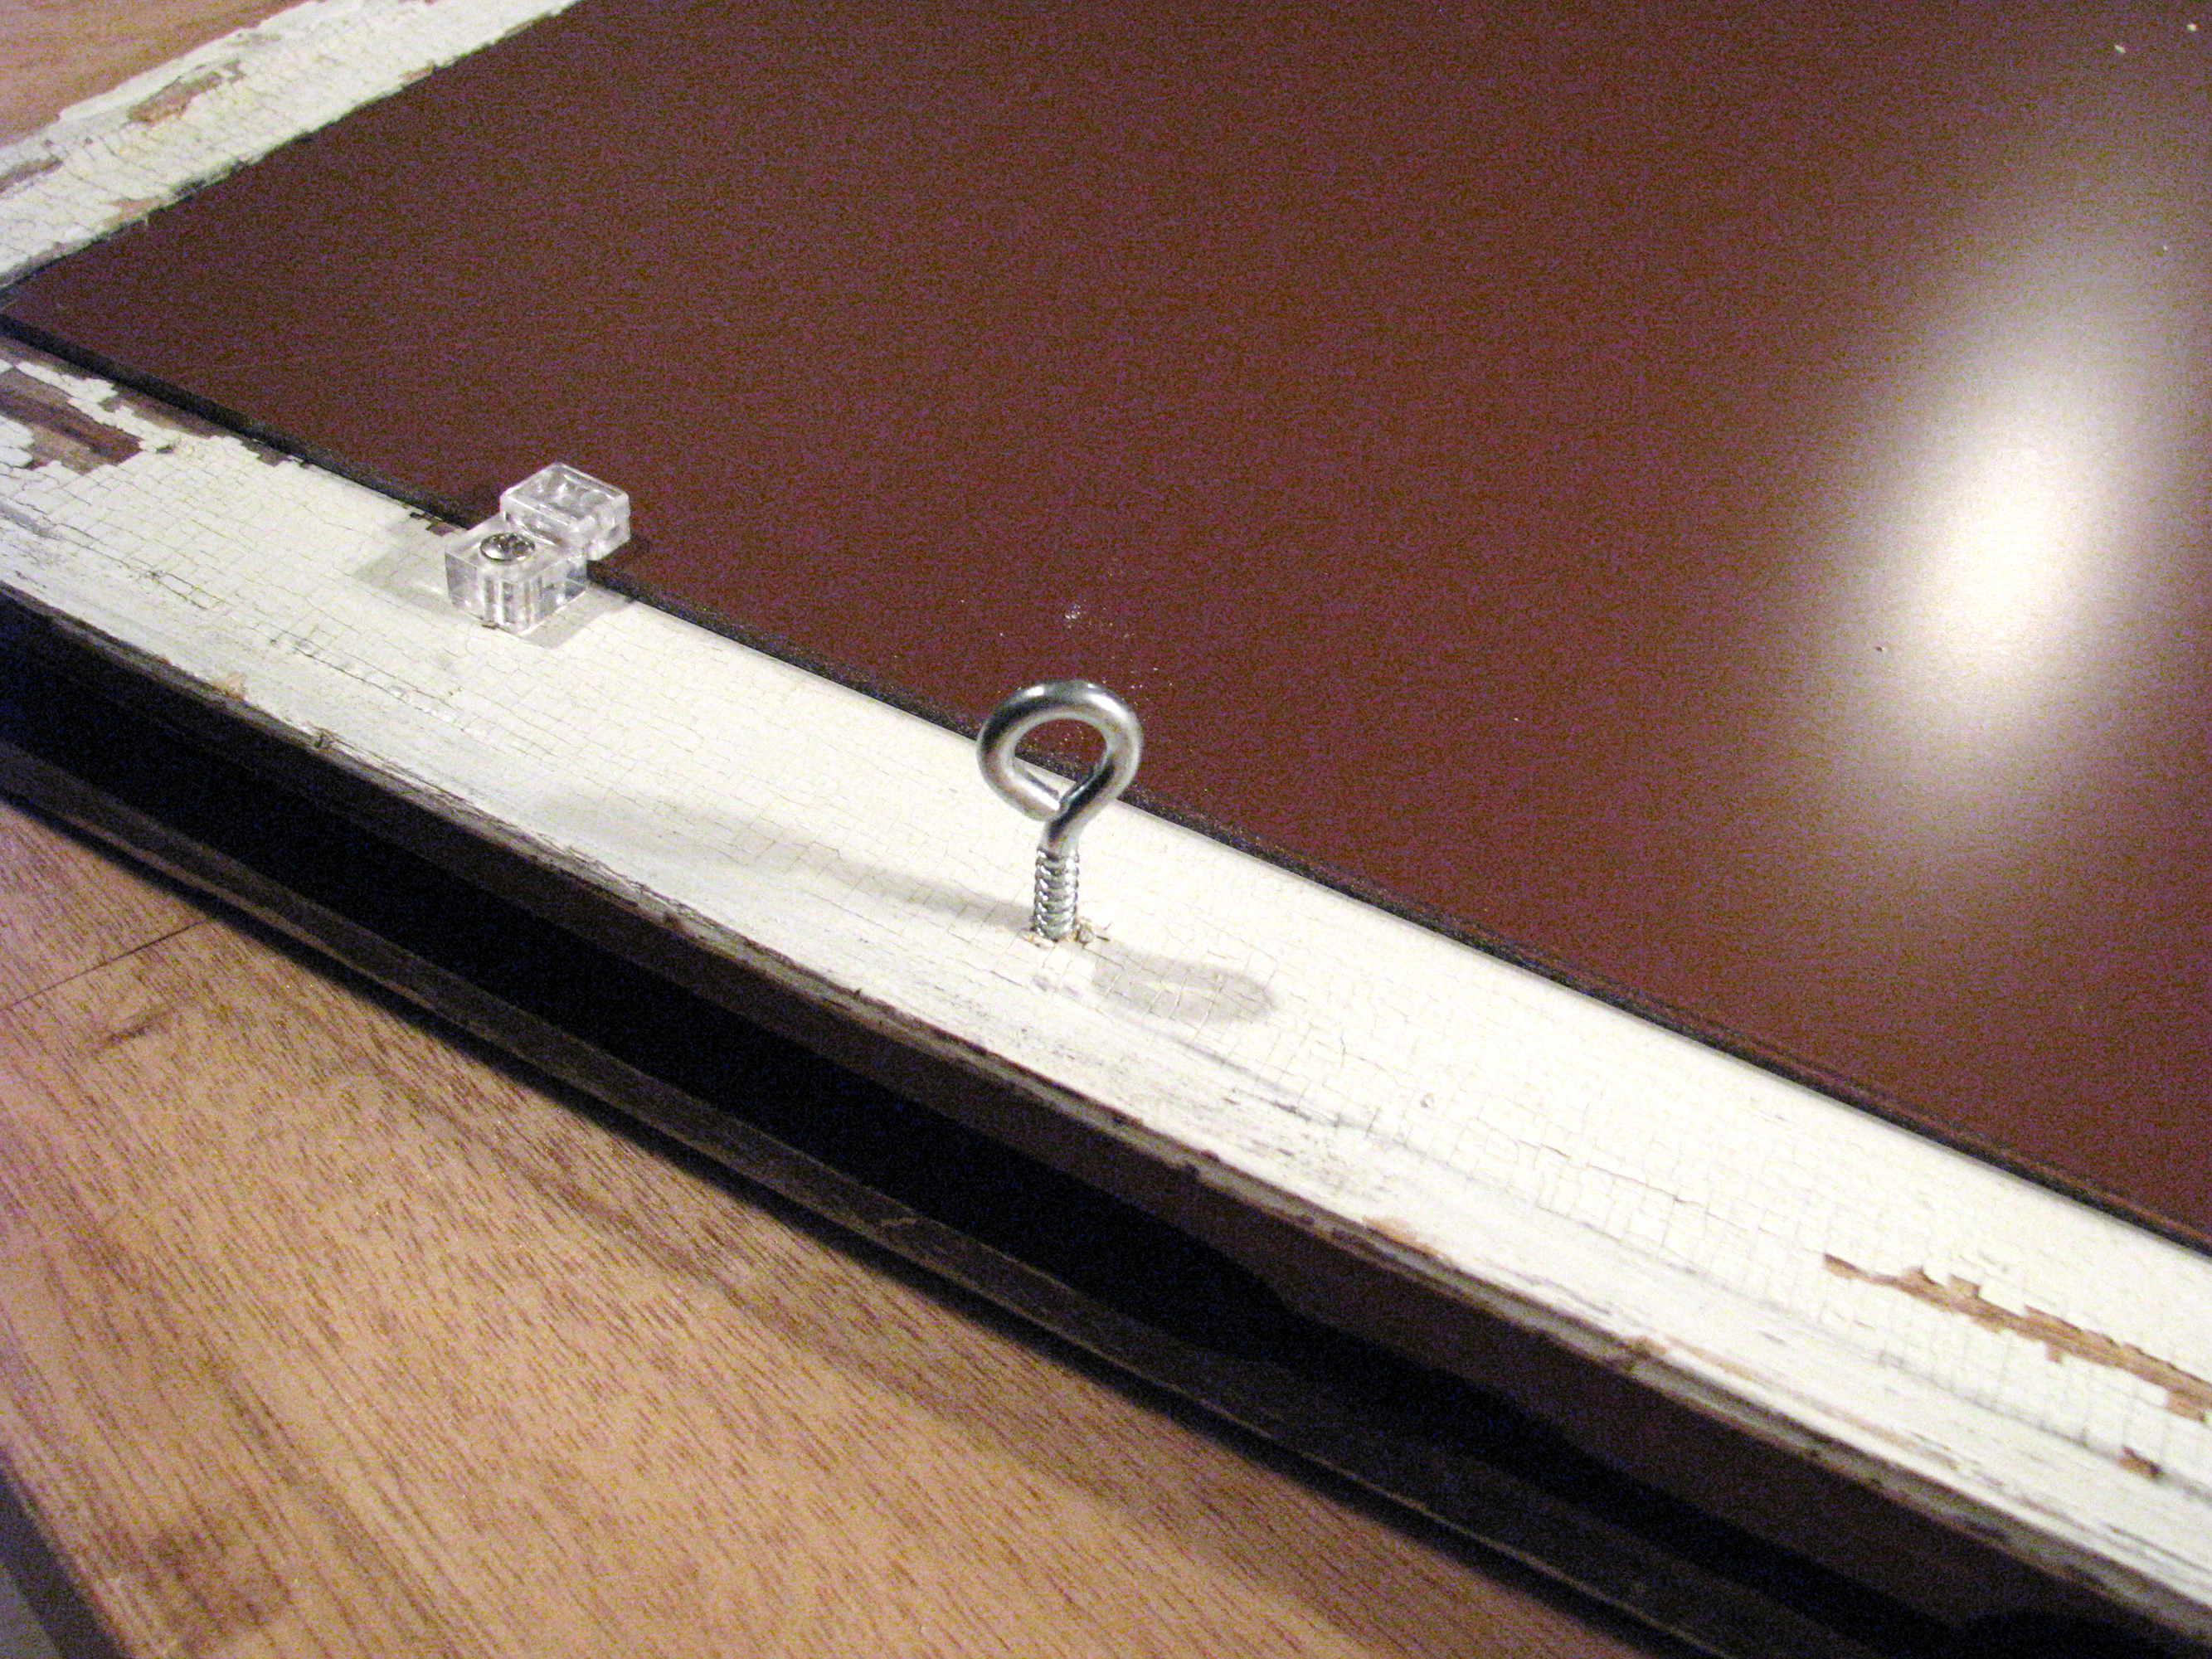
Once the paint has dried completely, remove the masking tape and discard it. Place the window flat on a work surface, front side down. Center the backing mirror over the window sash, and secure it in place with mirror bracket hardware.

Hang.

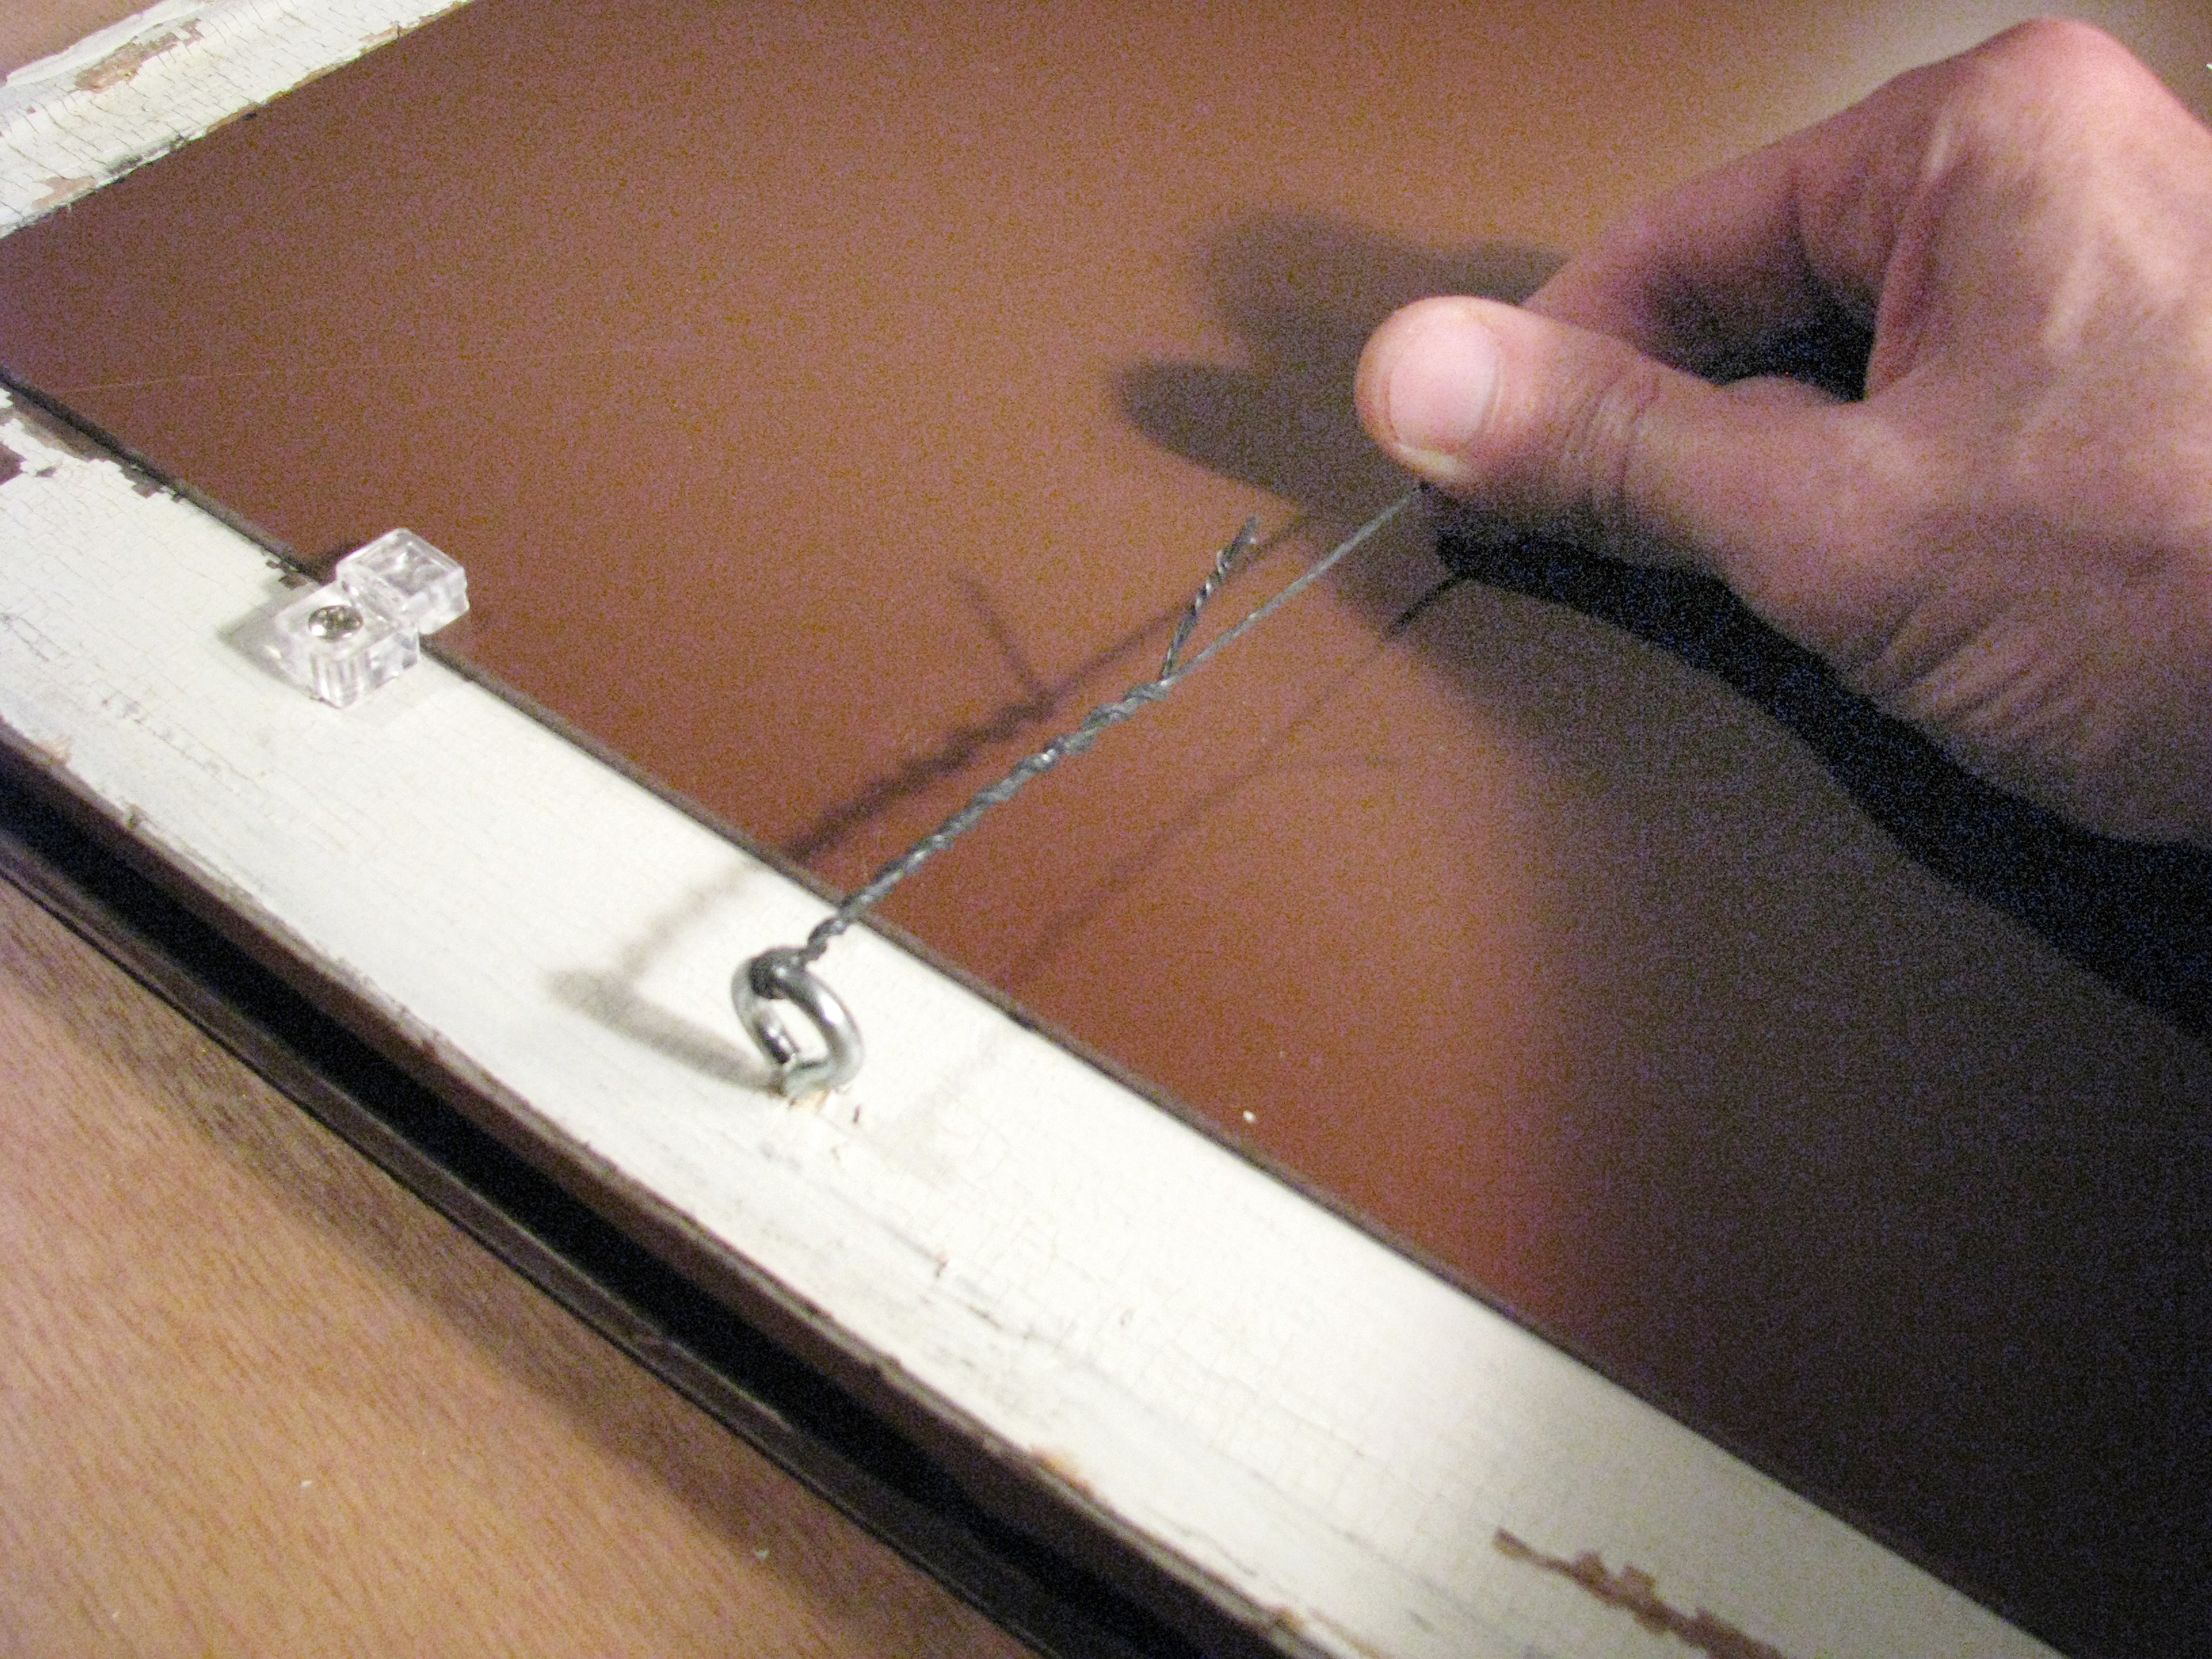
On the left and right sides of the window, secure a 5/16″ screw eye approximately 8″ from the top edge of the window, centered in the sash. Run a strand of picture hanging wire through each, and twist the ends securely. Hang, and admire those precious mugs.

Conclusion

This project first appeared in CRAFT Volume 10, page 86.