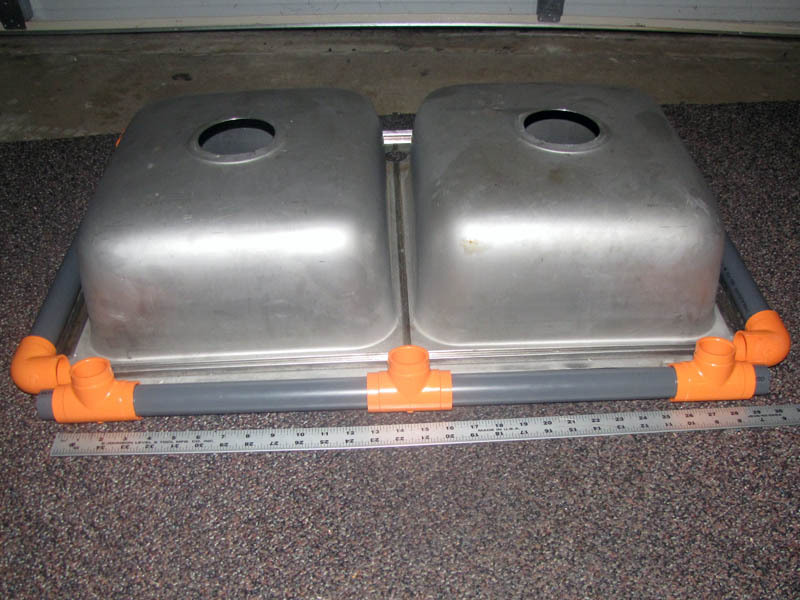
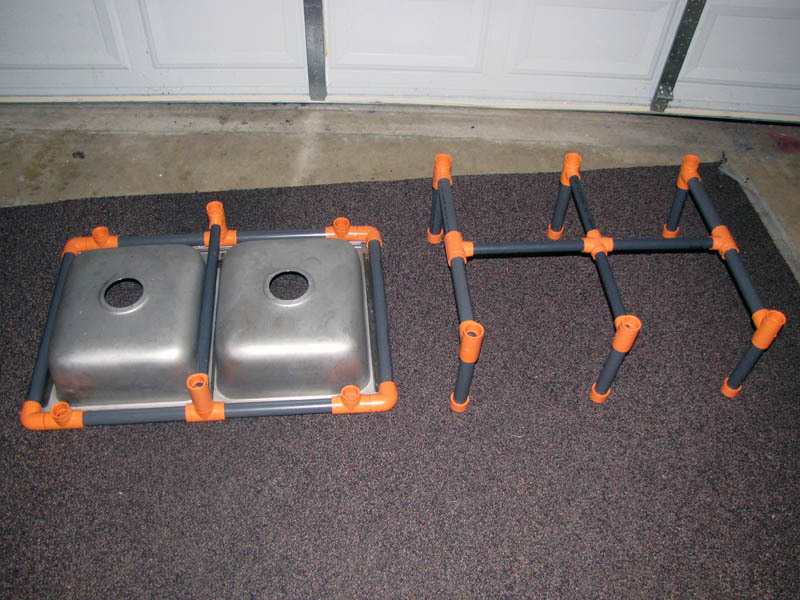
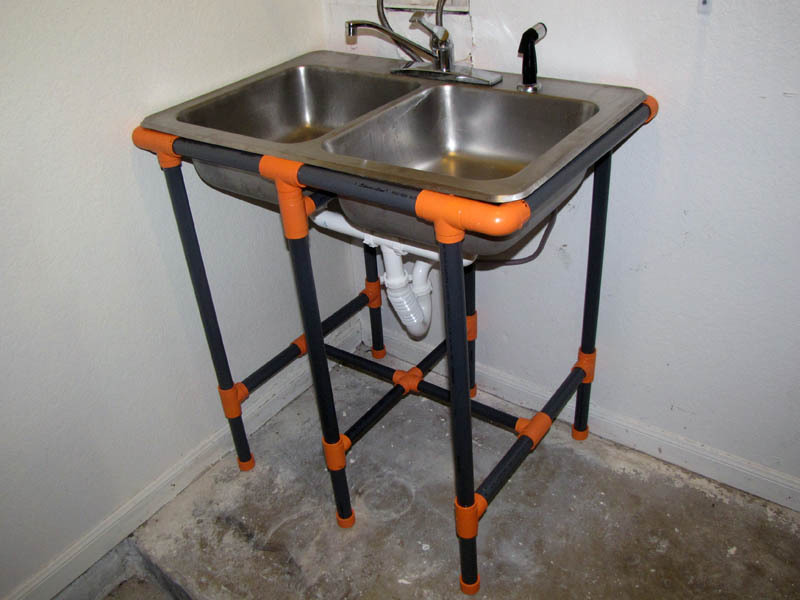
All the kitchen chemistry at my last place left the sink in no condition for human habitation, so I replaced it when I moved out, and took the old one with me. After some diligent scrubbing, it was ready to serve as a utility sink in my garage/workshop, hooked up to the washer/drier connection there. All I lacked was a stand, and since I’d recently scored a bunch of these cool orange-colored Blazemaster PVC fittings at the Habitat for Humanity ReStore for a song, I decided to make it out of PVC.

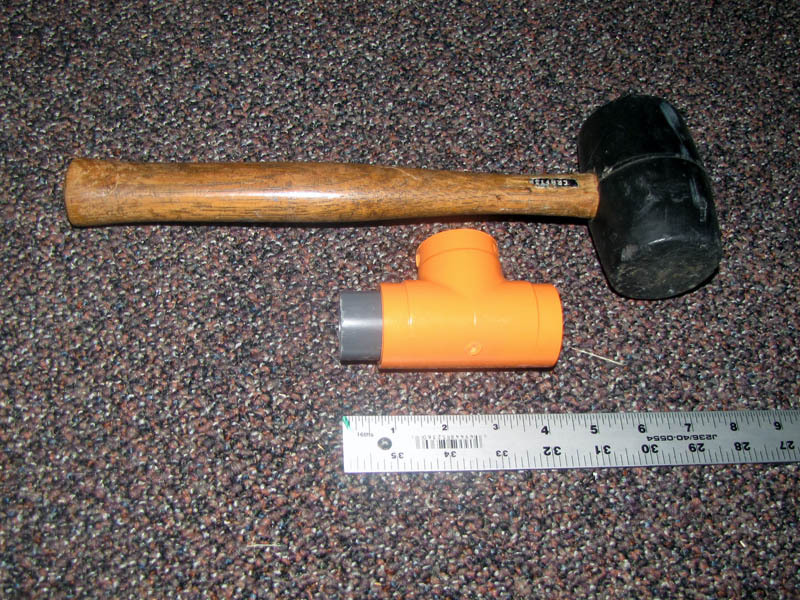
I used gray schedule 80 pipe solely for looks. If you can’t find or don’t want to spring for fancy PVC pipe and/or fittings, you can always try staining your own.

Project Steps

Determine measurements

The plans provided here will fit a 22×33″ sink with right- and left-hand basins that are the same size. My sink is 7″ deep, but they’ll probably work for 6″ or 8″ deep sinks, as well. These are very common sizes for stainless steel sinks.

The plans and cutting list assume nominal 1″ PVC pipe (1.315″ OD) and standard pipe fittings. I used fancy orange fittings and gray Schedule 80 pipe solely for looks; regular white pipe fittings and Schedule 40 pipe will work fine and should cost less.

Gather materials

To make the sink stand as pictured in the plan, you will need:

Four eight-foot (96″) stalks of 1″ nominal PVC pipe.

16 1x1x1″ PVC Tee fittings.

Six 1″ PVC end caps.

Four 1×1″ PVC 90-degree elbows.

One 1x1x1x1″ PVC 4-way cross fitting.

Cut the pipe

Handheld PVC pipe cutters are a pain with 1″ pipe, and tend to leave a “swollen” end at the cut. For this reason I prefer to use a miter box and saw.

Measure and mark the pipe stalks per the cutting diagram in the plan. The tolerances can be pretty loose; there’s no need to worry about the kerf.

Check your measurements before cutting.

For each cut, secure the pipe in the miter box with the mark centered on the saw slot.

Saw through the pipe. Running the teeth over a block of beeswax, or an old candle, will keep the blade running smoothly.

Assemble

Fit the cut pipe sections into the fittings and assemble as shown.

A tap or two with a rubber mallet will help if the parts are stubborn.

Set the sink in place and verify that it’s going to fit.

My stand is quite stable without cement, so for now I’m doing without glue in the joints. If you want to glue yours together, make sure to do it with the sink in place so you don’t end up disturbing the fit.

Conclusion

Unfortunately I'm not qualified to give advice about how to actually plumb a sink, but there are plenty of online guides available by people who (presumably) are.

I can, however, tell you what has worked for me. I just set the sink in place in the stand; it is not clipped in or otherwise secured. The stand itself has a small amount of "woggle," but instead of fretting too much over making everything rock-steady I just used a P-trap with a flexible joint. At some point I may decide to secure the stand to the wall with conduit straps or by some other contrivance.