rainbow-extrusion-robots

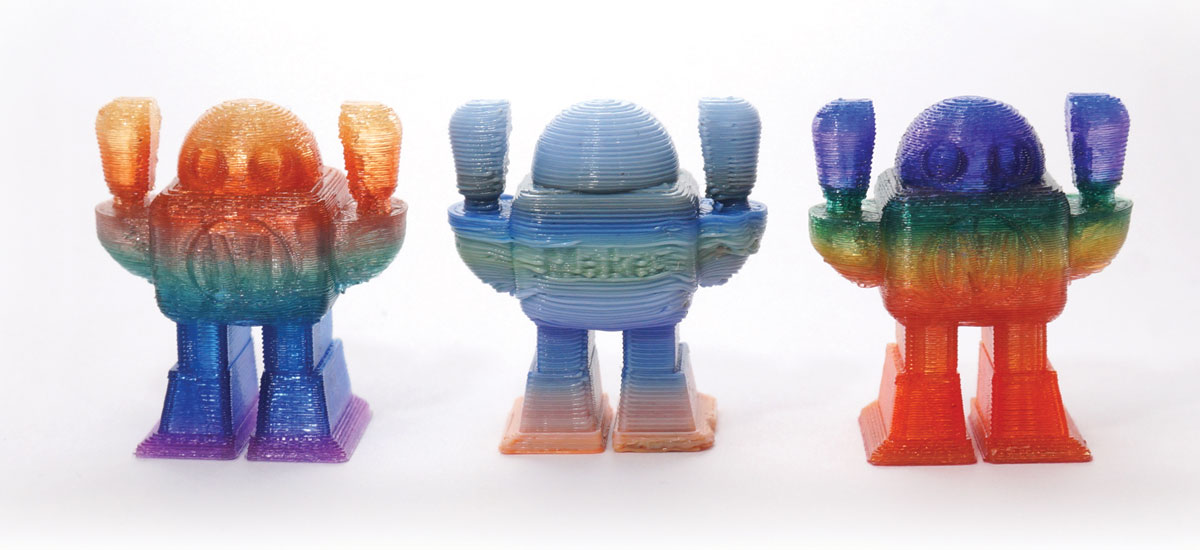
A quick and classroom-safe way to add color to your prints is using Sharpie markers to color transparent or white filament. While there are 3D-printable adapters that color filament as it enters the extruder, it’s easy to color the filament by hand.

For more on 3D printing, check out Make: Volume 42.  Don't have this issue? Get it in the Maker Shed.
For more on 3D printing, check out Make: Volume 42.
Don’t have this issue? Get it in the Maker Shed.

Project Steps

1. Estimate Filament Length

To determine the length of the filament needed, slice your model with Cura (displays length in software) or Slic3r (look at last line of G-code). Or if your slicer can export standard G-code, upload it to gcode.ws, and the model info tab shows the length needed. The Makey robot should take around 800-1,500mm of filament.

2. Color

Divide the estimated filament length by the number of colors desired to determine the length of each colored section. Measure with a ruler and color as you go. Leave extra filament at the end in case your estimate is off. The first color fed into the extruder will be at the bottom of the model.

3. Print

Purge the extruder with transparent or white filament, then load the hand-colored filament. Pay careful attention when loading the filament and stop when you see the hand-colored filament coming out. Depending on your printer and slicer settings your print may require the first section of color to be longer to account for filament oozing/skirts/rafts at the beginning of the print.

rainbow-extrusion-sharpie