

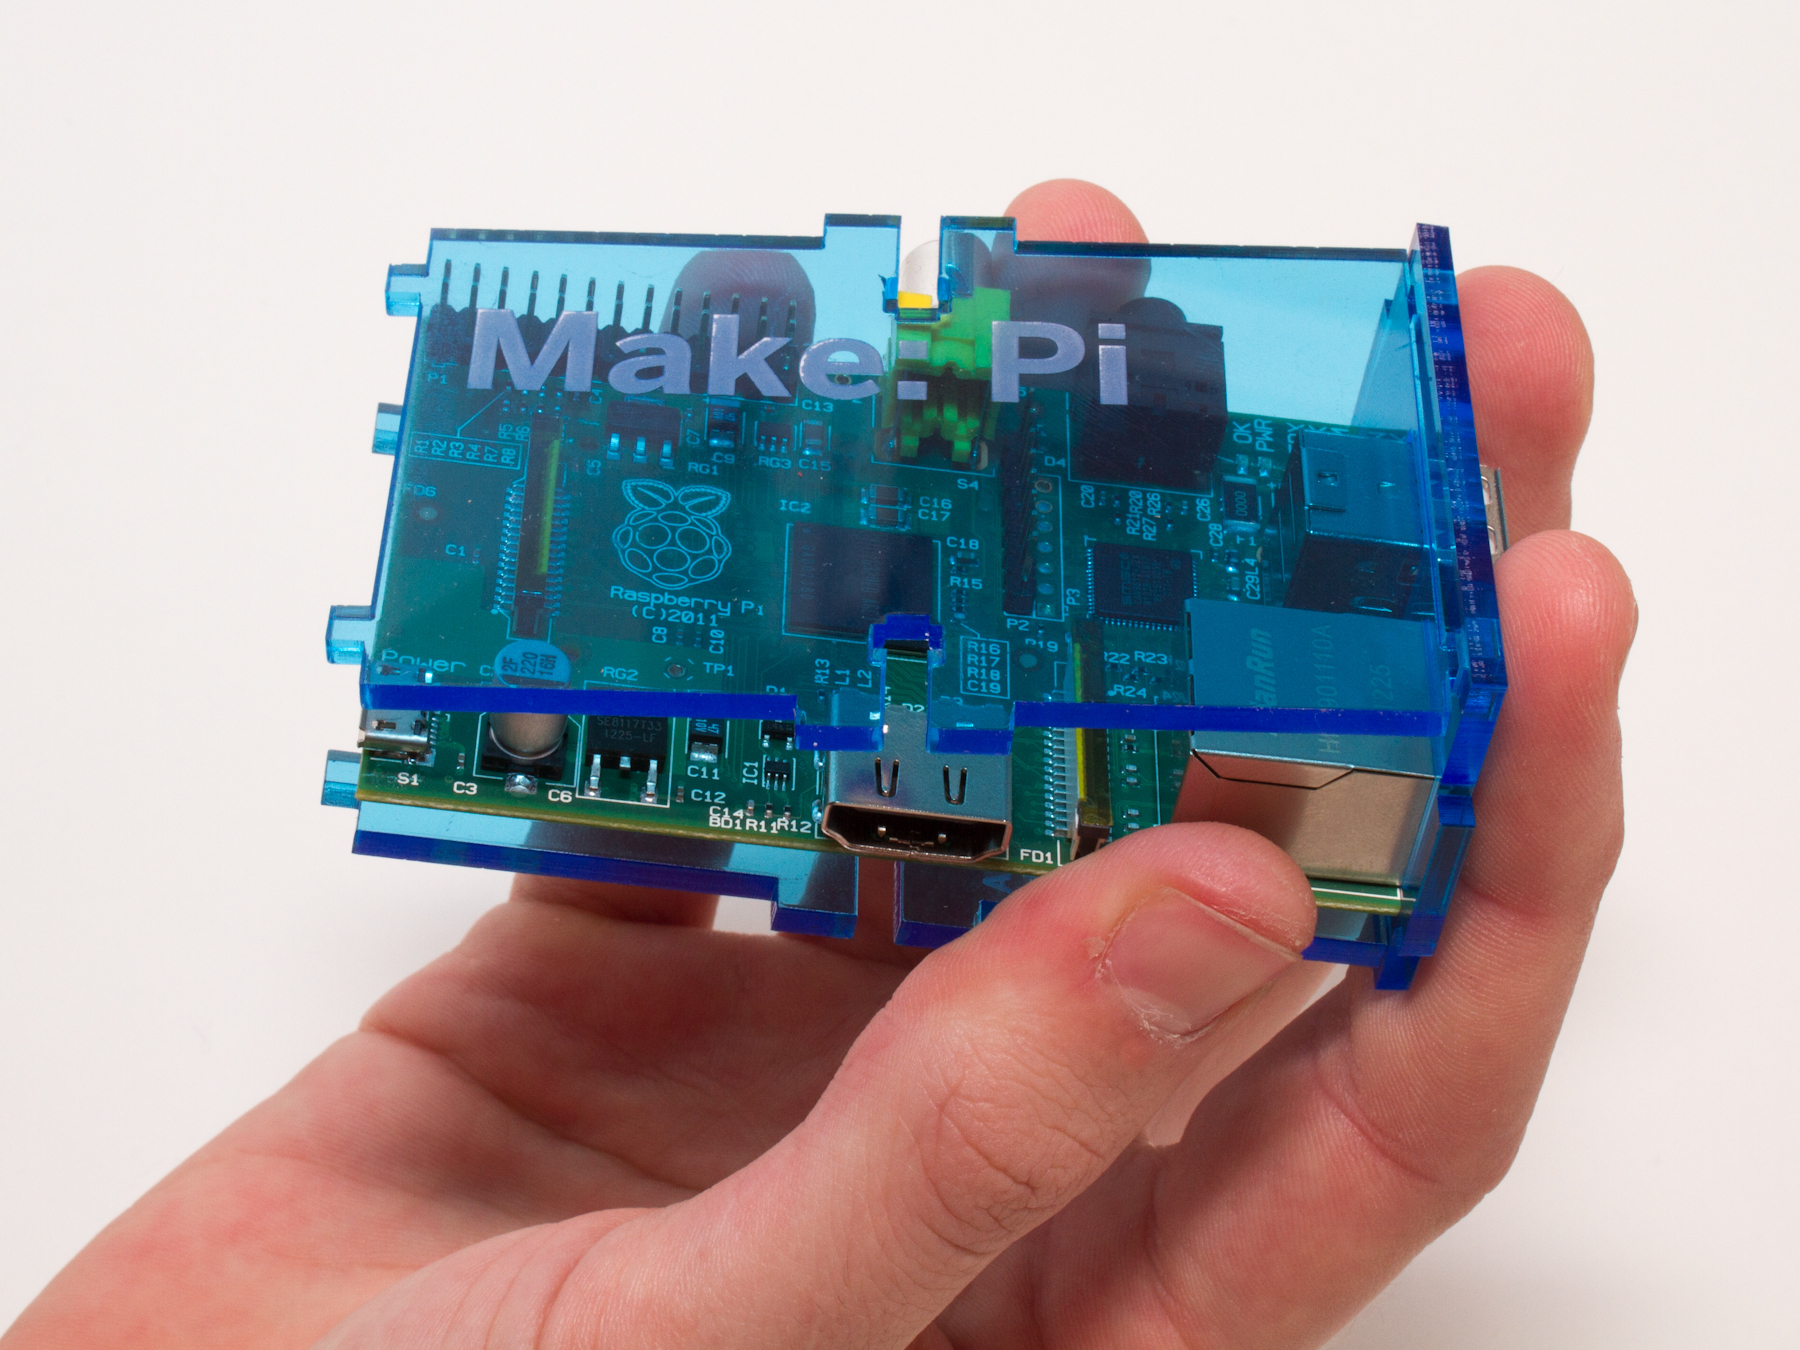
How to assemble the enclosure that’s included in the Raspberry Pi Starter Kit.
Projects from Make: Magazine
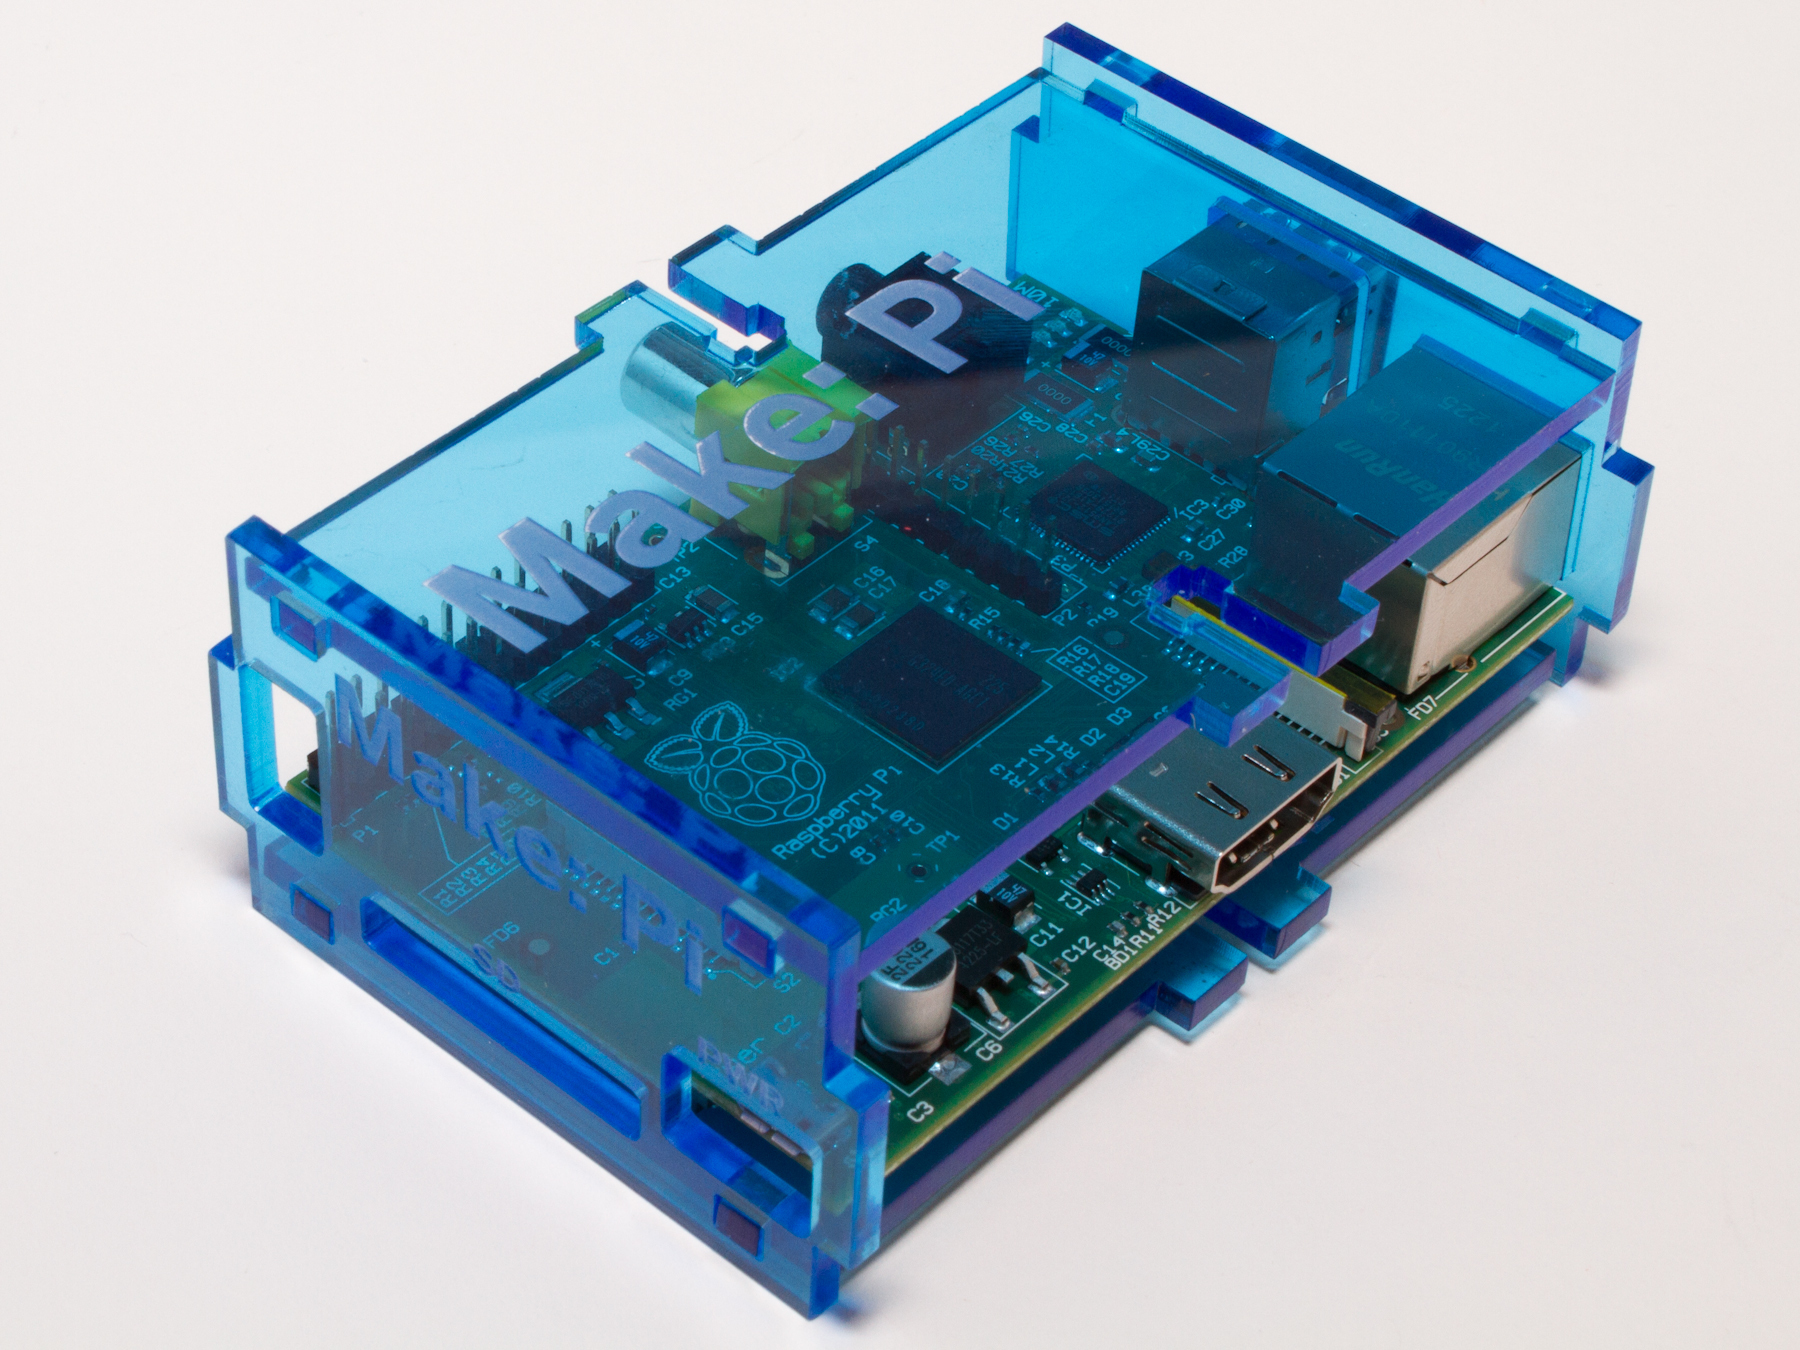
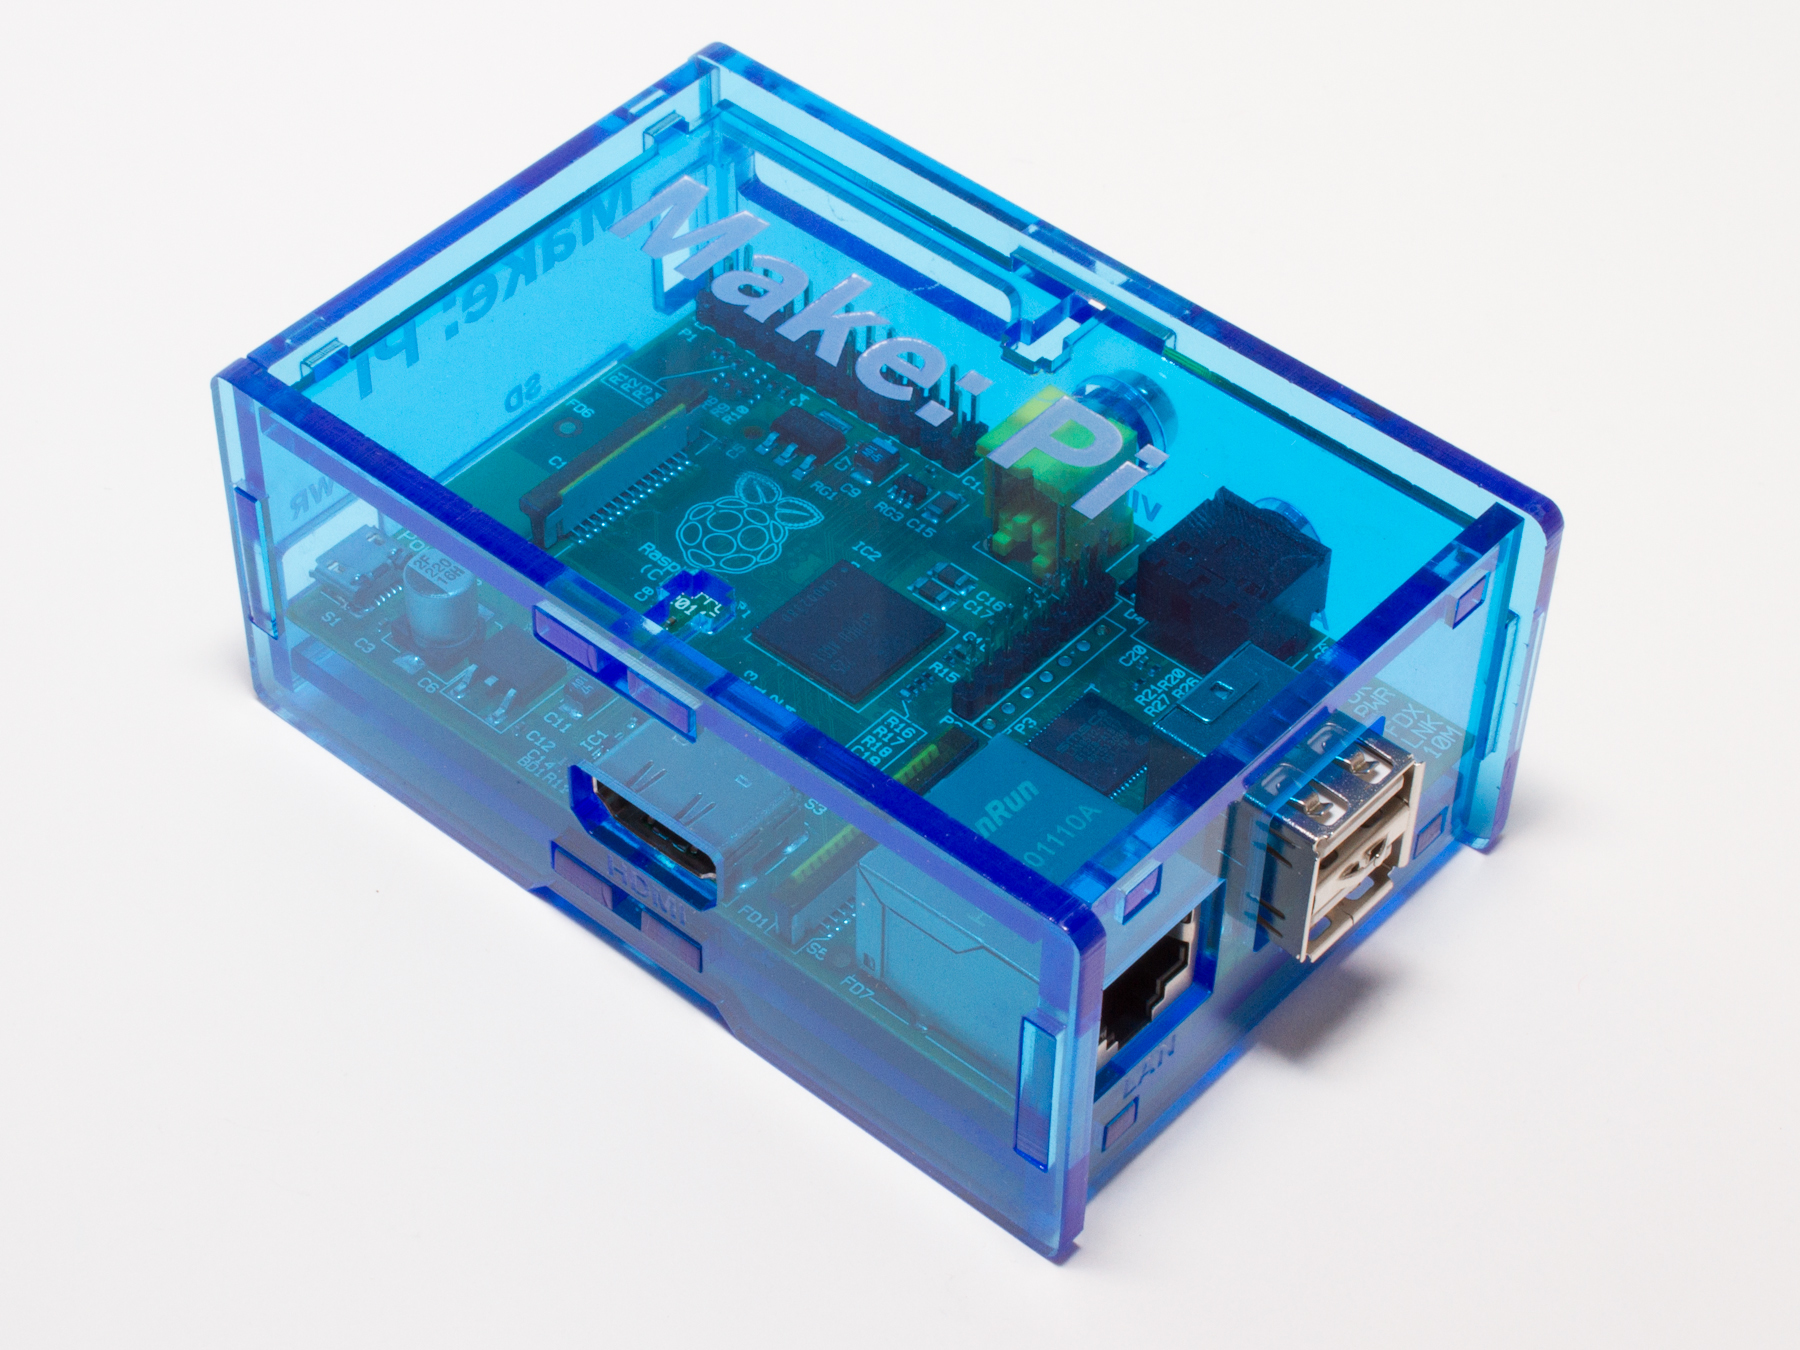
Raspberry Pi Enclosure v2 Assembly
How to assemble v2 of the Raspberry Pi enclosure included in the Maker Shed Raspberry Pi Starter Kit.
How to assemble v2 of the Raspberry Pi enclosure included in the Maker Shed Raspberry Pi Starter Kit.
How to assemble the enclosure that’s included in the Raspberry Pi Starter Kit.

Make sure you have everything needed for assembly. The bag of parts should include six blue acrylic pieces, four nuts, and four bolts.
Your parts may have a different etching, but don’t worry, they’ll fit together just as well.
If you have nine acrylic pieces and no nuts or bolts, you have v1 of the enclosure. See assembly instructions here.
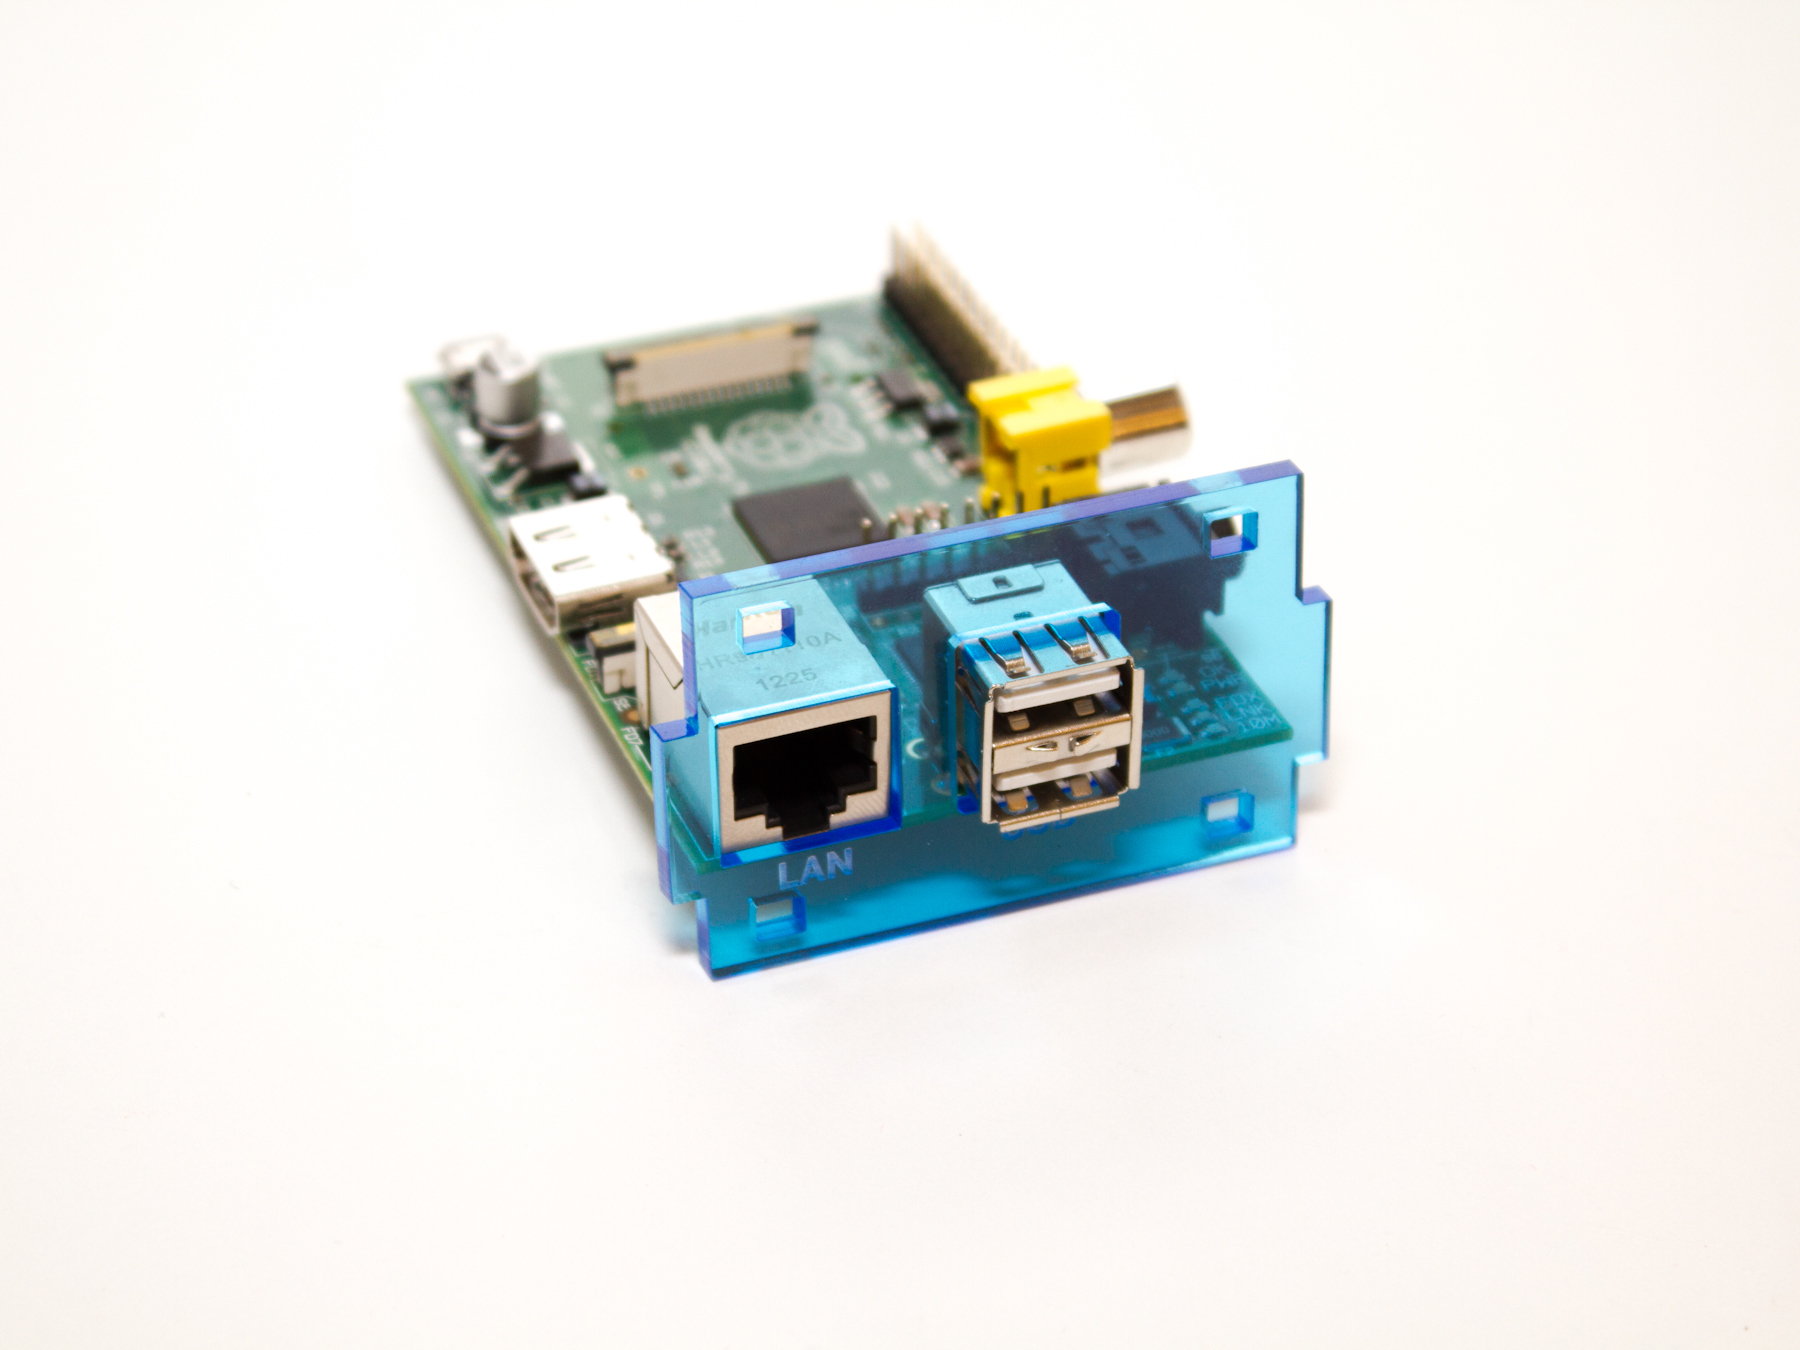
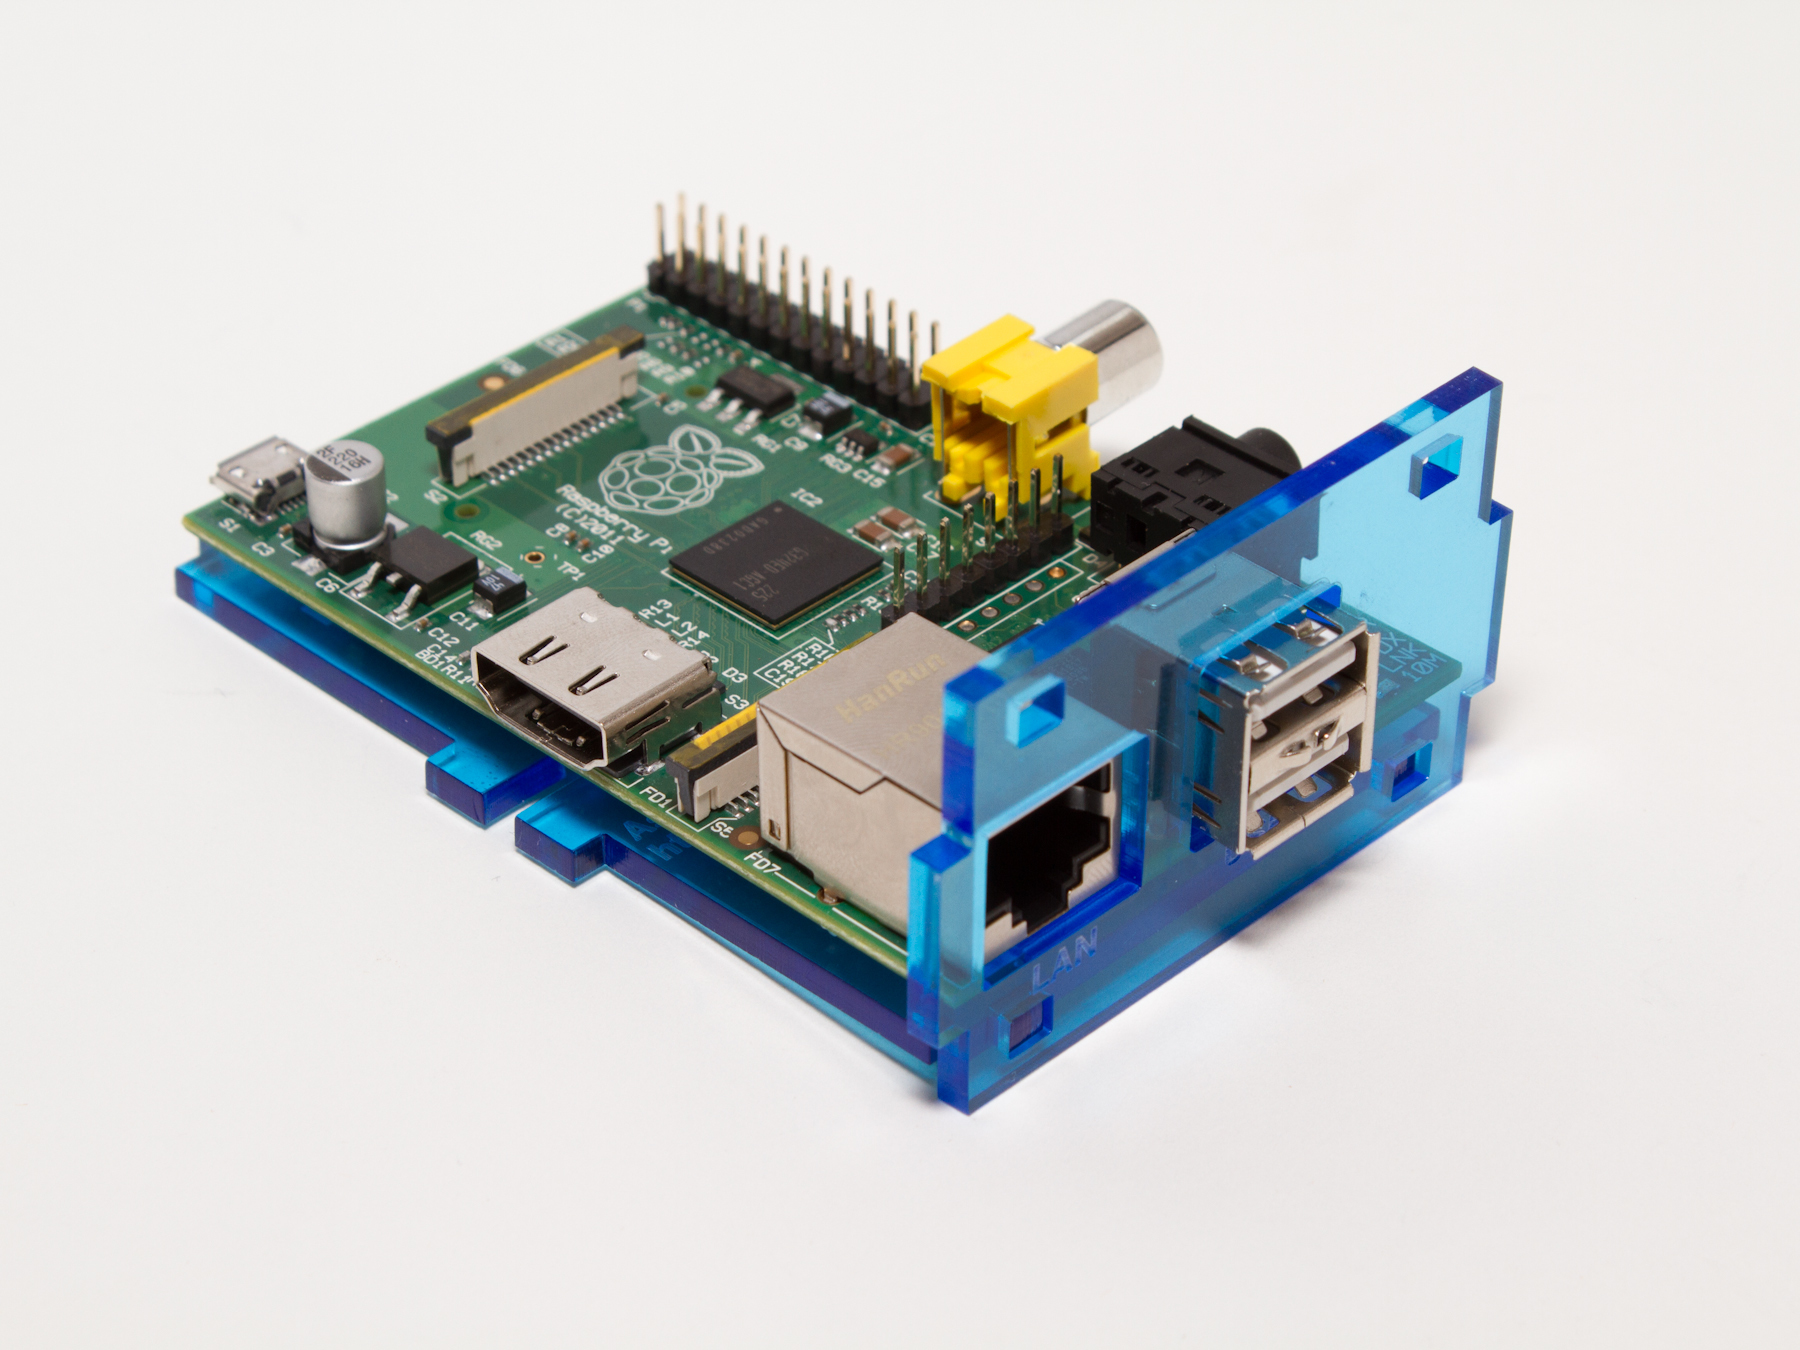
Fit the small acrylic piece with “LAN” and “USB” etched in it onto the PCB as shown, with the text facing out.
Now slide the bottom piece (the one with the URLs) into the two small cutouts of the side piece, with the text facing out.
The SD Card slot on the opposite side of the PCB should rest on the bottom piece.
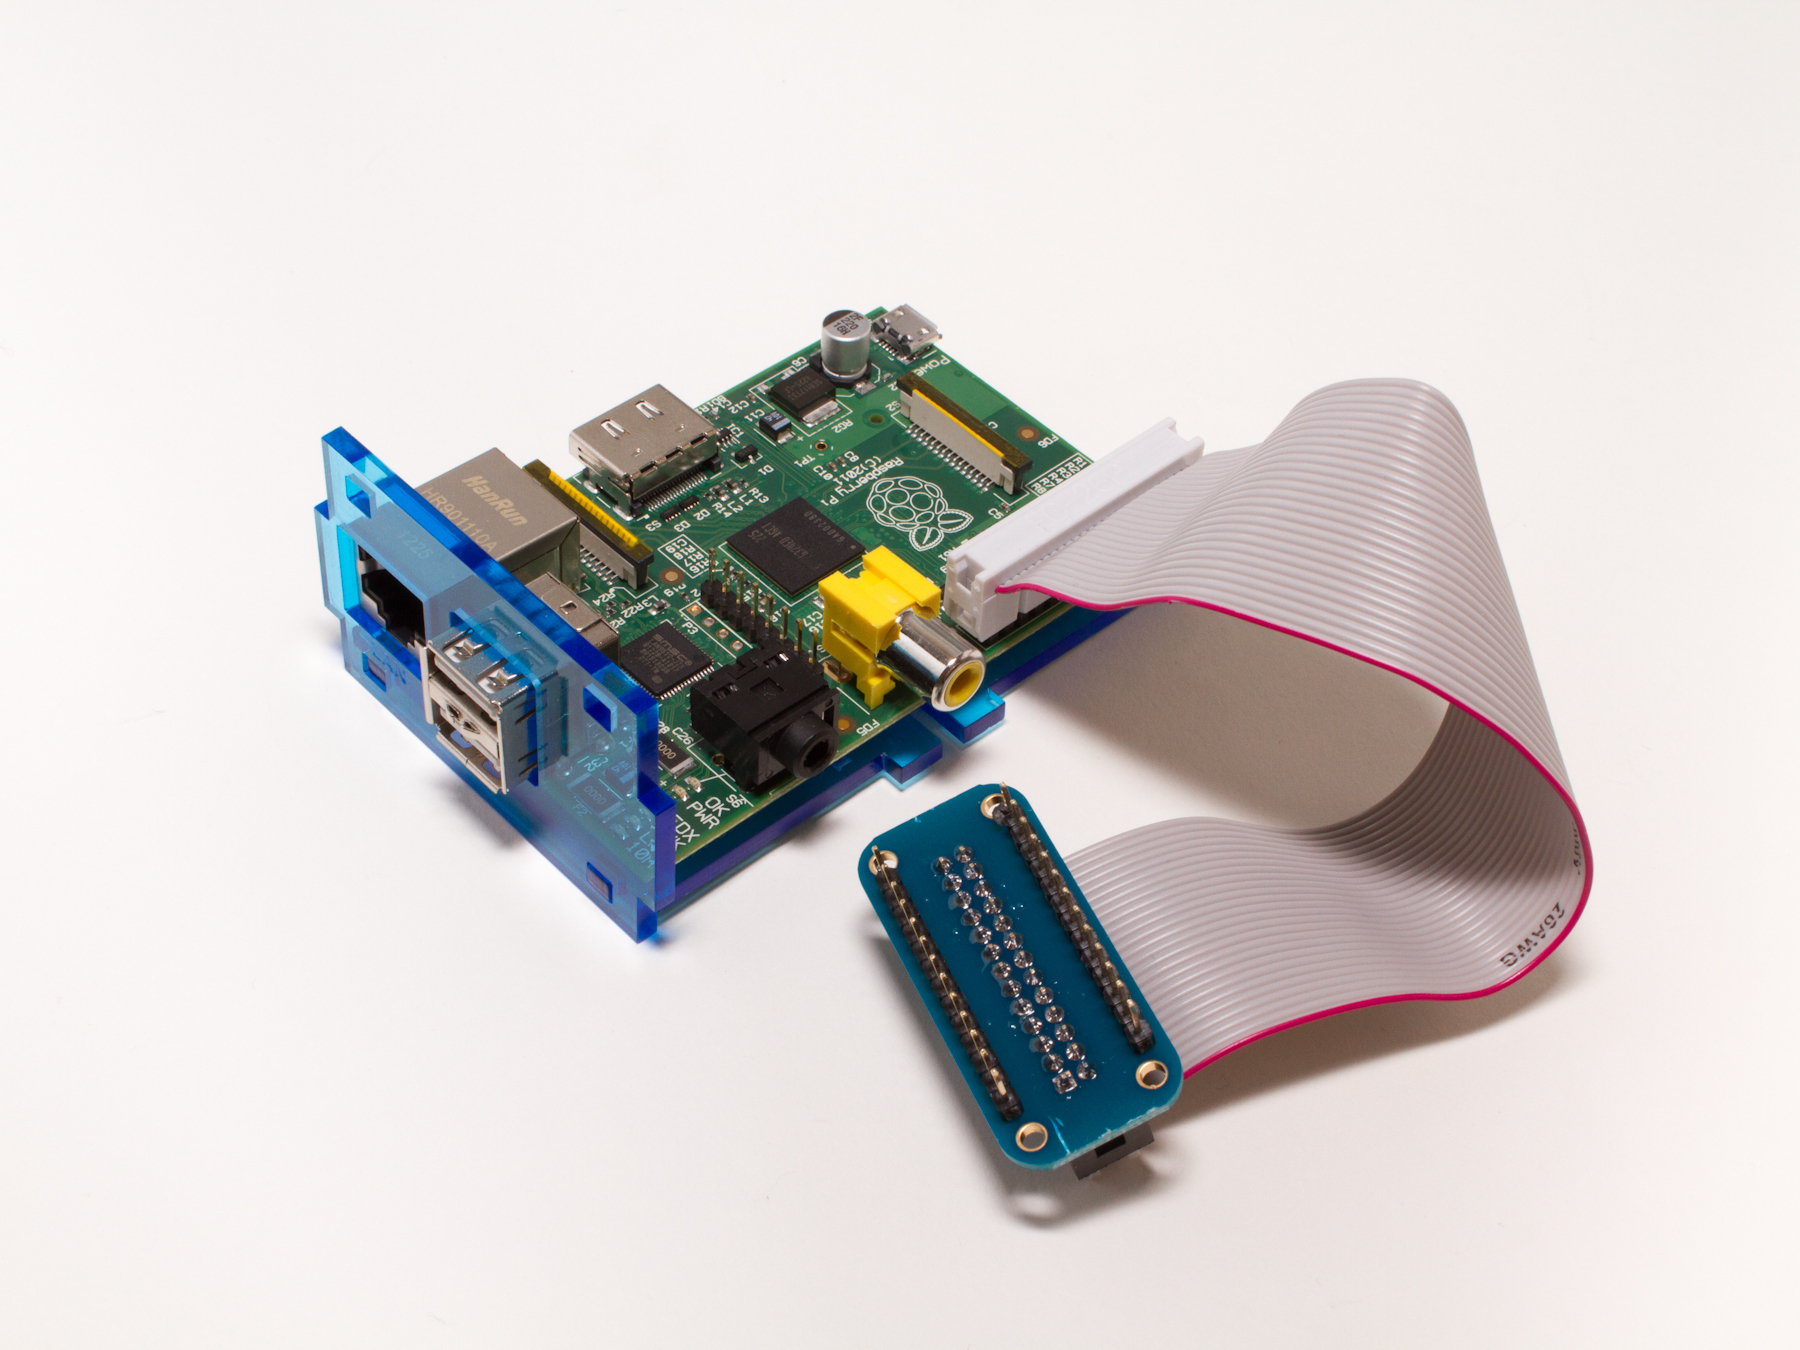
If you’d like to use the Raspberry Pi Cobbler with your Pi, install it now.
Hold the assembly in one hand, and slide the top piece into place with the other, with the text facing up.
This piece is optional, but we recommend you use it, since it will add substantial structural support to the whole enclosure. If you want to go on without it (you can always add it later), skip this step.
Now add the other small side piece – the one with “Make: Pi,” “SD” and “PWR” etched on it. Again, the text should face out.
Make sure the two small sides are parallel to each other. There should be very little wiggle room for the PCB.
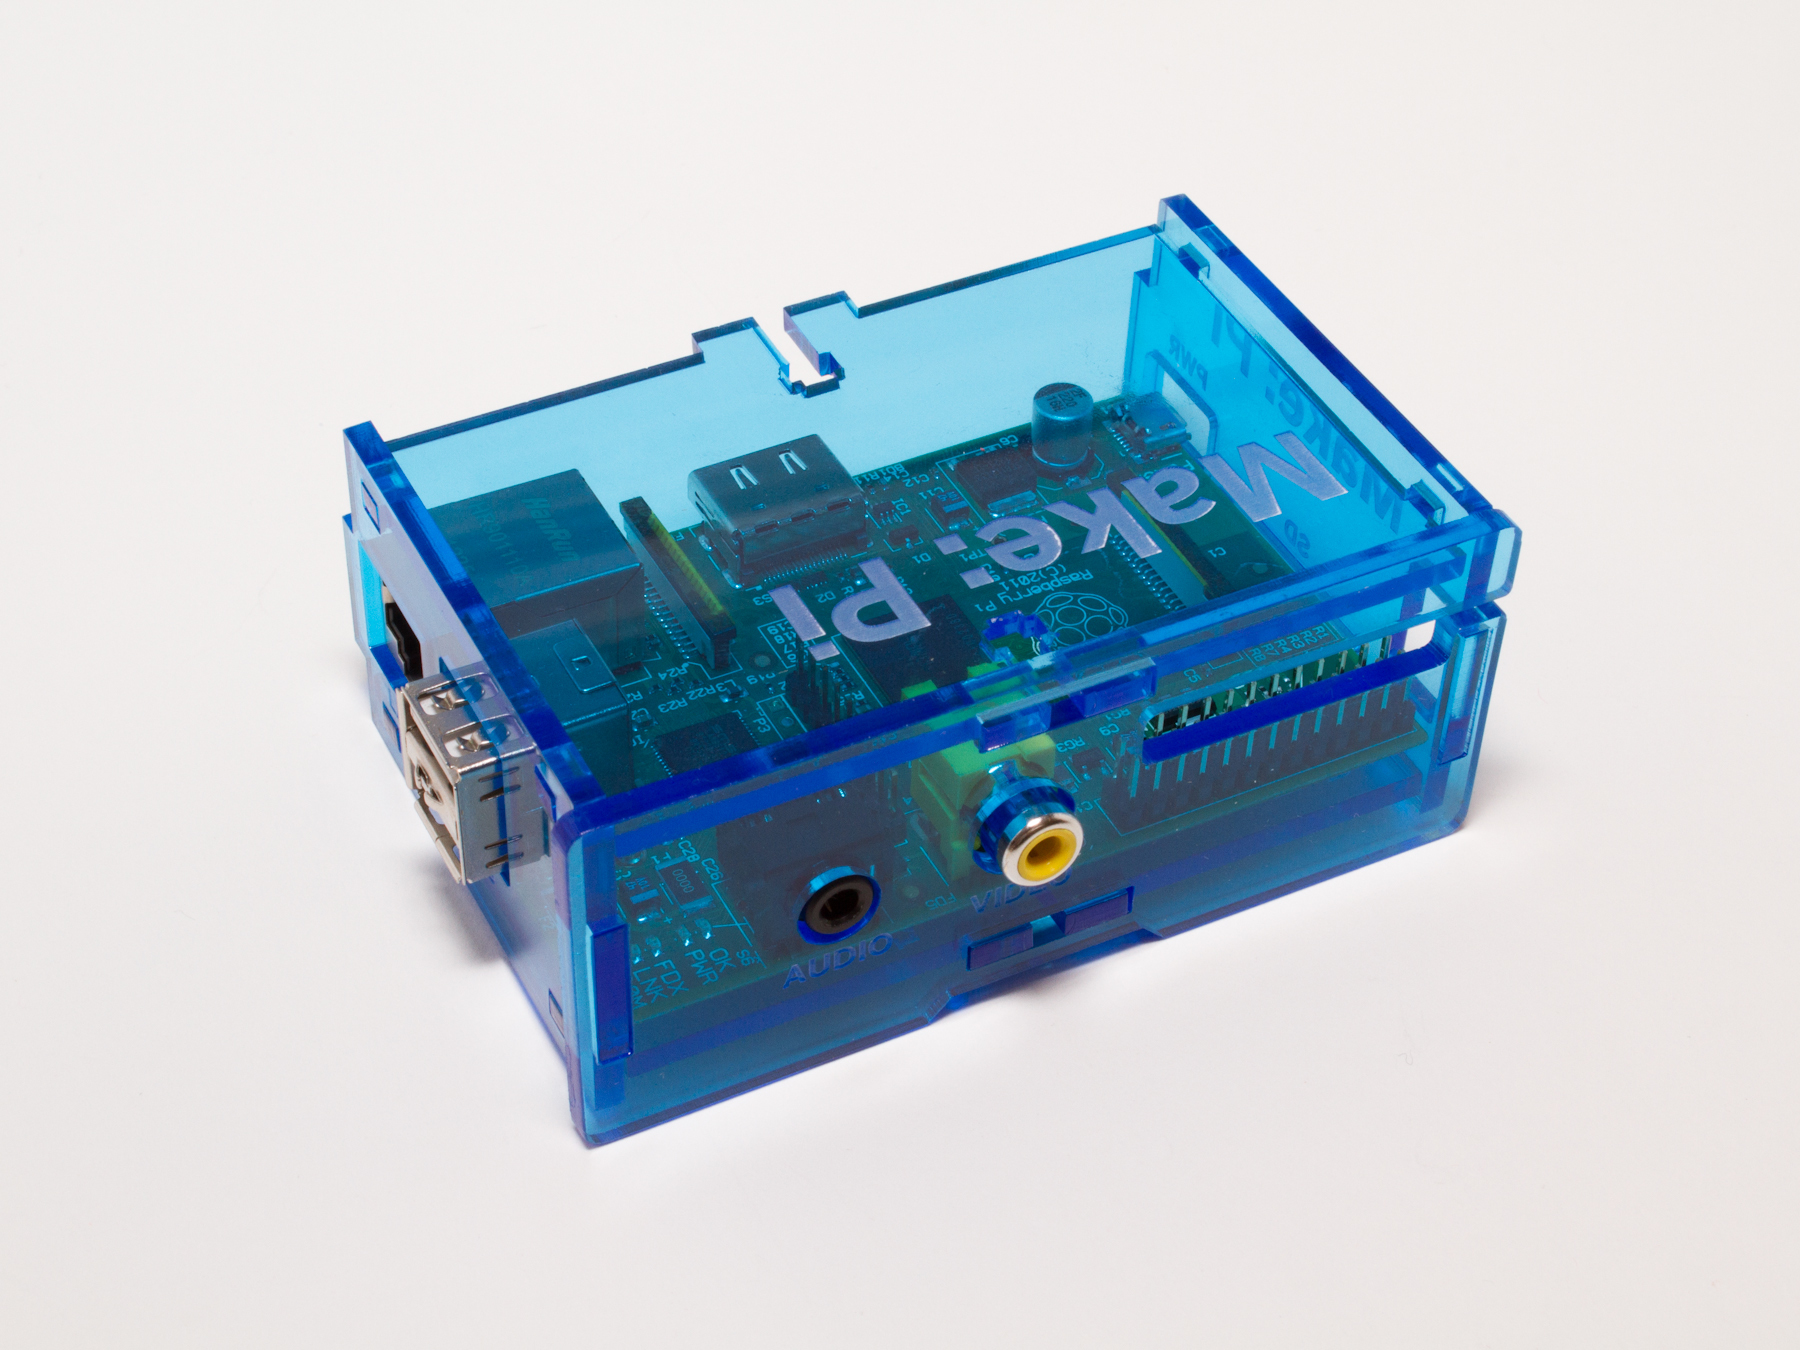
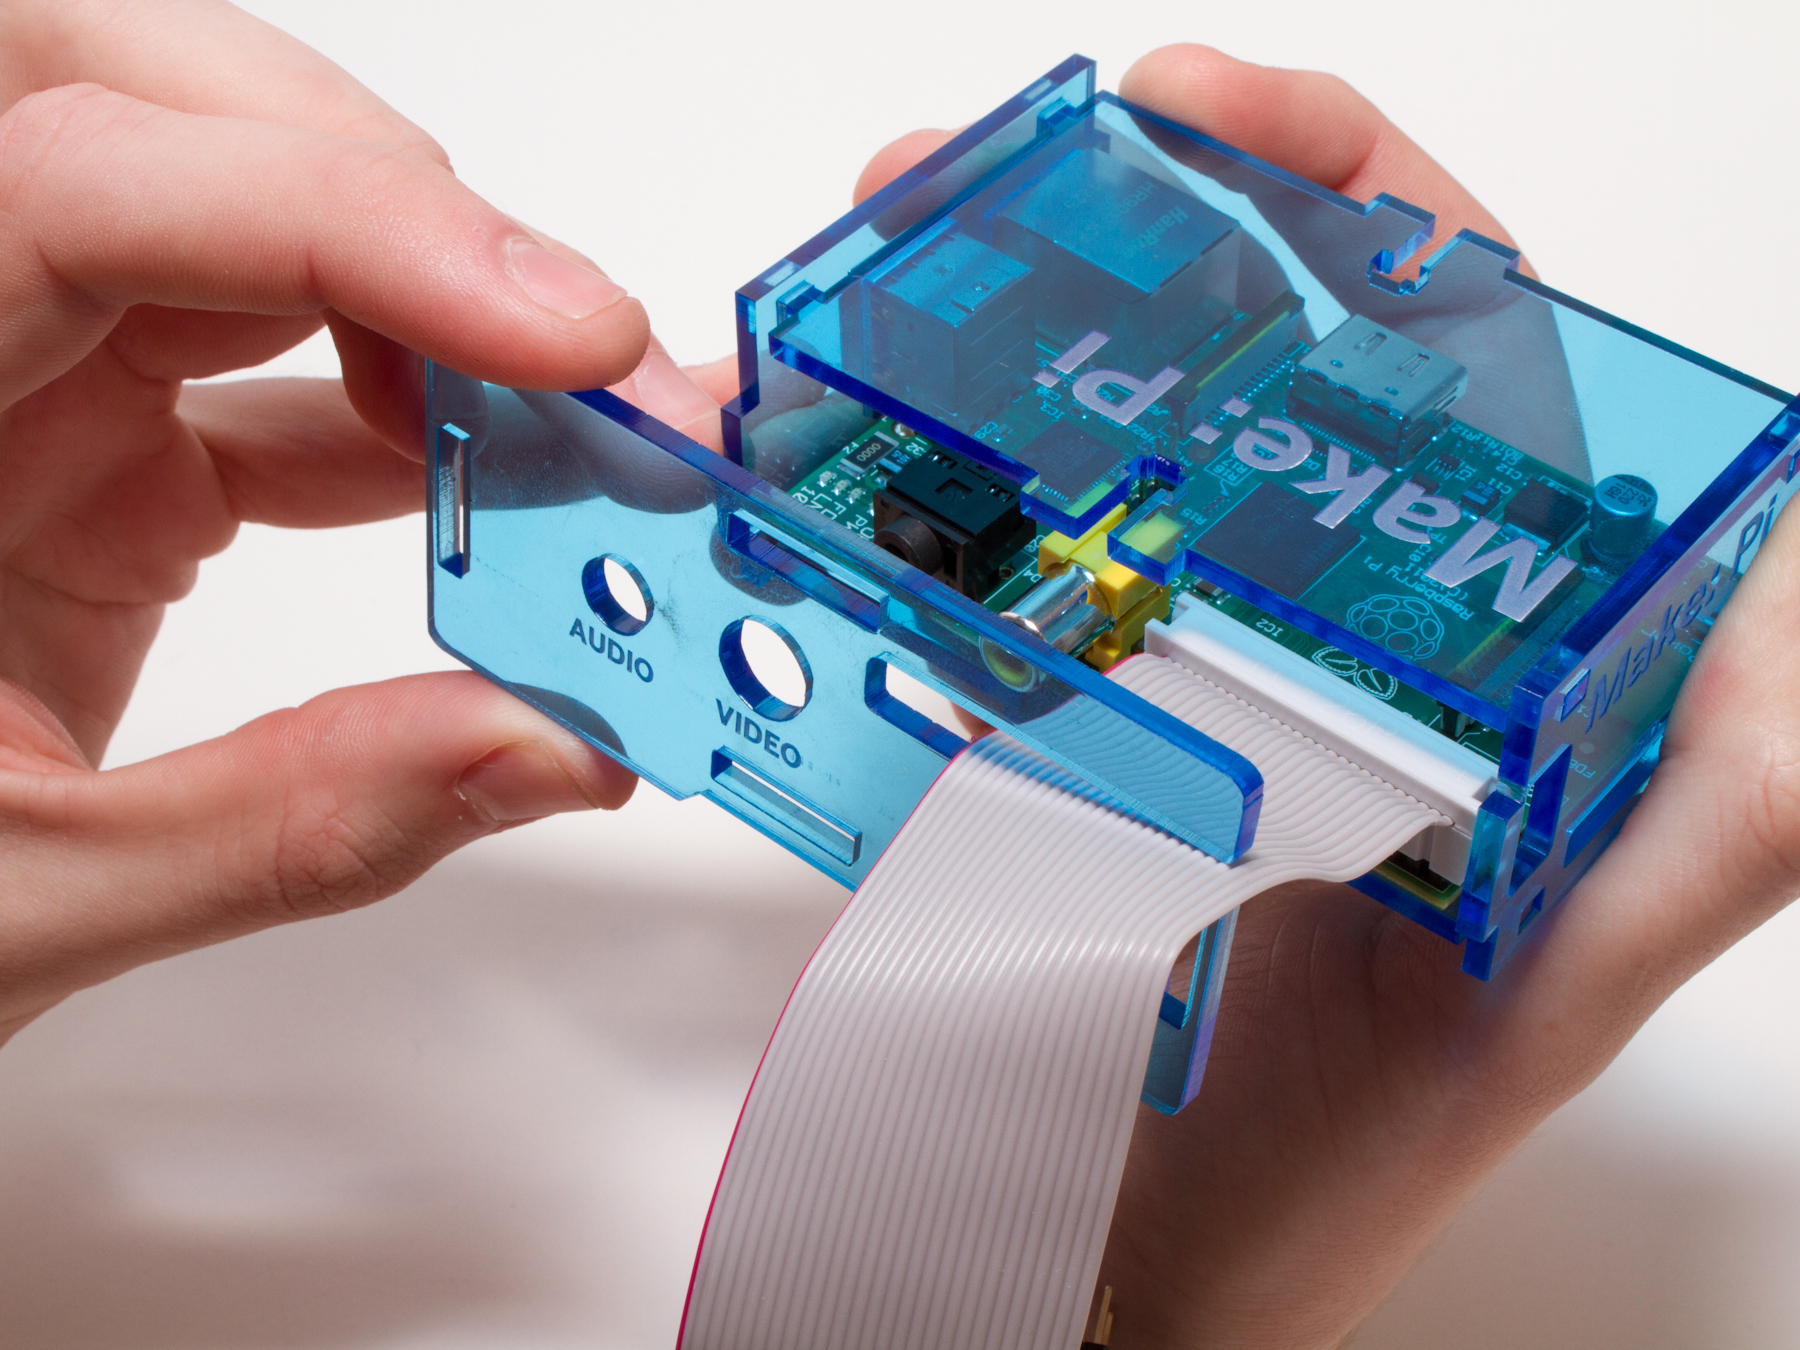
Next, add the larger side piece with “AUDIO” and “VIDEO” etched on it to the enclosure. Snap it into place!
If you have a Pi Cobbler installed, slide the ribbon cable into the cutout on the right side of this piece before snapping it into place.
Now add the final side piece. As always, the text should face out.
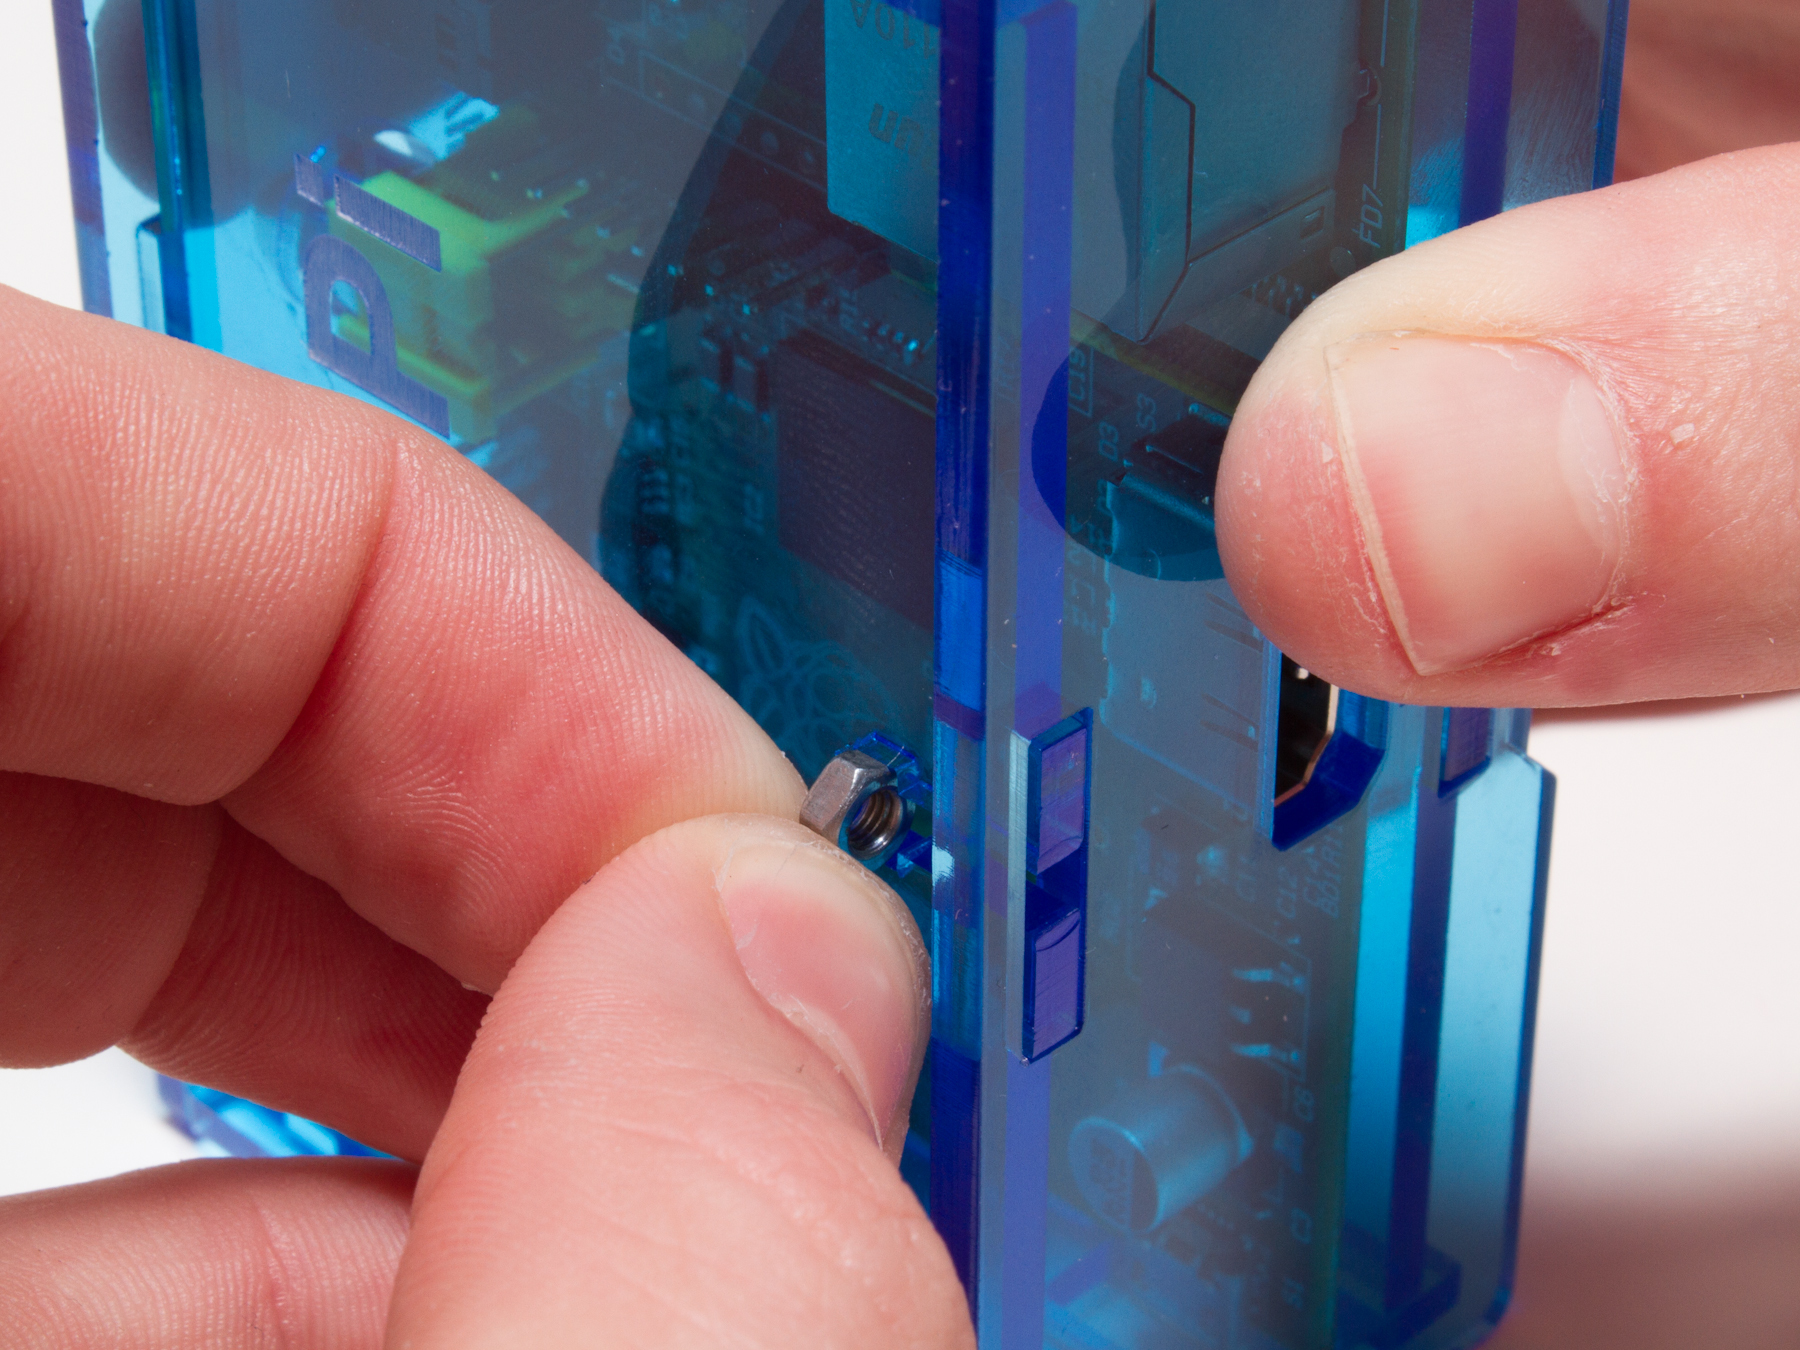
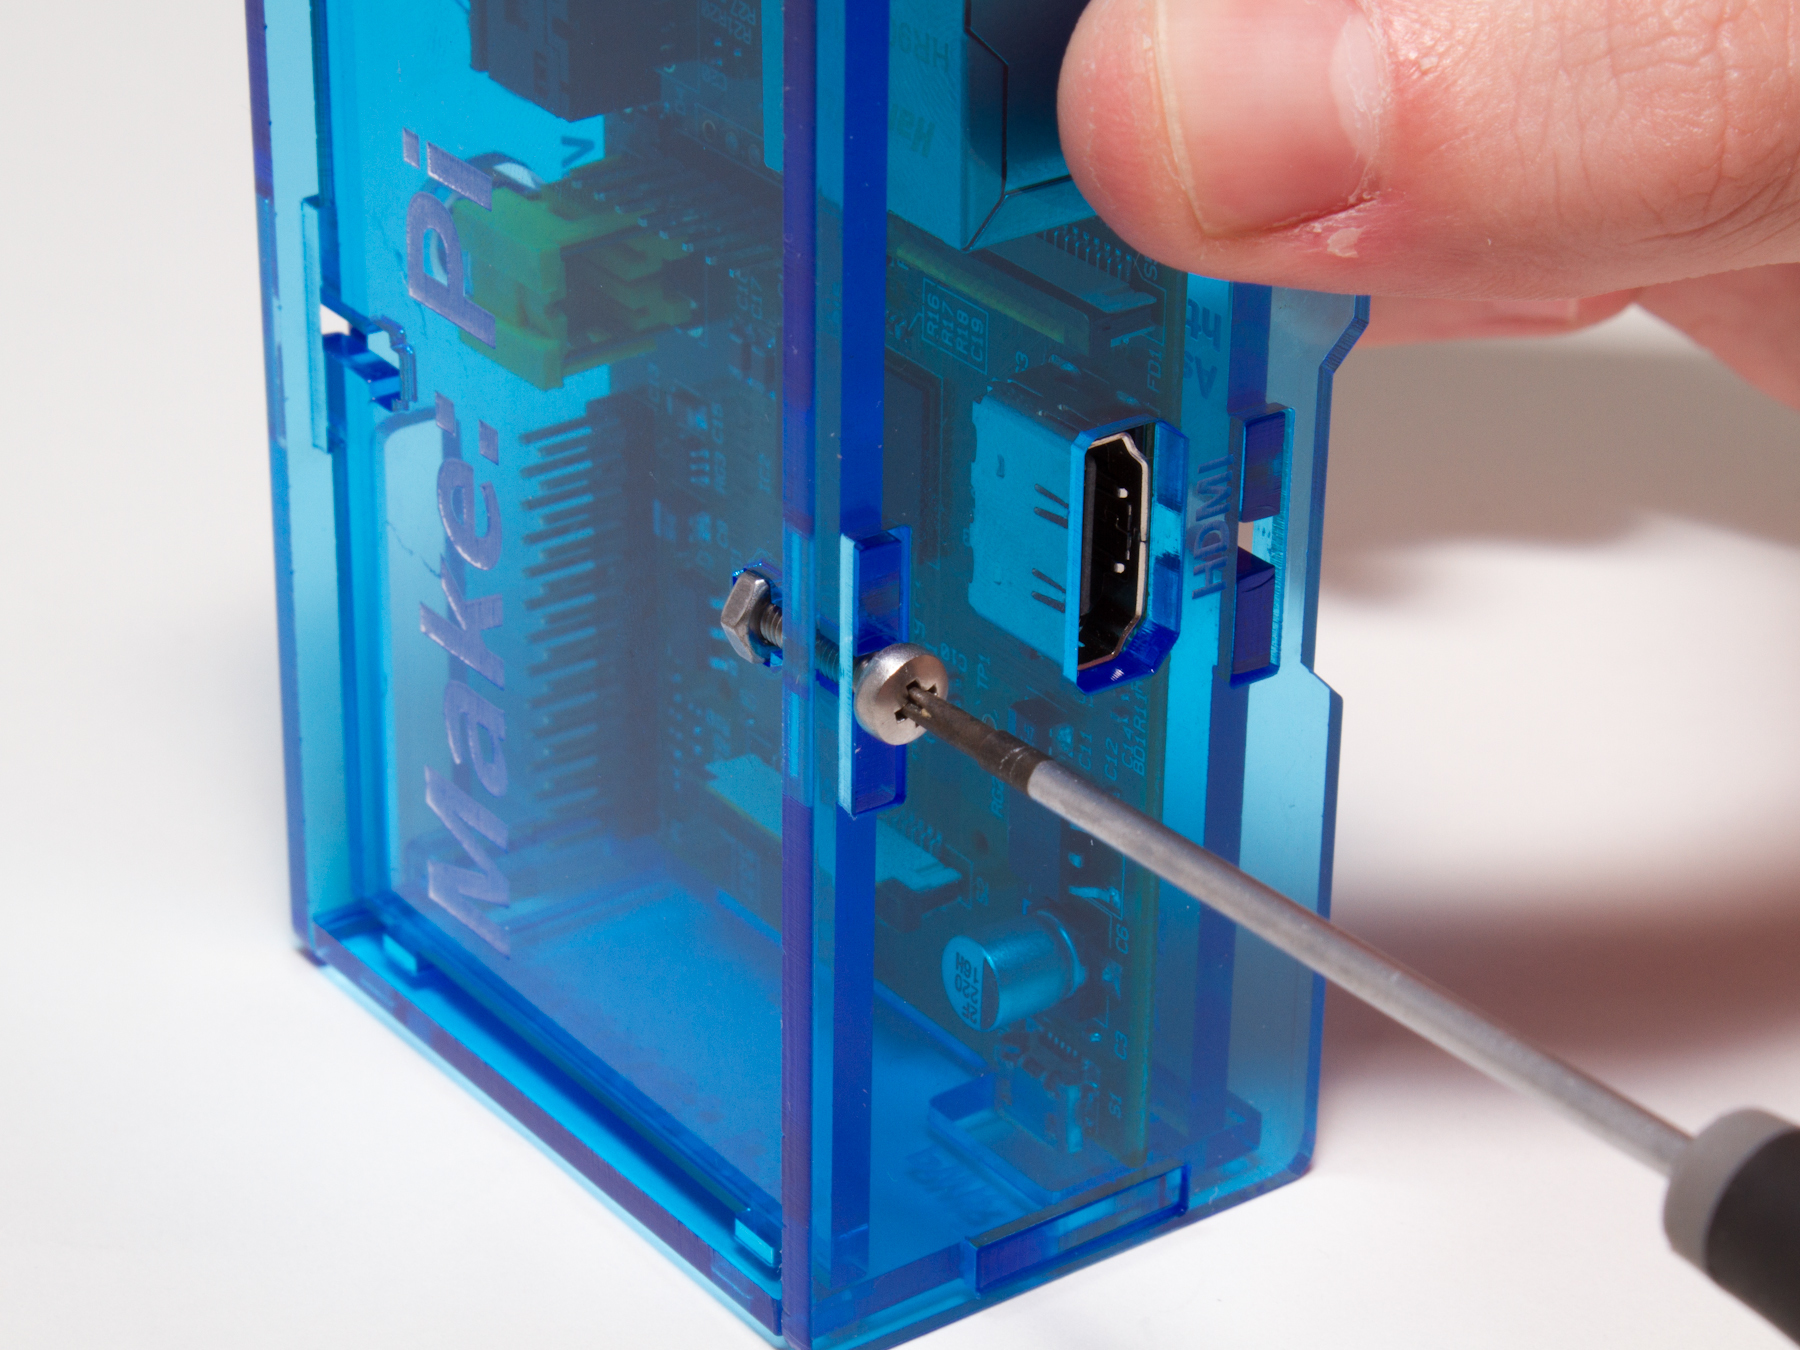
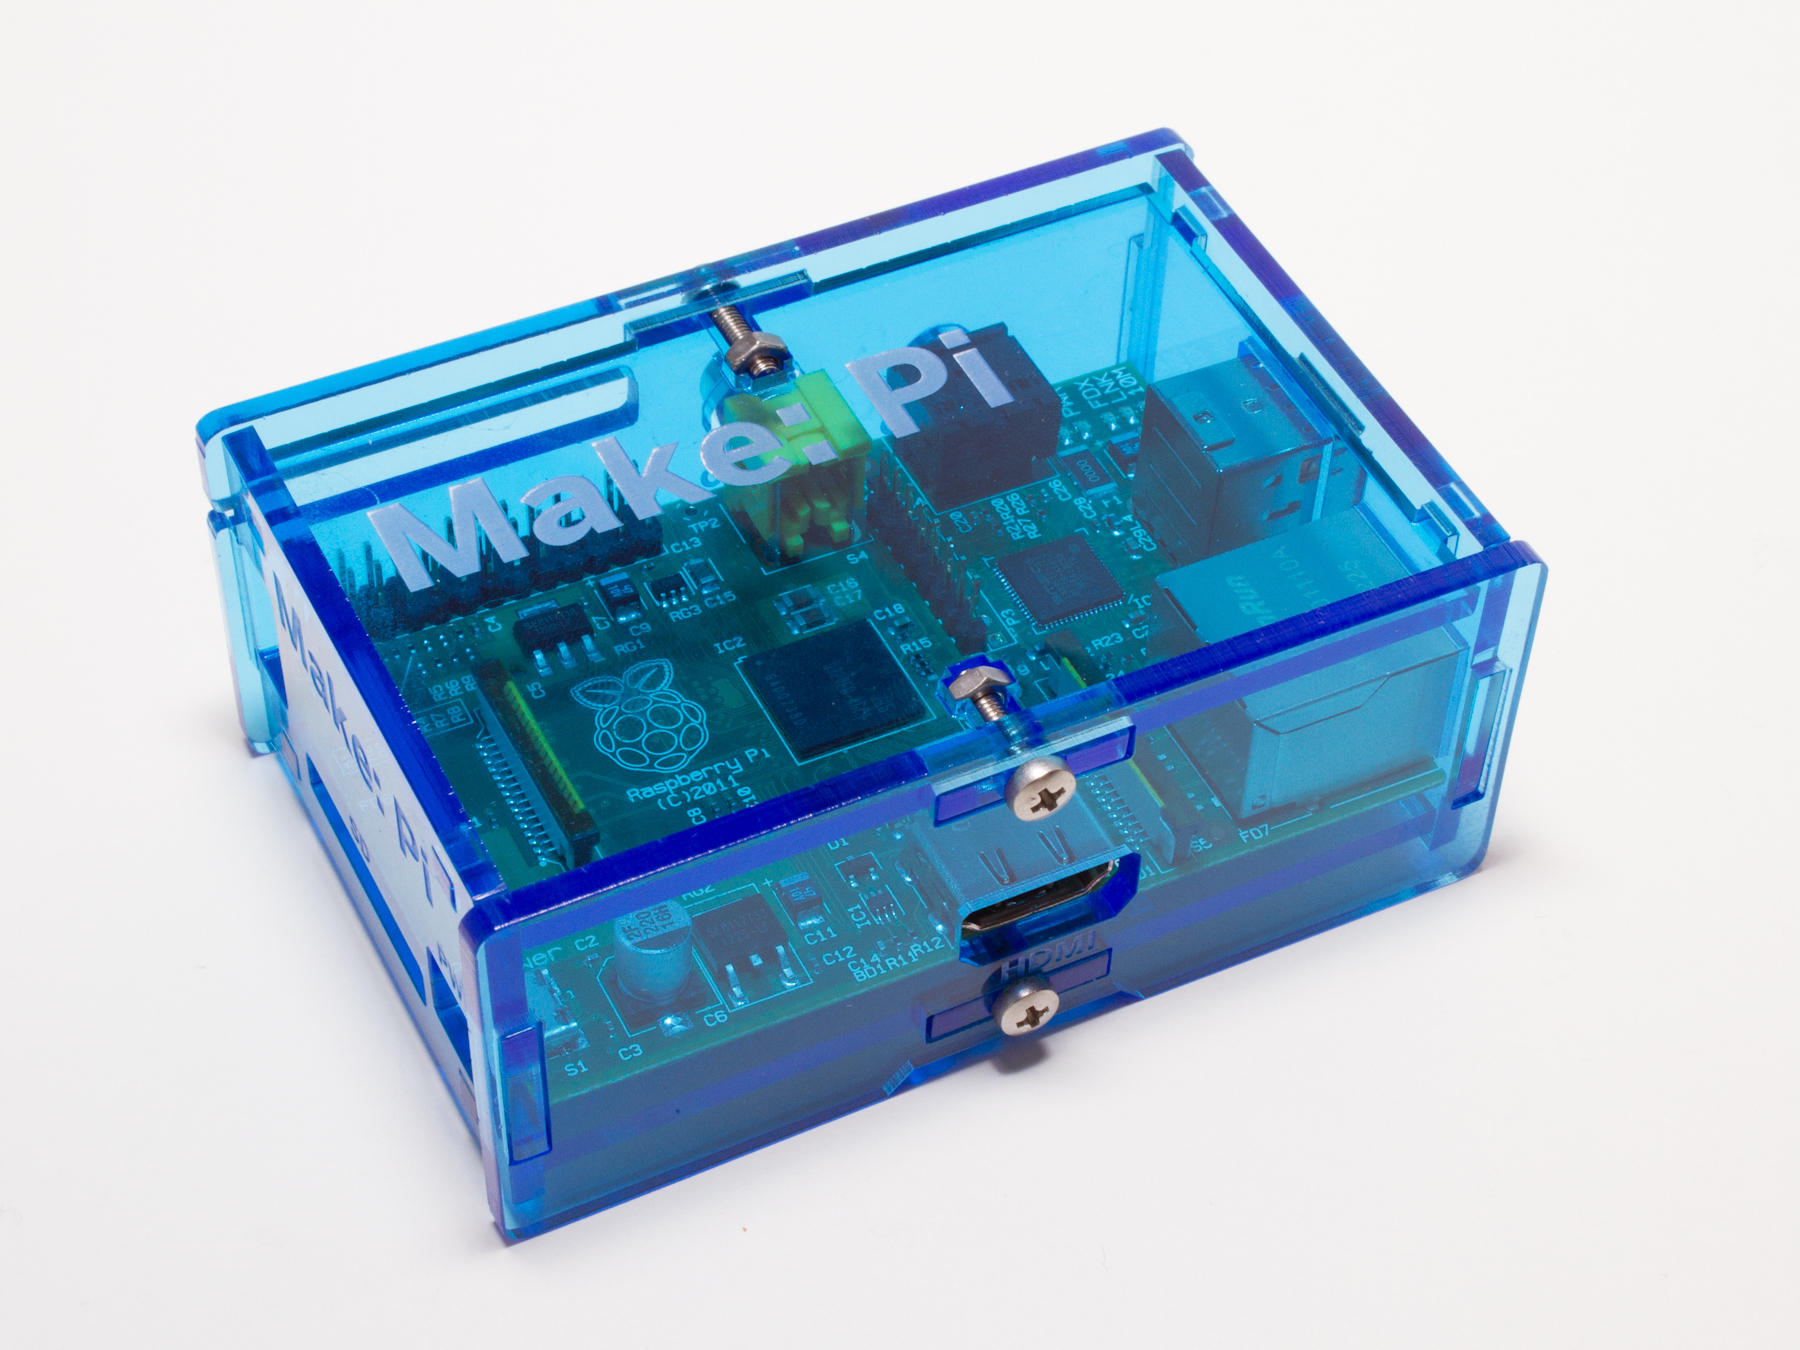
Now it’s time to fasten everything together! Hold the enclosure on its side and insert one of the nuts. Insert a bolt through one of the side pieces and screw it in. Repeat this four times to assemble the whole box.
If one of the nuts falls into the enclosure, don’t worry. You should be able to guide it out through one of the holes.
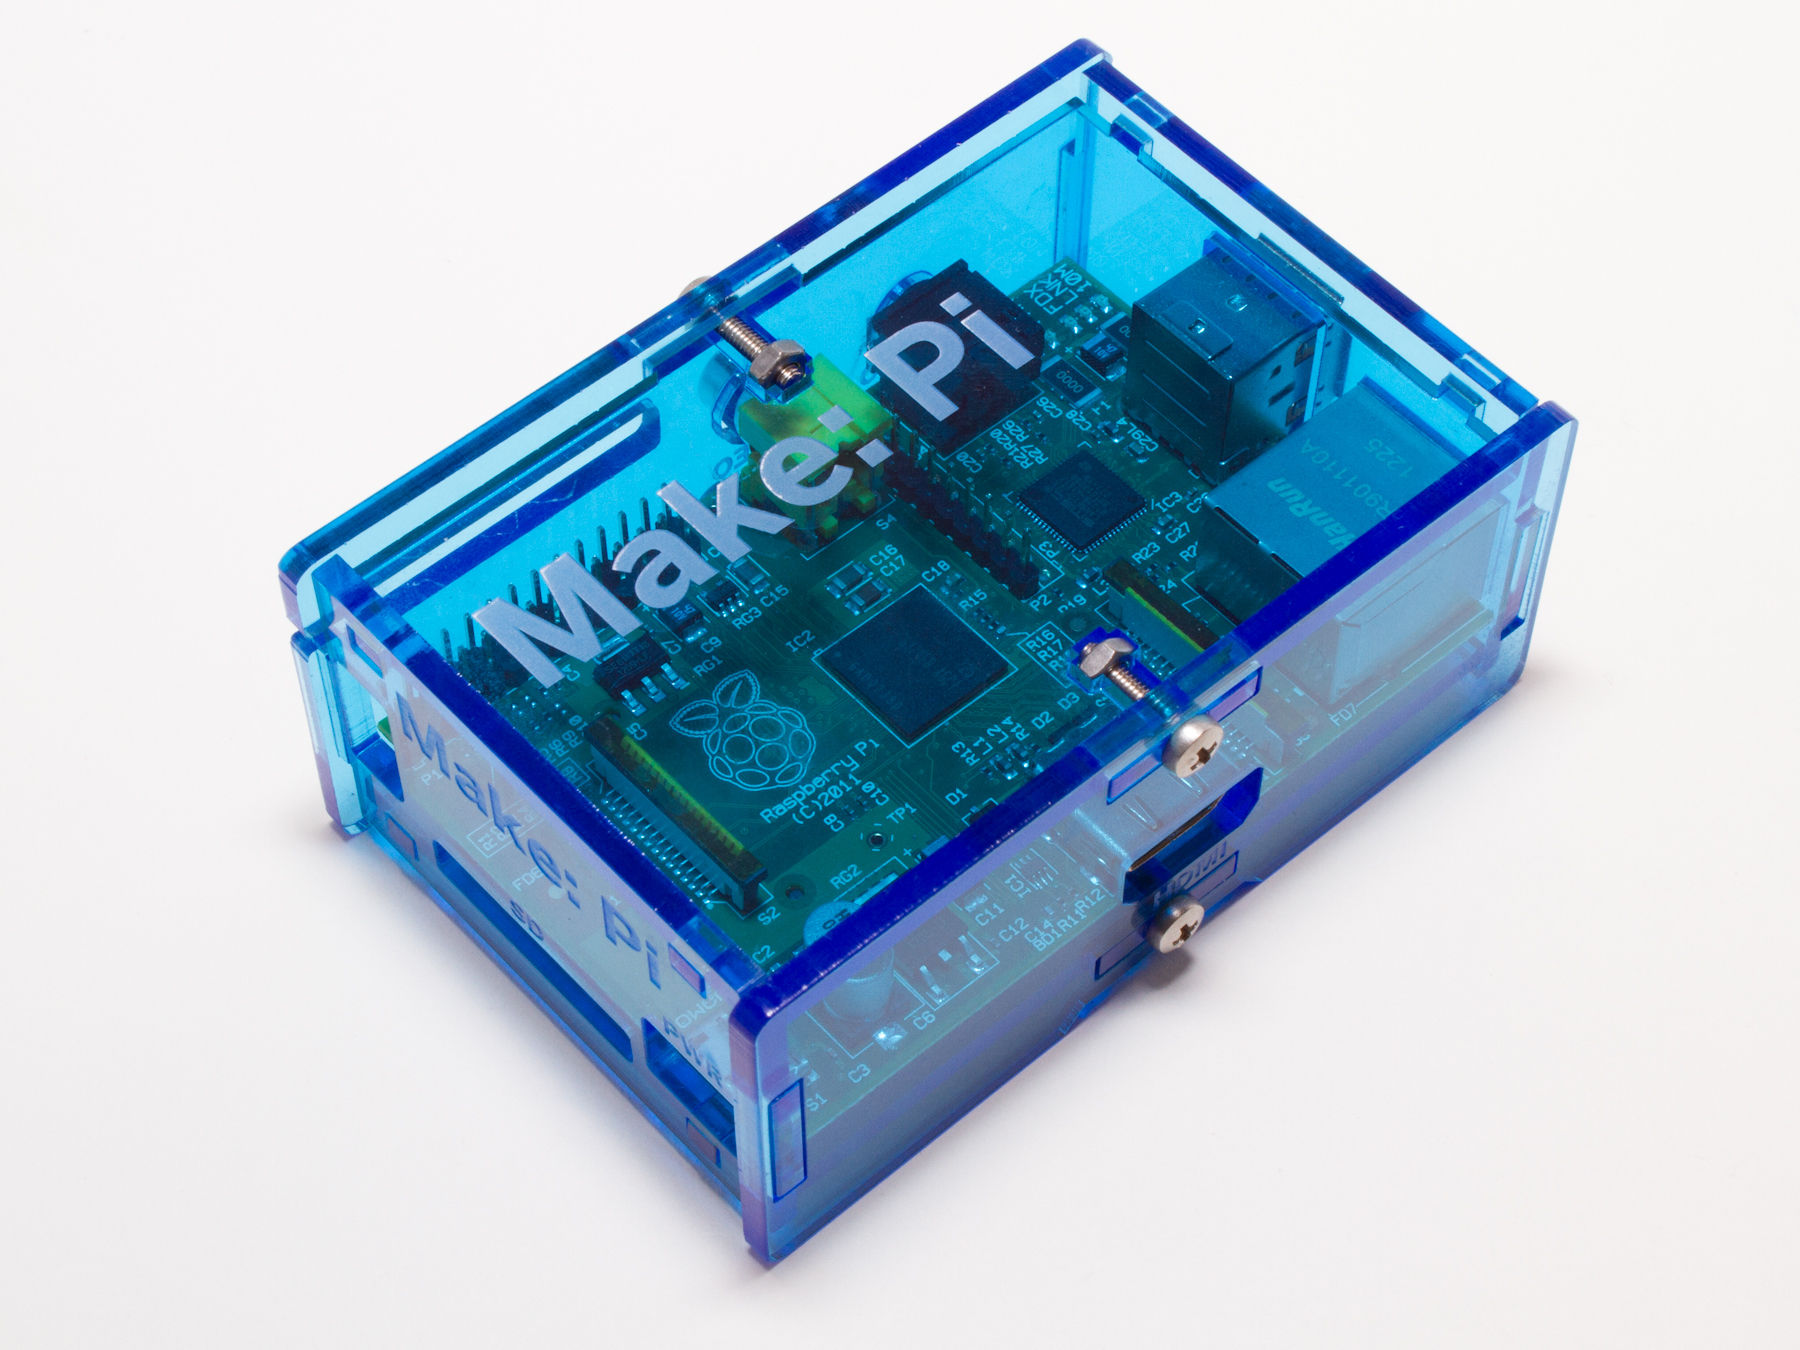
That’s it! Enjoy your Raspberry Pi.


