Do you ever wish you could go back in time and see what life was like before smartphones, tablets, computers and even television? These days we are bombarded with noise signals from every direction, but before television there was only one primary source of media consumption. Radio!
In modern times people usually only listen to radio in their cars and mostly for news, sports and music. But in the golden days of radio there were no other options and so the content was creative and seemingly limitless. Science fiction, drama, mysteries, super heroes, soap operas and comedy could all be found on the radio as long as you knew which time and station to tune in to. There was something magical about sitting around a glowing radio console with the family using your imagination to picture the words that filled the air. Now with the advent of small and inexpensive computer systems like the Raspberry Pi you can relive all the excitement and laughter of a bygone era. This project will show you one way to bring any old radio back to life using digital recordings of old time radio or a streaming service over the internet. I will outline how I created my project, but keep in mind that one of the great things about using open hardware and open source software is that there is always more than one way to get to the end result. You may want to change things around to suit your particular needs.
Project Steps
Choosing your radio
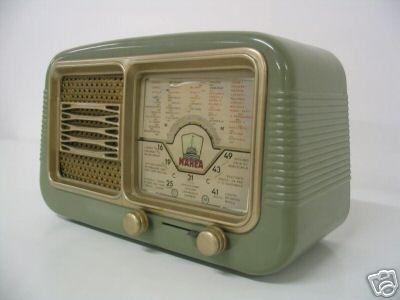
This is probably the step in the project that is the most fun because you can choose almost any old radio to work with. There is so much variety you can find it might be hard to narrow down your selection to just one. I have found the best places to find old radios are Craigslist and Ebay, but you can also find interesting items at garage sales, thrift stores and flea markets. Remember, the working radios will be more expensive. Go for a broken/non-working radio since you are going to bring it back to life with modern electronics anyway and save a lot of money.
The best thing about using these old electronic devices is they are easy to take apart and change if you want. The guts of these radios can usually be easily removed or altered to suit your needs unlike modern electronics that are sometimes impossible to even open up without breaking something.
Choosing your components
Once you have opened up your radio you will have some decisions to make. If your radio is non-working then you might want to gut the whole thing and just use the Raspberry Pi with some additional parts to make your radio work again. If the radio is working you might want to keep it that way and install the Raspberry Pi on the back or in an out of the way place inside the case. You also need to decide whether you want to use the existing speaker or install a new one. Many of these old systems had lights that glowed warmly when you turned them on. You can emulate that effect with some diffused LEDs (more on that later). Do you want your radio to be wireless? How about completely portable? You might want to consider buying a nano USB dongle or a rechargeable battery pack to make that happen. And if you are connecting more than one device to the Raspberry Pi you will want to get a powered USB hub to power all the components since the Raspberry Pi has limited power output.
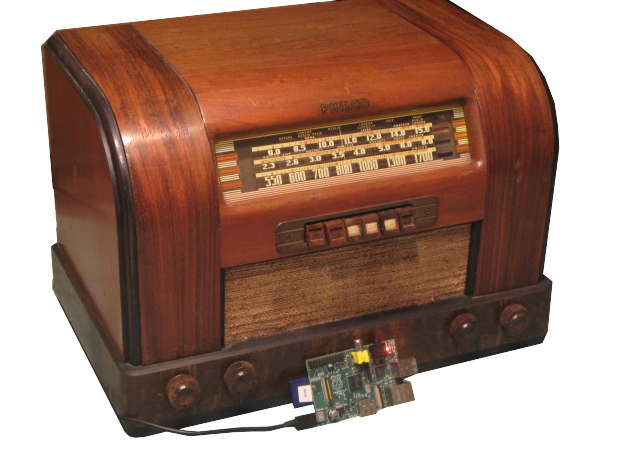
In my case I left the old electronics in place because, let’s face it, old radio tubes just look cool. Also, the original speaker wasn’t working well and the wires were in really bad shape. So I removed the old speaker and used some small USB chargeable speakers that fit in that space.
Be sure to check the Raspberry Pi wiki for compatible devices as you are planning which components you might need to suit your needs.
Setting up the Raspberry Pi
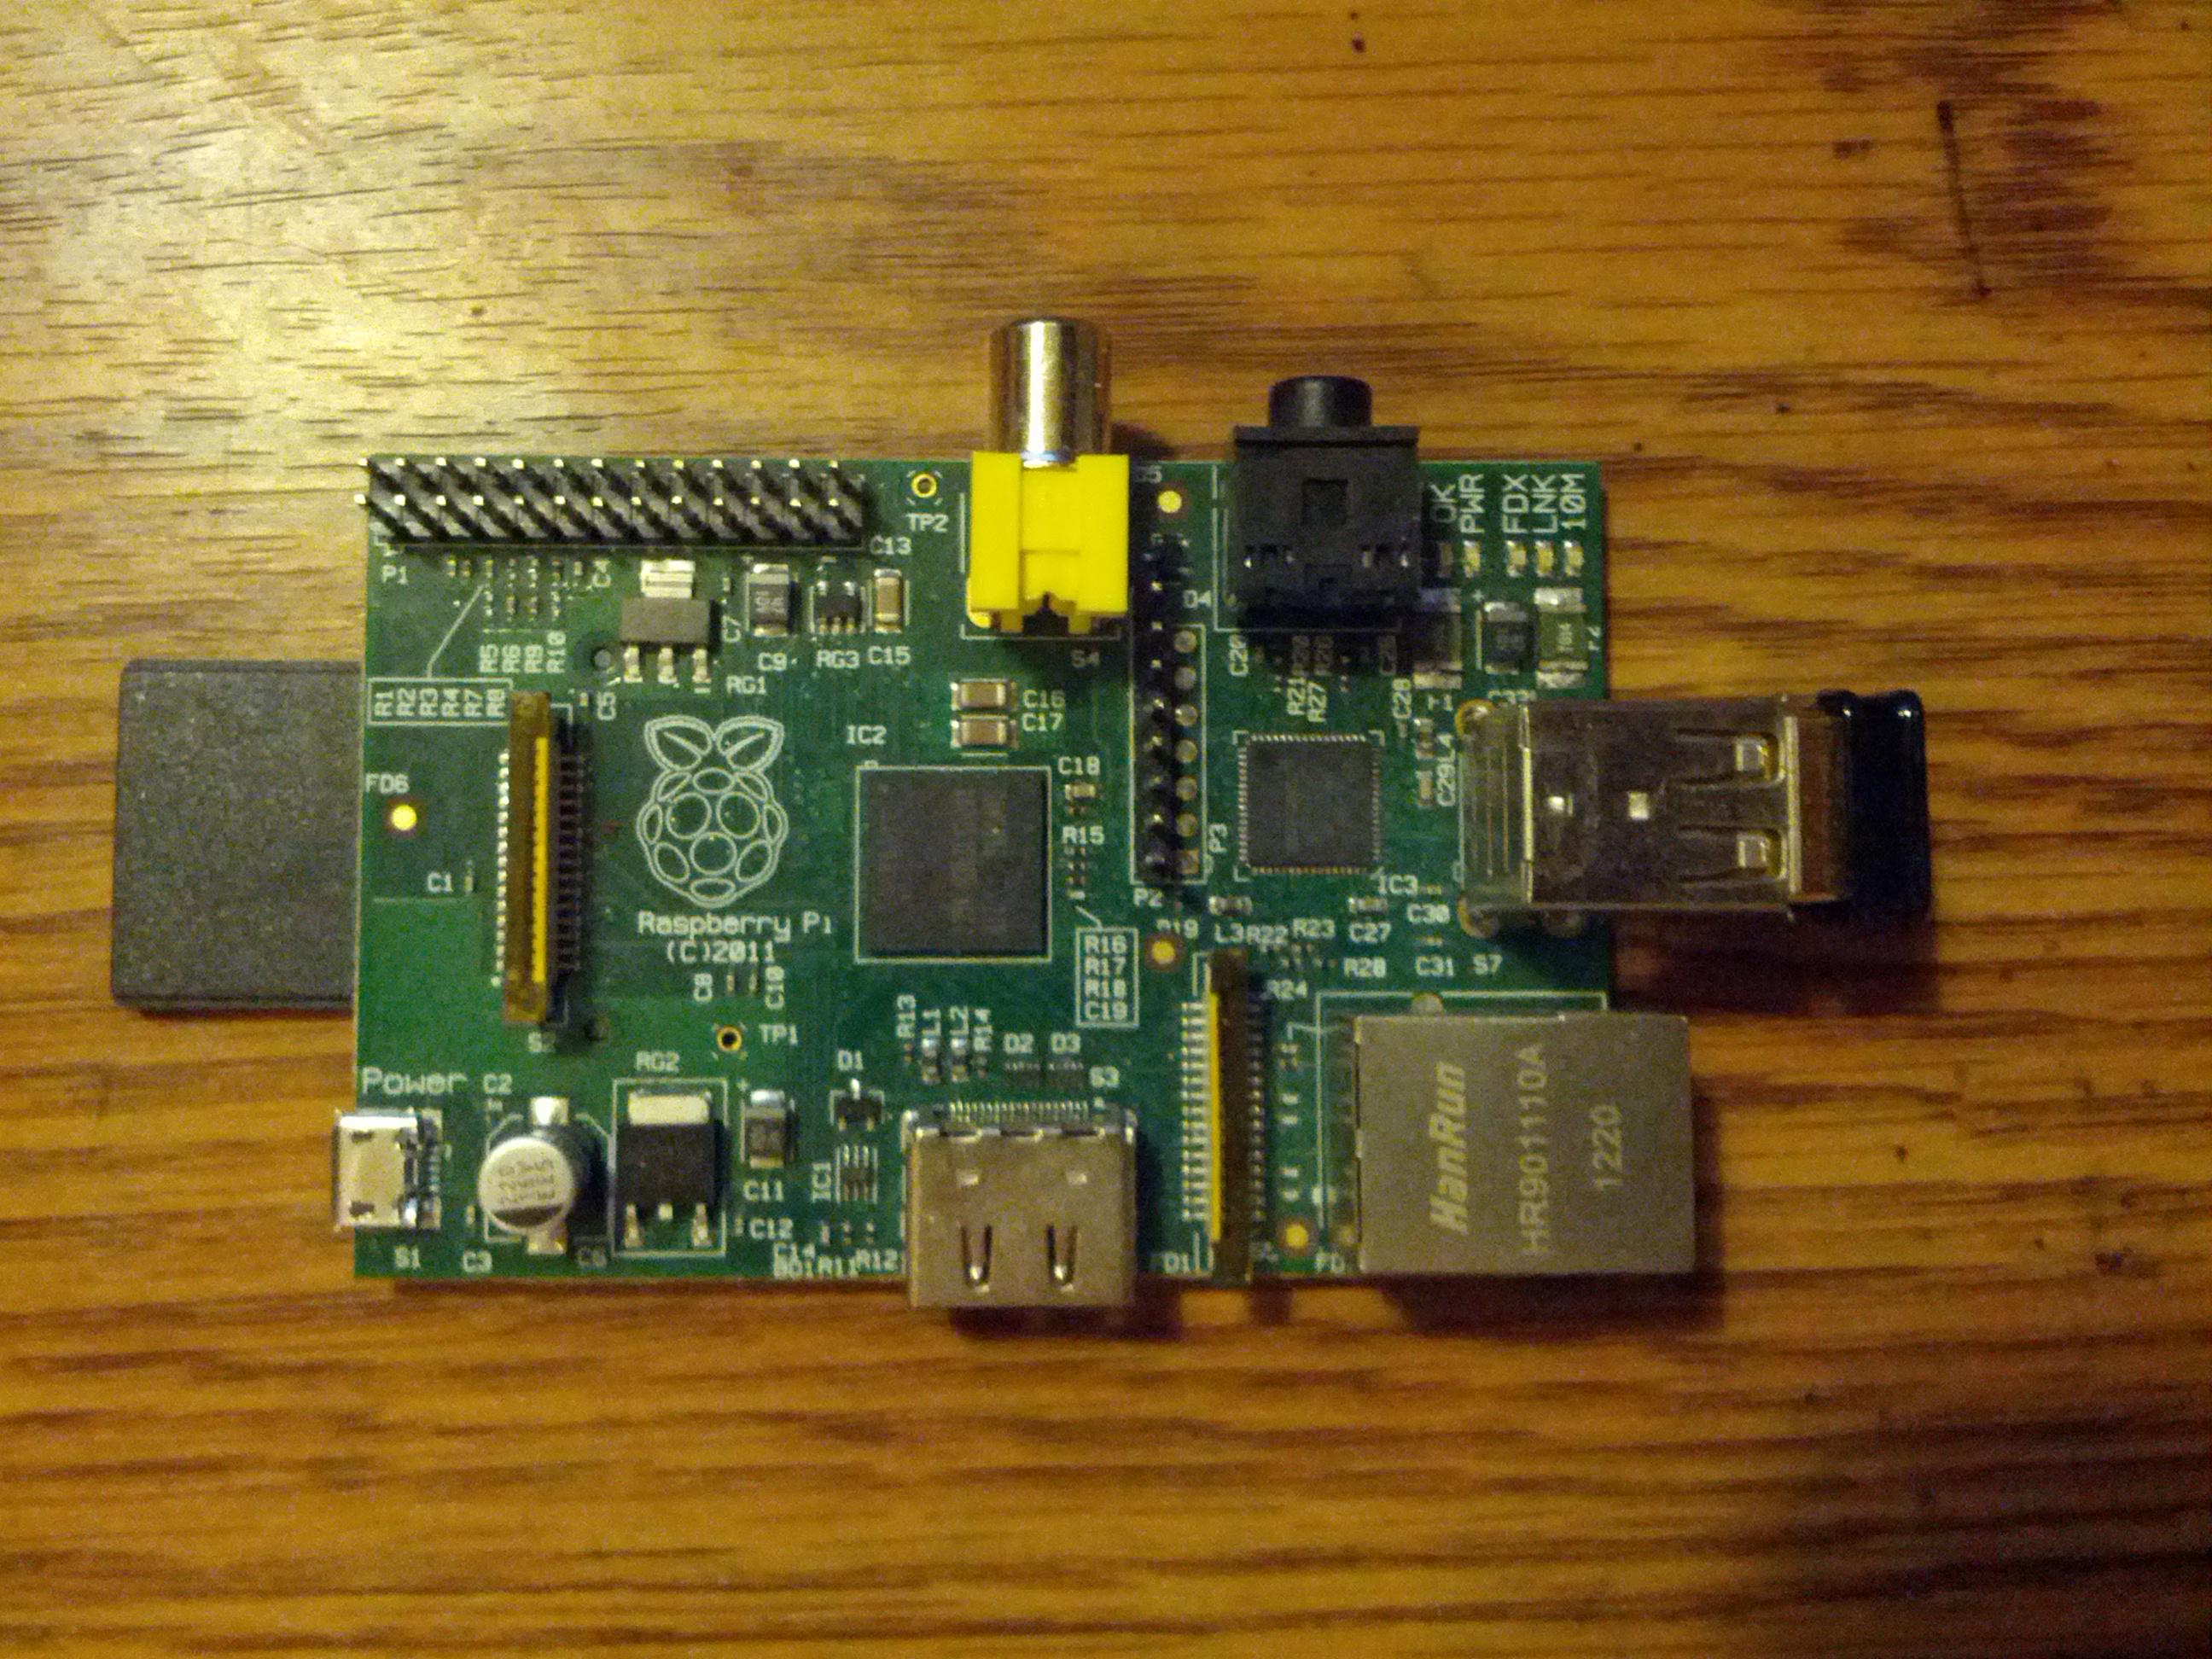
In order to get the Raspberry Pi working you need to load a linux distribution on your SD card. The current “official” version as of this writing is called Raspbian – a version of Debian customized for the RPi. Going over all the steps here would take to long and it’s already been covered elsewhere in great detail, so let me just point you to a few great resources.
Software configuration
Now that your Raspberry Pi is up and running it is time to use some software to play your favorite Old Time Radio shows. There are many media players for linux that will run on the Raspberry Pi. Which one you choose depends on your particular preferences. Since you probably won’t have a display on your radio you can skip all the graphical media players in favor of ones that will run from the command line. This also means that writing simple scripts to control the media player software will be much easier. Let me recommend two of the ones I like.
Mplayer – Mplayer is one of the best command line media players for linux. It plays nearly every format of video or audio that is around and it has loads of options and features one of which is playing internet streams. You can install mplayer with the following command:
sudo apt-get install mplayer
Once that is finished you can play an internet stream like “Audio Noir” if you happen to know the internet address where it is playing. Most internet streams have friendly URLs. In this case I just used the IP address and port of the streaming server.
mplayer http://208.53.138.125:8242
MPD – MPD stands for Music Player Daemon and runs as a background service. It maintains a database of your music files and is controlled with the command “mpc”. It is a great program to use if you want to play your own media files instead of an internet stream. You can install mpd with the following command:
sudo apt-get install mpd
Once that is finished you will need to tell mpd where your files are. You can do this my editing the configuration file like this:
nano /etc/mpd.conf
And change the following line to point to the directory that contains your media files:
music_directory "/your/media/directory"
Now restart mpd so it recognizes the change you just made.
sudo service mpd restart
Update the database by running the following command:
mpc update
Mpd will take awhile to update depending on how many files you have. You can check the status by just running “mpc” by itself on the command line again. When it is finished you should be able to play your media files by simply running:
mpc play
You can also control mpd and stream music from it to other devices if you wish. There are many clients that work with it, or there is a python module available as well if you want to write your own client.
Adding lights and controls
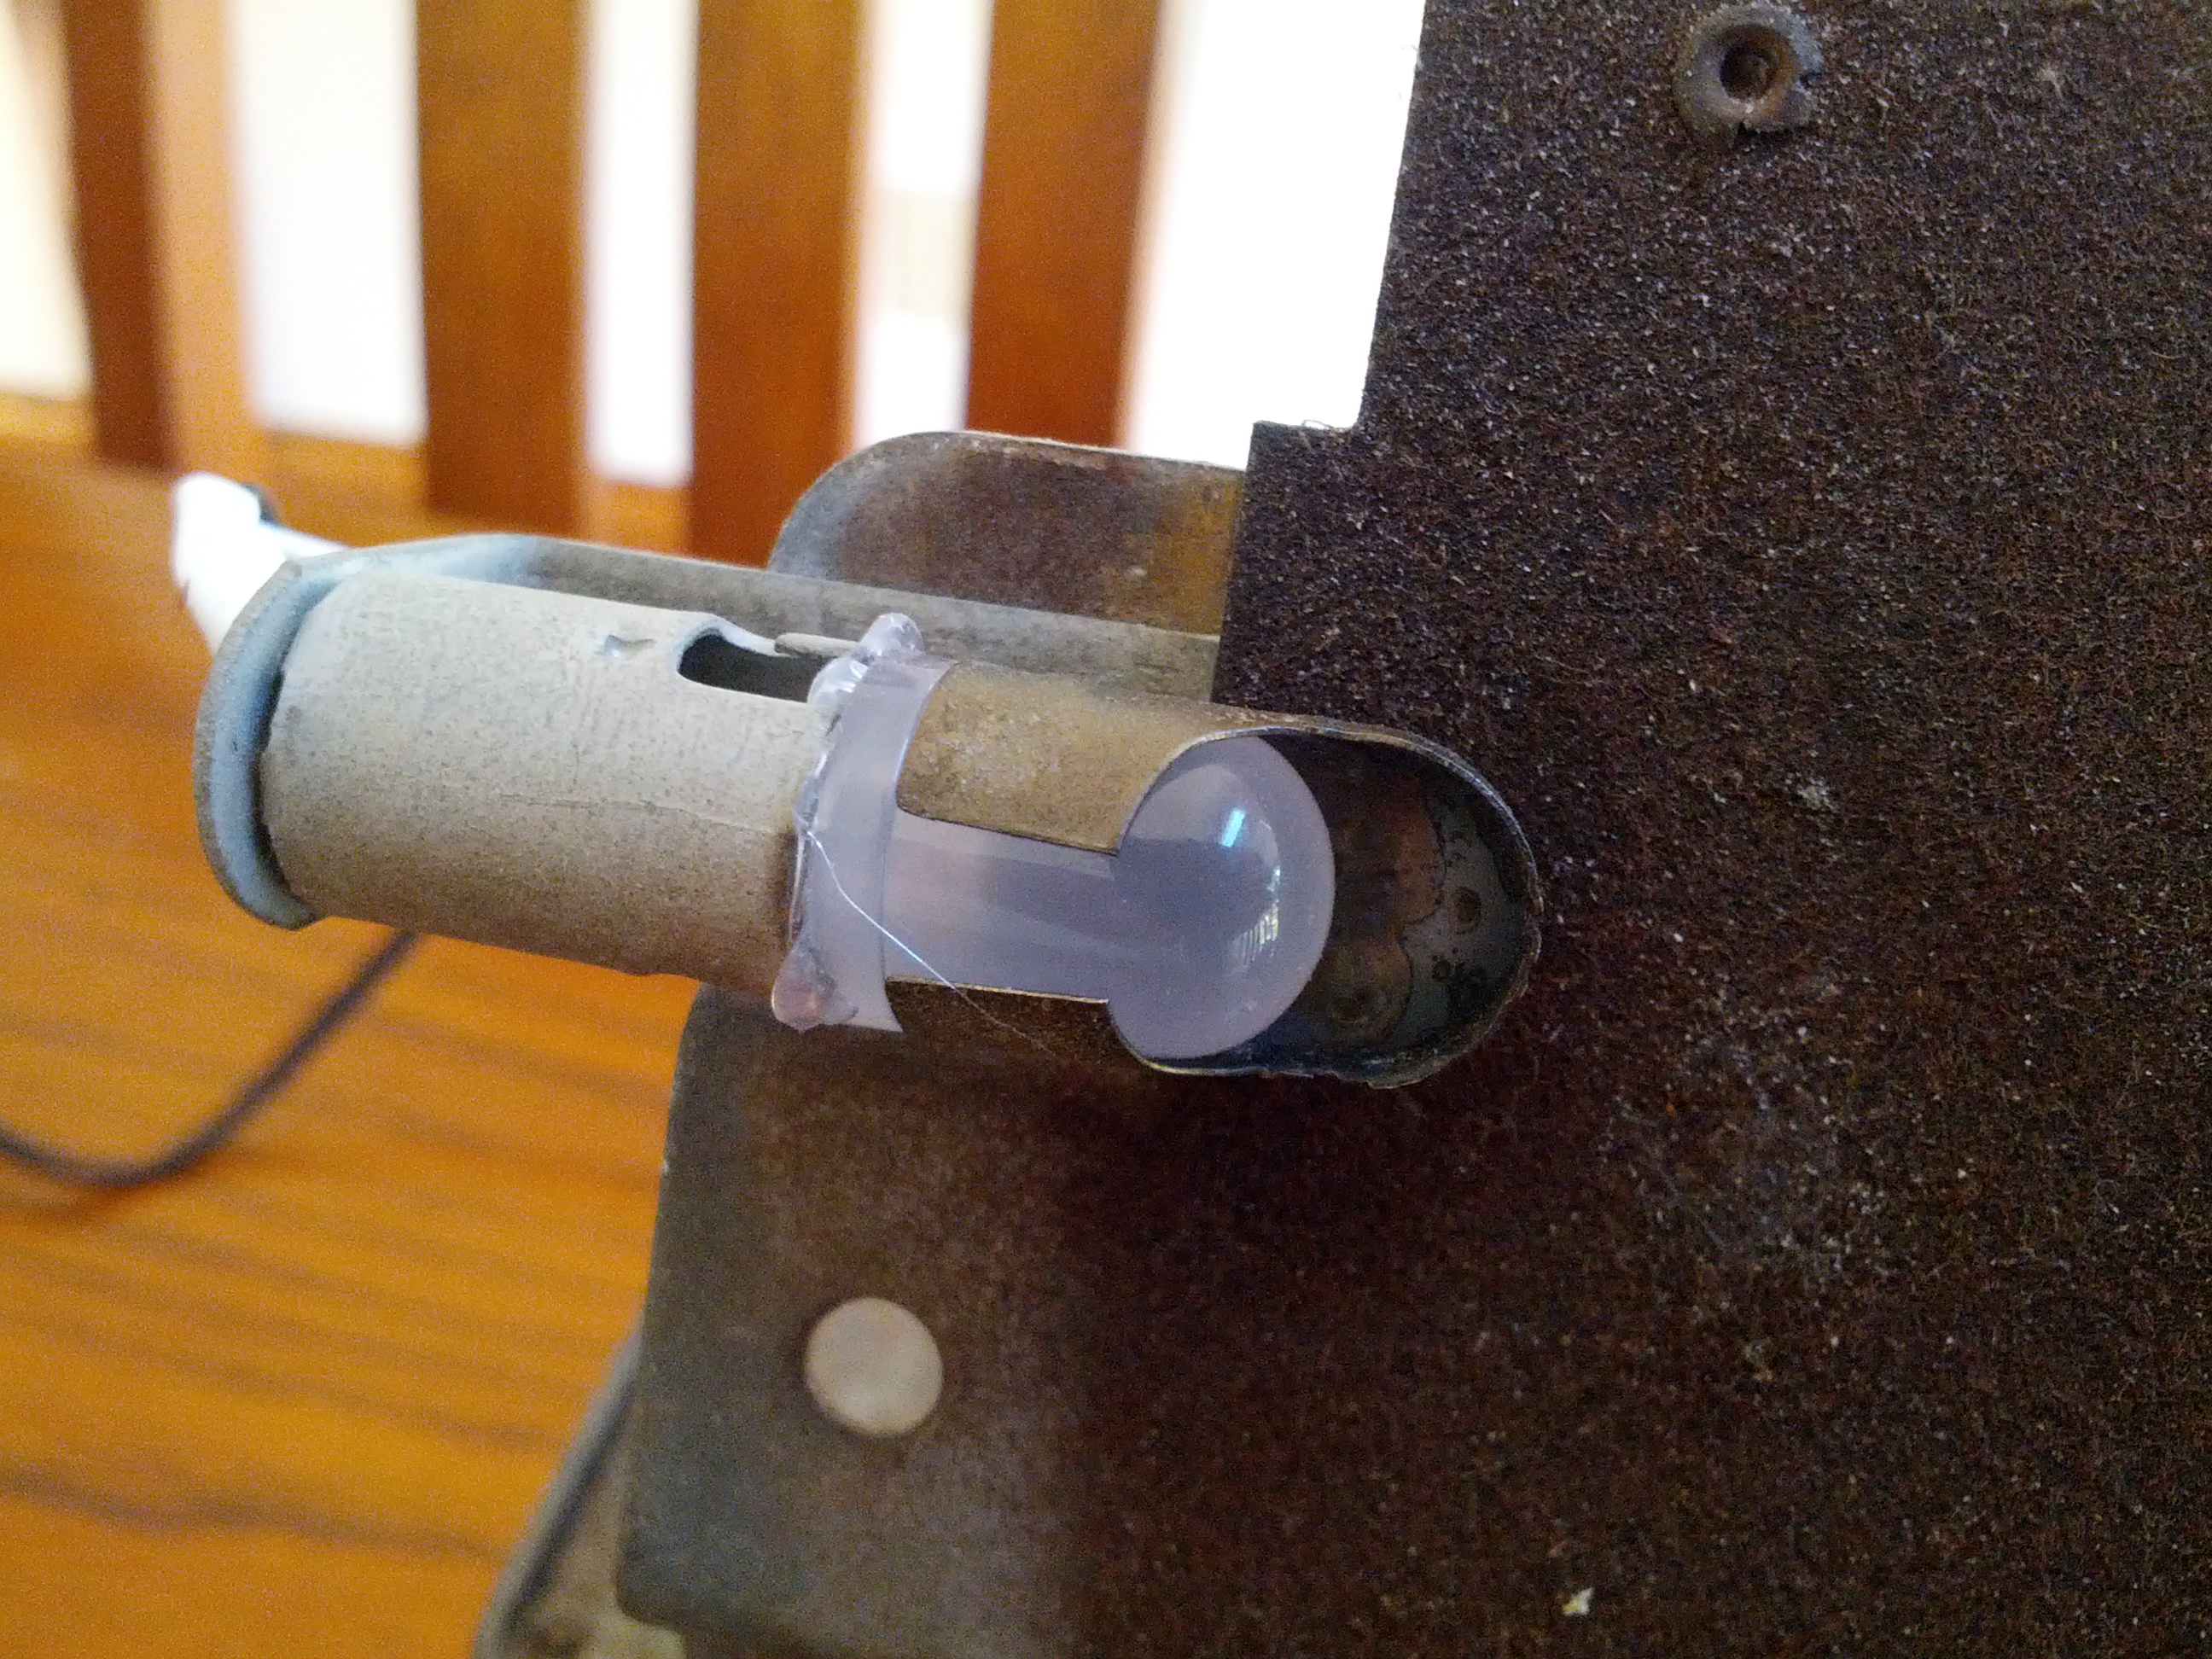
Many of these radios had warm glowing lights that helped illuminate the indicators when they were powered on. Some of the light bulbs in my antique radio were still working after nearly 70 years. You can reproduce this effect by adding some LEDs powered by a USB hub or even the Raspberry Pi itself. Cut through a spare USB cable (dollar stores usually have themif you can’t find one) and trim off the green and yellow wires. The red and black wires will provide five volts and should have enough current to power at least three or four LEDs. Be sure to solder an 82 ohm resistor to the positive side of each led first and then you can connect them in parallel to the USB cable. Use heat-shrink tubing to protect the connections and make it look pretty. I found that 10mm LEDs fit almost perfectly where I removed the old light bulbs from my radio and the original metal shields that direct the light actually fit perfectly, too. If you can find “warm white” or “soft white” diffused LEDs it will give a much more authentic look.
Another idea is to interface with knobs and dials on your radio as well. For example, you could wire them up to your speakers so they actually controlled the volume like you would expect. Or you could wire them to your Raspberry Pi to perform functions like “Next File” or “Next Station”. You could even connect a small LCD display to show you information about which file is playing.
Other great Raspberry Pi radio projects
If you still need some inspiration, here are a few other Raspberry Pi Radio projects to get you started.
Raspberry Pi, for all your 50s diner needs