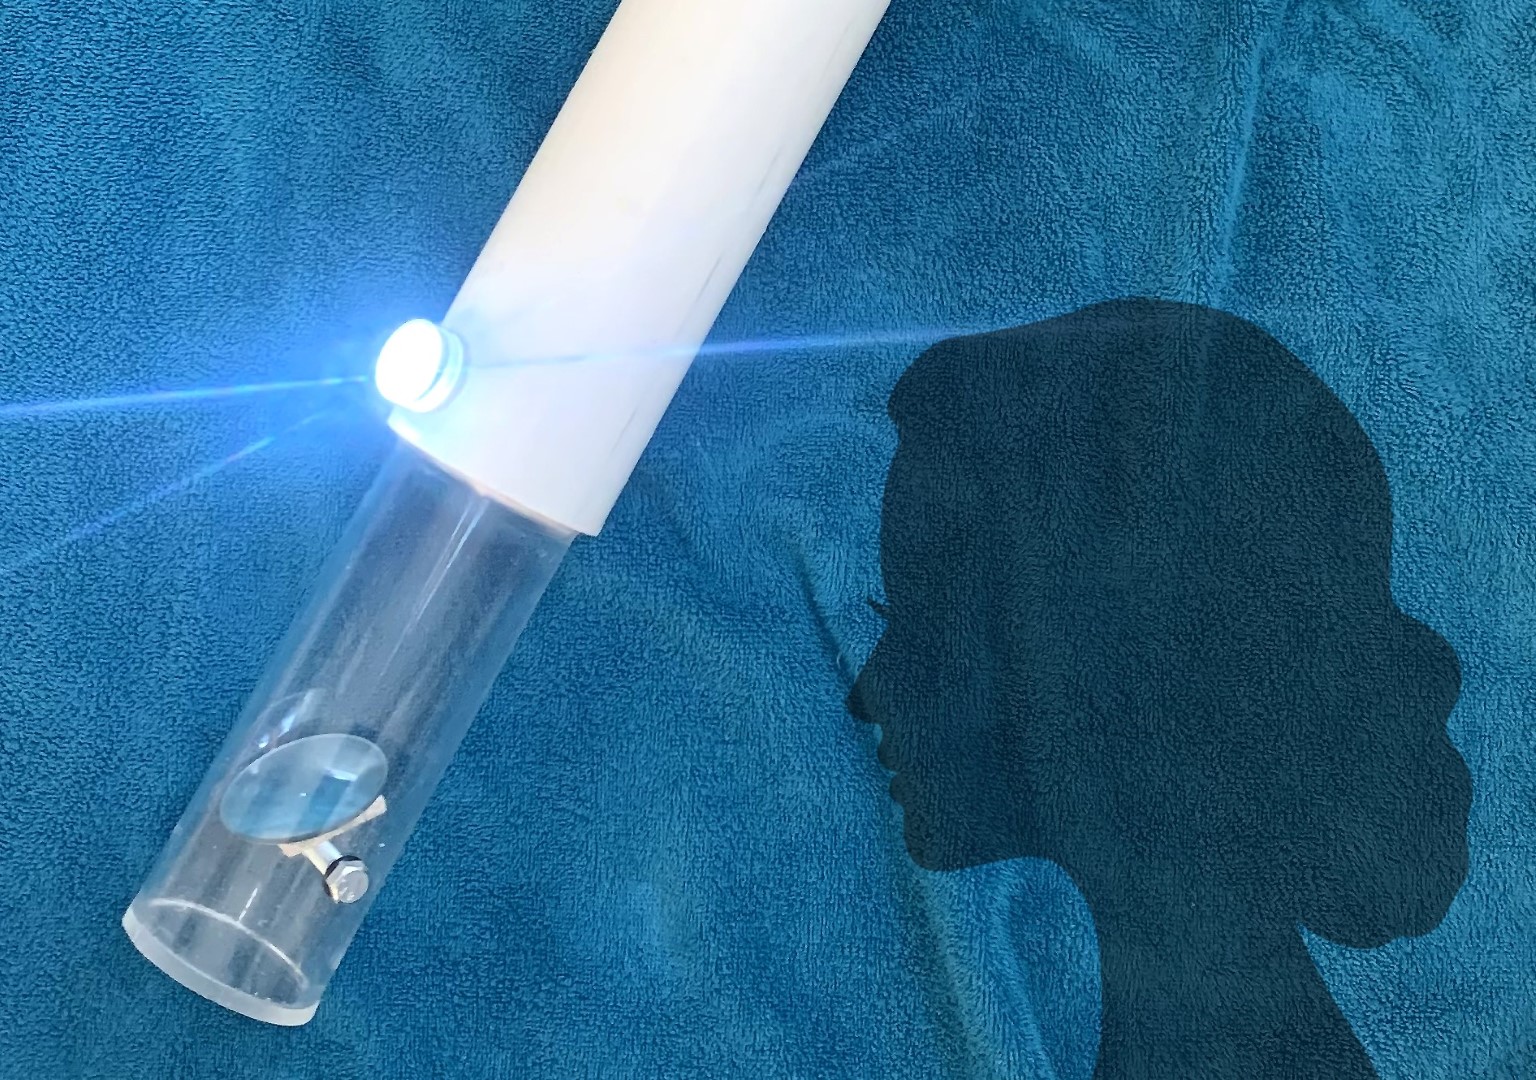
On January 24, 1843, the editors of the Brooklyn Evening Star were caught up in whirl of excitement about an invention created by one of their own readers, Mrs. Sarah P. Mather. “The world,” exclaimed the newspaper article, “is indebted to this inventor, who is not only American, but an American Lady!” A bit further on, the writer waxes even more effusively: “The fair inventress says to old Neptune and is obeyed: Ground your Trident old despot of three fifths of our World! Lay open your dark, hidden dominions!” (All of the italic words and exclamation points were in the original article.)
Wow! The underwater telescope that Mrs. Mather invented — better known today as an aquascope — certainly caught the attention of the New York press. Now, whether it truly merits that sort of acclaim or not lies in the eye of the evaluator, but after building a replica, I found Mather’s aquascope an easy device to make and a fun one to use. The aquascope permits people on boats, docks, or piers to look beneath the surface of the water to get a better view of what is going on below. According to Mather’s patent application, the underwater telescope “can be used for various purposes, such as the examination of the hulls of vessels, to examine or discover objects under water, for fishing, blasting rocks to clear channels” and so on.
As John Adie, Esq., wrote in an 1850 magazine article about the then-newfangled underwater telescopes, “The reason why we so seldom see the bottom of the sea or a lake is due to the irregular refractions given to the rays in passing out of the water into the air, caused by the constant ripple of the water where refraction takes place.”

Mather’s aquascope punches through the optically unfriendly water surface, bypassing glare or surface refraction and allowing a clear picture of what goes on below. Mather’s patent application shows how her aquascope had a pair of unique innovations over previous scopes (Figure A). First, Mather outfitted her device with a lamp that could be lowered into the water along with the aquascope. This made it possible for the device to be used at night. Second, Mather’s aquascope incorporated an angled mirror that gave the device the ability to look not just down but also sideways in the water, which was very helpful for inspecting ship hulls, piers, and so forth.
When Mather lived, it was unusual for a woman to obtain a patent on an invention and then attempt to market the device. But this she did, and that’s about all we know of Sarah Mather. The records are sketchy, but we do know she was born Sarah Porter Stinson or Stimson around 1796 and died in New York City in 1868. In 1819 she married Harlow Mather, a distant cousin of the famous Puritan clergyman Cotton Mather, and they had several daughters, including Olive M. Devoe who in 1868 petitioned Congress for money to test her invention of a “submarine illuminator,” building on her mother’s work. When not inventing, Mrs. Mather was involved in the publishing of poetry, and near the end of her life she raised money for the Union Home and School for New York children of soldiers killed in the Civil War. Olive was the director and principal.
The aquascope or underwater telescope
This project is fairly simple, and you can change the dimensions to suit your needs. This aquascope uses a 3-inch-diameter, 2½-foot long viewing tube, but you can change the length and diameter if you want a wider or deeper view. Because the air inside the scope makes it buoyant, you may want to add weight to the bottom to make it easier to push it down into the water. At the bottom end of the tube is a rotatable mirror which can be adjusted to provide a straight-through view to the bottom, a 90-degree view to the side, or anything in between.
Making the Mather aquascope
Before you assemble anything, cut these pieces to the sizes described in the materials list: the PVC tube, the clear plastic tube, the round piece of wood, and the round piece of acrylic plastic.


