When I first started working with microcontrollers, I had an Arduino, a few LEDs, a handful of DC motors, and very little common sense. :) I learned firsthand that if you did not read before you wired stuff up, it could be a costly mistake. However during my hardware infancy not all was a loss. I discovered that with a few tools and a spare Atmel microcontroller, you can revive a”blown” or “dead” Arduino board.

This project will show you how to remove and replace the Arduino “brain” (ATmega328P uC). And we will re-flash your shiny new replacement chip with the glorious Arduino firmware. One thing to note, however: this project will only fix your Arduino if your Atmega328P controller is blown. If any other component is bad on your Arduino then this guide will more than likely not be helpful. With that said, let’s fix an Arduino!

Project Steps

Gather up your needed tools. For this project, we only really need an AVR programmer and an Arduino. However to do it “right,” we could use a few specialty tools.

Chip puller (not required but nice to have)

SMT tweezers (or something else to use as a shim)

Arduino

Atmega328P

AVR ISP MKII

NOTE: The AVR ISP MKII is my choice of AVR programmers. There are others available. I prefer this one as it’s pretty cheap ($35) and it’s also officially supported by Atmel.

First things first. We need to remove the blown Atmega328P from the Arduino board. This can be tricky as if you do not pull the chip out evenly you end up with a bunch of bent pins. You might be asking yourself, “Why does it matter?” Well, if you know for sure the chip is dead then it really doesn’t. However you should try to remove the chip correctly for practice.

Pry the tip of the tweezers into the space between the chip and the chip holder. Create a little gap between the chip and the chip socket then go to the other side and do the same. Continue this until you have room to insert your chip puller, or until you can easily remove the chip by hand.

Let’s now insert the new Atmega328P into the socket on the Arduino board. This is pretty simple; however there are a few things you need to pay attention to. You need to be careful that all pins are aligned properly before exerting any downward force.

First make sure that you have the new chip oriented correctly. The little “dot” at one end should be facing the closest edge of the board. See the image marker for clarity.

Make sure all the pins are inserted shallowly into their receptacles. Then push the chip down firmly.

Let’s reprogram this new chip!

From here, you need to hook up your AVR ISP programmer. The 6-pin connector has to be oriented the correct way. There is a small notch on these connectors. This notch should be facing the USB connector.

Time to reprogram! If you have not downloaded the Arduino IDE, this would be a good time to do so. You can get it from here. Once you have it installed, go ahead and fire it up.

The last thing to check is to make sure you have selected the correct board from the Tools menu. In this tutorial, we’re using the Uno. So we’ve selected “Arduino Uno” as our board.

Next, we need to “burn the bootloader,” or in other words, program this chip to work with the Arduino. Go to:

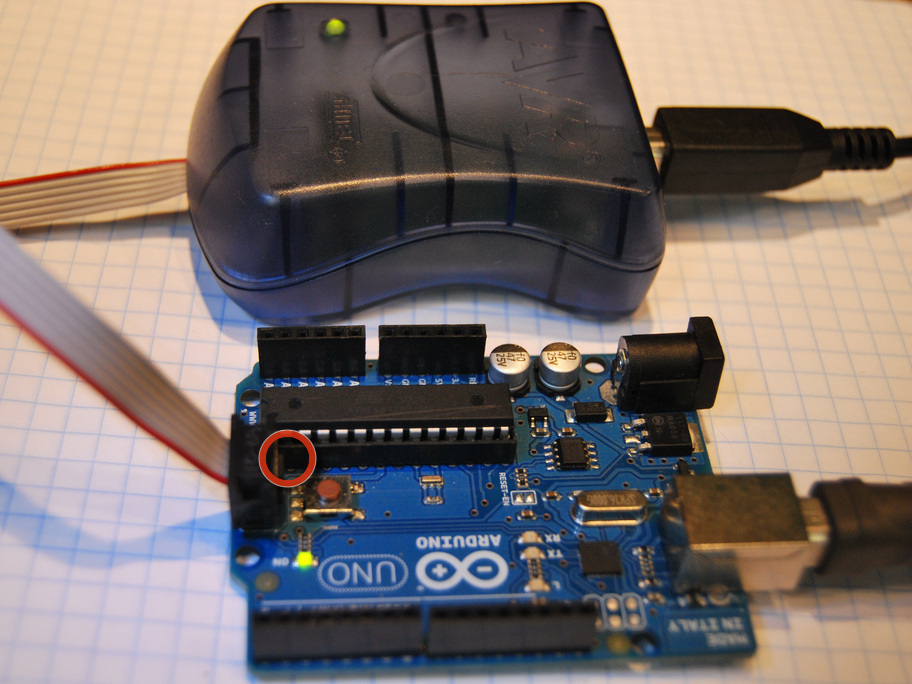
Tools >> Burn Bootloader >> w/ AVR ISP mkII

If you are using a different AVR ISP, make sure you select the correct programmer.

You should see at the bottom of the debug console “Done burning bootloader.” You should now have a working Arduino again! The final test is to load up any example sketch and click Upload. That’s it!

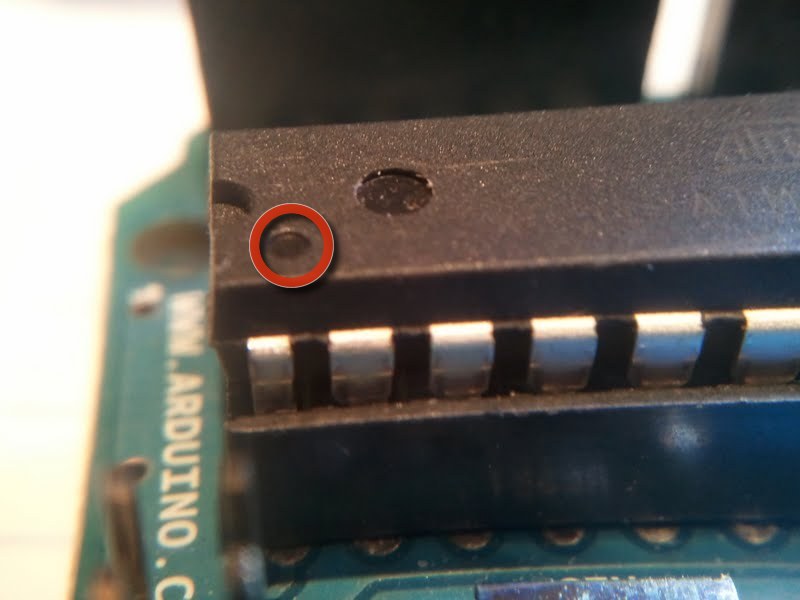
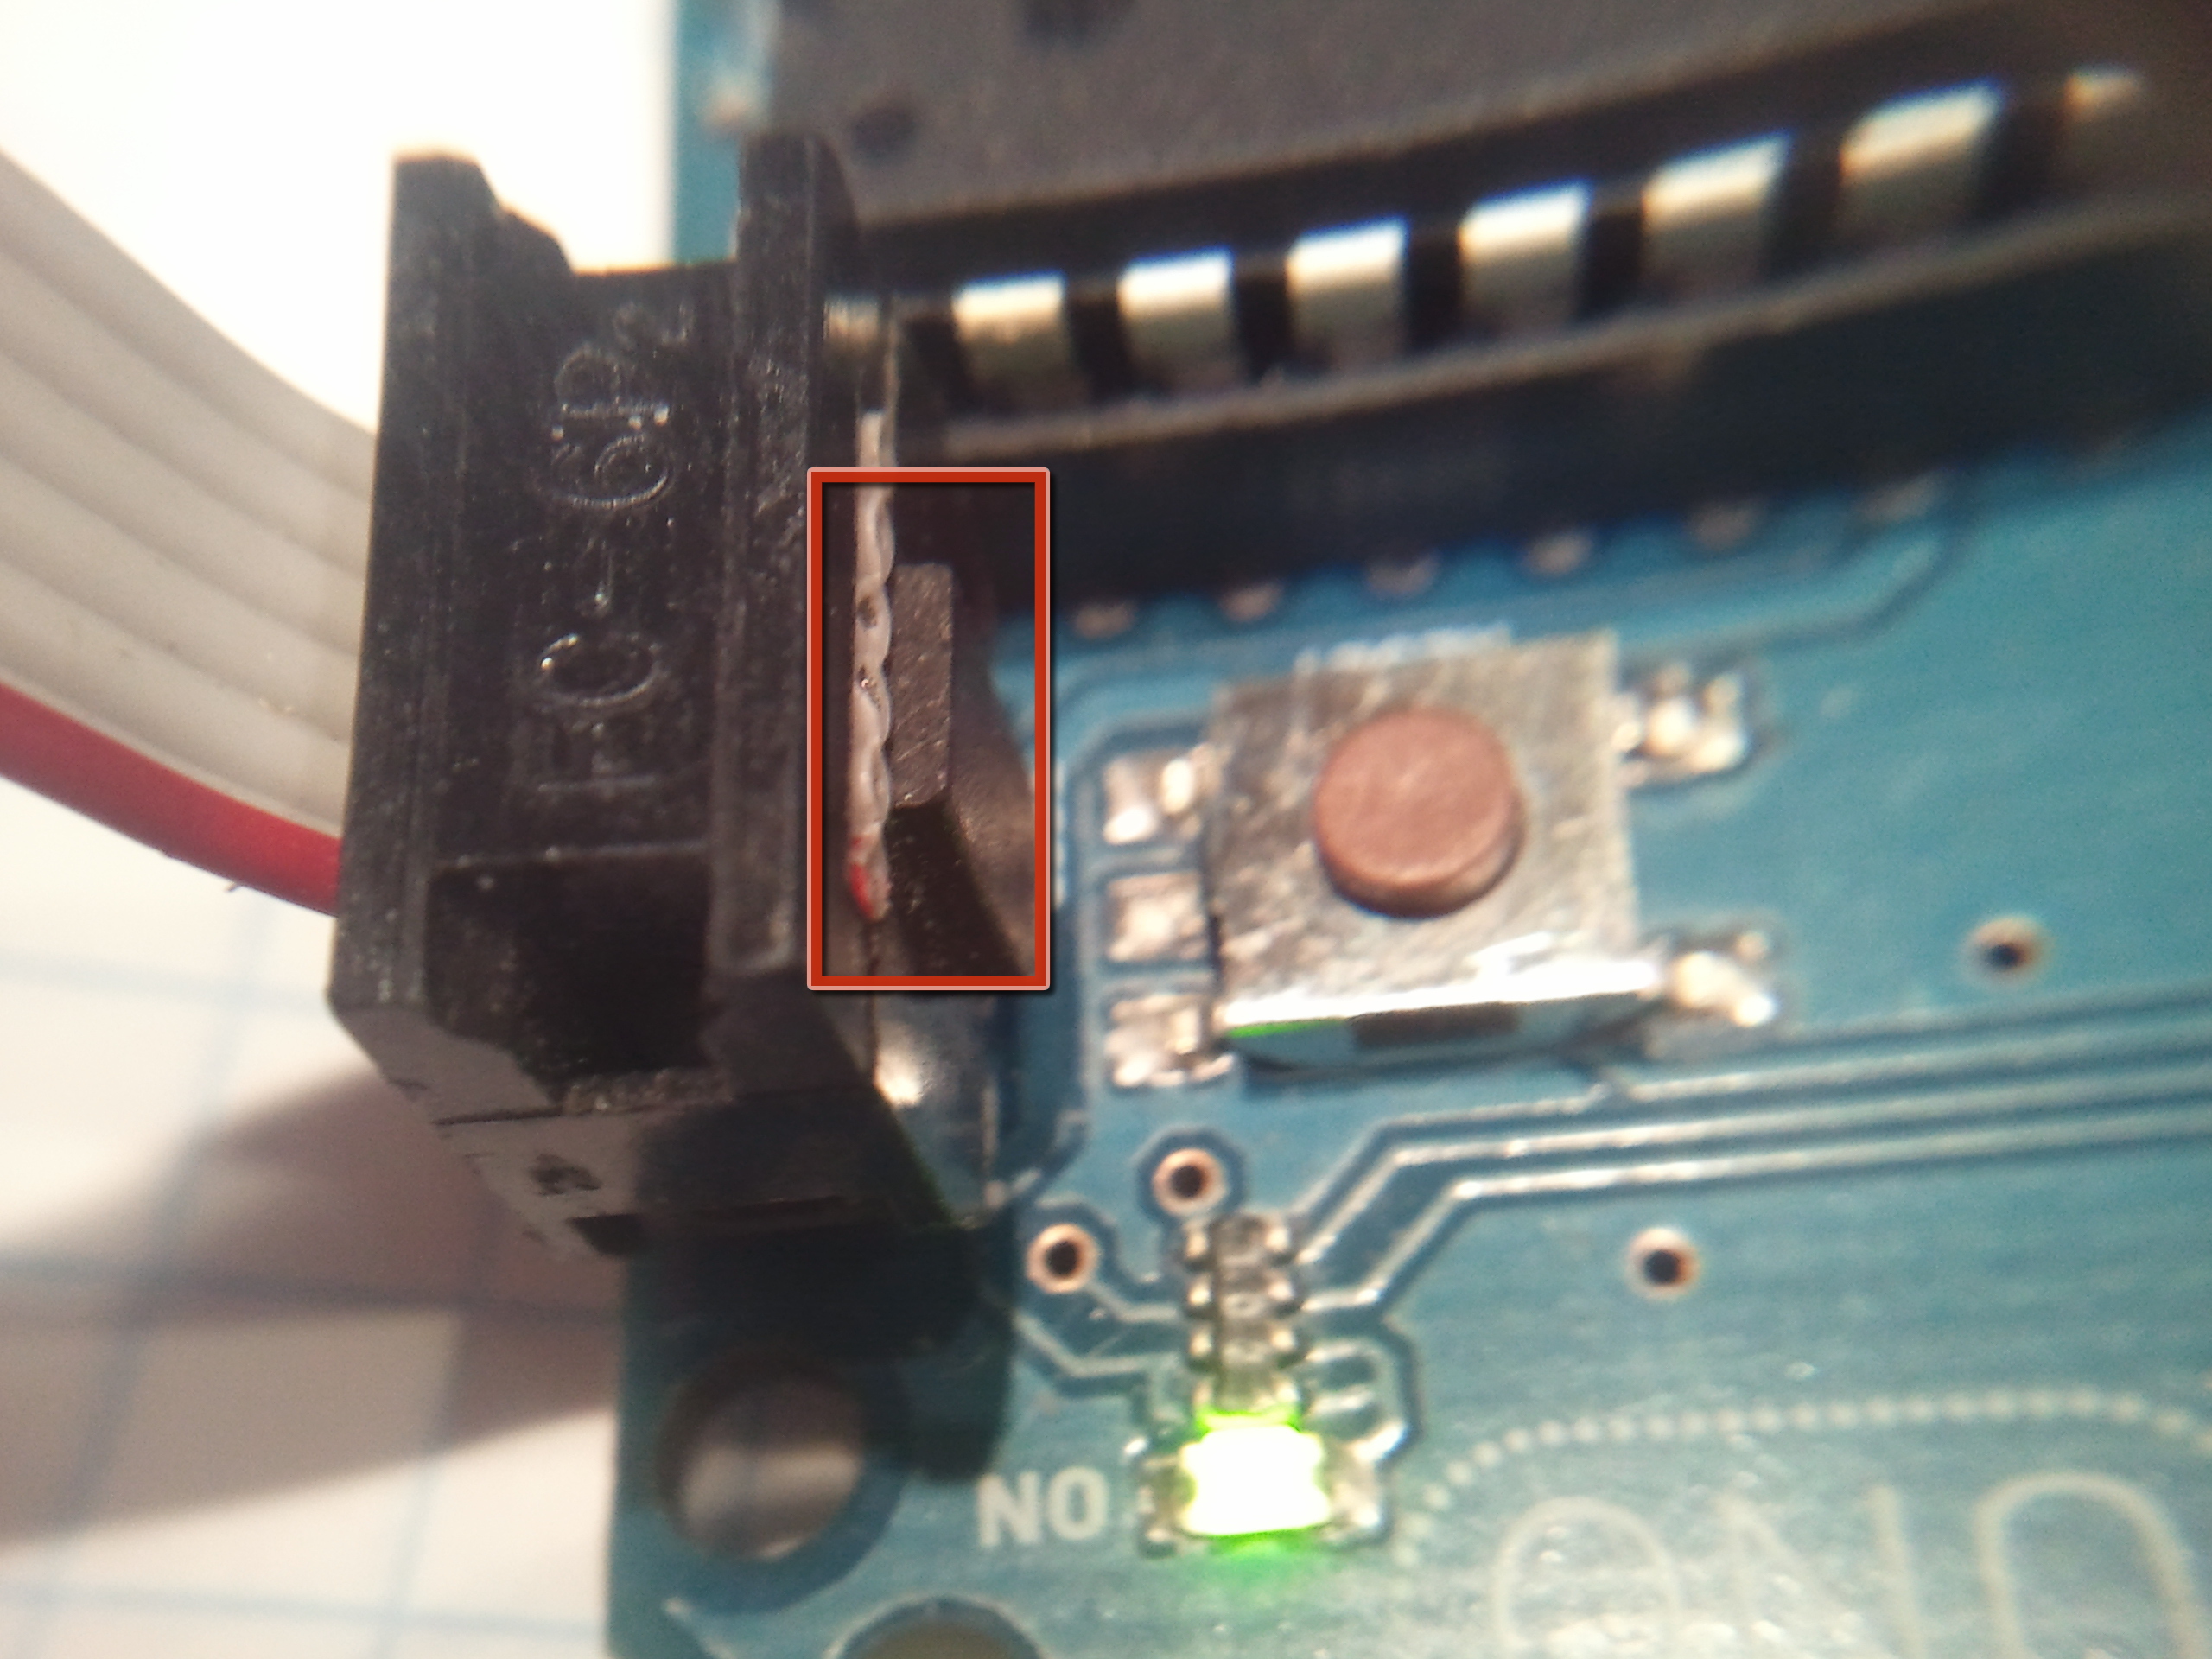
If you have any errors, make sure that your programmer header (the 6- pin interface) is oriented correctly. Also, check that both the Arduino and the AVR ISP are powered on. I used two different USB cables for this.

Conclusion

In about 15 minutes, you've removed, replaced, and reprogrammed a new Atmega328P to revive your Arduino development board. Not bad, don't you think?

For Arduino news, features, tutorials, a buyer's guide, and more, visit the Make: Arduino page https://makezine.com/arduino/