This article appeared in Make: Vol 74. Subscribe today for more great projects delivered straight to your mailbox.

Are you the kind of person who likes a good storm? Staying inside and warm while lightning flashes and the wind lashes the rain around is something I have always enjoyed. What if you could capture that feeling in a sphere that you could keep on your desk?

SEEING TURBULENCE

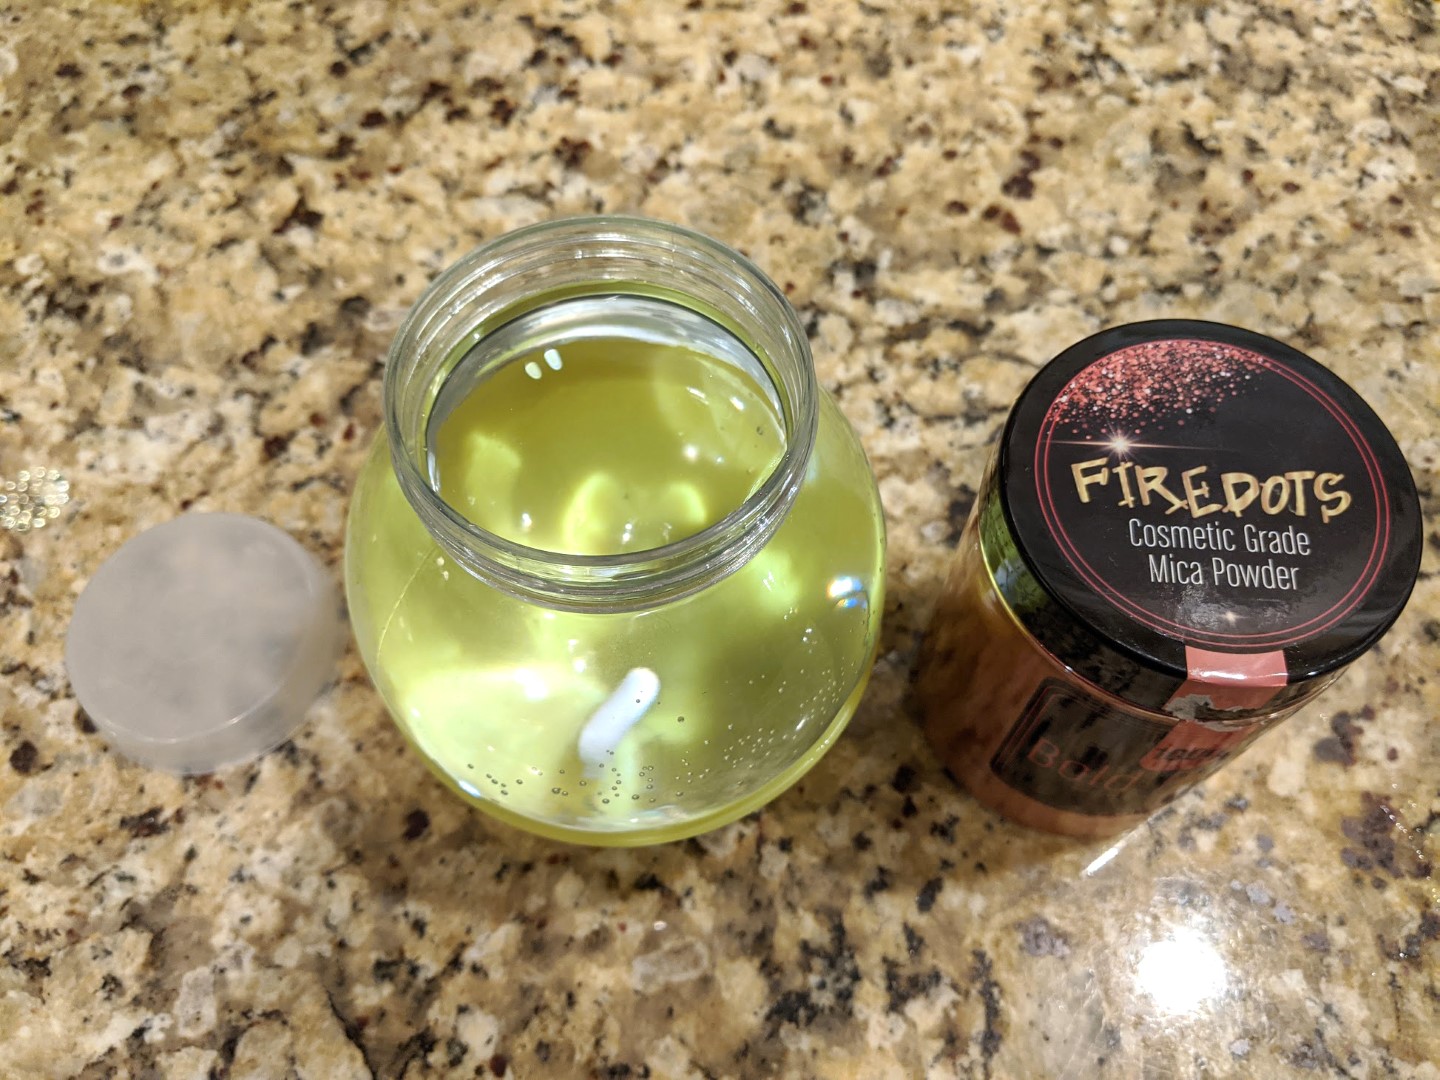
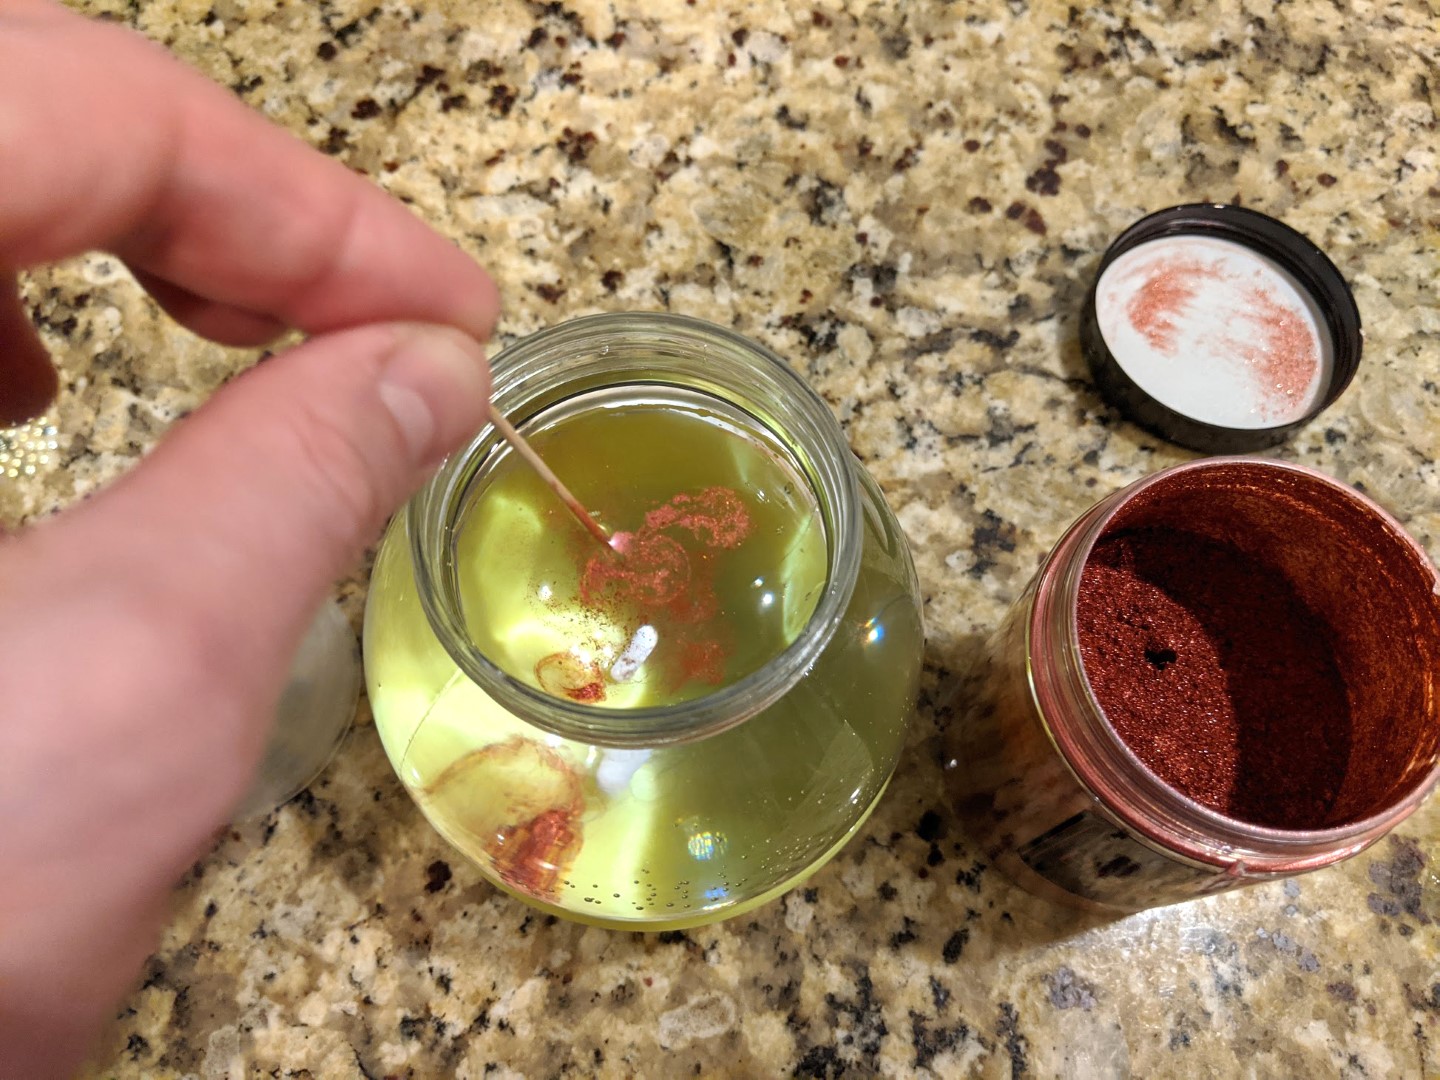
Rheoscopic fluids allow the currents and turbulence in liquids to be seen. They’re typically made with mica, a mineral that forms small, shiny flat plates that easily move within a fluid. The reflection of light off the mica turns the turbulence into a mesmerizing display.

You can find large spinnable round vessels filled with rheoscopic fluids in science museums (such as the Glasgow Science Centre shown in the video above) to demonstrate atmospheric flows over the surface of a planet, or as art displays (most famously, the Kalliroscopes of Paul Matisse), or even in your living room (the Rheoscopic Disc Coffee Table by Ben Krasnow, Make: Volume 47).

YouTube player

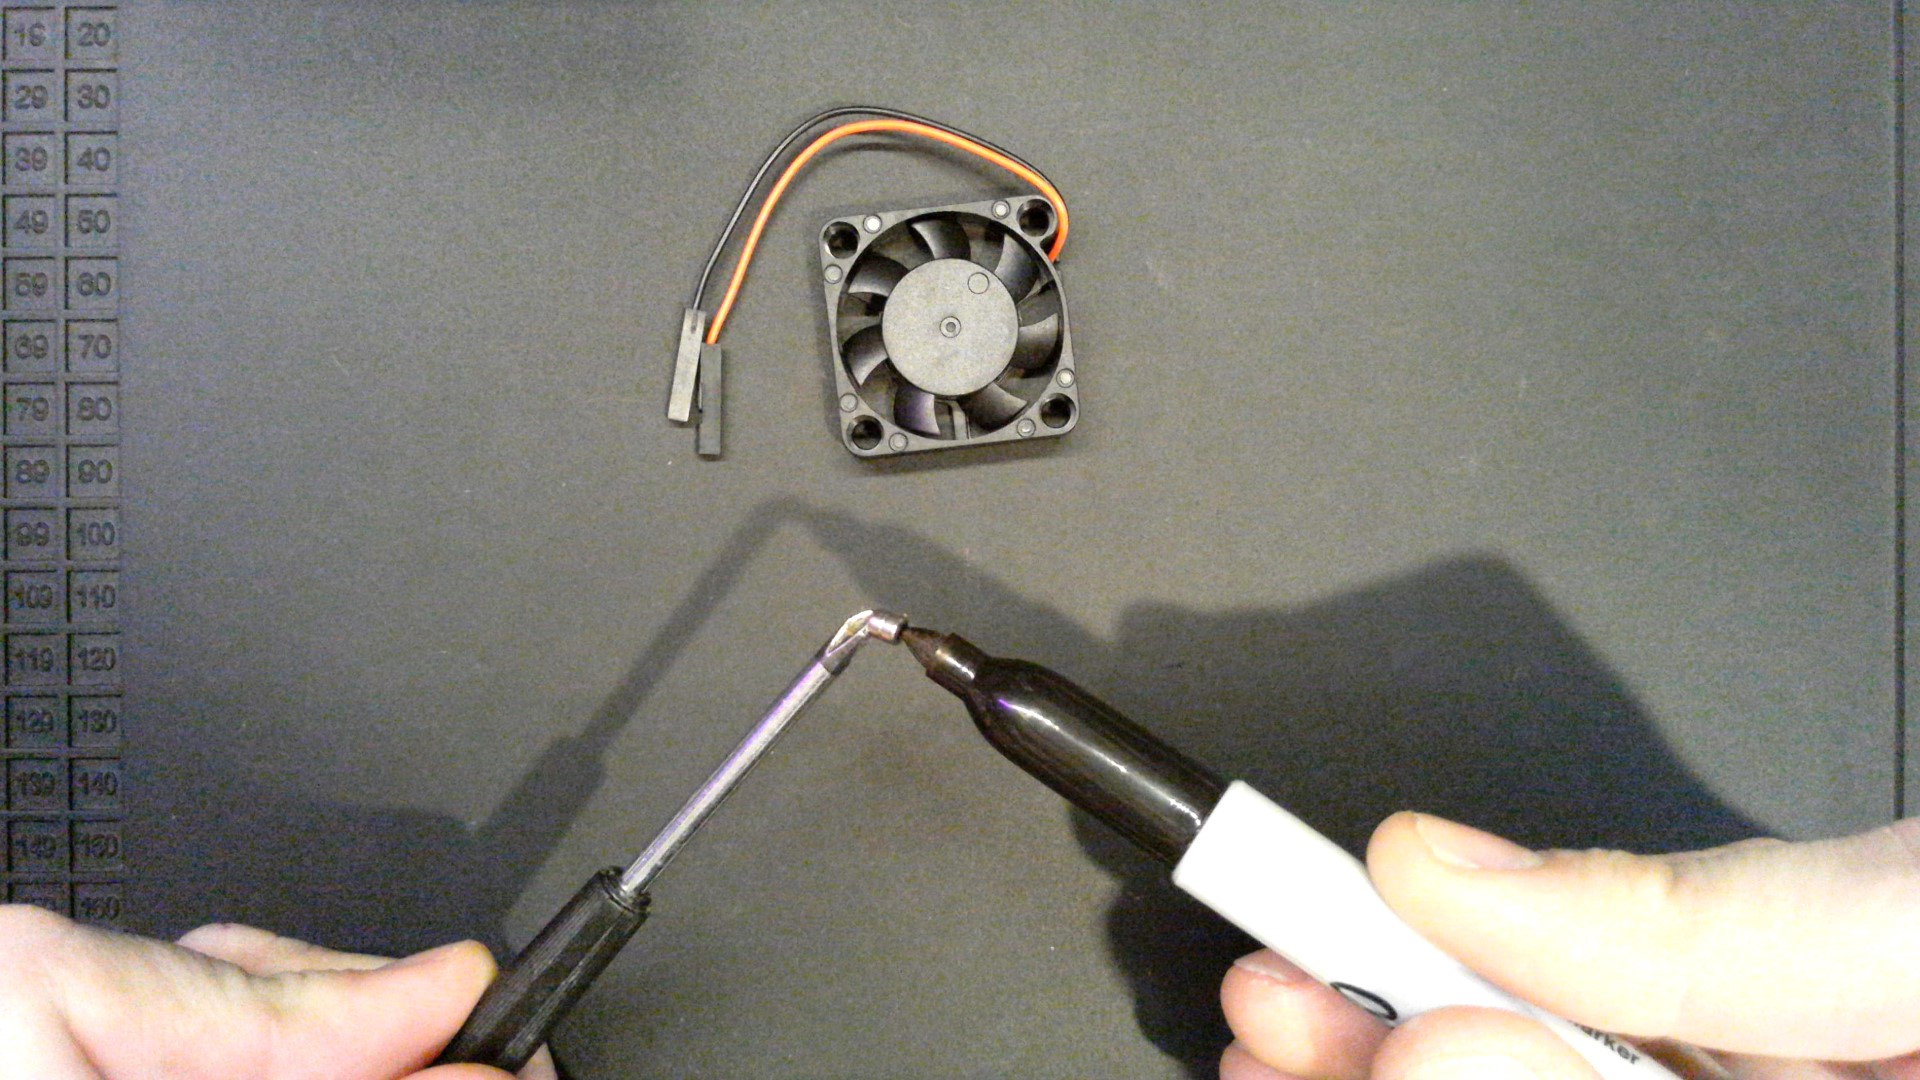
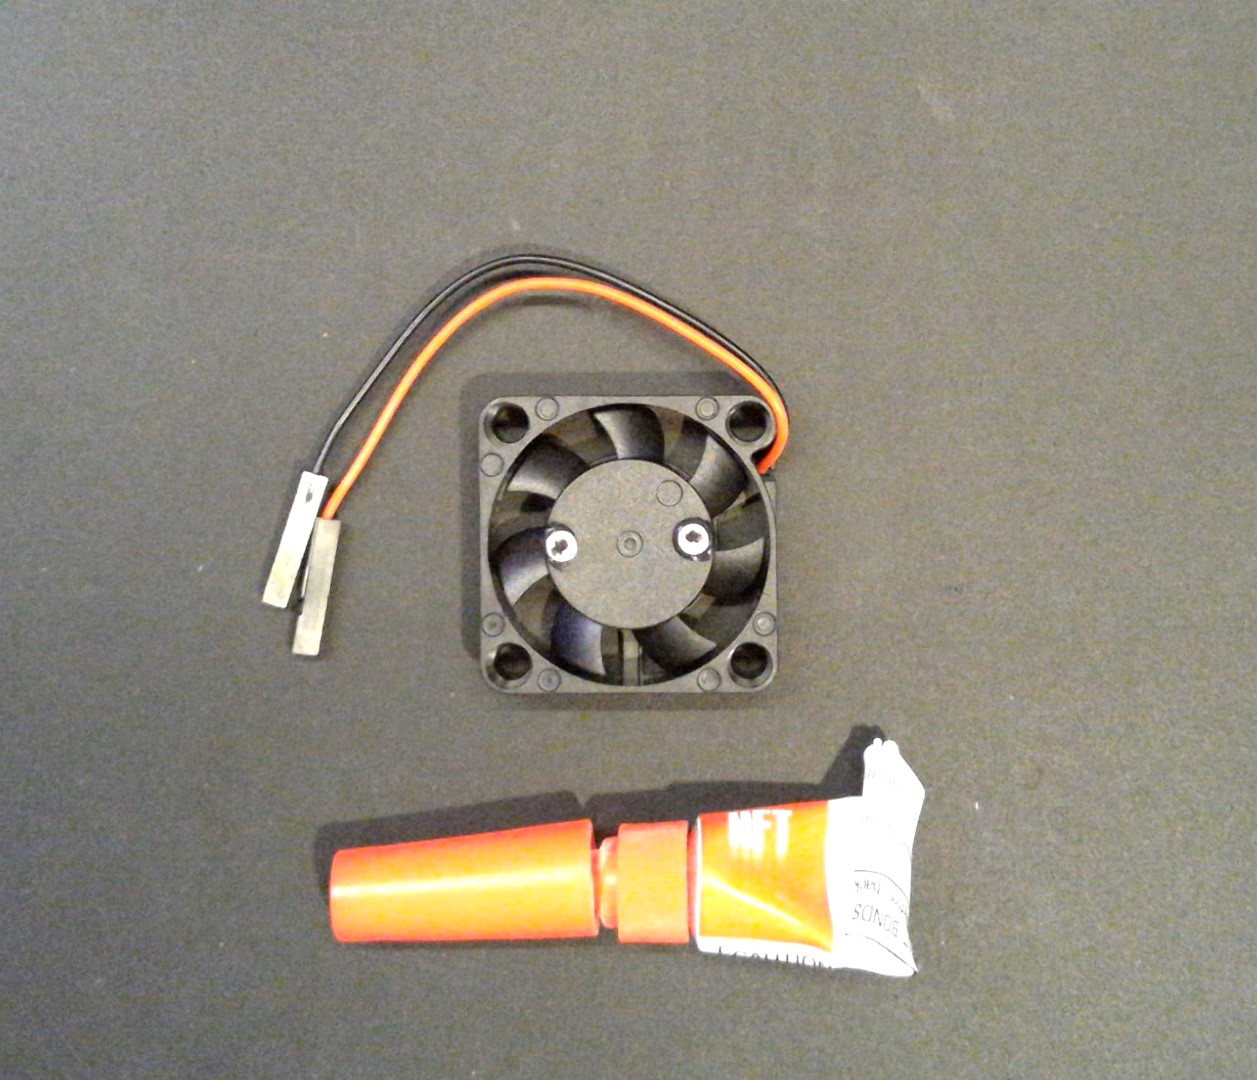
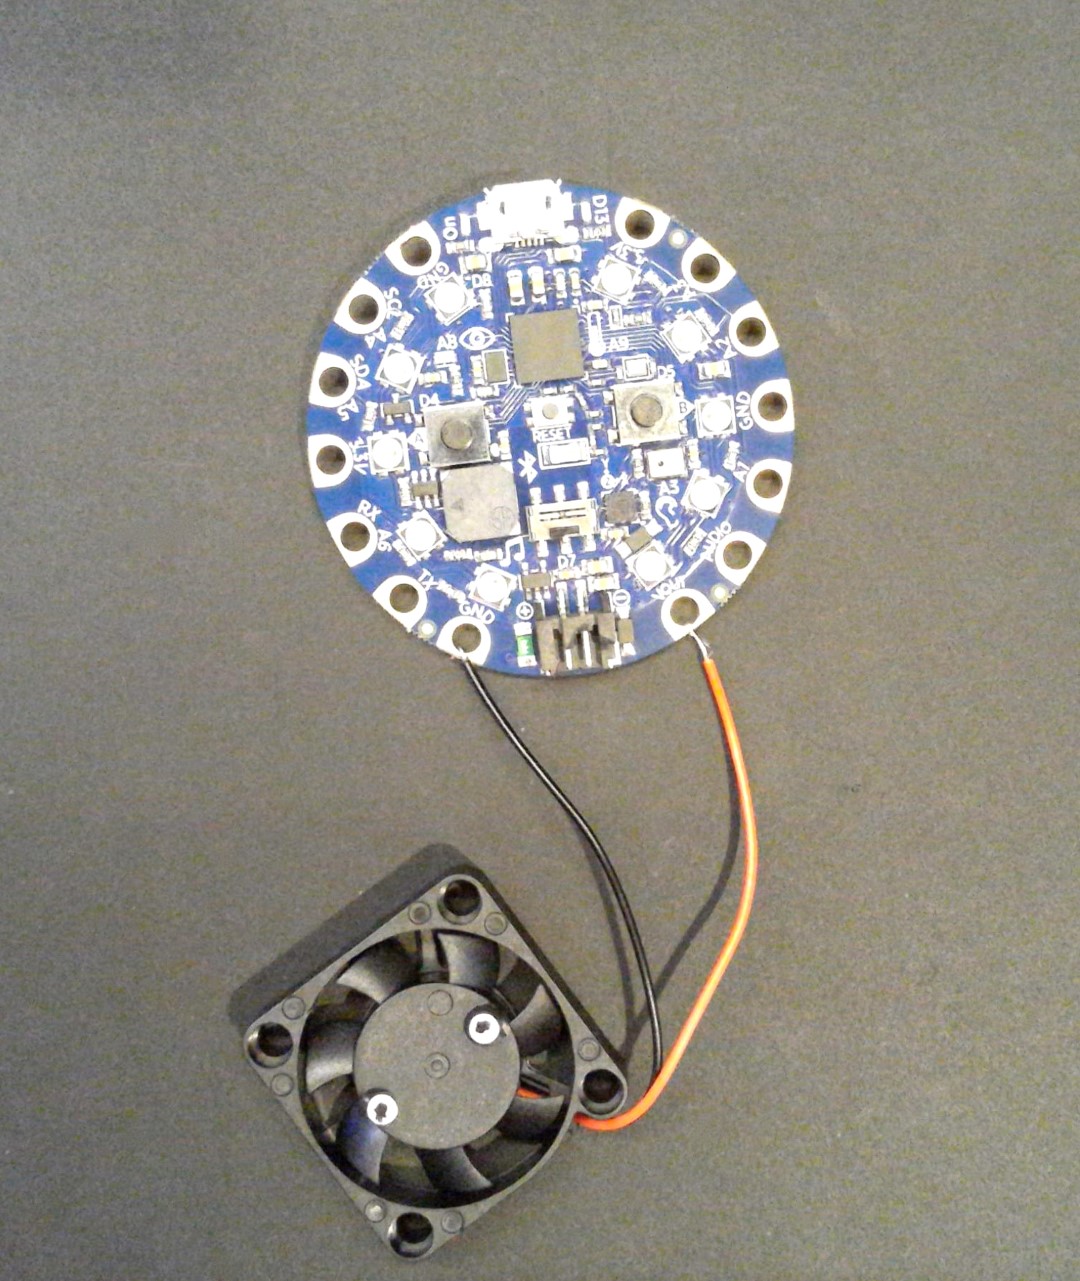
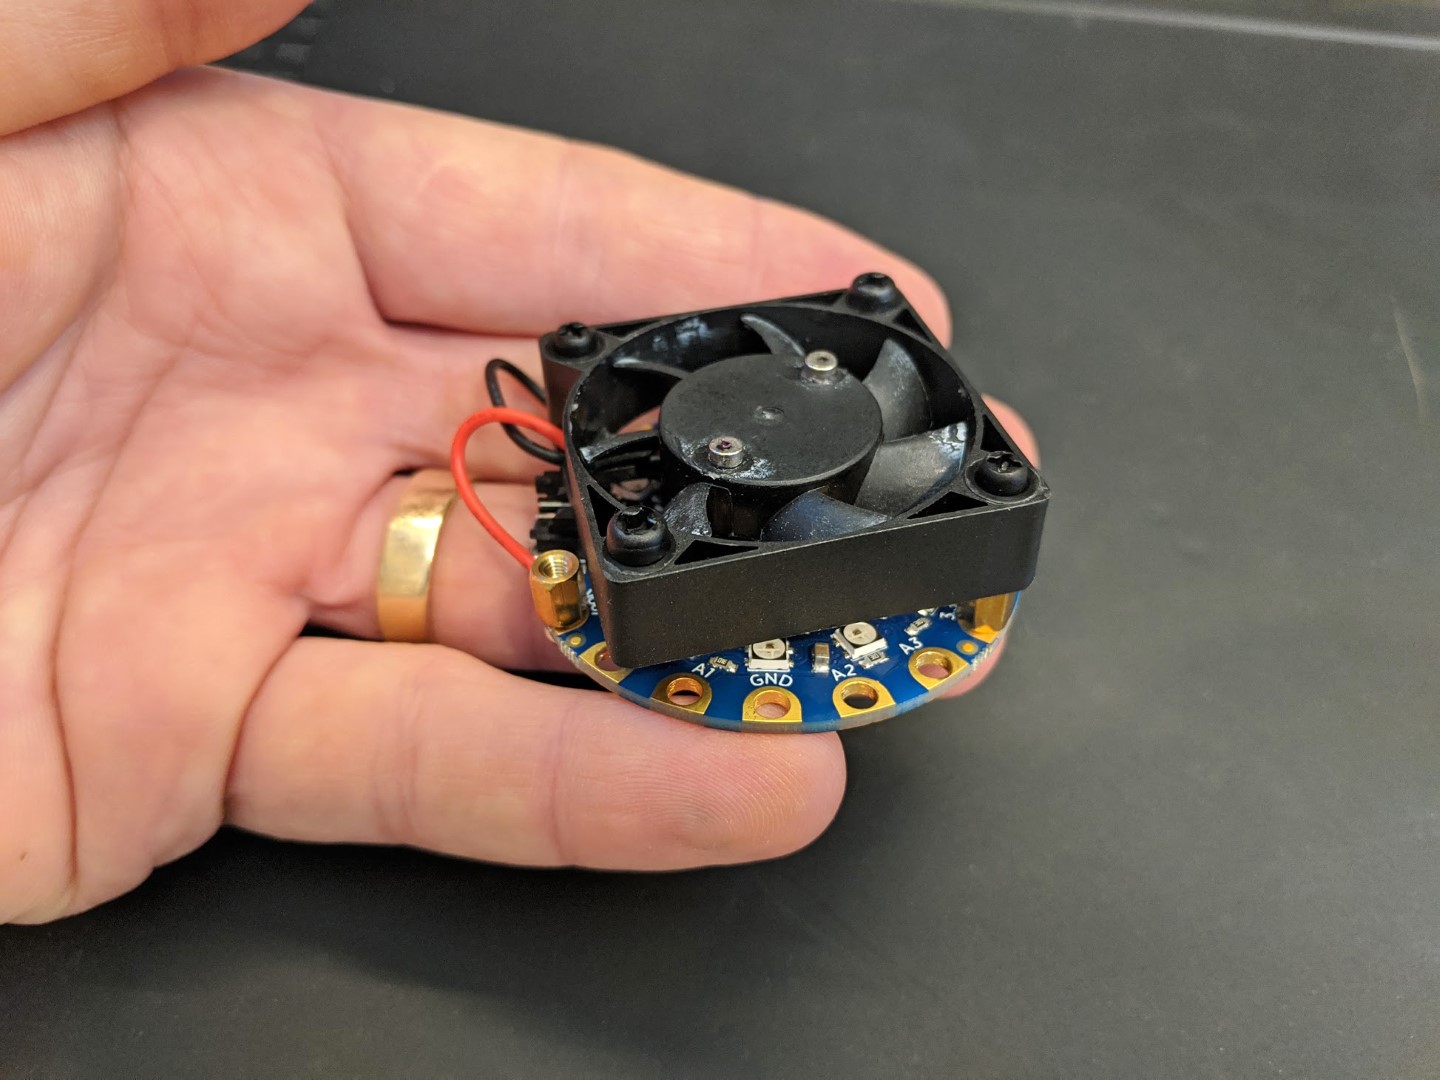
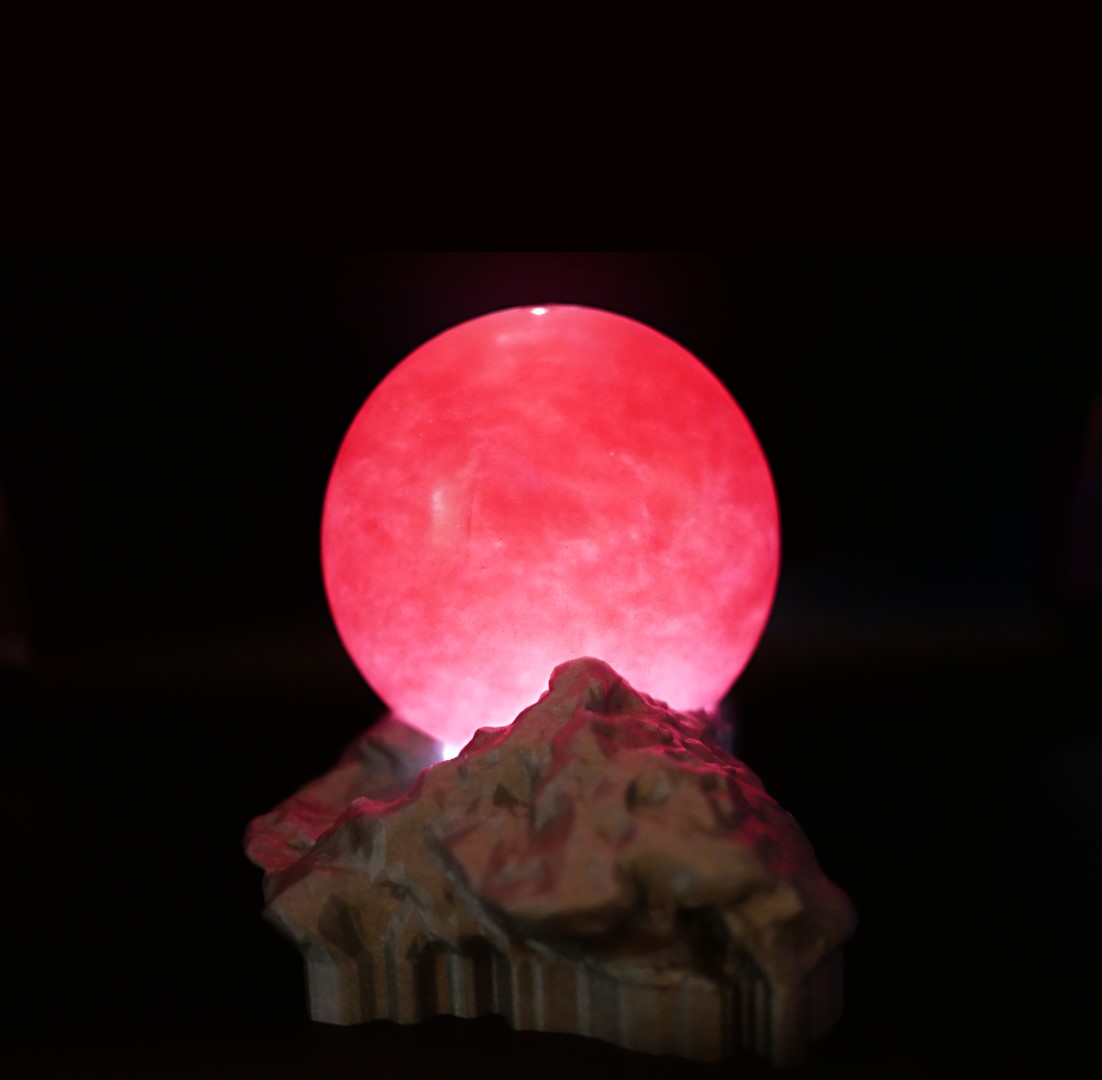
Making a rheoscopic fluid is simple, and it’s easy and inexpensive to buy the mica flakes, because they’re used in manufacturing soap, bath bombs, and makeup. I thought it might be interesting to try to shine a light from behind a rheoscopic fluid display, rather than just relying on reflected light to flash off the mica.

YouTube player

A quick test showed this to be an interesting effect.

The turbulence reminded me of a storm, so I thought it would be fun to bottle some lightning as well!

Project Steps

MAKE A MAGNETIC STIRRER

Take two small magnets and stick them together. Since like poles repel, and opposites attract, this will let you identify the opposite poles of the two magnets. Use a marker to mark the opposite sides of each magnet.

Then glue the magnets down to the edges of the middle of the fan hub. Be sure to do this on the side that spins (the one without the label).

WIRE UP THE BLUEFRUIT

We’re going to just use the USB voltage (5V) to power our fan. There are better ways to do this, but let’s keep it simple! Cut off any connector on the fan wires, and strip the wires back a bit. Then attach the black wire to GND, and the red wire to VOUT (which is 5V, if you’re powering the board from USB). You can solder these if you like, or just make sure the wire is wrapped around the edge of the hole tightly to make a good electrical connection.

ASSEMBLE THE STIR PLATE

Attach the fan to the Bluefruit using non-ferrous M2.5 or M3 screws and standoffs. On a 40mm fan, the diagonal holes line up perfectly with two of the holes on the Bluefruit, which is convenient. You may need to vary the length of standoffs or screws to get an offset between the fan and the base of the snow globe, but the height of the screw heads should be enough space to allow the fan and magnets to spin.

PREPARE THE SNOW GLOBE

Fill the snow globe with water, and add a magnetic stir bar — the little white lozenge shown above. A small bowl can help you keep the snow globe in place, or you can have a friend hold it for you.

It is very easy to add too much mica to your snow globe, which will make a nice swirly effect, but will be completely opaque to light. If you wet the end of a toothpick, dip it in the mica, then into the snow globe, and repeat that process a few times, you’ll have the right amount of mica. Some experimentation may be required, depending on the mica you use.

Place the plastic stopper on the snow globe. If you overfill it a bit, and tilt it while you slowly squeeze the lid on, you can get all the air out to avoid any bubbles.

It’s likely there won’t be enough room to attach the screw-on base; I didn’t use it at all. If you’re worried about leakage, you can glue the plastic stopper on.

PREPARE A BASE (OPTIONAL)

Your Storm Globe will work fine without a base. But I decided to make a Mars-themed version, so I designed a base from the 3D model of the Block Island rock mapped by the Opportunity rover on Mars, and 3D printed it. The STL file is available at Github.

CODE THE BLUEFRUIT

There’s an excellent Adafruit Learning Guide that explains everything about getting a Bluetooth Snow Globe up and running. Read it at Adafruit. Then download the Storm Glass code from Github; it’s a lightly modified version of their demo code.

The stormy section of the code lights up the LEDs on the Bluefruit in such a way that it looks like a lightning flash. This has some random-ness included in it, so no two lightning flashes are the same.

def lightning(config):
start_time = time.monotonic()
last_update = start_time
while time.monotonic() – start_time  config[‘speed’]:
for _ in range(random.randint(1,8)):
pixels.fill(0)
pixels.fill(config[‘color’])
time.sleep(0.02+(.001*random.randint(1,70)))
pixels.fill(0)
time.sleep(.01)
time.sleep(5+random.randint(1,5))
last_update = time.monotonic()

START YOUR STORM!

Magnetic stir plates typically include a speed control, which allows you to start the stirring process gradually. This one doesn’t, so you must be careful to get your stir bar stirring correctly.

If you look underneath the snow globe, you should be able to see your stir bar. Tilt the globe around until the stir bar is more or less in the middle, and then place it on top of the assembled base. Then plug the Bluefruit into a USB port to start the stirring effect. If the stir bar flings off to one side or just rattles around, you may need to try again or adjust the distance slightly between the fan and the base of the snow globe.

GOING FURTHER

There are a lot of ways you can experiment with your Storm Globe and make it your own. Can you make a better lightning animation or more interesting LED lighting effects? Mount one on the end of a staff for an outstanding wizard costume effect? Maybe put waterproof lights inside the sphere? Connect it to a Lightning Detector circuit (Make: Volume 71, page 105) or trigger it with real-time lightning notifications from lightningmaps.org/apps?

I’ve noticed that the mica tends to eventually settle up against the walls of the globe. Easily fixed with an occasional shake and reset, but perhaps maybe a different stir bar would create enough turbulence to prevent it? (There’s a good overview here.)

Unfortunately we can’t control speed directly from the Bluefruit, since the current draw of most fans is too high for it. However, you could certainly build a small circuit with a transistor to control the speed with the Bluefruit. This could be used to add a speed control knob or to slowly ramp up the stirrer.

I’d love to see what you can do with rheoscopic fluids and lighting effects; feel free to show off on Twitter and let me know @grajohnt!