

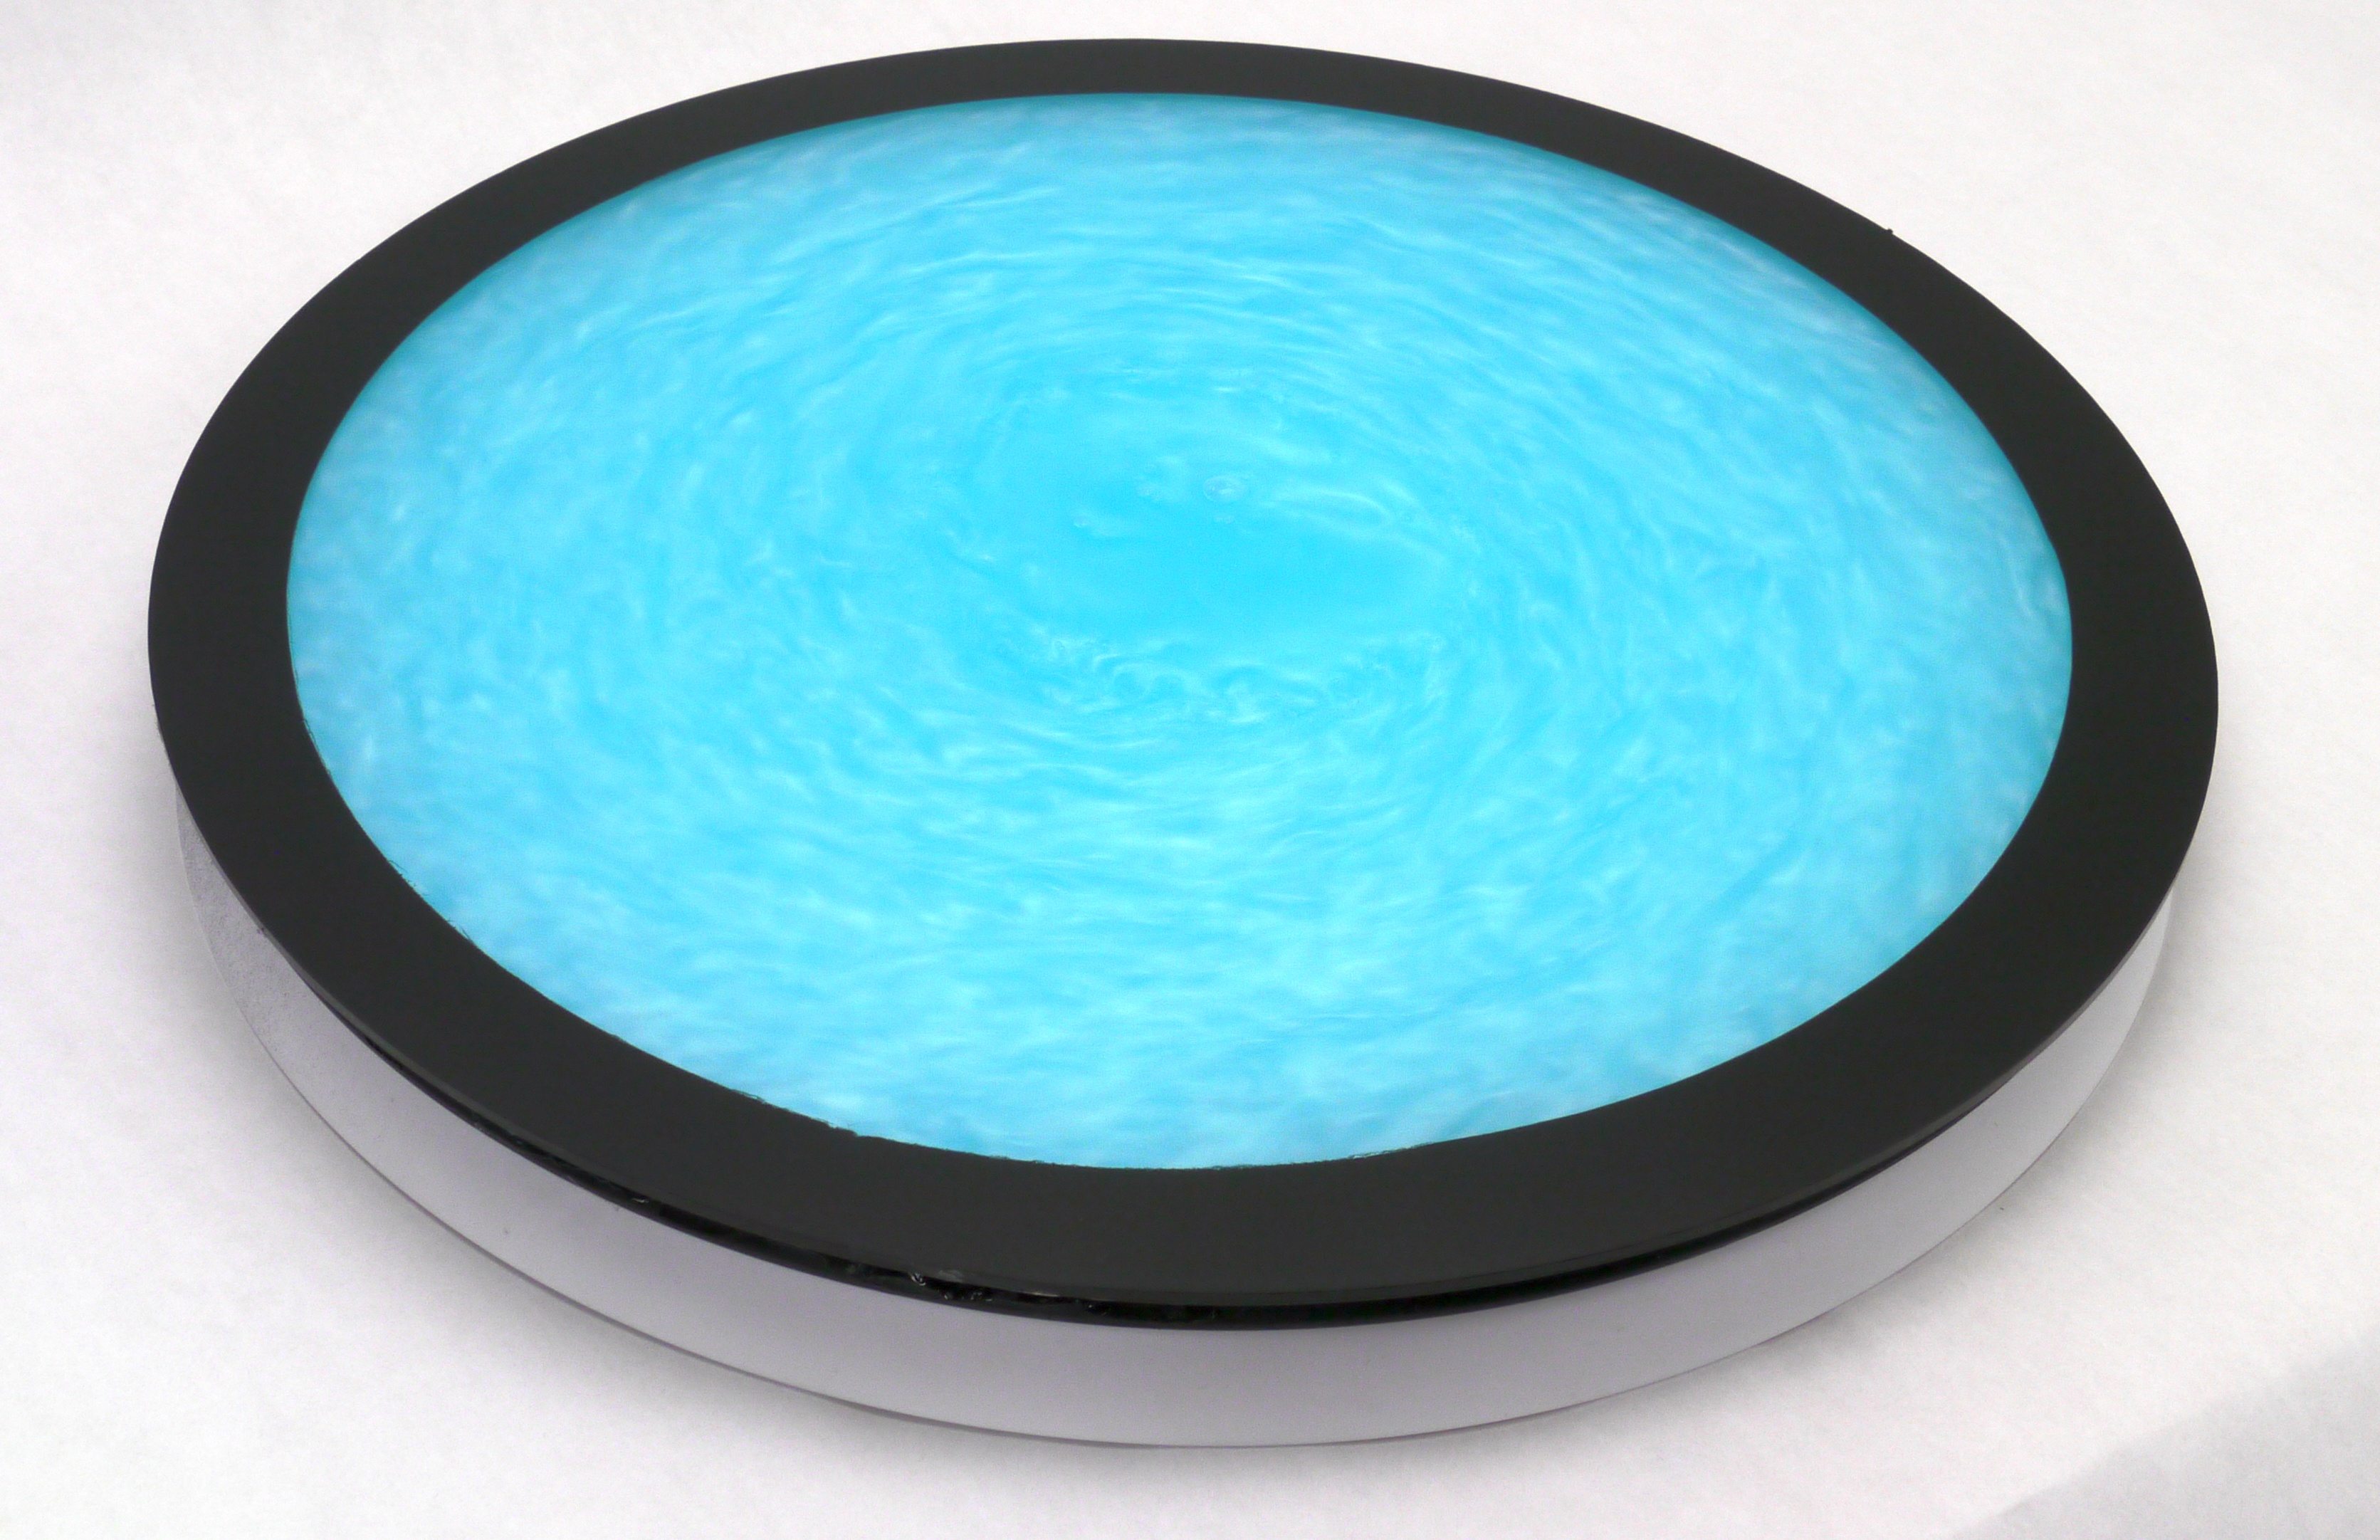

When I last visited the Carnegie Science Center in Pittsburgh, I saw a really beautiful interactive fluid exhibit demonstrating the swirly, churning patterns of turbulence. The fluid was contained in a 3-foot-diameter disc, about 2 inches deep with a sturdy glass top. A large Lazy Susan bearing supported the disc so that visitors could spin it with their hands, creating a vortex in the fluid within. The effect was mesmerizing, causing folks to spend several minutes intently watching the shimmering pearlescent fluid as they rotated the disc. Upon returning home, I immediately began building a similar disc that would fit into my custom wooden coffee table. I showcased this table at Maker Faire Bay Area several times, and in this article I’ll describe how you can build your own fluid turbulence disc from readily available parts in just a few hours spread over a weekend.

[Editor’s Note: This Rheoscopic Disc Coffee Table is a project we liked so much, we’ve kept working on it — we’ve now added the video and the final steps for mounting the disc inside of the table.]
The fluid within these discs is a mixture of water, a small amount of colorant, and finely ground crystals. The crystals are microscopic, flat shiny flakes and orient themselves along the flow direction of the fluid, like logs flowing down a river. In a turbulent fluid, the flow direction is chaotic, with eddy currents and swirling causing the fluid to rapidly change direction without apparent order. Think of river rapids, where the surface is choppy and anything floating on top will be tossed about. The flat crystals track all this chaos, and their surfaces reflect light into your eyes, like the sparkling reflection of the sun on a sandy beach. In some regions of the fluid, the crystals will be oriented together so that they collectively reflect a large amount of light, and in other regions, the fluid flow will cause the crystals to face away and reflect less light. The net effect is that some regions of the fluid will appear brighter. The fluid shimmers as it churns, and is called rheoscopic — meaning “current showing.”

The crystals are slightly more dense than water, and will settle to the bottom of the container if left undisturbed. A vigorous spin of the disc will stir up the fluid and the crystals will remain floating for 5 minutes or so. The crystals are non-toxic and easily washed away, making them an attractive additive of certain pearlescent shampoos and soaps. (In the case of these products, the density of the fluid is adjusted so that the crystals remain suspended and will not settle to the bottom.)
The vortex patterns that are formed within the disc are reminiscent of storm clouds swirling in the atmospheres of Saturn and Jupiter. (They also remind me of spiral galaxies with their twisted starry arms, however the mechanisms of their formation are slightly different. A galaxy is primarily shaped by gravity, which is the simple attraction between objects that have mass. As enormous clouds of gas and stars collide, there will be regions that are slightly denser due to the chance interaction of the clouds. Because the regions have more density, they will have a stronger gravitational pull on nearby matter, and become even denser, leading to the brighter regions of the galaxy. The exact process by which spiral galaxy arms form is still debated, but the theories are all based on the principle of gravitational attraction between huge clouds of matter over huge time scales. The brightness of the spiral arms is caused by a higher density of stars in those regions.)

Gravity does not play a big role in the patterns formed in the fluid disc. Instead, it’s the friction between the liquid molecules, which are in intimate contact with each other and the walls of the container. When a fast-moving region of fluid encounters a slower-moving region, the molecules slide past each other, and their path will meander like a person trying to make their way through a crowded room. What’s interesting is that the behavior of these sliding molecules can take one of two very distinct paths — calm or turbulent — which can be visualized in your fluid disc. Let the disc settle for a couple minutes, then start spinning it at a constant rate. You’ll notice that the fluid area near the center of the disc remains calm, and the outer area near the edge is turbulent. However, there is not a gradual transition from calm flow (called laminar flow) to turbulent flow — rather there’s a distinct transition point. This occurs because once a fluid starts to become turbulent due to very minor, random perturbations, it causes nearby fluid to also become turbulent, which spreads even more turbulence. The transition point forms where the smooth, orderly flowing of the fluid cannot resist the positive-feedback loop of perturbations that cause chaos. Note that there are no pumps inside the fluid disc — the fluid motion is caused entirely by the friction between the liquid molecules and the smooth plastic surface of the turntable and plastic disc.
Engineers have learned how to predict when a fluid will transition from laminar flow to turbulent flow based on the fluid’s viscosity, speed, and the size of the container or object that’s touching the fluid. This allows the performance of many everyday objects to be optimized. For example, the fuzzy surface of a tennis ball allows it to travel with less air resistance because the fuzz creates turbulence, which paradoxically affects the ball’s flight less than laminar flow would. The same is true for dimples on a golf ball. The size of the ball, the expected speed of travel, and the viscosity of the air all factor into producing an optimal surface pattern that can double the range of a sports ball. If you’re designing a ship, an oil pipeline, an airplane, or many other objects the encounter fluid flow, understanding the transition to turbulence is an important part of the process. The fluid disc described in this article is very similar in principle to the tools that researchers use to study fluid dynamics in the lab. It also happens to be visually entrancing — a great demonstration of the beauty of science.