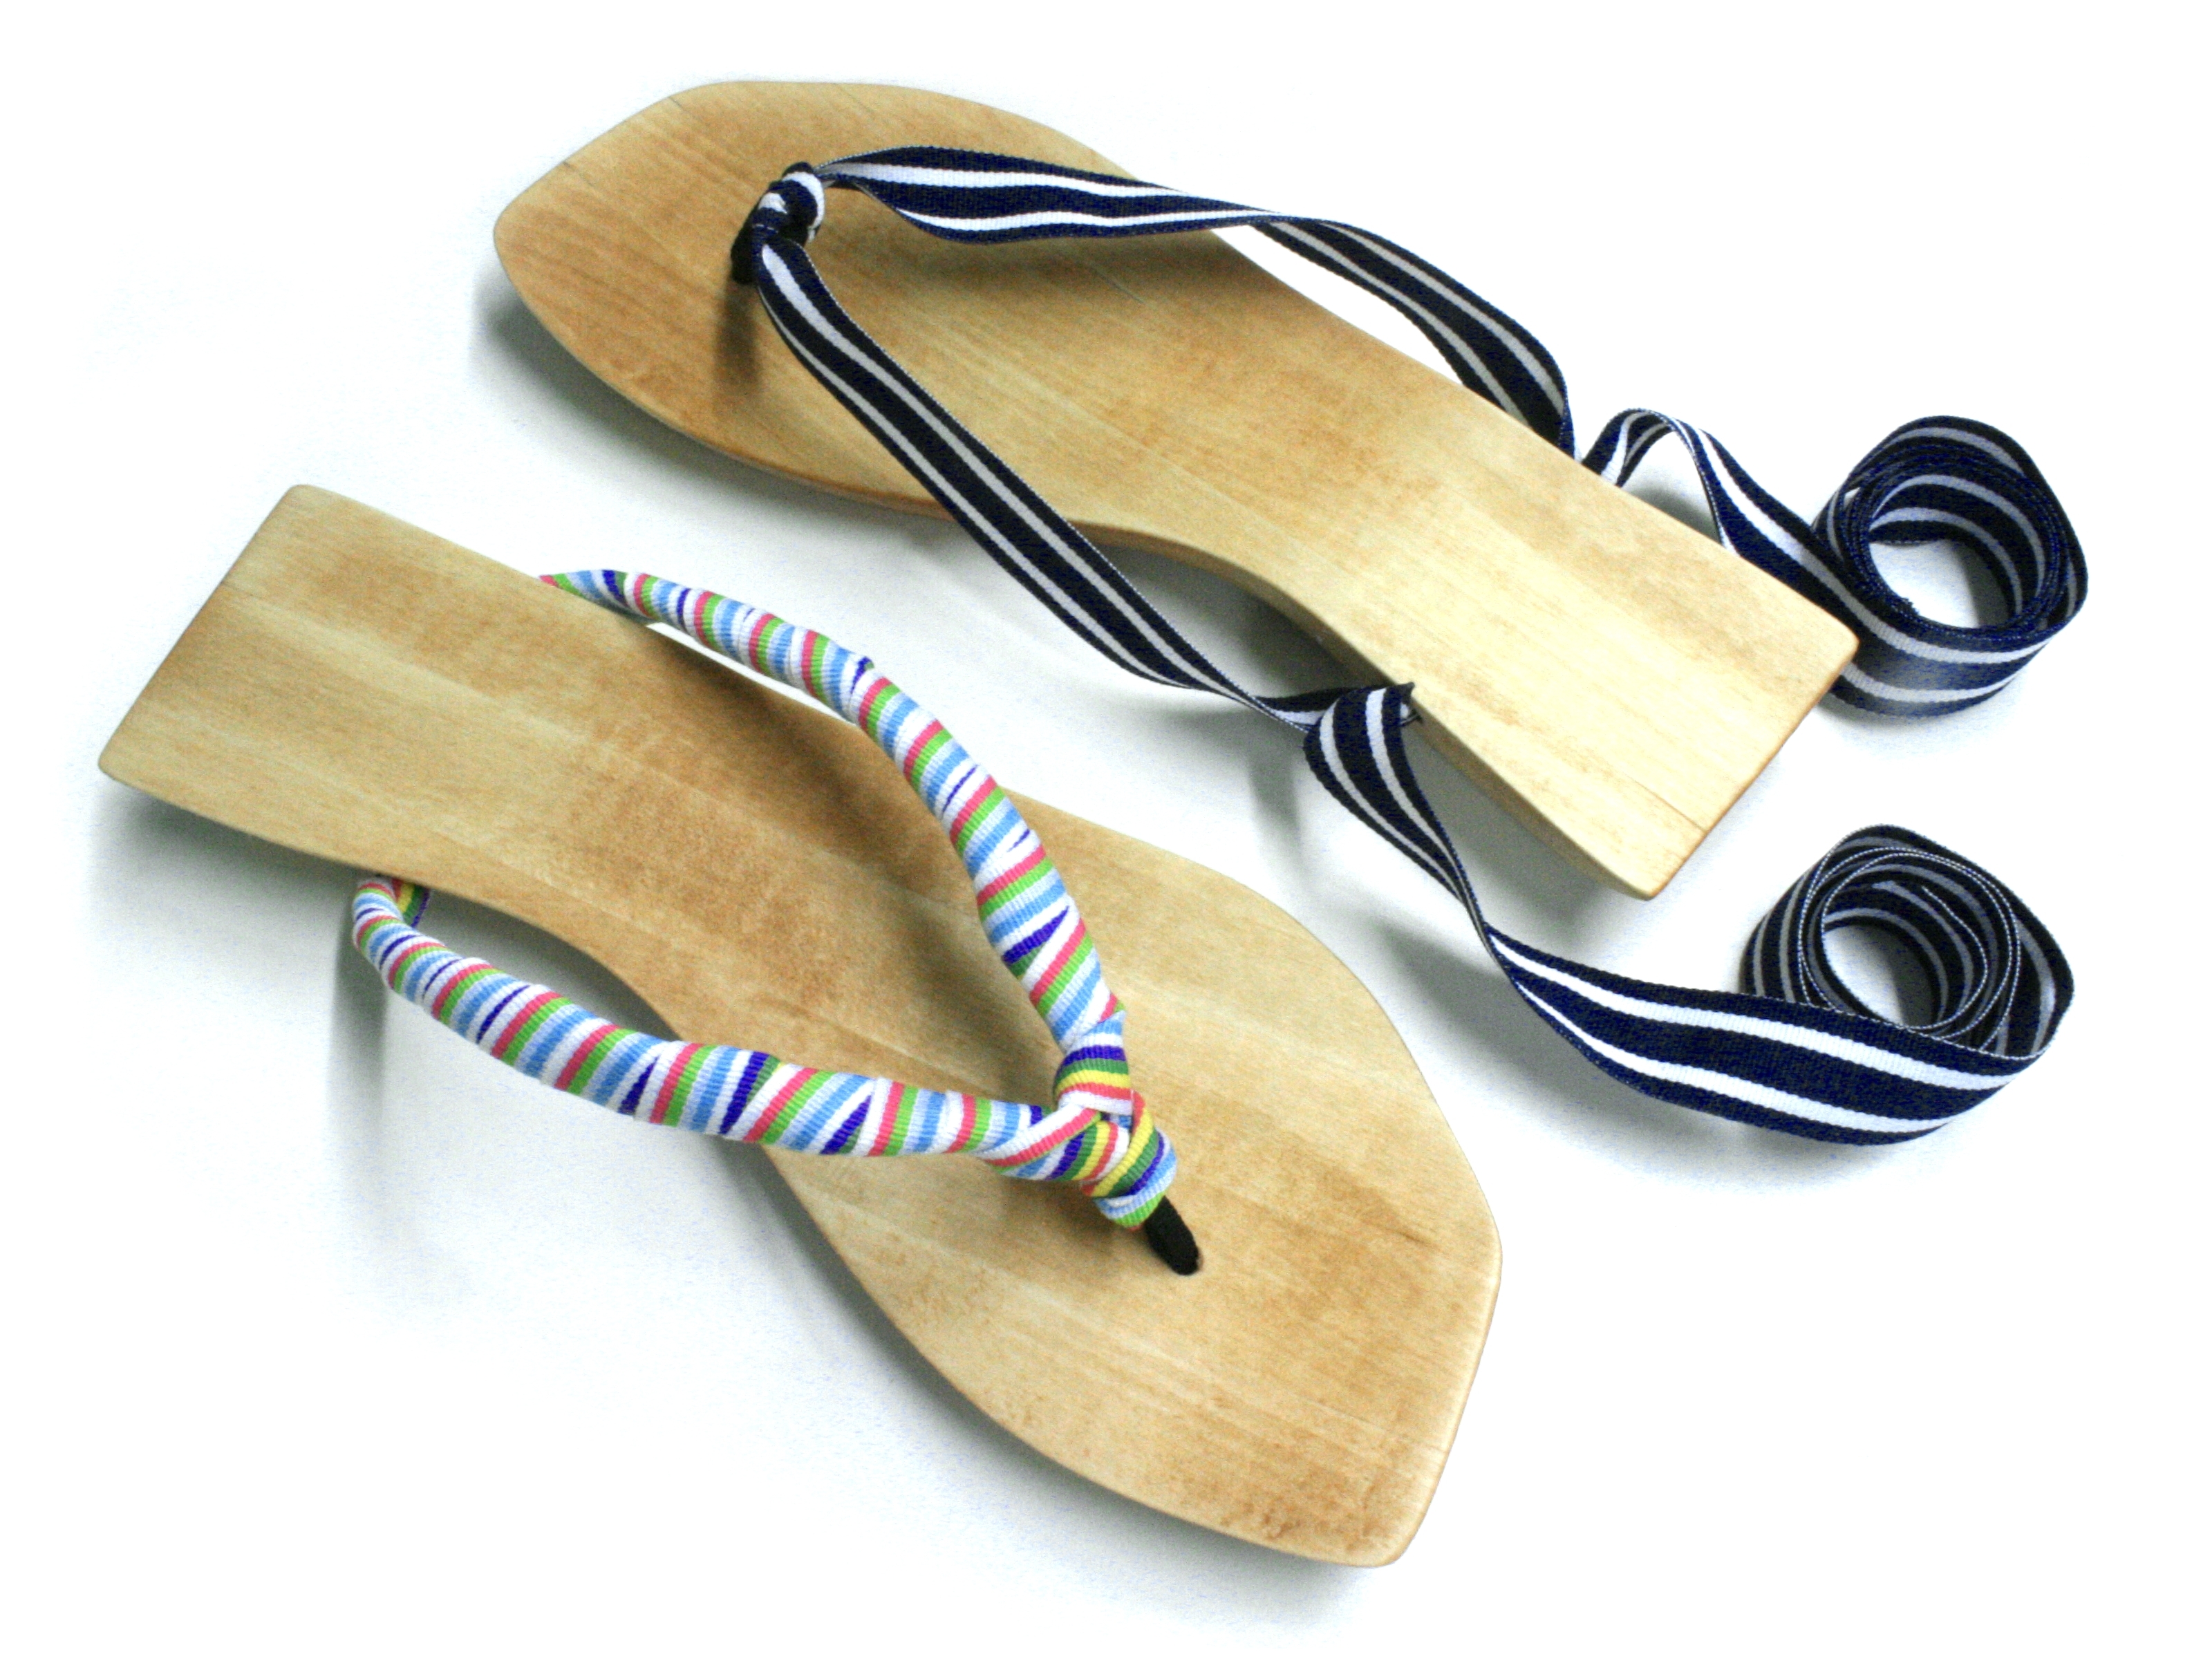
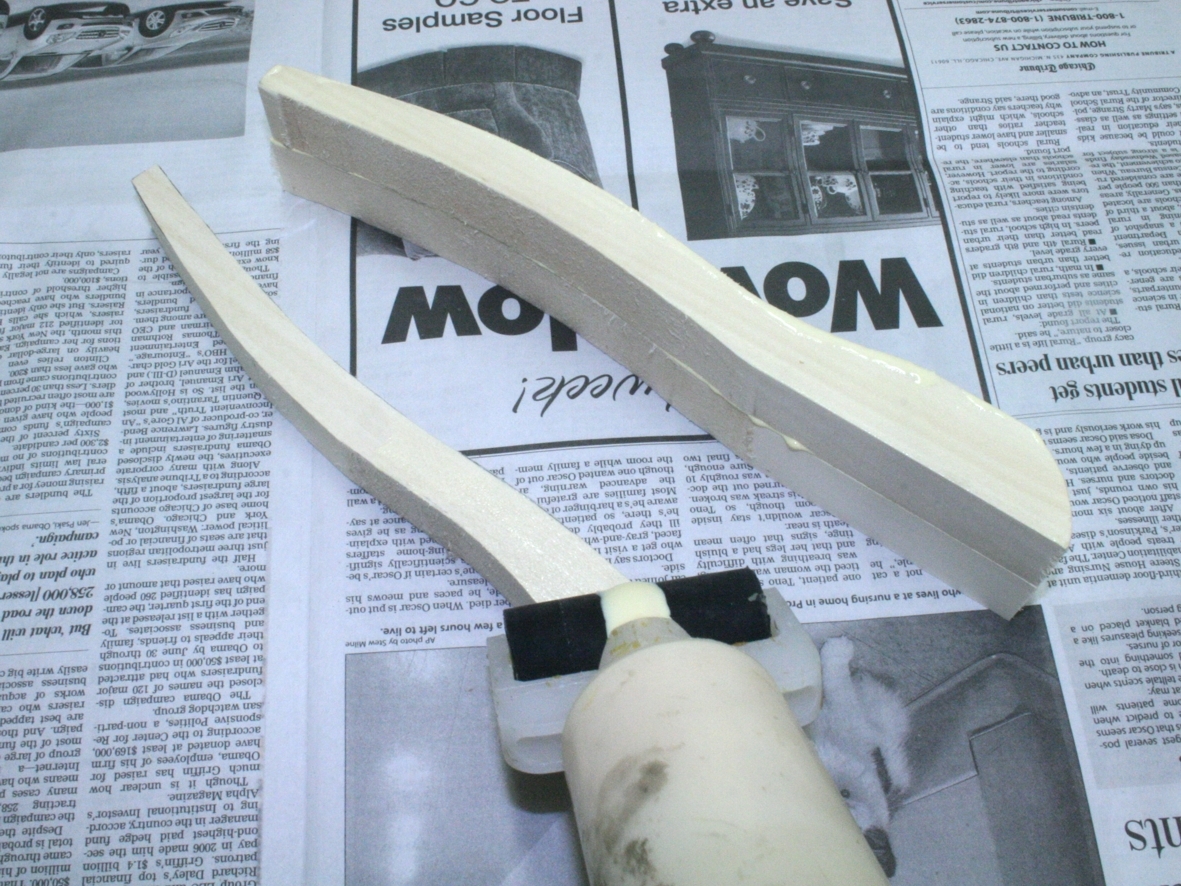
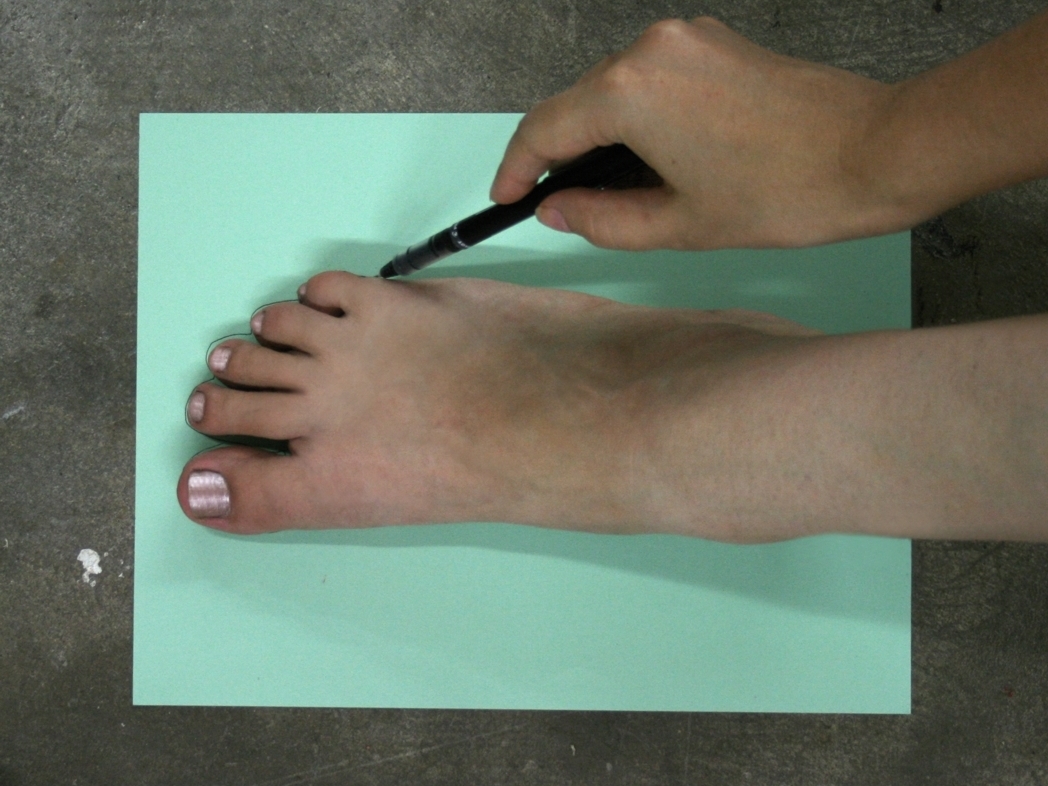
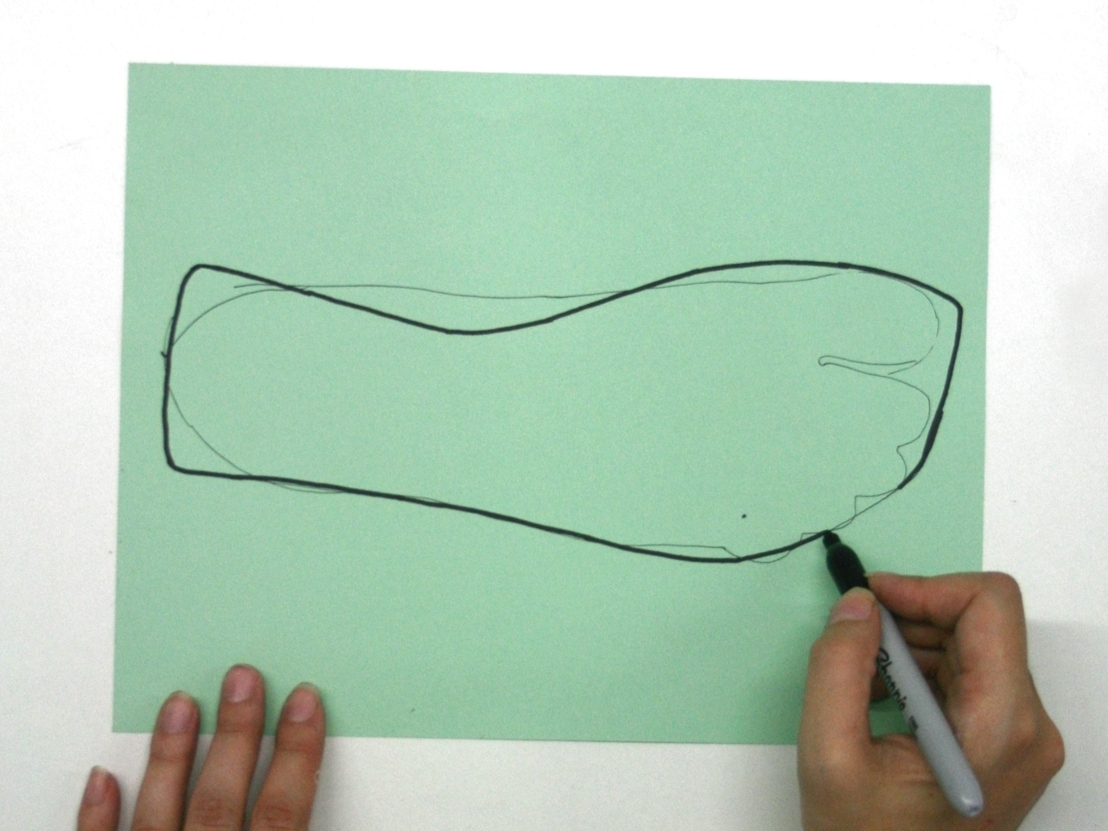
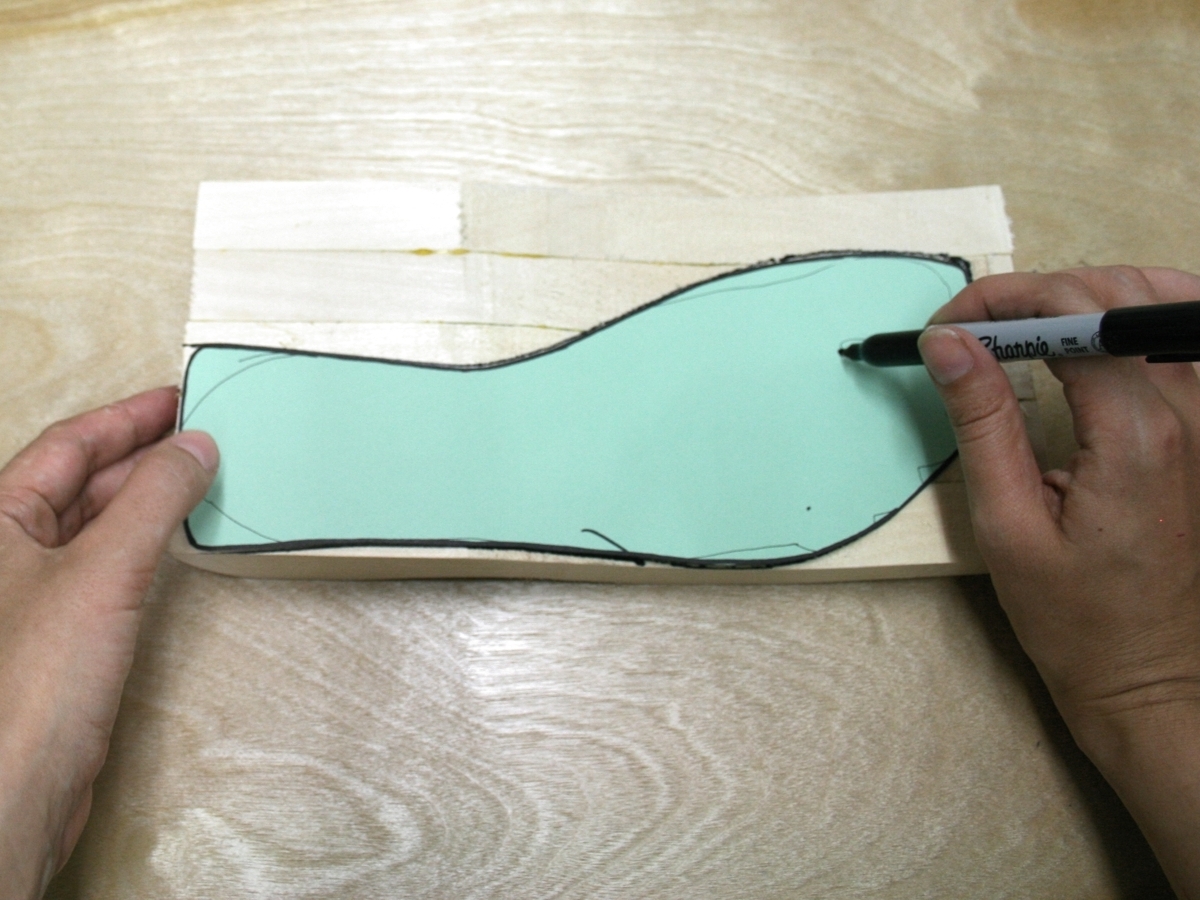
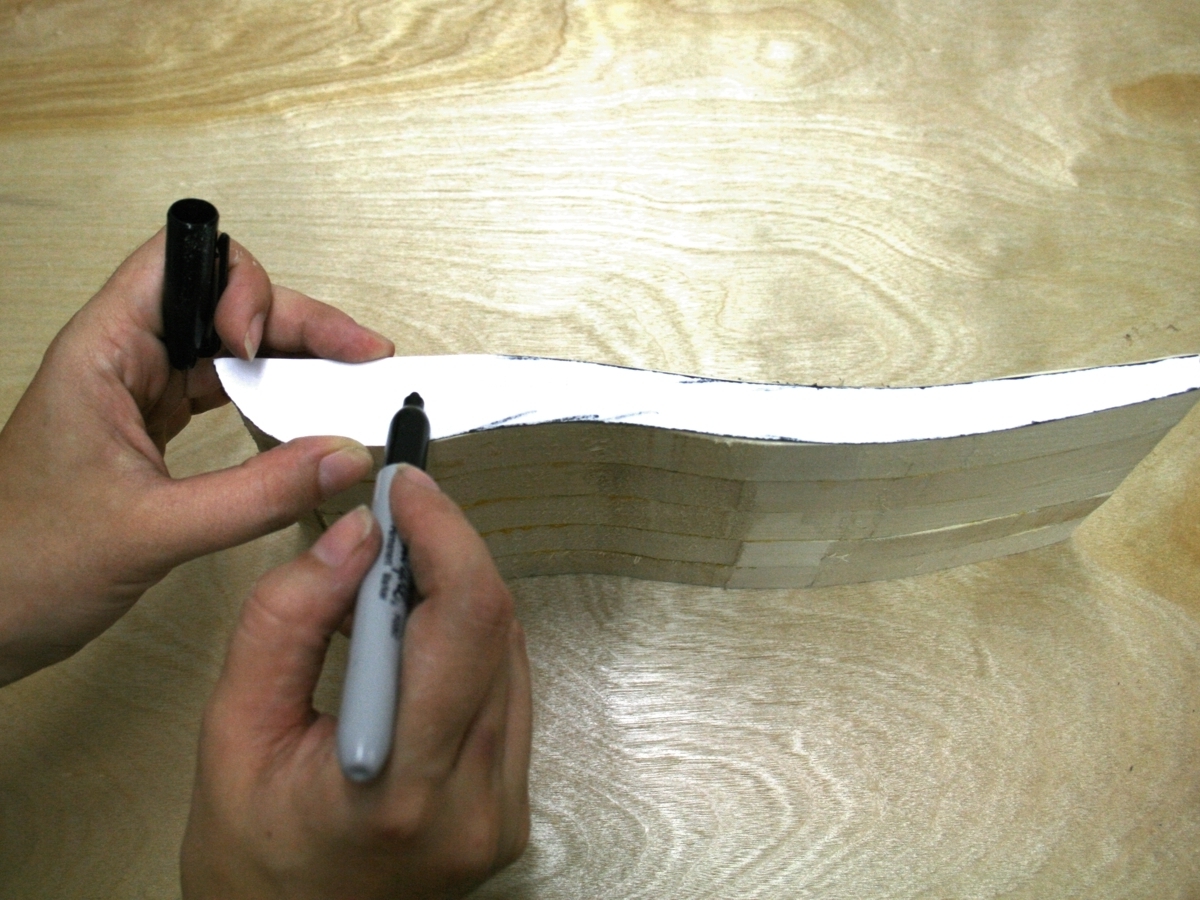
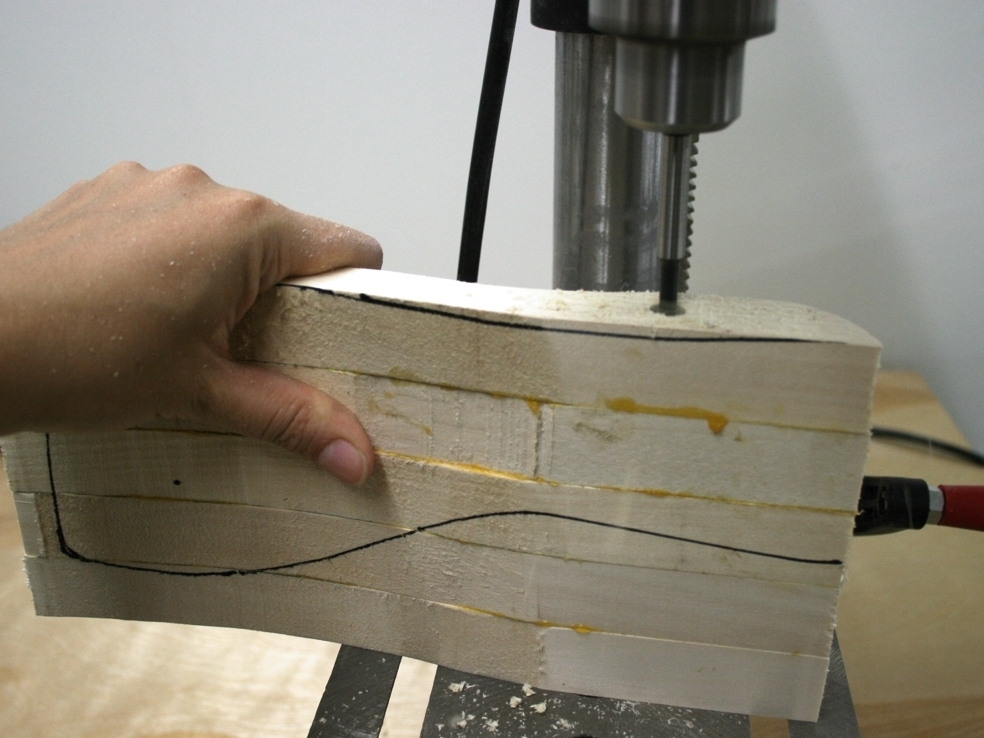
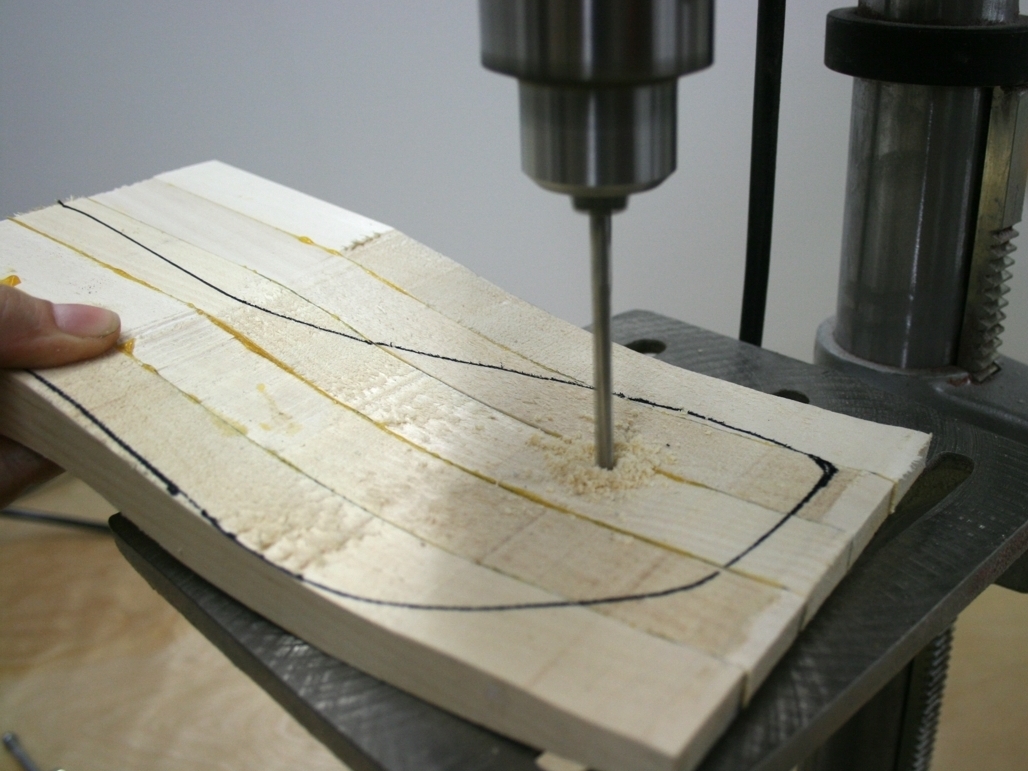
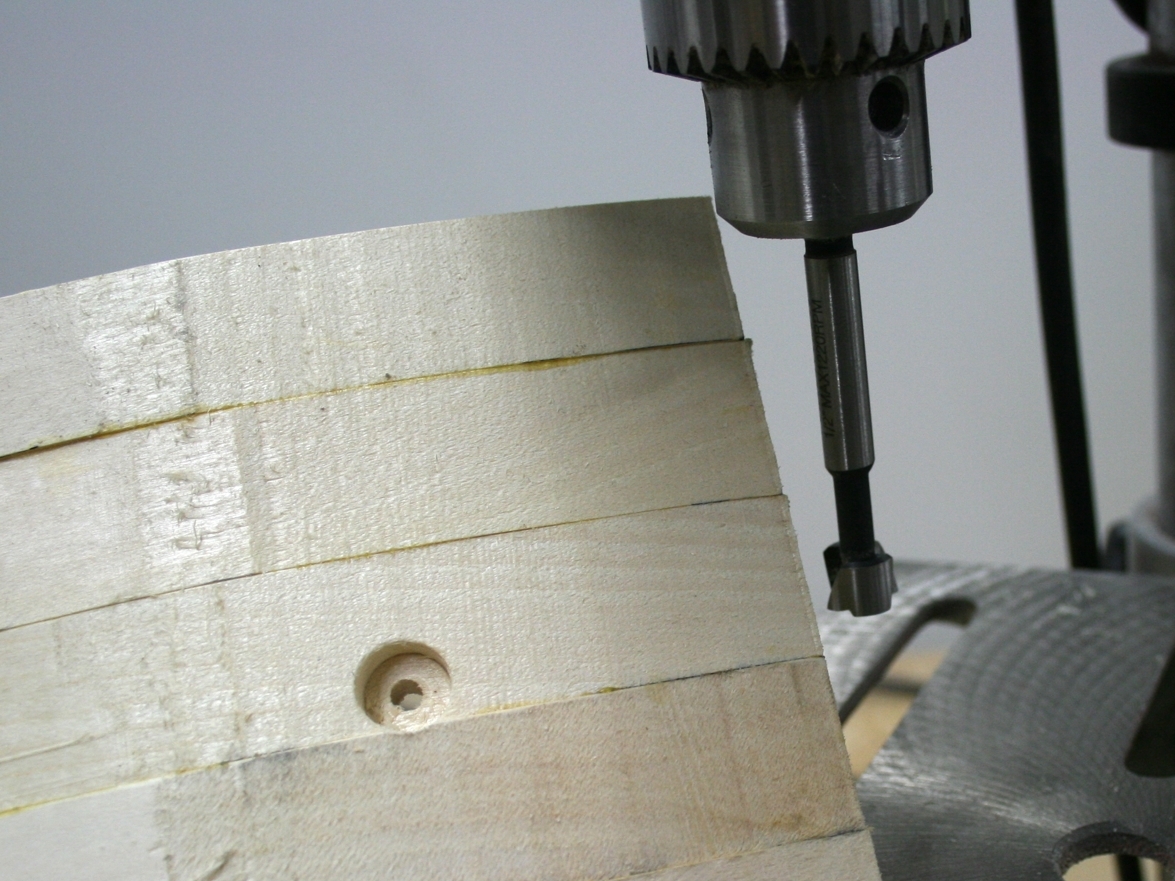
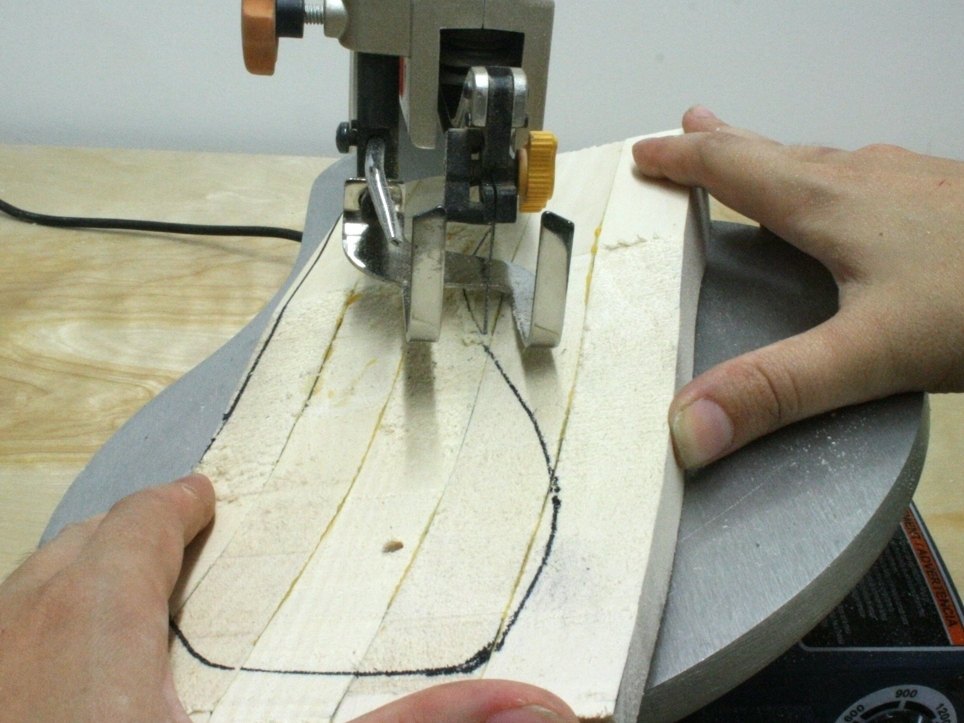
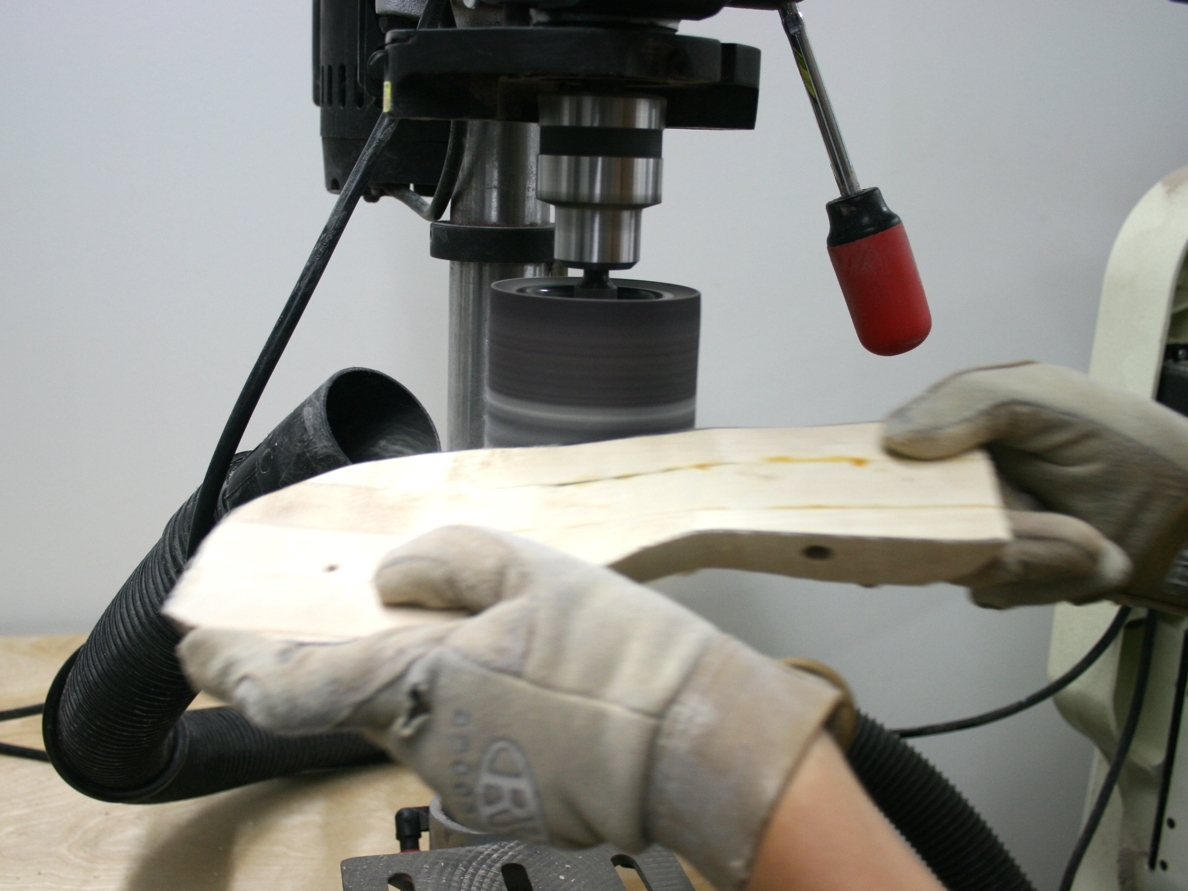
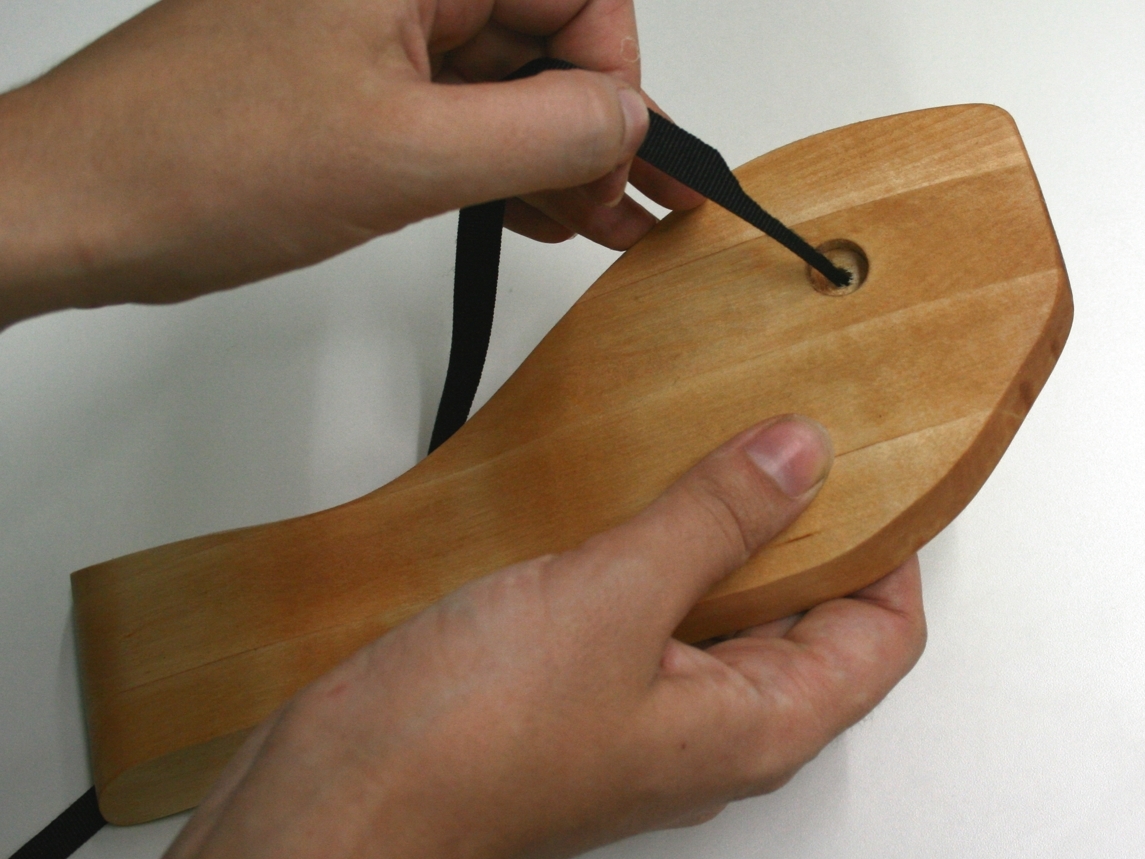
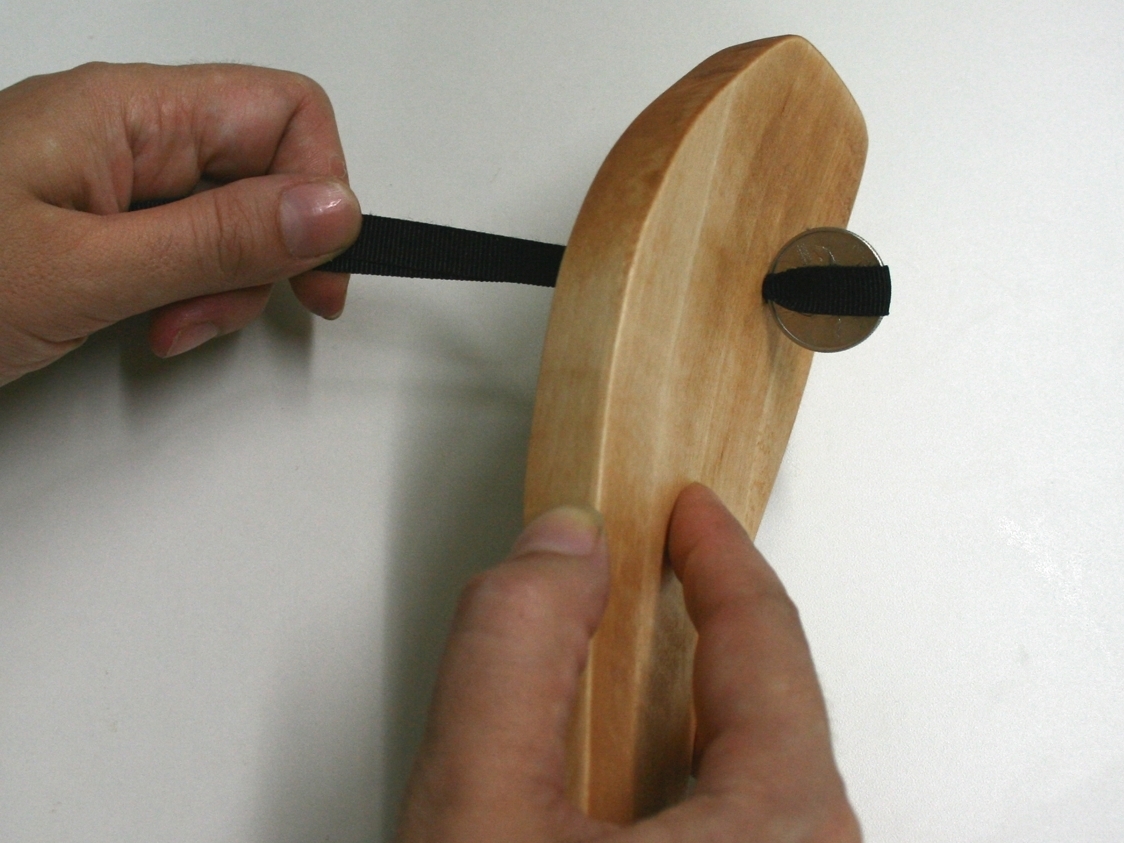
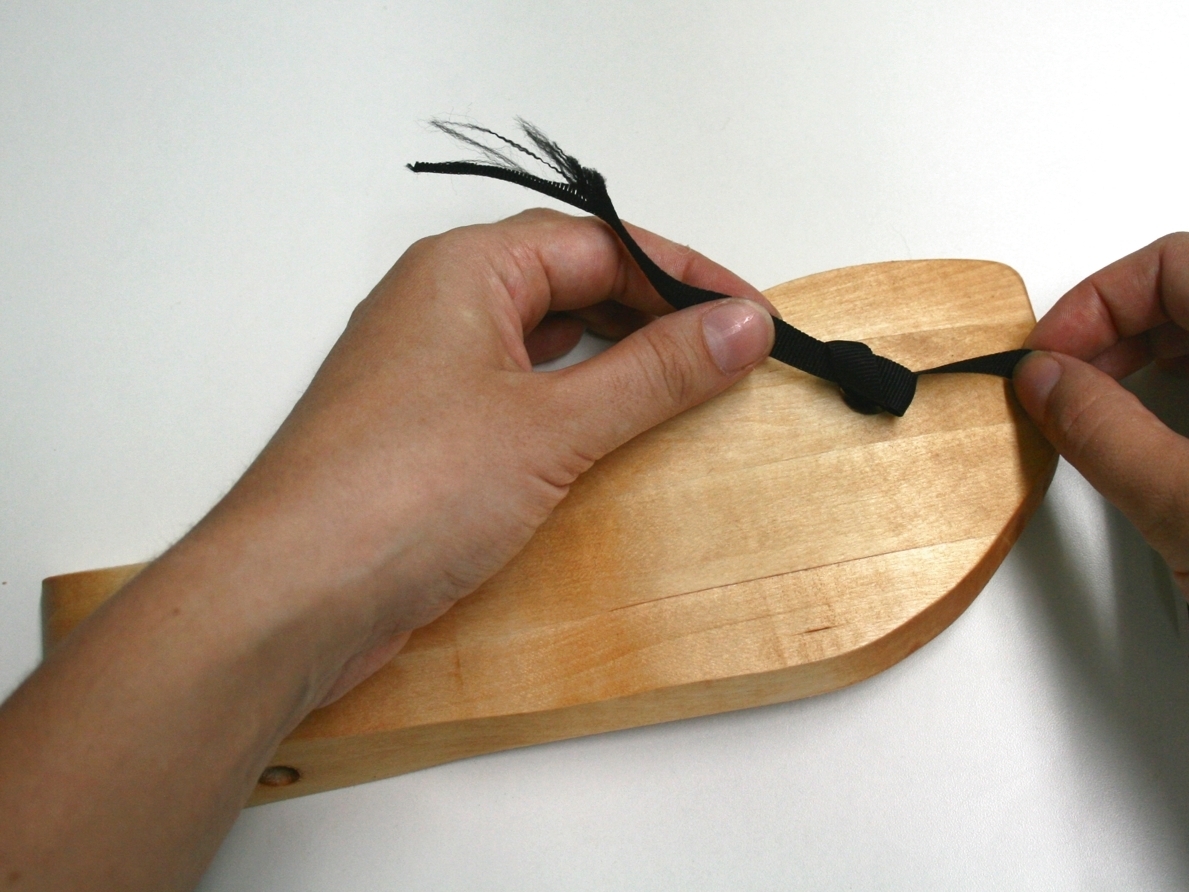
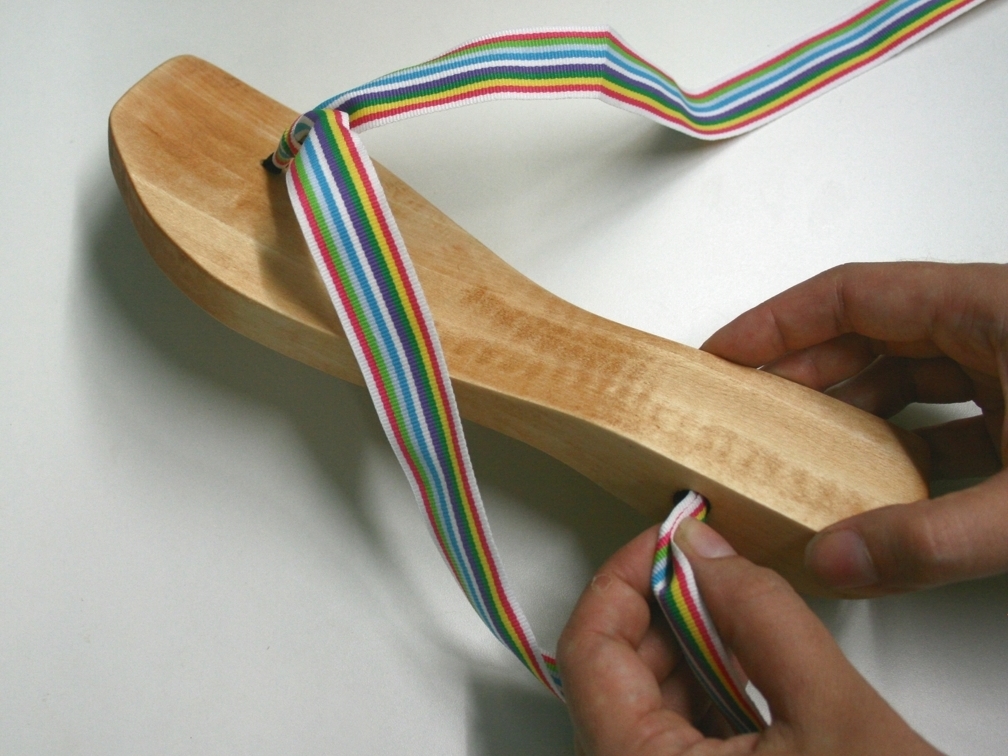
Nearly as long as humankind has roamed the earth, people have been wearing shoes. Ancient Egyptians, Indians, and East Asians began sporting wooden sandals thousands of years ago. Thankfully, inexpensive power tools have sped up the tedious process of carving ergonomic shoes from slabs of wood. Add a few interchangeable ribbon ties, and you’ve got a modern twist to the ancient thong-style sandal. With a variety of wood finishes, footbed shapes, and ribbon styles, along with myriad ways to lace and tie the shoes, the design options for these sandals are nearly limitless. So take a cue from history and fashion yourself a custom pair of wooden kicks.

Project Steps

Cut the dowels.

Make a mark every 12″ along the length of each dowel by using a square to draw lines perpendicular to the length of the wood. Using the saw, cut the dowels along the lines, so you’ll end up with at least ten 12″-long dowels. Each shoe uses 5 dowels.

If you’re using a band saw, you can start with two 1″×5″×12″ pieces, rather than the dowels. Cut the profile once for each shoe, and skip the gluing steps.

Print out the profile template on cardstock. Cut out the template that matches your regular shoe size. Then align the heel of the profile template with the back edge of the wood. Trace the profile on all 10 dowels.

Using the saw, cut each of the dowels along the pattern line, taking care to cut as accurately as possible. It’s better to cut just to the outside of the line.

Sand the cut edges lightly. You’re just trying to remove splinters now, without reshaping the wood.

Glue the dowels.

Spread a thin, even layer of glue on the entire side profile of a dowel using a glue roller or foam paintbrush. Wipe off any excess glue. Set the dowel down with the gluey side up.

Apply glue in the same manner to the opposite profile of another dowel. Stack the gluey side of this dowel onto the gluey side of the first dowel. Repeat these steps until you’ve glued a stack of 5 dowels.

Clamp the stack of dowels together as tightly as you can, placing 1 clamp near the heel, 1 near the toe, and 1 at the mid-foot. This may be tricky, as the glue makes the wood pieces slide around. Make sure all the dowels are aligned using the square. I just clamp the stack right to my tabletop.

Repeat, gluing and clamping the second set of 5 dowels. Let them dry overnight.

Design your footbed.

Trace your right foot onto a piece of cardstock.

Using your foot shape as a guide, draw a plan view for your shoe over the tracing. Smooth out little bumps and create a nice toe and heel shape. You can make any shape you’d like — experiment with round, pointed, and square toes.

This is now your plan template. Cut it out and place your foot on it again. Stick your pencil in the crotch between your big toe and second toe, and draw a little mark. This is the thong hole location. Using a sharp pencil, poke a hole in the template there.

Unclamp your glued dowel stacks. Place the template on the topside of one of the glued-up stacks, aligning the back of the heel with the back of the dowels, and the right side of the template with the right side of the dowels. Trace the plan onto the dowels, and mark the location of the thong hole.

Turn your template over, and repeat the previous step on the other glue-up, mirroring the alignments with the back and left side of the left shoe.

Drill the holes.

Using a sharp pencil, poke a hole in the center of the “hole location” on your profile template according to your shoe size. Mark this hole location on the left side of the left shoe, and the right side of the right shoe.

Install the 3/8″ bit in the drill press. Placing a shoe on its side, with the hole location facing up, drill a hole. Your drill press may only be able to drill a couple of inches deep, which is fine. Drill as far as you can. Repeat with the other shoe.

If the drill press doesn’t drill all the way through, place the 3/8″ bit into a hand drill, and drill the hole farther in. The hole you drilled earlier will keep you going in the correct direction. You may still not be able to drill all the way through the 5″ dowel stack. That’s fine, too — 3 1⁄2″ deep should be plenty to go all the way through the heel when the shoe is cut out.

Install the 1/8″ bit into the drill press. Hold the shoe firmly so the thong hole location will be drilled perpendicularly through the top of the shoe (the shoe will be rocked forward toward the toe). Drill all the way through the shoe. Repeat with the other shoe.

Install the 1⁄8″ Forstner bit in the drill press. Turn the shoes over and drill about 3/16″ to 1⁄4″ deep into the bottom of the shoe at the thong hole location using the existing 1/8″ hole to center the hole you’ll drill with the Forstner bit.

Finish the shoes.

Adjust the table on your saw to 20°. Carefully cut out the shoes along your plan line, making sure that the shoe is downhill from the saw blade. This creates an elegant taper to the edge of the sandal.

Install the sanding drum to the drill press. Sand each shoe until it’s smooth to the touch, being careful not to sand so much that you change the size and shape of the shoes.

I like to rig up a shop vac to collect sawdust from the drum, otherwise dust flies everywhere!

Make the shoes extra-smooth with a quick sanding using fine-grit sandpaper. Then stain, paint, and/or seal the shoes according to the manufacturer’s instructions. Set them out to dry.

Cut the 3/8″ black grosgrain ribbon into two 9″ lengths. With sharp scissors, trim the last inch on 1 end of each ribbon to about 1/8″ wide.

Thread the narrow end of the ribbon through the thong hole, from bottom to top. At the top, leave a big loop in the ribbon. Taking care not to twist the ribbon, thread it back down.

Pulling the ribbon from the bottom of the shoe, reduce the loop on the top to about 1″ — to hold this size, it might help to stick a quarter in the loop. Tie a sturdy knot or two on the ribbon, trim the ends, and dab a little glue on the knot, which should fit in the hole you made with the Forstner bit. Repeat with the other sandal.

Lace a ribbon through the thong loop and the hole in the back of the shoe, and tie however you want. Swap ribbons as often as you like. If lacing around your ankle, use stretchy ribbons for extra comfort.

The shoes may be loud on hard surfaces. If you’re shy with this kind of attention, visit your local cobbler and ask for soling that either you or he can attach.

Conclusion

This project first appeared in CRAFT Volume 07, Pages 44-48.