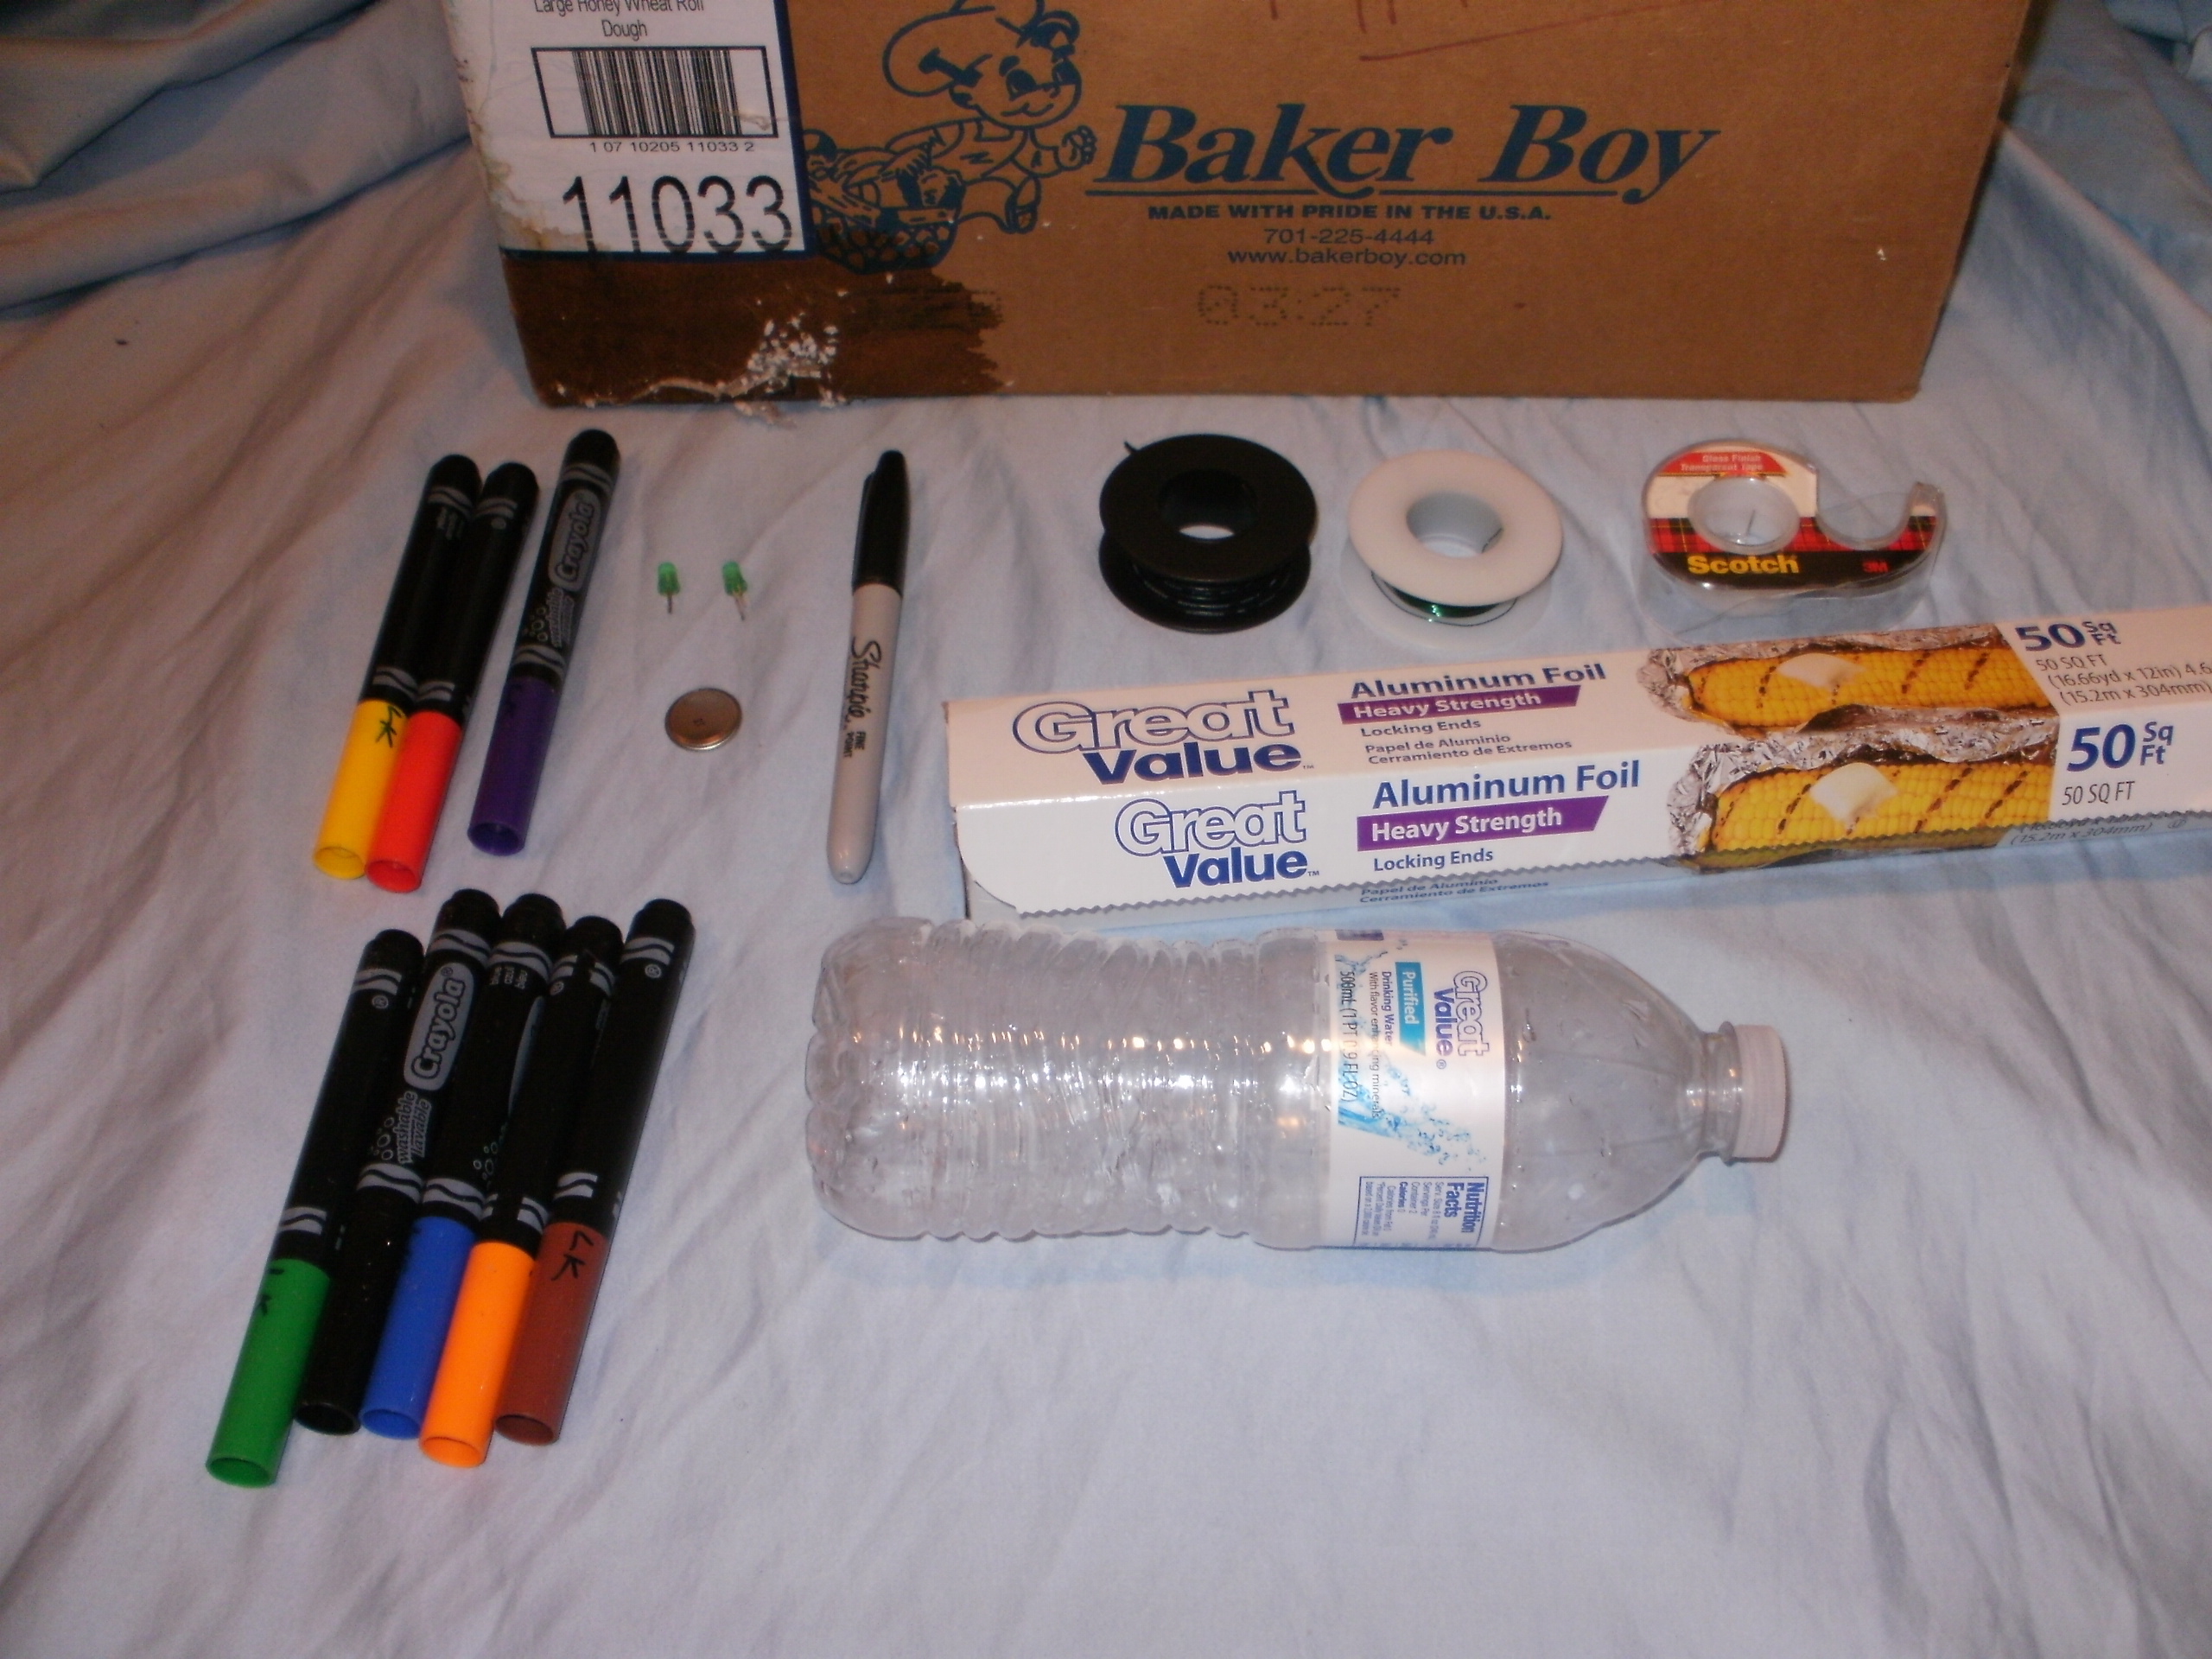
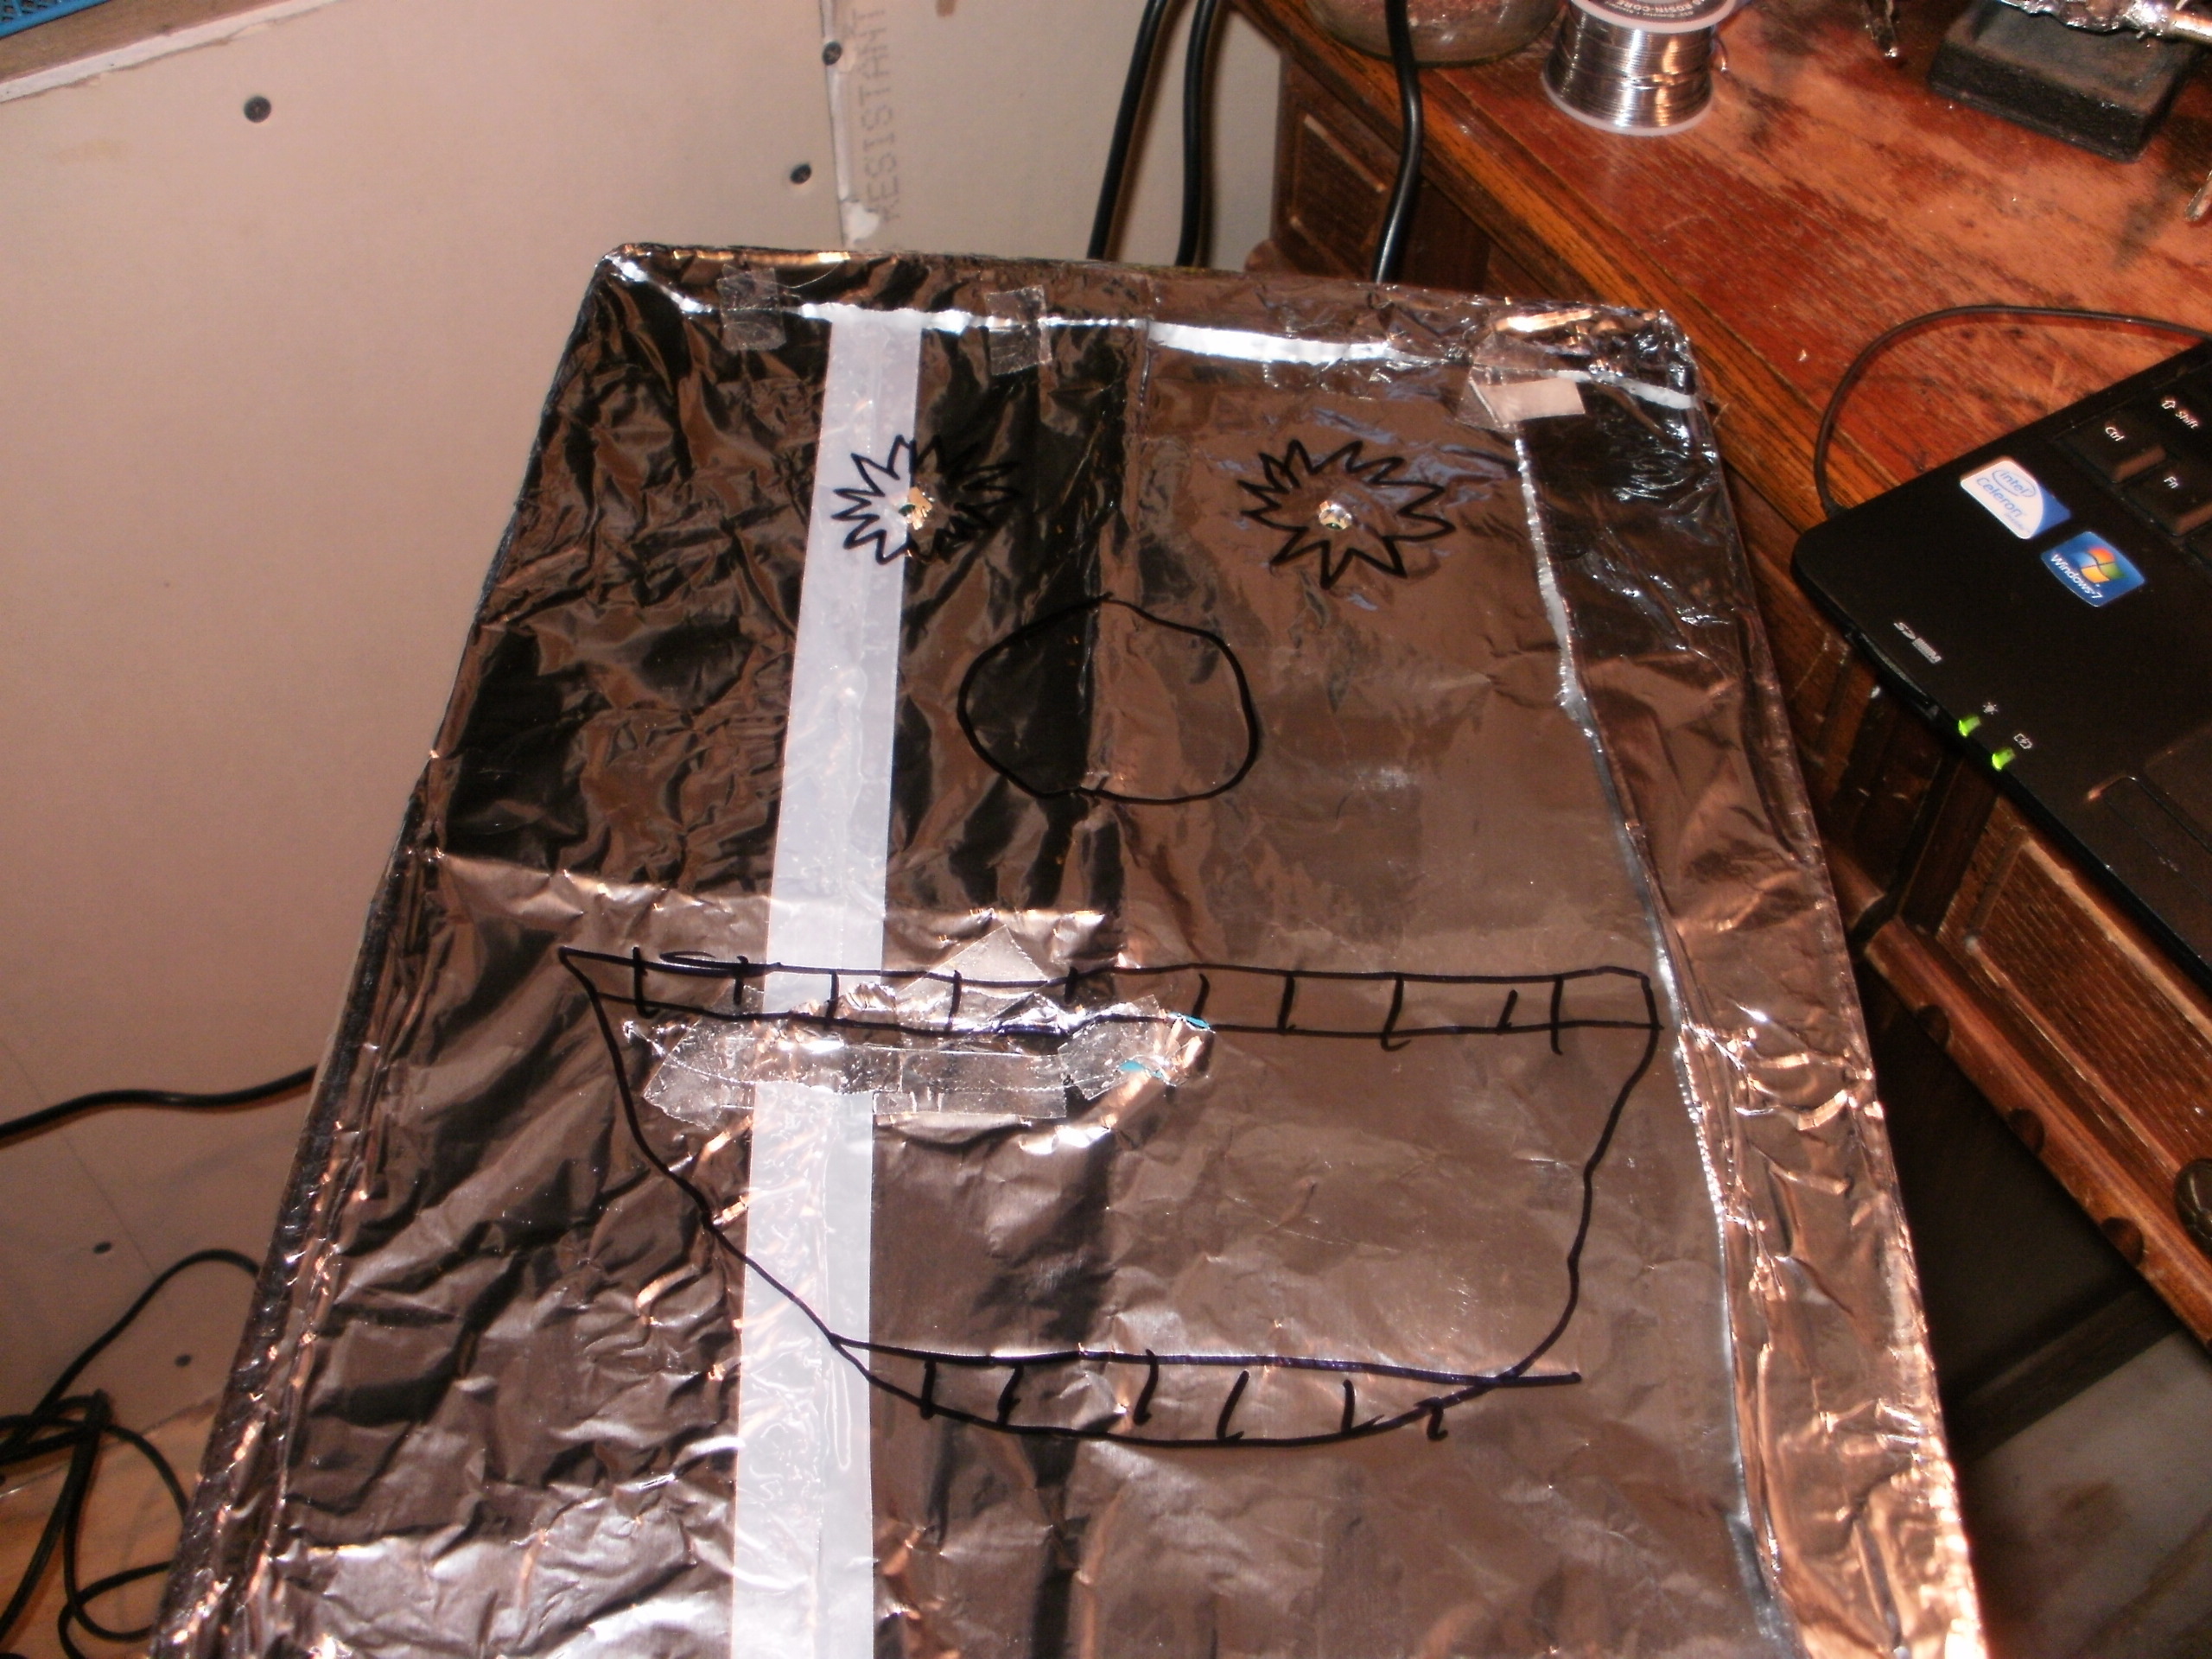
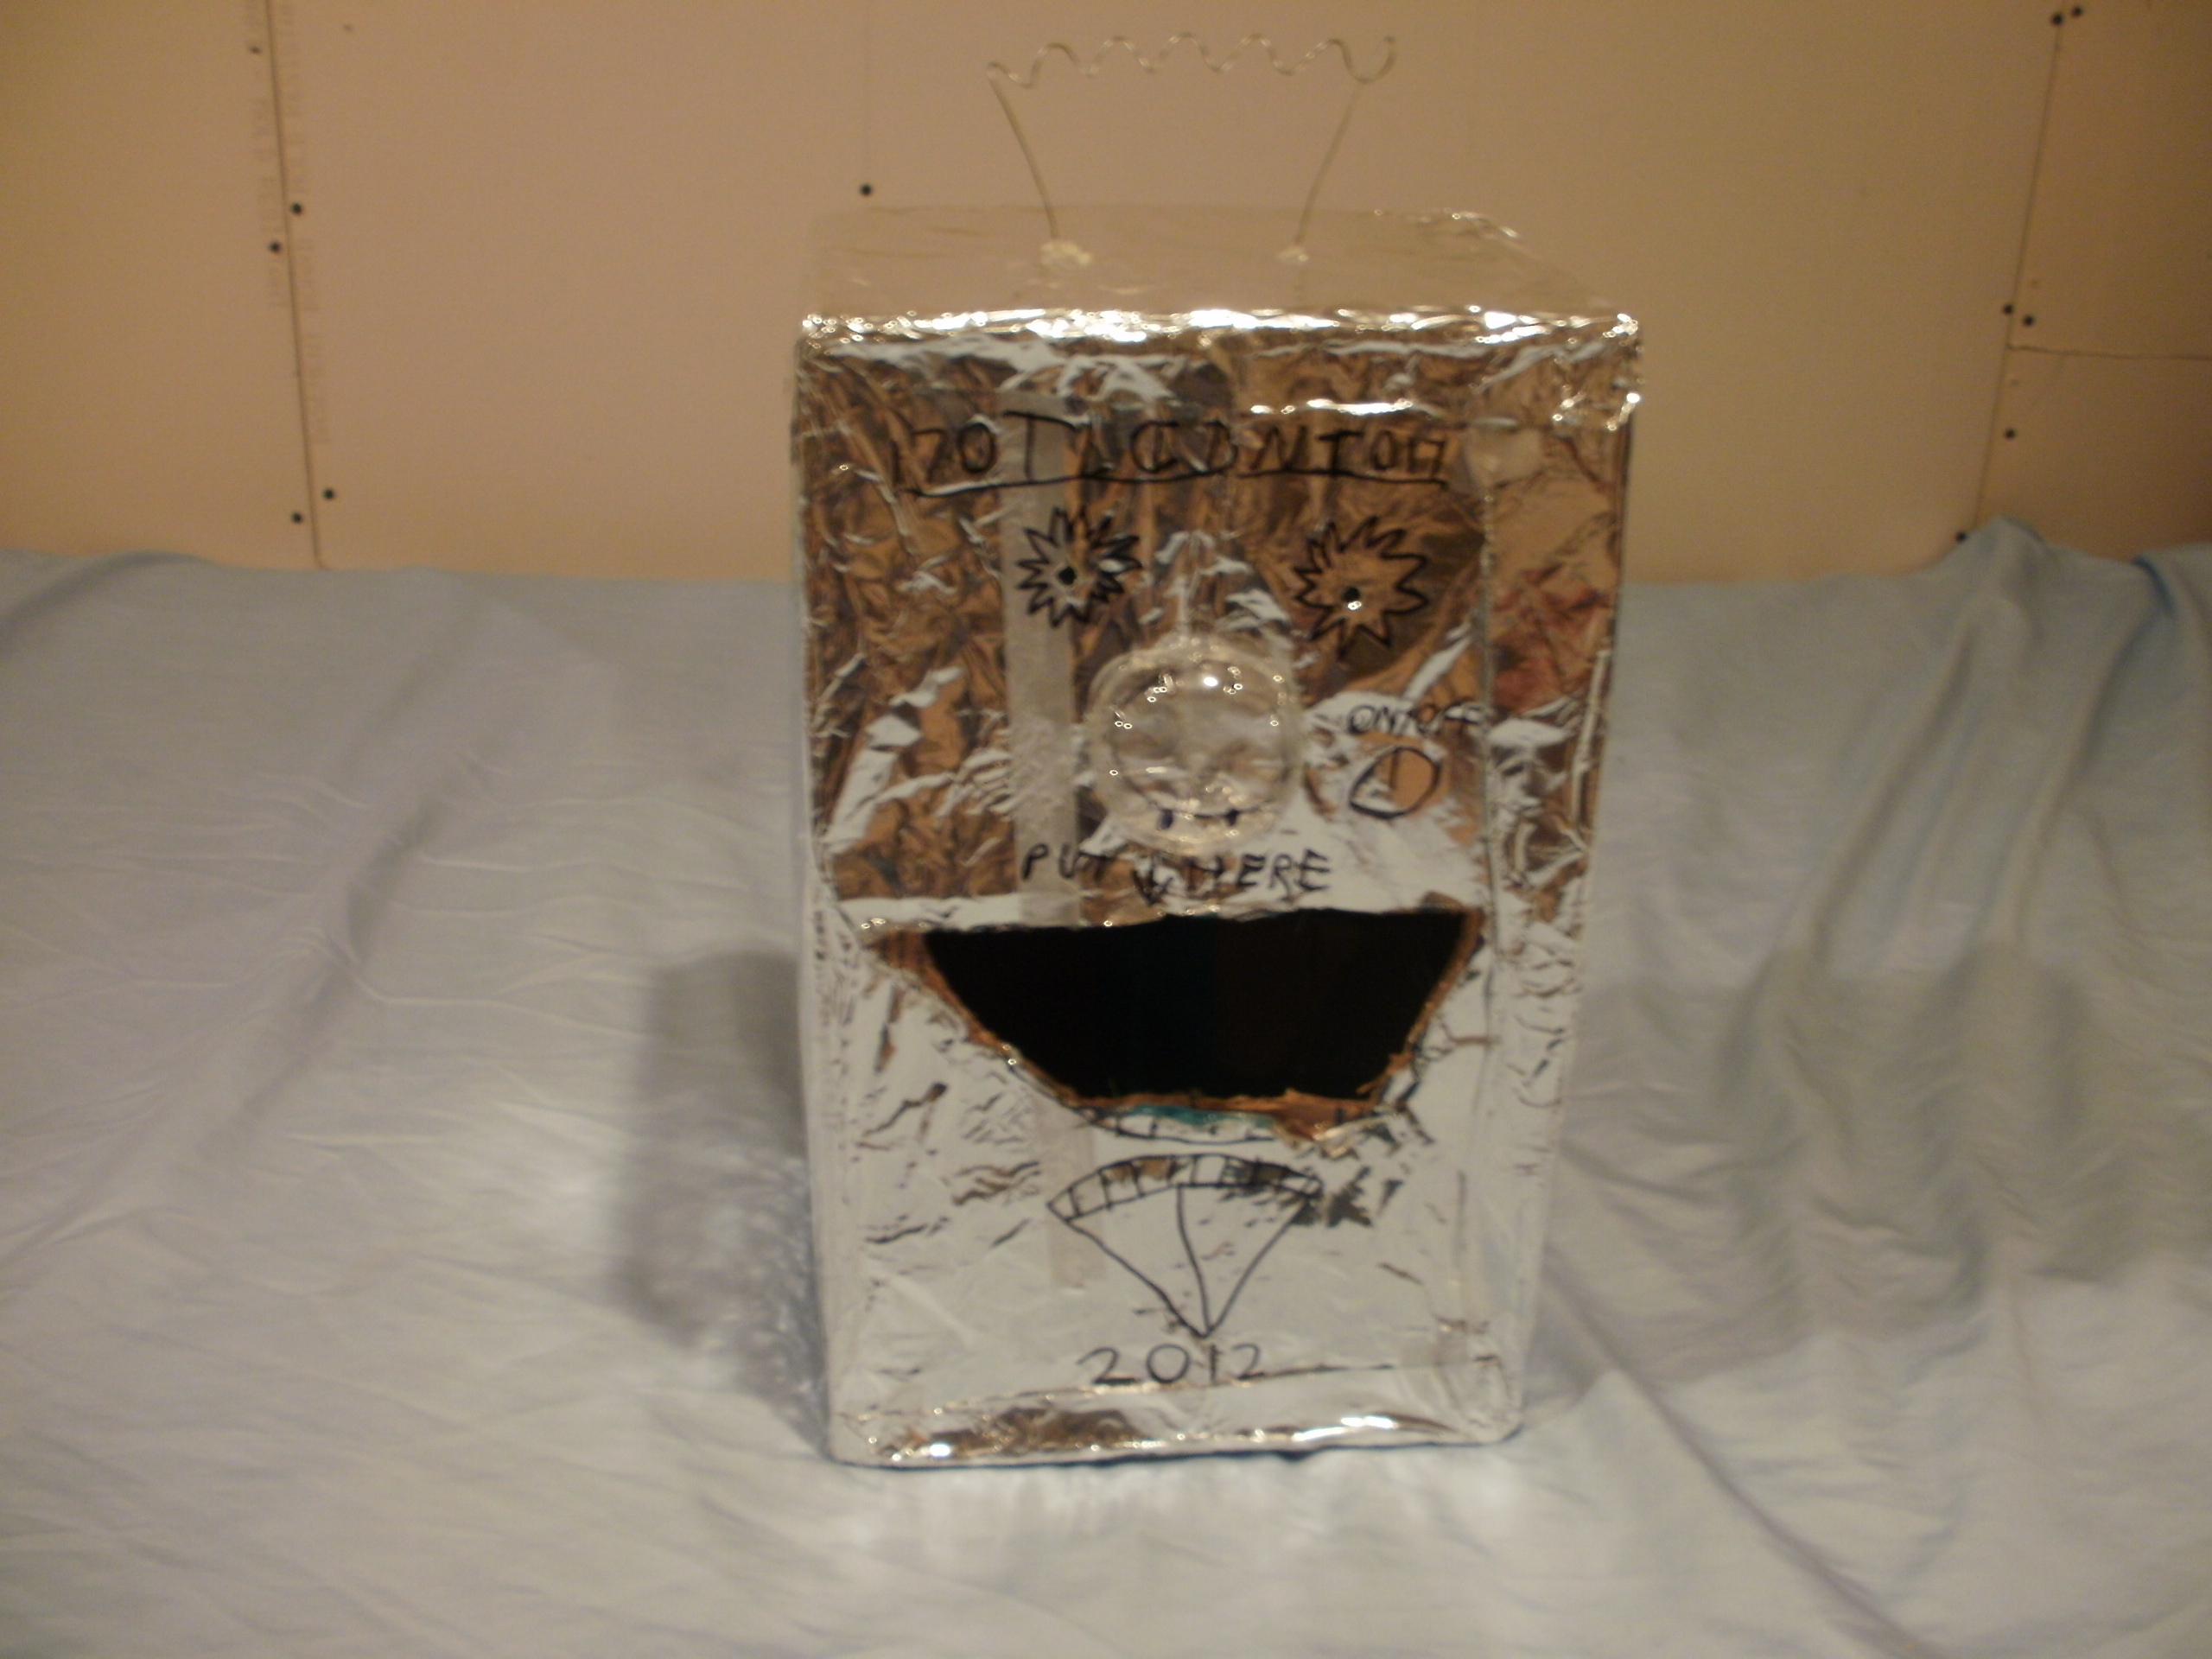
The robot-headed valentine box is basically a cardboard box that has a few electronics inside. This is perfect for a valentine box, especially for kids. You just put the valentines through the mouth, and access them at the back. This is also a very fun craft to do so let’s get started.

Project Steps

Mod the box

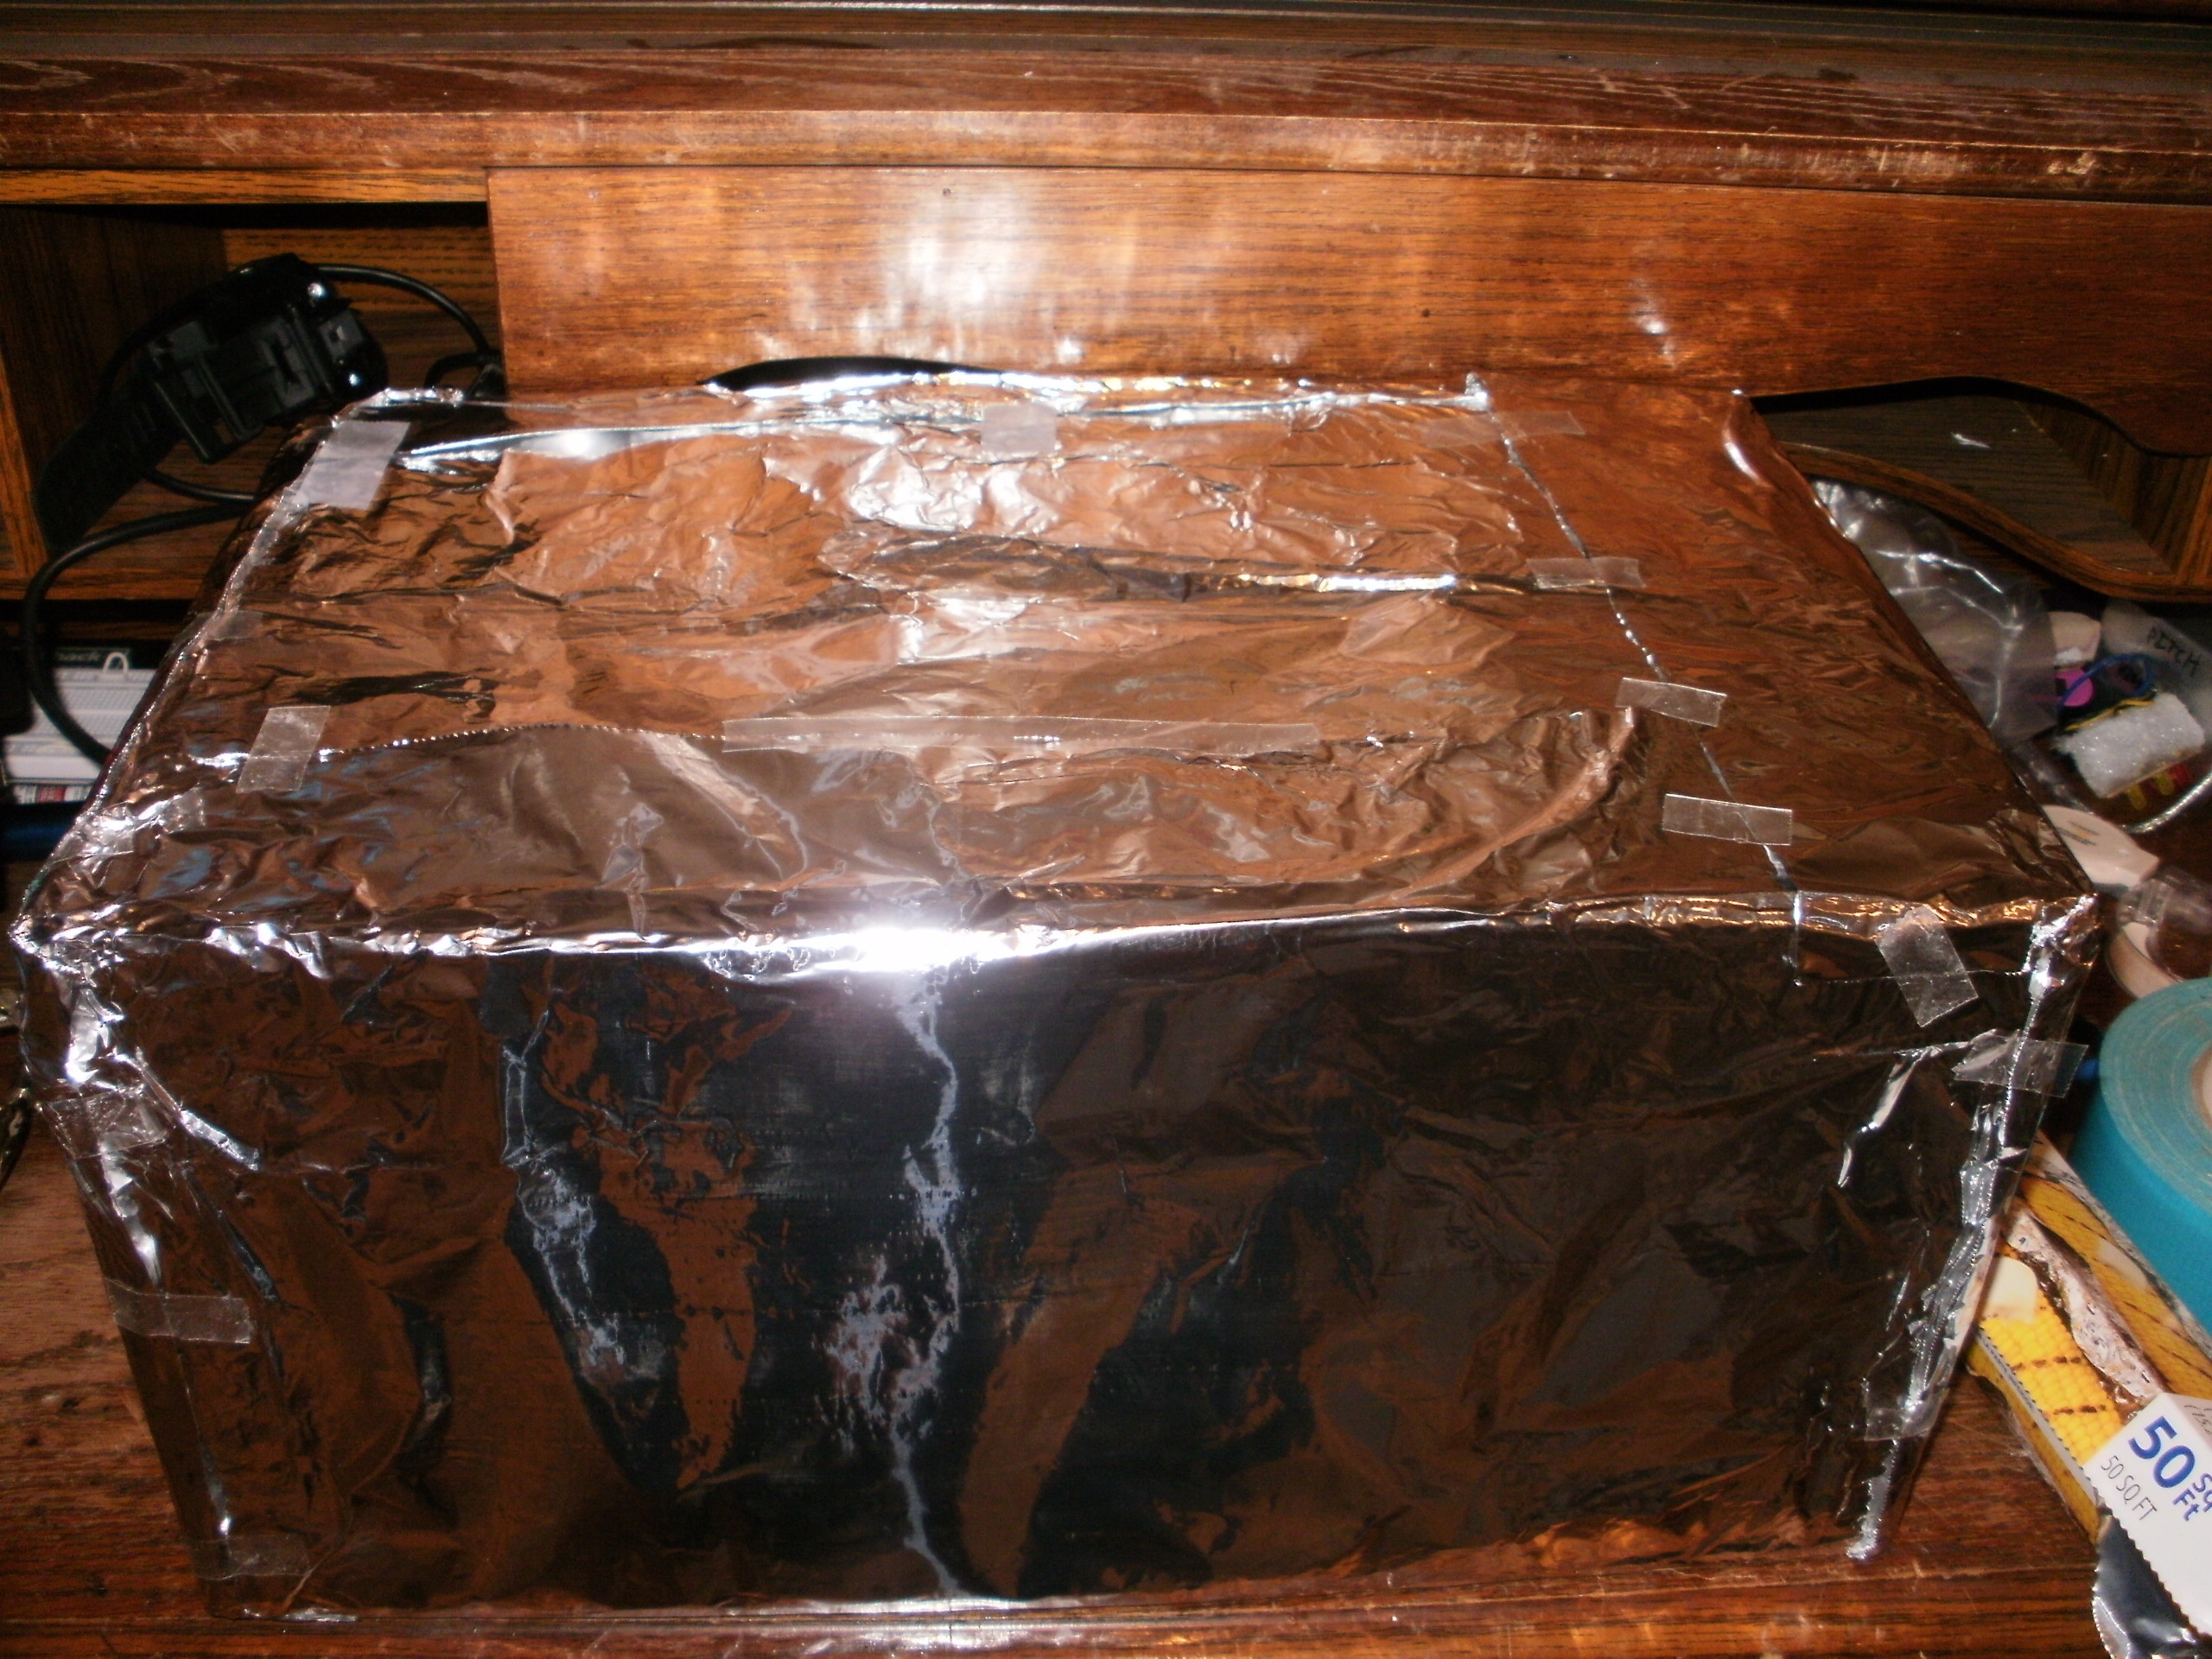
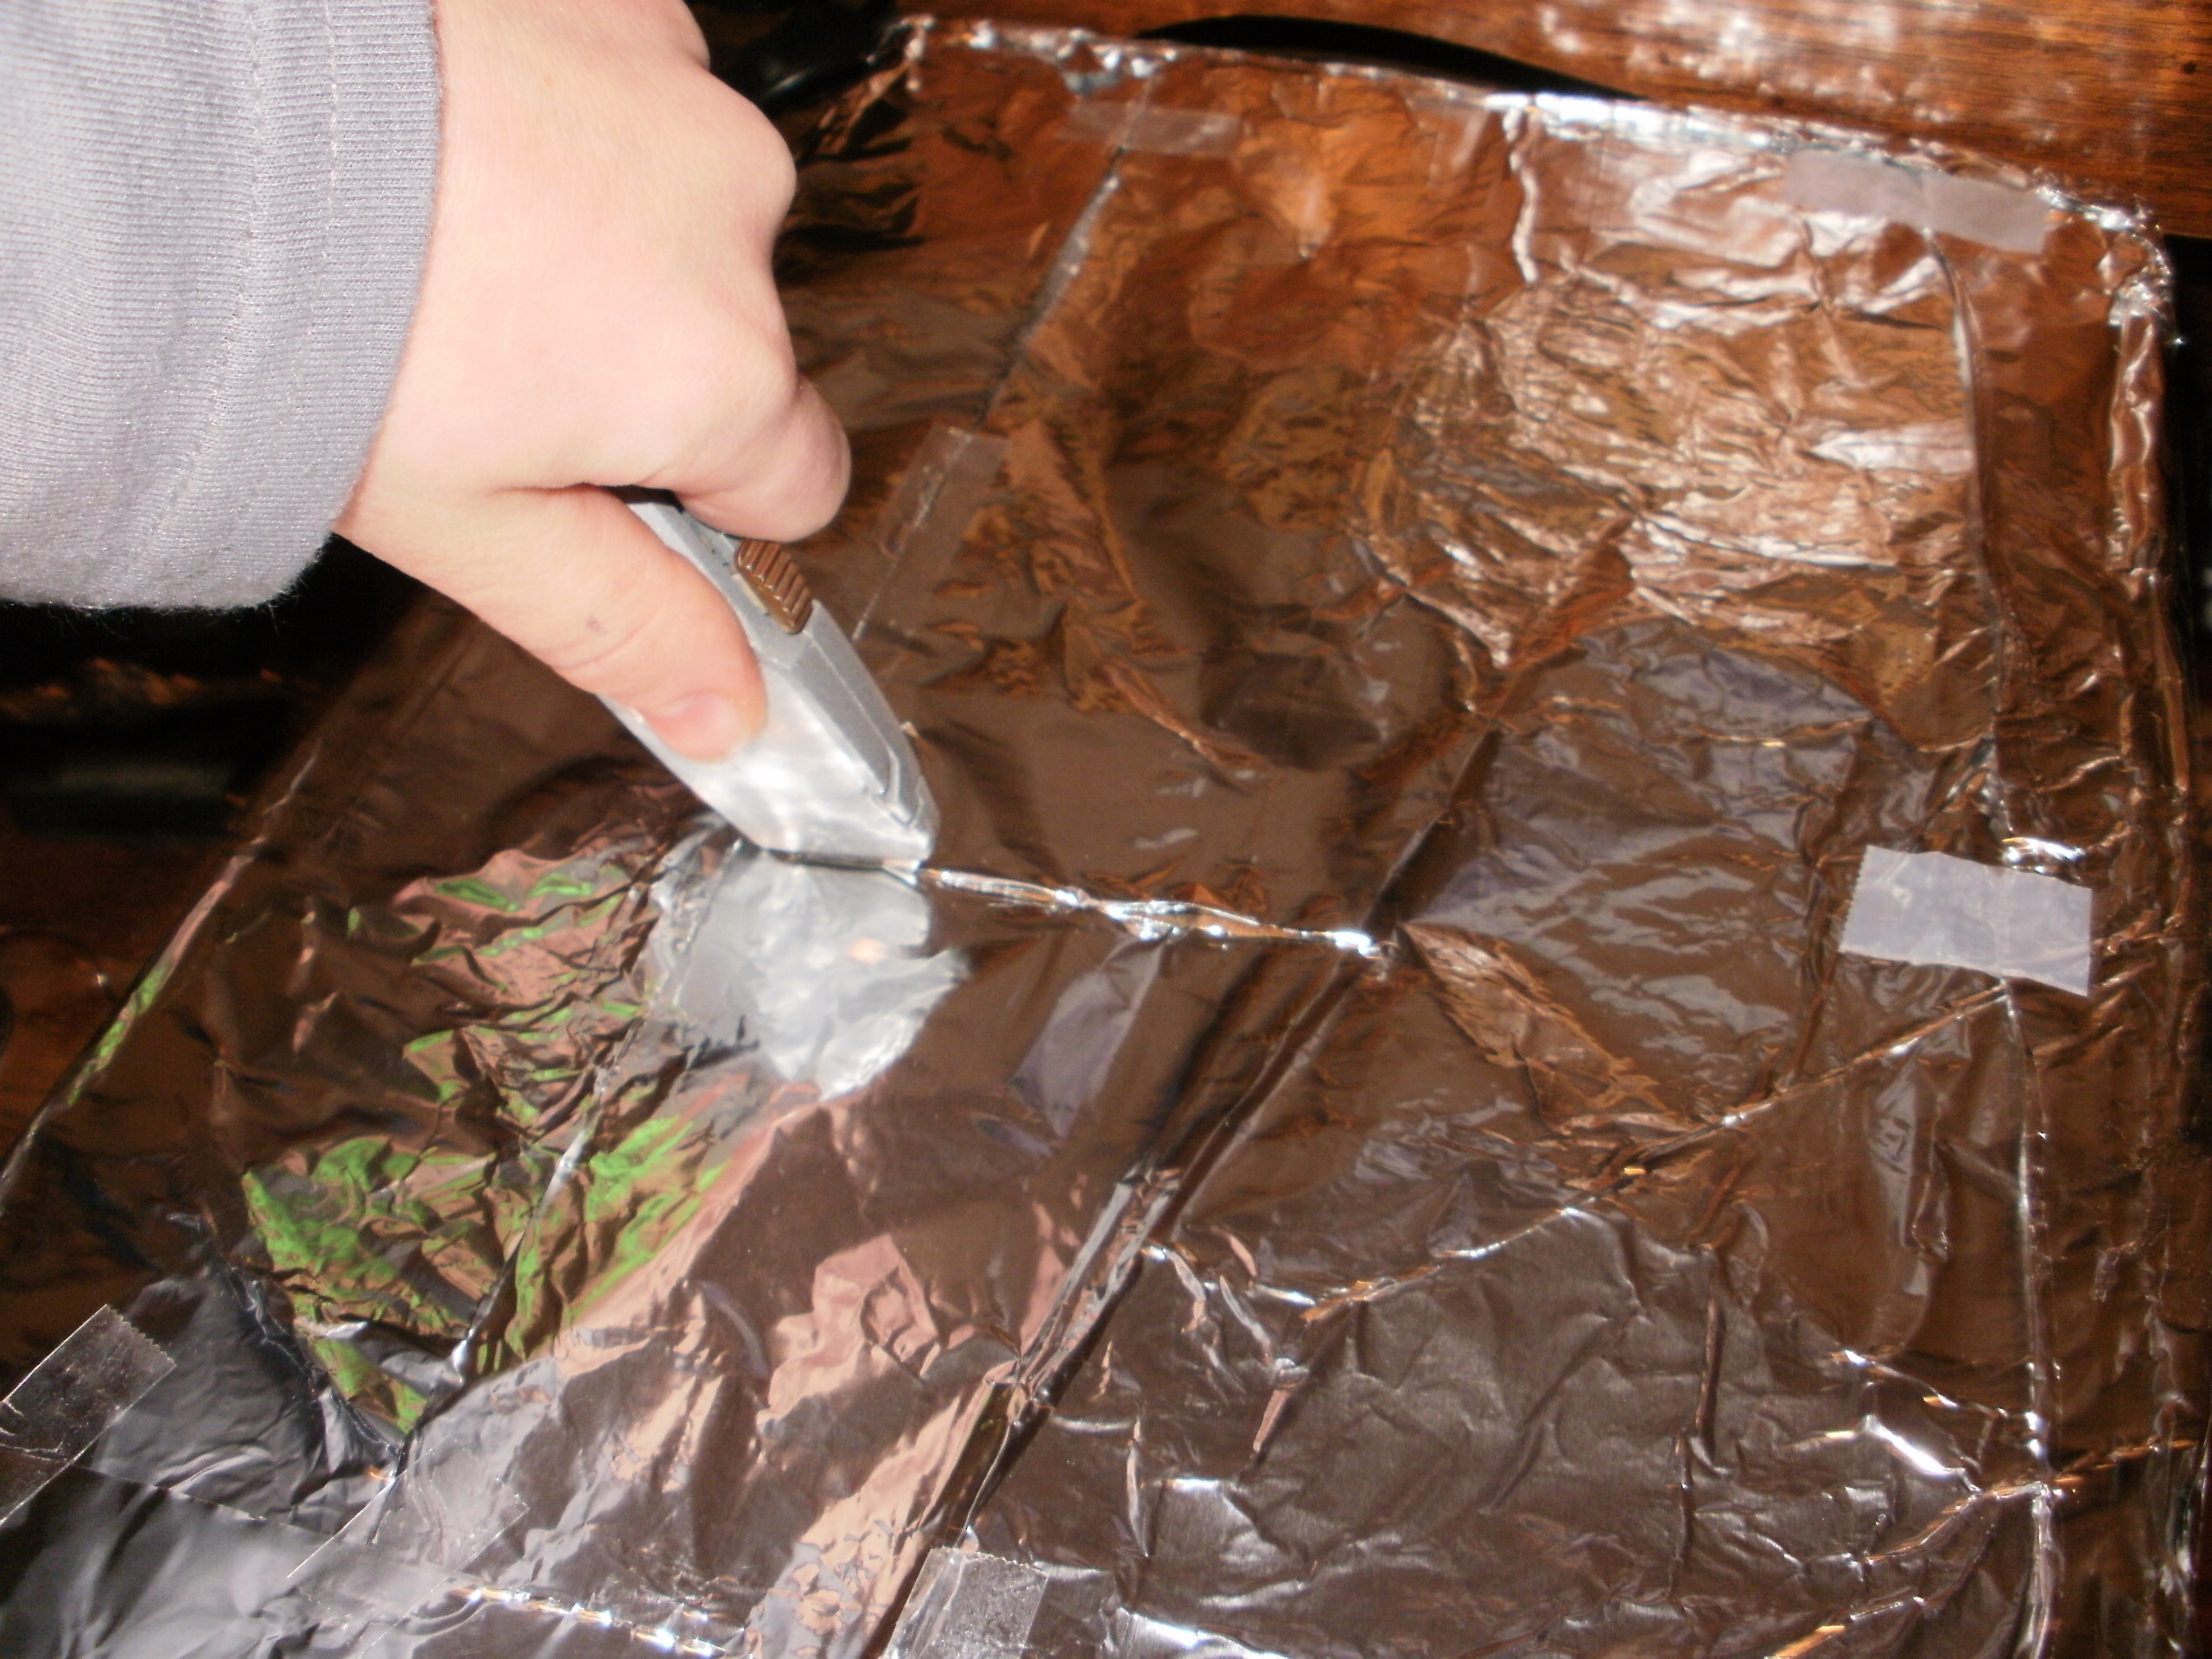
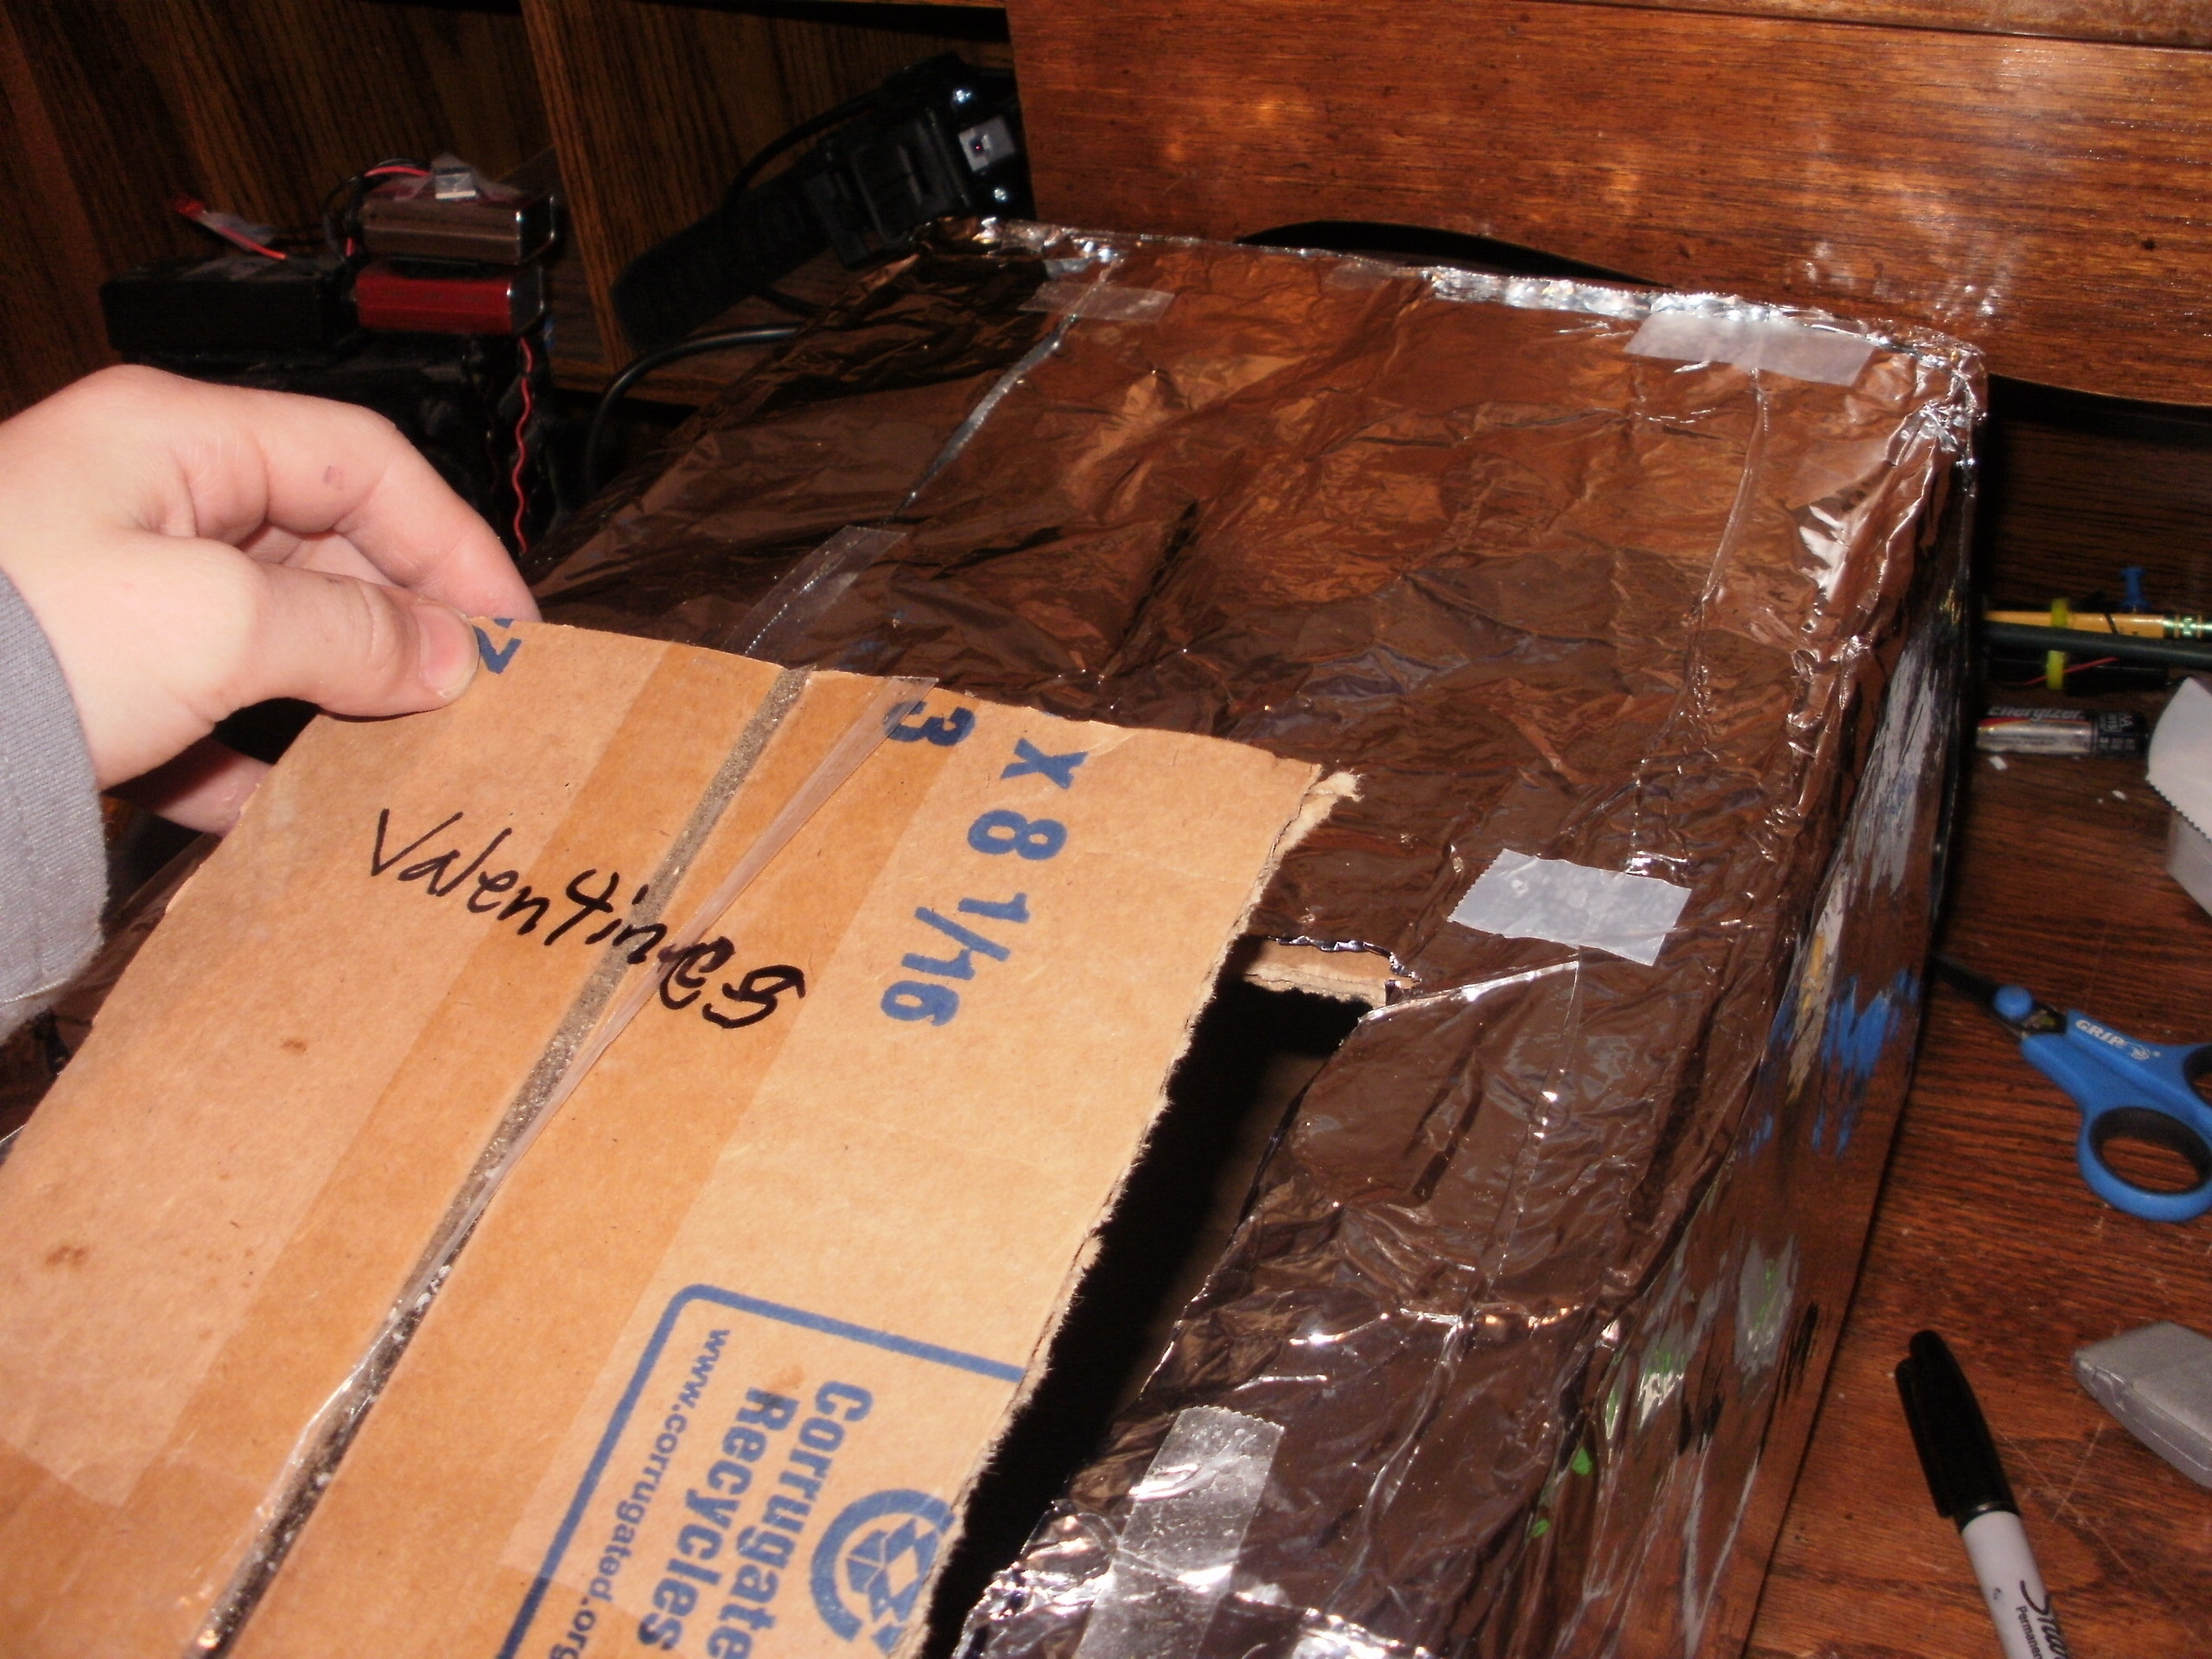
Using tape, cover the entire box with aluminum foil. You don’t want any part of the box to stick out. Once you have that done, you are going to cut a flap in the box by cutting three slices. Make sure you write VALENTINES on the flap!

Incorporate the electronics

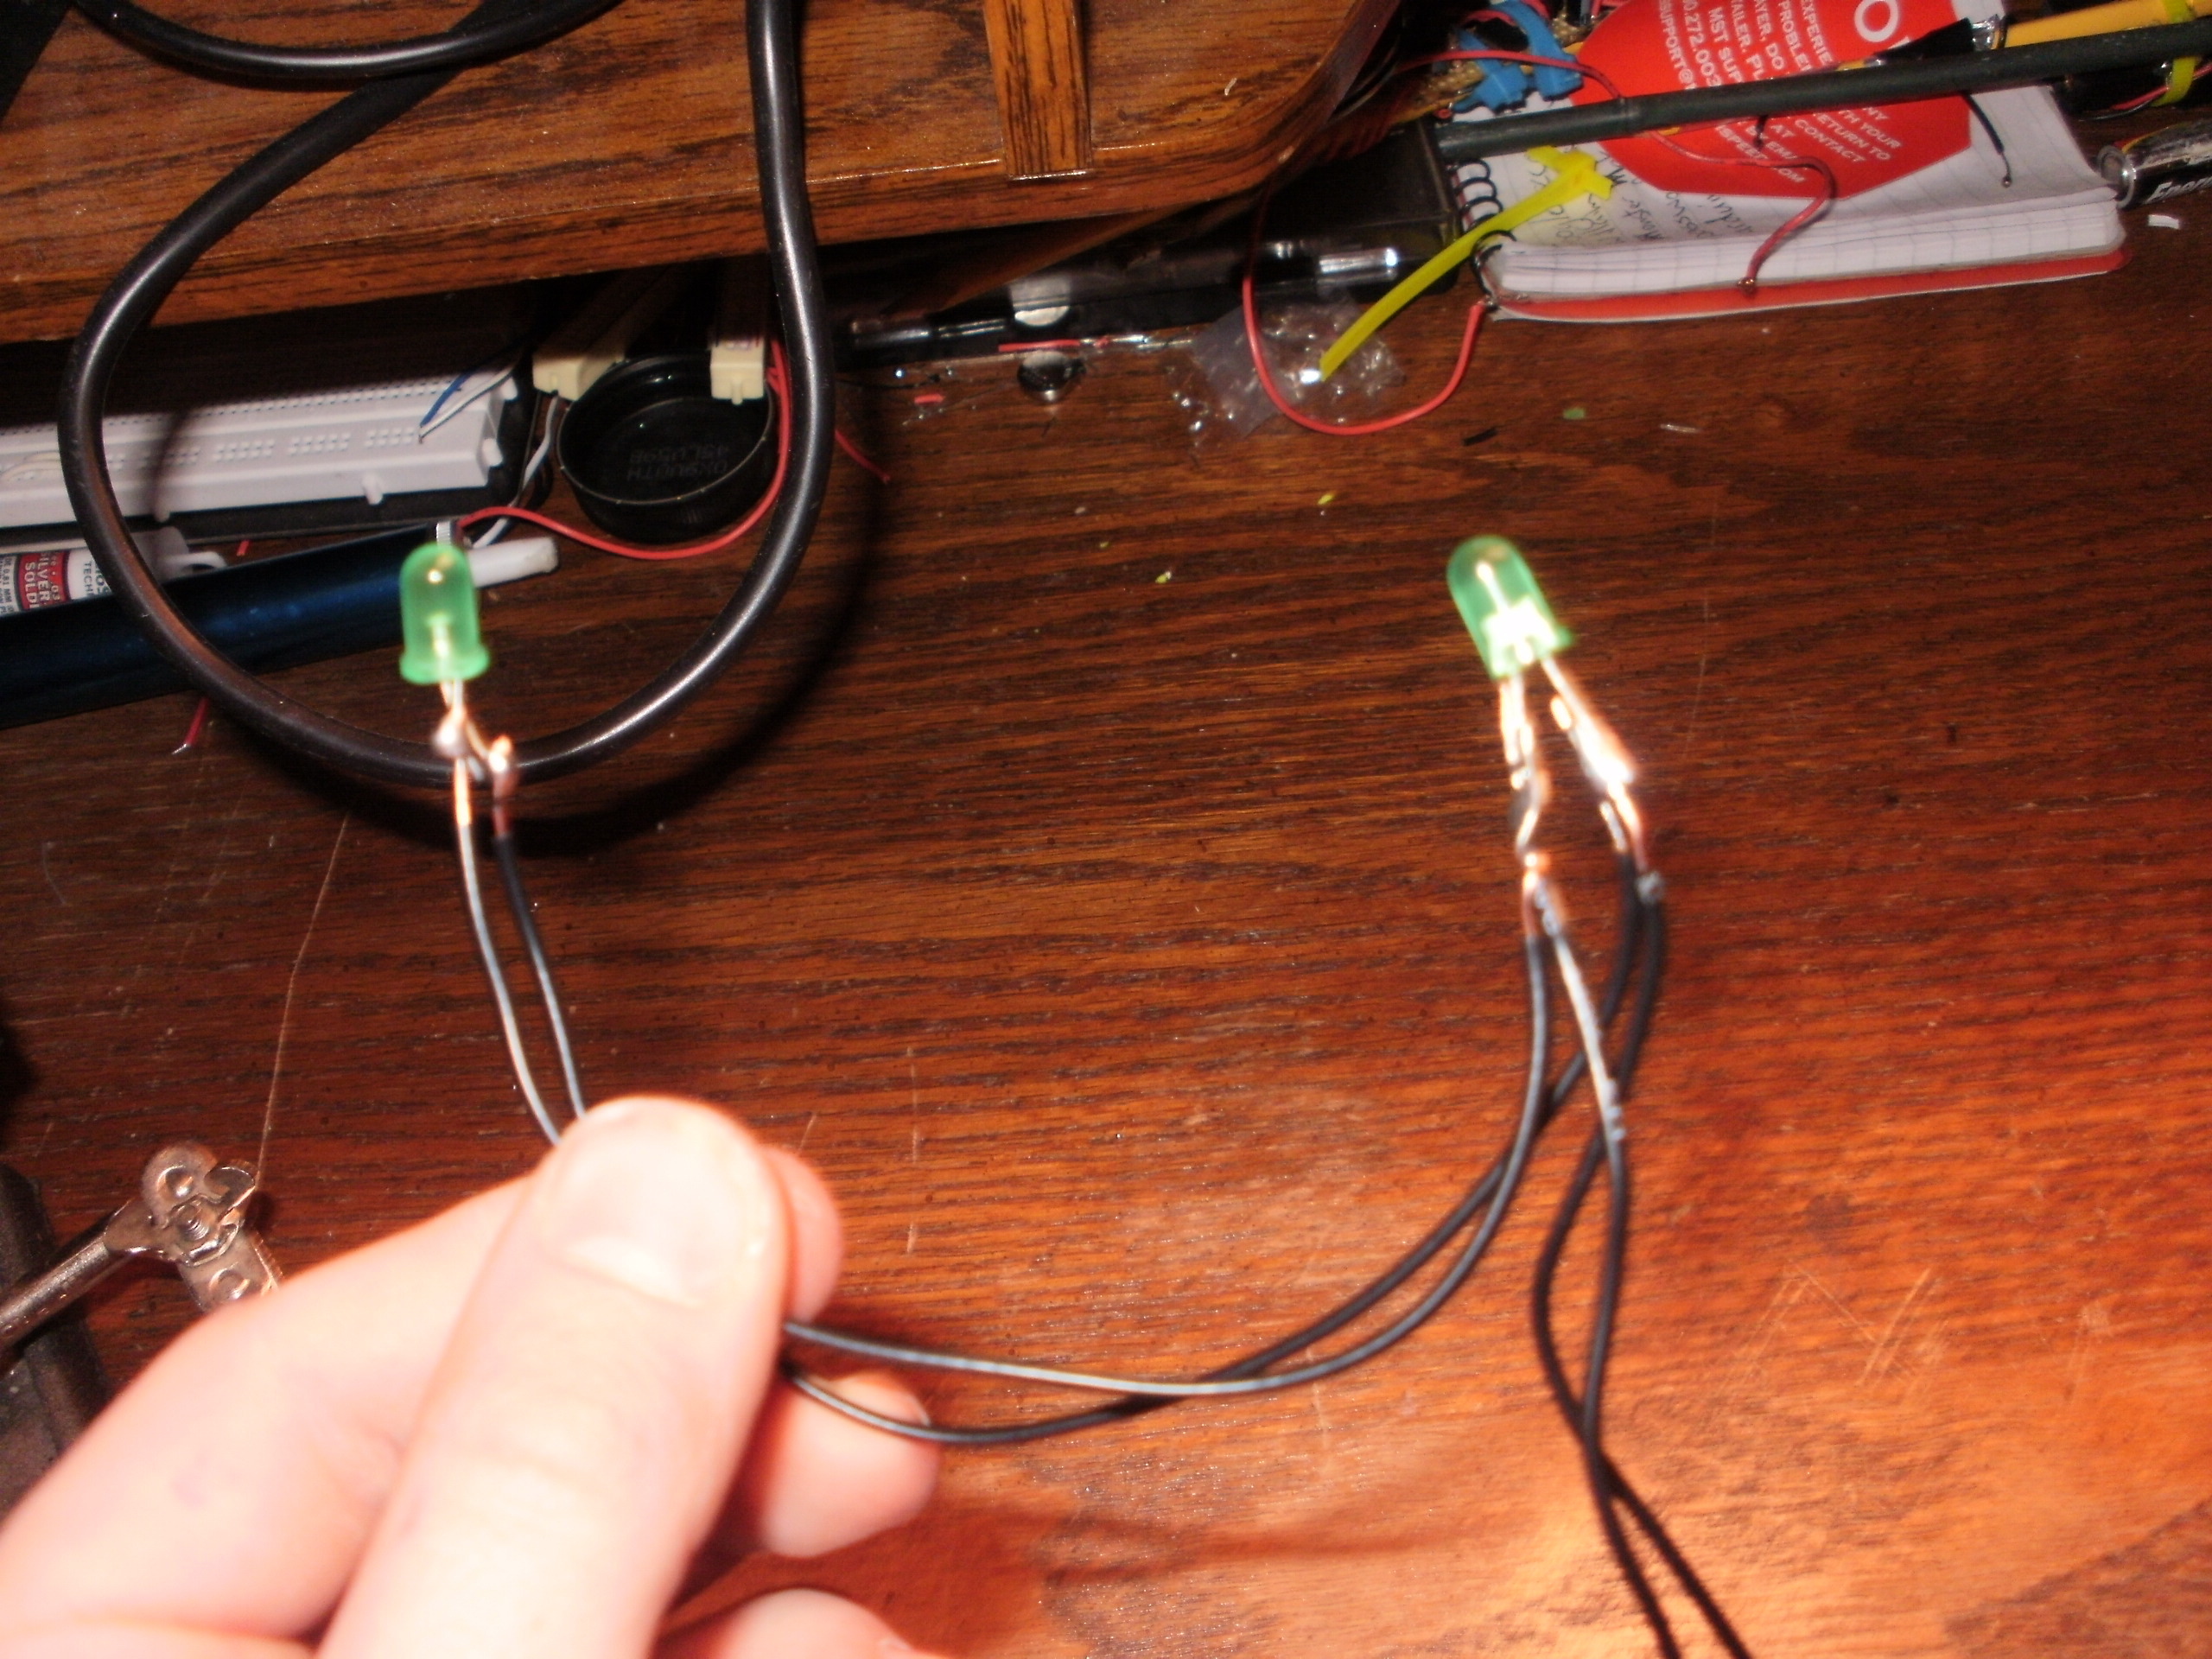
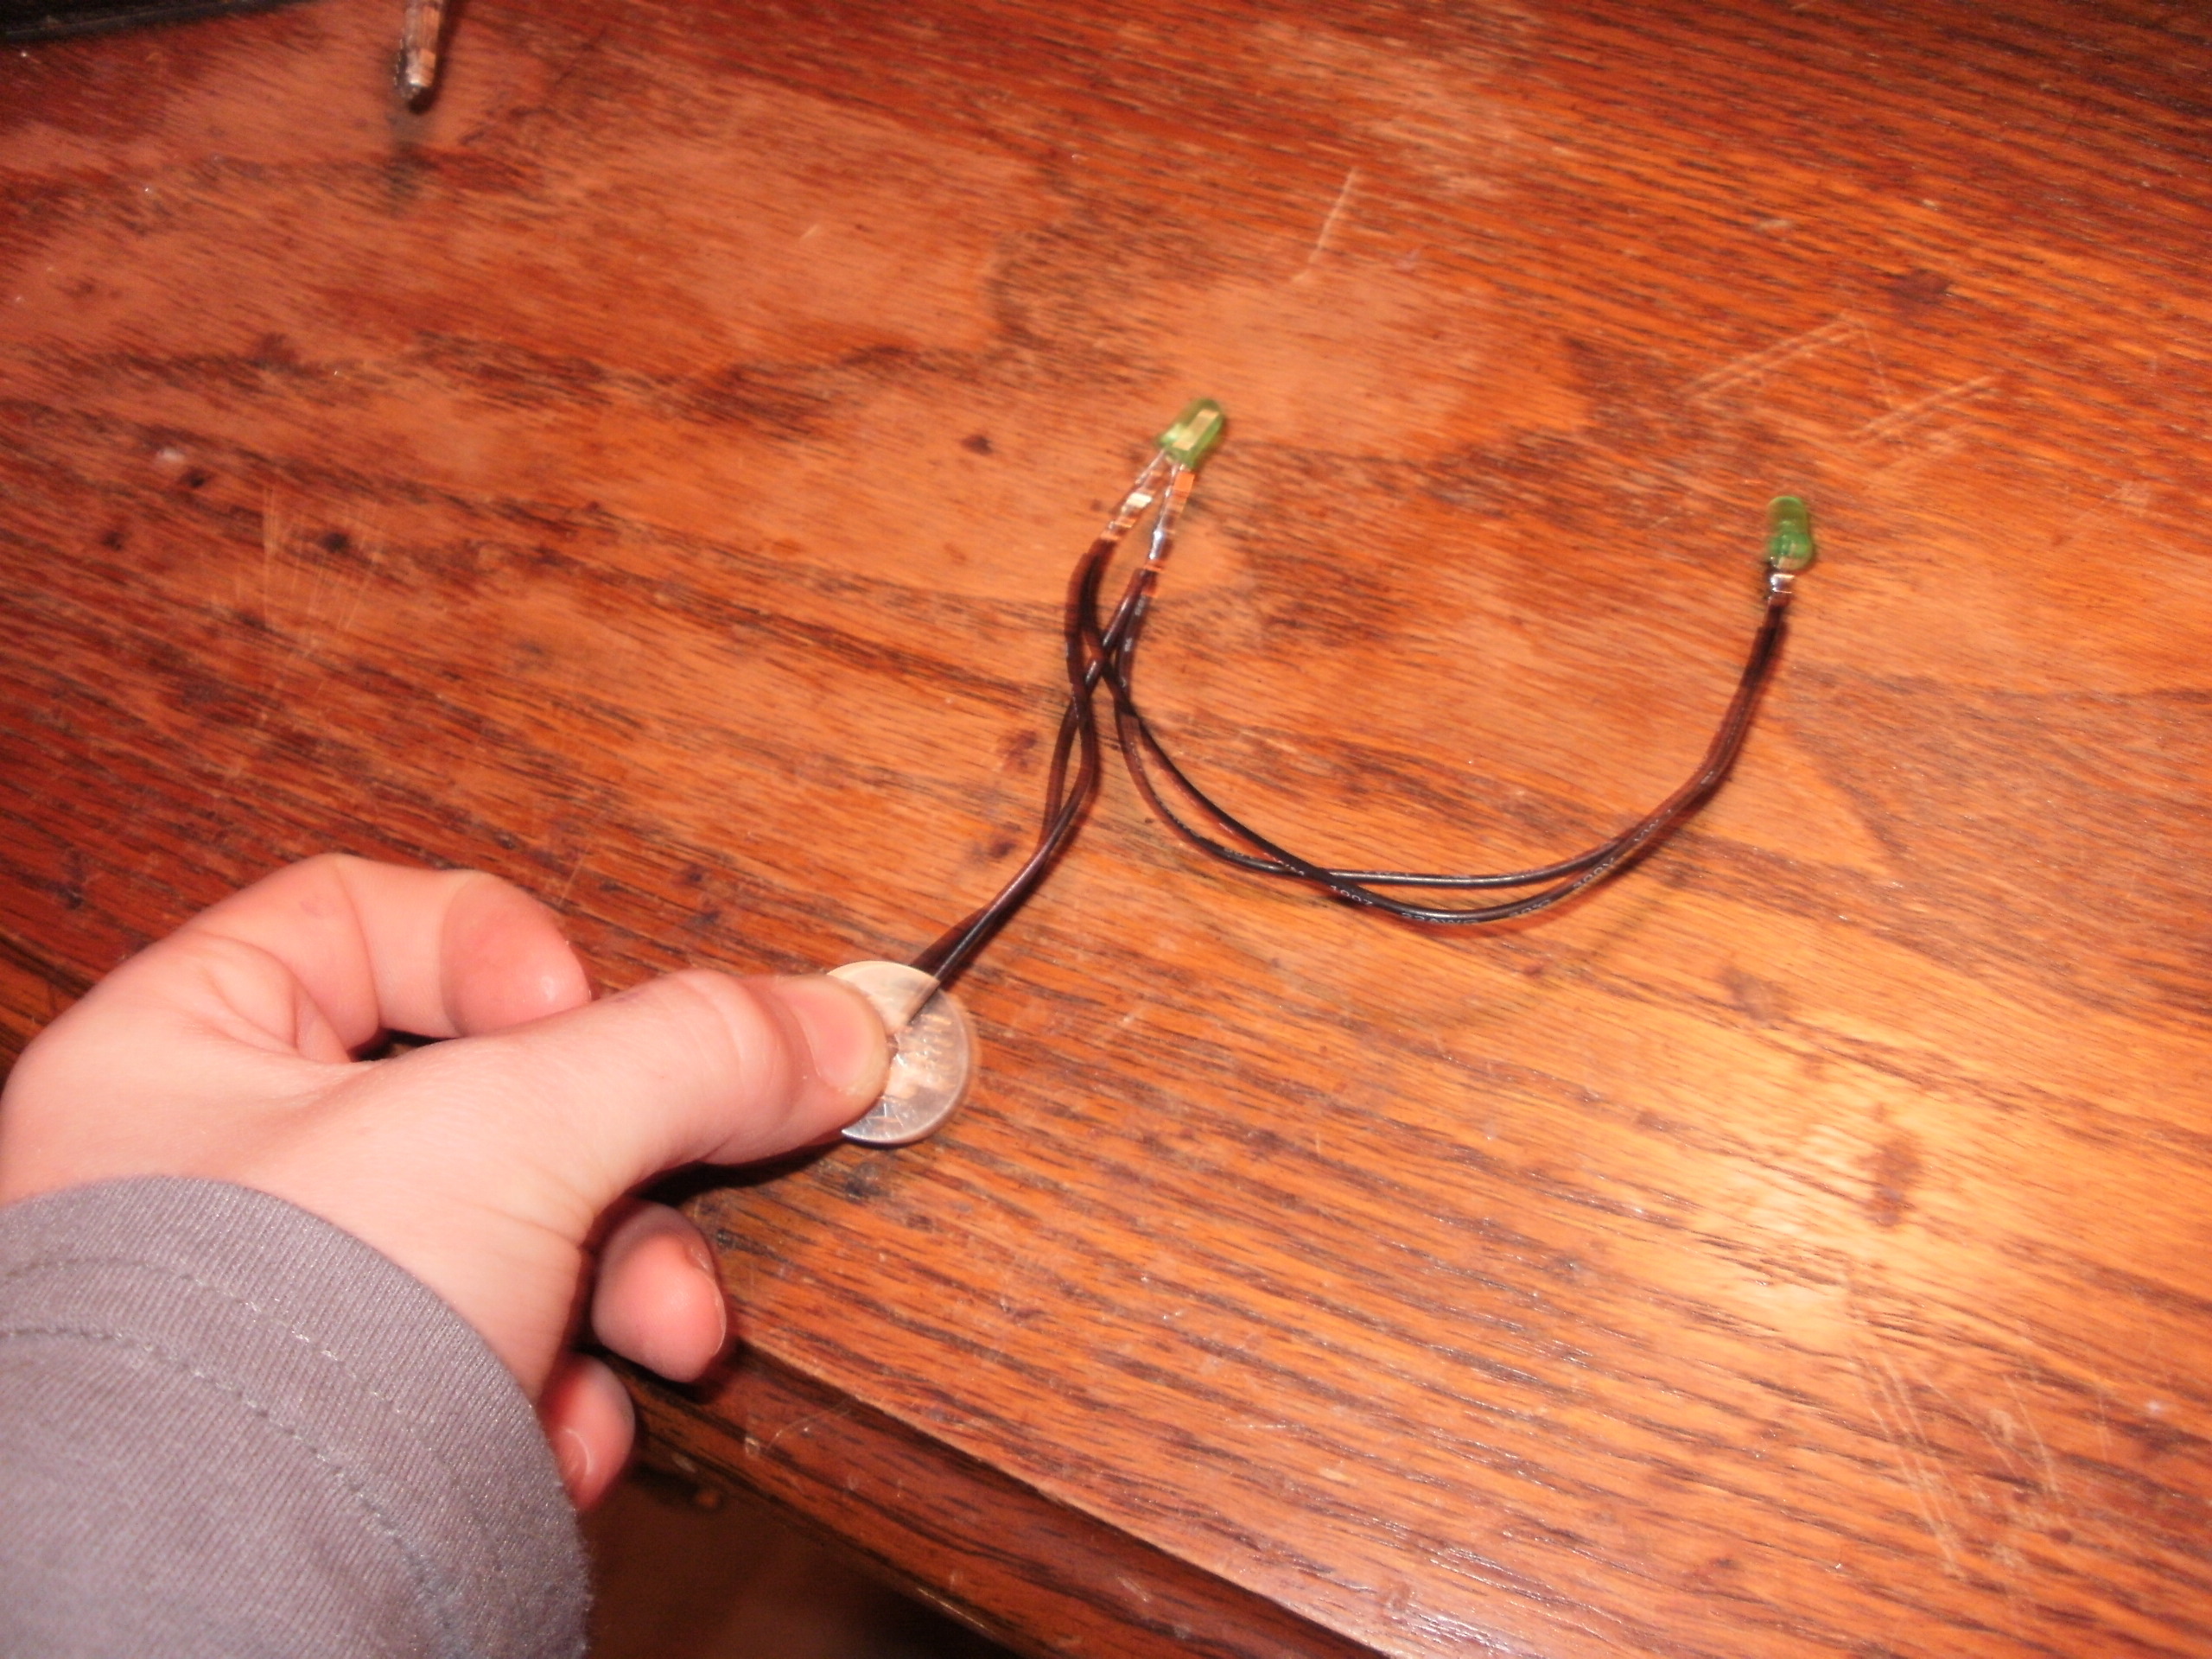
Solder the positive lead of one LED to the other LED’s negative lead. Solder a wire to each of the 2 remaining leads. Solder the positive side of your circuit to the positive side of the battery. Solder the other side of the LEDs to the switch. Finally, solder a wire from the other side of the switch to the negative side of the battery.

Mount the electronics

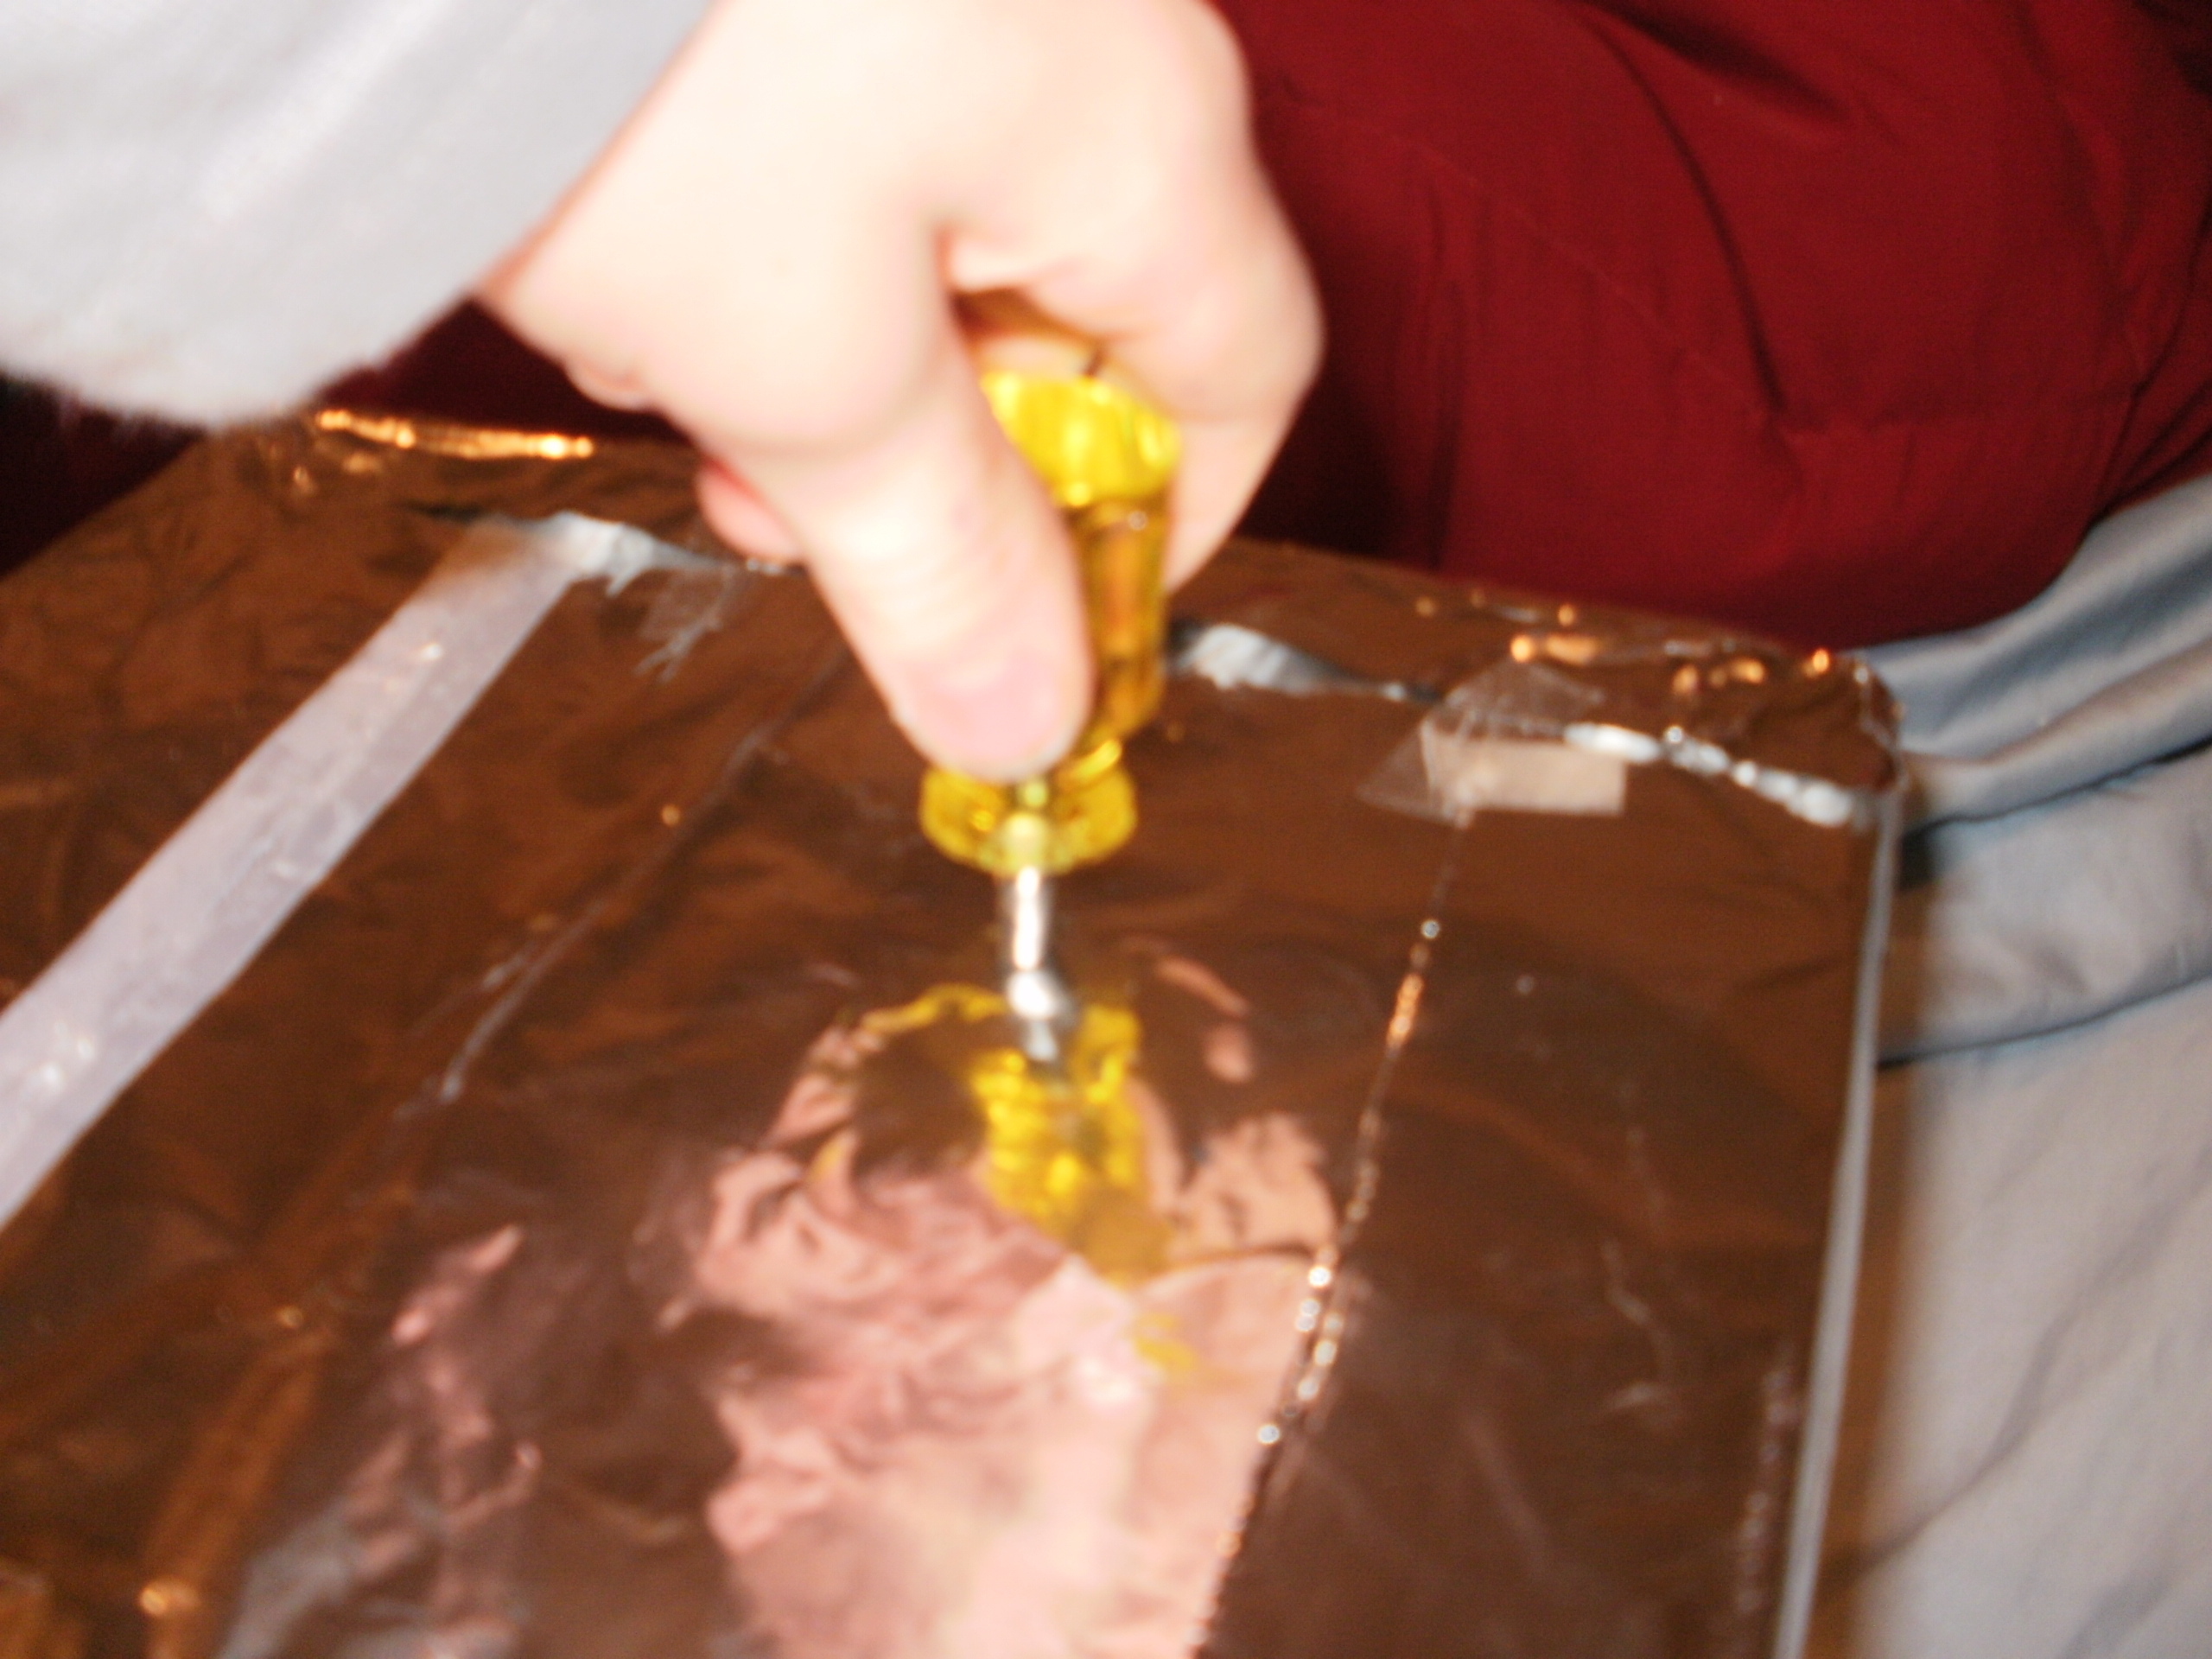
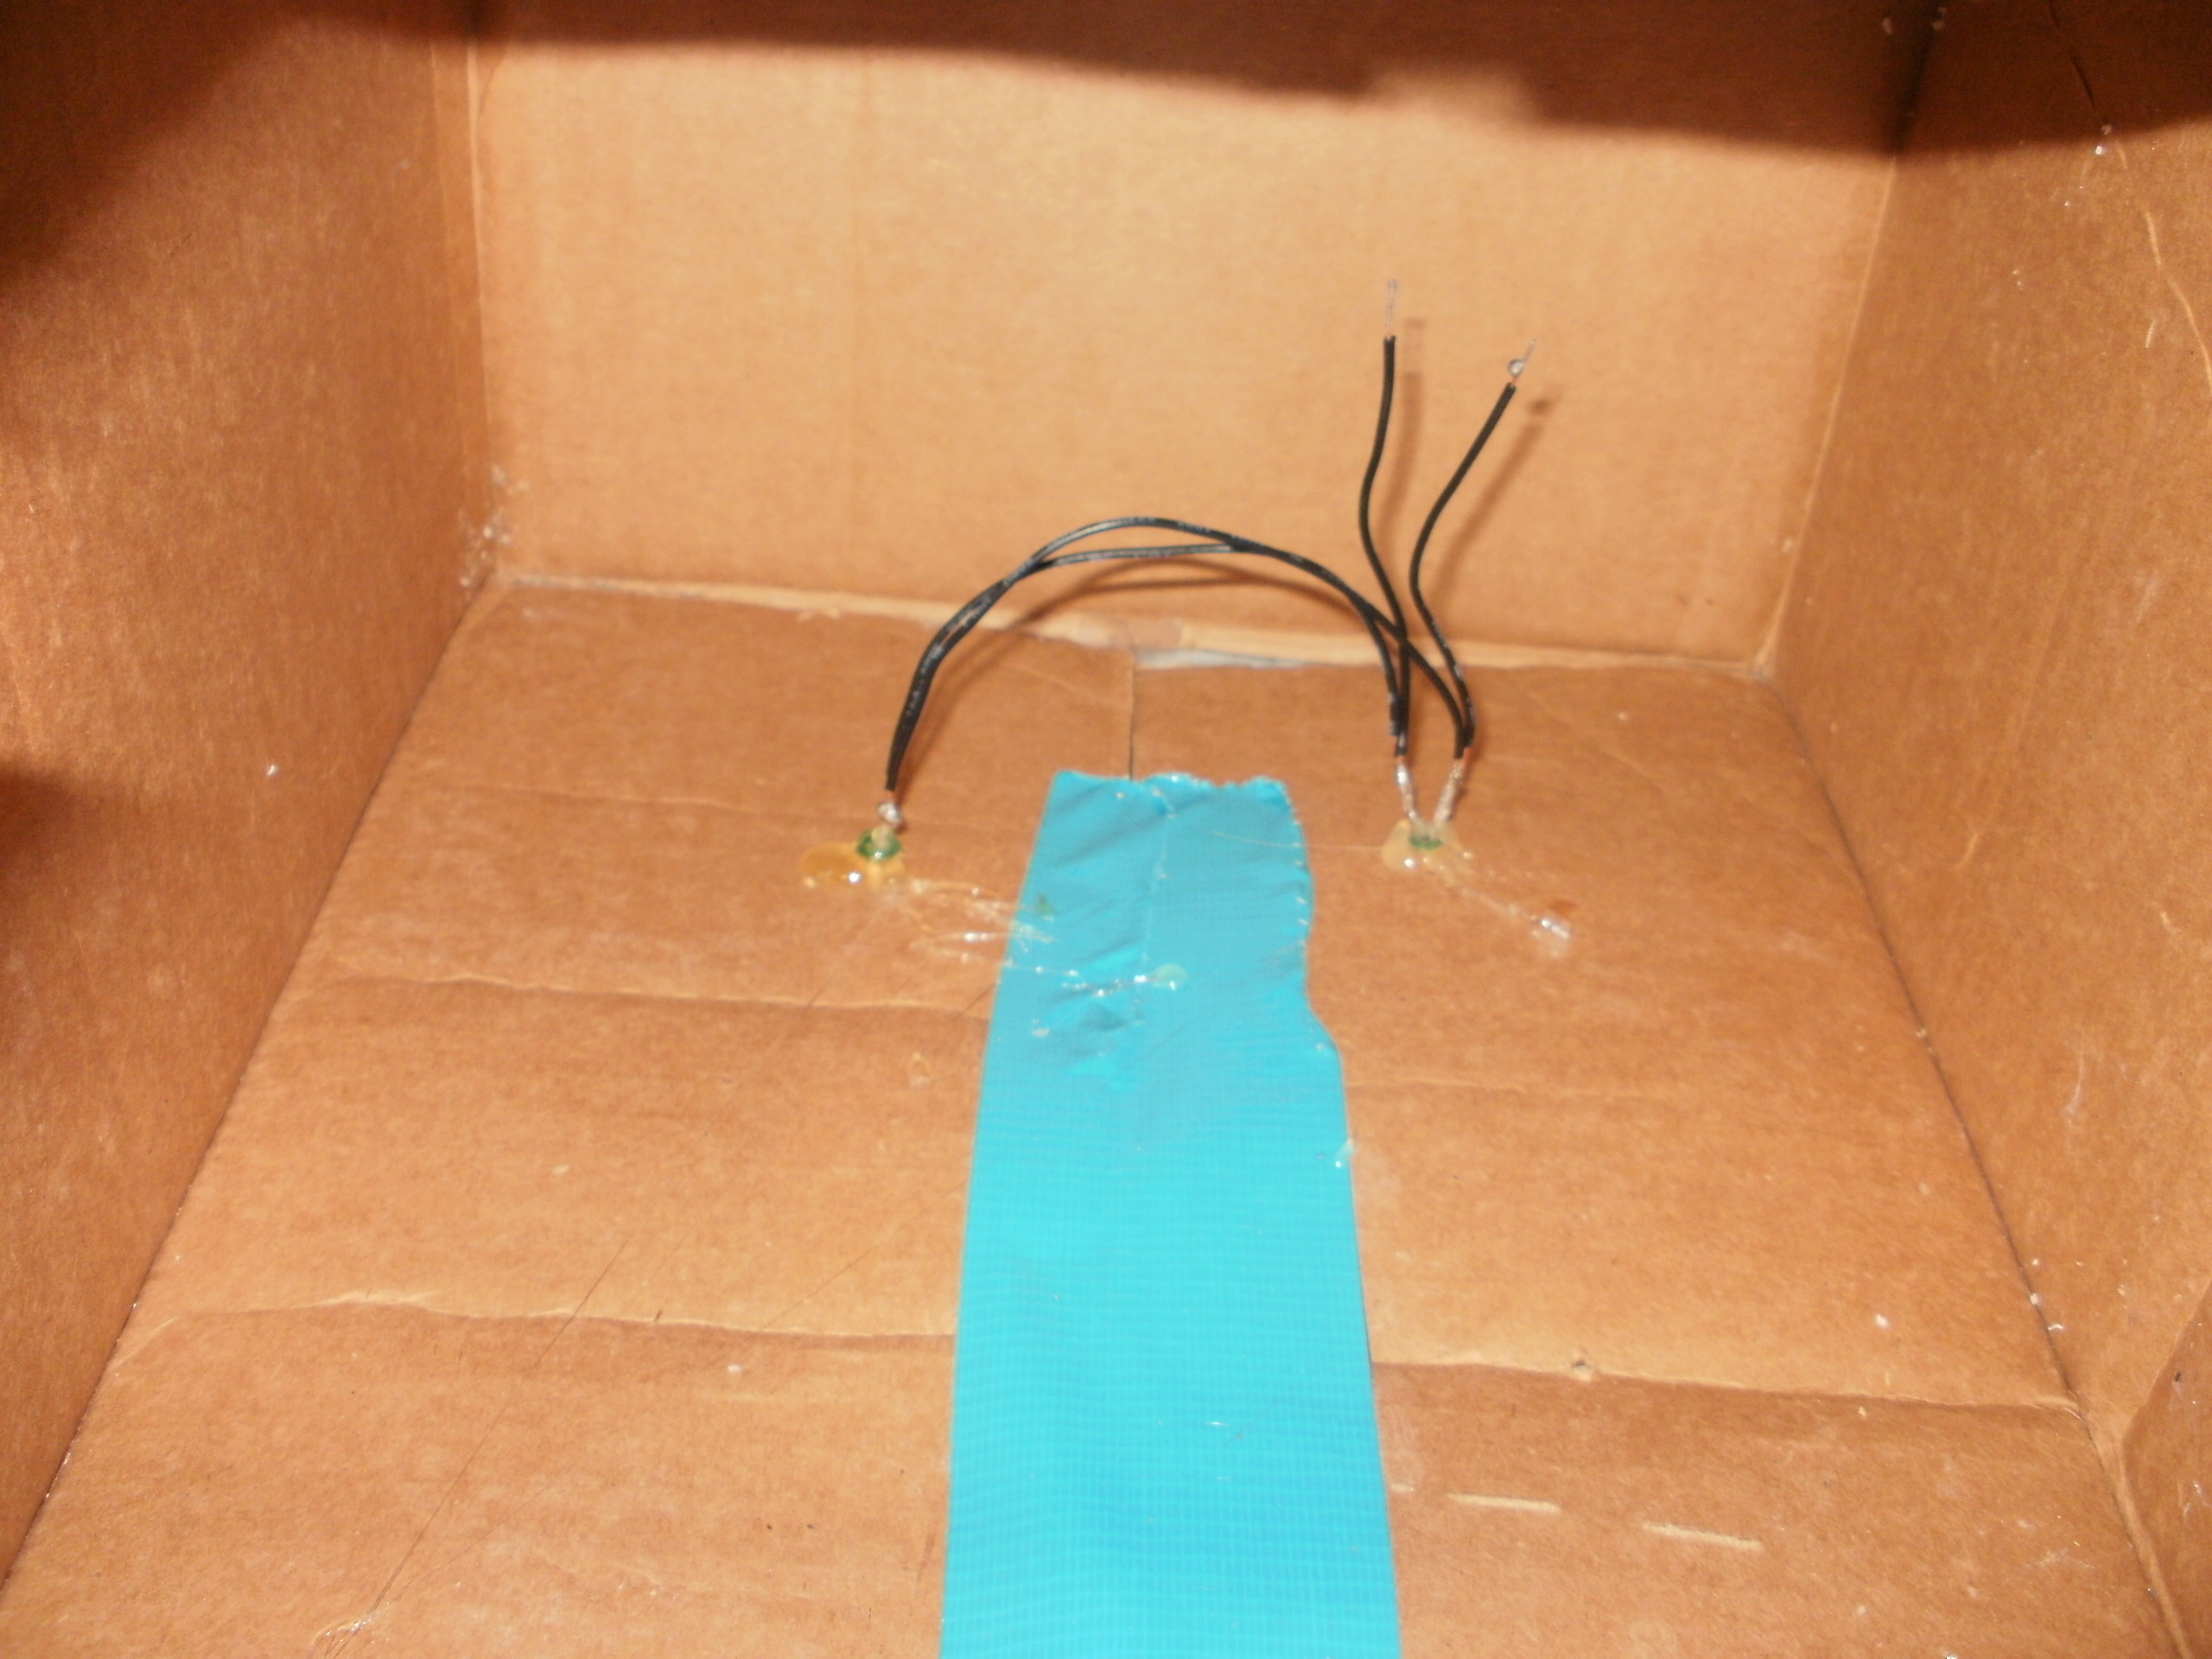
Use an awl to poke 2 holes in the box in a place where robot eyes would look best. Hot glue each of the LEDs into one of the holes. Poke one more big hole in the box somewhere, and hot glue the switch in place.

Add his features

Go ahead, decorate him! Use the bottom of a plastic bottle as the nose. Using the hobby knife, cut a mouth out of the box. I also wrote a few logos and dials, and I used 30-gauge wire to make a Tesla coil of some kind.

Enjoy

I am working on a new one: the talking robot-headed valentine box. It uses a recording module from RadioShack and a lever switch, so that when you insert the envelopes, it will say whatever you record. If you figure out how to do that, let me know. Anywho, you should make a lot of valentines before making this, just in case. Happy Valentines Day!