

Rubber stamps are wonderful and can be used in all sorts of craft projects, but they can also be expensive, and you’re limited to whatever images are available. No worries. You can easily make your own stamps with materials you probably already have around the house.
Create the image.
Draw an image, making it iconographic and bold. Size it to fit the eraser. When you’re pleased with the design, make a mirror image of it. To do this, tape the image against a window during daylight (or use a light table if handy) and trace it on the other side of the paper.
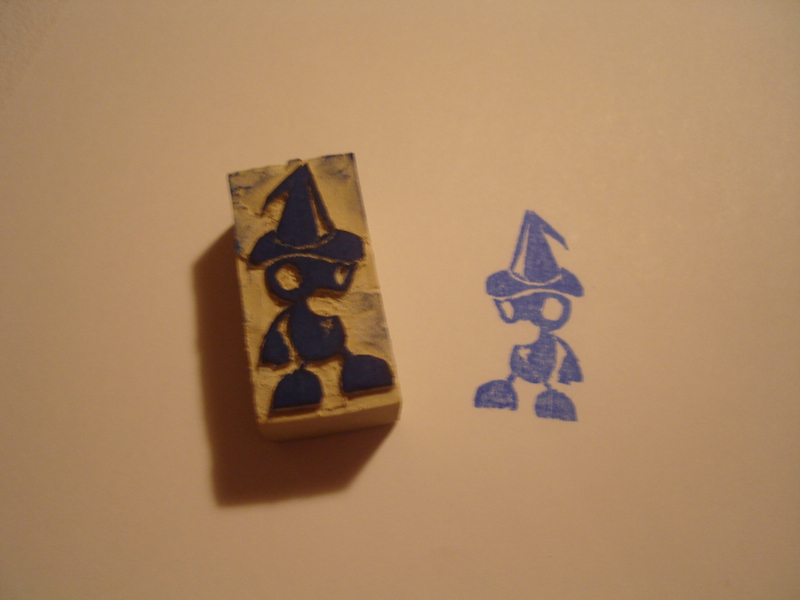
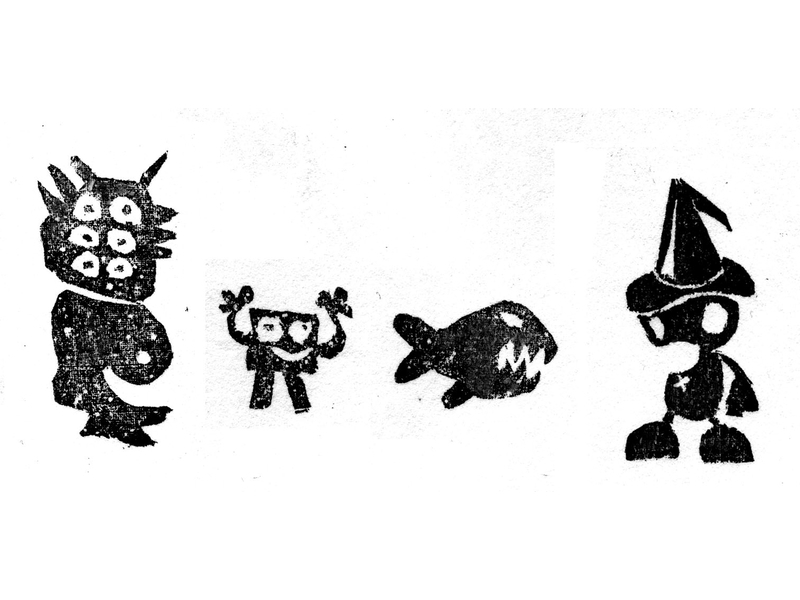
The image in this project was designed by my then-teenaged son, Blake. When he was little, we made stamps too. He’d draw the designs and I’d make the stamps. In the second image, the two creatures to the left were done by him. I did the shark. We used these for years, on cards, wrapping paper, and just for fun.
Transfer the image.
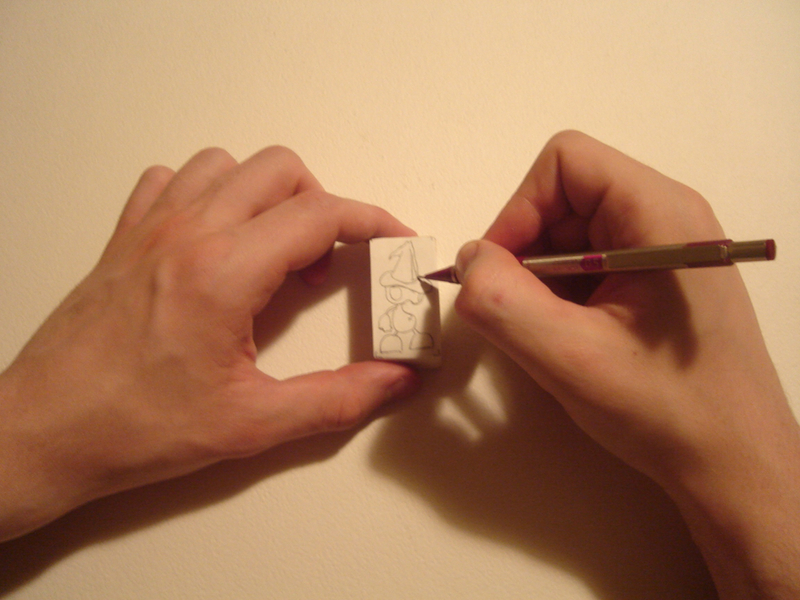
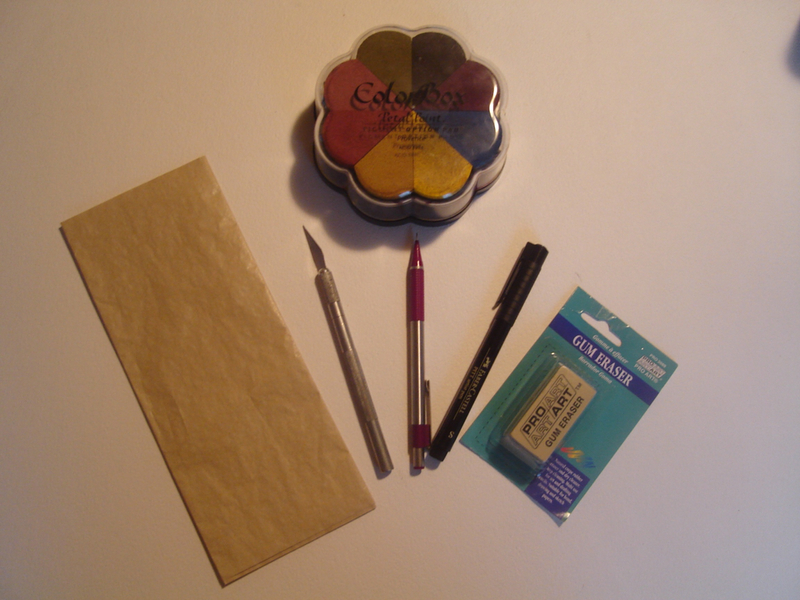
Transfer the image onto the eraser using a transfer medium (if you are using graphite, rub inverse before tracing). Tape the image (and transfer medium, if used) to the sides of the eraser to hold firmly in place. Once the image is transferred, go over it with ink to make it sharper.
We tried using special craft store transfer paper (shown in Step 1), but the image was too faint. We ended up tracing the design onto vellum paper by using a window as a “light box.” And then we used a pencil to run graphite onto the inverse side of the image, and then taped it to the eraser and followed the outlines of the image (as seen in the image). This transfer went well.
When the image is transferred, go over it with a felt-tip or India-ink pen to get a clear line to cut to.
Carve the stamp.

Carefully cut away the eraser from around the image. Work on small sections at a time. Try to keep the depth of cuts about the same. Inspect the stamp to make sure all excess material has been removed. If you become impatient, take a break. Don’t rush!
TIP: Crosshatch or mark all areas to carve away so that you don’t get confused and cut something you weren’t supposed to.
Test and tweak.
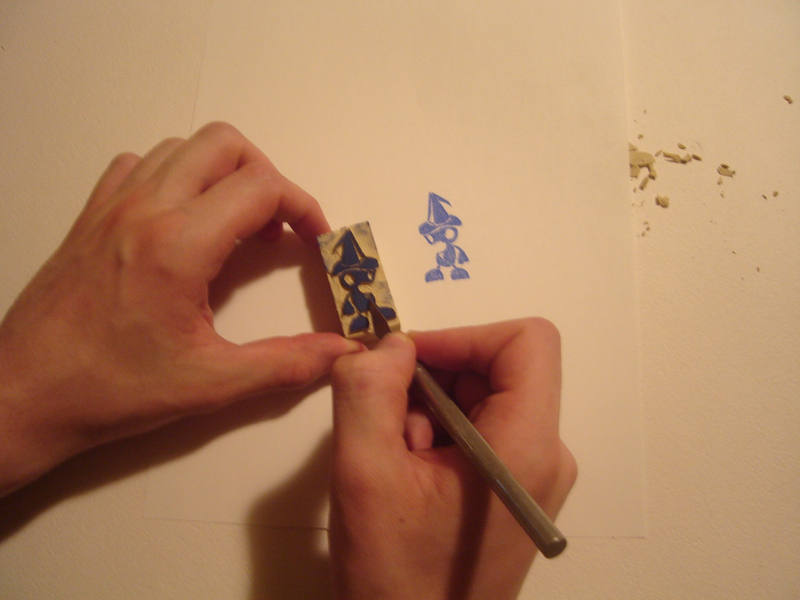
When you’re finished carving, test the stamp. Shallowly carved areas may mess up the impression, or the image may not look right. You may want to add details or make changes.
Once it’s perfected, stamp the new image onto self-adhesive label paper and affix to the top of the eraser to show the stamp’s image and to properly orient and align the image when stamping.
That’s it! Now you have a little replicable piece of art you can use to decorate greeting cards, letters, postcards, wrapping paper … you name it.
Conclusion
This project first appeared in CRAFT Volume 02, page 21.


