


The best dollar you can spend on a child’s STEAM education is to take them to the dollar store, buy an electronic item, and then take it apart. Learning how a handheld fan, LED light, remote control, or headphones work will help show how wind turbines, traffic lights, speakers, keyboards, and other modern devices function.
The next step is to take apart a dollar store item and make it better — combine two items, replace a switch, create something new and unique. Scrappy Circuits is the perfect way to get started.
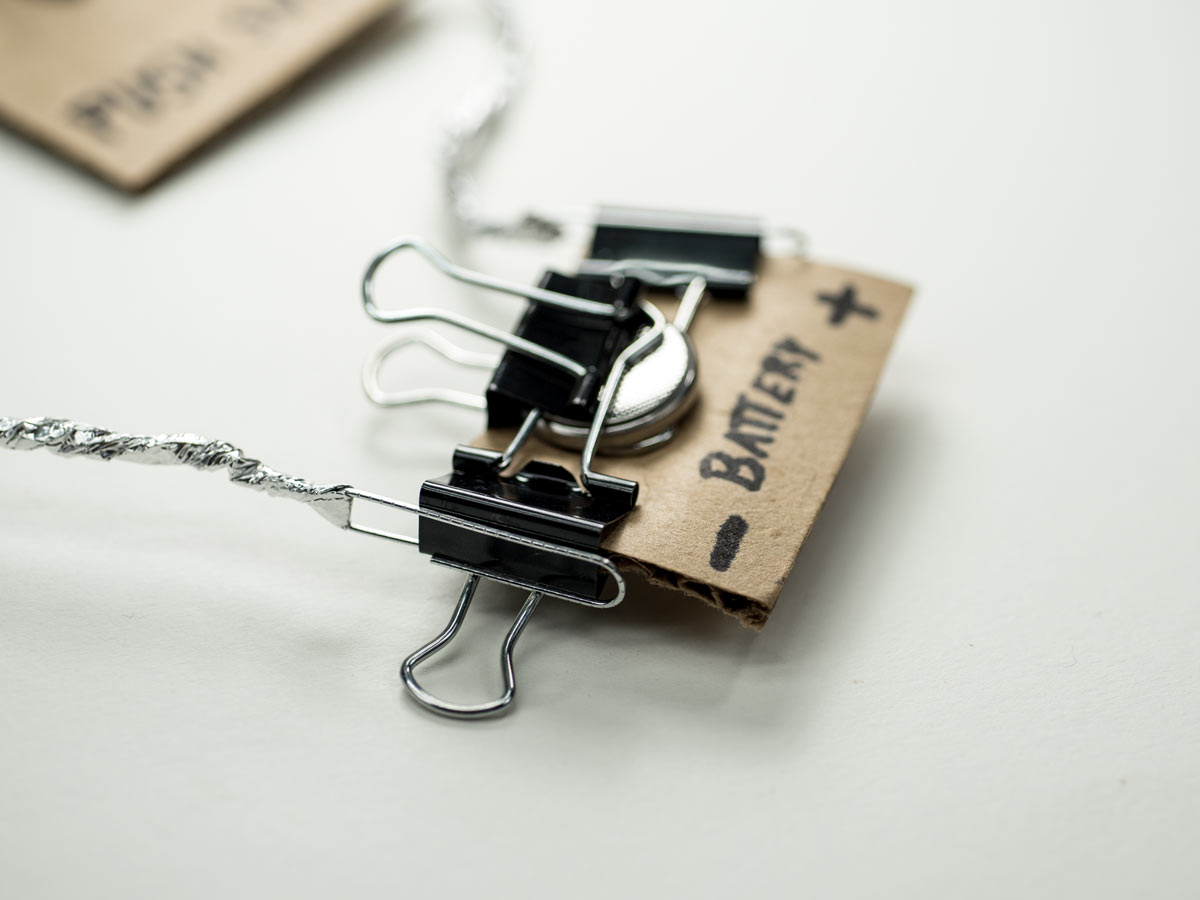
I first developed Scrappy Circuits with Chris Connors and Eva Luna while working at Xraise, an education outreach program at Cornell University. What began as an exploration of DIY switches ended later as a self-made invention system sourced from a fifty-cent LED tea light. Educators can build it with their class for about $20. Anyone with access to office supplies and a dollar store can make the five Core Bricks for about $1. Here’s how to create each one.


