

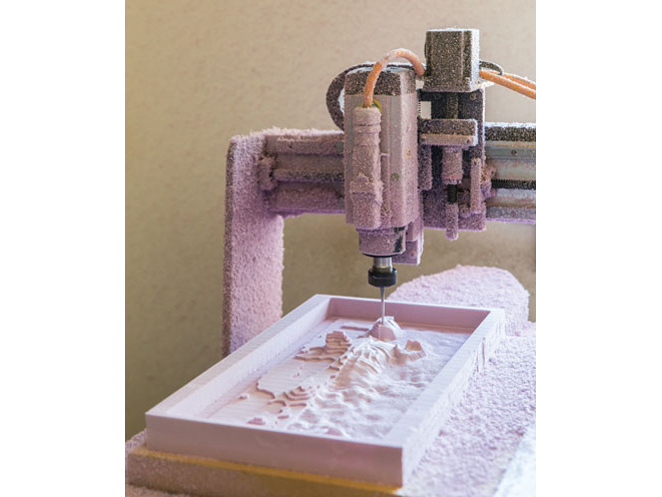


Those of you with cnc routers are familiar with the frustration of working with clamps or screws to secure your workpiece and the post-processing required to cut and sand down tabs. A universal vacuum hold-down system can eliminate many of these issues. You simply lay your workpiece on the worktable, turn on the vacuum motor — and voilà! You now have several pounds per square inch of hold-down force securing your workpiece.

Conventional vacuum hold-down systems require you cut a special vacuum template to hold your workpiece tight. Universal vacuum tables let you slap your workpiece down anywhere. They need more airflow, as they’re comparatively leaky, but they’re a lot easier to use.
However, there are some limitations to universal setups. Small parts and layouts with many cuts may not have enough surface area to maintain a strong vacuum, making a universal vacuum table great for most applications — but not all.
The Table Surface: Base, Plenum, and Bleeder


The universal vacuum table surface consists of 3 layers glued together. First is the base board, which bolts to your CNC’s frame and attaches to the vacuum-system plumbing. Next is the plenum board. It contains a grid of airflow channels that distribute the vacuum across the entire table. The final layer is the bleeder board, a porous spoiler board that allows the air to flow through it.


The base board and plenum are typically made from medium-density fiberboard (MDF), as it’s cheap and plentiful. (You can also make them out of high-density plastics like ABS or PVC.) These MDF layers are porous and need to be sealed to ensure a strong vacuum. You can use any off-the-shelf wood sealer, such as water- or oil-based polyurethane, epoxy-based sealers, or even wood glue thinned with water. Extra coats of sealer should be applied to the cut edges of the MDF, as they are prone to leaking more than the top and bottom surfaces.

The bleeder board is different. It must be solid enough to support your workpiece but porous enough to allow the air to flow through it relatively unrestricted. The recommended material is Ultralite MDF; it’s 40% lighter and more porous than regular MDF due to less epoxy binder. Before you glue the bleeder board to the plenum, you’ll need to shave off the denser top and bottom layers as they can restrict airflow, reducing the vacuum.
The Vacuum
Vacuum systems range from simple, homebuilt setups using Shop-Vacs to commercial units that can cost more than the CNC itself. For most hobbyists and small-production shops, a Shop-Vac or basic vacuum motor is more than enough for vacuum table systems.

The goal is to pull both a high vacuum and a high volume of air, as this allows your table to maintain an adequate vacuum despite massive leaks in the system. With a small table area like the 24"×18" surface on the Shopbot Desktop, a typical full-size Shop-Vac works just fine. If you want a dedicated system, you can buy vacuum motors from industrial suppliers like Grainger or check out Lighthouse Motors, which has vacuum motors specifically designed for ShopBot setups.
Using Zones
If you have a larger table and you’re dividing the plenum into separate zones, you’ll need a way to plumb them and turn different zones on and off. The best solution is basic 2" PVC pipe from your local hardware store. Use ball valves to allow control over the different zones, and add a vacuum gauge to the system so you can optimize your airflow and vacuum pressure.

When laying out your plumbing, be sure to avoid lots of sharp turns as these can cause air restrictions, dampening performance. Use Y couplers instead of tee couplers, and align any angled ports to flow in the same direction as the air.
If you find you’re not getting enough out of your motor, you can add a second motor, doubling the power. When running more than one motor it’s typically better to use 220V power over 110V, as the current draw is less, but that’s not always an option. Just be sure that your breaker can handle the current draw.
TIP: The “Talk ShopBot” forum has a wealth of information on vacuum motors and how to select one for your setup: talkshopbot.com
How to Use Your Vacuum Table
For simple jobs where you have plenty of border around your cuts, just plop your workpiece down on the table, eyeball it square to the edge of the table, then start cutting. It’s that easy!
Tips and Tricks
Multisided Jobs
Here’s a tip for multisided jobs. When cutting or engraving on both sides of your material, you’ll want the cuts to line up perfectly. So, when you cut the first side, incorporate 2 drill holes into your file. Place them in opposite corners on the margins of your material and have the holes extend through the workpiece about 1/4" into the bleeder board.
When the first side is finished, stick two 1/4"-diameter wood dowels into the holes you previously drilled. Leave 1/4" of the dowel sticking up above the surface of the workpiece. Flip your workpiece over, with the dowels still in holes and engage the 2 dowels into the holes in the bleeder board. Your cuts should now line up perfectly.
Shifting Parts
If you’re worried about parts shifting while cutting all the way through the material, here’s a little trick. On the first pass leave a wafer-thin bit of material (aka “onion skin”) at the bottom of the cut to hold the cut parts in place while the rest of the job is being cut. This will maintain a strong vacuum so your previously machined pieces don’t shift around.
Once the majority of the material has been removed, go back and run a final pass to cut all the way through. Your first cuts have significantly reduced the cutting force and friction (which decrease with cut depth due to the tiny amount of material left), so there is far less of a chance for your parts to shift.
Maintenance
When you first install your system, note the gauge reading and write it down as a baseline. It should be around 15–20 inches of mercury (inHg) vacuum pressure.
If your bleeder board starts to look rough and your gauge shows decreased vacuum pressure, then it’s time to resurface your bleeder board.

If you glued your bleeder board to your plenum, you can repeatedly surface your bleeder board until you cut through to the channels in your plenum. Then just glue a fresh bleeder board on top of it.


