It seems that counterfeit money is becoming more and more widespread. To help make it harder for counterfeiters, the US Treasury Department has started inserting strips in all US paper money (except for the $1 denomination) which glow different colors under ultraviolet light. This simple project uses a UV LED to produce the necessary ultraviolet light and, although extremely inexpensive and easy to make, this project works quite well.

What will the next generation of Make: look like? We’re inviting you to shape the future by investing in Make:. By becoming an investor, you help decide what’s next. The future of Make: is in your hands. Learn More.

Project Steps

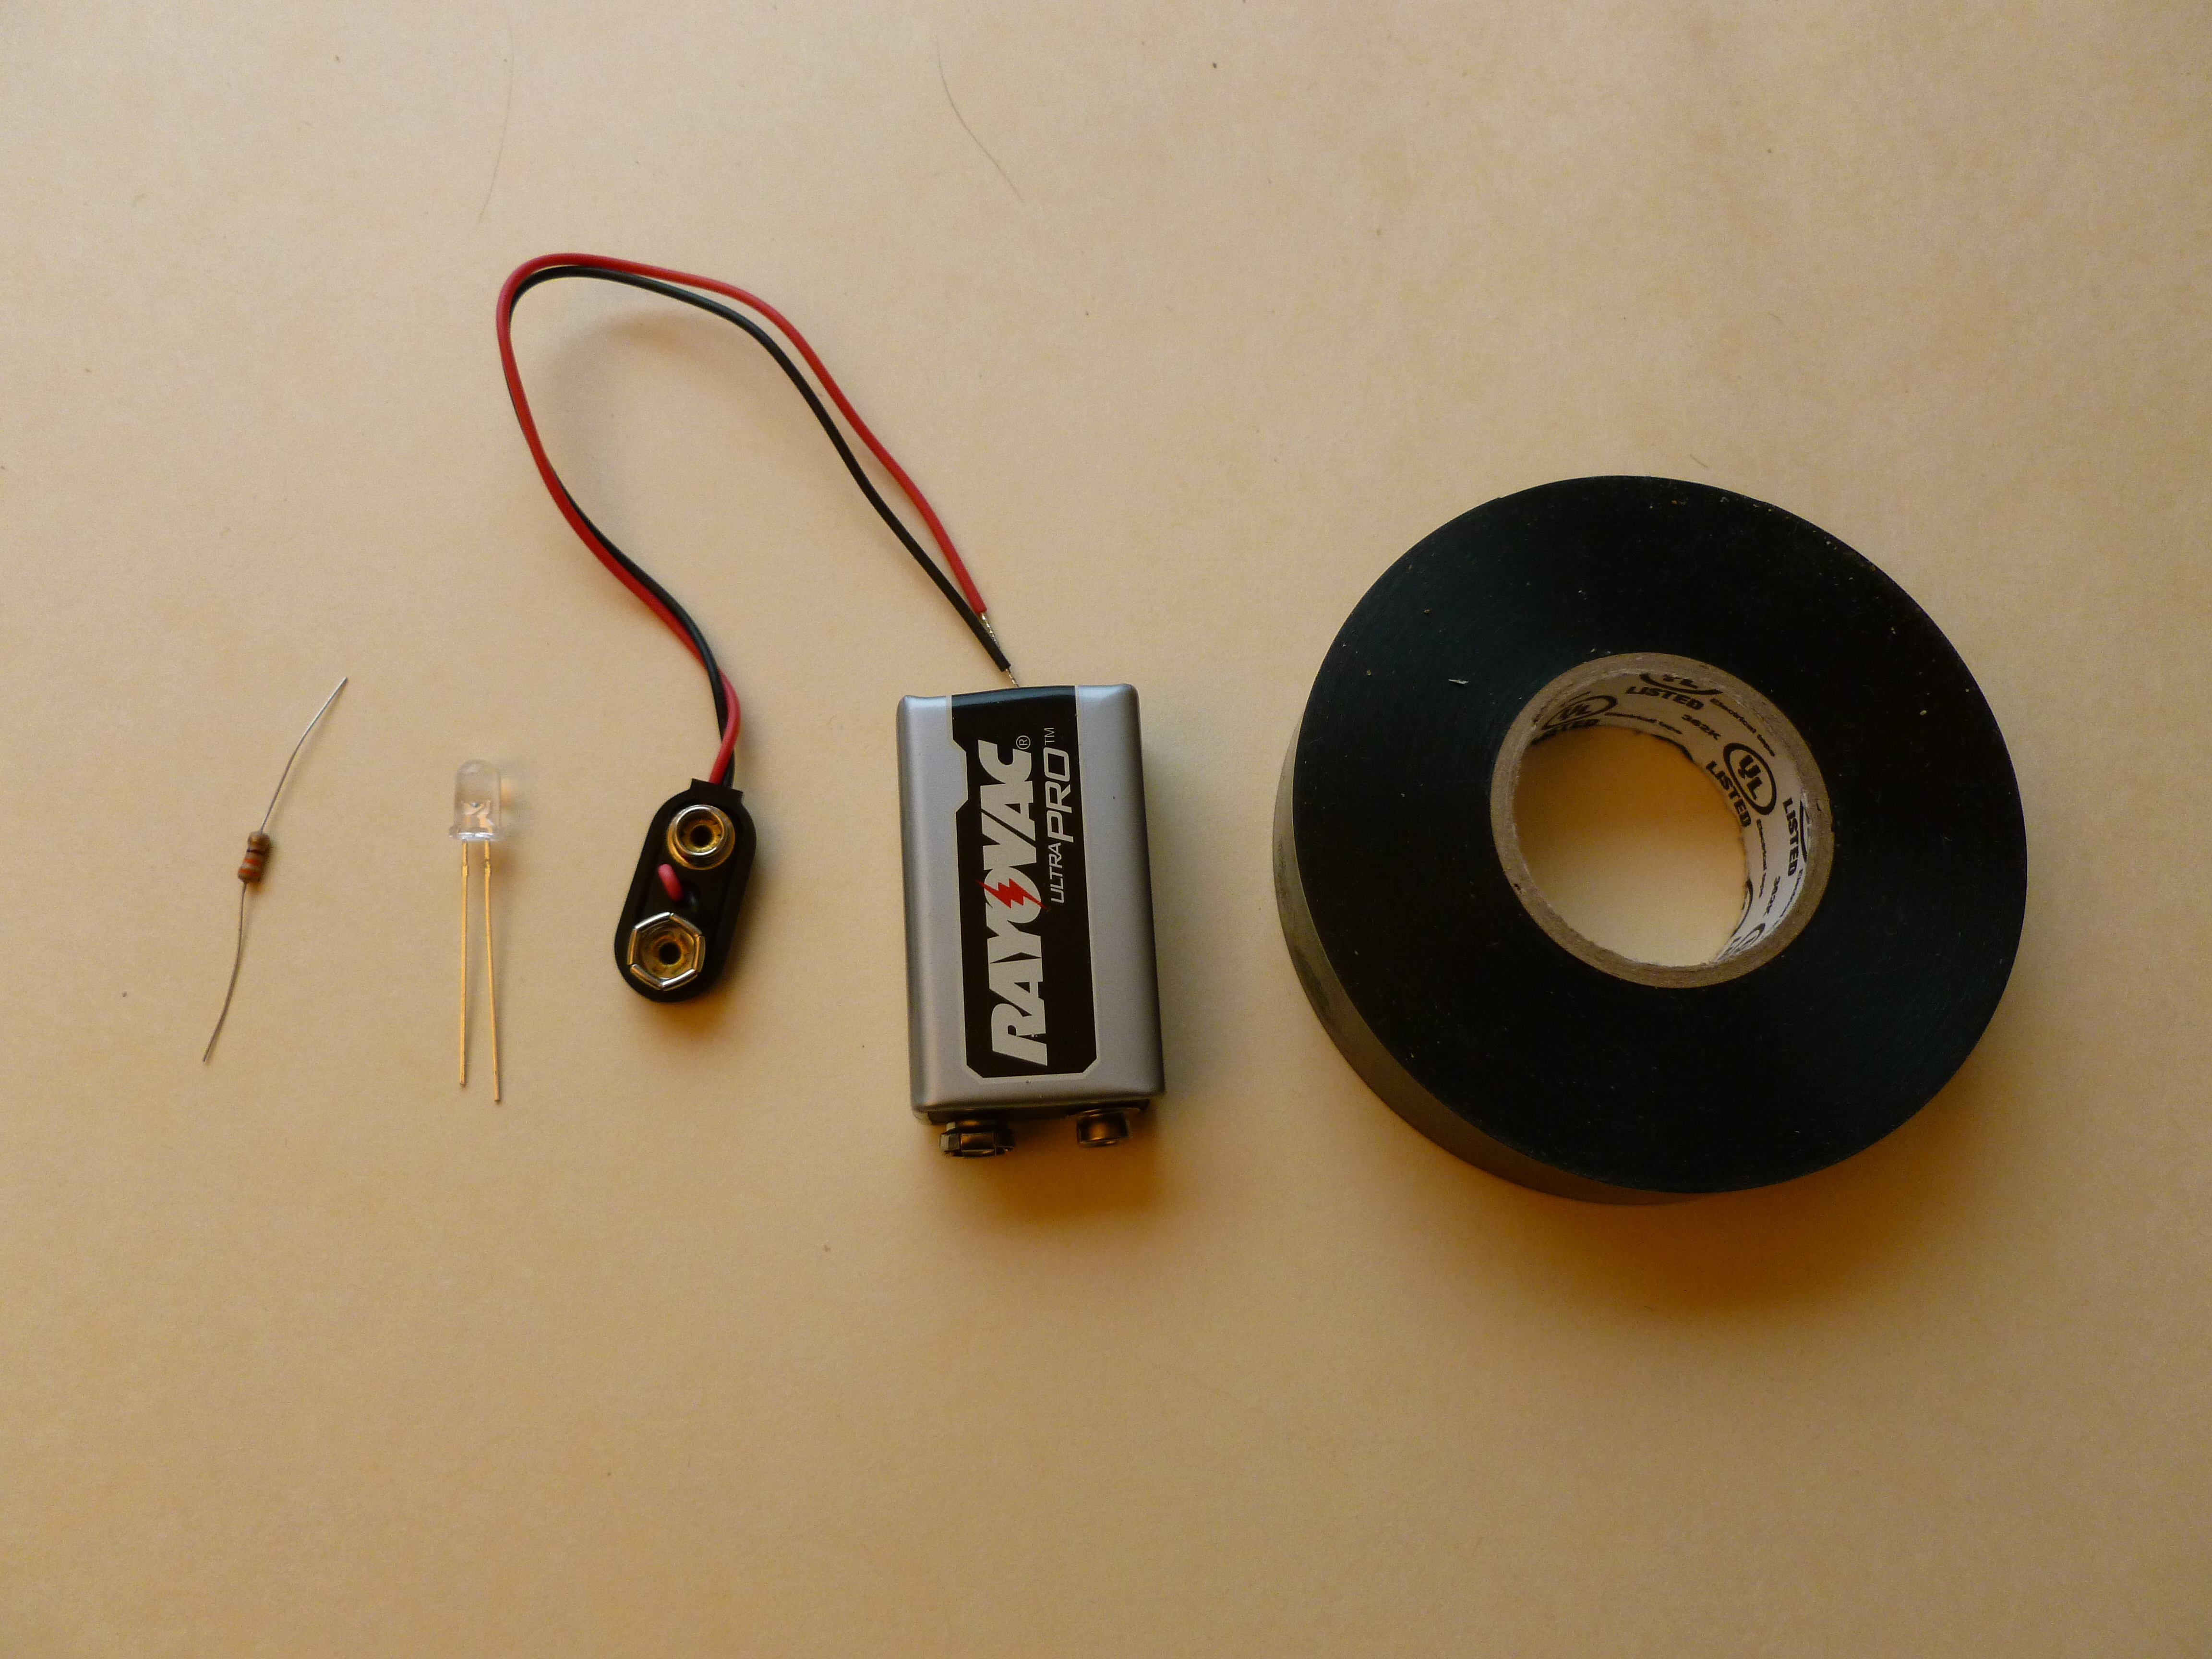
These are the parts you need. From left to right: a 330 ohm resistor, an ultraviolet LED, a snap-on 9V battery connector, a 9V battery and some electrical tape.

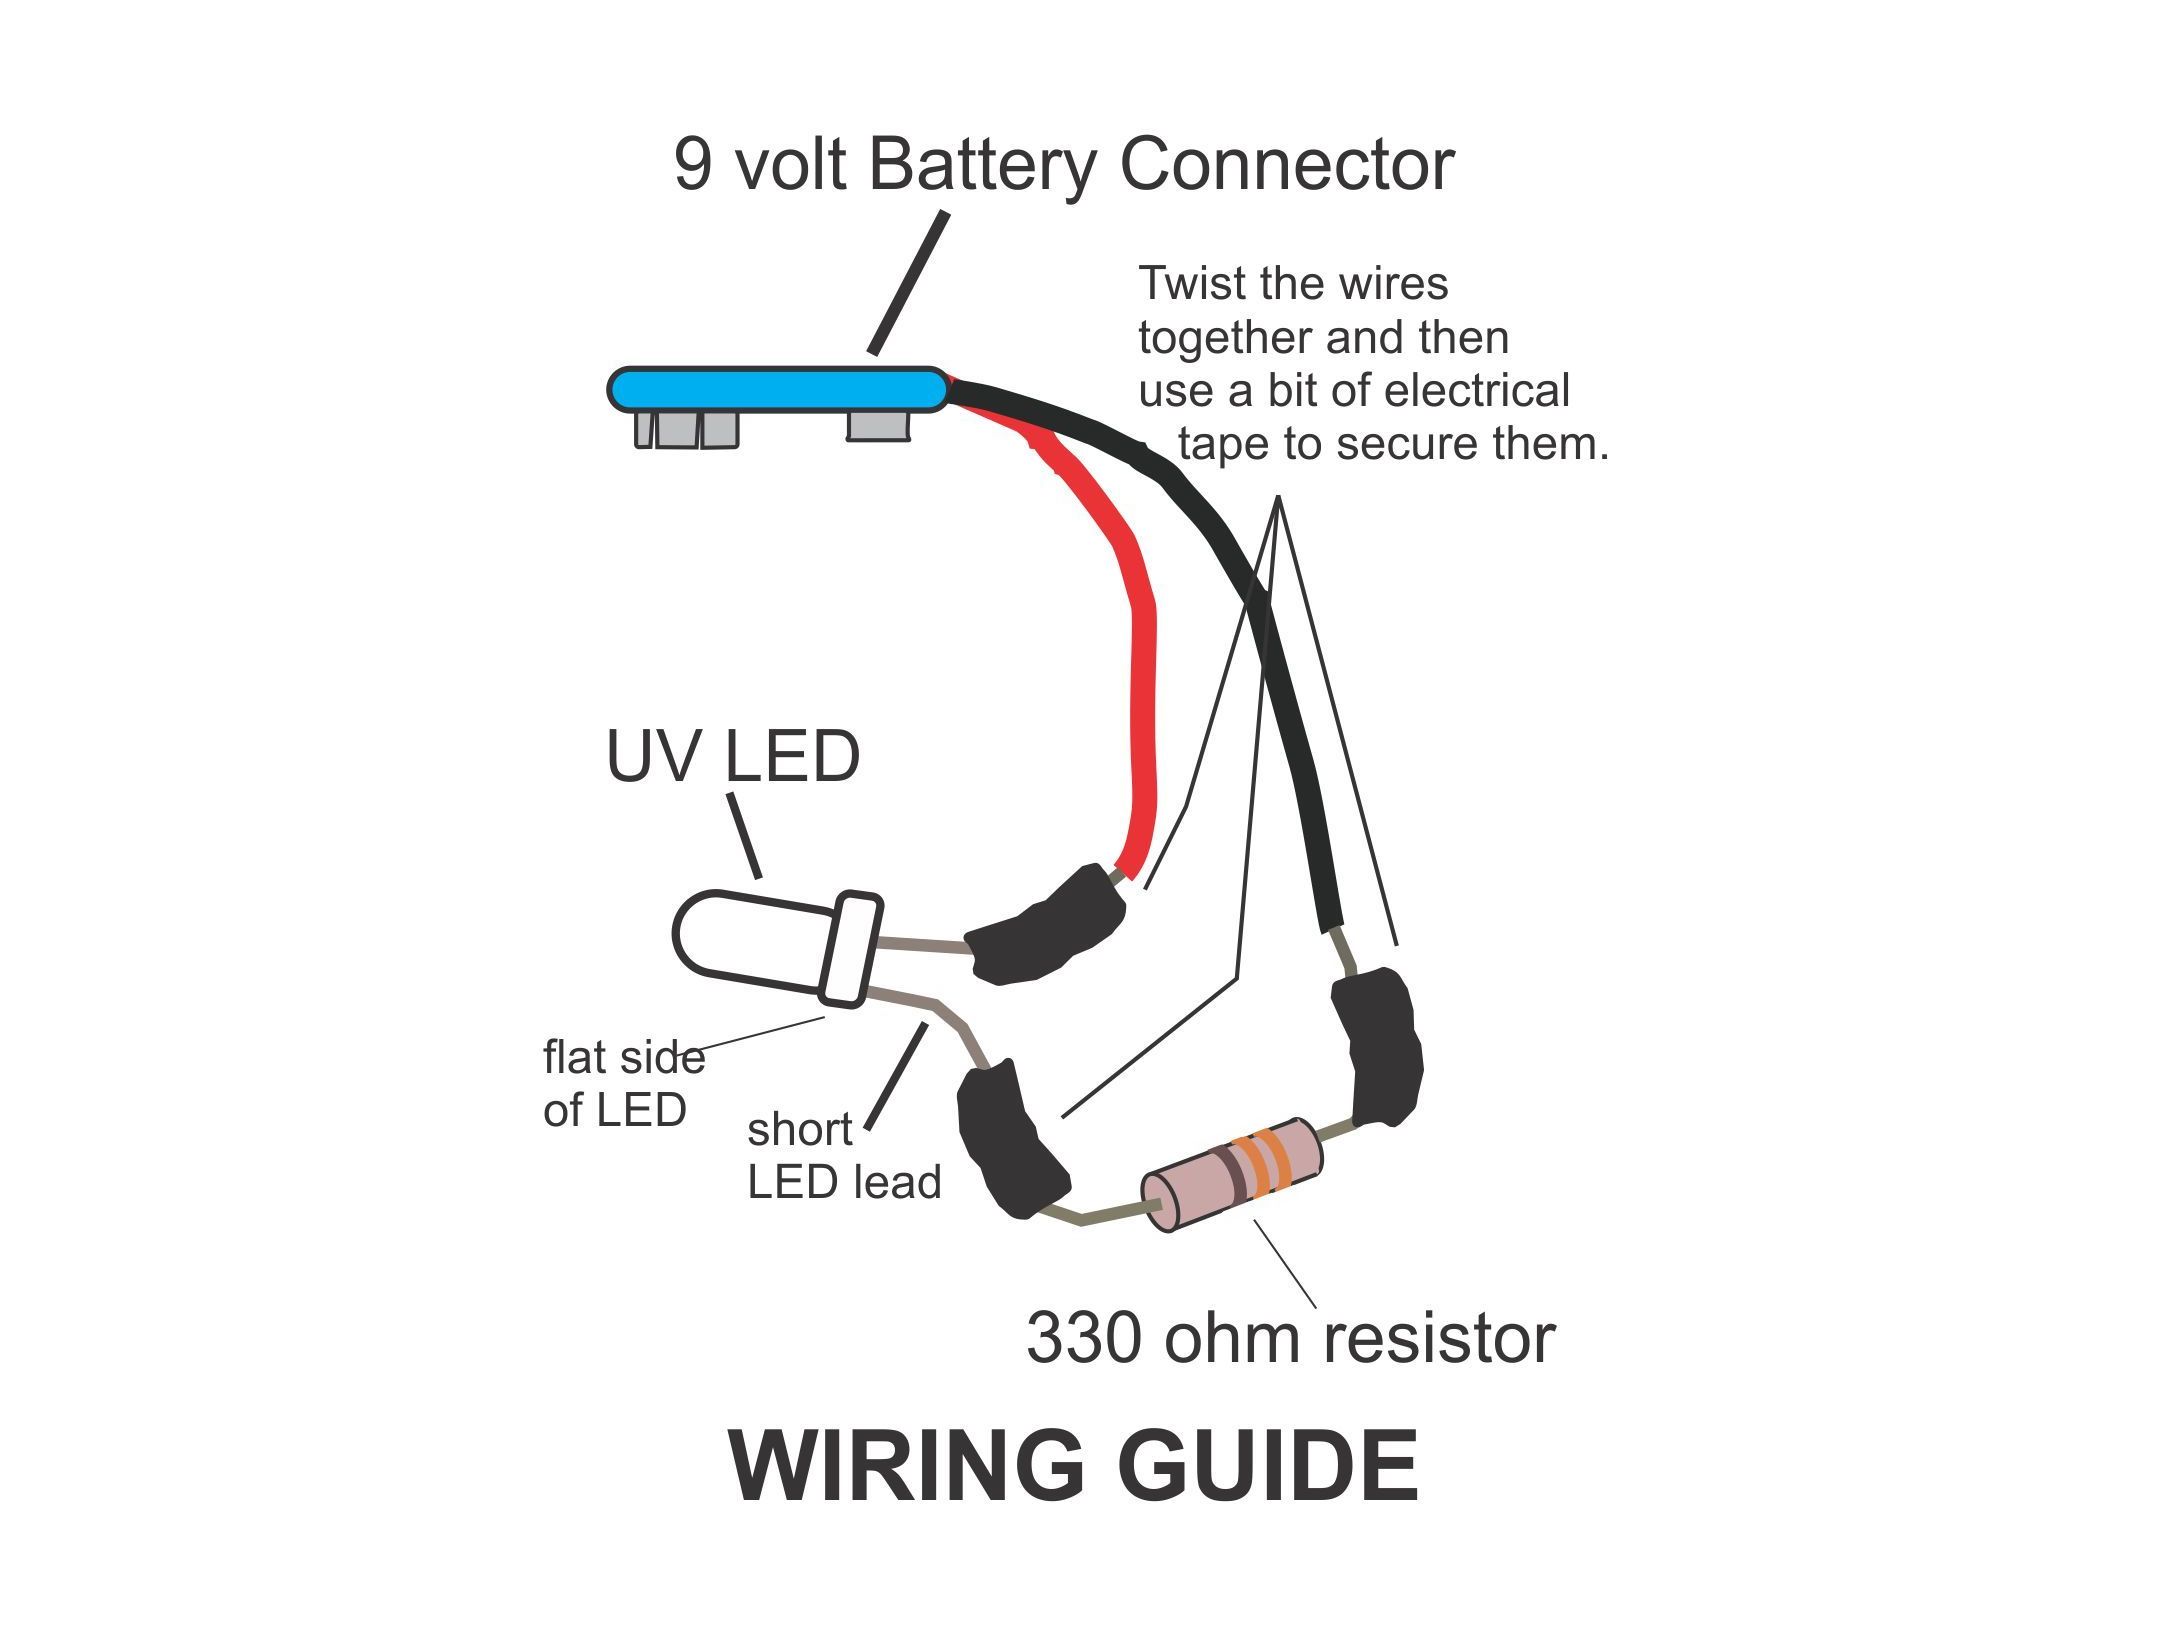
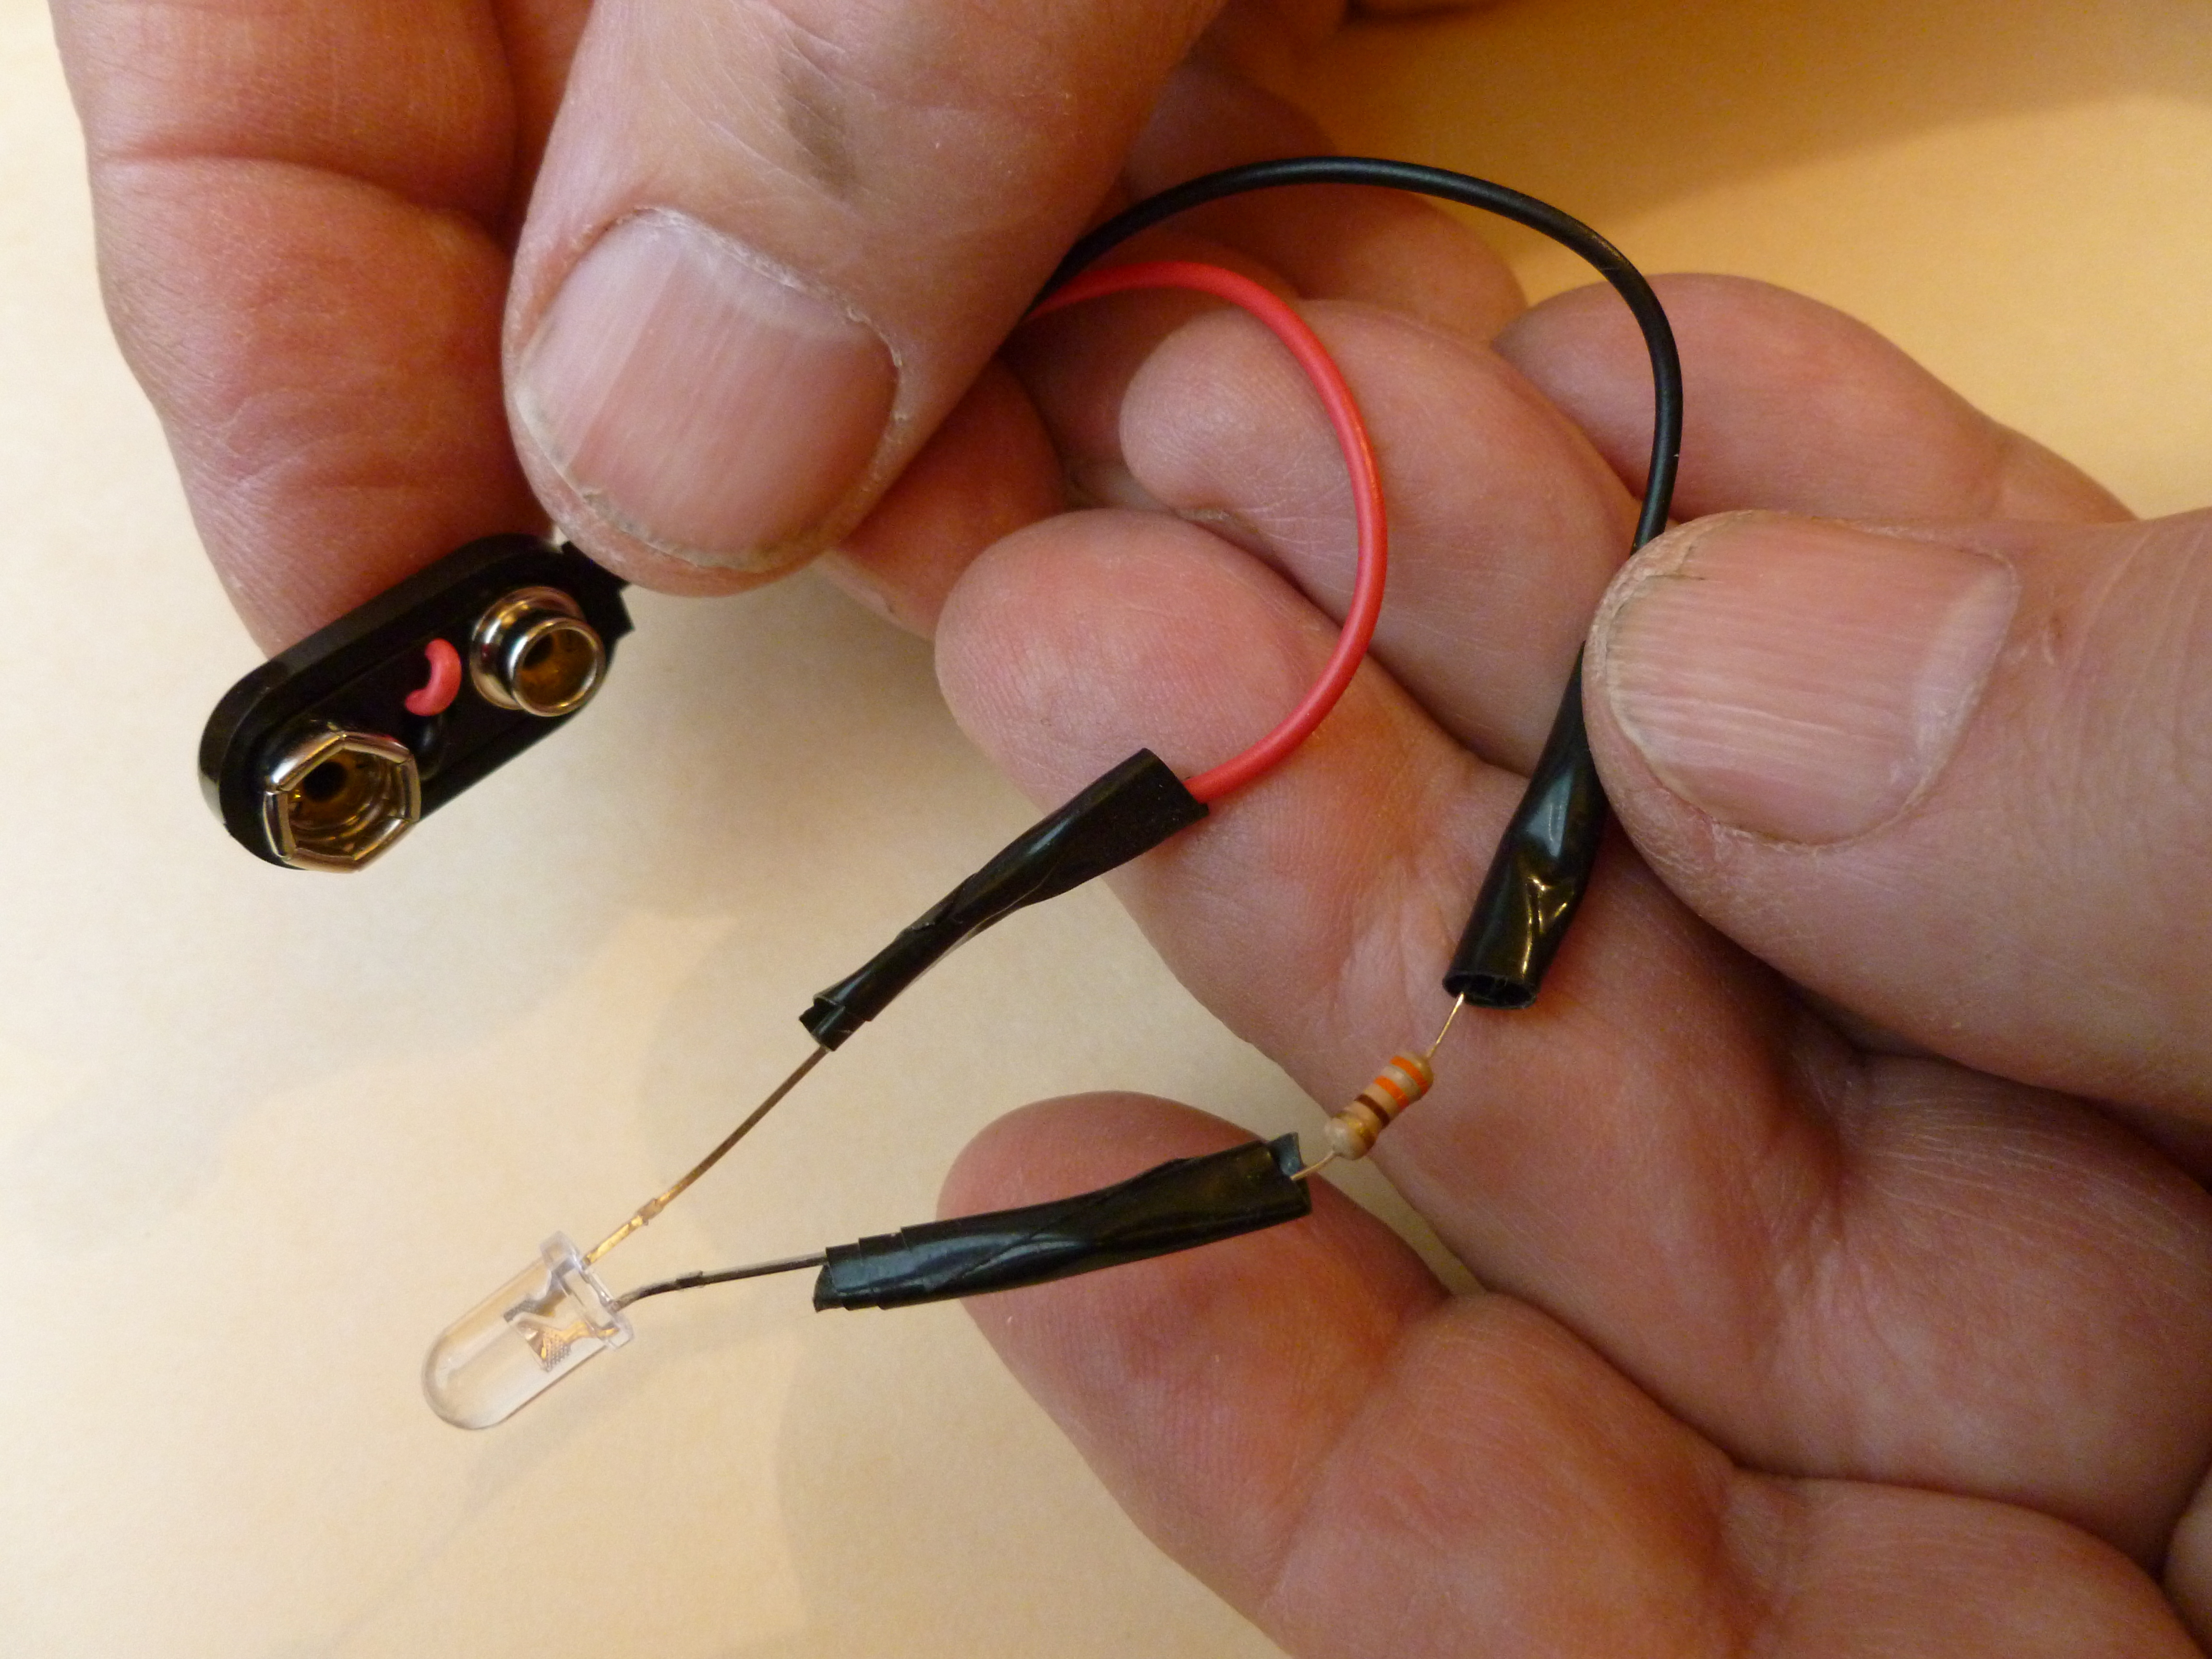
When wiring, make sure the red wire from the battery connector is connected to the LED’s longer lead. The shorter lead is connected to one lead of the resistor. The resistor’s other lead is connected to the battery connector’s black wire.

Hint: The flat spot on the LED is next to the LED’s shorter lead.

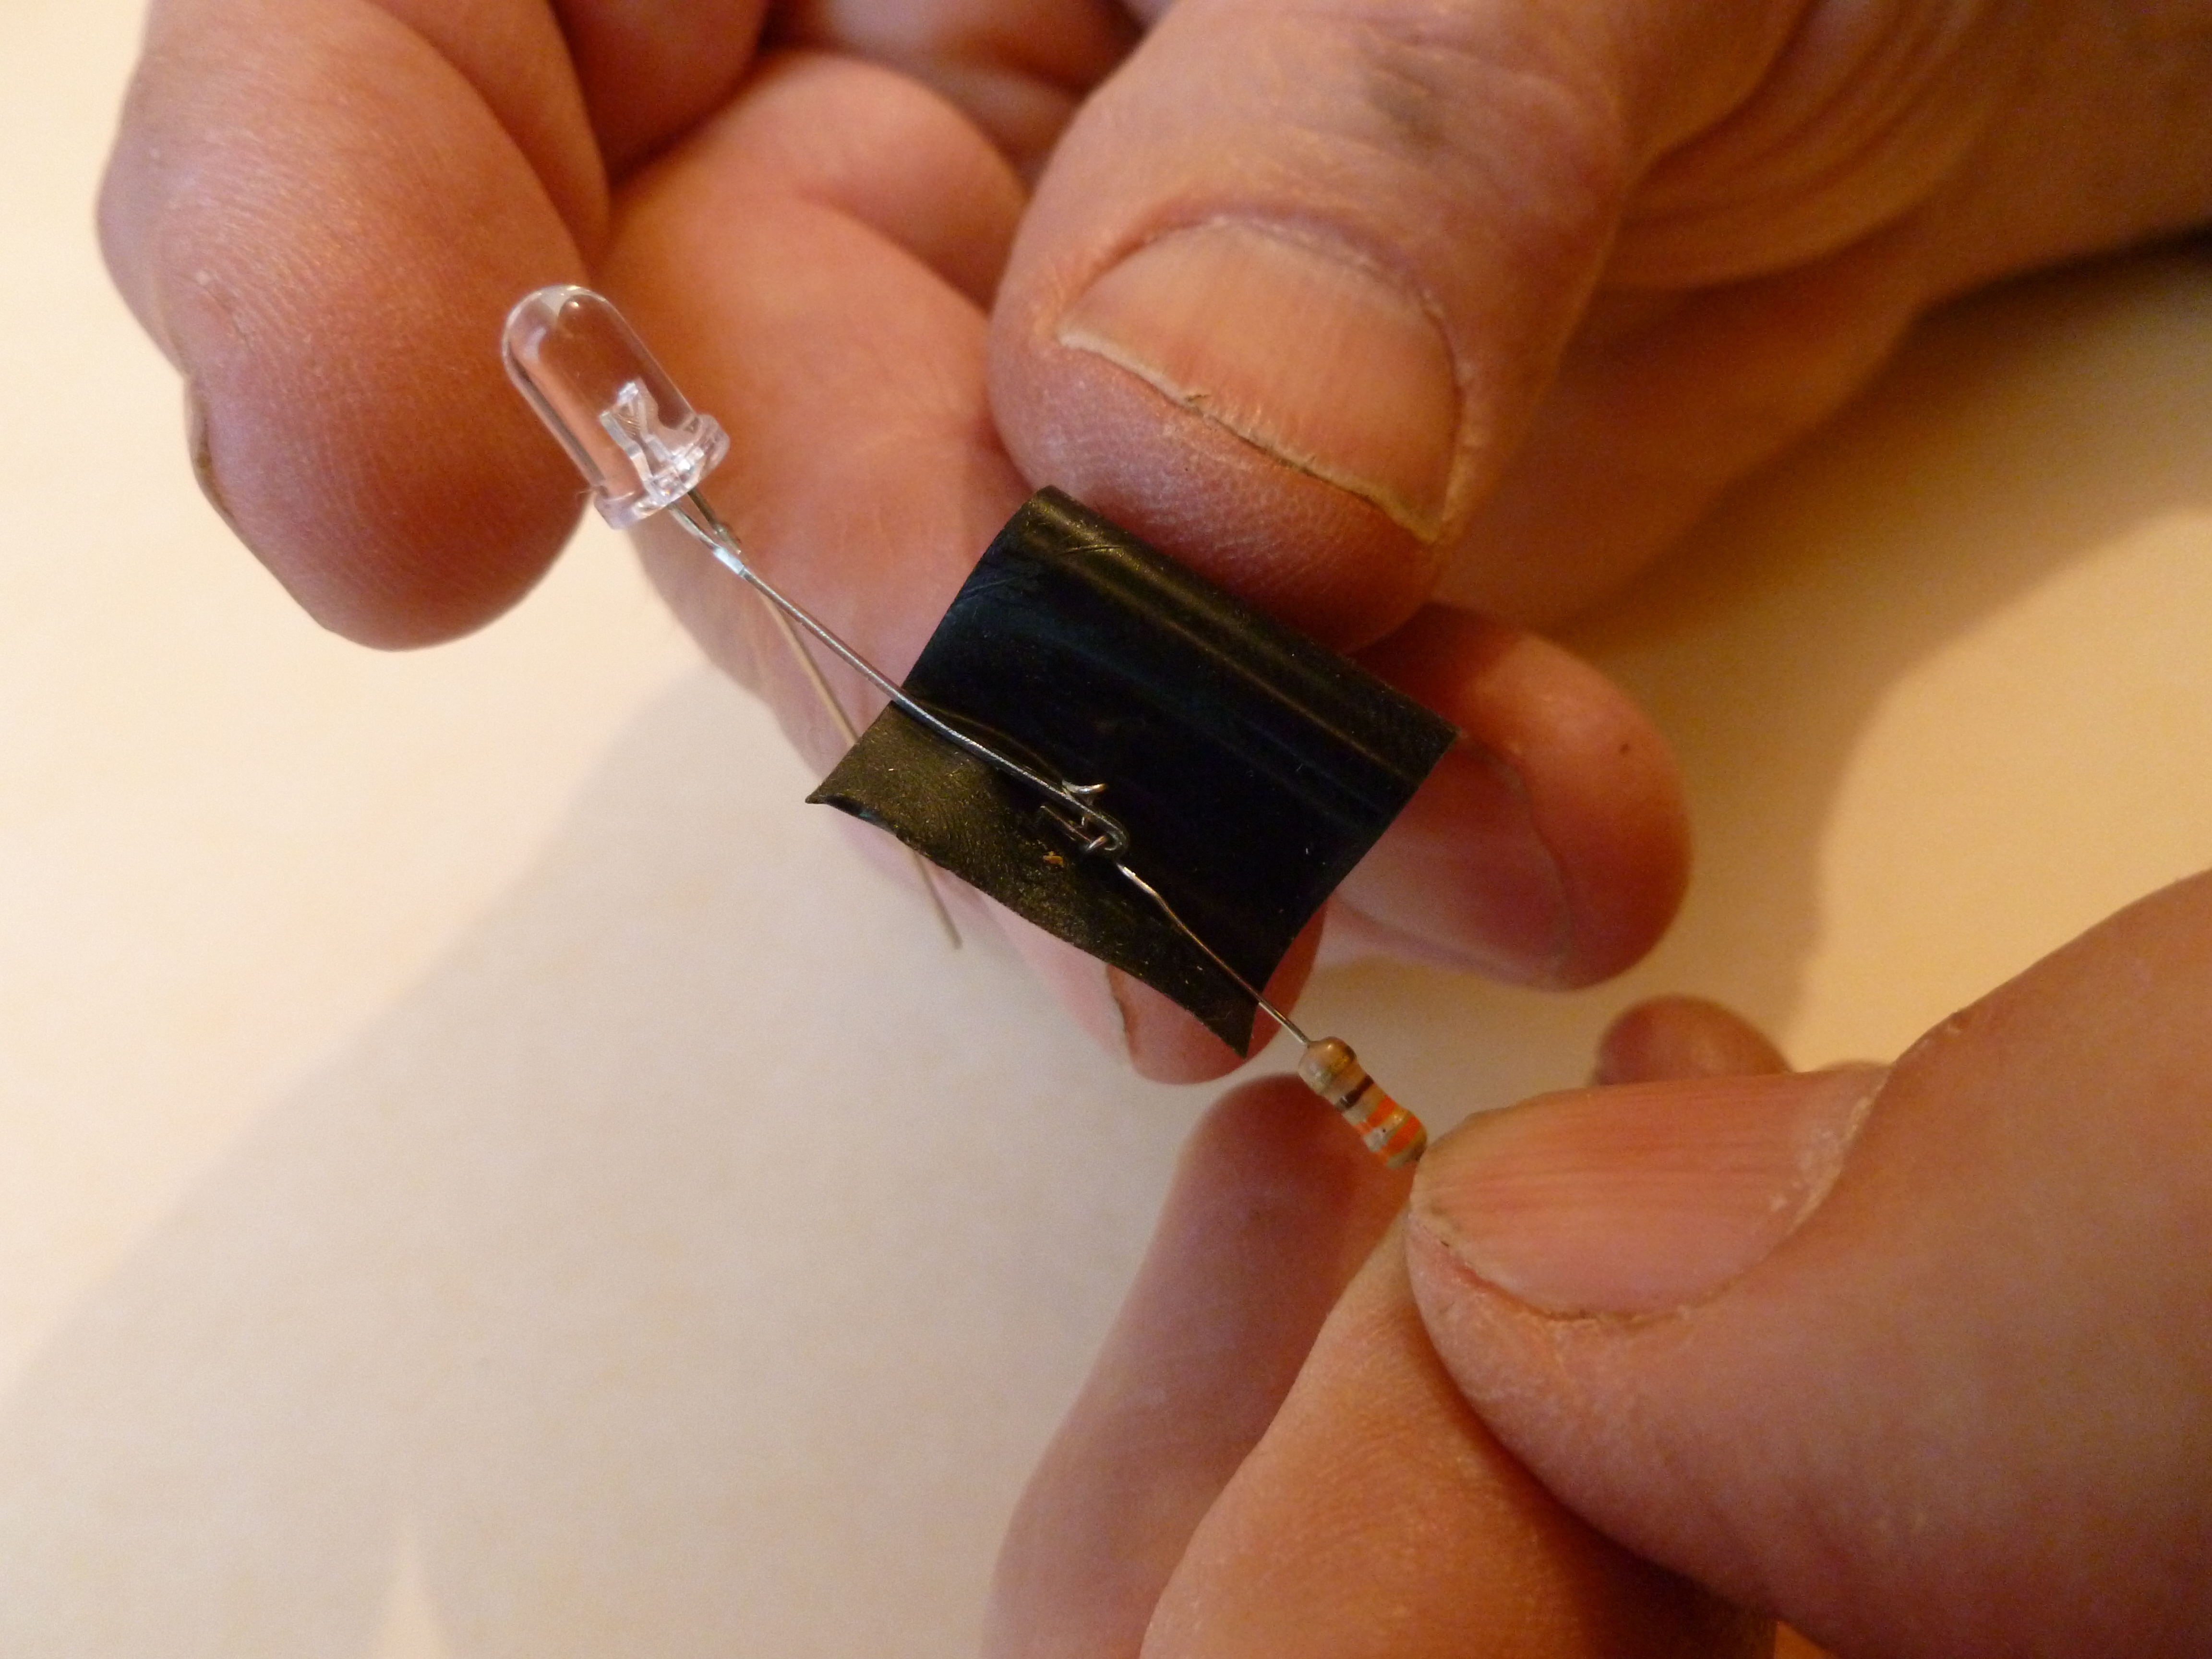
While I do recommend soldering the connections before taping them, it is possible to merely twist them together and then squeeze the wires with a pair of long-nosed pliers.

The circuit is complete.

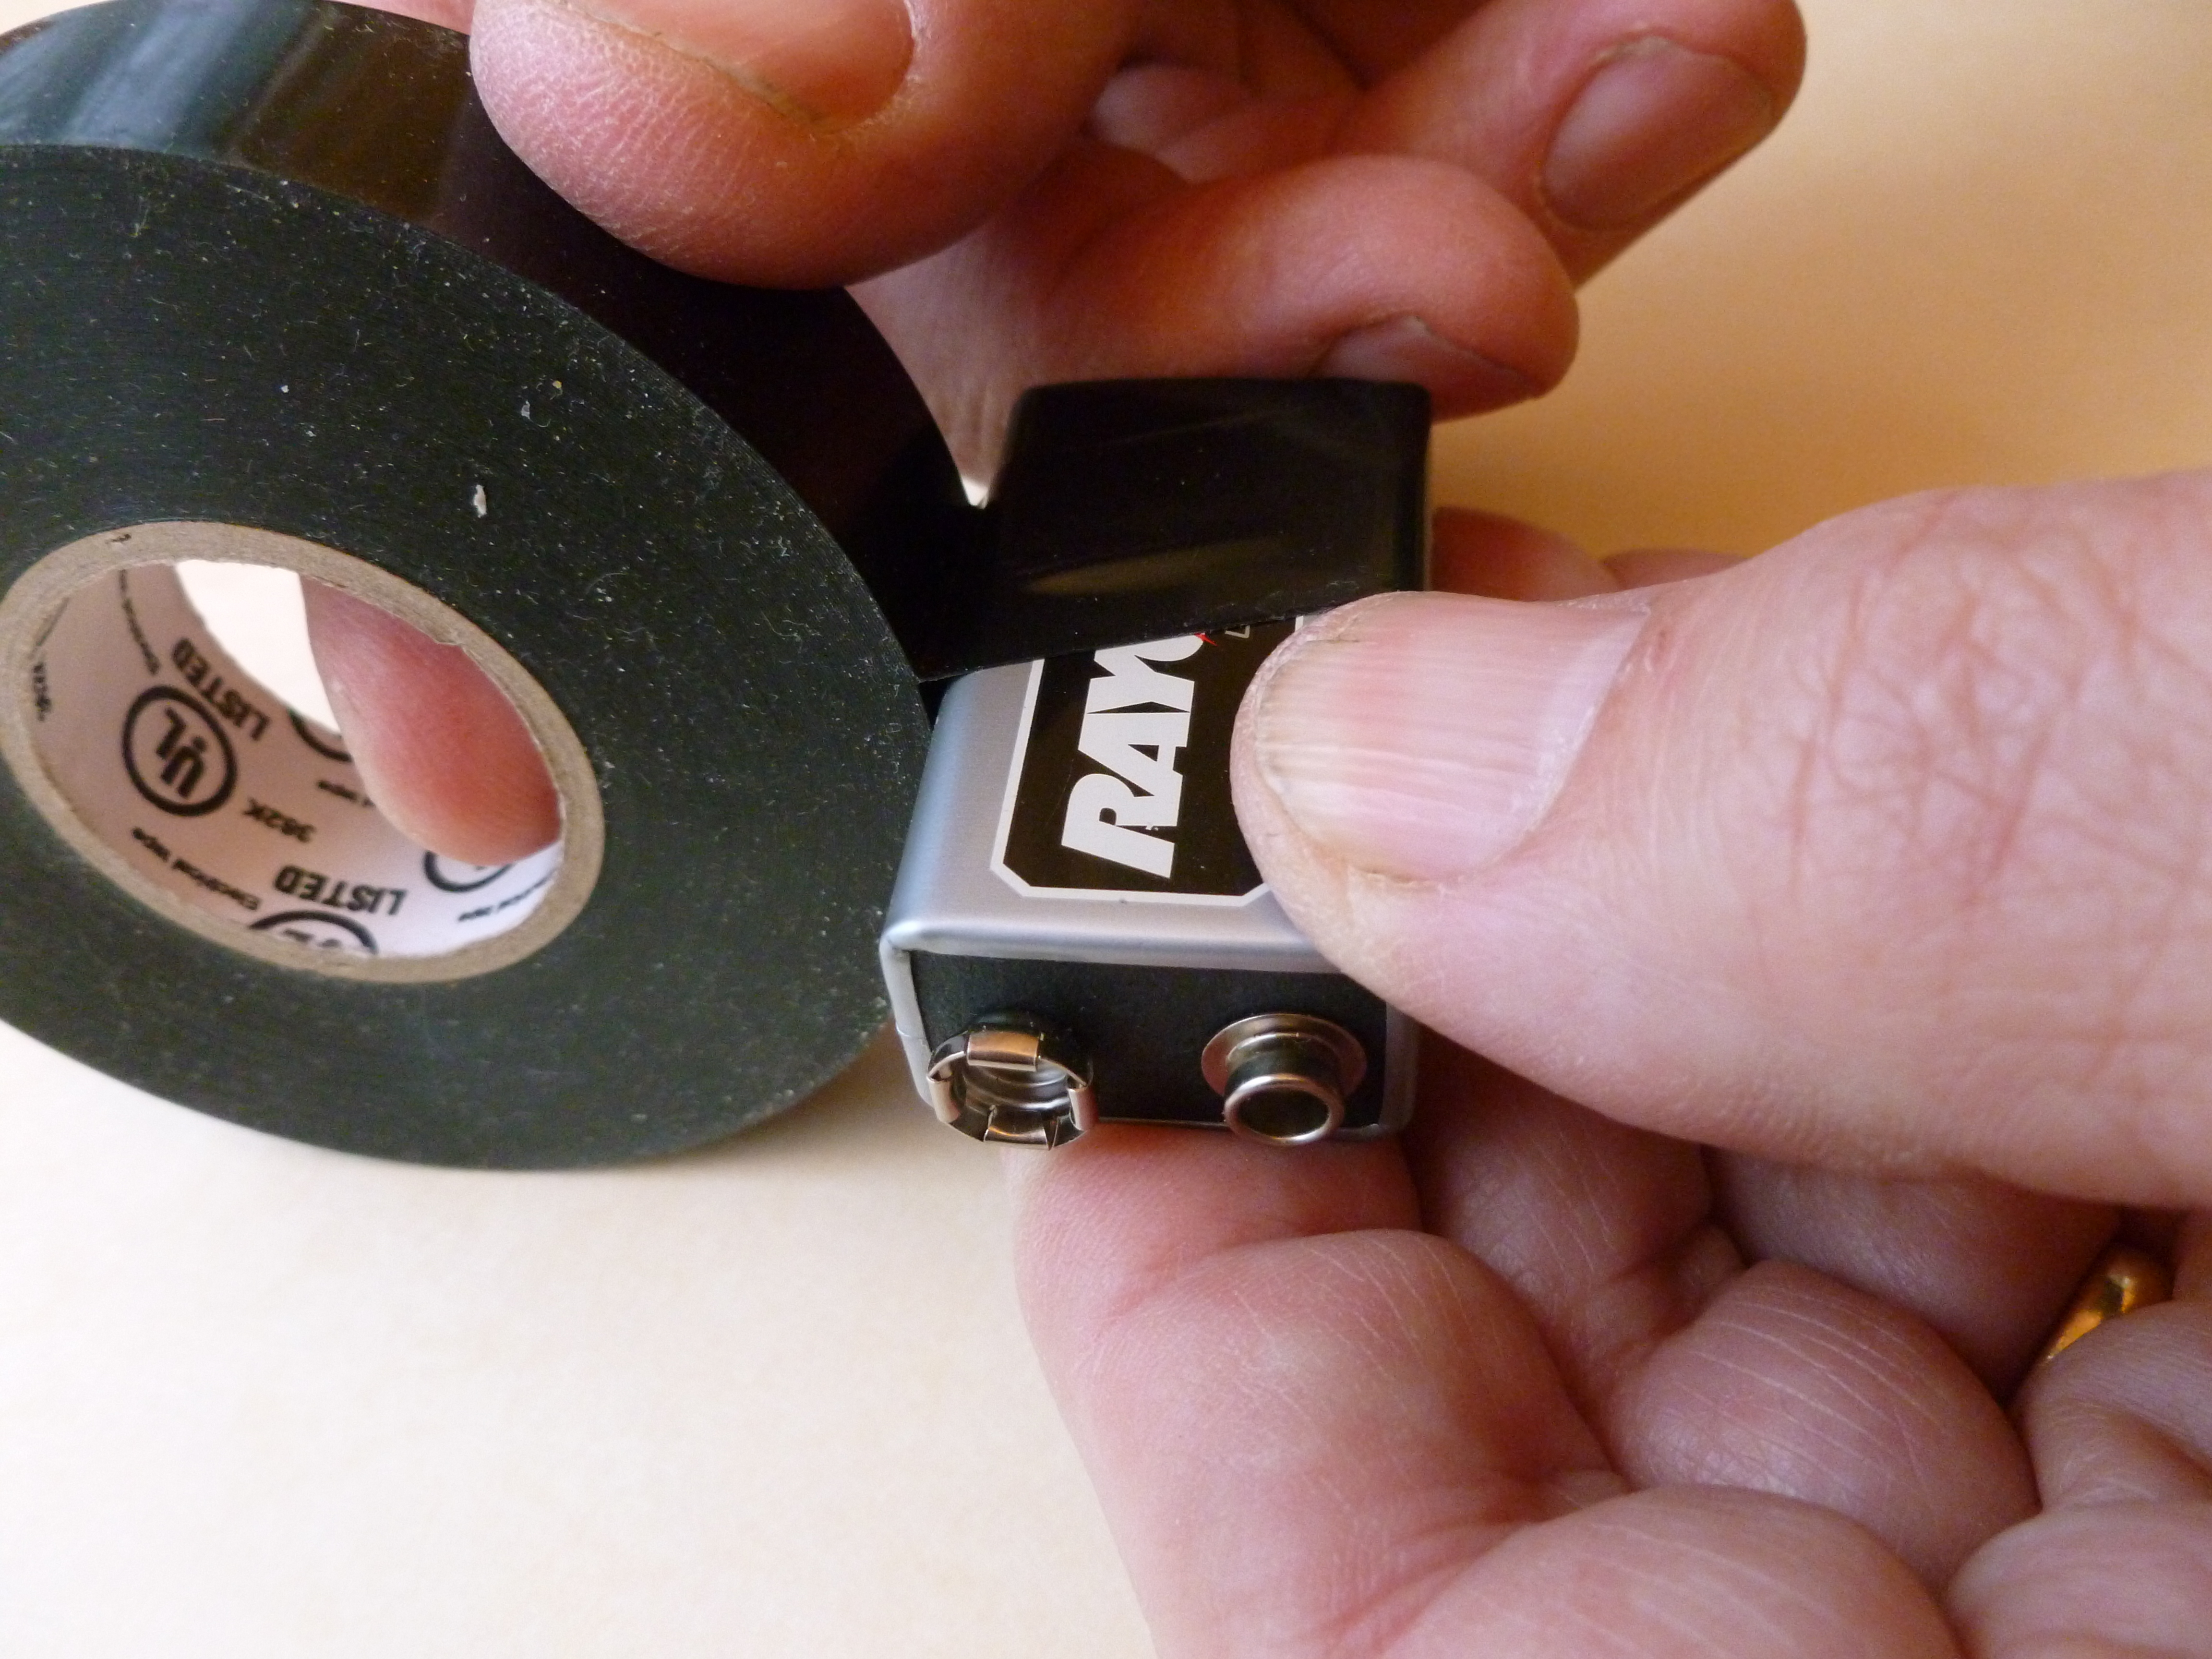
Since the circuit will be attached to the battery, electrical tape should be used to insulate the battery before attaching the circuit.

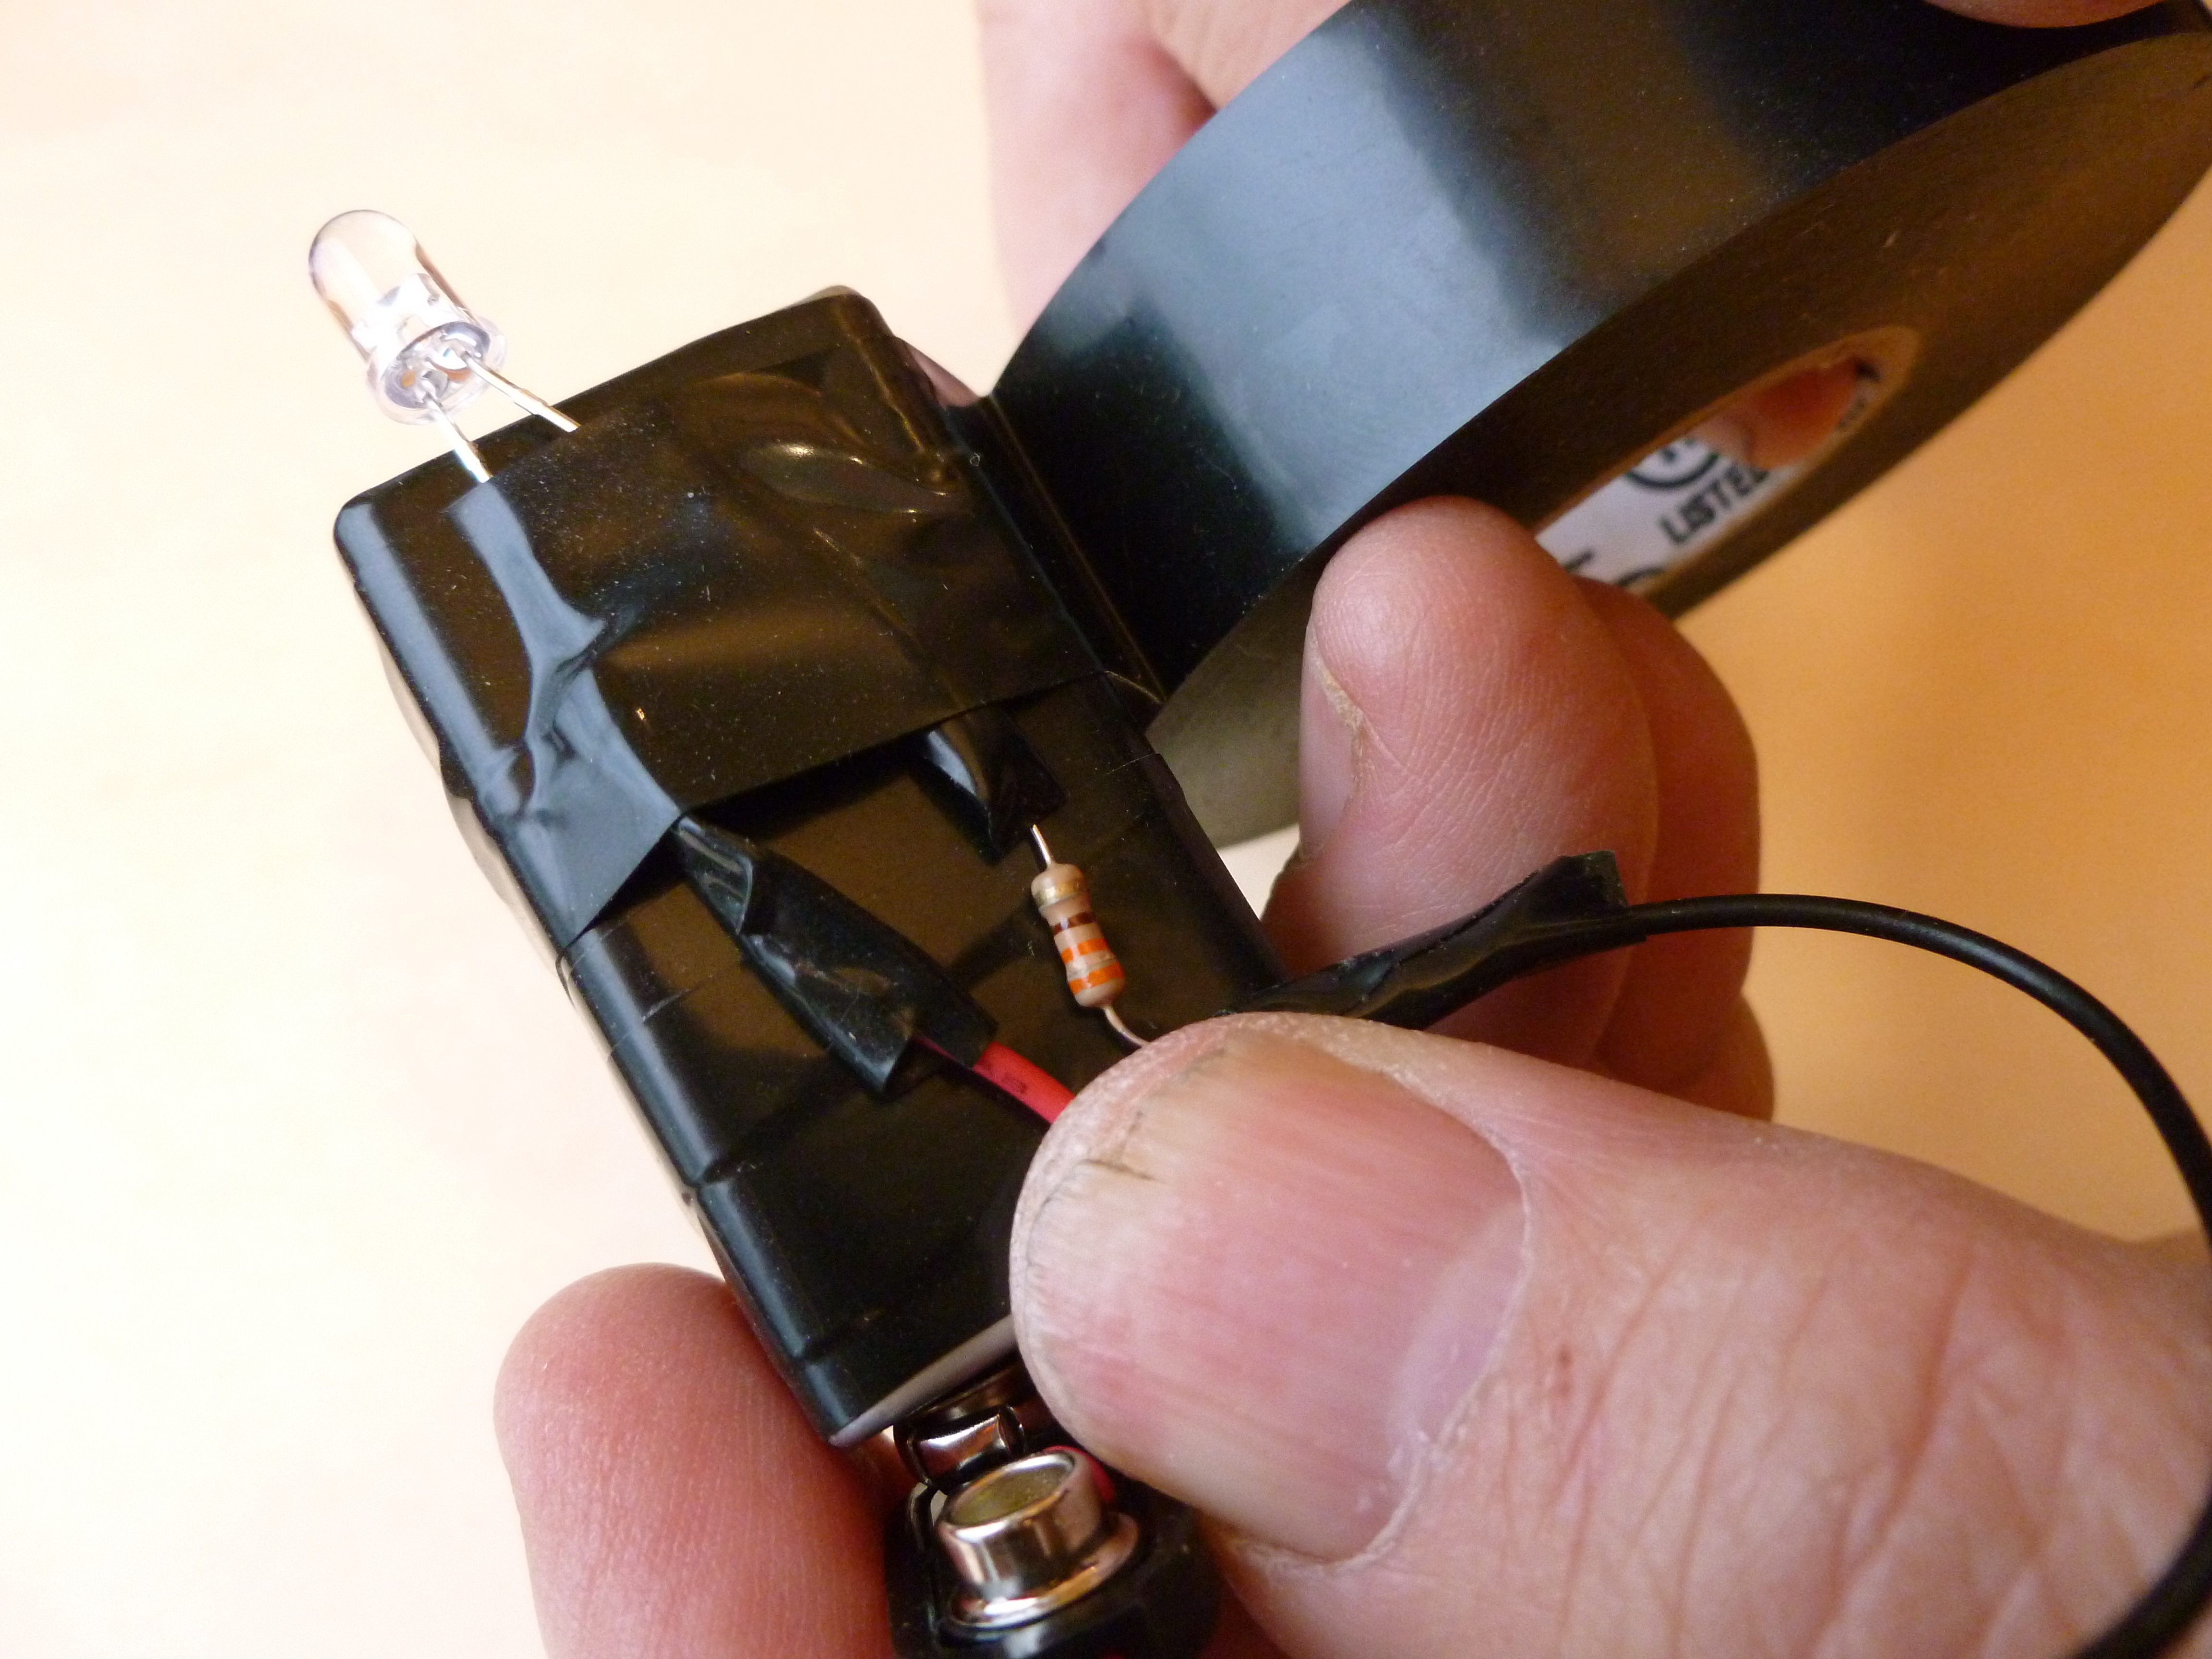
Follow the photo and use the electrical tape to attach the circuit to the insulated battery.

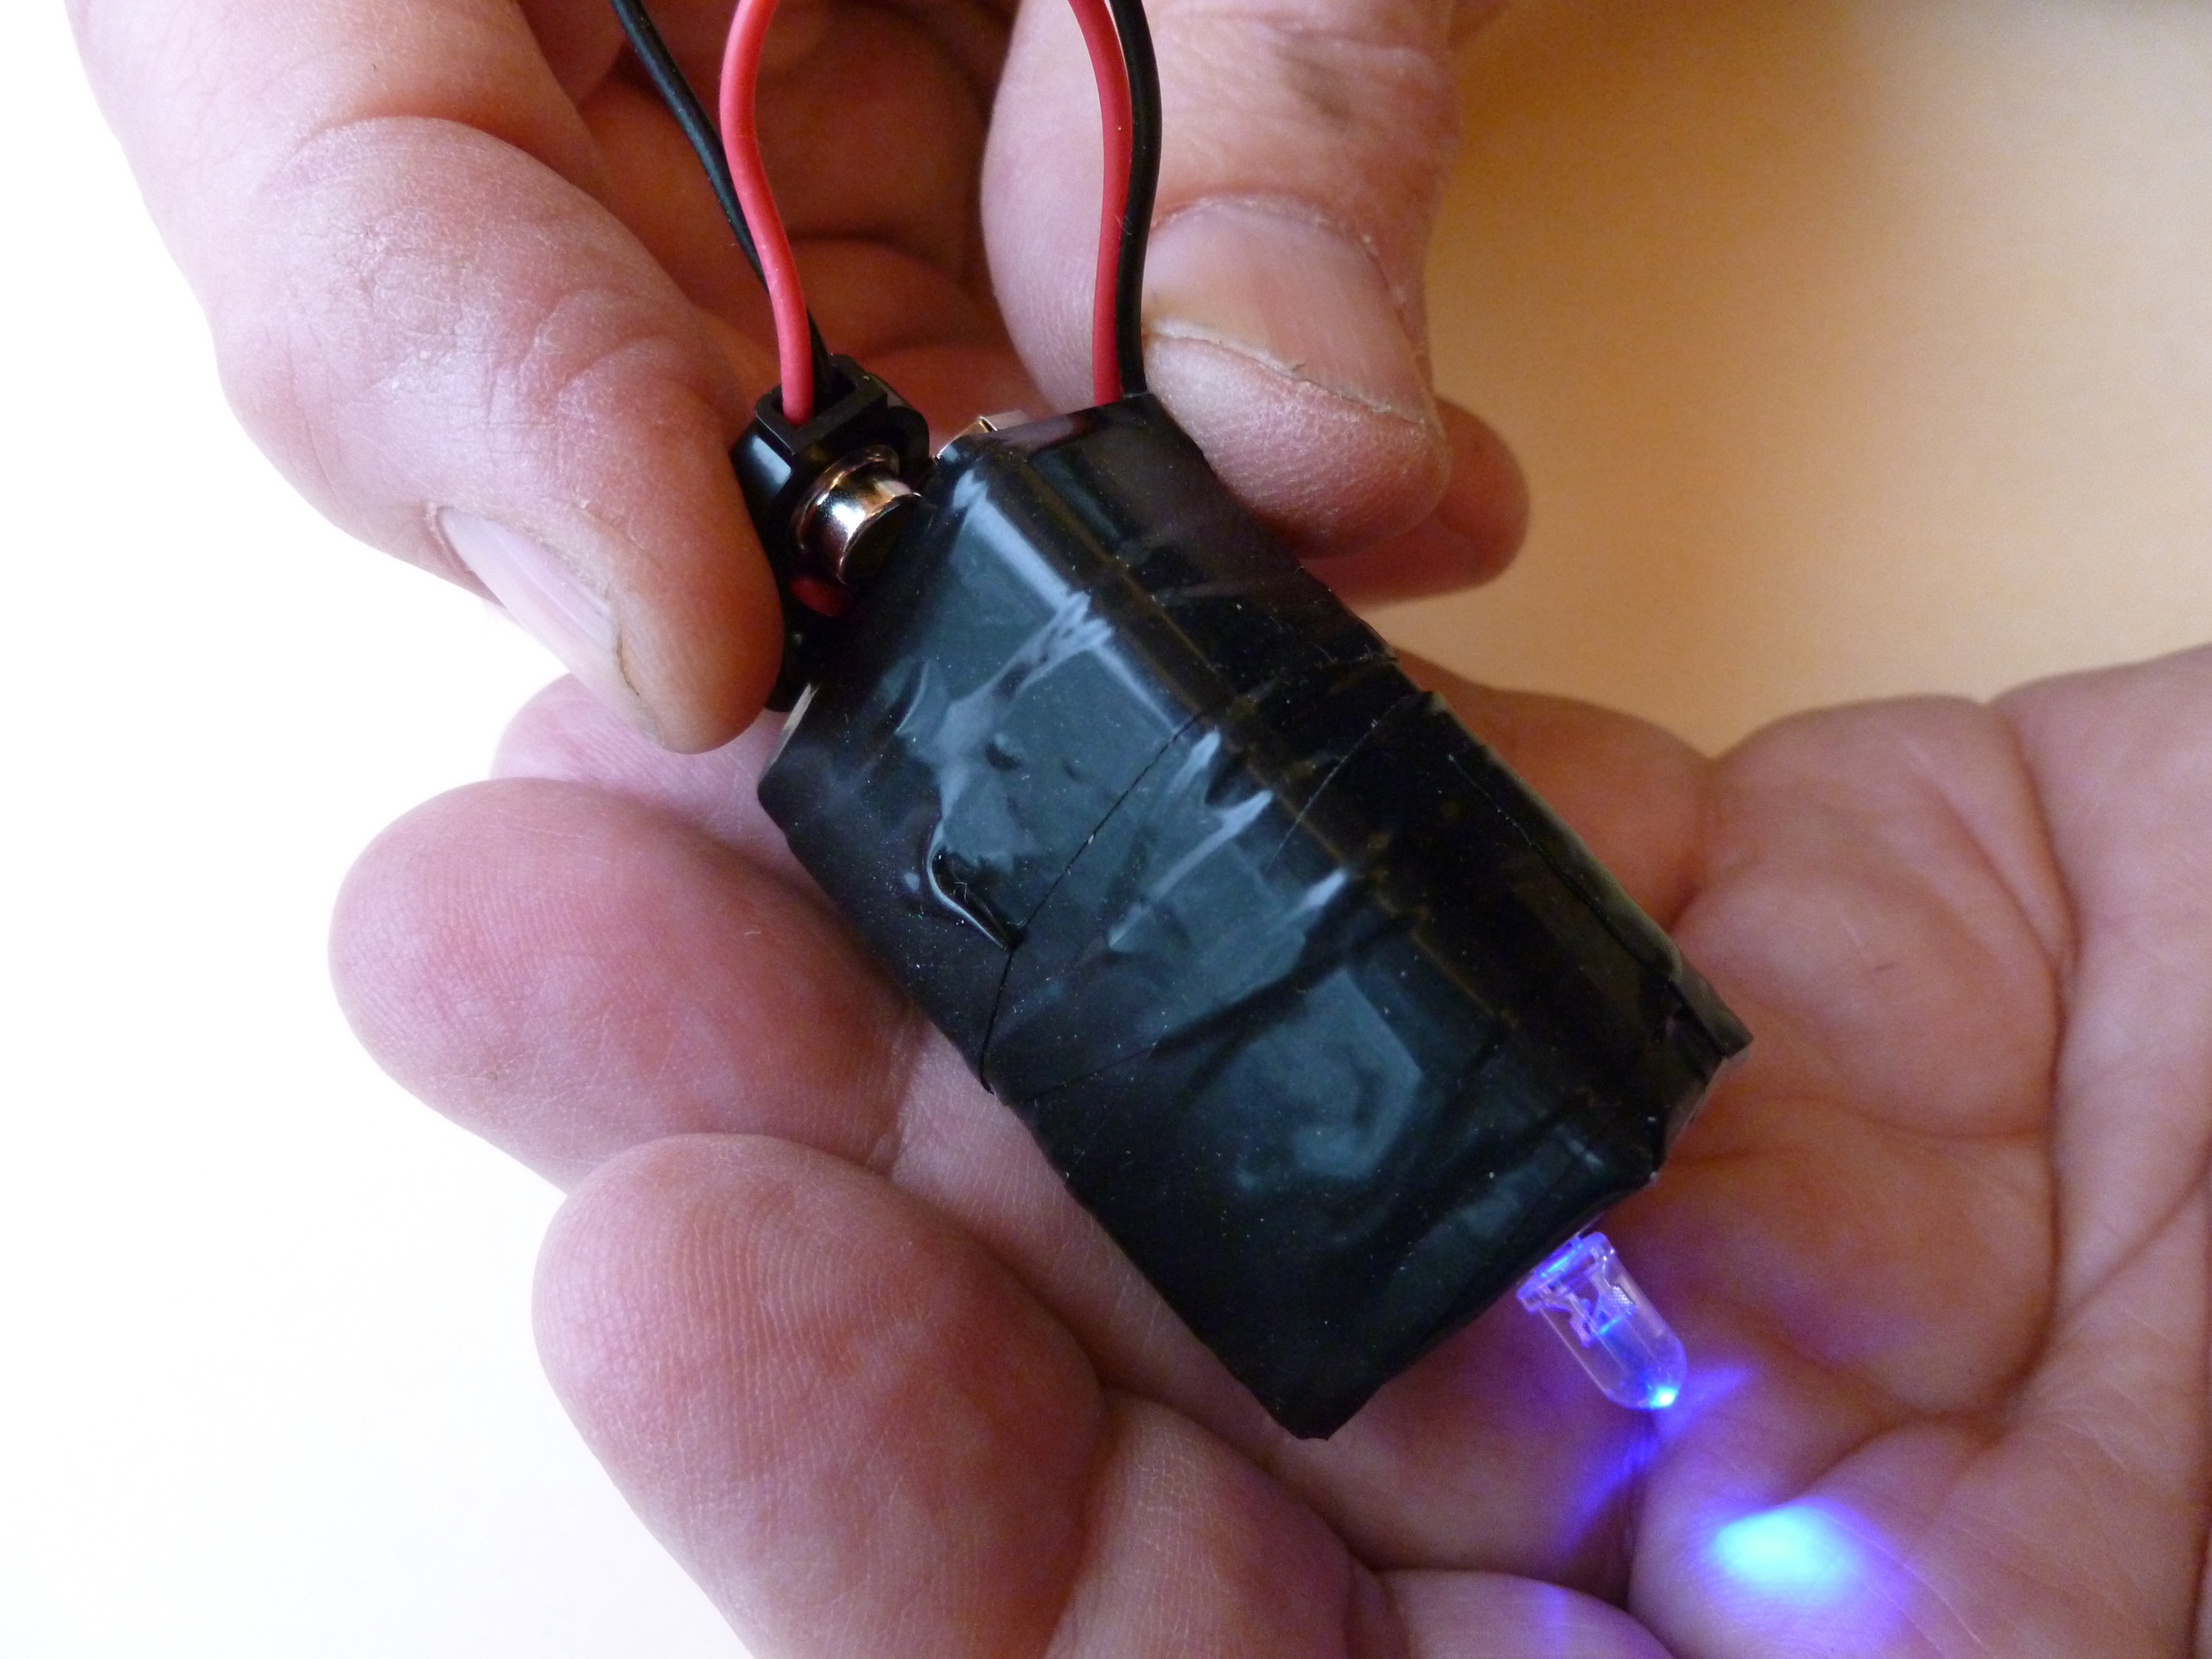
The detector is turned on and off by moving the snap connector back and forth.

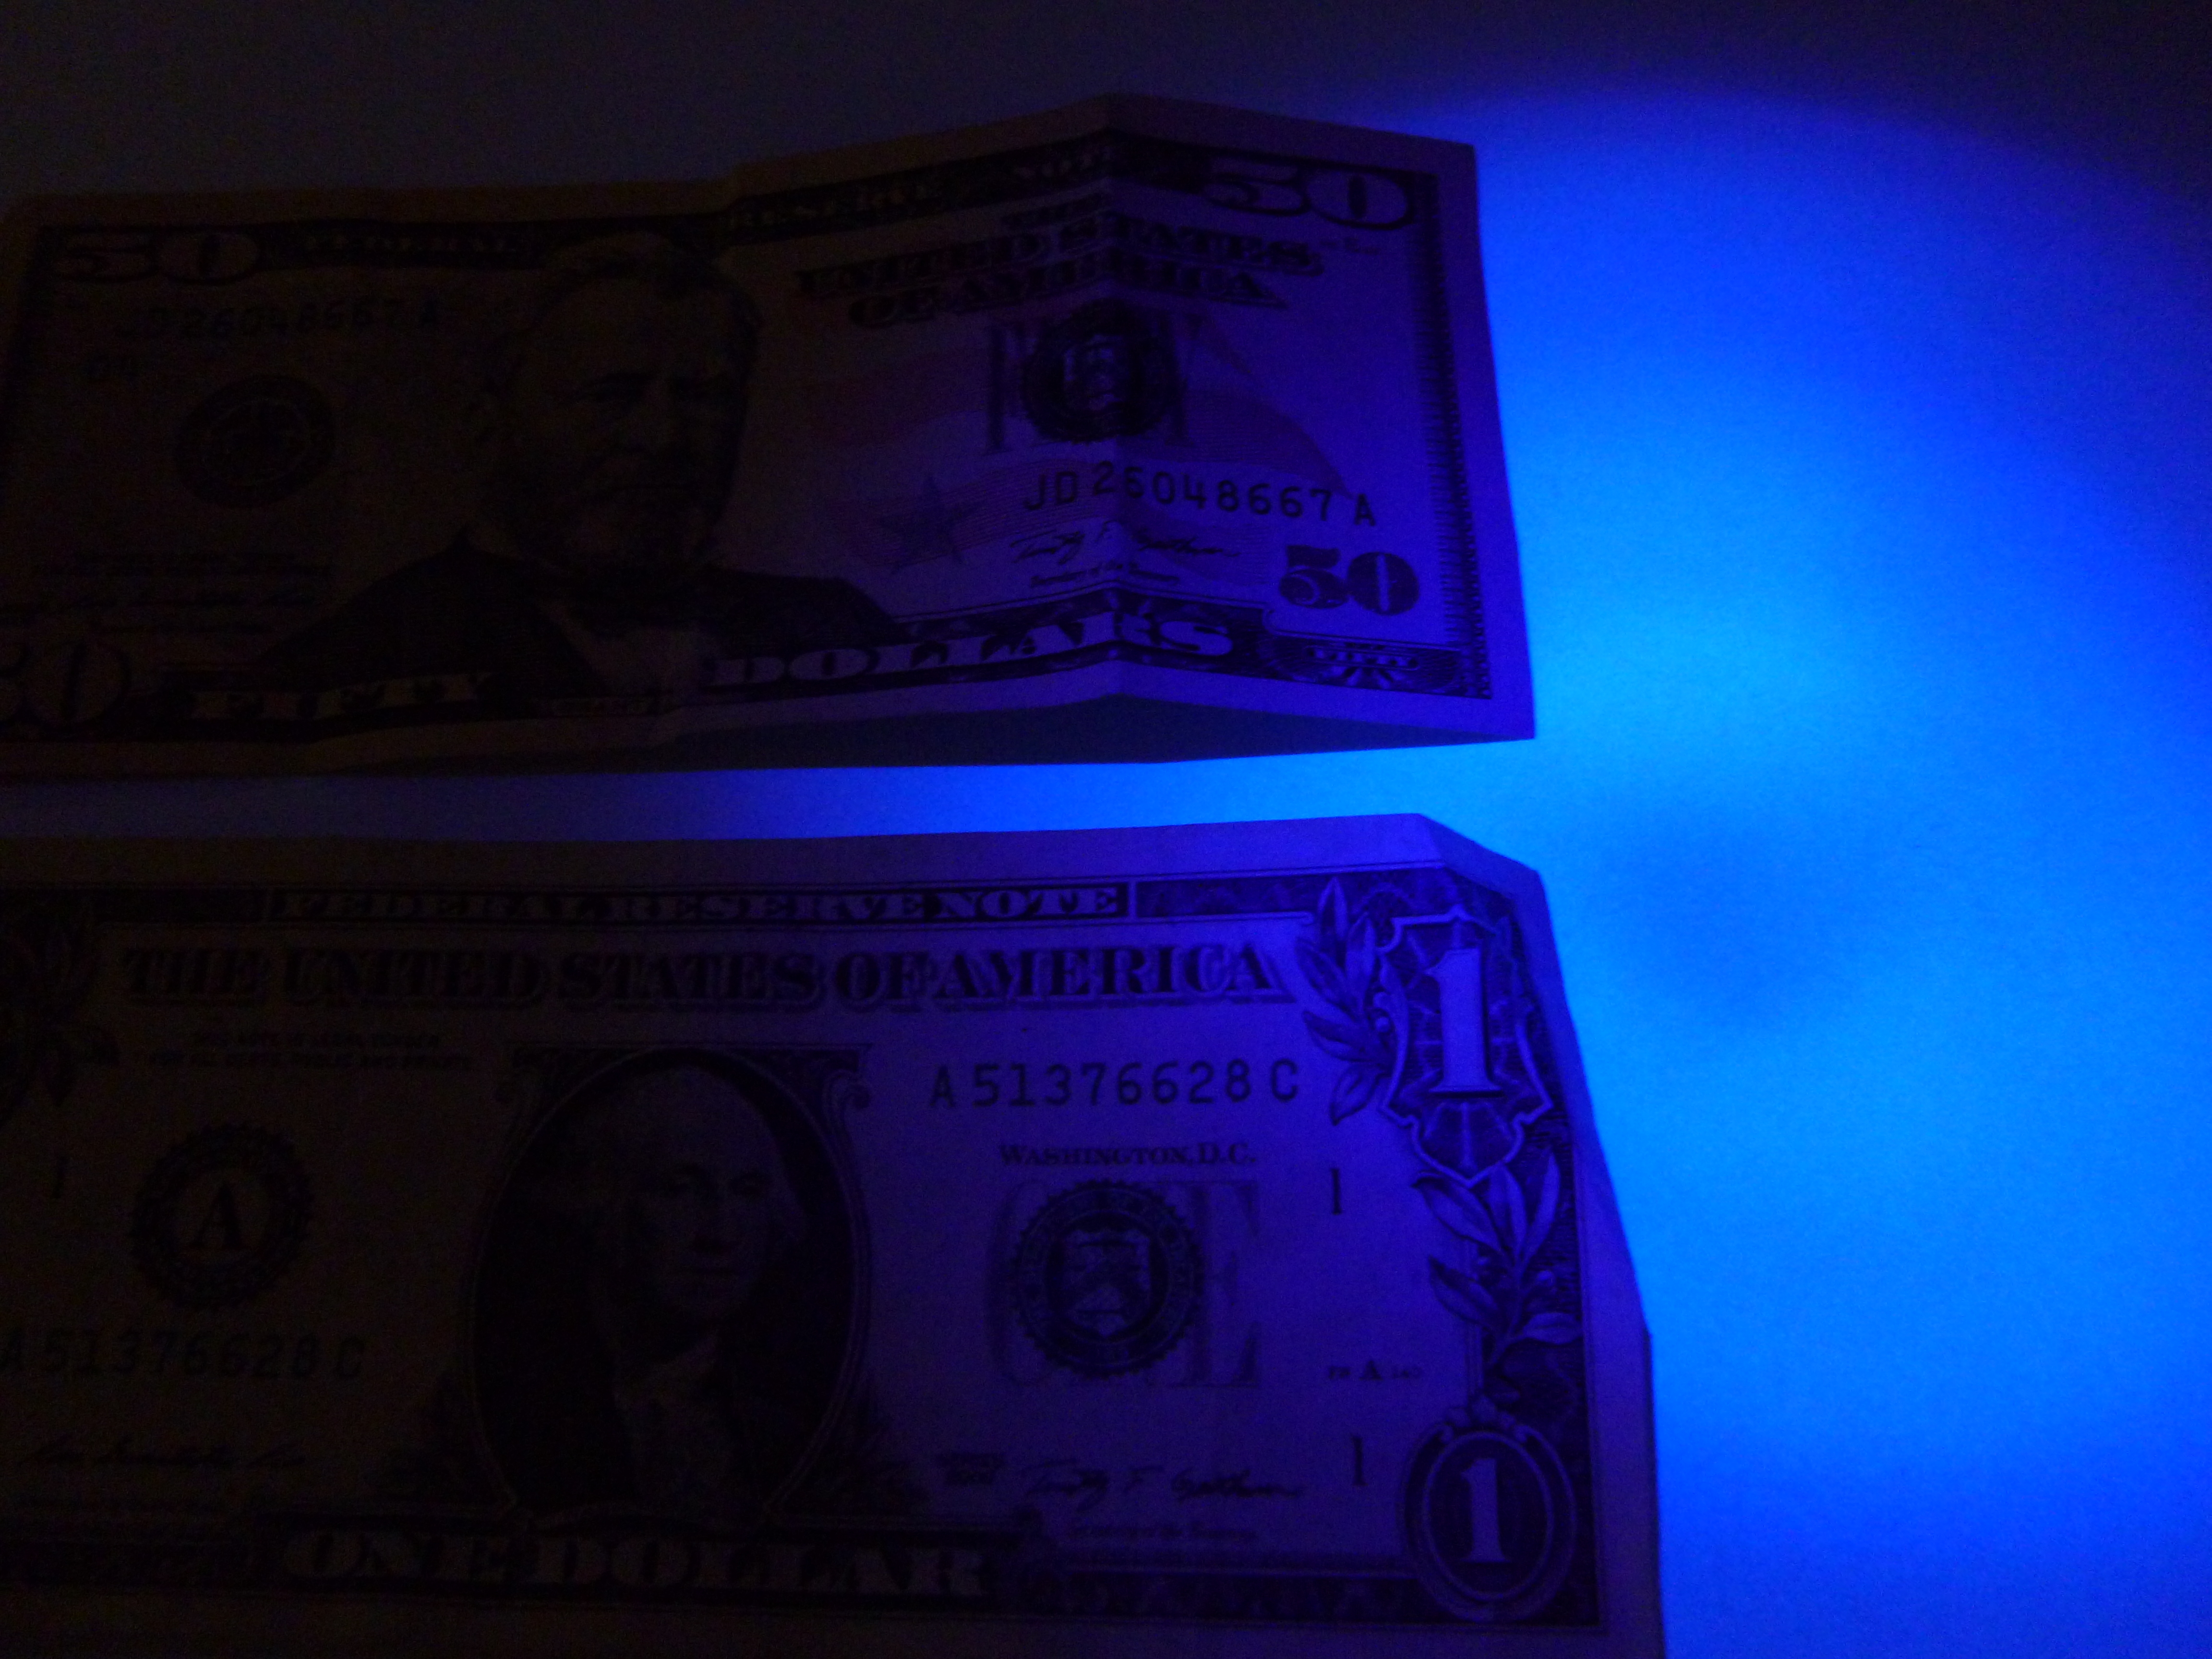
The LED used here produces long-wave ultraviolet light and some visible purple light. Its peak wavelength is 395 nm. Nearly all commercial white paper glows when UV light hits it. However, the special paper used to print US paper money does not. This fact is helpful when making a determination if the money is counterfeit.

Take a good look at the photo. At the top is a genuine $50 US bill and below it is a $1 bill. Both bills are lying on a sheet of regular copy paper. Notice the difference between the papers.

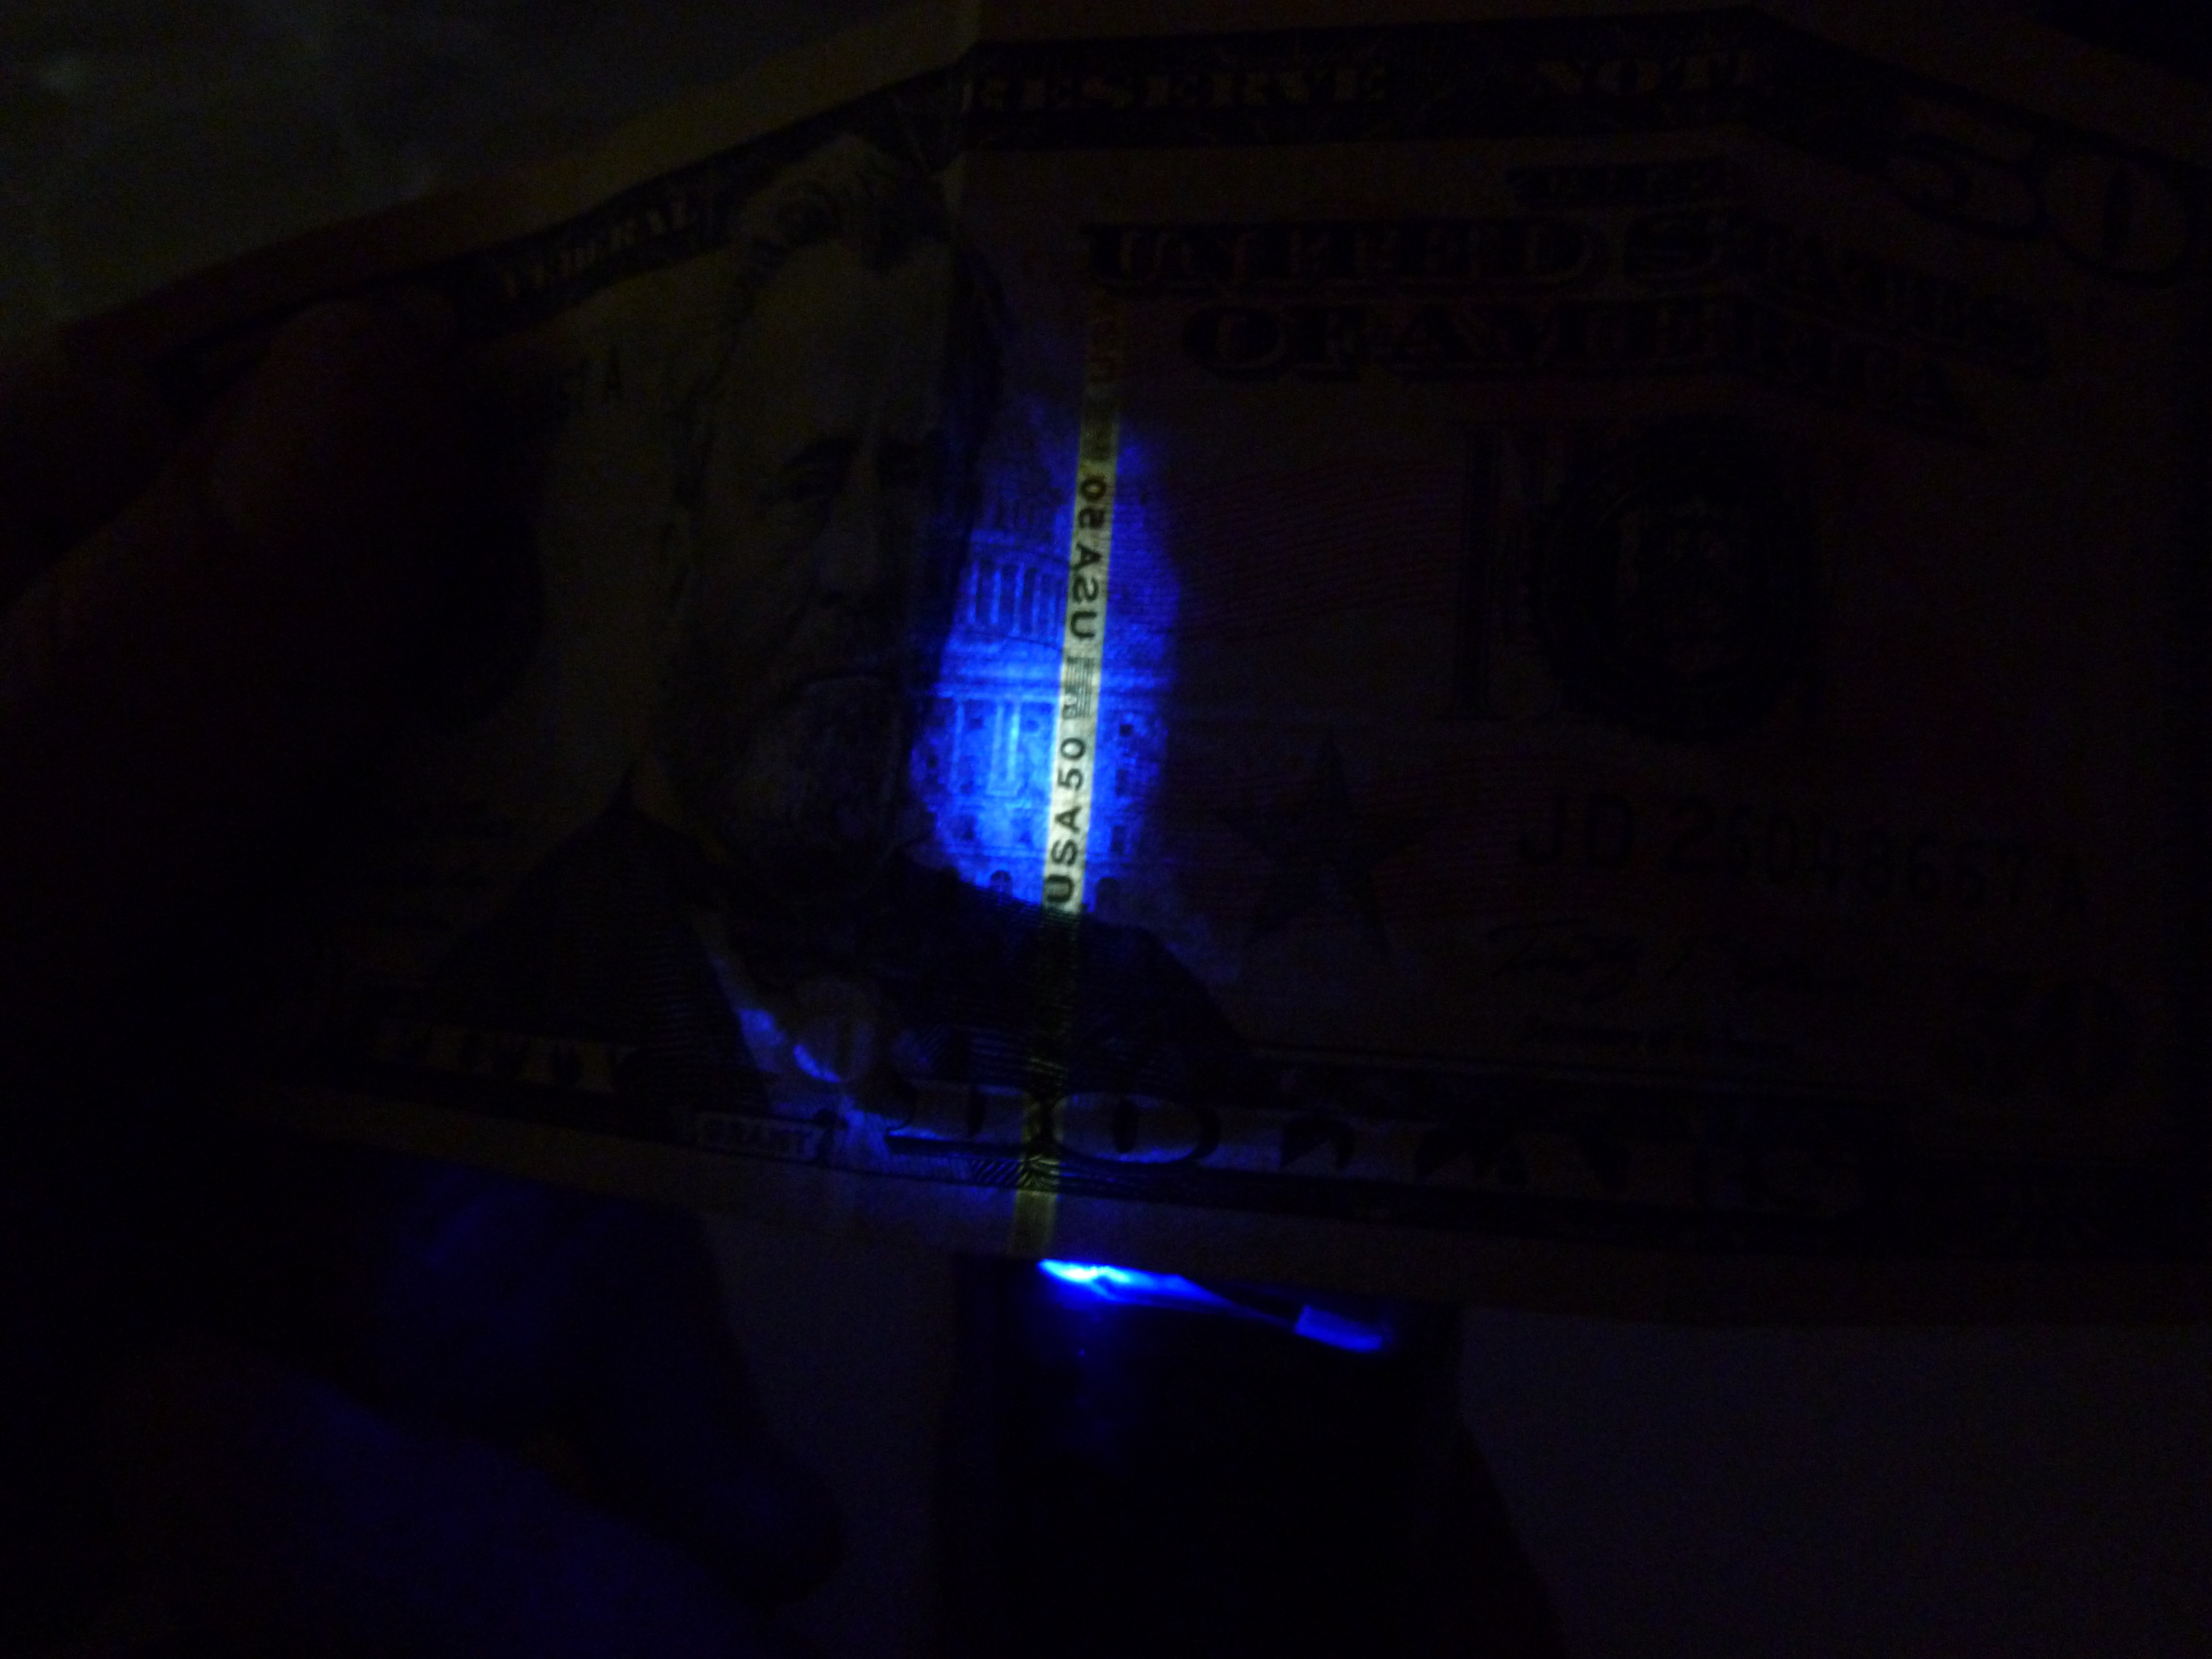
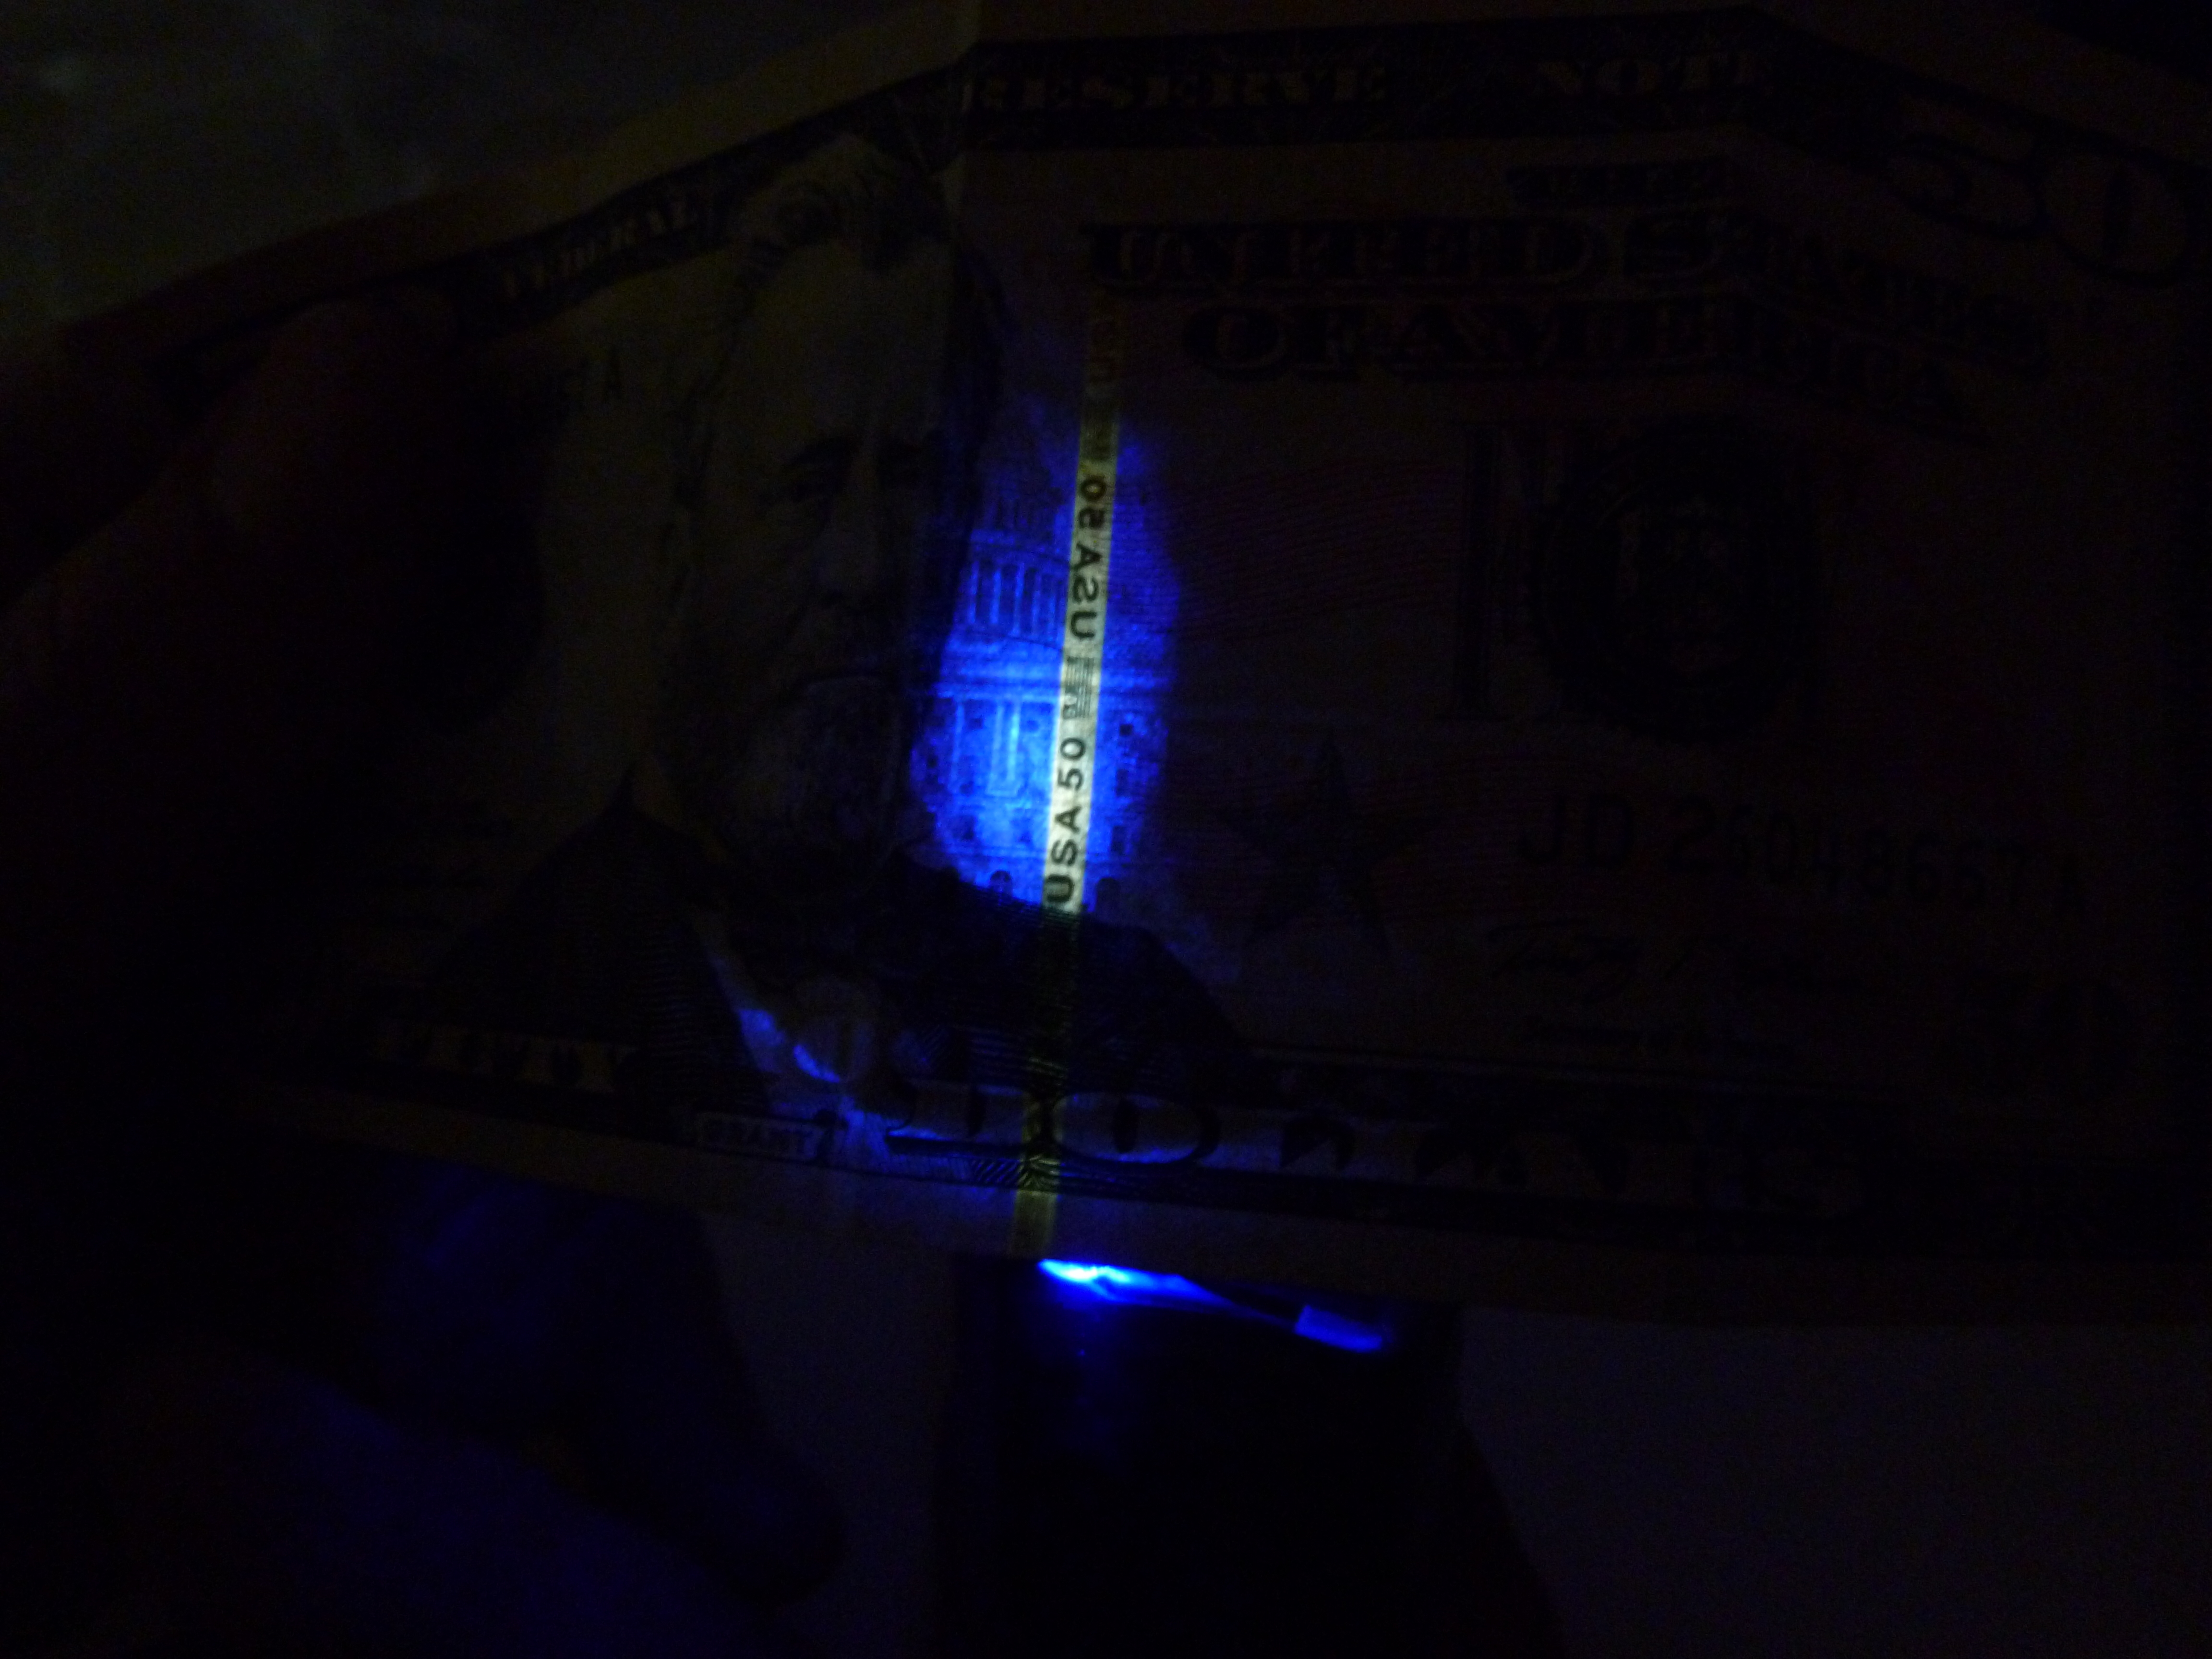
In addition to checking the paper to make sure it is genuine, the UV Counterfeit Money Detector also detects the UV strip that is inserted in $5 to $100 US bills. Look at this photo taken of a $50 bill with the LED shining from the back. The strip glows yellow. This is more assurance that the bill is genuine.

In $50 bills the strip should show up yellow when viewed from behind with the UV LED, in $20 bills it should show up light green, in $10 bills orange and in $5 bills it should be greenish.

Conclusion

Notice that I didn't mention anything about $100 bills! According to the Treasury Department, $100 bills should have a strip that glows red when viewed under UV light. The problem is that it doesn't seem to--at least not brightly. This is true not only with this inexpensive detector but also when powerful, sophisticated and much more expensive detectors are used. The Treasury Department says they will soon come out with a new strip that should show up better. In the meantime, you can still use this detector to make sure that the paper the $100 bill is printed on is genuine.

One more note. The UV light produced by the LED used here is harmless since it uses long-wave UV (395nm) which is of low intensity. However, like all lights, it isn't nice to shine in someones eyes!