
Build this project and more in Make: Vol. 44. Don’t have the issue? Get yours today!
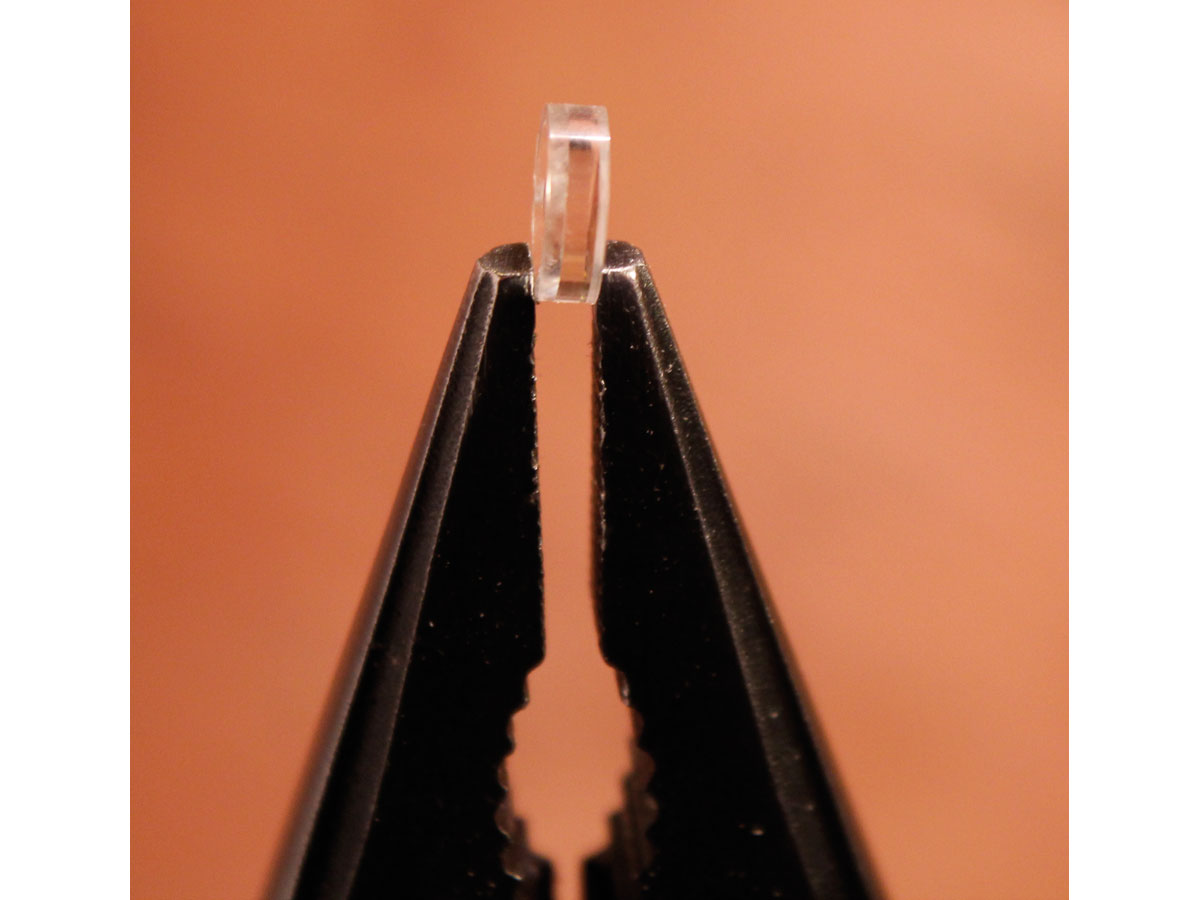
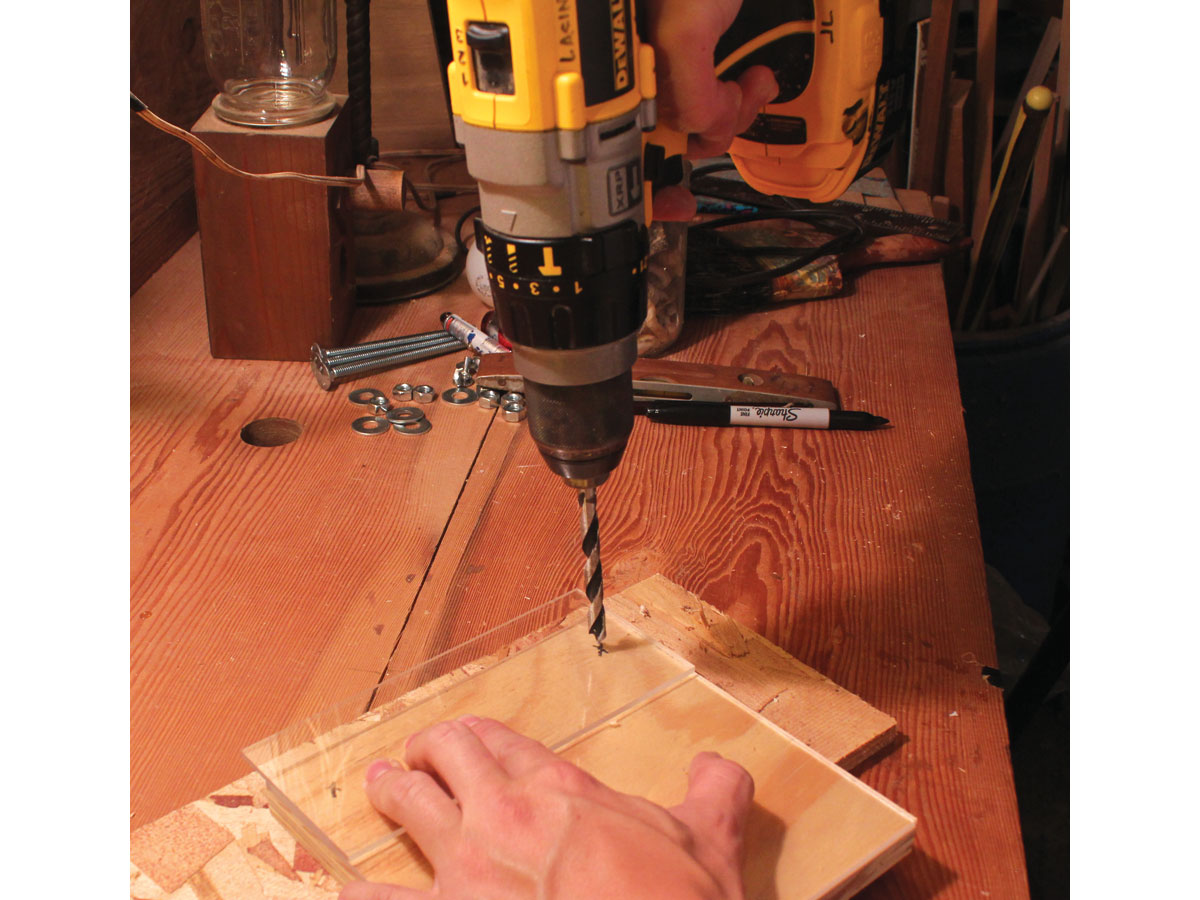
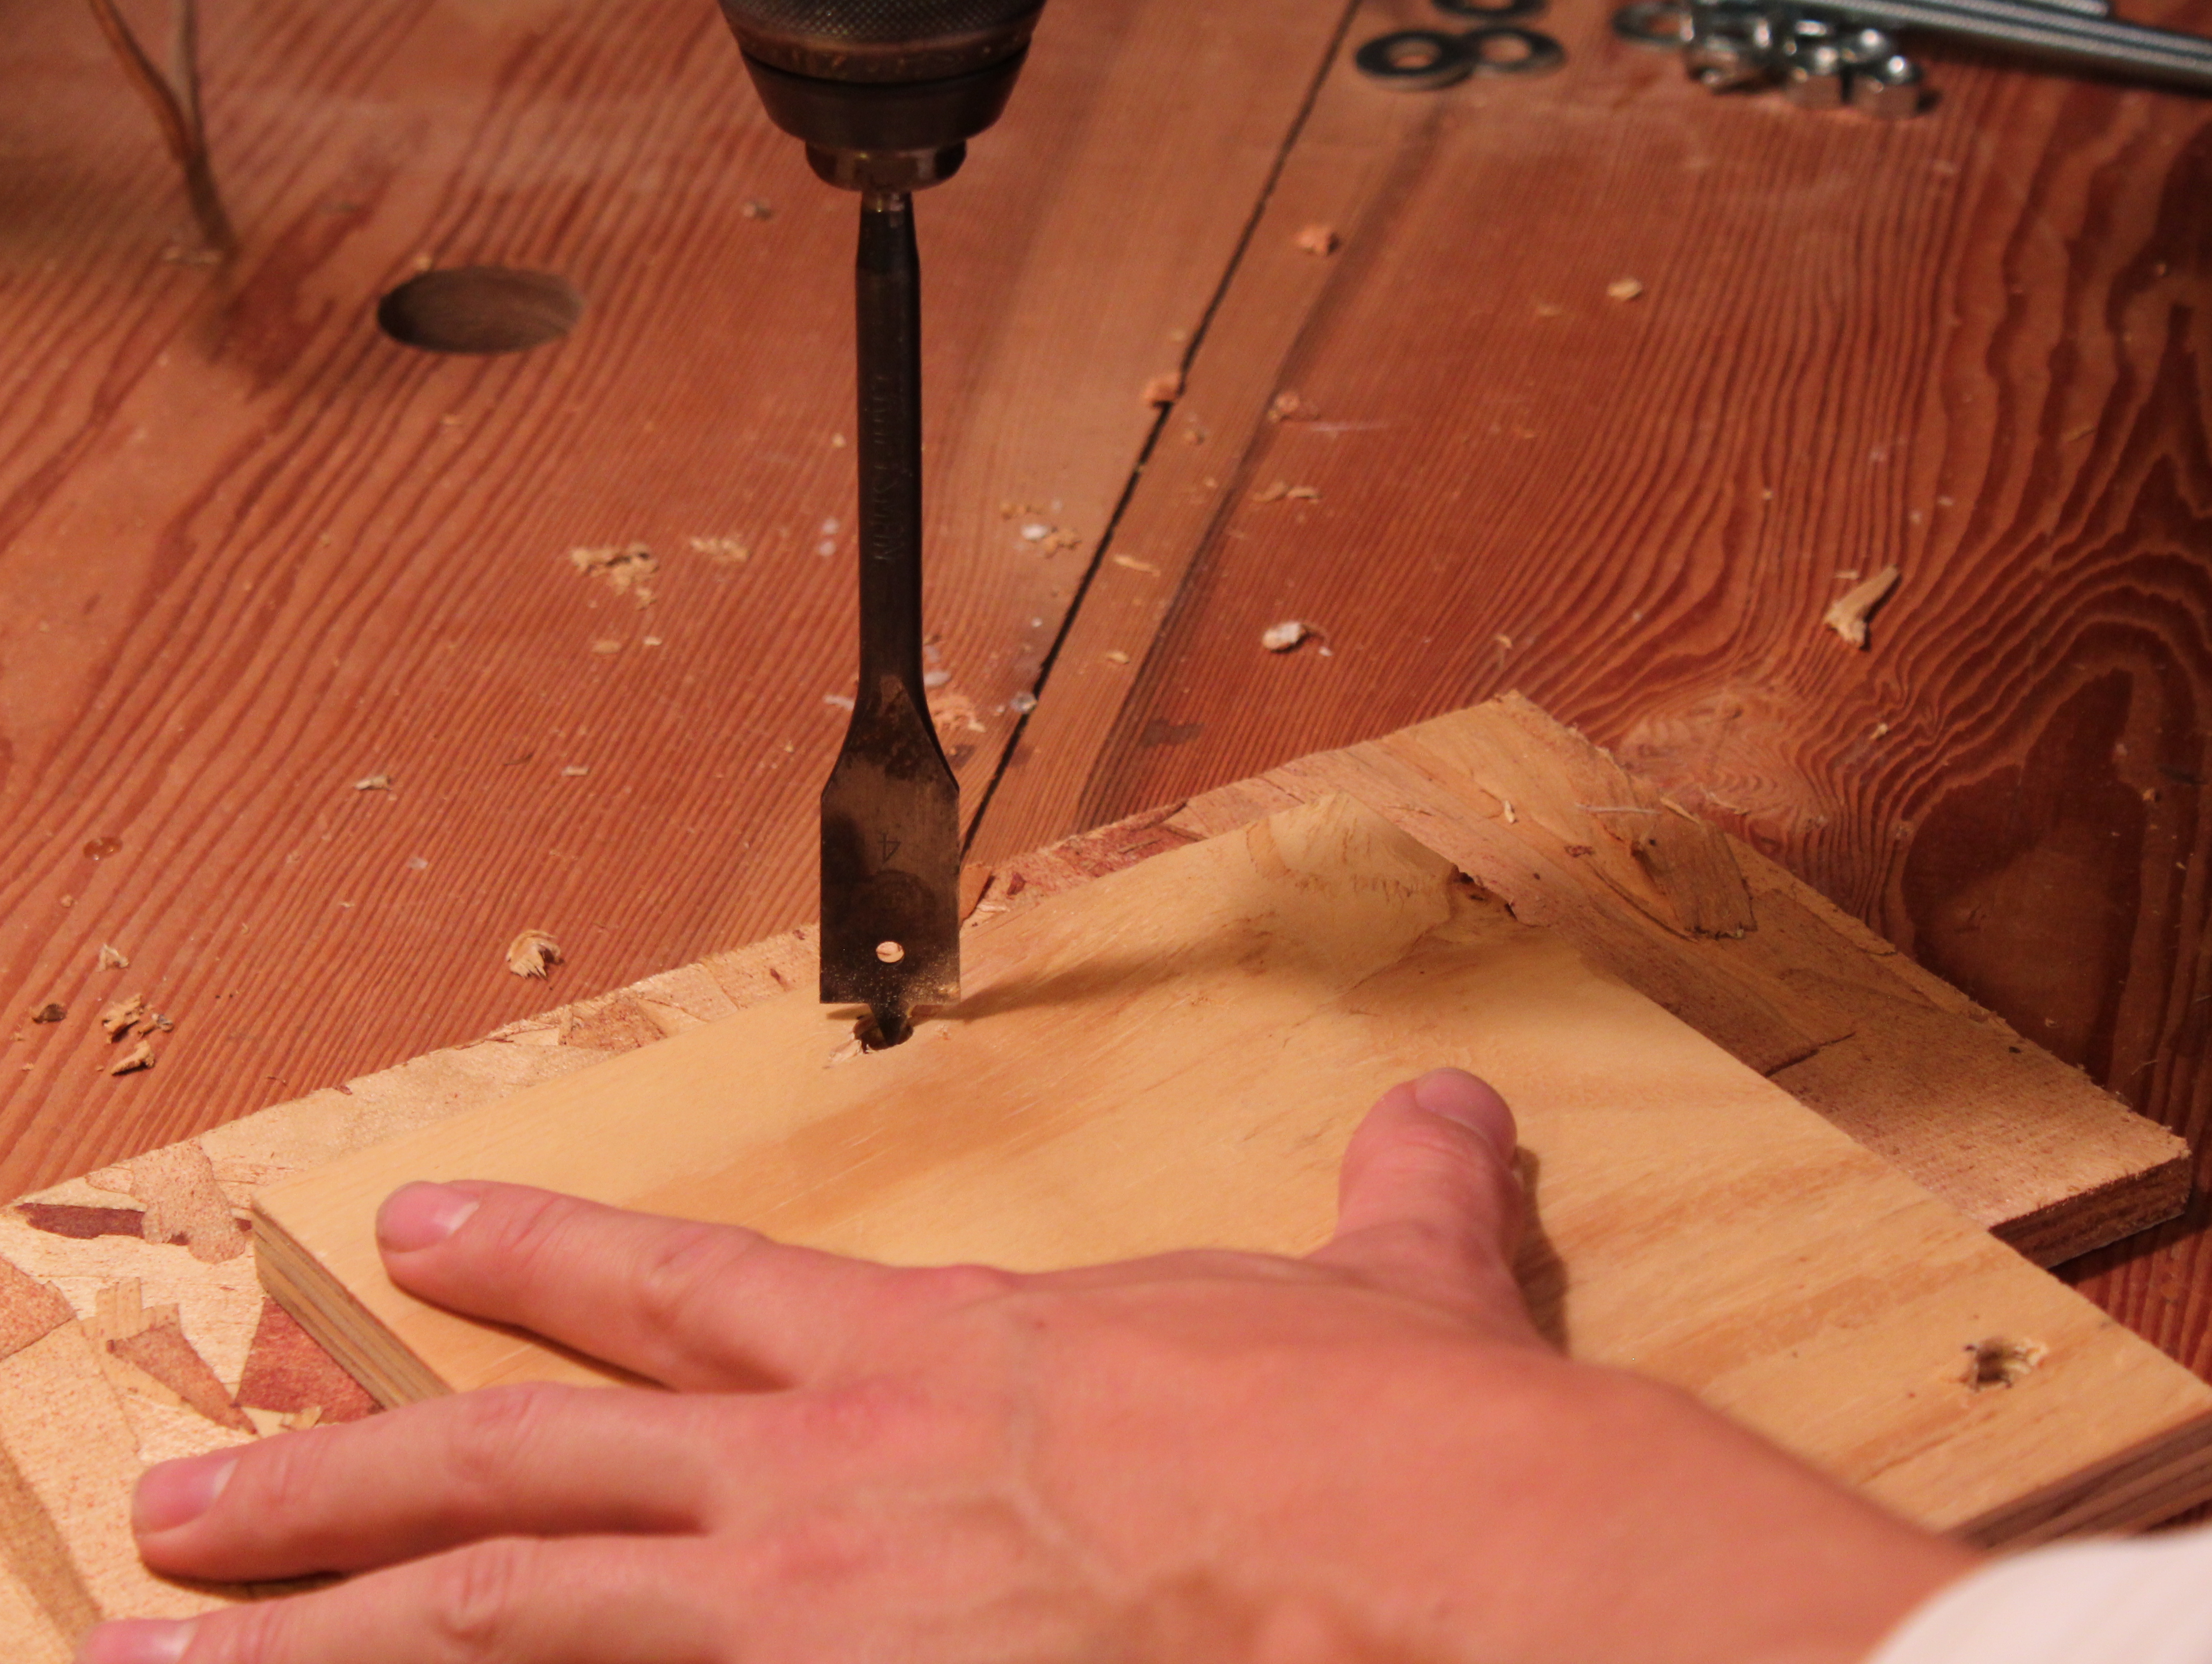
You can easily turn your smartphone camera into a powerful digital microscope. All you need is a few tools, the focus lens from a cheap laser pointer or two, and about $10 worth of materials from the hardware store.
Not only will this homemade microscopy stand take high-quality macro photos, but with the ability to magnify objects up to 175x (or 325x if you use two lenses), you can easily see and photograph cells. You can even do laboratory experiments — we were able to observe plasmolysis in red onion epidermal cells.
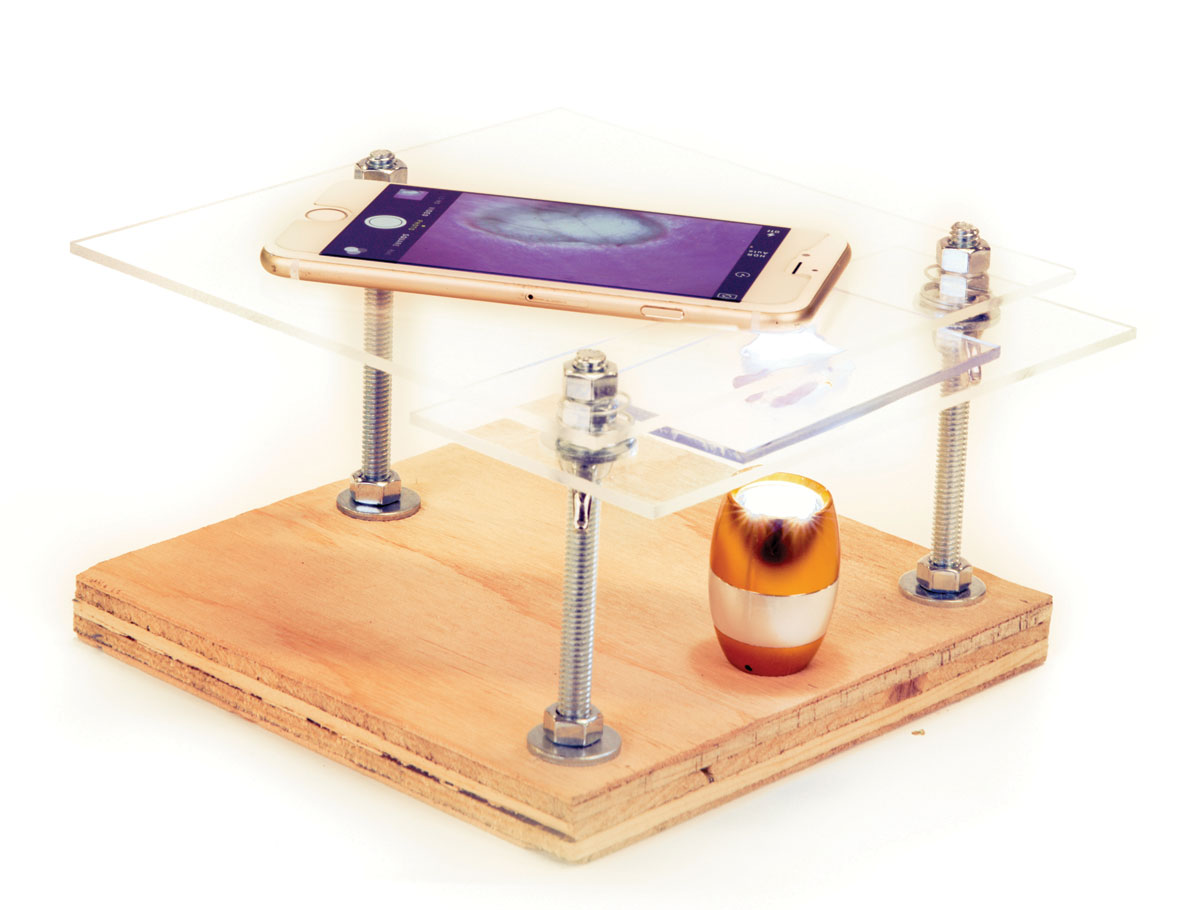
You’re not restricted to a laboratory setting with this microscope. It was designed to be easy to operate, lightweight, and portable. Just align your phone’s camera with the focus lens on top of the camera stage, then place the object you’d like to view on the adjustable specimen stage.
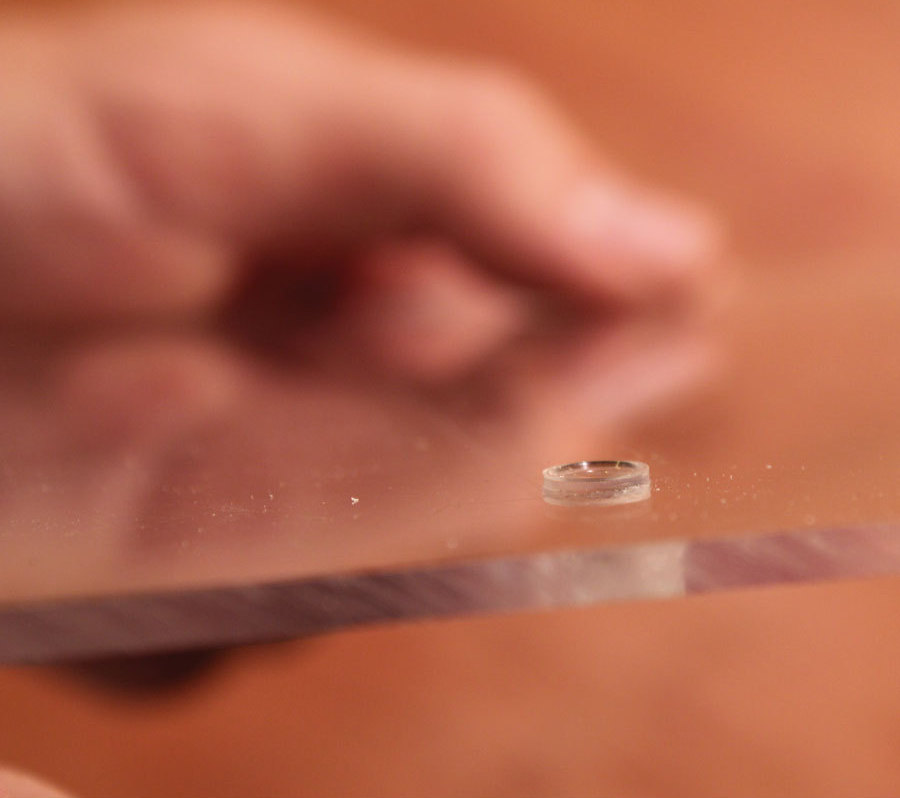
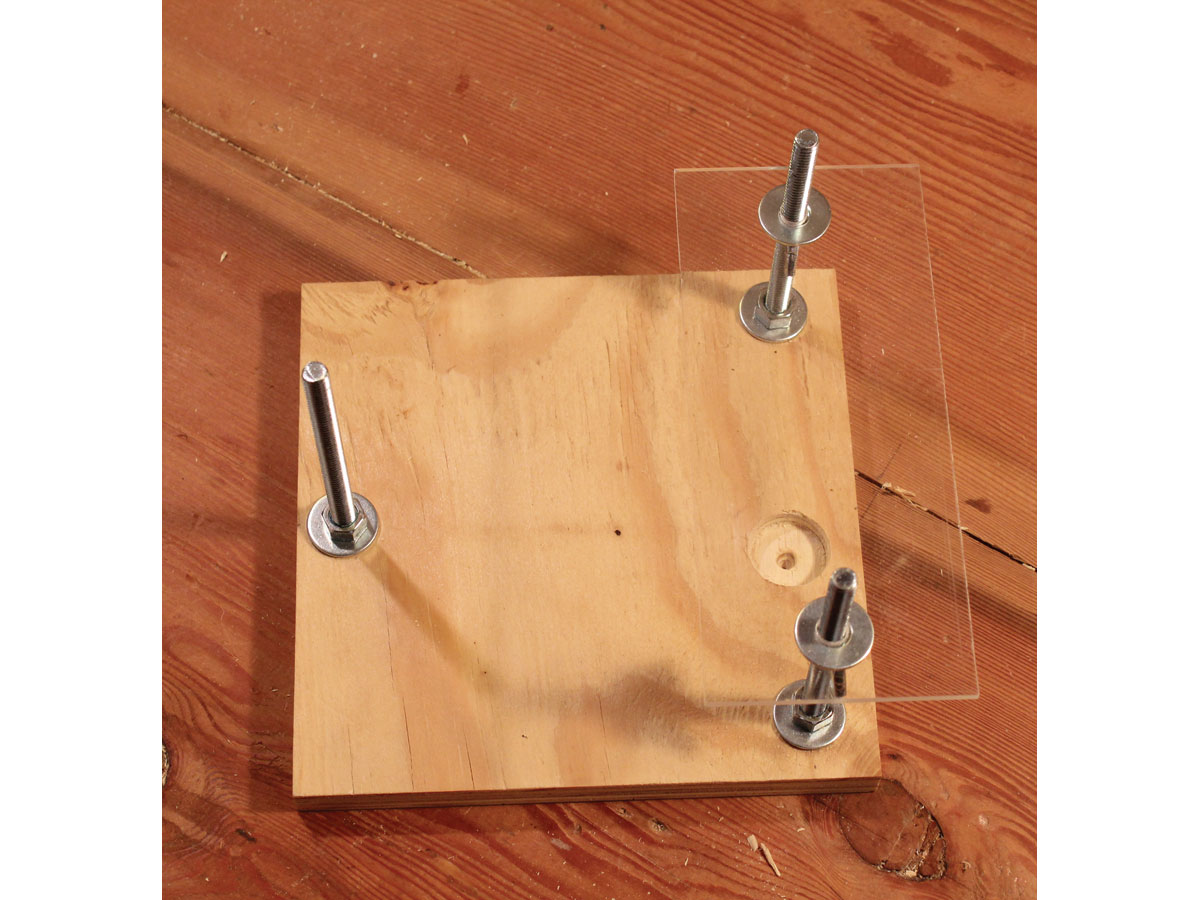
Since I first shared this project on Instructables, I’ve added a second lens for higher magnification, springs to keep the specimen stage steady, and plexiglass slides to make switching samples clean and easy.
Because the stages are also constructed with plexiglass, objects can easily be viewed with or without an external light source. This lets you use the microscope in a wide range of settings — in the classroom, outside, or in your own home — to take a closer look at the world around you.
Here’s how to make it.
I’m sure I’m not the only reader concerned by how you managed to get a photo of a cat’s tongue…
just what I scrolled down here to ask. cat got your tongue?
Maybe it was Schrodinger’s cat
Would it also be a concern if it was a cow’s, a pig’s, or a chicken’s tongue?
Given those animals are routinely slaughtered for meat (and their tongues available from butchers in two cases), not so much.
http://hdfilmizleindir.net/
Thanks for posting such a cool idea! I’ve been slowly putting together the parts for this, and finally got it built! I just wanted to share a few of the photos.
I’m not sure if it’s in keeping with the super-DIY aspect or not, but I was designing my version in OnShape, and decided that it might work well with a 3d-printed base. I’ve made the CAD model I made public in case anybody else wants to use that: https://cad.onshape.com/documents/d5ad86c04e534eab8a3b279a/w/c764ba0001314495a275fff5/e/40c14f409a21407b99b2542e . I used metric M6x1 hex-head screws, nuts, and wingnuts in my design.
I’m including a couple of photos that I took of it, including one of my PCB ruler to show the level of magnification that I got from my particular lens.
A. Can you send me the specifications for the springs you used? It looks like you hare using springs that are at least 1 inch long (before they are compressed).
B. Do you like having the lower level (the sample platform) attached at three points? My model, like in the instructions, has the lower level attached at three points (i.e. only the two screws at the end near the lense pass through the lower level (sample platform).
Though the images are not that sharp. It’s pretty amazing!
I just salvaged a lens from my old pointer, and realised it’s rather small. What is the dimension of the lens you would recommend?
Send this to a friend