1

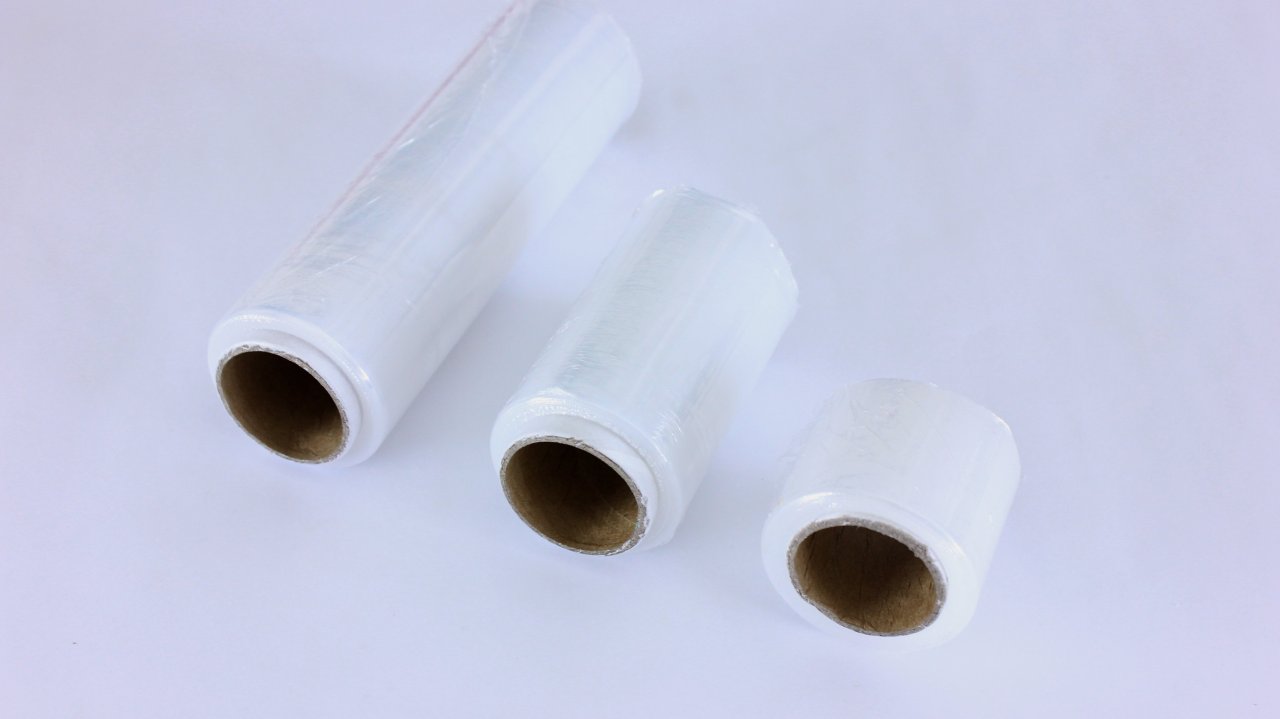
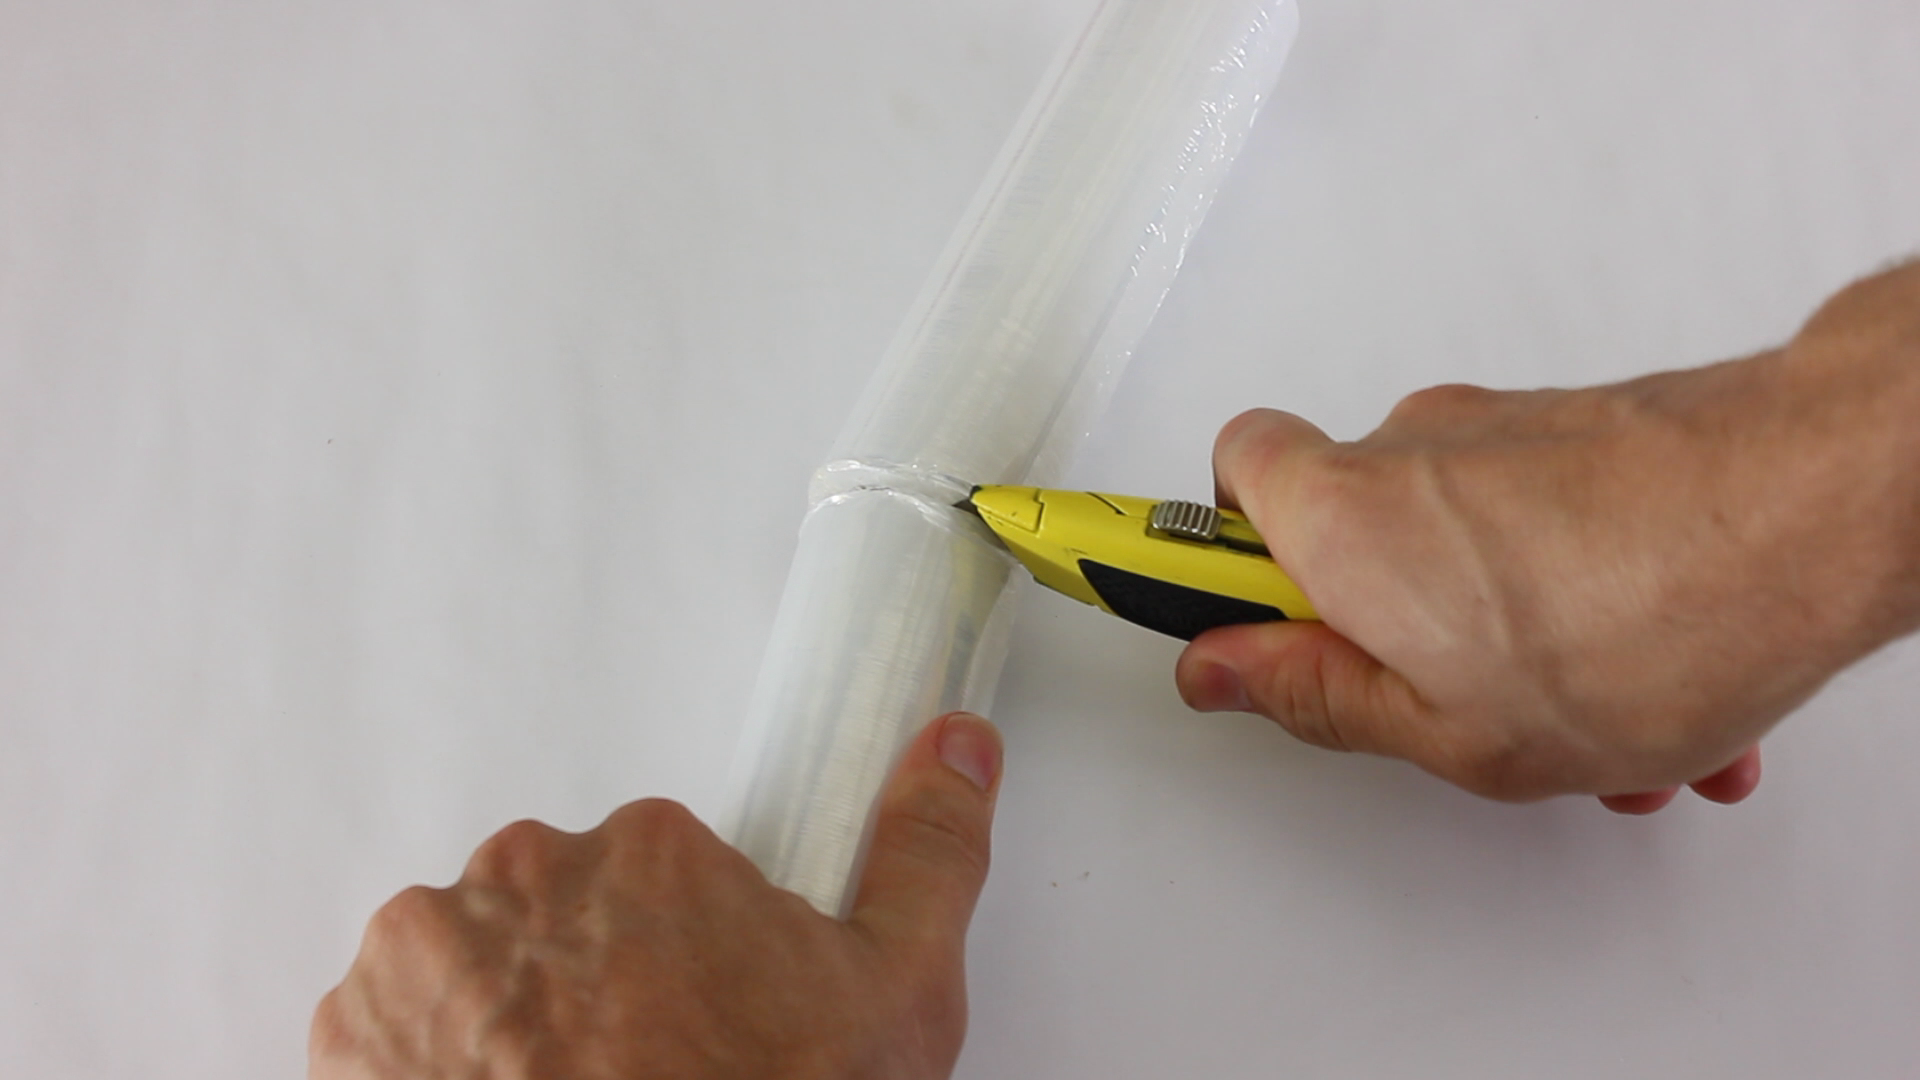
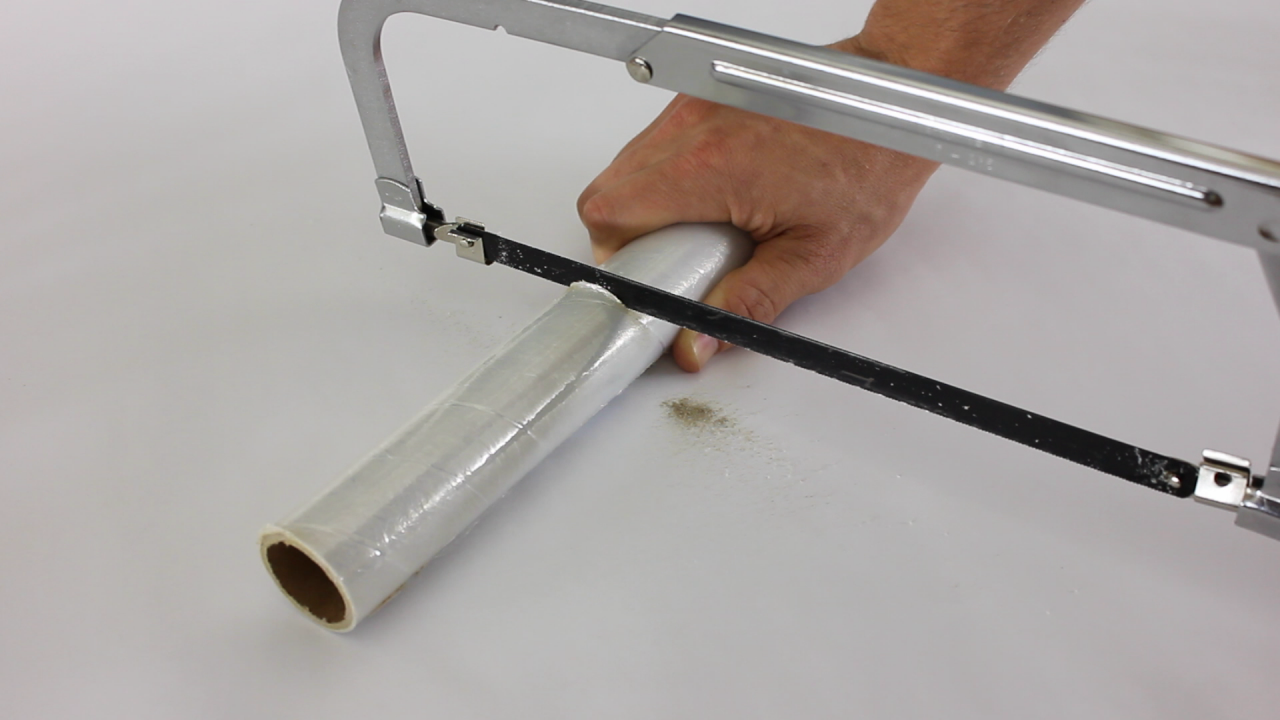
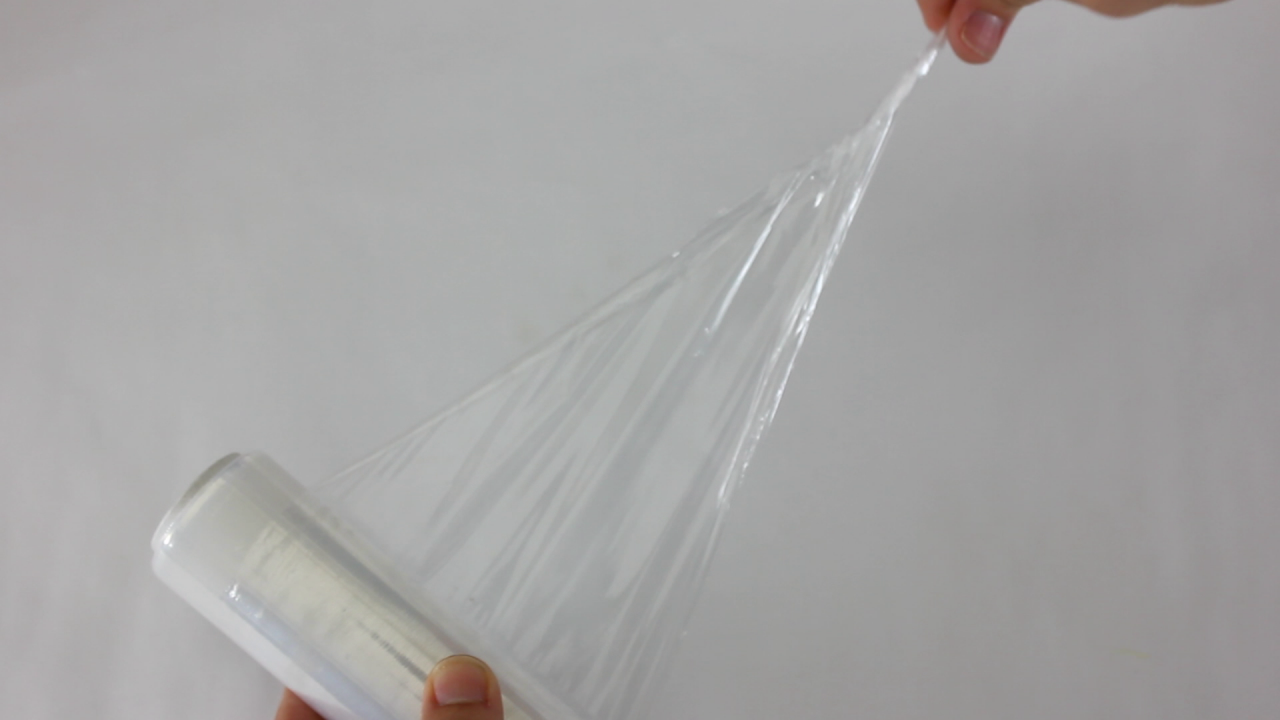
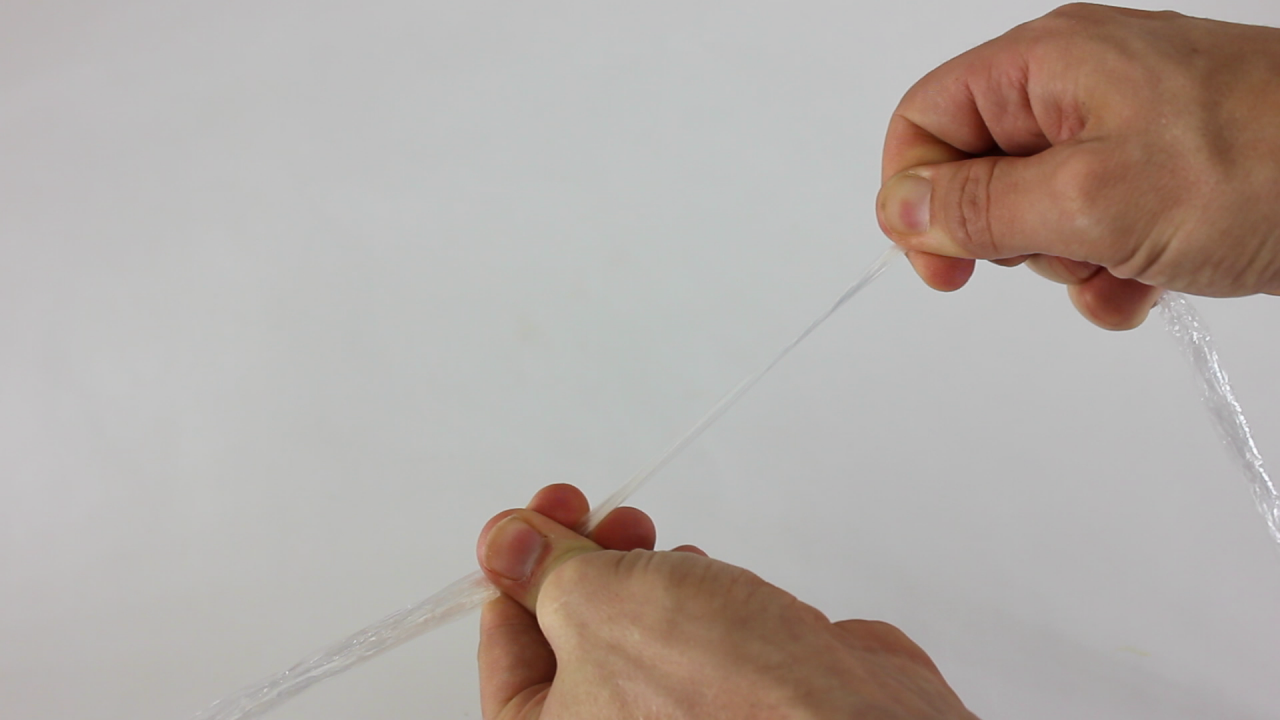
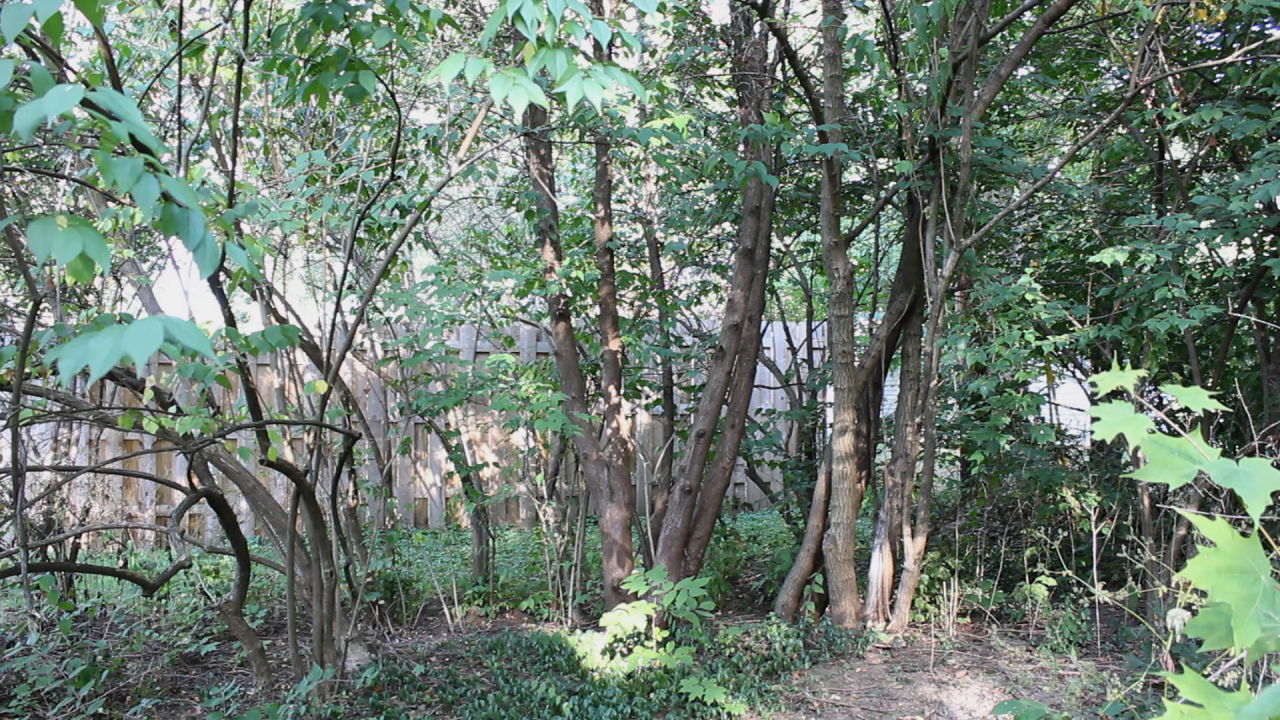
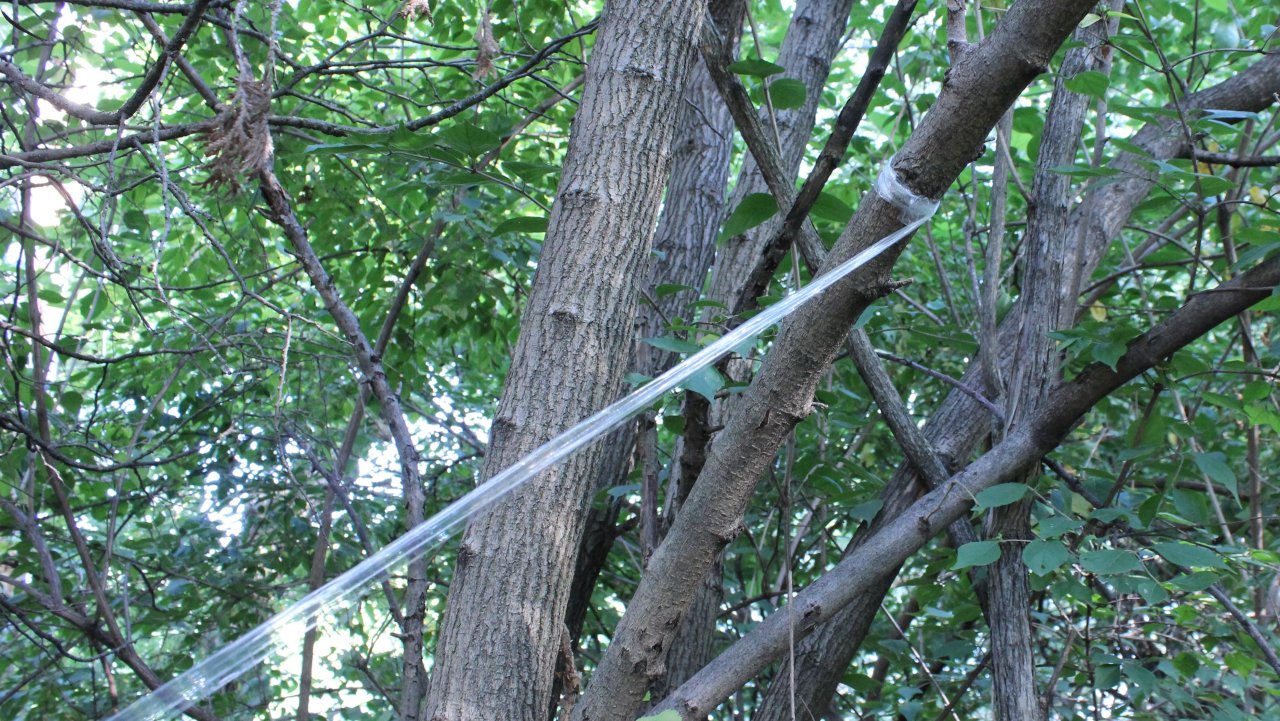
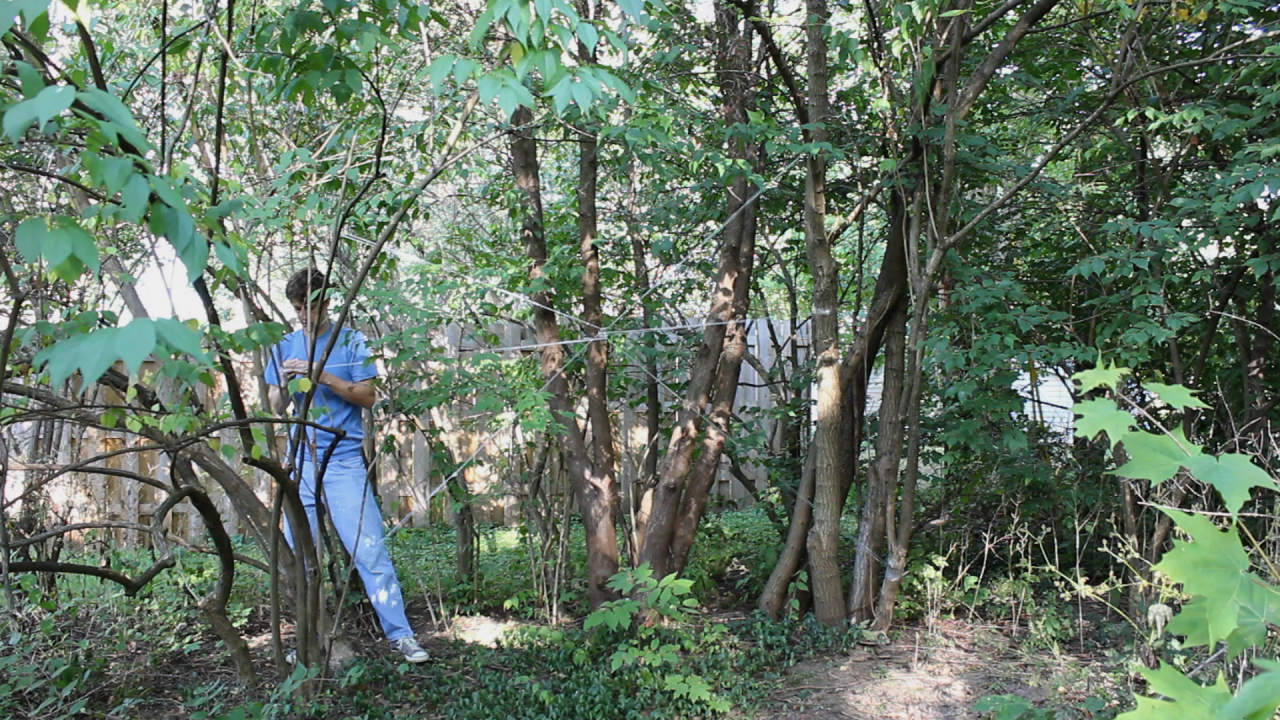
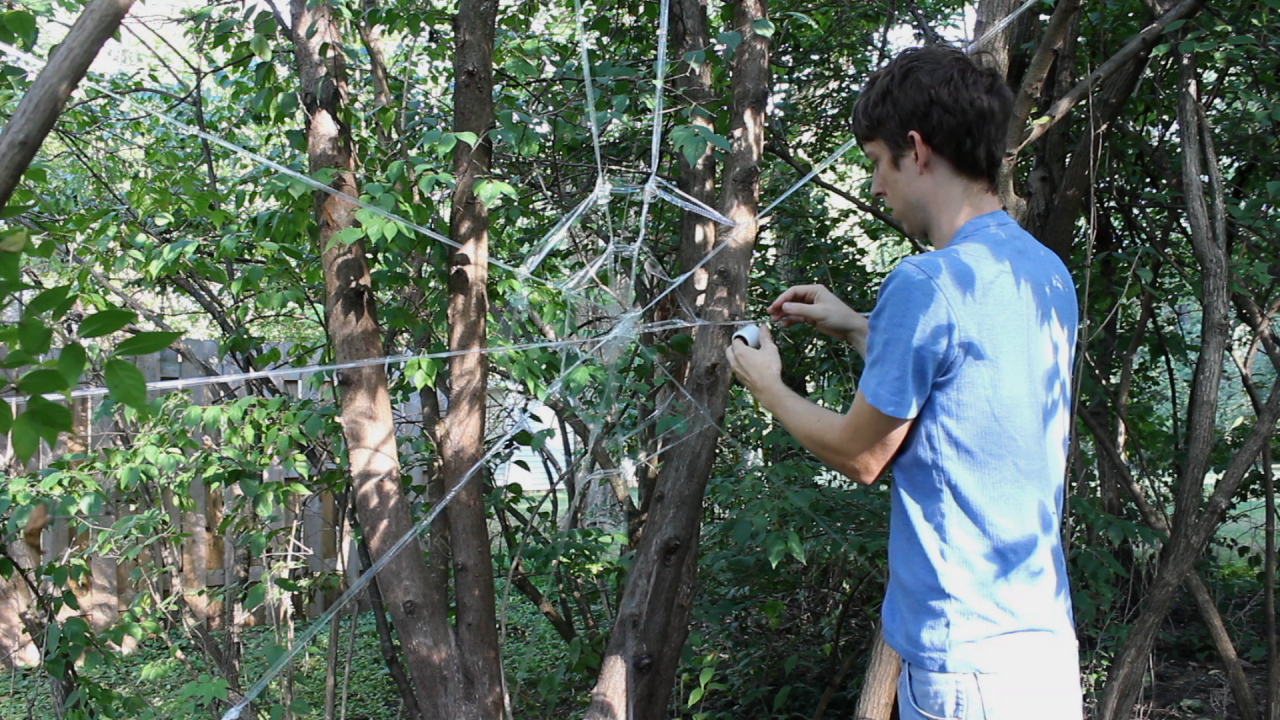
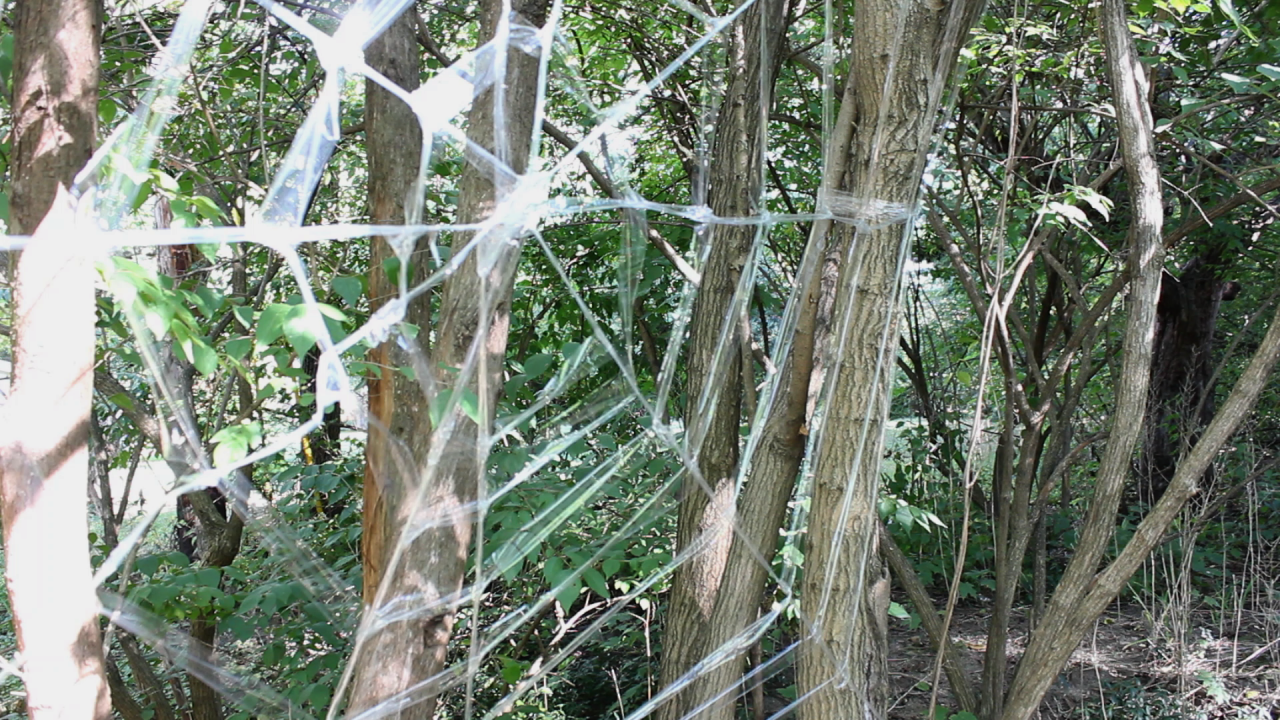
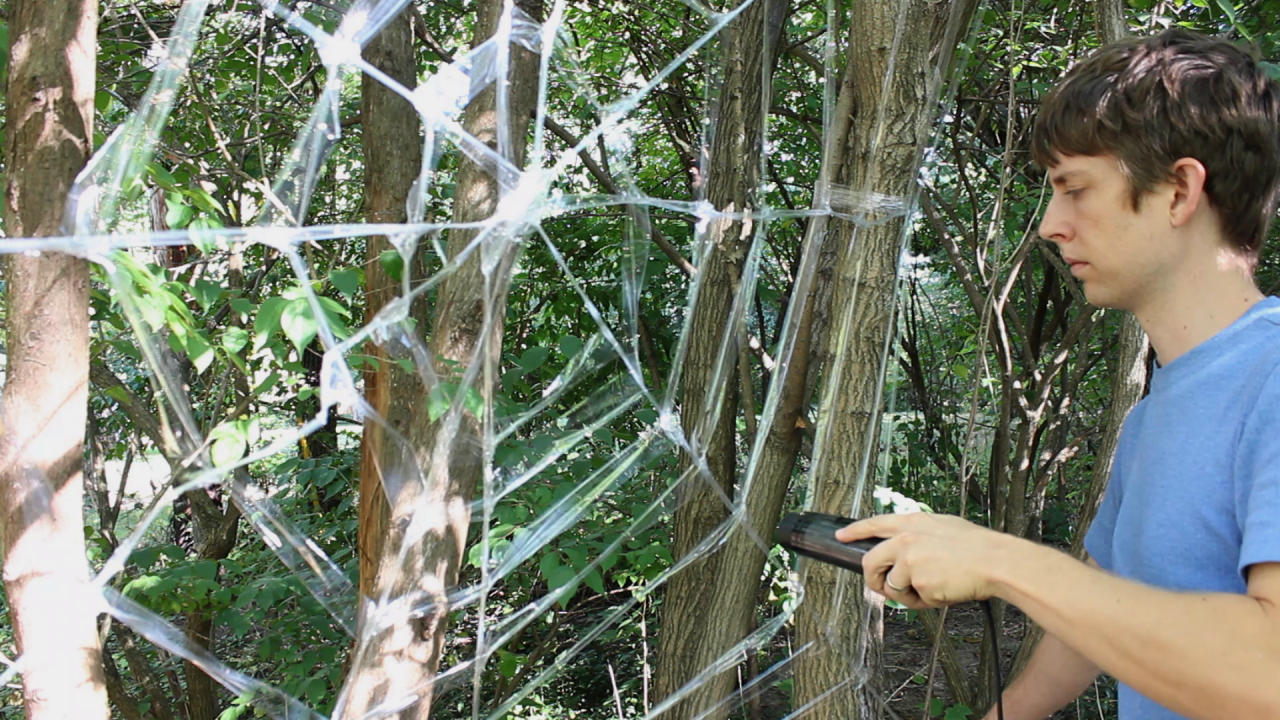
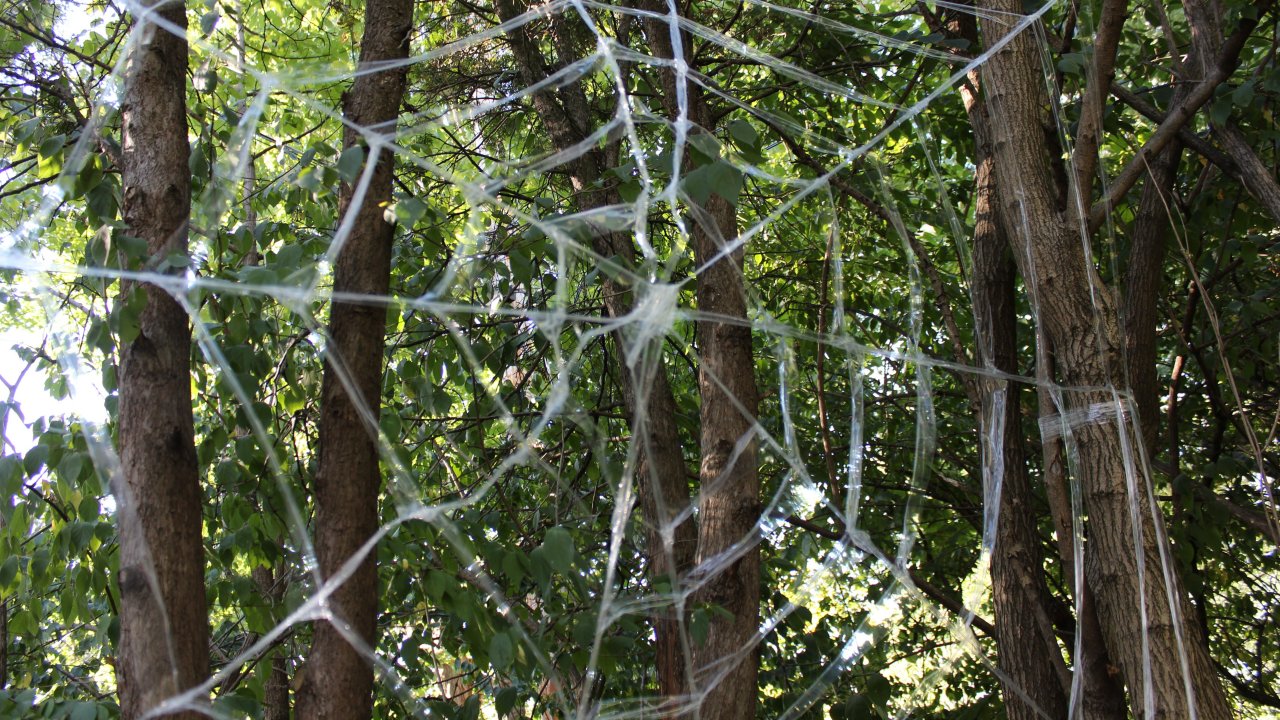
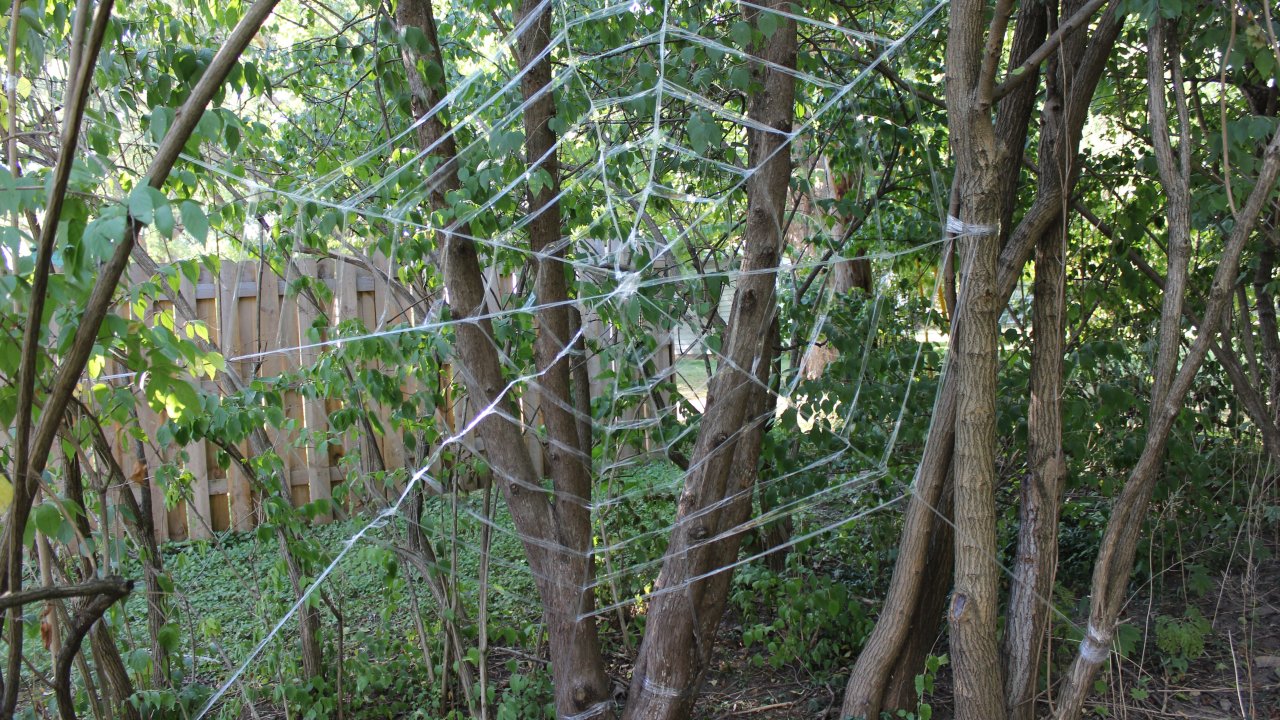
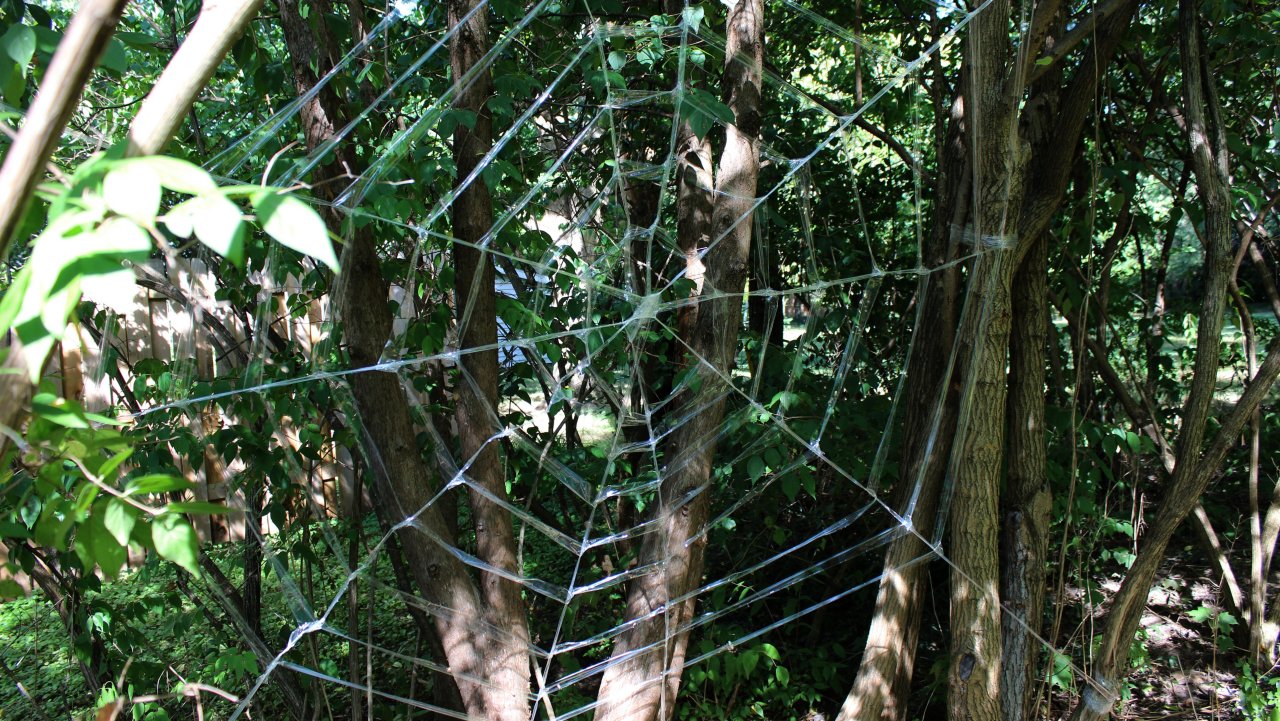
Halloween is just around the corner, and if you’re going to be decorating your house, you’ll definitely want a creepy crawly spider web to adorn your walkway. I’m going to make these giant spider webs to decorate the trees around my house, but they could also be used to decorate porches, fences, or they could be erected as freestanding decorations if you have some spare poles. They’re super easy to make, and all you need is a roll of regular plastic shrink wrap.

YouTube player

Project Steps

Cut the Roll of Plastic Wrap to the Desired Width (optional)

We will be using a roll of plastic shrink wrap to make our spider web. Depending on the kind of spider web that you are making and the specific look that you are going for, you may not want to use the entire roll. If you would like to work with a smaller roll, all you need to do is cut the roll to a smaller size.

Cutting a roll of plastic wrap is easy. You can either use a sharp knife or a fine toothed saw to just cut right through the entire roll. I prefer using a knife because it gives a cleaner edge when you are done. Cutting with a saw is a little faster, but you may need to go back and use a knife to trim off the rough edges so that the plastic doesn’t snag when you are unrolling it.

Forming the Strands of the Web

​In order to make it look like a real spider’s web, the individual strands need to be thin. There are two ways that you can create this effect. You can cut the roll into small pieces so that you just unroll thin strips of plastic. Or you can use larger rolls and twist the plastic until it is a narrow cord. Twisting together large rolls of plastic will take longer but it will make the web much stronger. Pick which ever method works best for the kind of web that you want to make.

Find a Good Location for Your Spider Web

​Now you need to find a good place to set up your spider web. You want it to be a place that has good visibility. You also want a place with a lot of convenient anchor points to attach the plastic. I have a large patch of trees behind my house that I decided to use. Other good locations are large doorways, and the spaces between buildings.

Attach the Radial Threads

The first part of the web to set up is the radial threads. These will set up the frame work or the rest of the web.

Start by attaching the plastic to one side of the space. If you have an object that you can wrap the plastic around (such as a tree branch), this is very easy. The plastic will stick to itself, so wrapping the plastic tightly around any object a few times will make a strong anchor point. Then run the plastic across the space and make another anchor point on the opposite side. Do this at least four times (preferably more). Make sure that all the strands meet in the center. At the point where they cross, wrap the thread around the previous strands before going on. That way the radial threads are all connected together.

Attach the Spiral Threads

​Now it is time to attach the spiral threads. Pick one of the radial threads and tightly wrap the spool around it a few times to create another anchor point. Then wrap it around the center of the web in a spiral. Each time you cross another strand of the web, wrap the plastic around it so that they are tied together. Continue the spiral outward until you have filled in most of the space of the opening. To end the spiral, tear off the strip of plastic and wrap it tightly around the last radial thread. This should give you the basic shape of a spider web.

Heat Shrink the Web (optional)

​It is likely that parts of your web will be loose and some of the threads will be slack. If you want to tighten up the strands of the web, you can selectively shrink the plastic with a hot air gun or blow dryer. This will pull the strands together and give it a more defined shape. This is good if you want to make it look like a spider is actively living here.

Finished Spider Web

​Now you have a giant spider web! You can make one of these in about 30 minutes. So you can easily make multiple webs as part of your Halloween decorations. Try out different construction techniques and see what you like best. If you make one of your own, share your pictures in the comments!