Traction is all about digging into the terrain. When the ground is covered in snow and ice, rubber just doesn’t cut it anymore. Studded tires can really improve your bike commute in the winter months or allow you the adventure of off-road riding in winter months. The addition of transverse chains on the rear wheel can create a little more off-road traction in both icy and snowy conditions. However, while the right studs will work fine on pavement, chains can slip the rear wheel right out from under you.

I built these chains for a 26″ bicycle with v-brakes and 2″-wide tires. It should be easy enough to modify the chain design for larger 29″ tires or thinner/wider tires, although I haven’t tested other combinations. Disk brakes, internal brakes, or removing the rear brakes should also make things much easier.

.|.

Project Steps

Install the screws

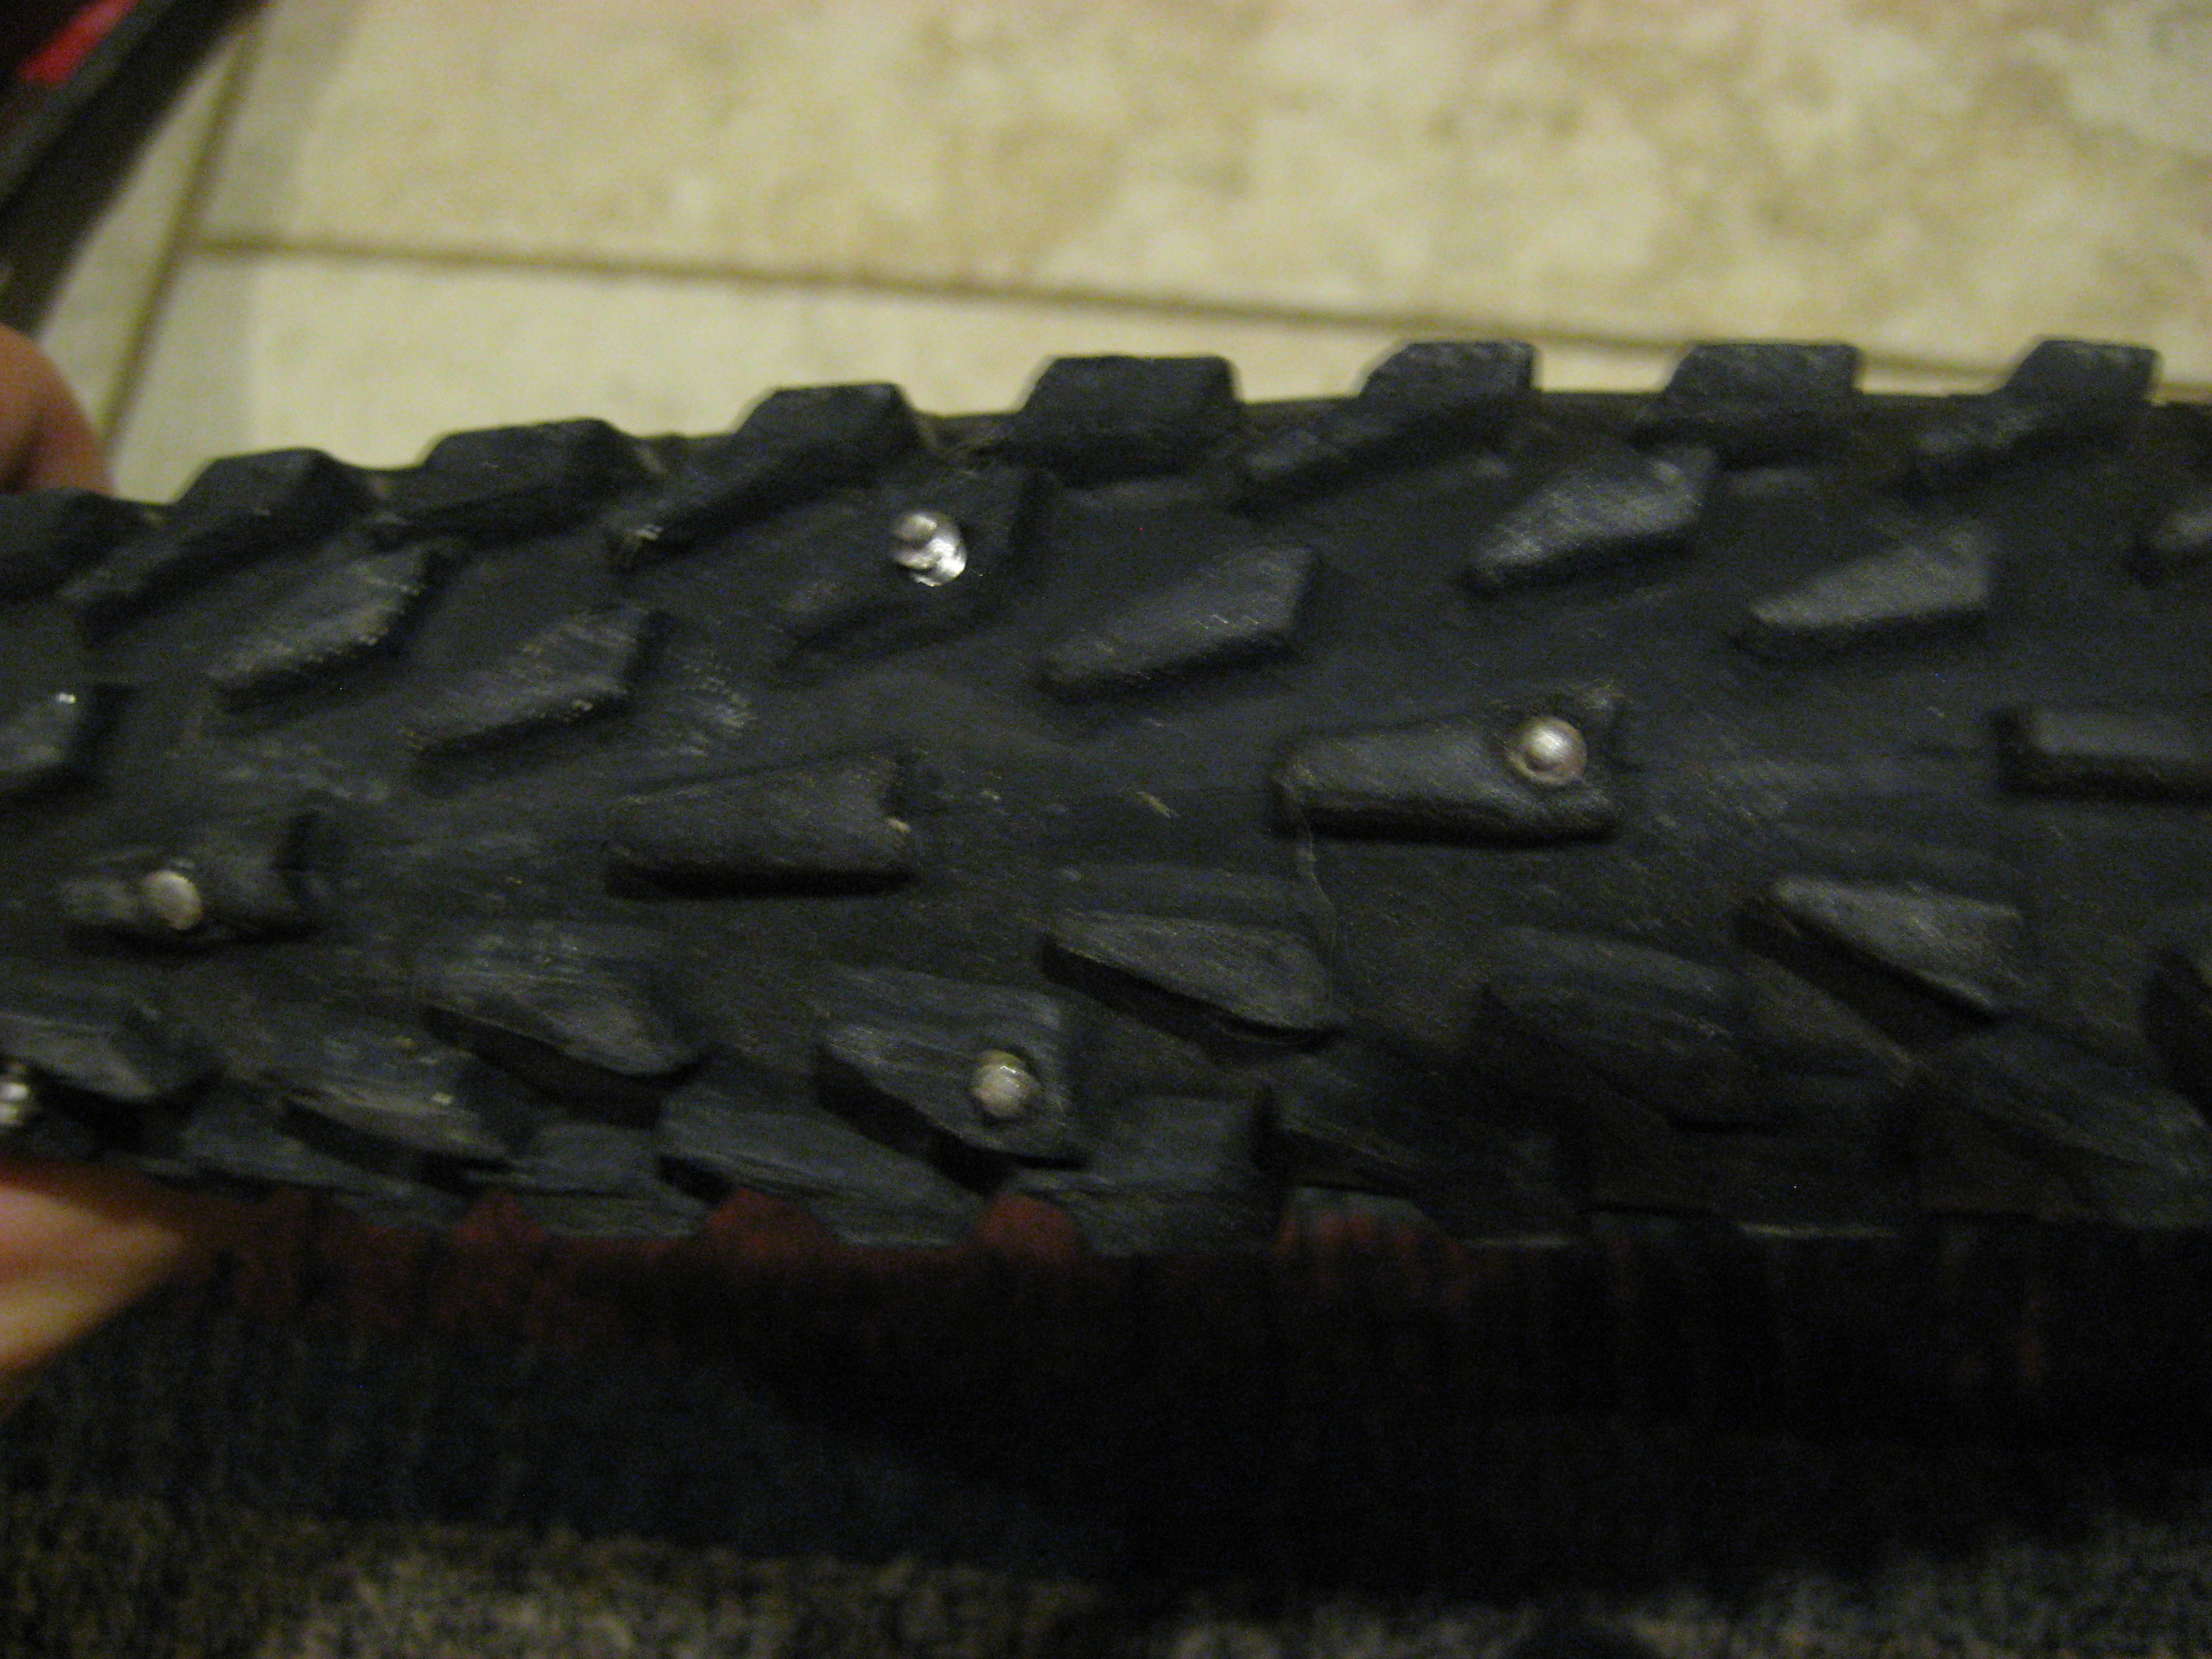
The screws are installed from the inside of the tire, exiting through the knobby treads of the tire. On the rear tire, I placed a pair of screws 1-1/2″ apart every 2″ to 3″ around the perimeter of the tire. On the front tire, I also added a screw in the center spaced evenly between the pairs in an attempt to give as much steering traction as possible. Another pattern may work better for you depending on the specific tread design of your tires. More screws add traction but also weight and add to the rotational inertia.

Place the tire with the knobby treads on a scrap surface, maybe a piece of wood.

Insert the screw head on the tip of the magnetic bit already in the drill.

Place the tip of the screw against the inside of the tire and drill it through the tread. If you have trouble lining up with the knobby tread from the inside of the tire, you can start from the outside by drilling a pilot hole through the knobs with a small drill bit.

Protect the inner tube.

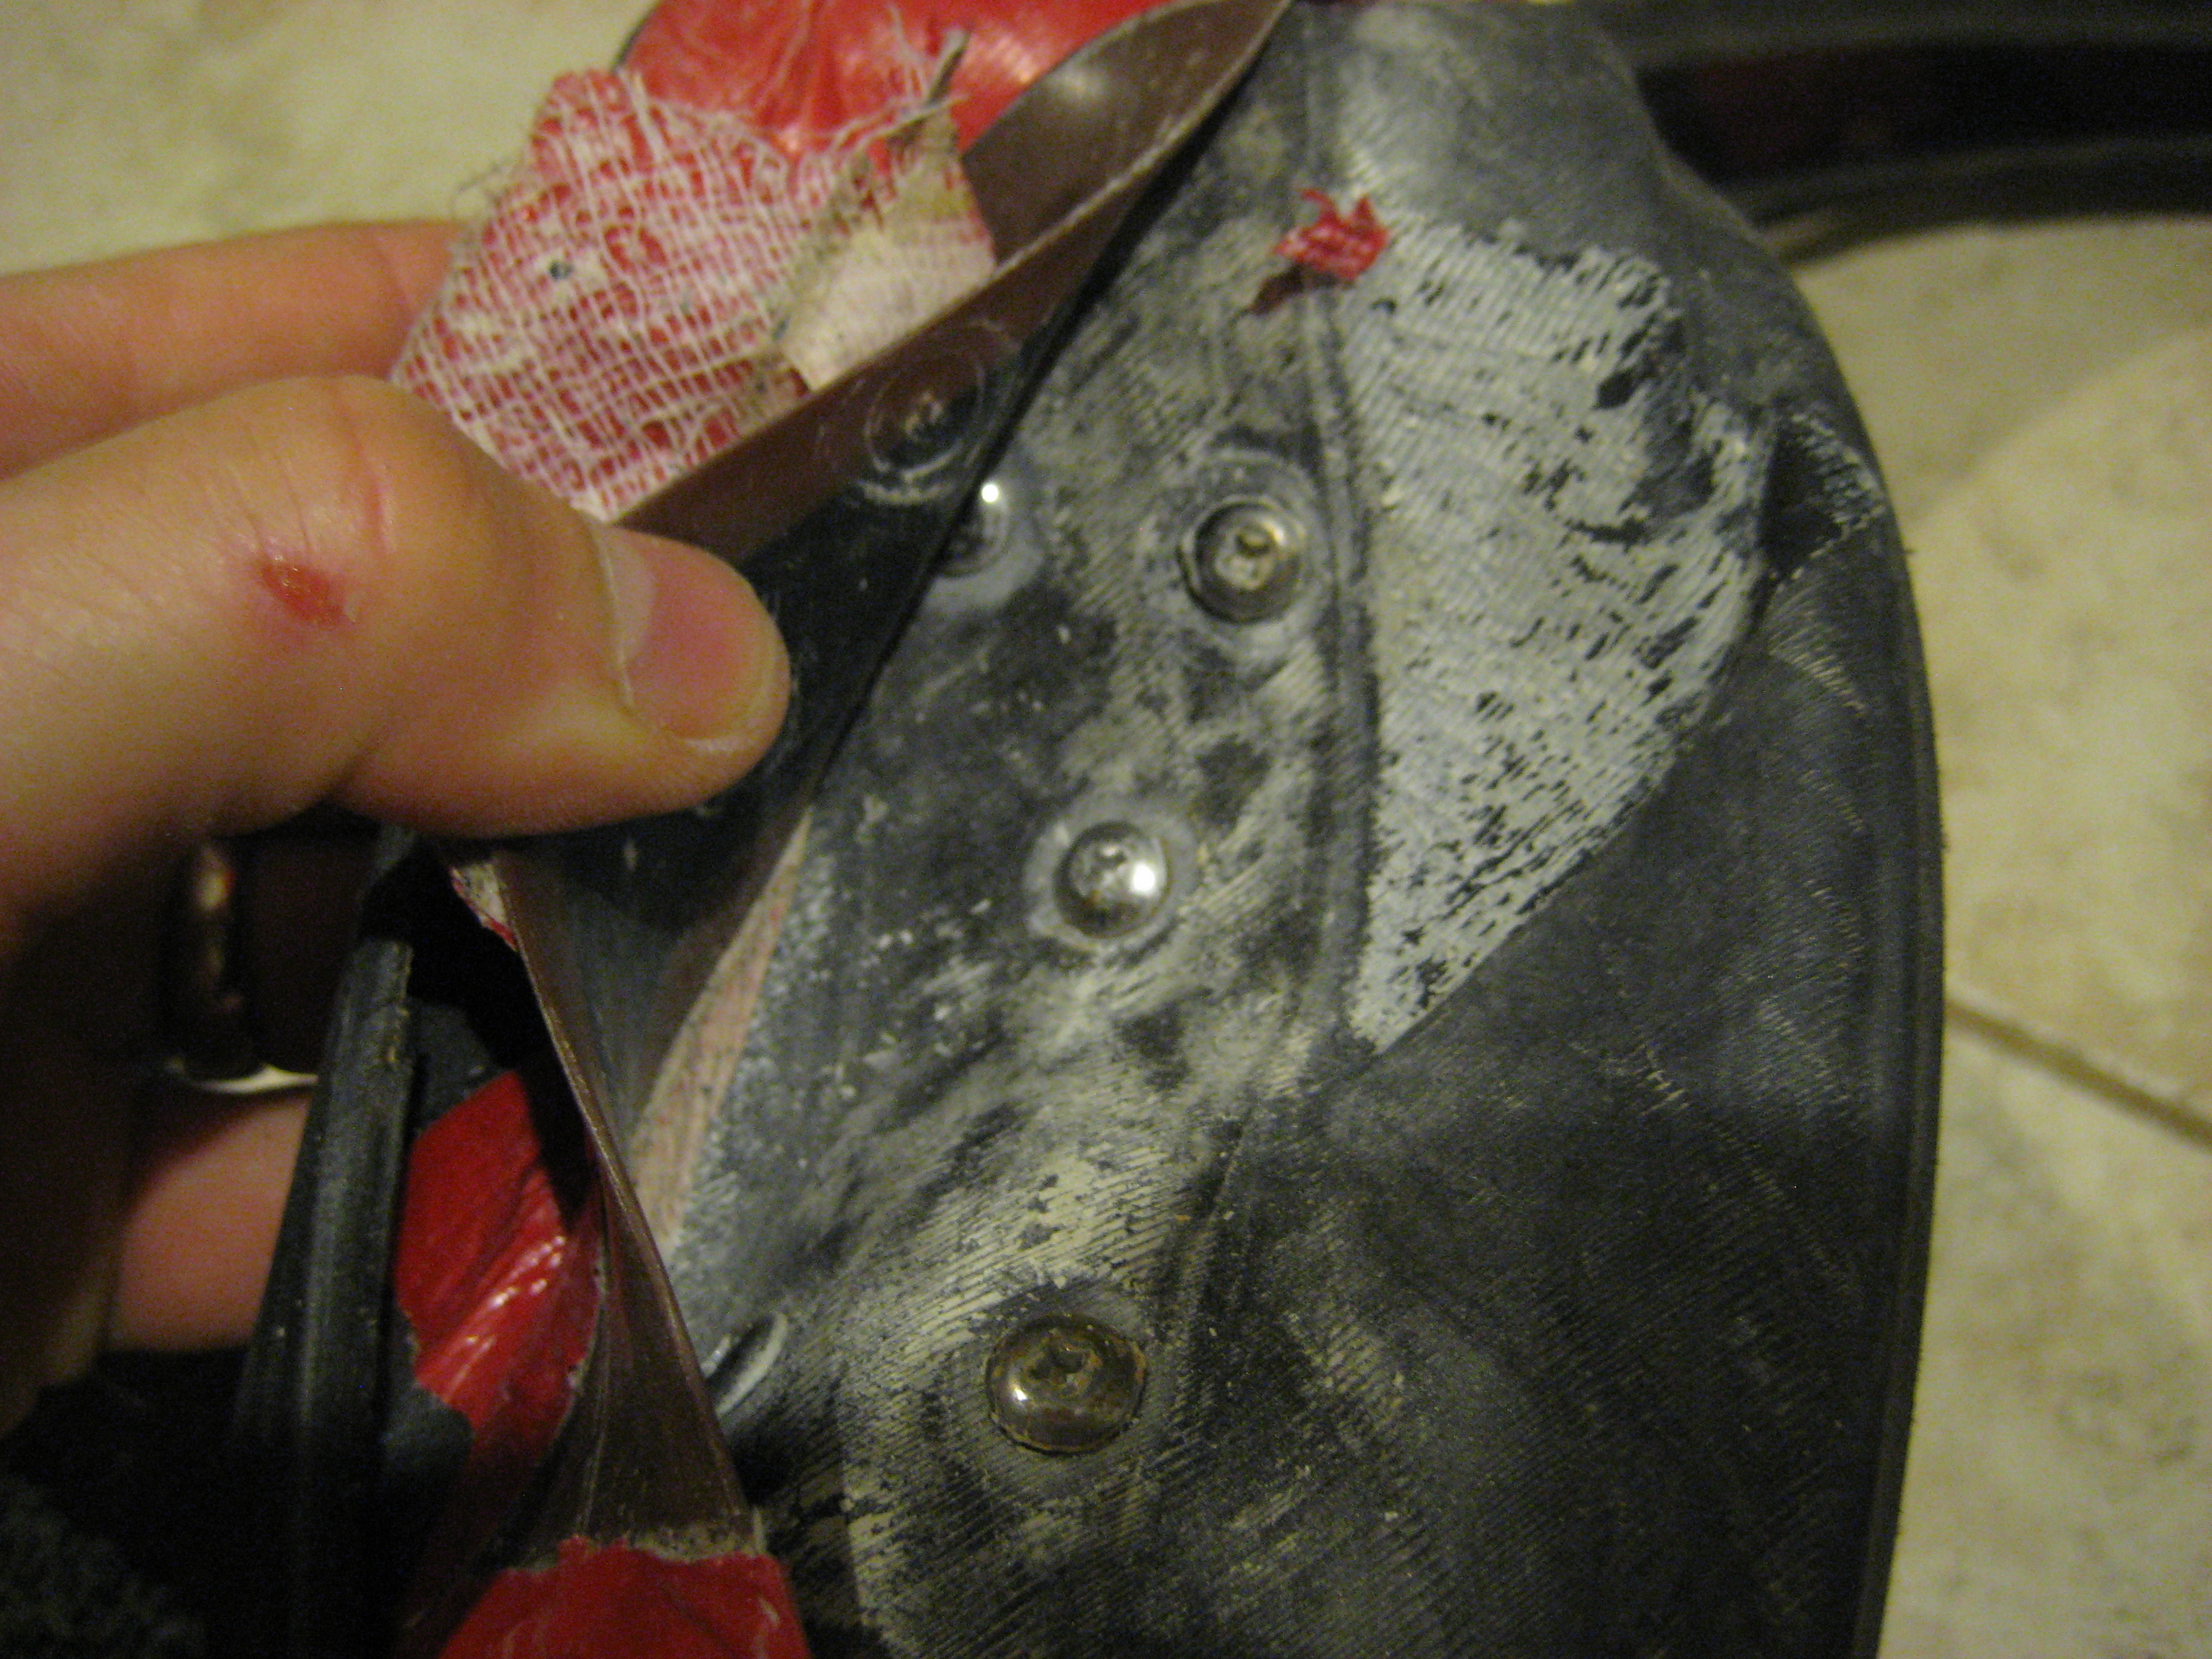
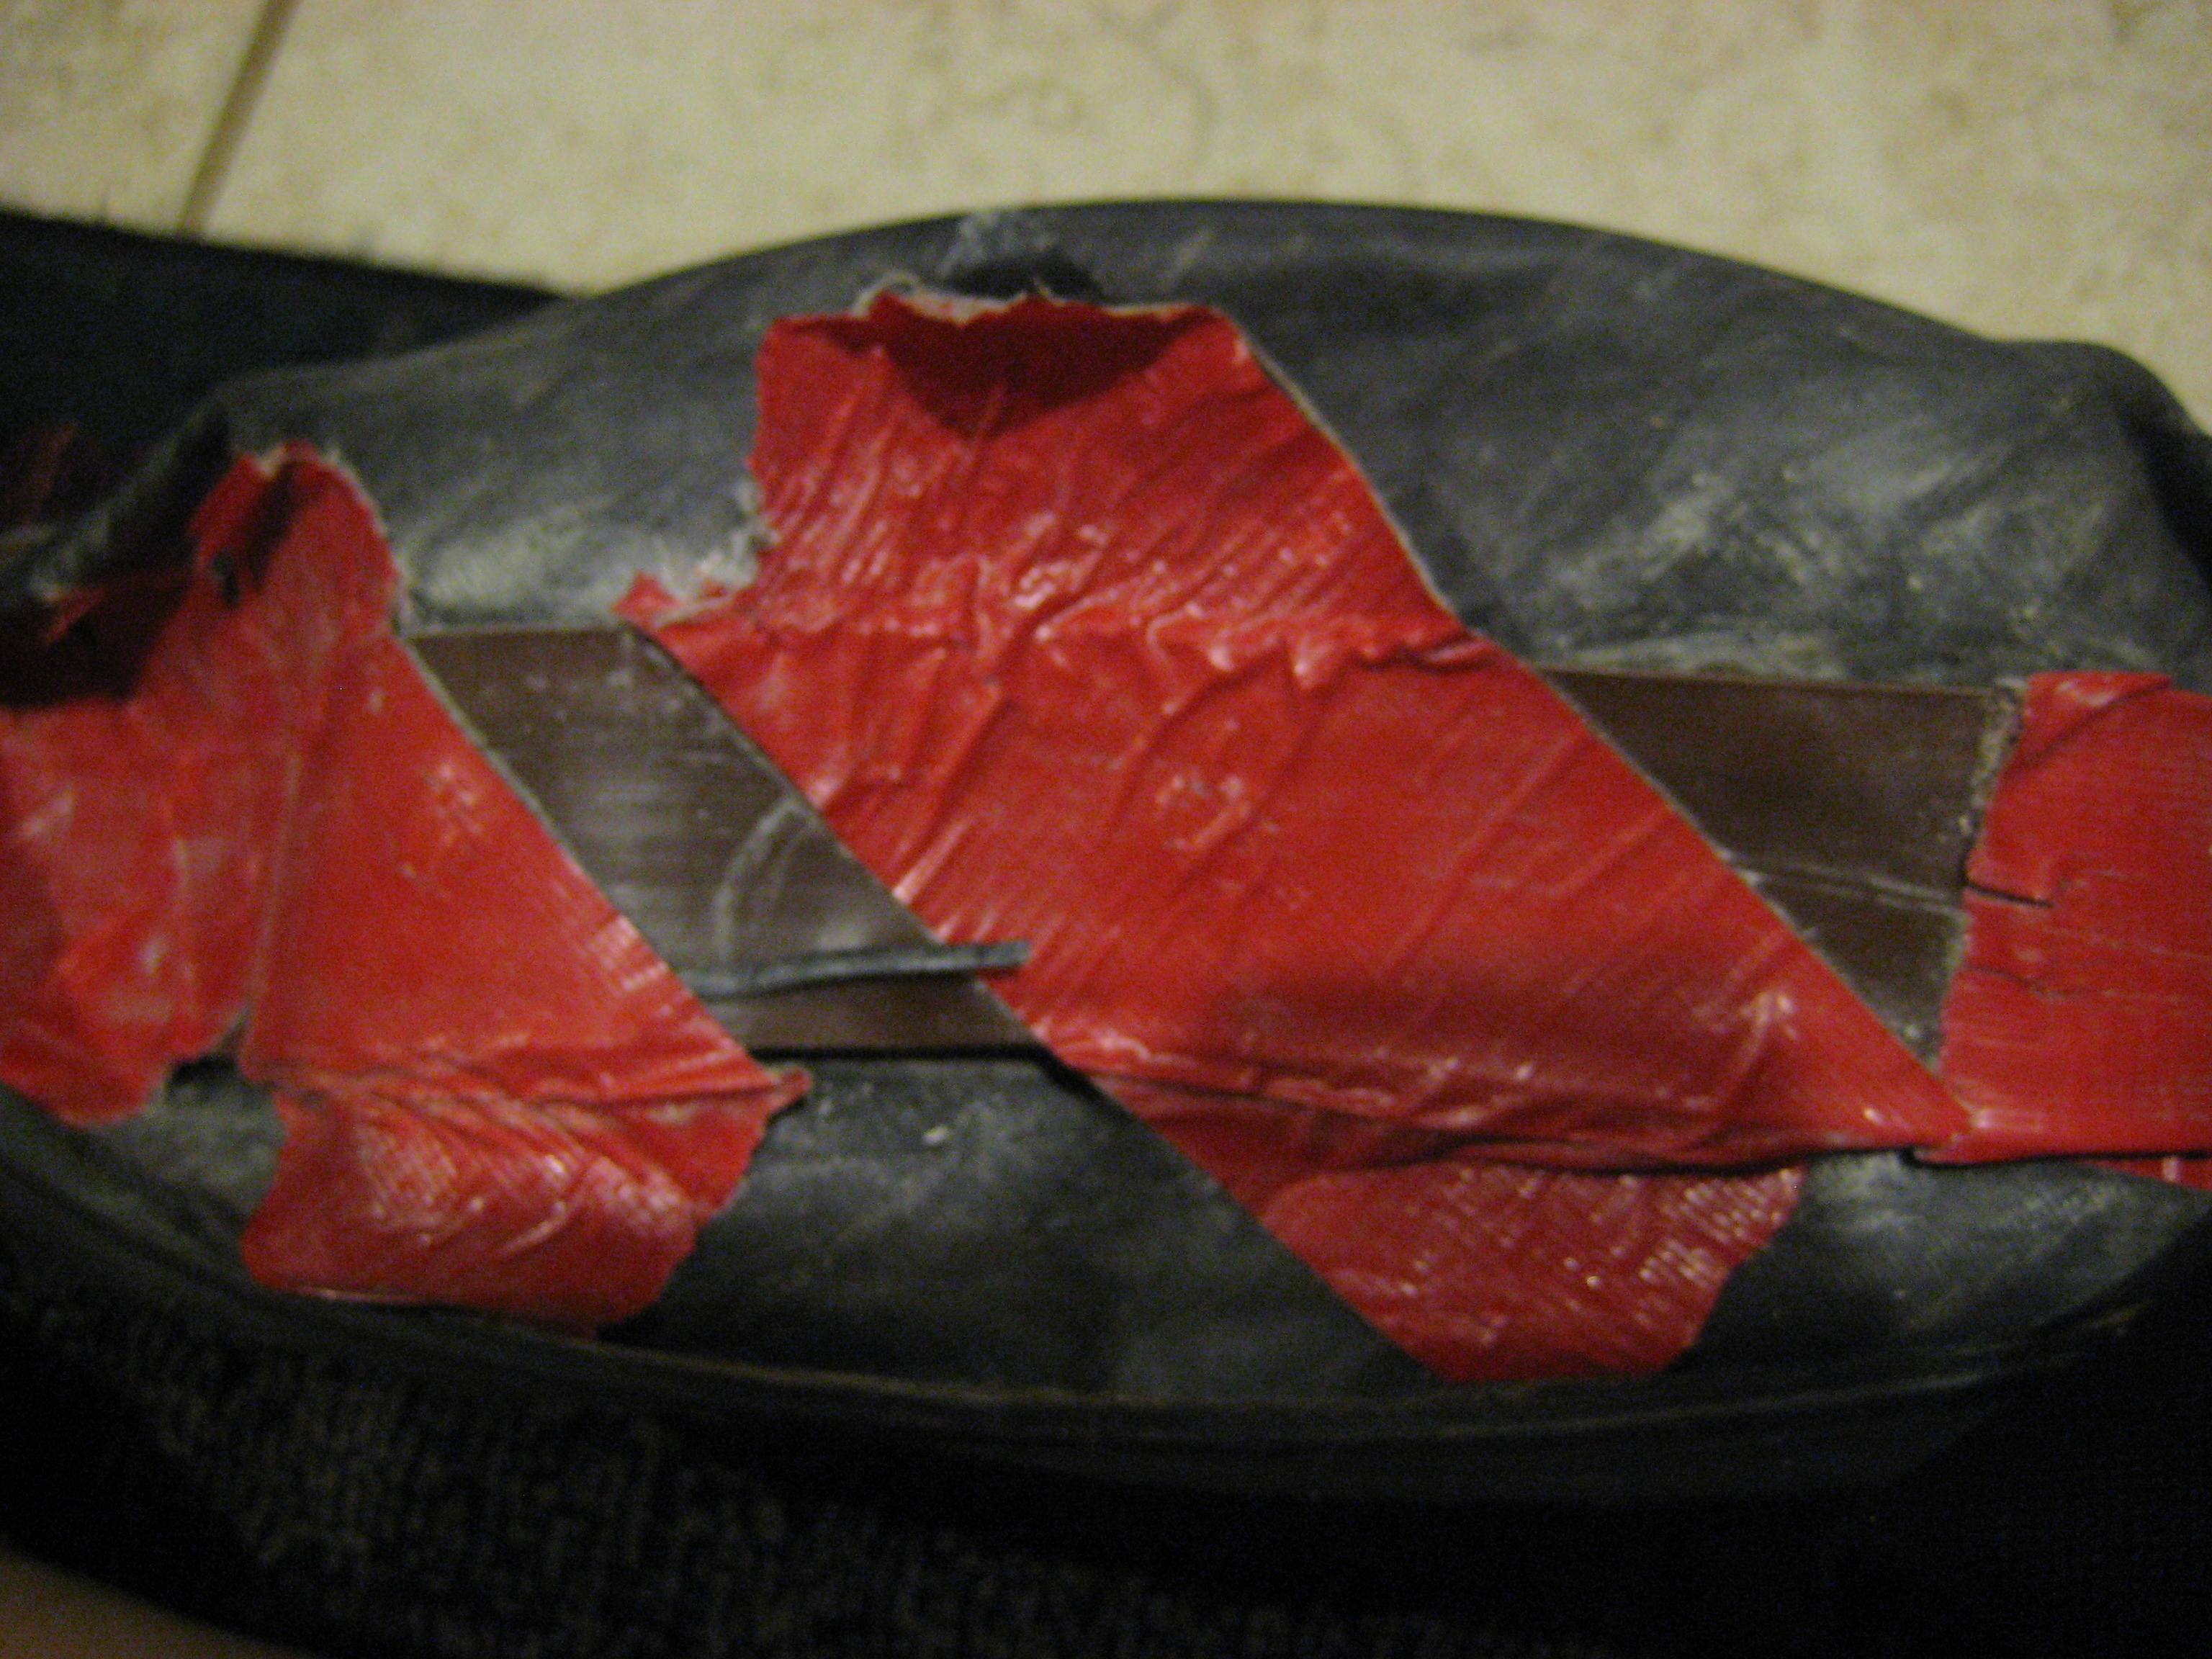
Once all of the screws are installed, add the tire liners to the inside of the tires to protect the inner tubes from puncture.

If necessary, cut the ends of the tire liner so that they meet up exactly instead of overlapping.

Apply lots of duct tape to keep the tire liners in place. Once air is in the inner tubes, the tire liners shouldn’t move, but you want everything to line up nicely from the start.

If the screws protrude more than 1/16″ beyond the knobby treads, cut the ends off them with a Dremel tool or very strong wire cutters.

Create the chain links.

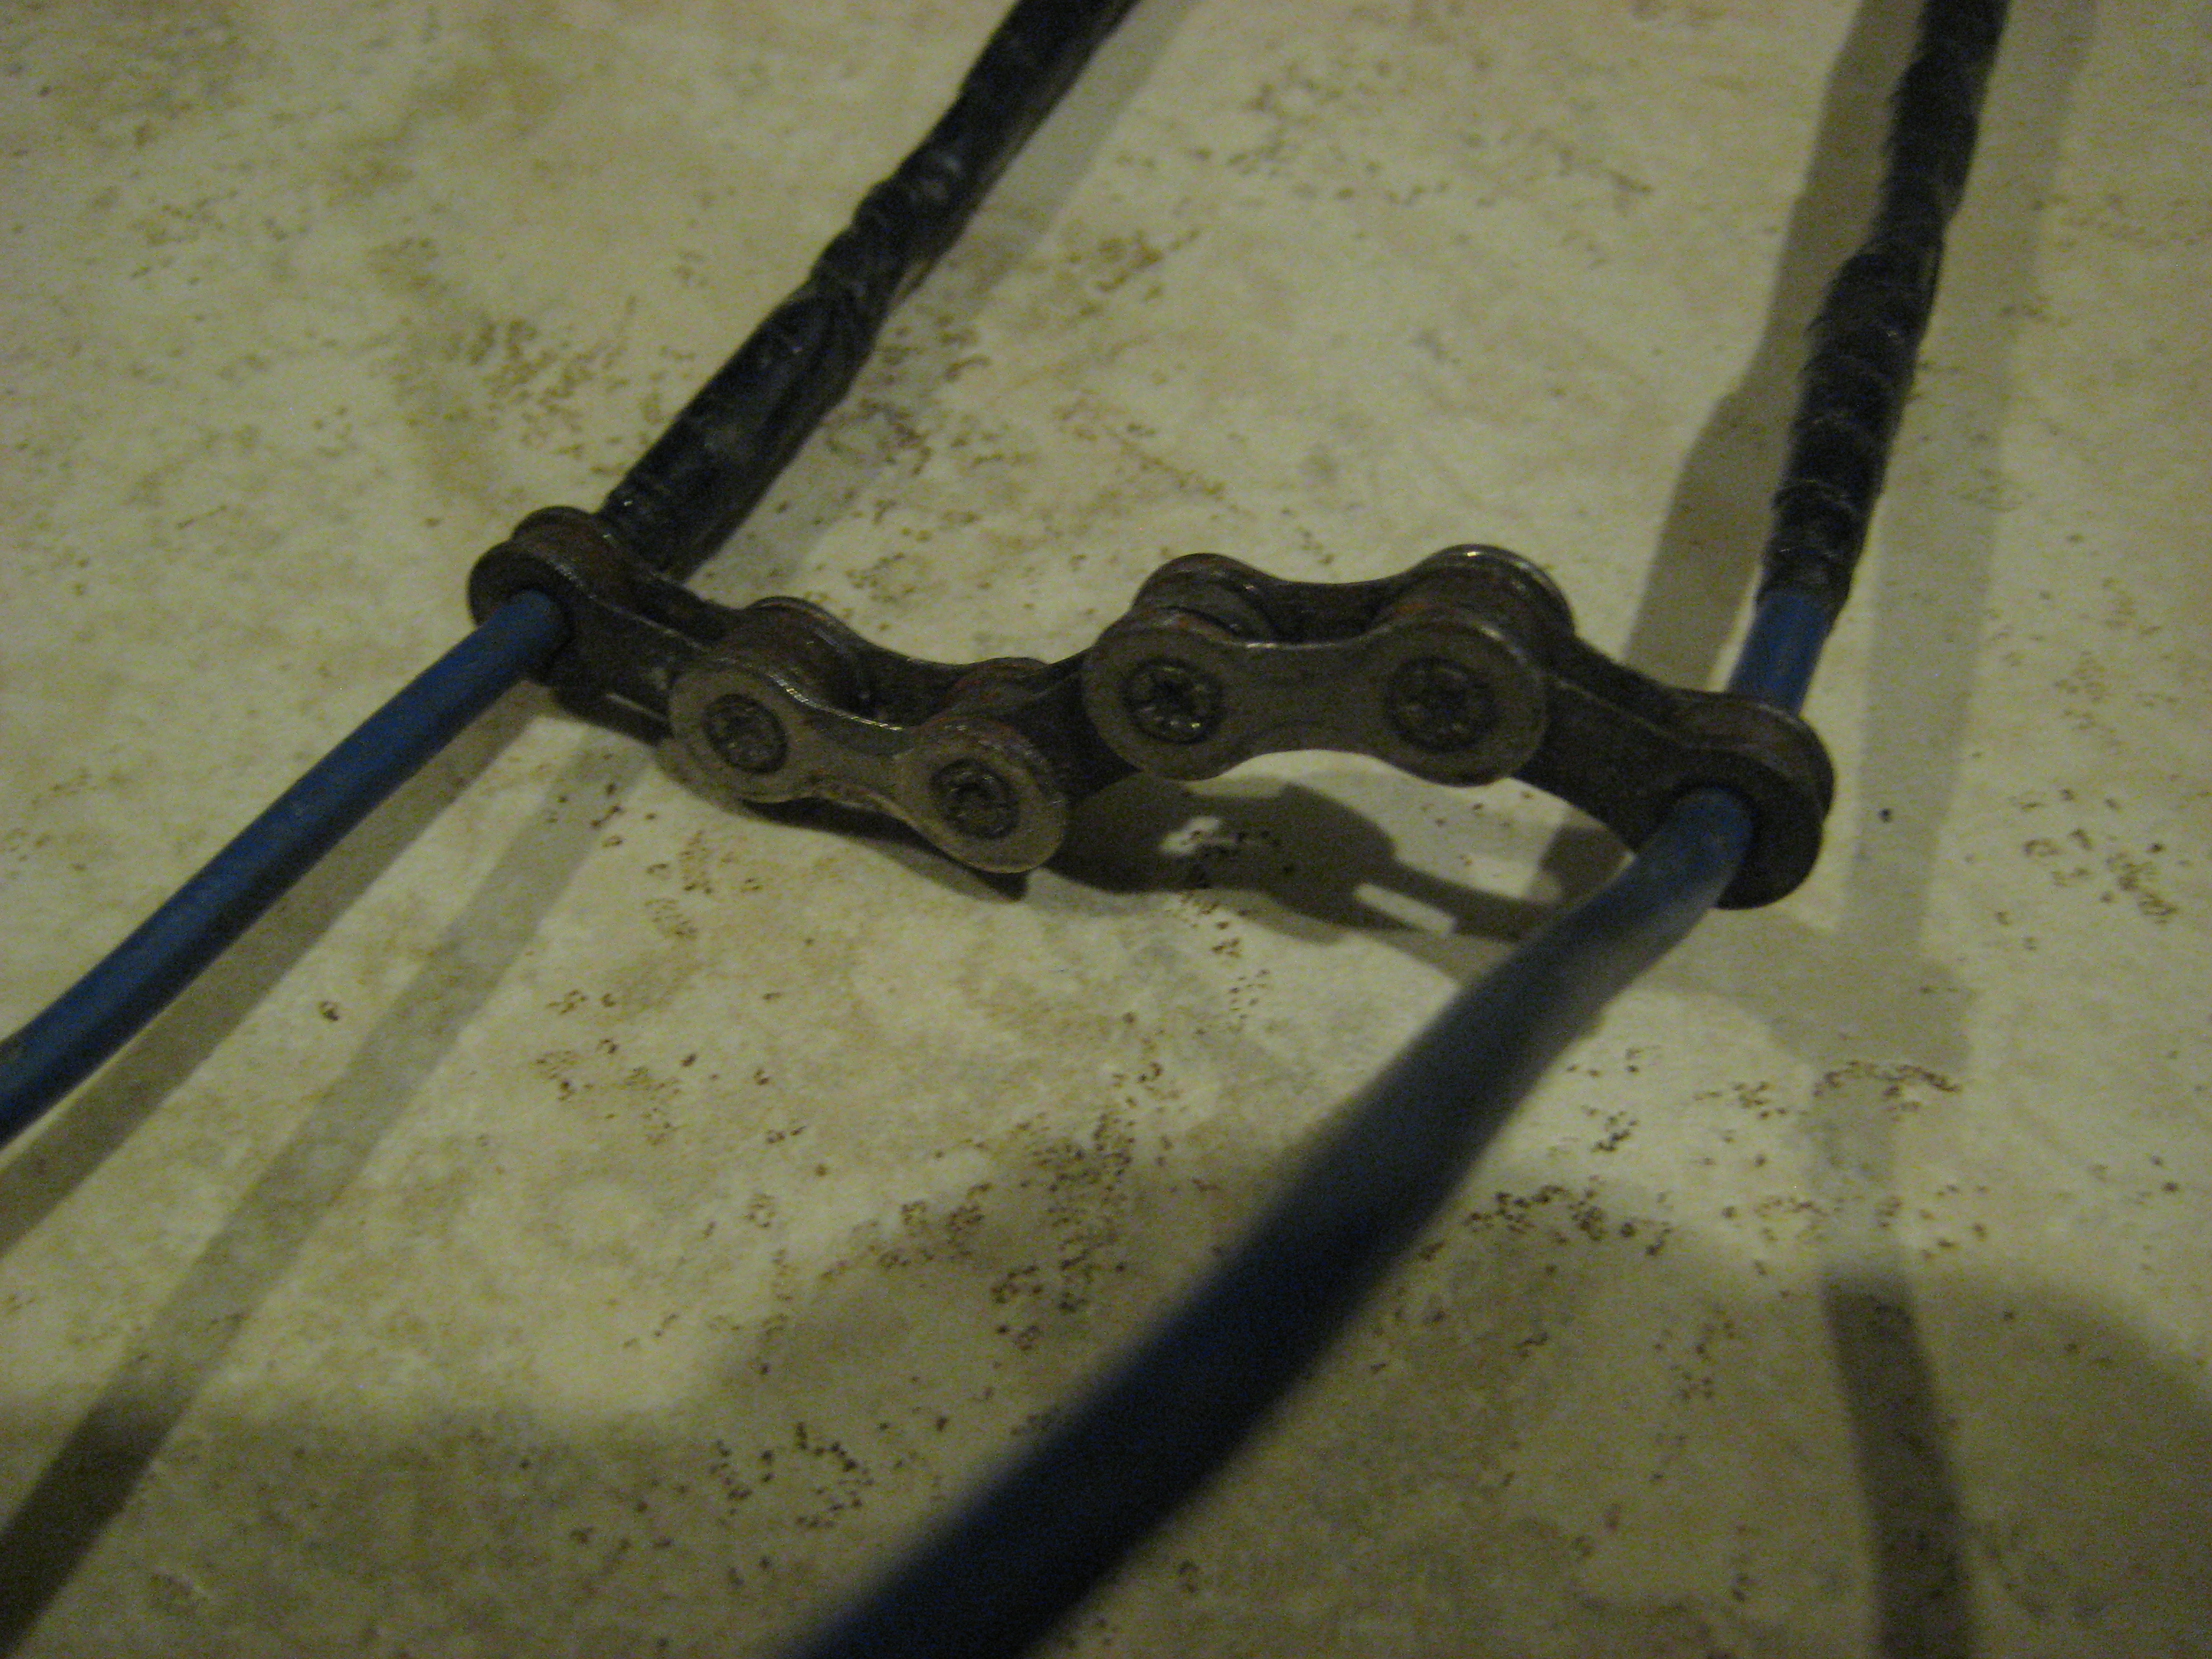
Use the chain tool to remove chain link pins to create individual chains of 5 links each, consisting of 3 interior links and 2 exterior links, as shown in the photo. Remove extra pins as needed so both ends of each chain are interior links. This gives stability to the connection. Use the whole chain, which should result in 9 or 10 chains.

Now’s a good time to check that the insulated wire fits through the holes in the chain.

Prepare the wire.

Determine the length of the wire that holds the chains.

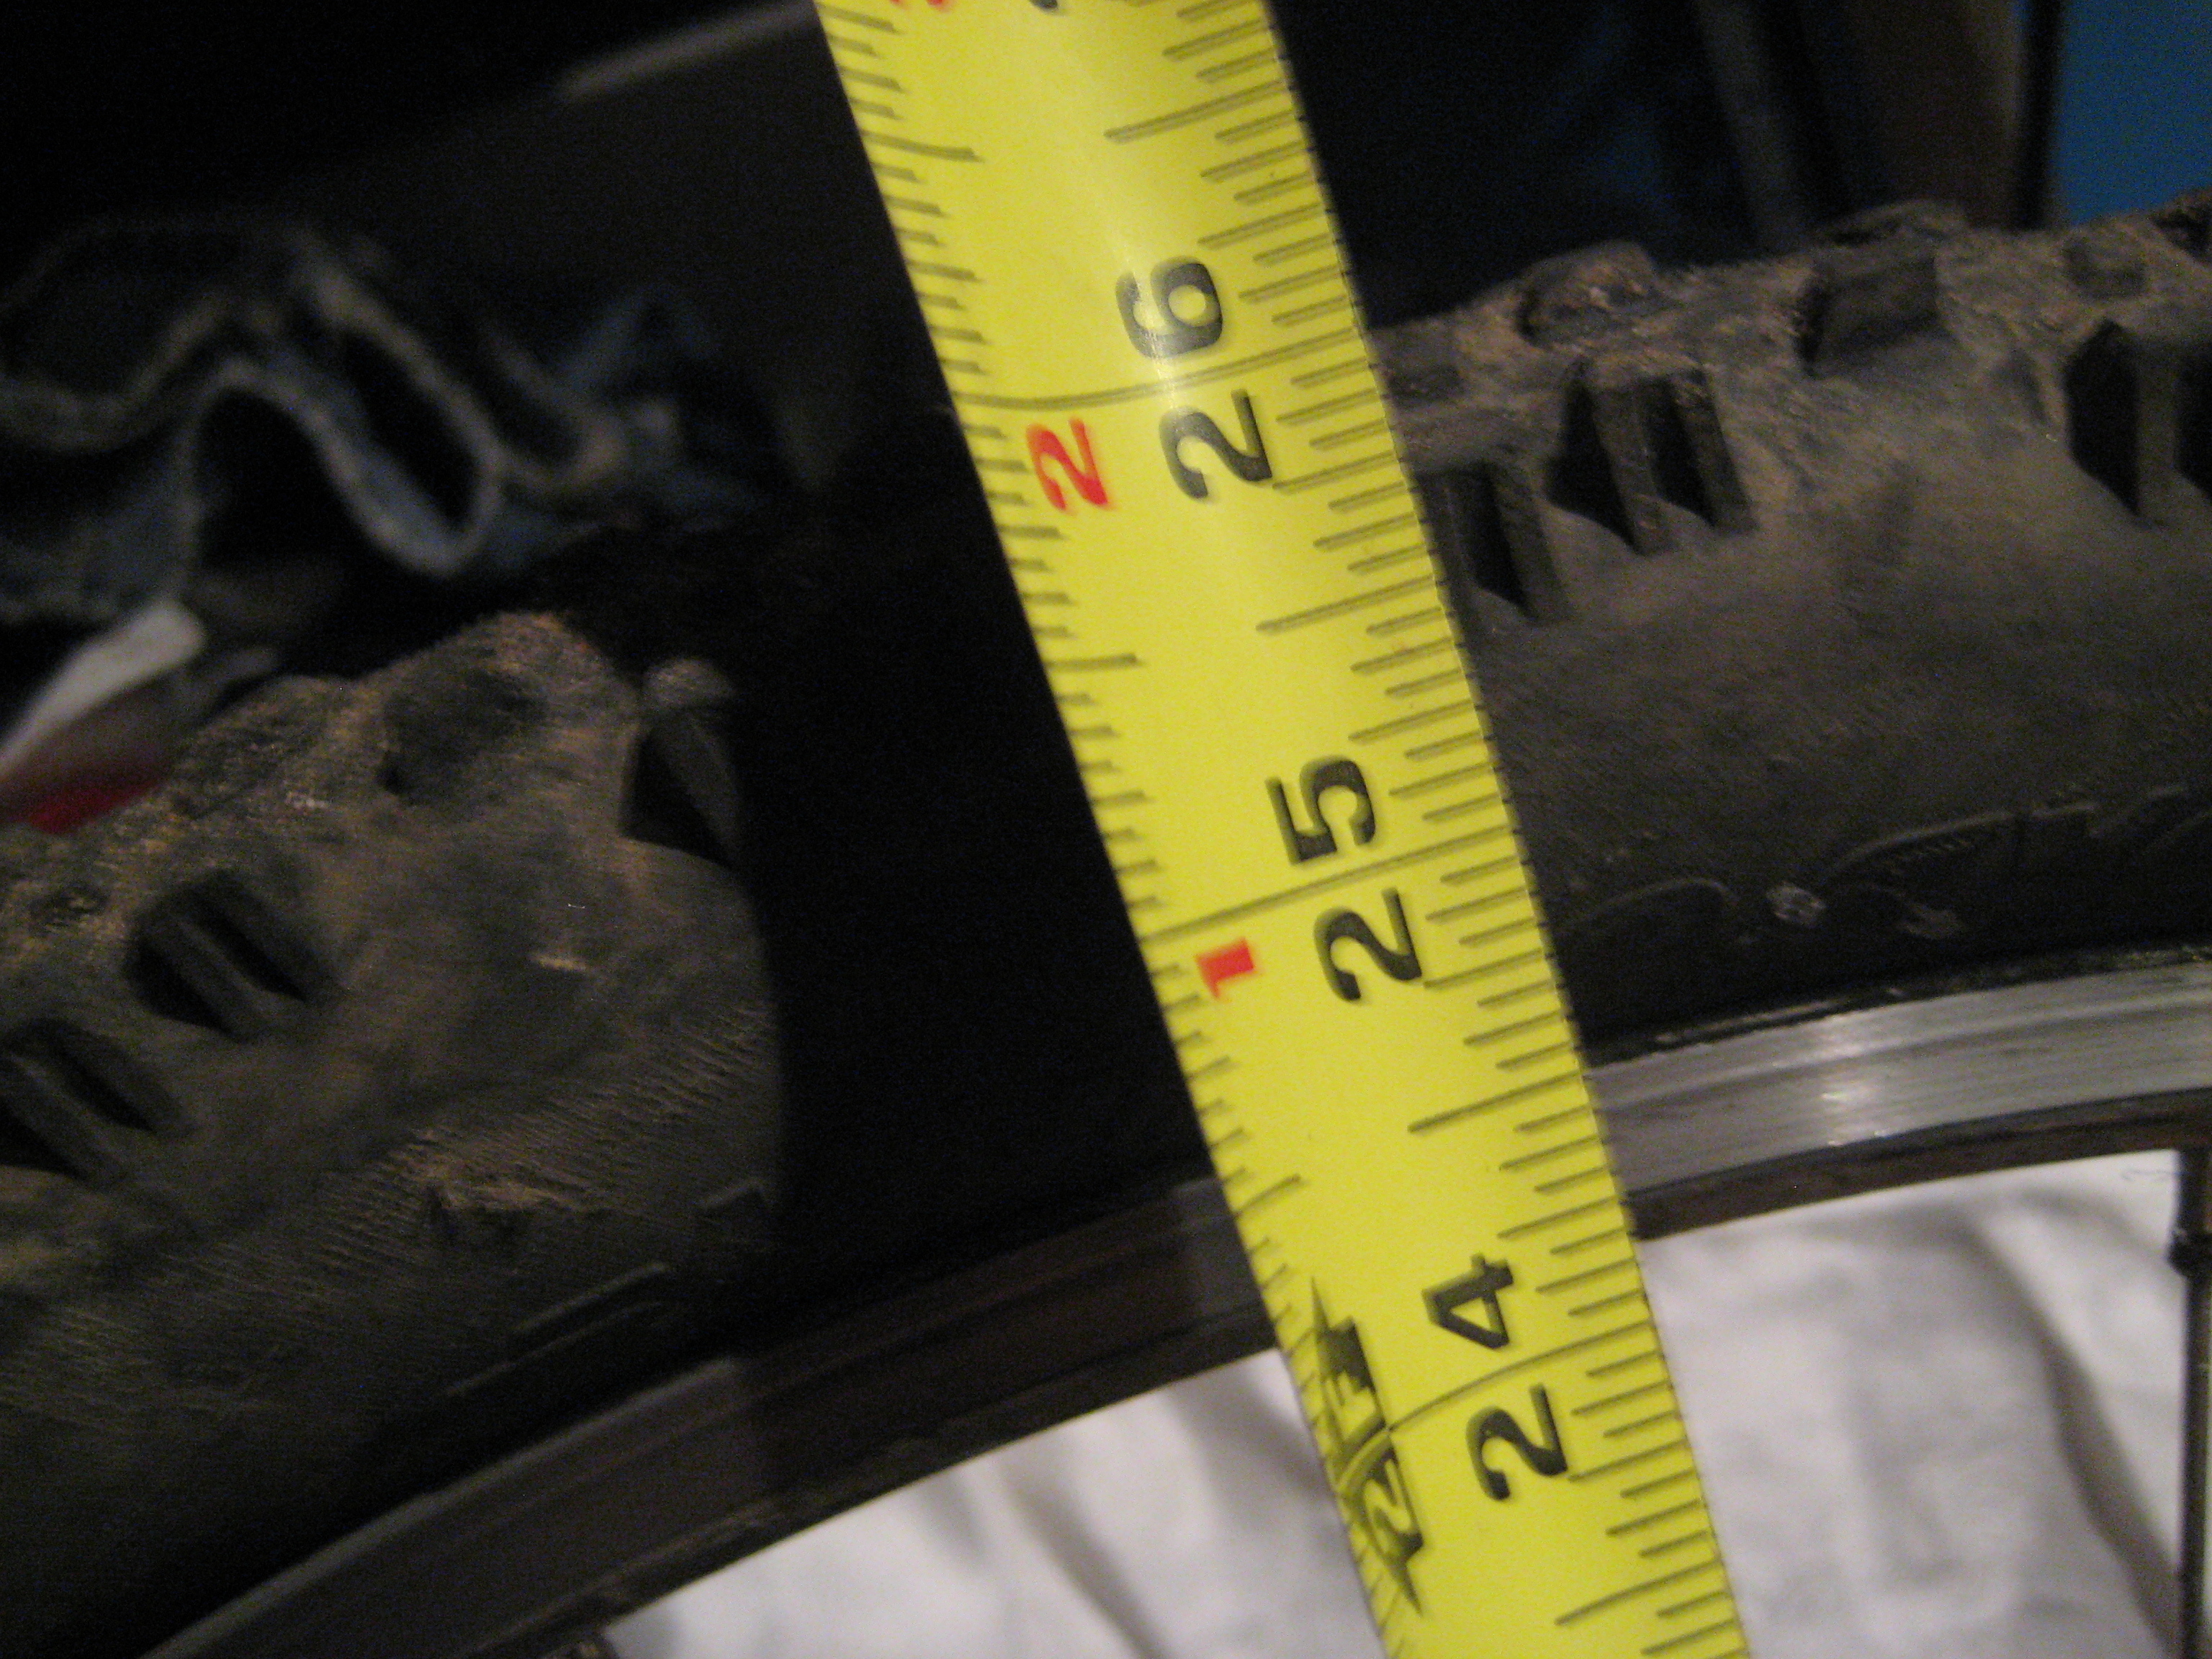
Measure the diameter of the tire.

Multiply by pi (3.14159…). For 26″ tires, that’s 81.6″.

Cut two lengths of wire of that length. Strip 1-1/2″ of insulation off both ends of each wire.

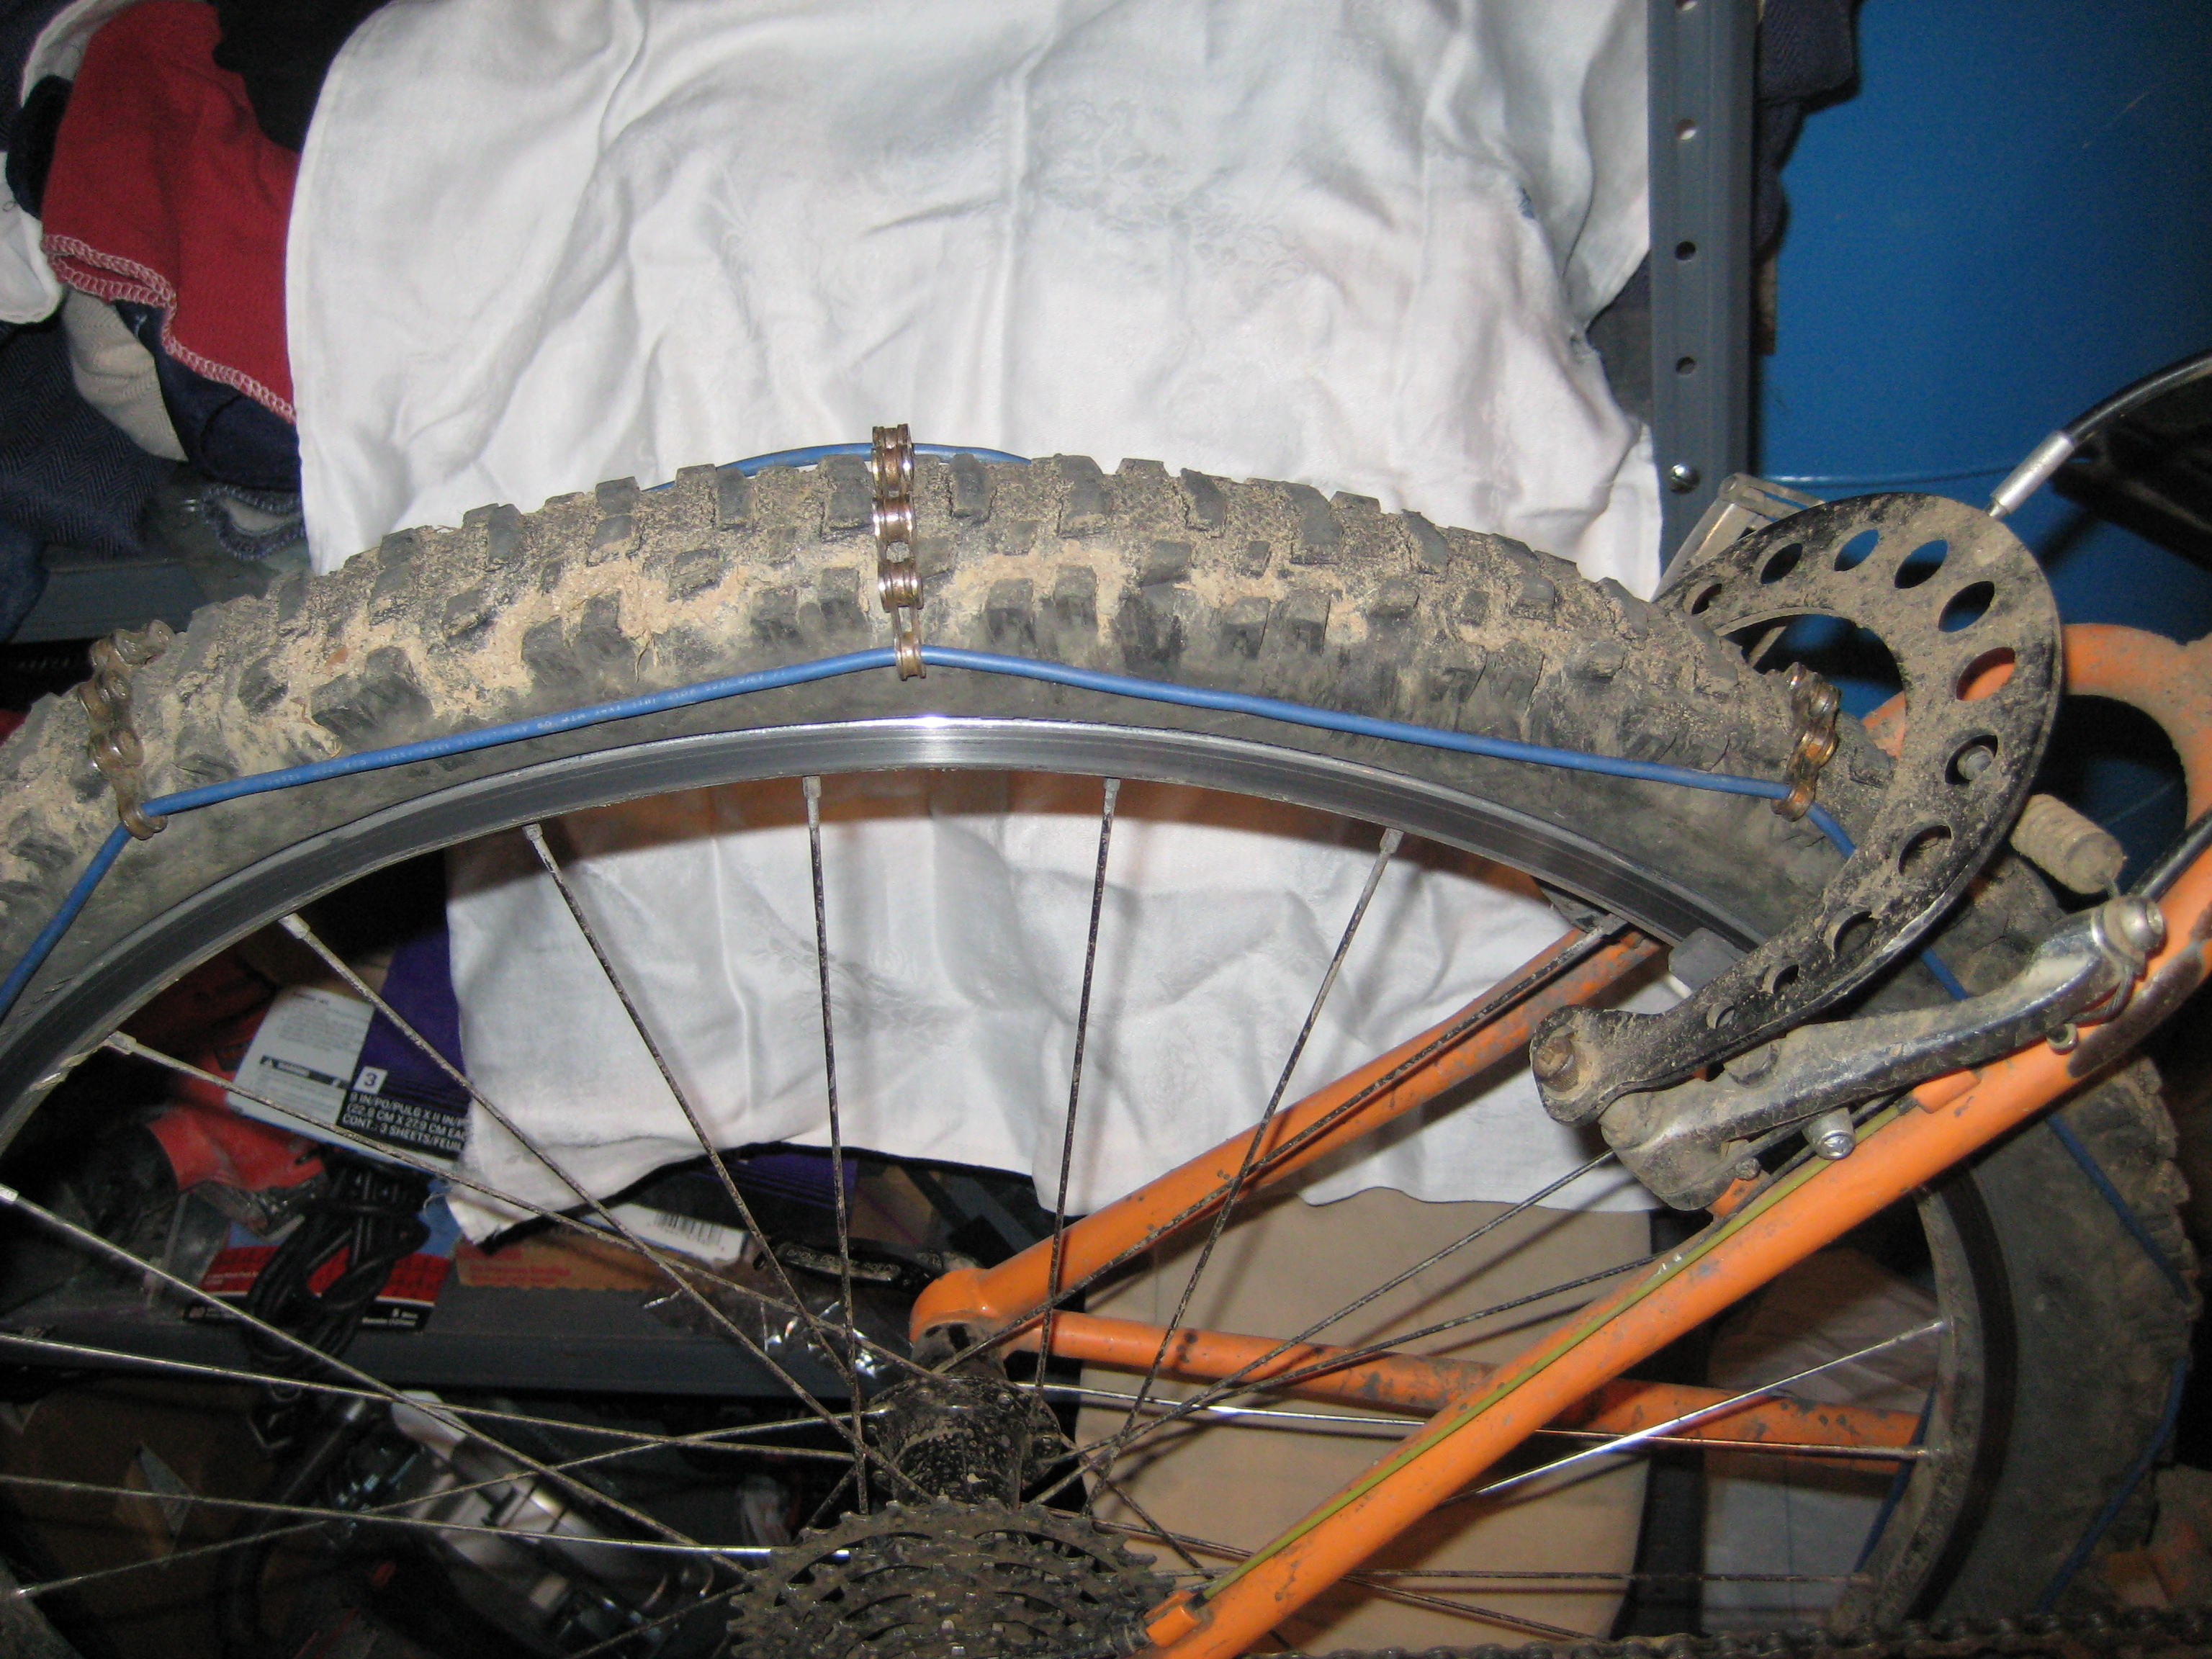
Thread the 9 or more chains onto the two lengths of wire to create a shape similar to a ladder. Space them evenly along the wire.

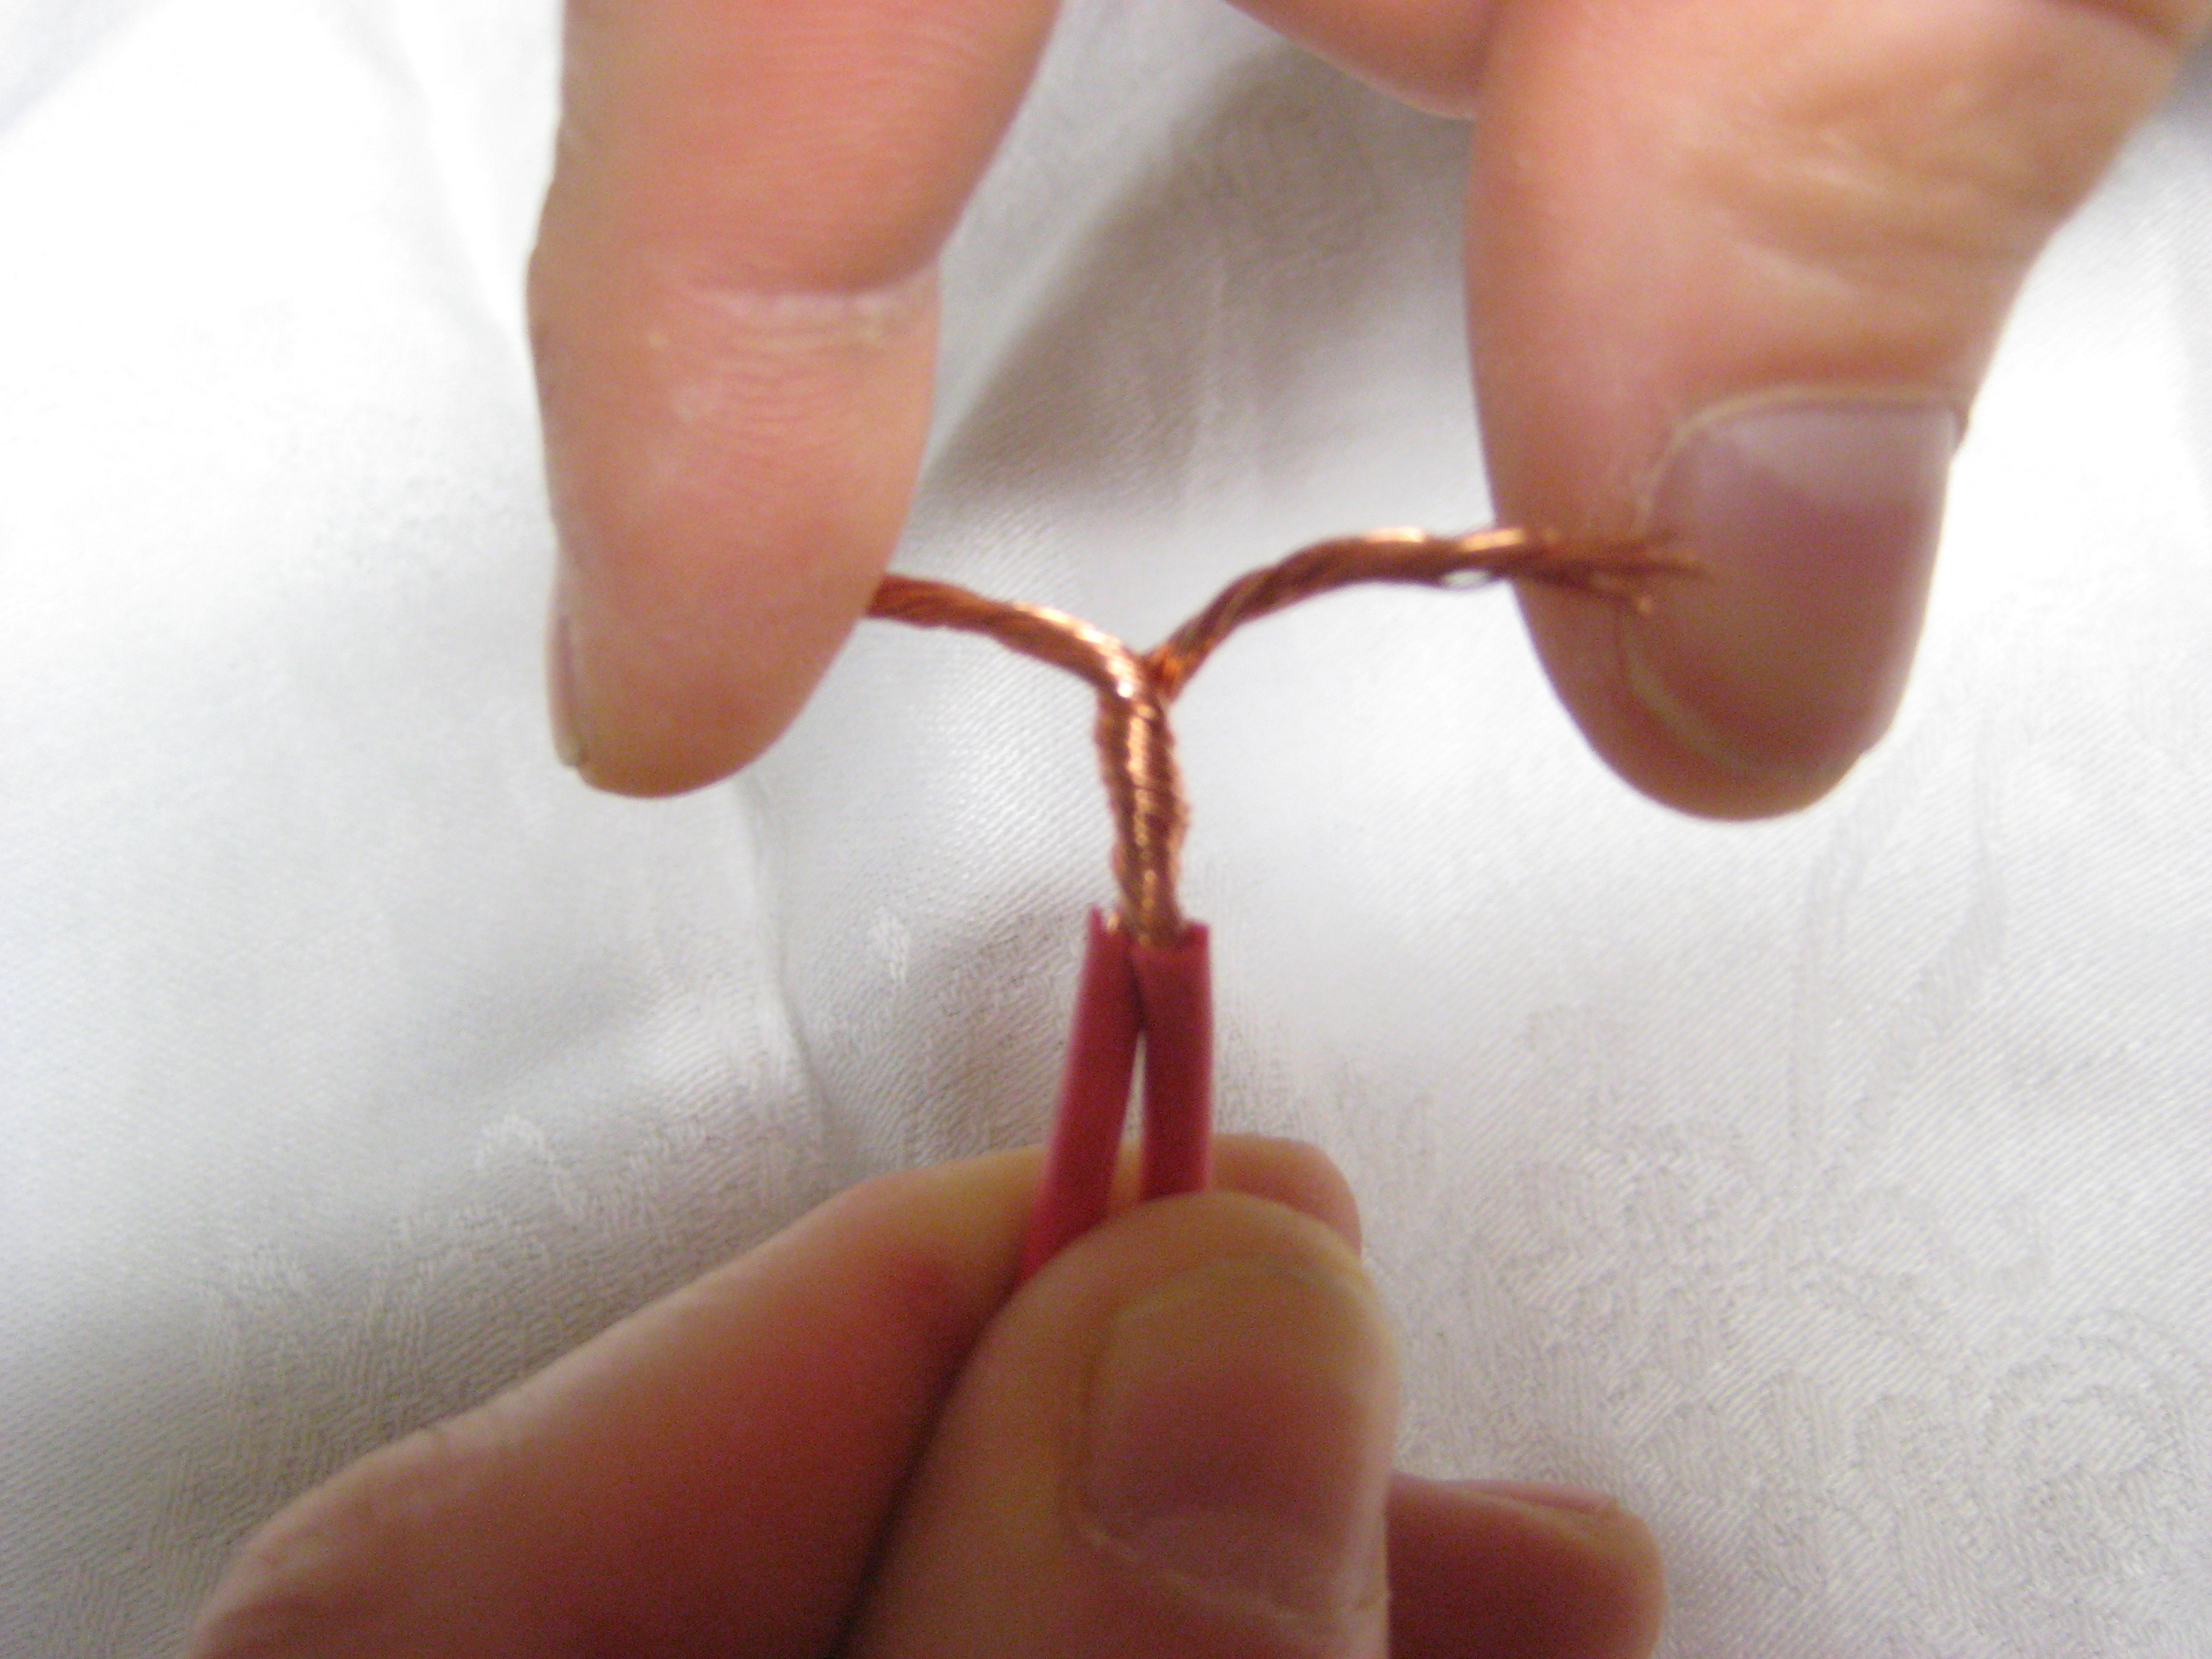
Slide 3″ pieces of heat shrink over the ends of the wire. Tie the ends of wire together to create two loops by twisting the stripped ends of the wire together.

Install the chain onto the tire to check the length.

Deflate the tire. Slide the chains around the wire loop so they’re evenly spaced. Pull the chain onto the tire. Inflate the tire.

Check the fit.

Shorten or lengthen the wires so that they’re long enough to get onto the tire but short enough to be tight on the inflated tire.

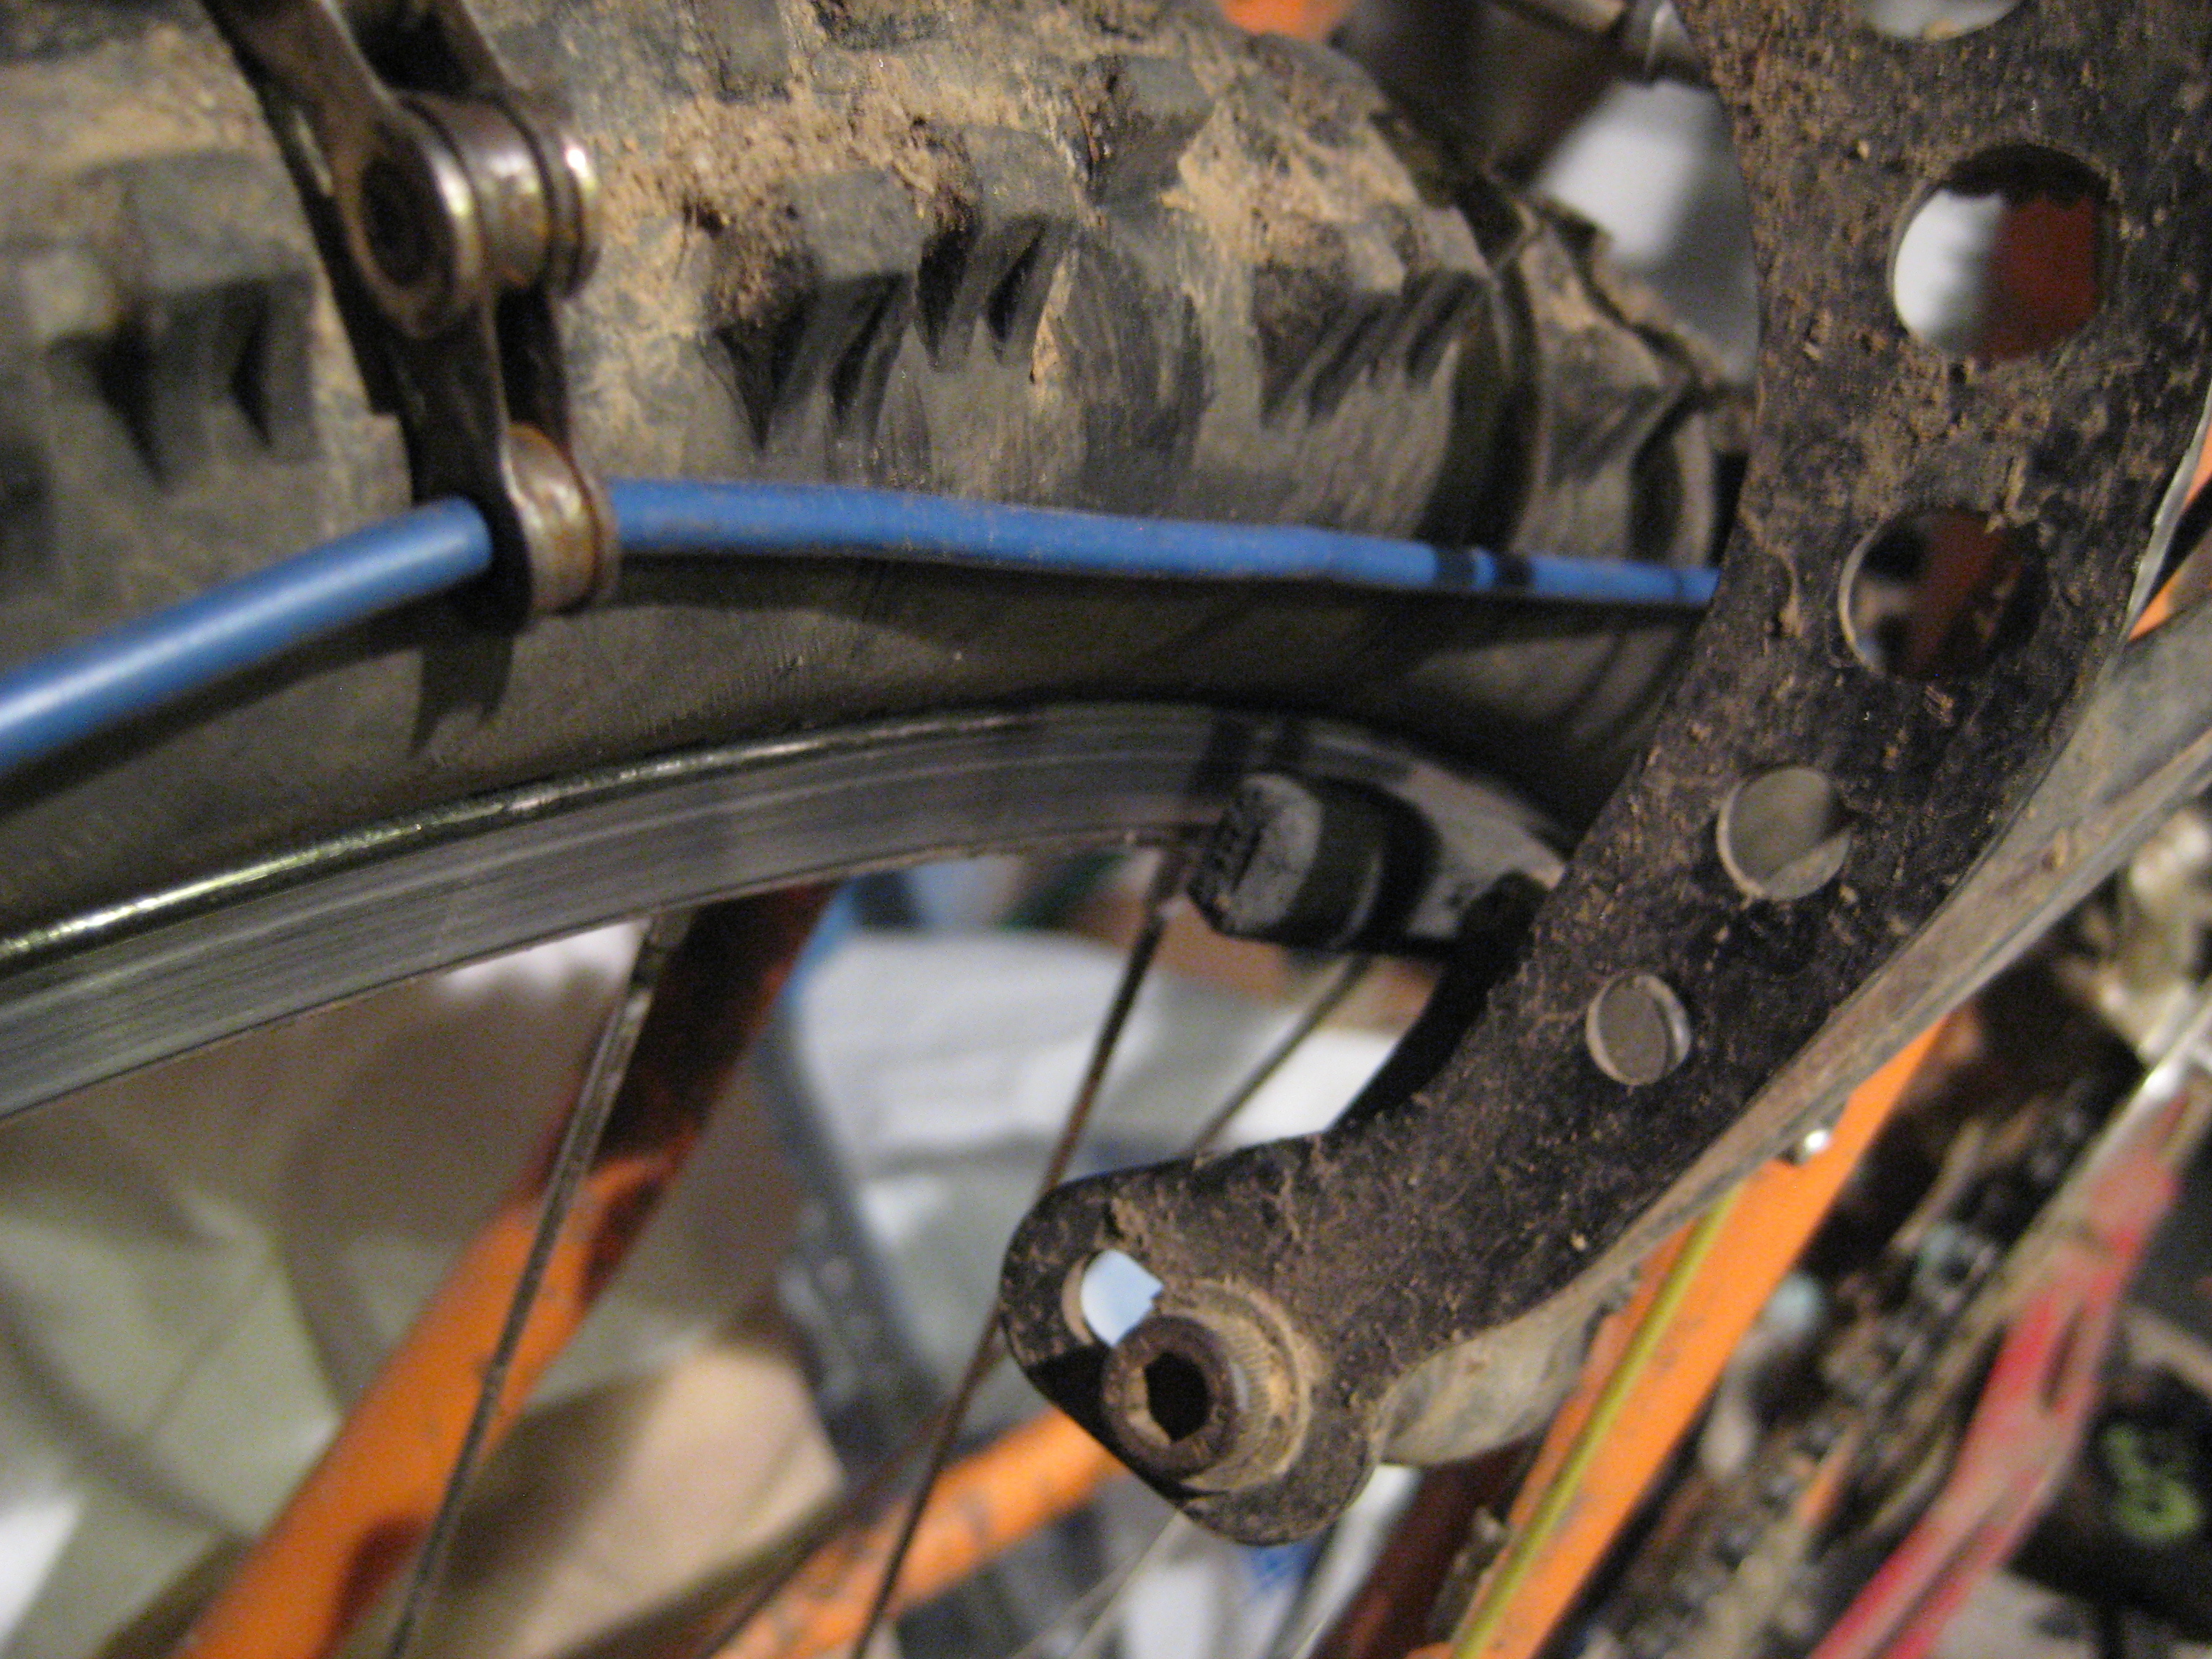
The wire should clear the v-brakes at all points around the wheel. If it’s hitting at one or two points, the chains might not be spaced evenly. If the wire hits a few places, more individual chains might be needed to draw the wire away from the brakes. Re-space all of the chains to account for any additions.

Once the fit is just right, remove the chains from the wheel and solder the wire ends together. Push the heat shrink over the wire and use the hair dryer to shrink it. If necessary, wrap tape around the wire before and after each link to lock them into place.

Think snow!