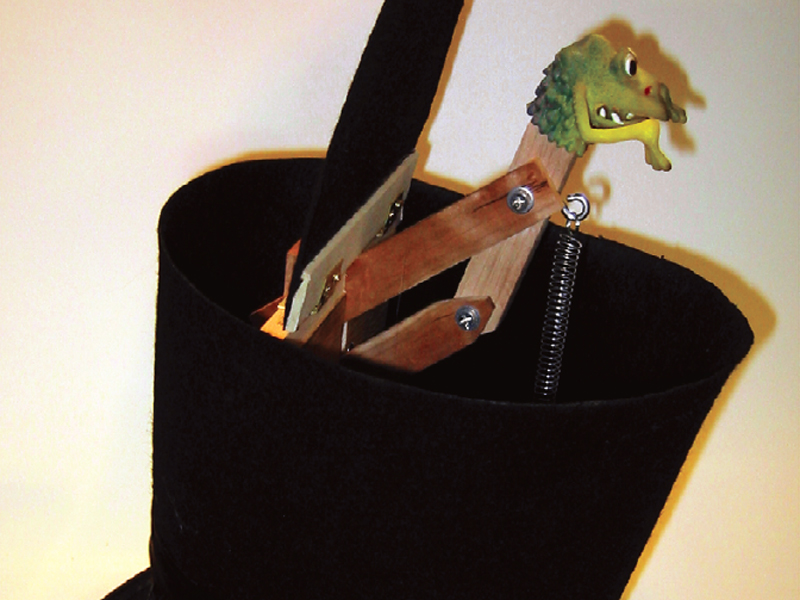
I routinely wear a derby hat around town. So when the Halloween season approaches, I feel the need to wear a hat that really makes a statement. I decided to combine my fondness for old-style hats with my love of mechanical automata. The result is this trick top hat. A little monster hides insides the hat and springs out of the top whenever I squeeze a hidden hand lever.

What will the next generation of Make: look like? We’re inviting you to shape the future by investing in Make:. By becoming an investor, you help decide what’s next. The future of Make: is in your hands. Learn More.

Project Steps

Prepare the hat.

To create a hat that’s tall enough to house the mechanism, combine 2 costume top hats — sold as “coachman’s hats” — into one large hat. Cut the top off one hat. This will serve as the base hat, which will sit on your head and hold the mechanism base.

Cut the top and brim off the second hat. Later, this tubular piece will form the upper half of the hat. Save all the pieces.

Build the framework.

You’ll mount the pop-up mechanism to an oval plywood base fitted within the top rim of the base hat. Cut a plywood oval to fit the base hat.

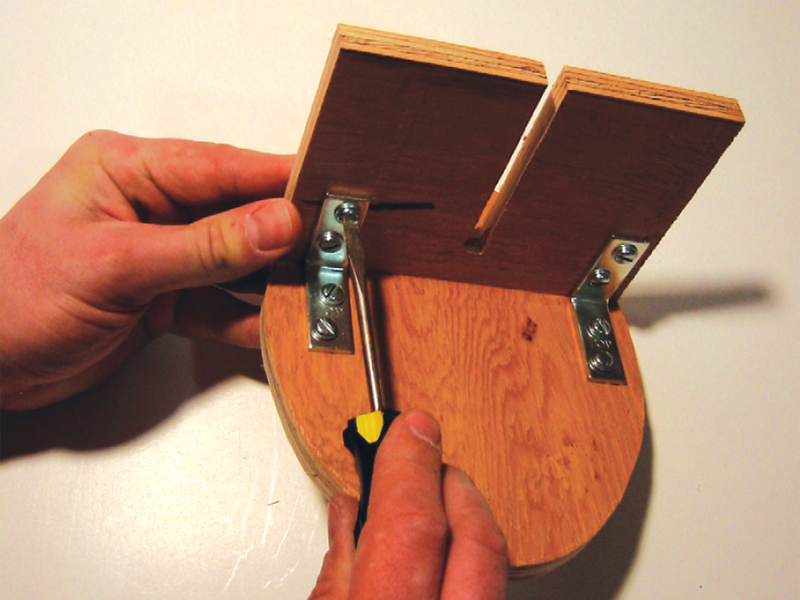
To support the pivoting parts, mount a plywood rectangle upright, perpendicular to the base, with metal L brackets.

Cut a slot most of the way down the middle of the upright support, to create clearance for the moving parts.

Screw an additional piece of wood to the back of the support — just to one side of the slot — to provide a place to screw the pivoting parts to the mechanism base.

Make the pop-up mechanism.

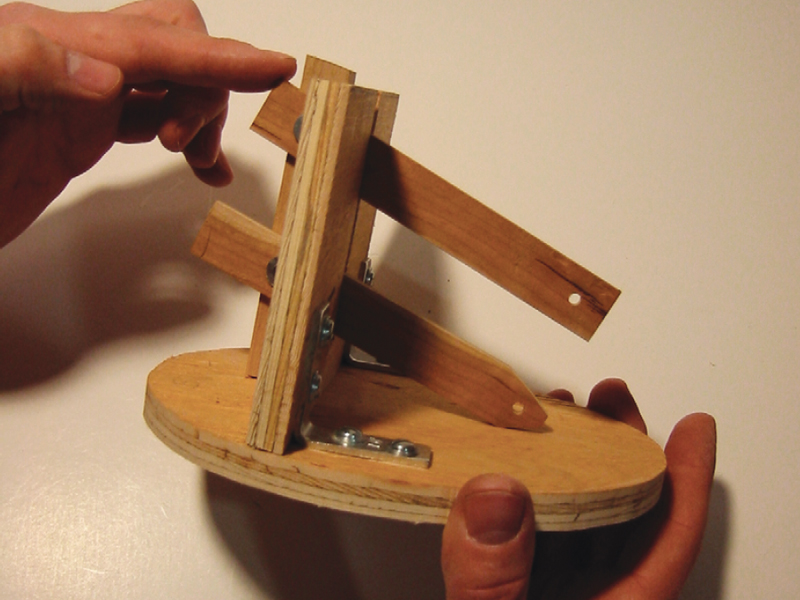
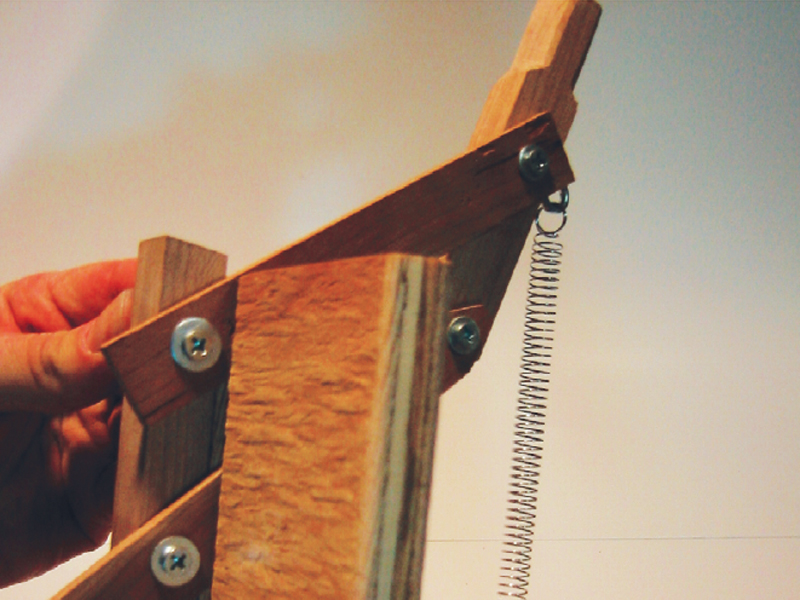
The mechanism is a 4-bar linkage-a wooden parallelogram with 2 horizontal and 2 vertical bars.

There are 2 fixed pivot points at the rear of the 4-bar linkage, and 2 swinging ones in the front. The 4-bar linkage amplifies a short pull from the cable into a larger upward motion of the front-most vertical bar.

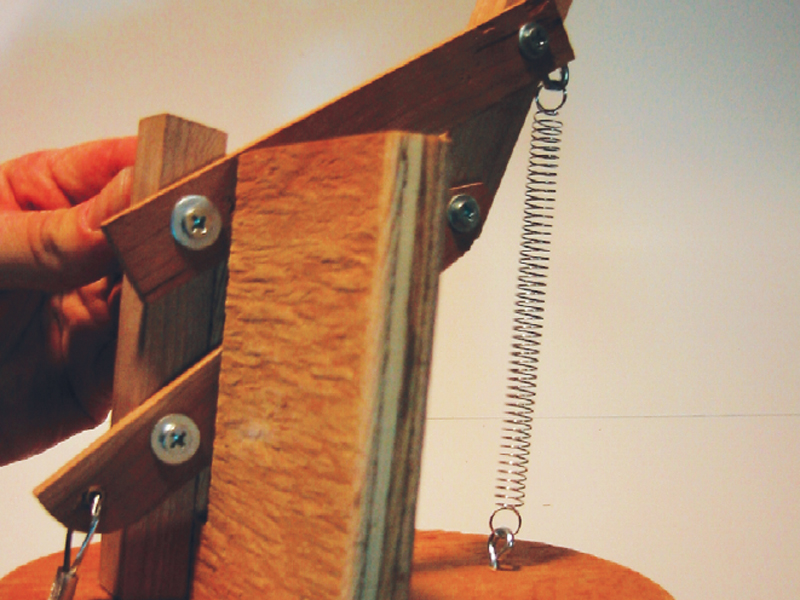
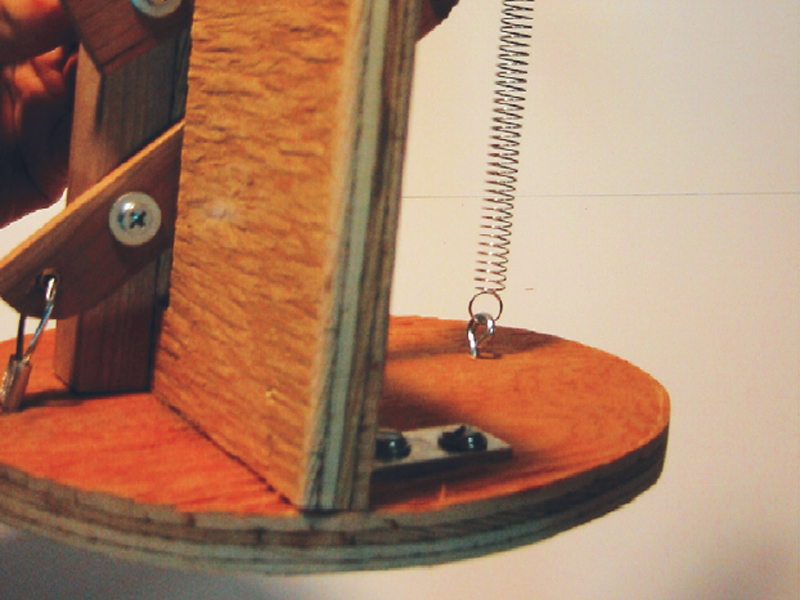
Fit the rubber finger puppet over the top of the front-most bar of the linkage. Attach a spring to the base and the front bar, to pull the monster back into the hat when the hand lever is released.

Wire it up.

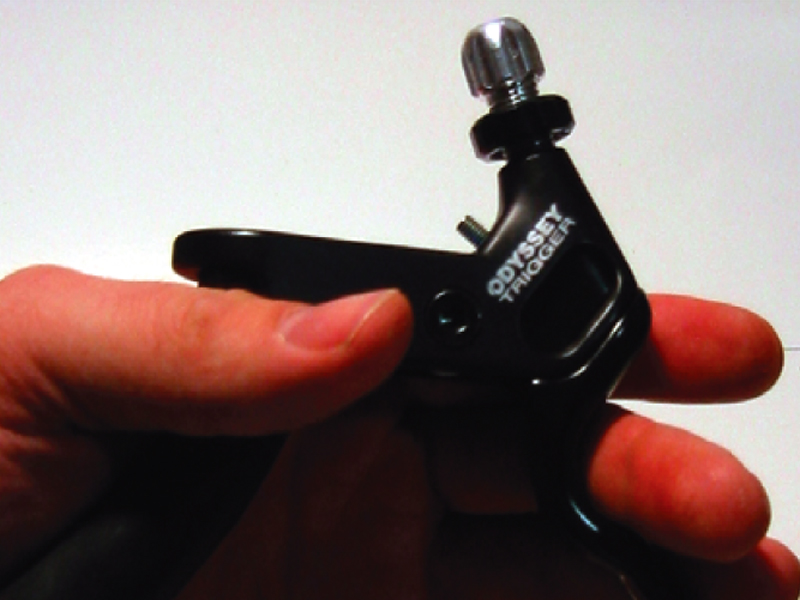
Mount the brake lever to your 5″ PVC handle, then attach the appropriate end of a universal brake cable to the brake lever.

Cut the opposite end of the cable off, leaving the cable housing and metal ferrule intact.

Countersink a hole halfway through the underside of the oval plywood base, directly below the end of the linkage bar that the cable will pull; this pocket hole will accept the cable ferrule.

Drill a smaller hole completely through the center of the first hole, to allow the cable itself to pass through the base.

Epoxy the metal ferrule to the base, and thread the cable through the smaller hole.

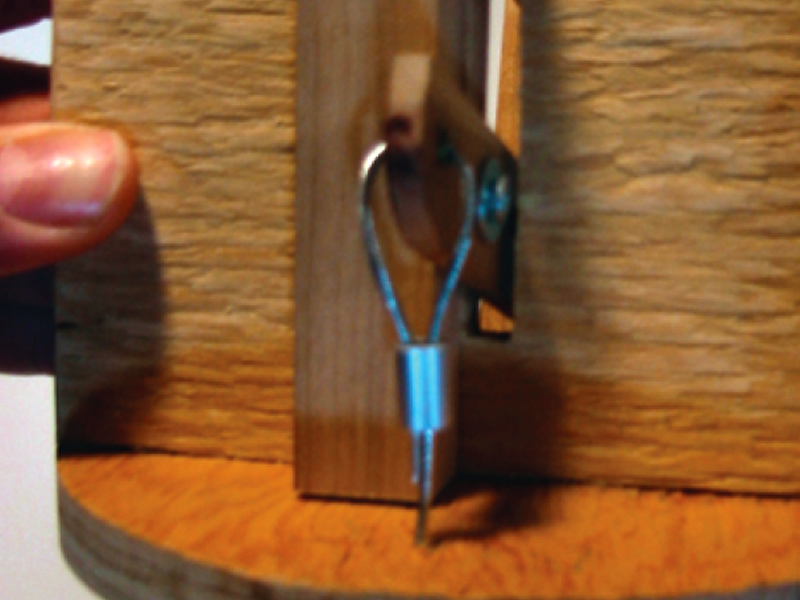
Pass the cable through a hole drilled in the end of the lowest linkage bar.

Secure the loop formed by the doubled-over cable with an aluminum cable sleeve.

Finish the hat.

Attach the mechanism base to the base hat with small screws.

To hide the mechanism, invert what remains of the second hat and glue it to the base hat with hot glue. Hide the seam with ribbon, applied while the hot glue is still tacky.

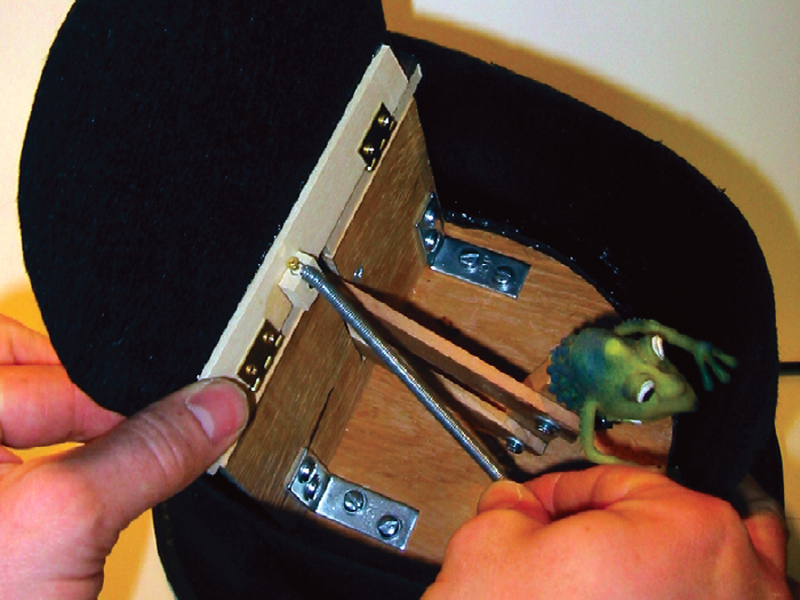
Use the extra hat pieces to create a hinged lid. The hinges are mounted to the top of the upright support.

When the hand level is actuated, the upper horizontal bar of the 4-bar linkage lifts the hinged lid out of the way of the ascending monster.

Another spring between the base and the lid ensures that it closes after the monster descends.

To operate, wear the hat and run the cable down the sleeve of a coat.

Squeeze the brake lever and … surprise!

Conclusion

This project first appeared in Make: Halloween Special Edition, page 54.