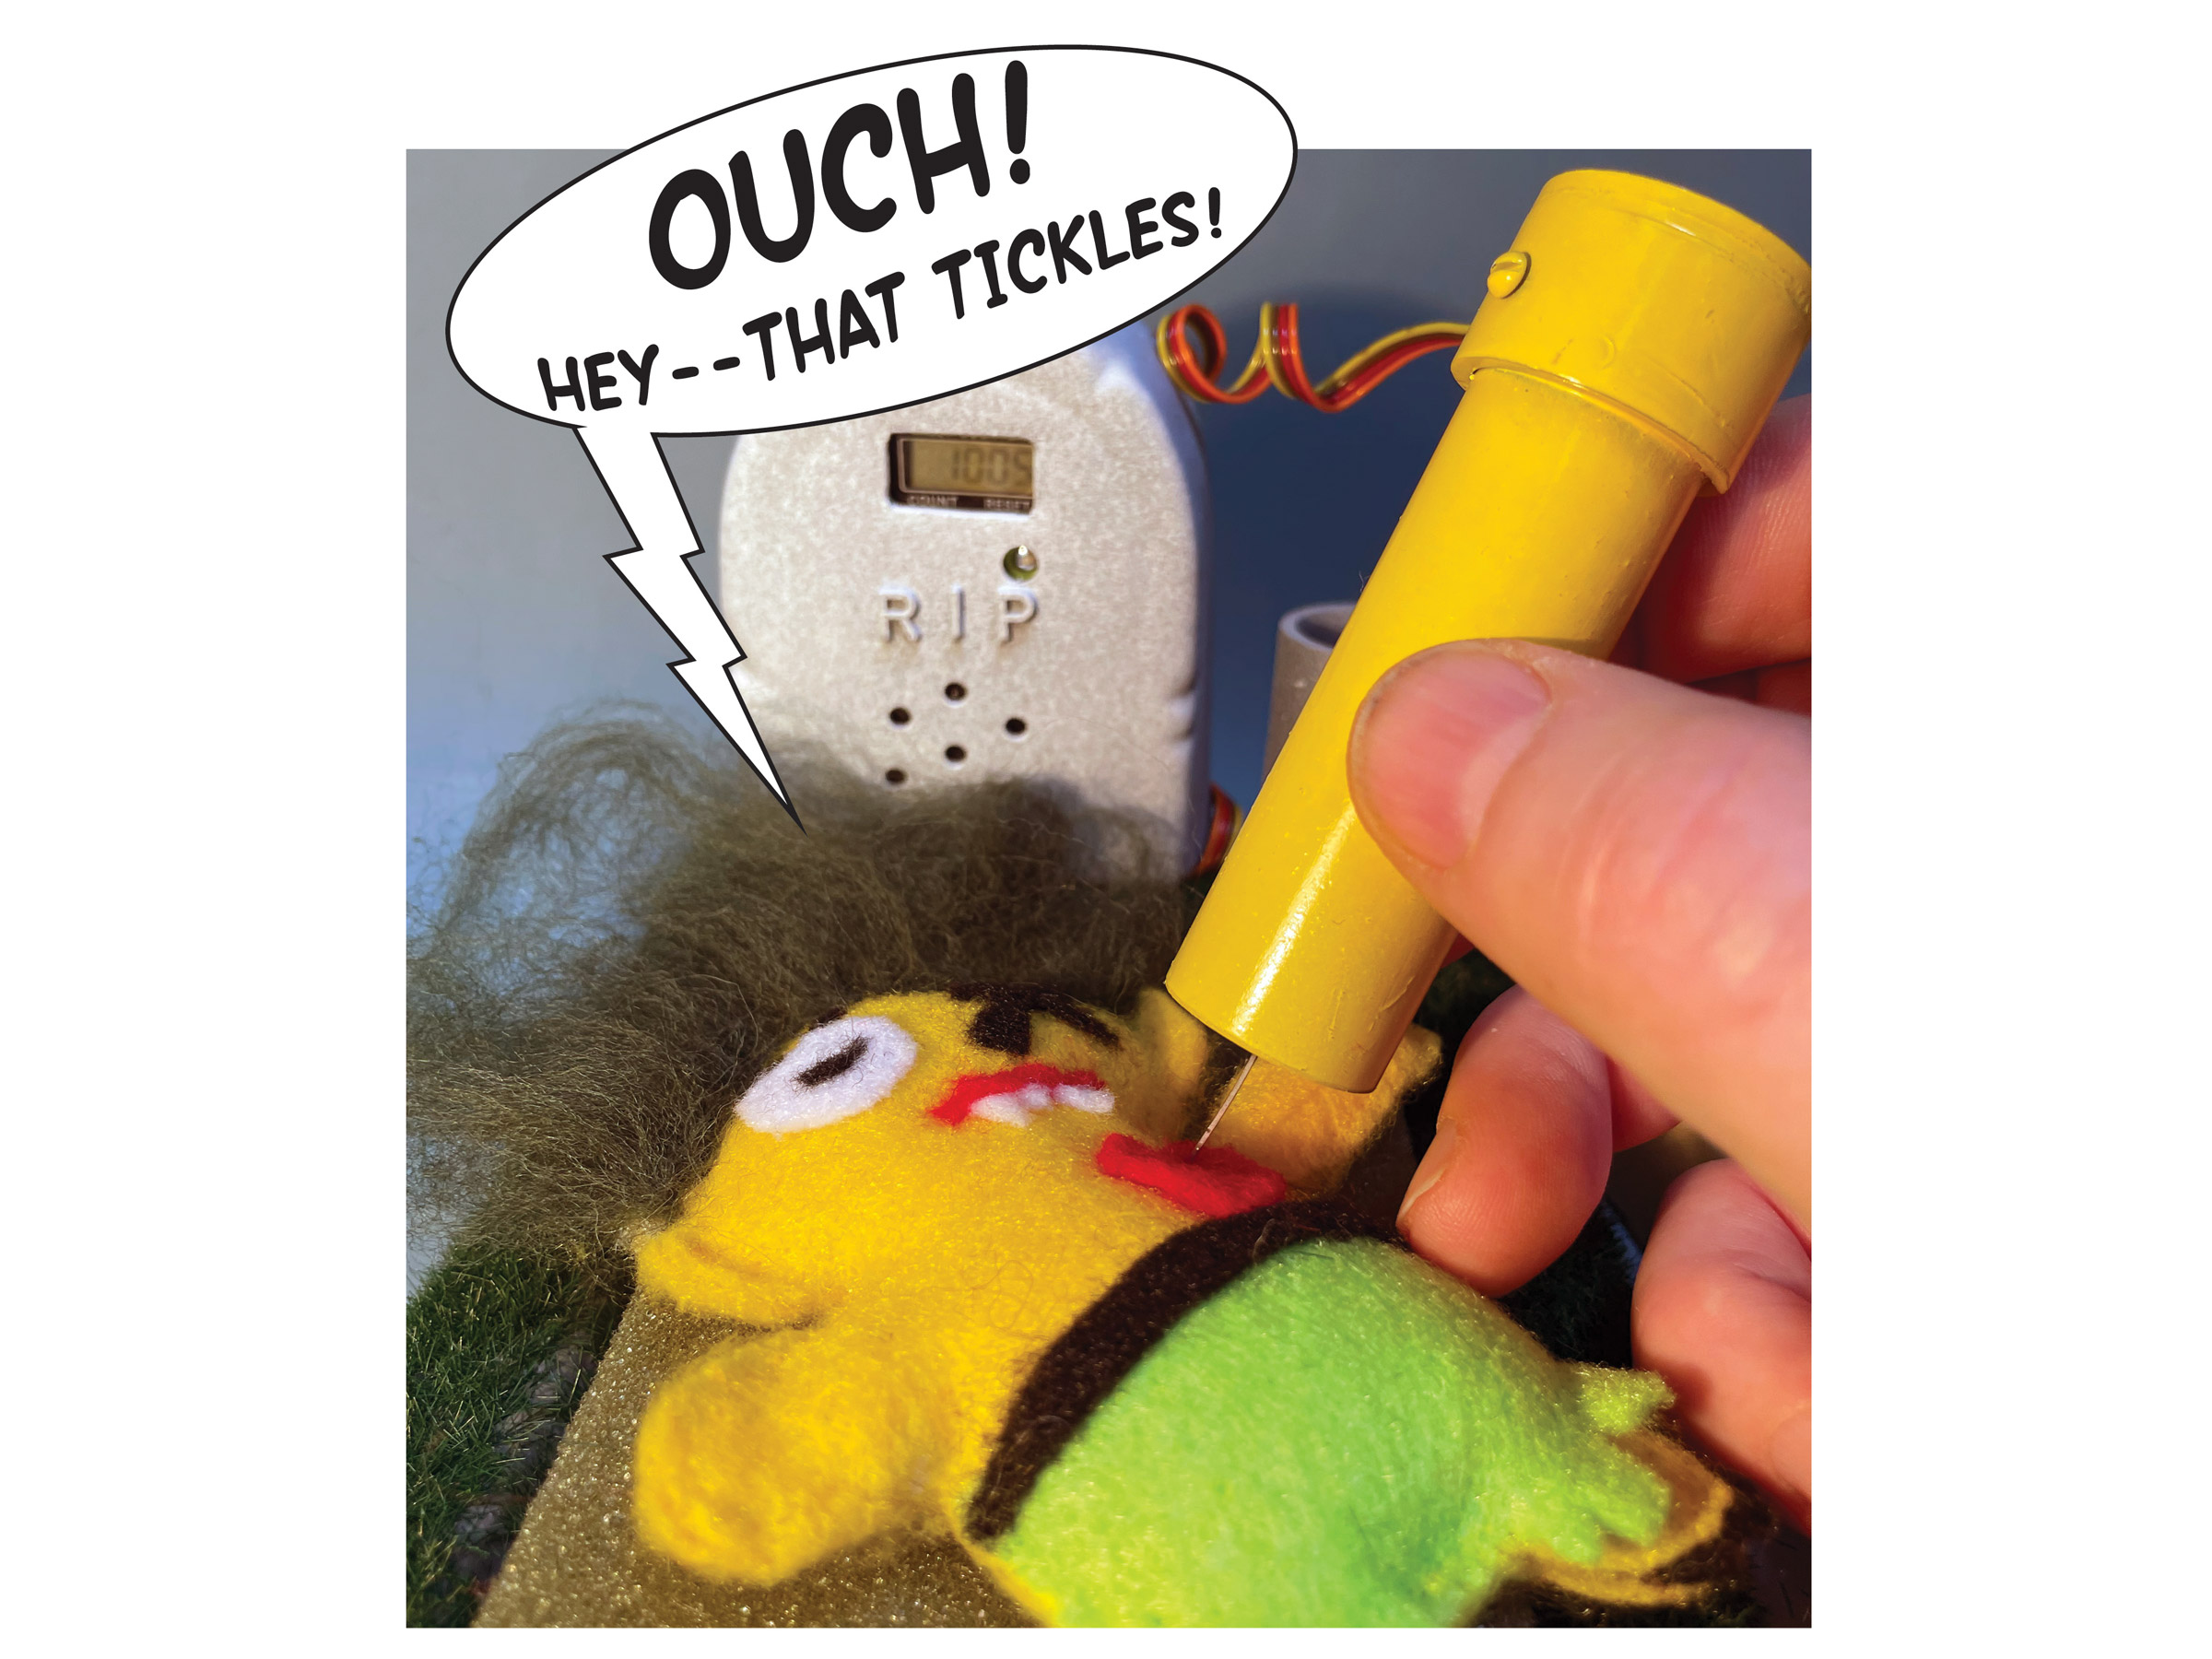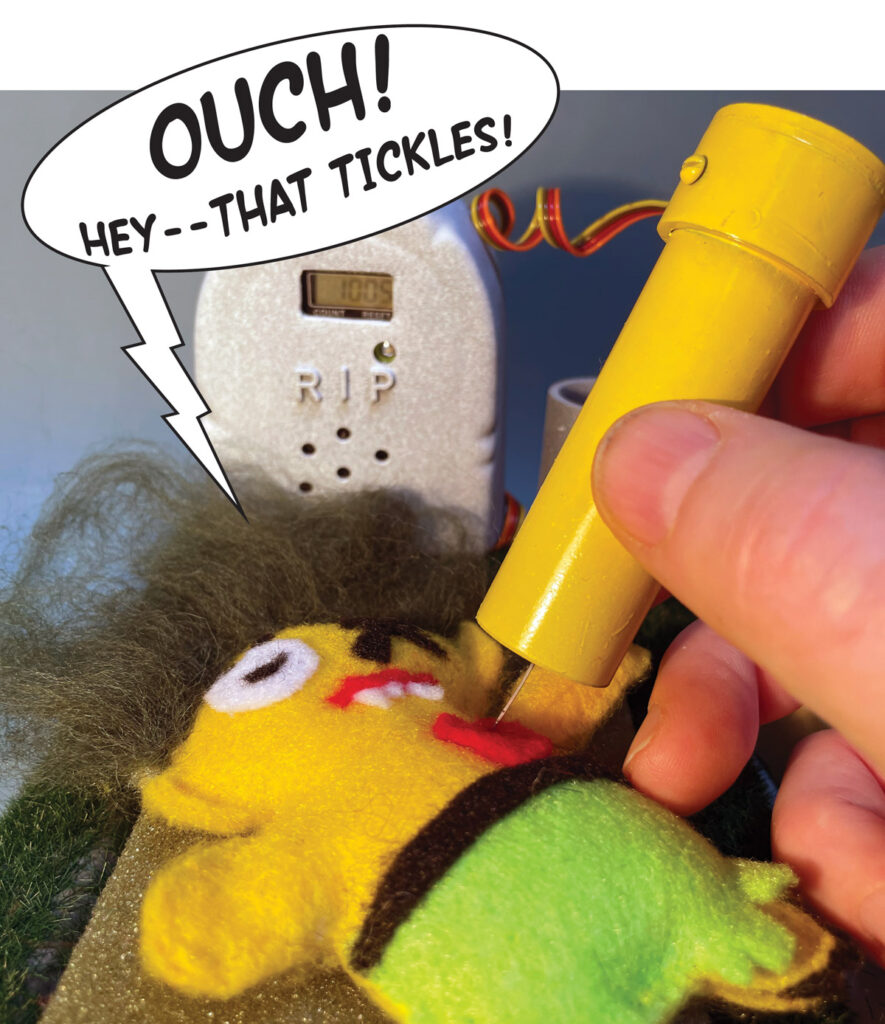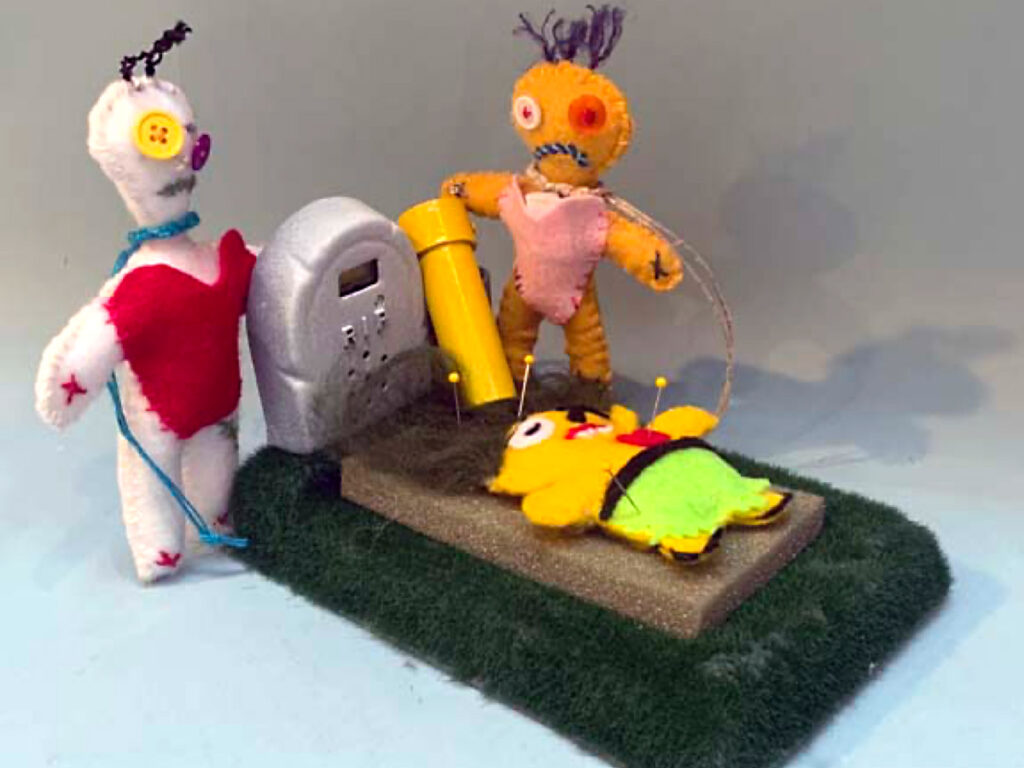
Take your needle felting to a new level this Halloween with this Talking Zombie Doll Maker. Every time you poke the felting needle, the cute mini-zombie doll responds with a funny “Ouch!” and spooky sound effects. The tombstone counter keeps track of the total number of needle strokes as you go. How many pokes to make a monster? Now you’ll know!
This graveyard-themed needle felting station has a toyetic look, echoing the classic 1960s movie monster models. Make the entire project, hack the electronic parts, or skip all that and just craft some needle-felted mini zombie dolls — it’s up to you!

Project Steps
1. Build the housing
I vacuum-formed the parts but you could design your own version using 3D-printed or laser-cut parts, or just fabricate an enclosure from scratch. I chose vacuum forming because it’s quick and easy, and the resultant parts are hollow — perfect for housing components. (If you’re new to vacuum forming, try my “Kitchen Floor Vacuum Former” project from Make: Volume 11.)
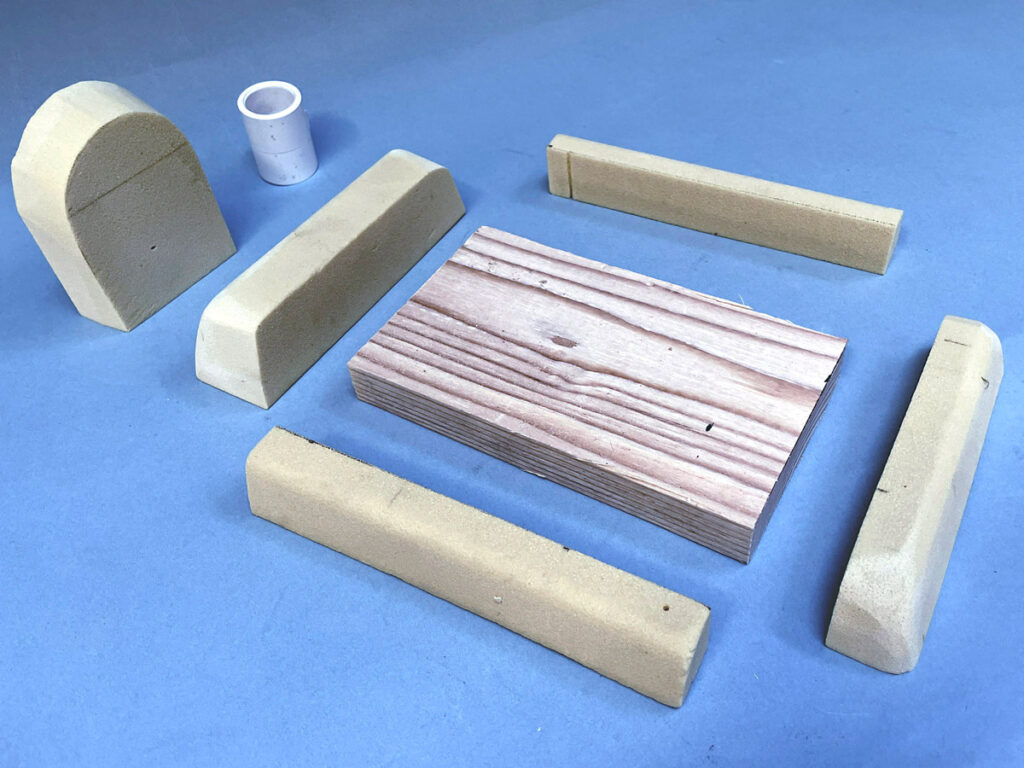
The base and tombstone forms are made from plywood and rigid urethane foam, which is super-easy to cut and shape with hand tools and sandpaper (Figure A). Glue the parts together with PVA glue.
Tip: Remember to make generous draft angles on all the sides of your forms: that keeps your forms from becoming trapped inside the formed plastic and makes for easy unmolding.
Vacuum-form the parts from styrene sheet (Figures B and C), then trim them and drill two small holes for mounting the tombstone to the base with tiny nuts and bolts (Figure D). I added some small “RIP” plastic letters, cut out the opening for the counter’s LCD and reset button, and drilled some speaker grill holes. Use a rotary tool to carve a slot in the back for the wiring (Figure E).
2. Hack the electronics
I found a very versatile sound-playing module online, Amazon B09838SQ7X. It instantly replays a recorded sound from each quick needle poke. If you don’t poke again, the sound track continues to play with extended creepy graveyard monster sounds and music.
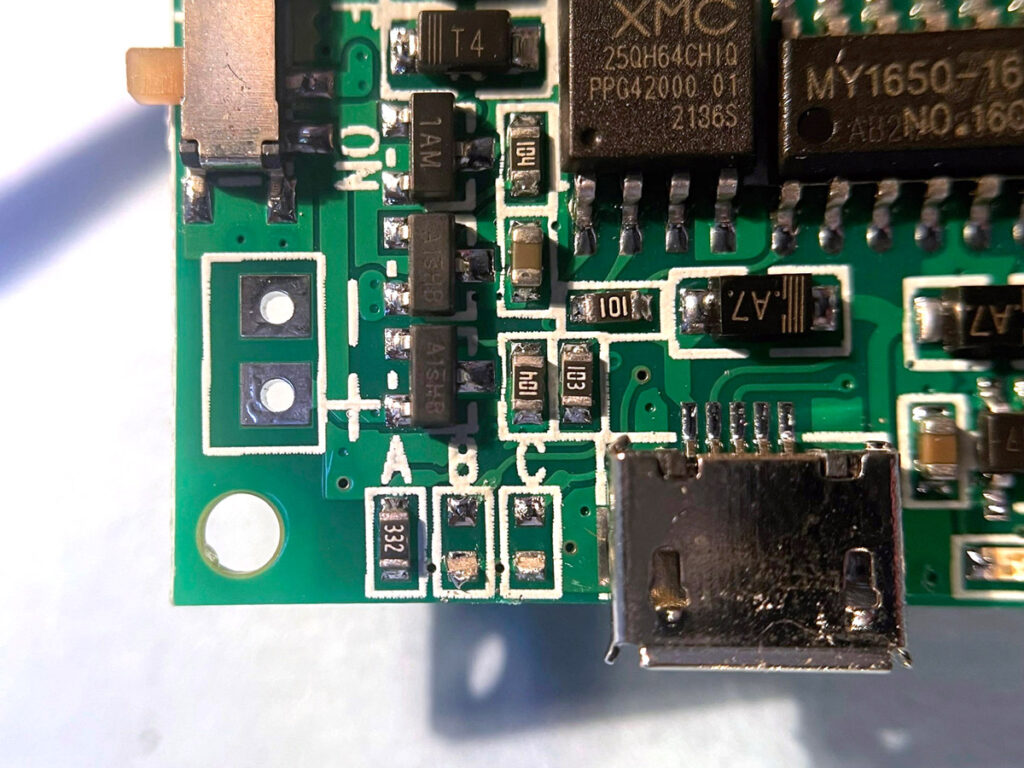
This particular module has user-selectable play modes: leave or remove three surface-mounted resistors (A, B, and C) to configure for one of seven different sound playback modes. For this project I removed resistors B and C, leaving resistor A intact (Figure F). I wired a small SPST switch on the 4-conductor wire to trigger the sound.
Tip: With its long sound-playing time and seven different playback modes, this versatile circuit would be great in lots of other projects!
Download the talking zombie sound effect MP3 file. Follow the included instructions to load your MP3 onto the sound module. It has a couple steps that may vary if you get a slightly different model .
For the counter, I hacked an existing finger tally counter, Amazon B0CJBXRJ3M. It has an LCD display and count / reset buttons. It comes already assembled with a battery — far cheaper than you could ever build from parts!
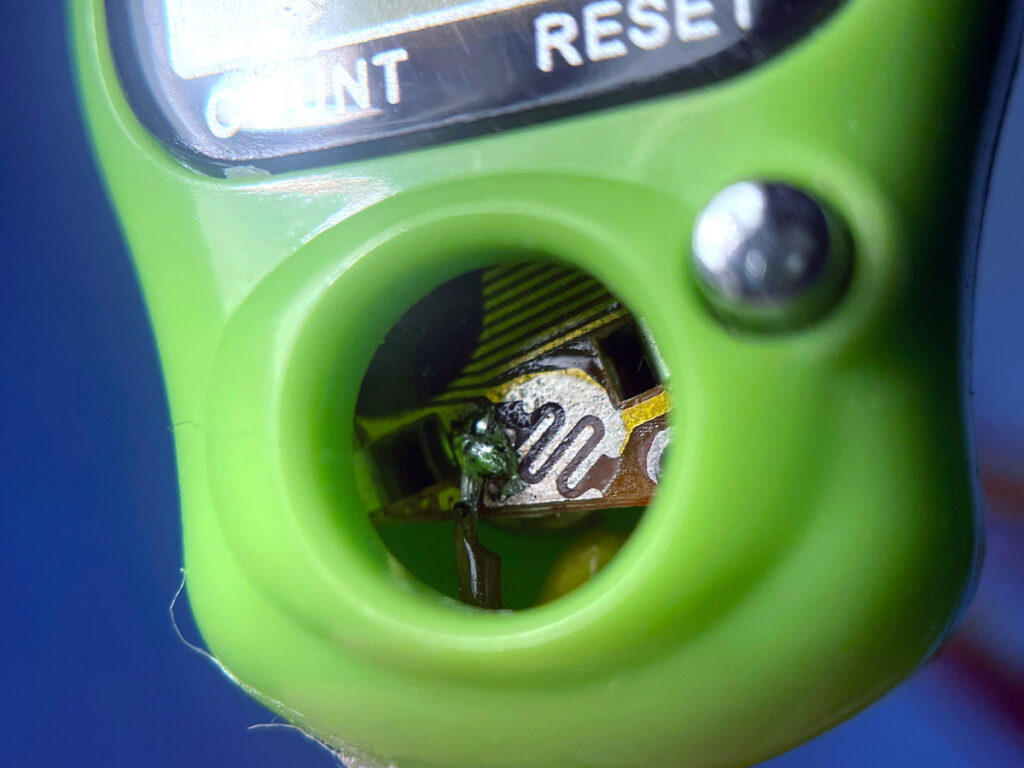
Using the remaining two conductors on the wire, I simply piggy-backed the other small SPST switch to the counter button traces on the circuit board. Remove the big button (Figure G) and carefully reassemble the counter, making sure to position the zebra strip connector for the LCD. Now every time you press the remote wired switch, the LCD counter increments.

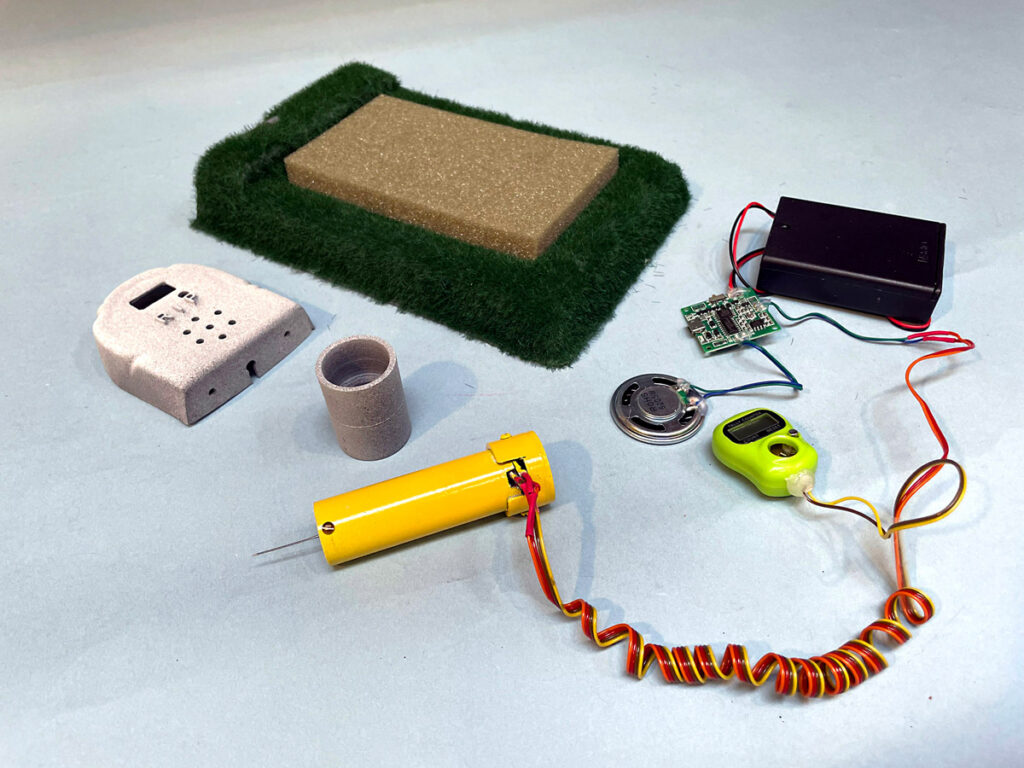
Figure H shows the completed electronics with battery pack, speaker, sound board, counter module, and wired switches.
3. Fabricate the needle handle / switch
For the needle handle, I turned a cylinder out of Delrin plastic to slide smoothly inside a piece of PVC pipe. I drilled a through-hole in the center to accept the felting needle, then I cut a clearance slot in the end to hold the needle’s bent end (Figure I).
The mini pushbutton switches are foam-taped together back to back (Figure J) and positioned inside the pipe, between the end cap and the needle cylinder. Now when the needle is pressed down it slides inside and presses both switches, playing the sound and incrementing the counter.
Note: Cut out openings for the wires and add a small screw on the open end of the pipe to prevent the needle from sliding out (Figures K and L).
Now test the handle: Push down the felting needle to trigger both the sound player and counter (Figure M).
4. Paint and finish
Prime and paint the plastic parts, being sure to mask off the insides of the needle handle.
Tip: As on any prototype, avoid painting any sliding or bearing surfaces. You’ll want smooth action without any sticky paint on them.
For a special “grass” look on the base I added flocking. This is commonly used on train layouts and model dioramas. A special tool creates an electrostatic charge that makes the fibers stand up on end.
First, paint the part with water-based white glue or PVA. Then fill the tool’s reservoir cup with flocking fibers. Screw on the screened cap, making sure the inside wire contacts the screen. Connect the grounding alligator clip to the glued part.
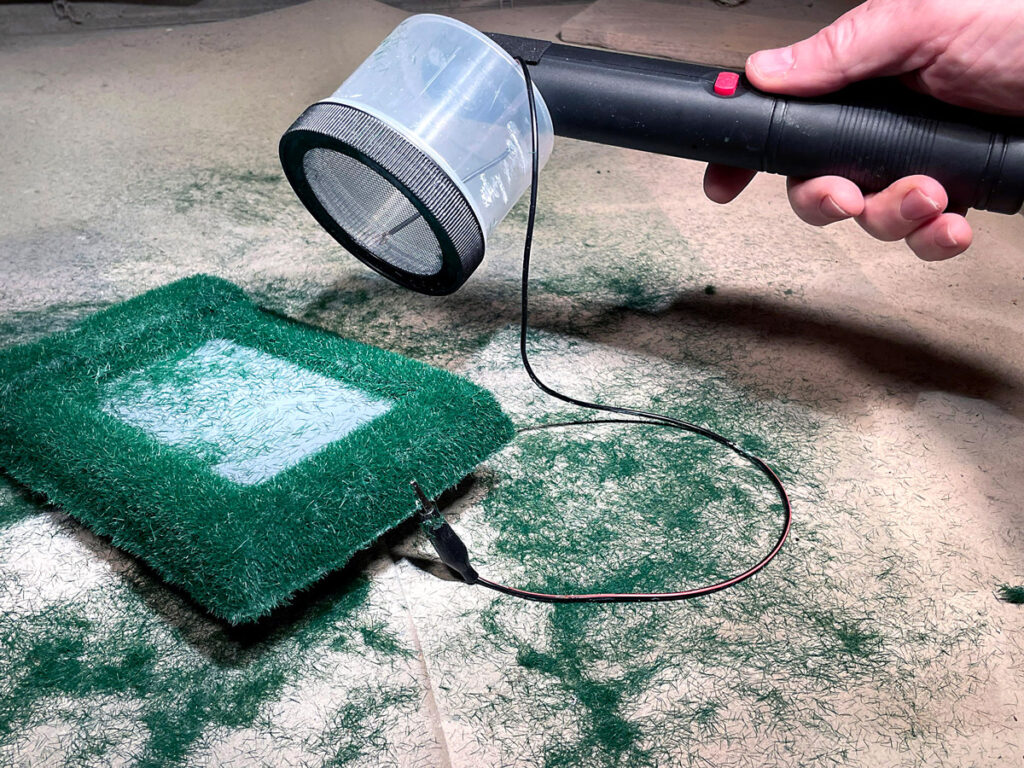
Press the button to energize the screen and gently shake out the fibers. 3,000 volts of static electricity force the fibers to repel each other —just like static electricity makes your hair stand up! This creates a cool-looking “grass” effect (Figure N).
When you’re done, don’t forget to carefully touch the alligator clip to the screen to completely discharge the remaining voltage — ZZZZAP!!
Let the glue dry completely, then shake off the excess grass.
Caution: Be extra careful when using the static gun. Even though the amperage is tiny, the high voltage can give you a BIG shock! Whenever working around high voltages keep one hand in your pocket so that you don’t ever create a hand-to-hand path across your heart!
5. Final assembly
Cut the soft foam to size for your needle-felting pad and glue it into the base (Figure O). I also added a PVC coupler fitting to the base to hold the needle tool.
Mount the battery pack and sound board in the base with double-back foam tape, and hot-glue the counter inside the tombstone so you can see the LCD and work the reset button (Figures P and Q).
Your zombie needle felting station is complete (Figure R).
Use it!
Have fun making lots of needle-felted crafts with your Talking Zombie Doll Maker, for Halloween or any time.
Make a Zombie Mini Doll
Download the doll pattern and print it out. Pin it to two stacked pieces of felt. Use scissors to cut out the identical top and bottom doll body parts at the same time (Figures S and T). Also cut out parts for felt eyes, pants, belt, eyebrows, mouth, etc. with different colors of felt.
You can join wool felt parts together without sewing or thread. Just overlap the parts and start poking them with the needle. The barbs on the side of the felting needle pull the fibers to “felt” them together instead of stitching. Additional pokes make a stronger connection. Only wool yarn and felt will work with felting needles. Smooth acrylic yarns and felts do not have the rough scales like on natural fibers that tangle and mat together.
Tip: Use straight pins to hold the felt parts together on the foam temporarily as you poke. Keep your other fingers safely away!
First add the pants, eyes, and other parts to the top doll body (Figures U and V). You can add other touches: needle-felt on pieces of wool yarn to make scars, stitches, monograms, or other fine details. Your zombie will talk as the poke counter tally counts your strokes.
Then place the doll bottom underneath and poke all around the edge of the body. Leave the top of the head open for now.
Carefully stuff the body with batting or wool roving. Gently poke the stuffing into the arms and legs using a toothpick or chopstick. If a seam opens up, just go back and poke it again to felt it back together.
Add loose wool roving to make wispy zombie hair (Figure W). Fold the long loose fibers in half and stitch the folded fibers between the top and bottom of the head as you stitch it together. You can poke the loose fibers together to make flat felted patches, blended colors, dreadlocks, etc.
Have a mini zombie doll Halloween party — it’s a graveyard smash! R.I.P. — “Rest In Peace?” More like “Repeated Interlocking Pokes!” The tombstone counter shows the total number of pokes you used to make your creation!
Conclusion
This article appeared in Make: Volume 90.


