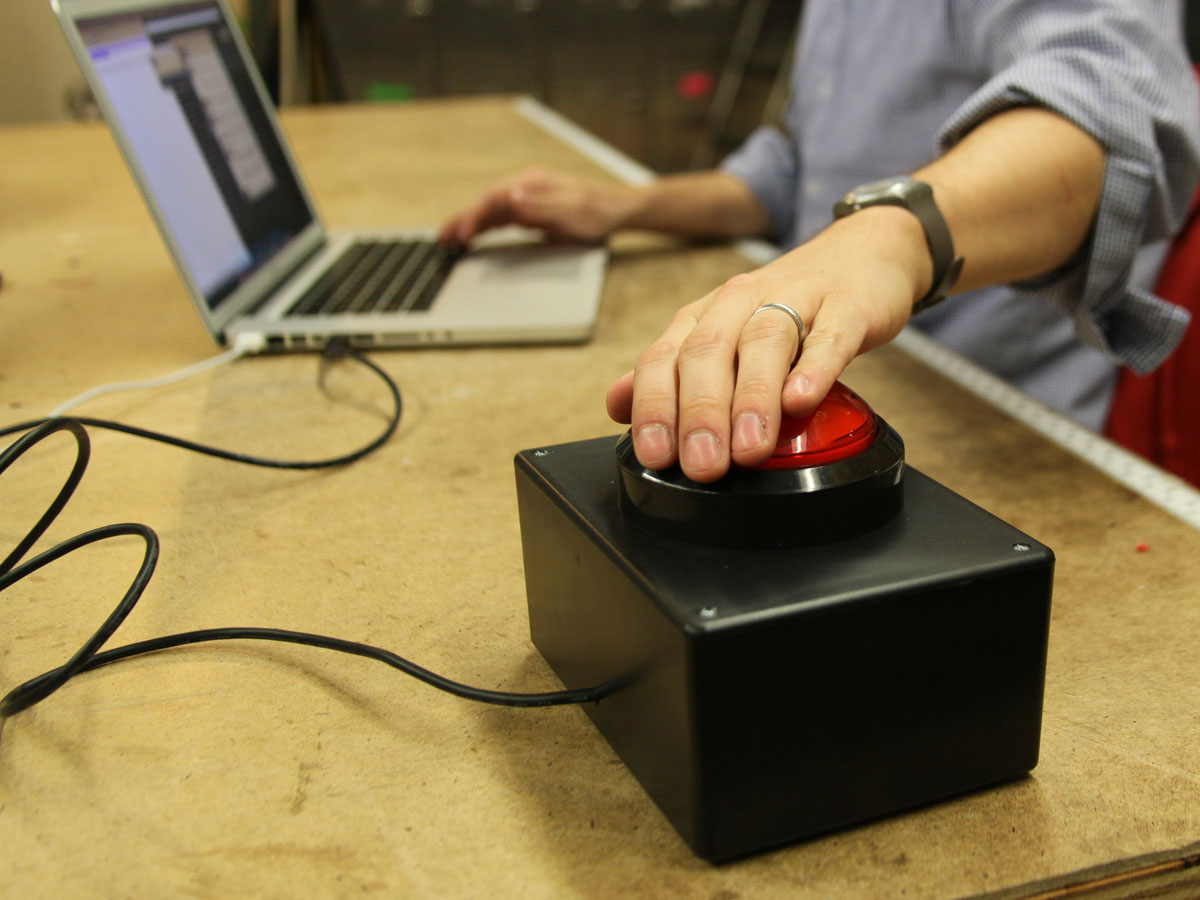
Ever since I started writing for MAKE, I’ve kept an eye on all the awesome websites out there for awesome makers and the awesome projects that are posted every day. Luckily for me, there’s no shortage of awesome work to write about. My only difficulty was I needed more words to describe how awesome this stuff is.
To fix this problem, I created the Awesome Button, my own custom USB input device that keys in a random synonym for awesome, on demand. With the Awesome Button, when I’m writing about a project that I like a lot and I get stuck on how to describe it, I hit the big red button on my desk and it takes care of the adjective. Now instead of awesome this and awesome that, I’m writing about incredible robots, fantastic camera hacks, and cool electronics projects.
Materials
Teensy USB Development Board, Version 2.0 $16 — from PJRC (pjrc.com)
Switch, momentary — any style you like. I used a big red one, item #9181 from SparkFun (sparkfun.com).
Enclosure appropriately sized for your button. I used item #270-1807 from RadioShack (radioshack.com). You could also use a spare cardboard box, or laser-cut a custom enclosure
Rubber feet — to mount on bottom of enclosure
Wire, insulated, 22 gauge
USB cable, Standard-A to Mini-B — You probably have a few spares lying around.
Mounting tape, double-sided
Heat-shrink tubing in various sizes. You could use electrical tape instead.
Tools
Computer with USB port
Drill and drill bits — The SparkFun button needs a 1″ hole saw; your button may vary.
Screwdriver
Wire cutters/strippers
Soldering iron and solder
Multimeter (optional) — for troubleshooting
Code
Download and install the Arduino integrated development environment (IDE) from arduino.cc/en/Main/Software.
Install Teensy Loader from pjrc.com/teensy/loader.html.
Install Teensyduino from pjrc.com/teensy/teensyduino.html.
Download the Awesome Button code from github.com/mrichardson23/Awesome-Button.


