simon says game

Electronics memory games like Simon can be a lot of fun — but they’re even more fun if you add a second player and make it a competition. So I designed a two player version of the game that runs on Arduino, letting you play head to head.

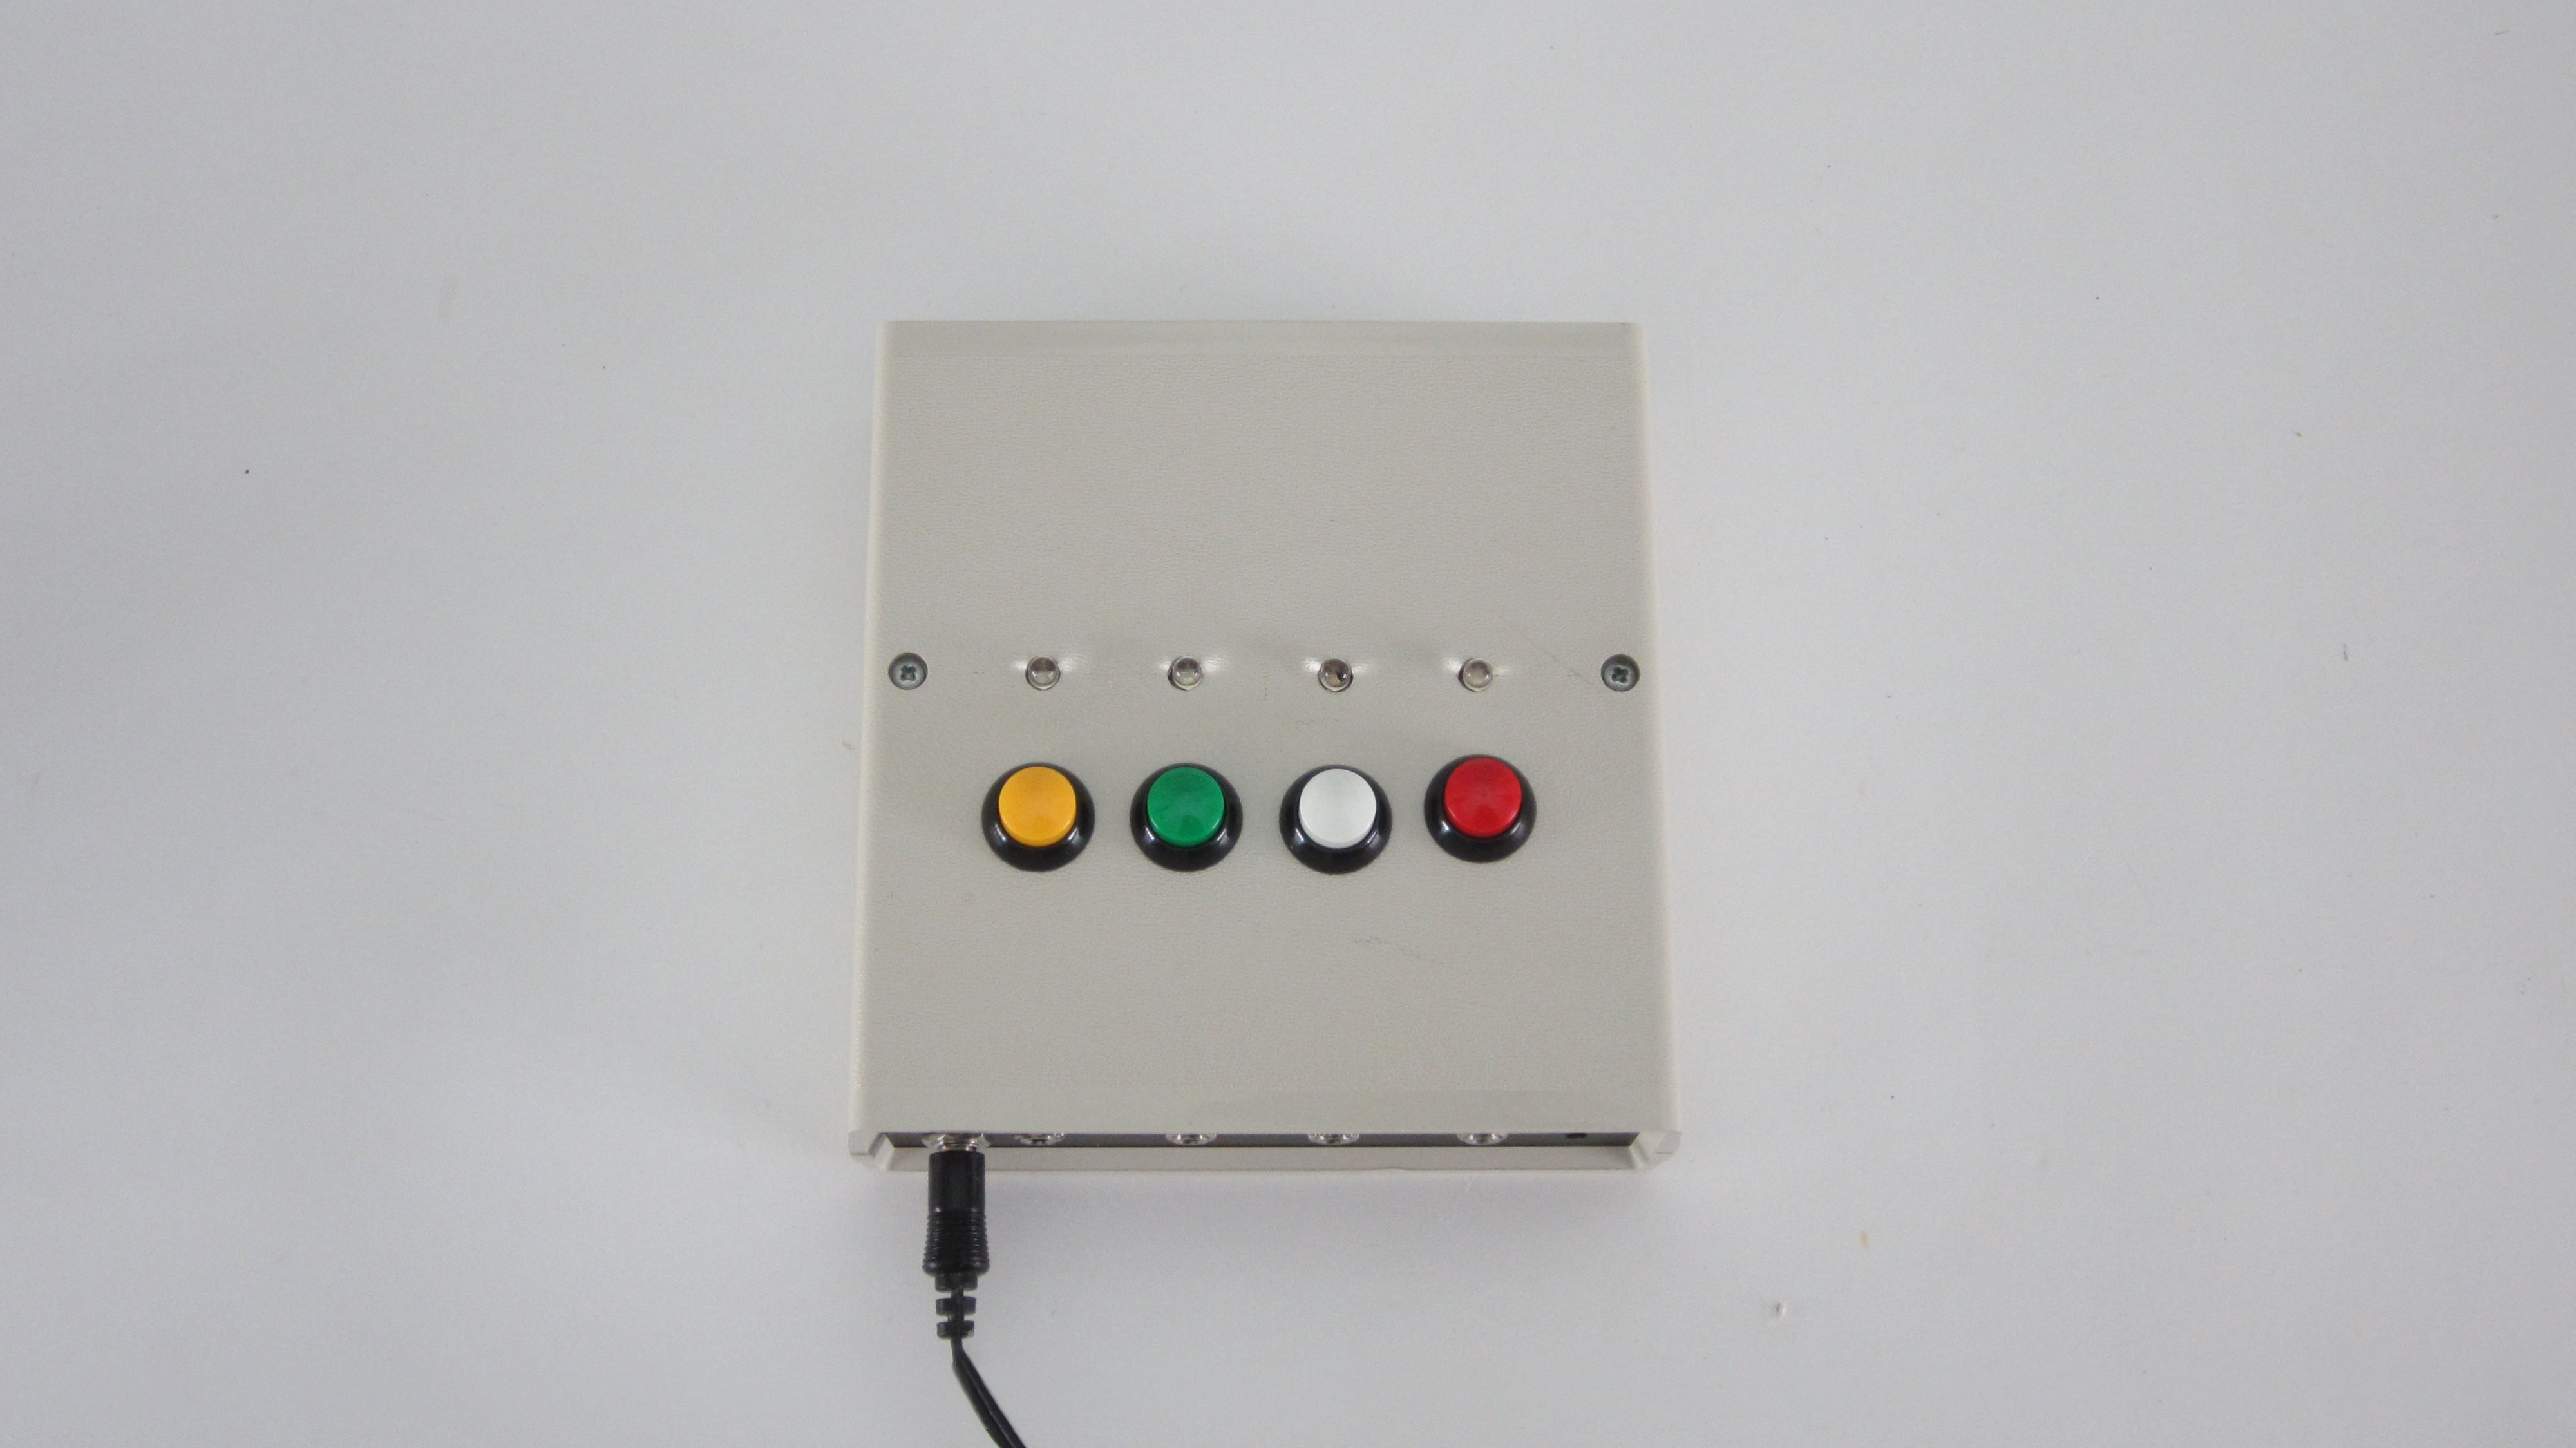
To make it even more interesting, I added jacks that allow you to use external switches. This means you can use almost anything as a switch to play the sequence; all it has to do is connect the signal wire to ground. You can use large push button switches. You can hook up piezo vibration sensors to a drum set and play Simon with a drum set. You could even wire it up to the switches on a “Guitar Hero” style guitar. The choice is up to you.

[youtube:http://youtu.be/Bfj2PDhaFAk]

Project Steps

The Arduino Code

Here is the code you will need for this project. The code includes serial output data so that you can monitor how the system is working on your computer.

In this program, I opted to leave out the audio tones for the buttons, but you can add this in using the Tone function.

This code is up to date as of 11/17/2014 with version 1.5.8 of the Arduino software.

Prototype the System With a Solderless Breadboard

It is always a good idea to prototype a circuit on a breadboard before soldering it together. The momentary switches are connected to digital pins 2 through 5 and GND. The LEDs and resistors are connected to digital pins 8 through 11 and GND. The mode switch is a connection from digital pin 6 to GND.

Solder the LEDs and Resistors to a Circuit Board

Solder the four LEDs to the circuit board. Then solder the resistors to the board in series with the LEDs. Lastly, solder jumper wires to the board for each of the LEDs and a common ground. After soldering on the parts, I trimmed the board so that I could fit it inside the housing.

Drill Holes in the Top of the Housing for the LEDs and Buttons

Next you need to make holes in the housing for the LEDs and the buttons. Hold the LED array up to the top side of the housing and mark the location of each. This is where we will make the holes for the LEDs. Then make a second set of marks about one inch below the first set. This is where we will make the holes for the buttons.

Now drill holes in each of the marked locations that are just big enough for the LEDs and the switches respectively.

Mount and Connect the LEDs and the Buttons

Insert the buttons into their mounting holes and secure them in place with their fastening nuts. Then solder wires onto each terminal. Because the switches share a common ground, you can connect all the ground terminals together in a chain. I added heat shrink tubing to insulate the connections.

To mount the LEDs I applied hot glue to the top of the circuit board. Then I lined up the LEDs with the holes and pressed the board in place. If you are concerned that the circuit board might come in contact with another metal part, you can apply a piece of tape to the top side to insulate it.

The momentary switches are connected to digital pins 2 through 5 and GND on the Arduino. The LED assembly is connected to digital pins 8 through 11 and GND on the Arudino.

Cut Holes in the Front Panel for the Remaining Connectors

The remaining connectors and switch will be mounted to the front panel of the enclosure. This includes a power connector that lets me power the Arduino with a AC power adapter, connectors that allow me to hook up external switches, and a switch that selects the player mode.

First, I drilled holes for the switch connectors. To make sure that I got the spacing right, I temporarily mounted the switch connectors in place. Next I used a knife to cut a slot for the mode switch. Then I drilled another hole for the power connector.

Mount and Connect the Parts to the Front Panel

​The switch connectors and the power connector were inserted into their holes and held in place with their mounting screws. The mode switch was held in place with super glue.

The switch connectors are wires in parallel with the buttons. Like with the buttons, the ground wires can be strung together as a common ground.

The mode switch is connected to the GND pin and to digital pin 6. The power connector can either be wired directly to the Vin pin on the Arduino or it can be connected to a male DC power connector and plugged into the power jack on the Arduino.

Close Up the Housing

​Make sure that all the wires are connected to the appropriate locations. Then close up the housing. It may help to bundle some of the wires together to help keep them organized and out of the way.

Play Your DIY Simon Game!

​Now you are ready to play your own DIY Simon game. Just plug in the power adapter and the game will automatically start up.

In single player mode, the game will randomly generate patterns just like a typical Simon game. If you repeat the pattern successfully, they turn on and off in a wave. If you fail, all the lights will flash on and off at the same time.

Two player mode works a little differently. Player one selects the first button. Then player two matches it. If player two is correct, the wave of lights will come on to indicate success. Then player two selects the next button in the sequence. This is followed by a brief flash of all the LEDs to indicate the end of the round. Player one then repeats the sequence and adds one more at the end. This process continues until one of the two players fails.

Use External Buttons to Control the Game

​The four switch connectors on the front panel allow you to use external buttons to play the game. To connect external switches, you just need a male connector that matches the female switch connector on the front panel. In this case, I used 1/8″ audio plugs. You can use anything as a switch that can connect the two terminals together. You can make large game show style buttons. You can hook up a piezo sensor to make to react to vibration such as in a drum kit. You could even hook up your game to the buttons on a Guitar Hero style guitar.