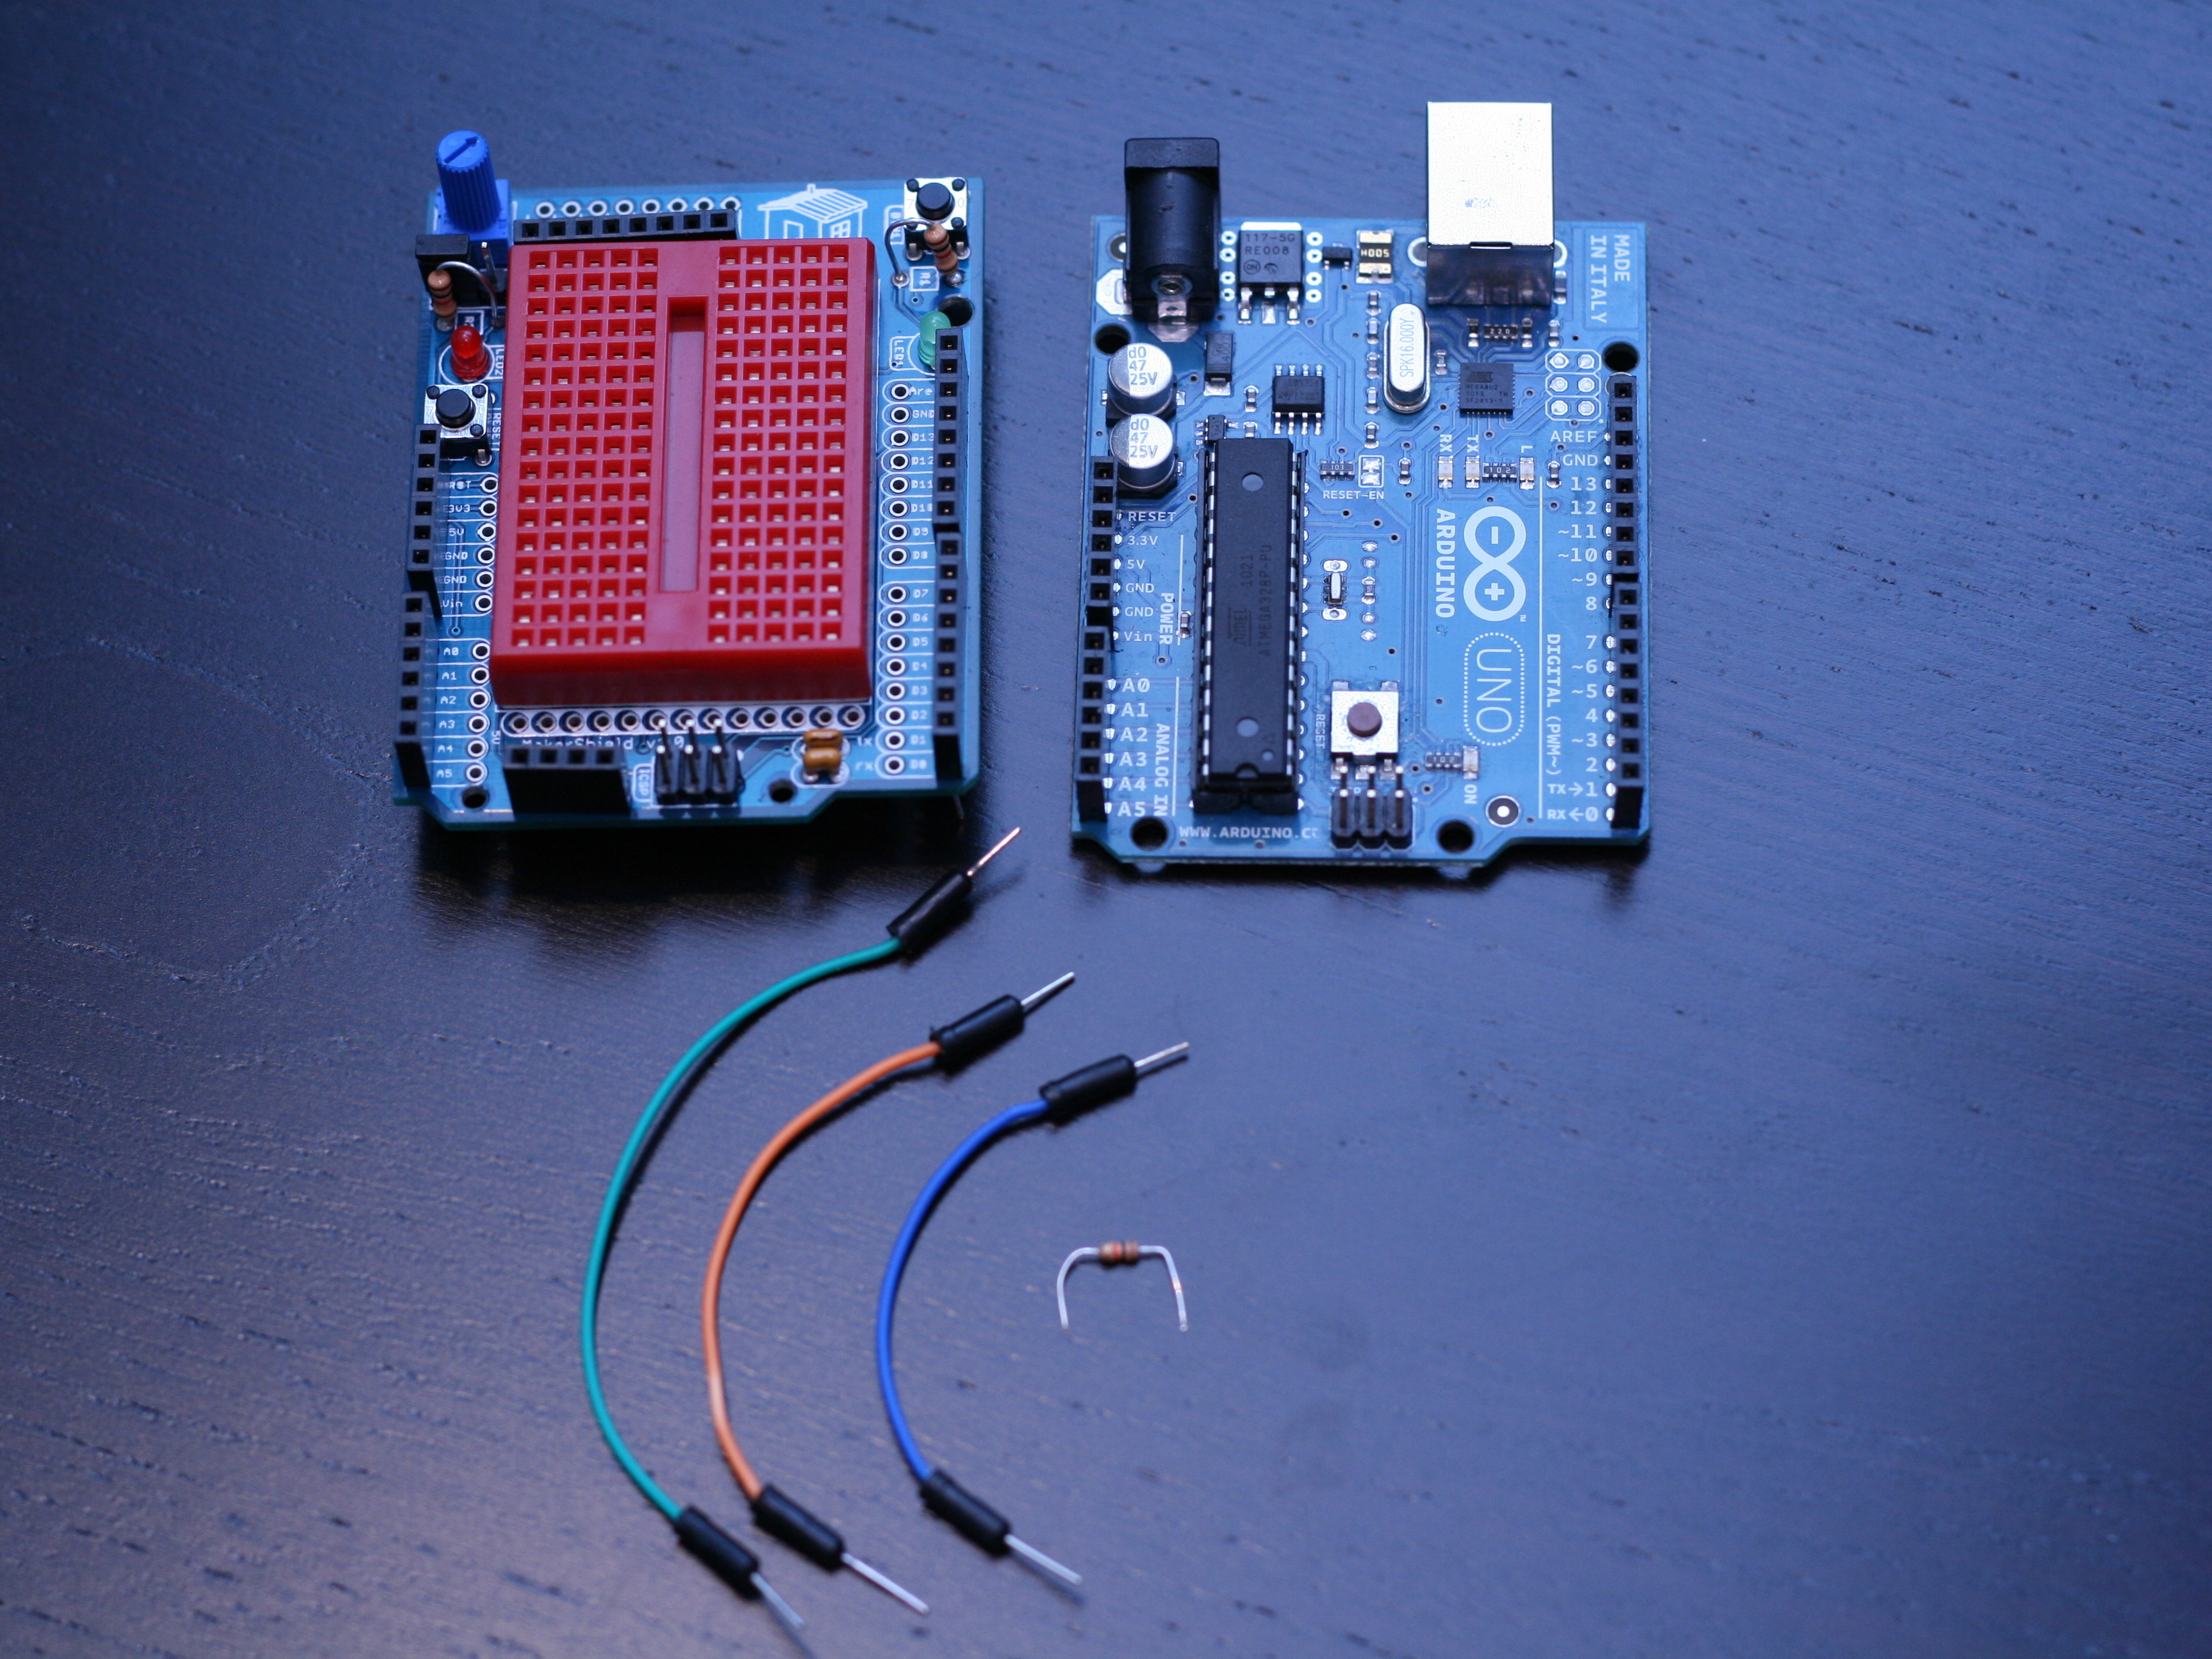
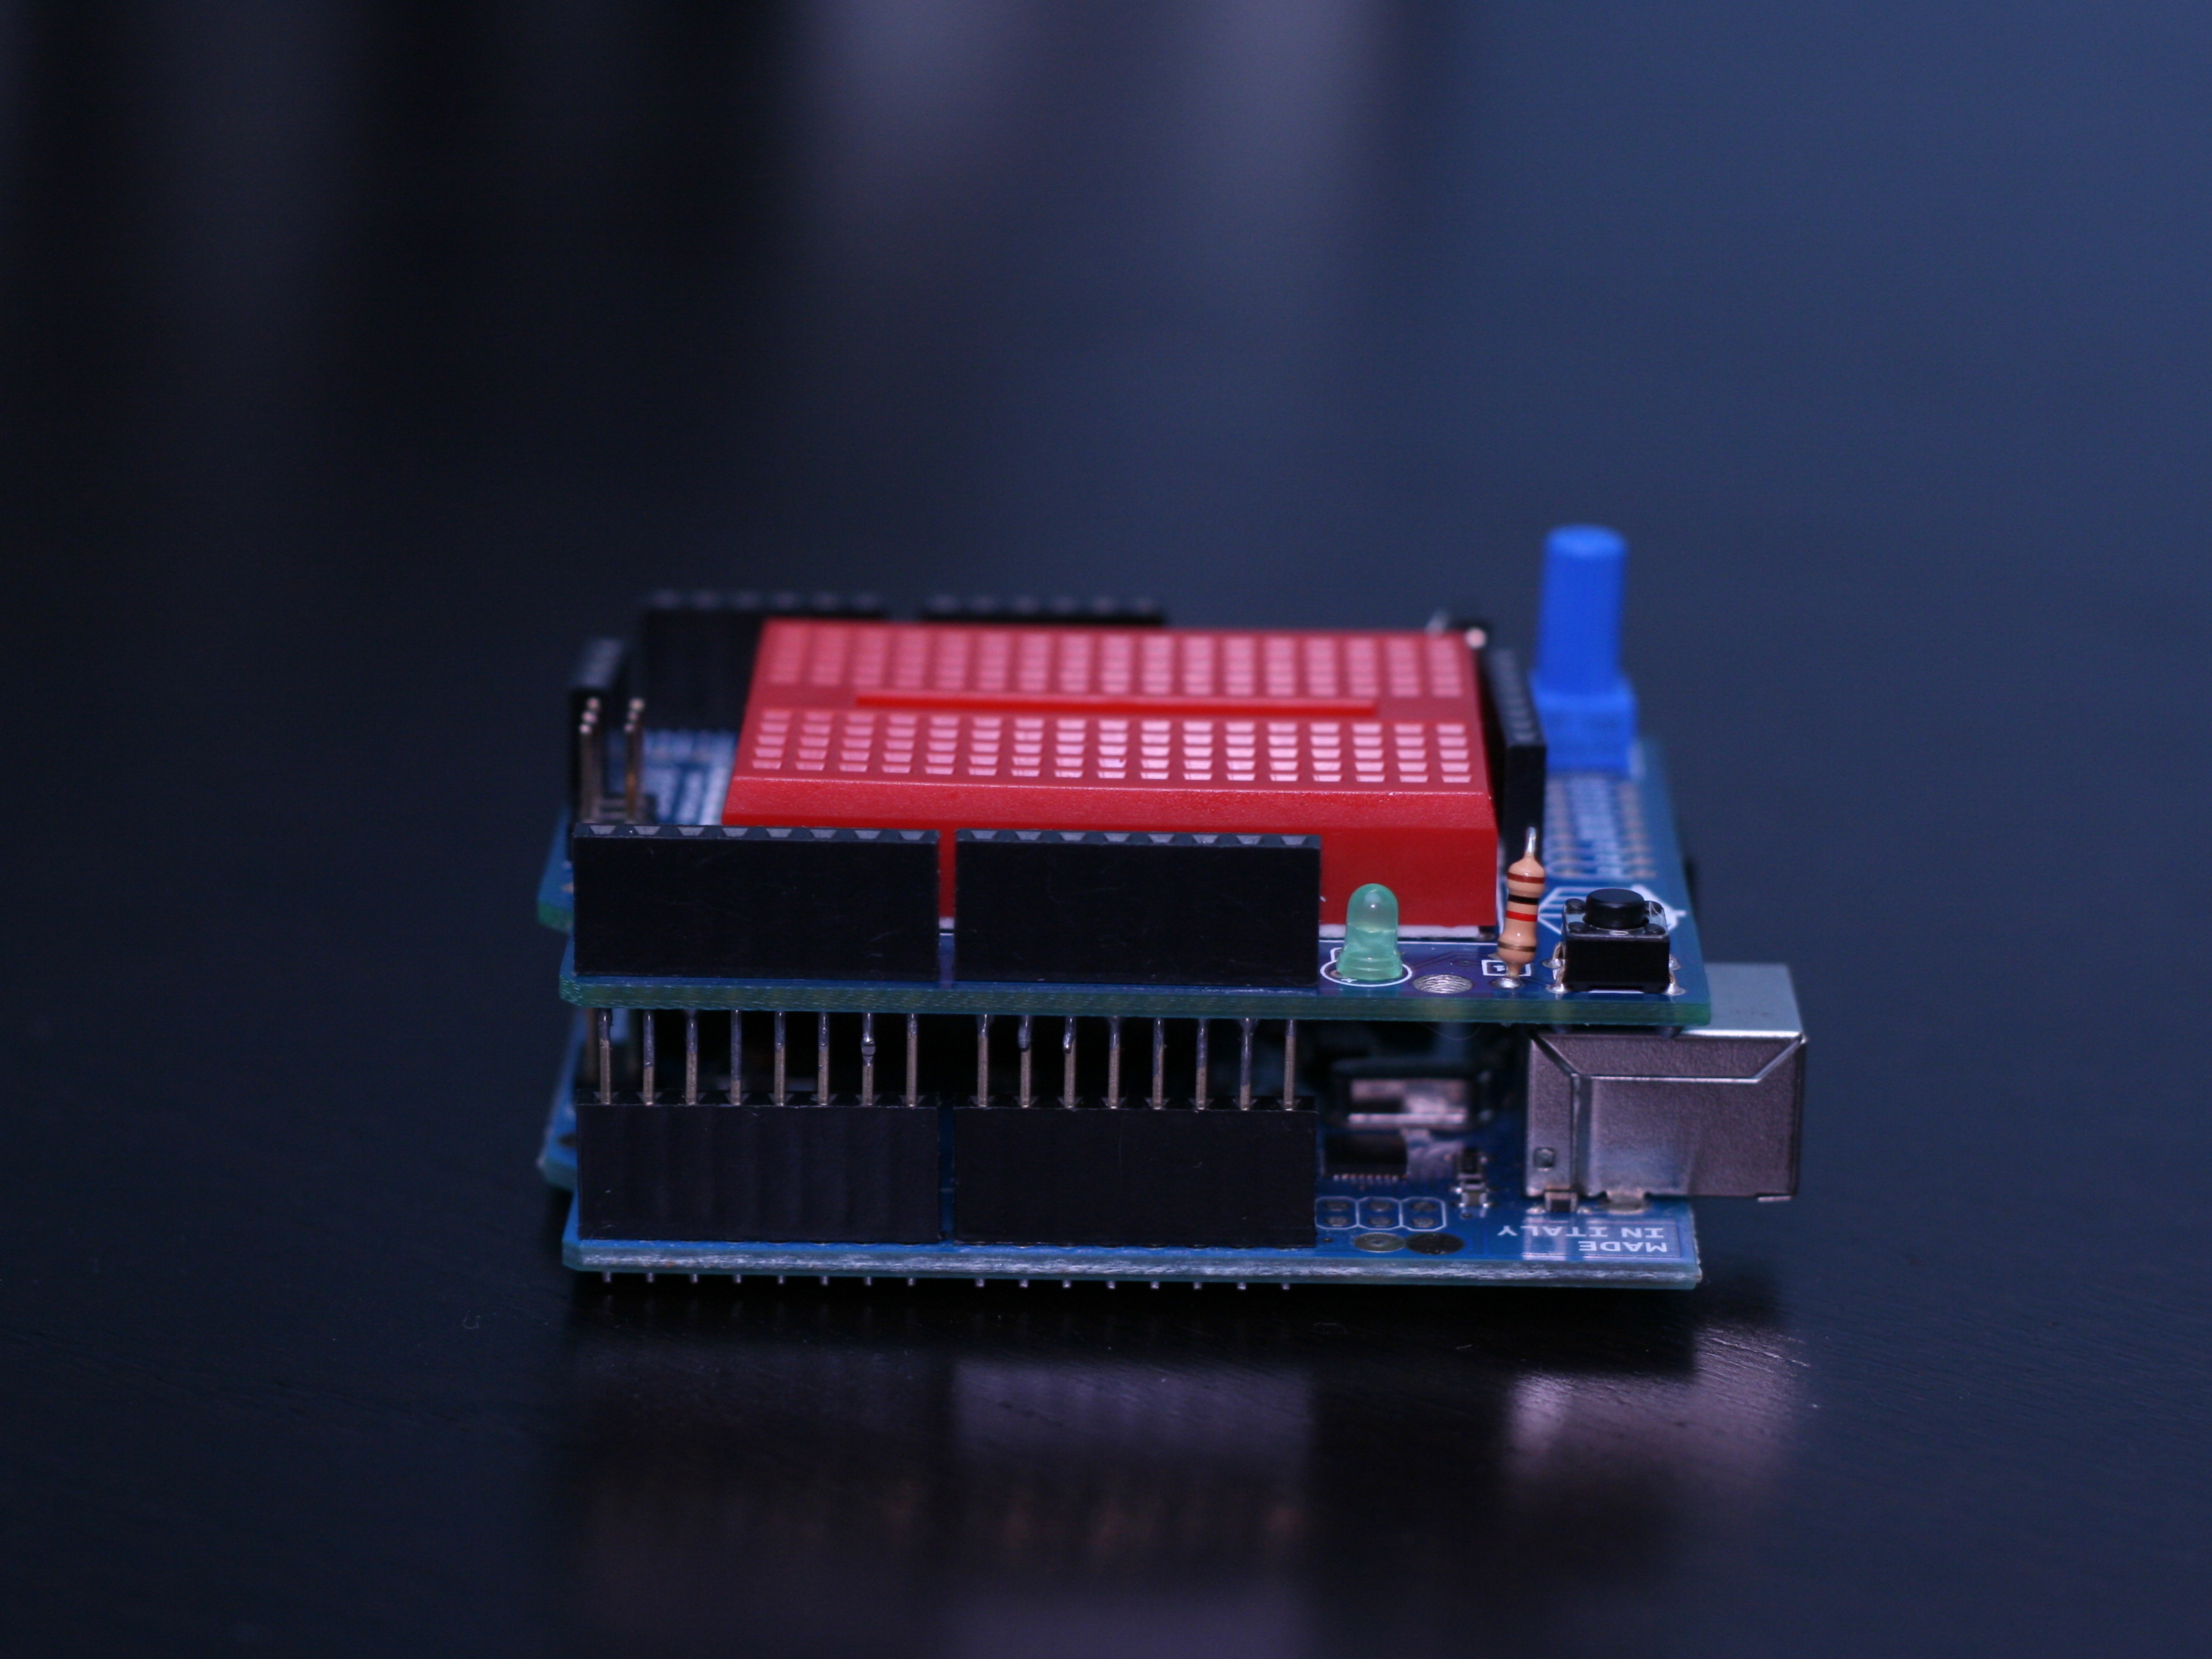
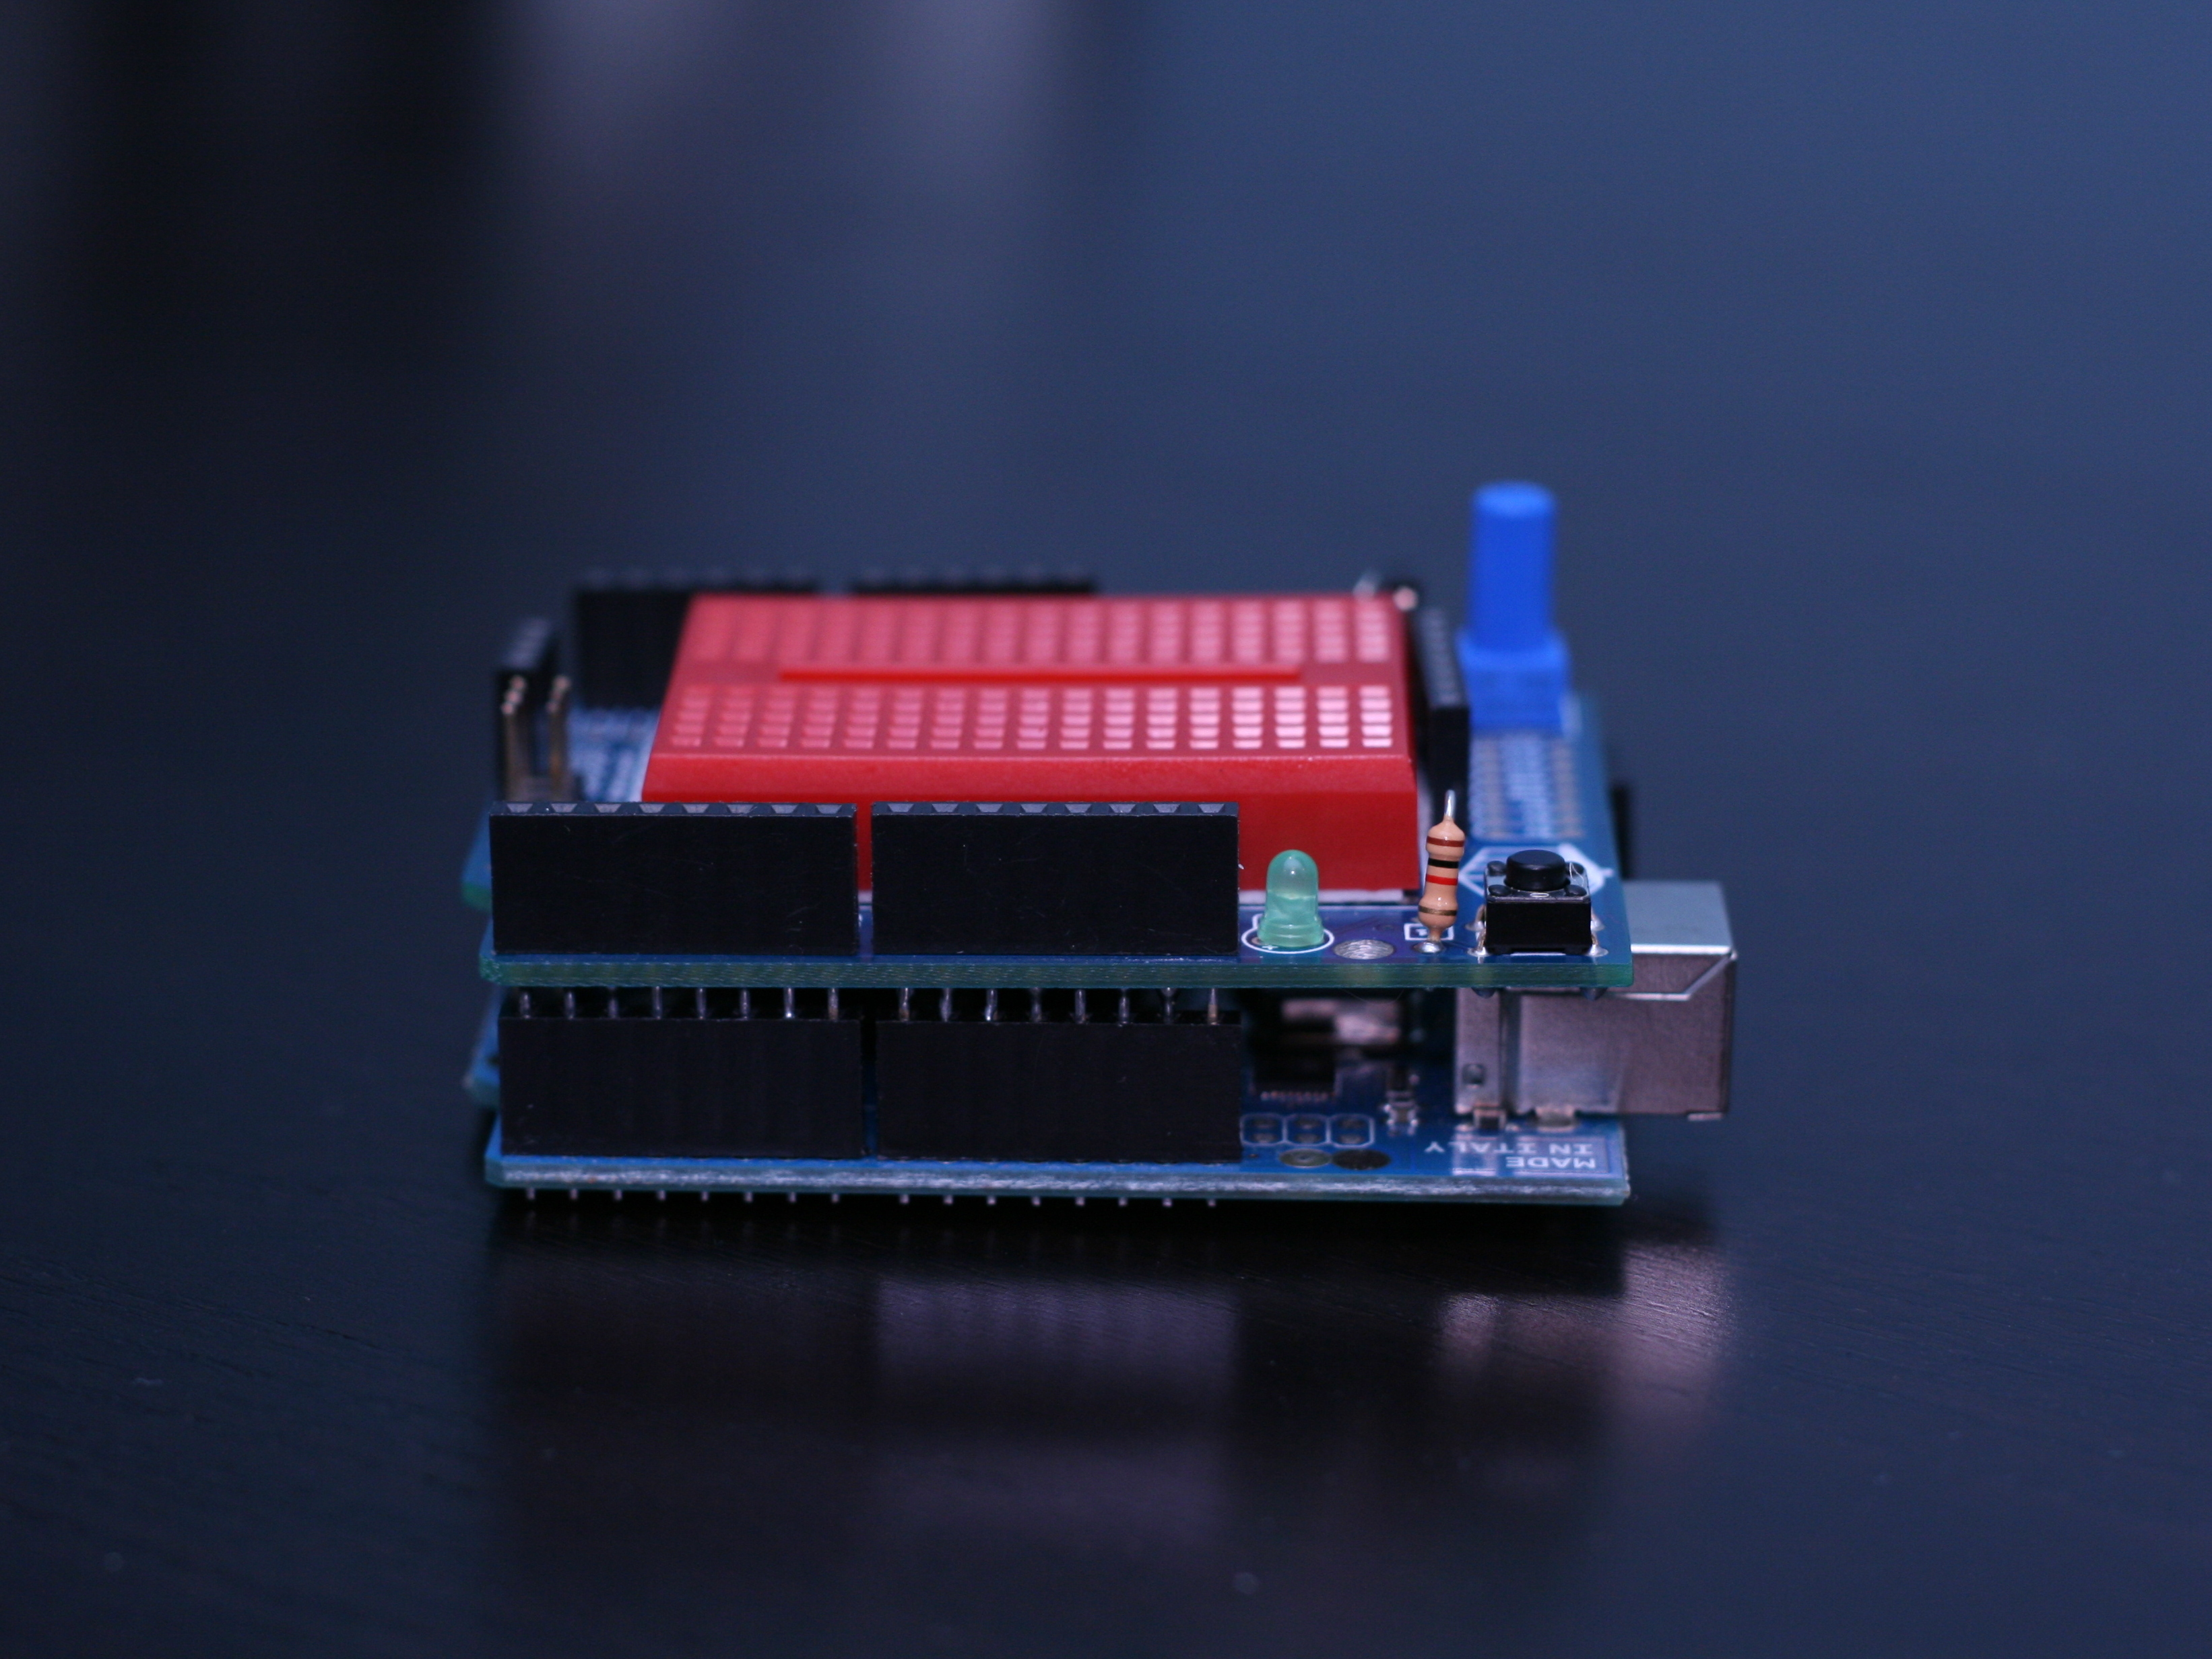
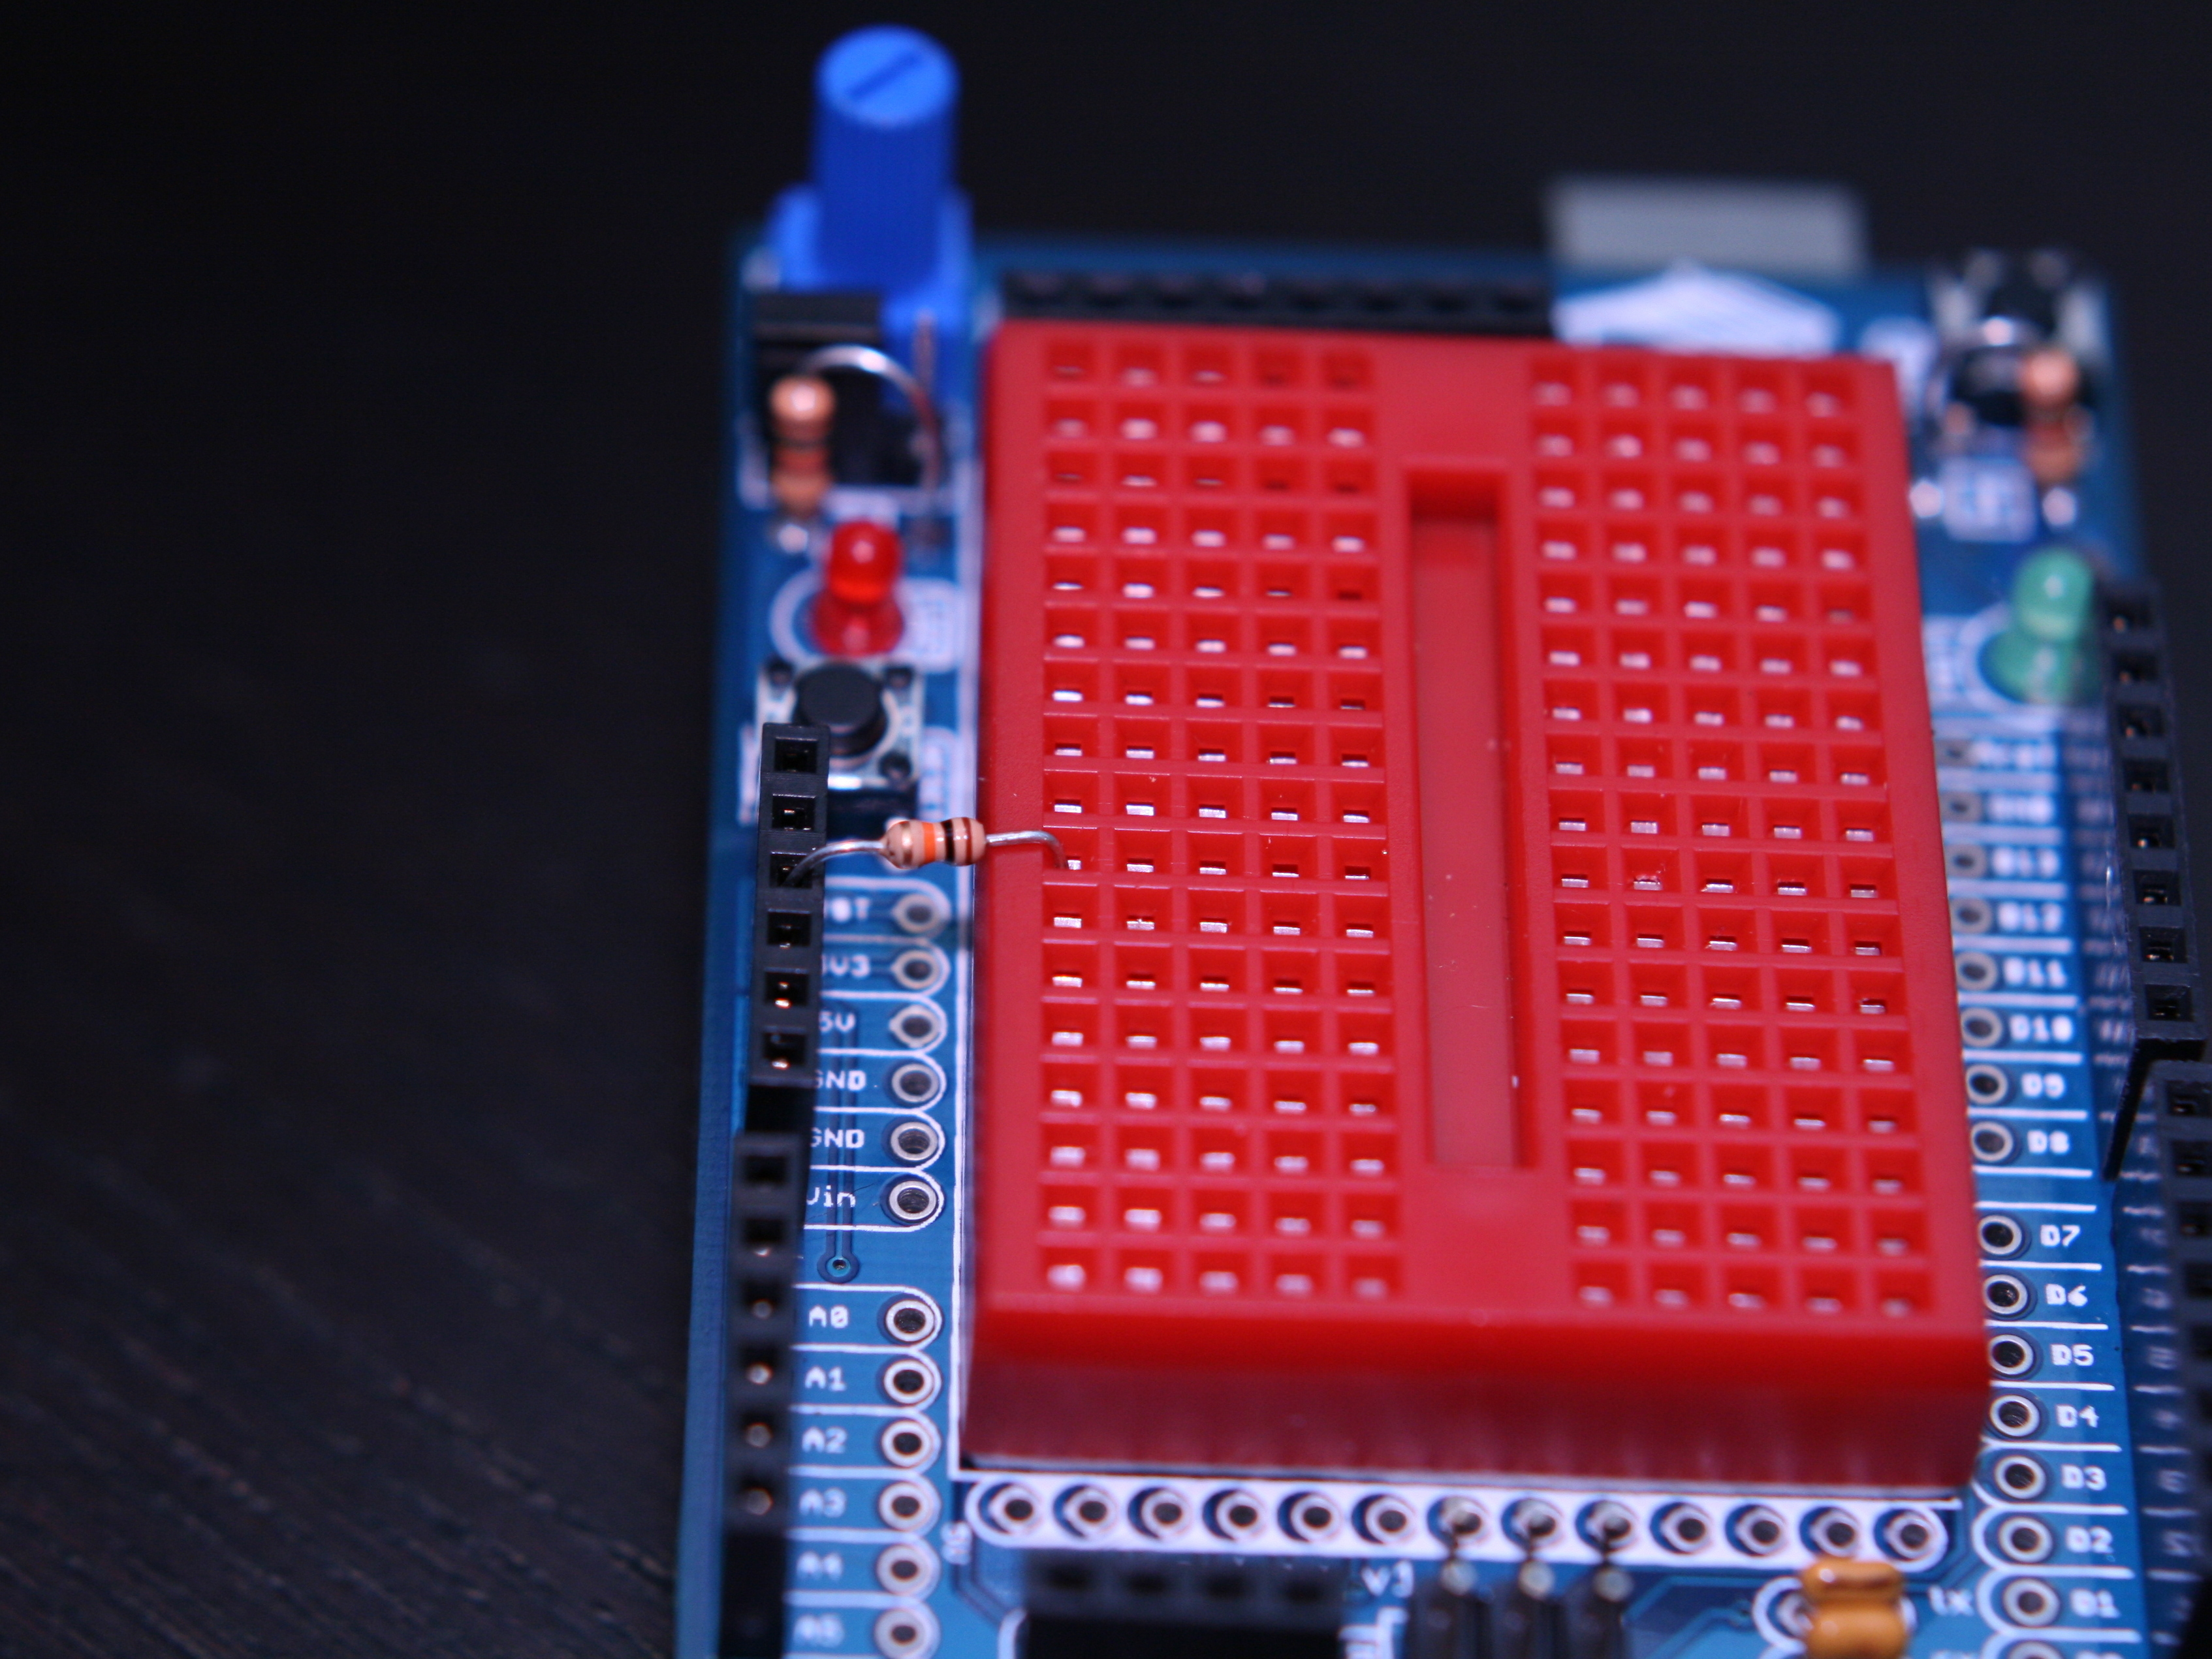
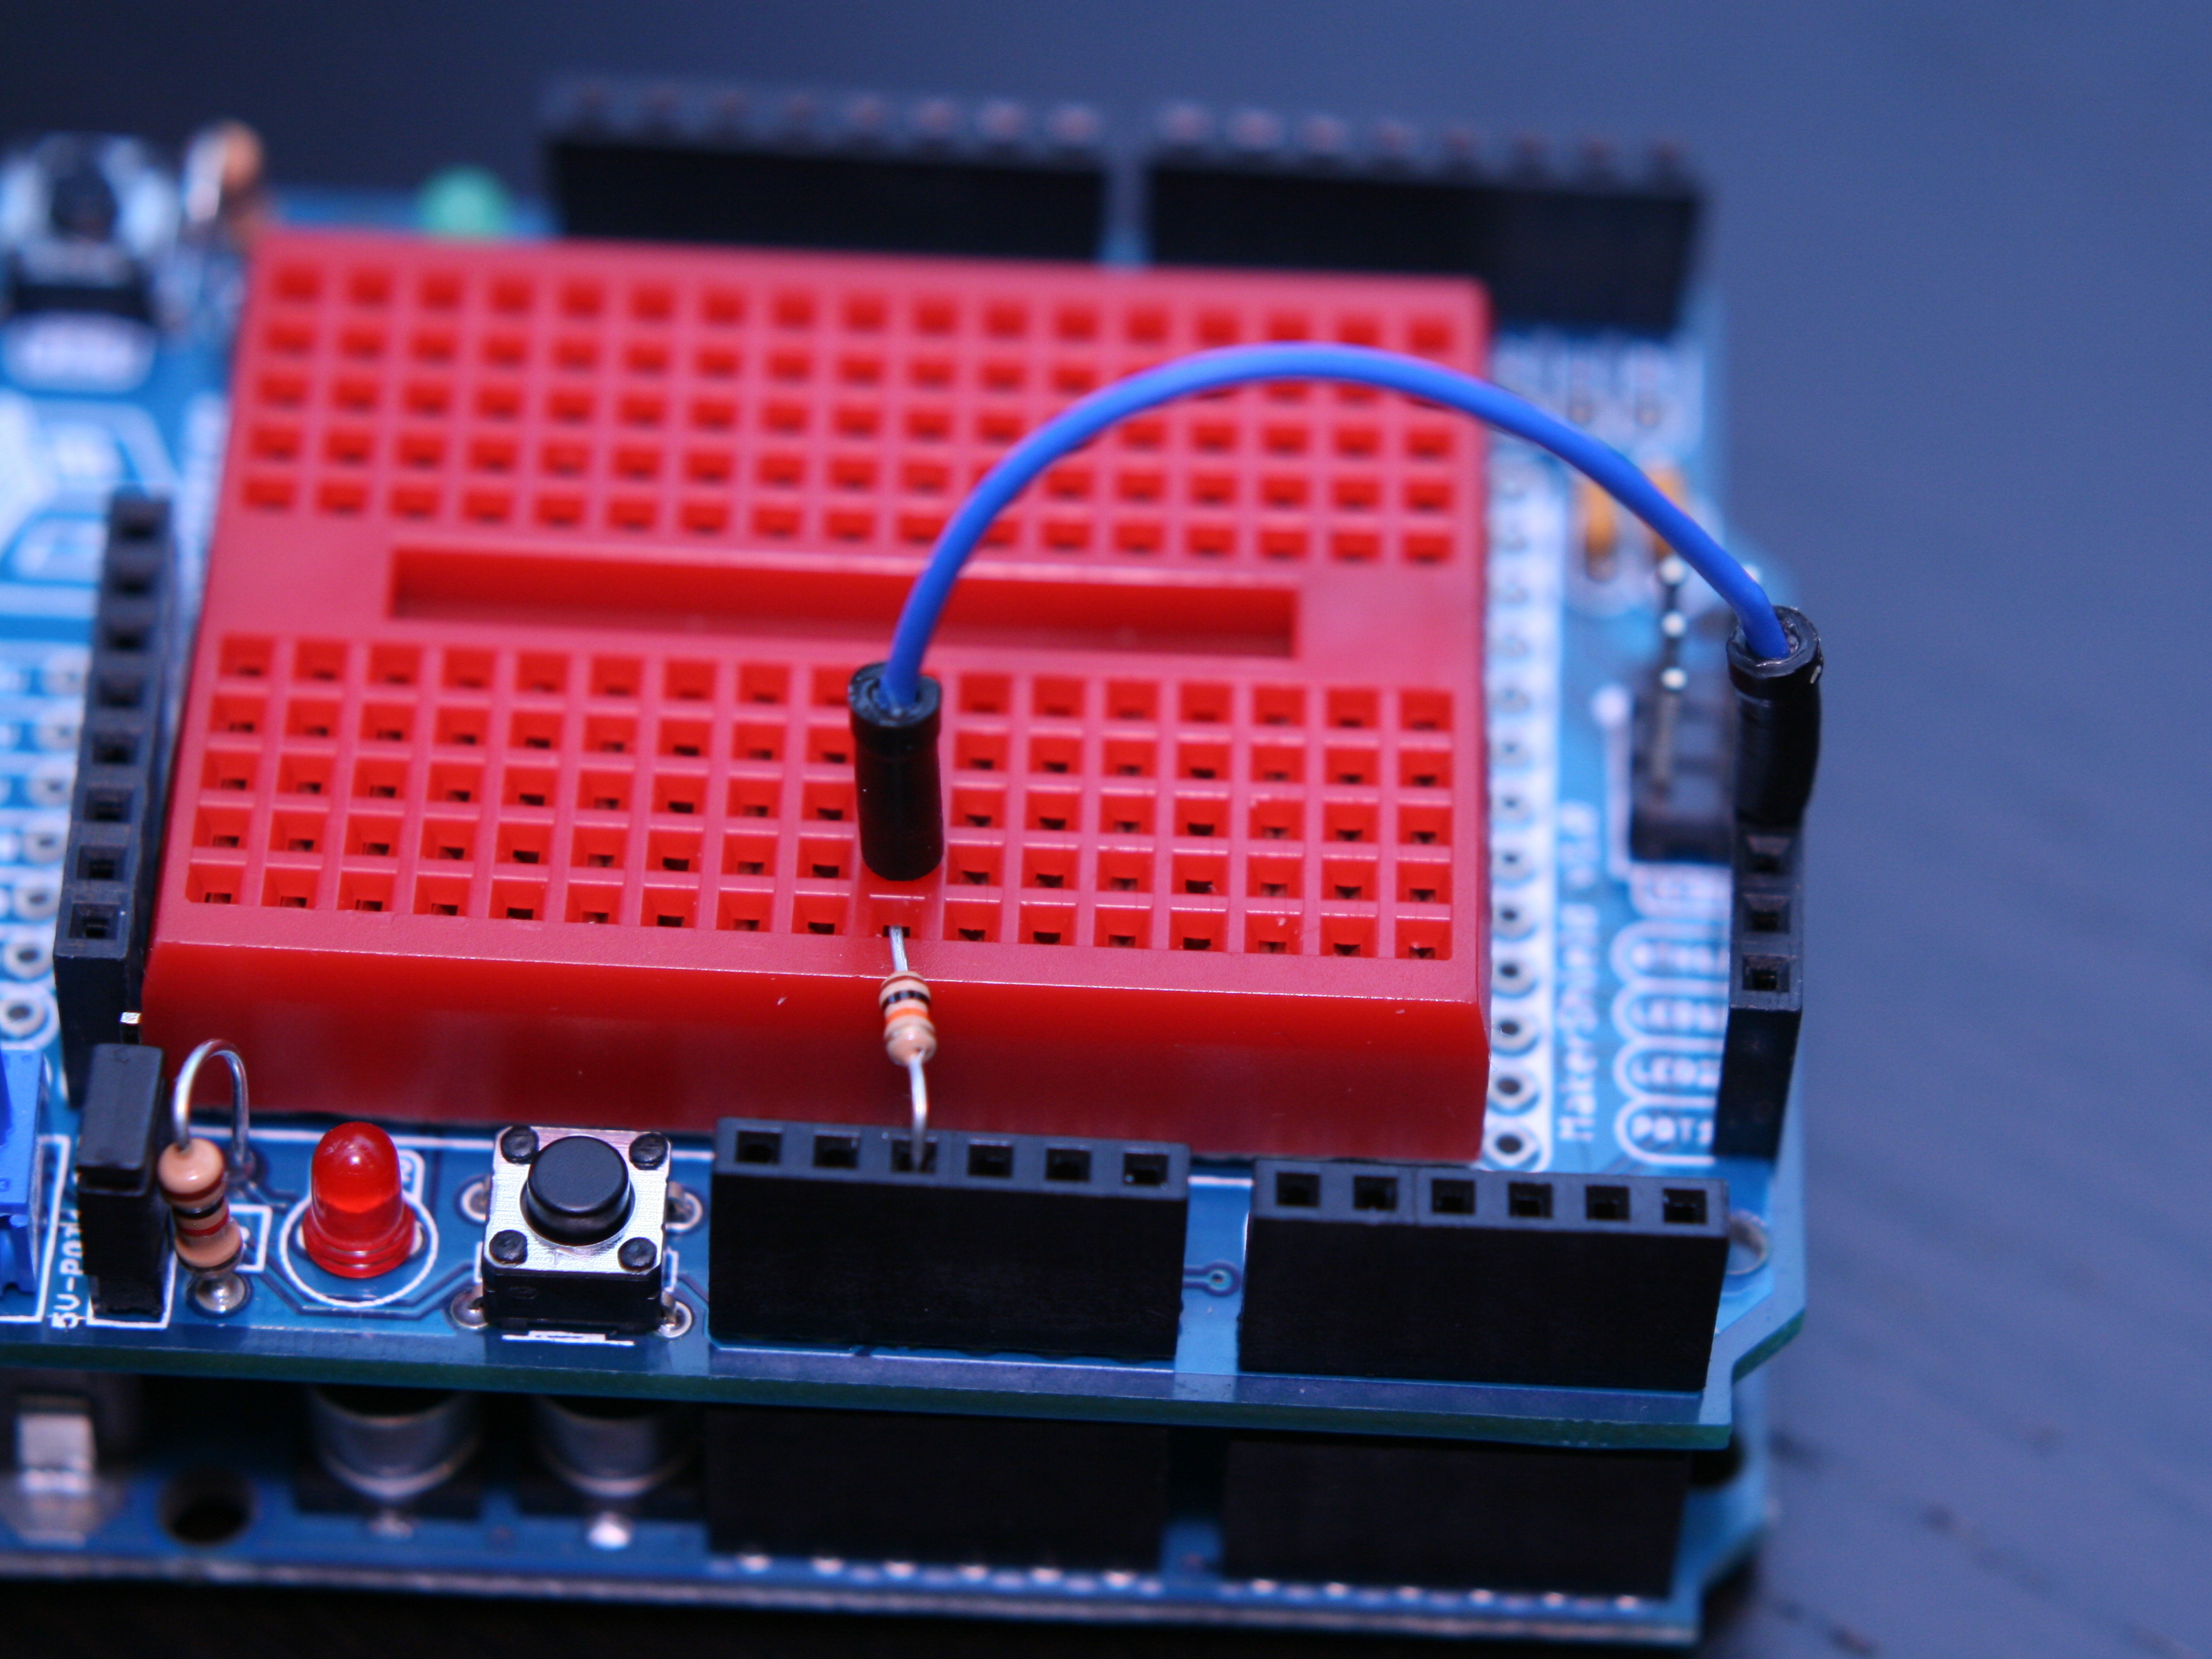
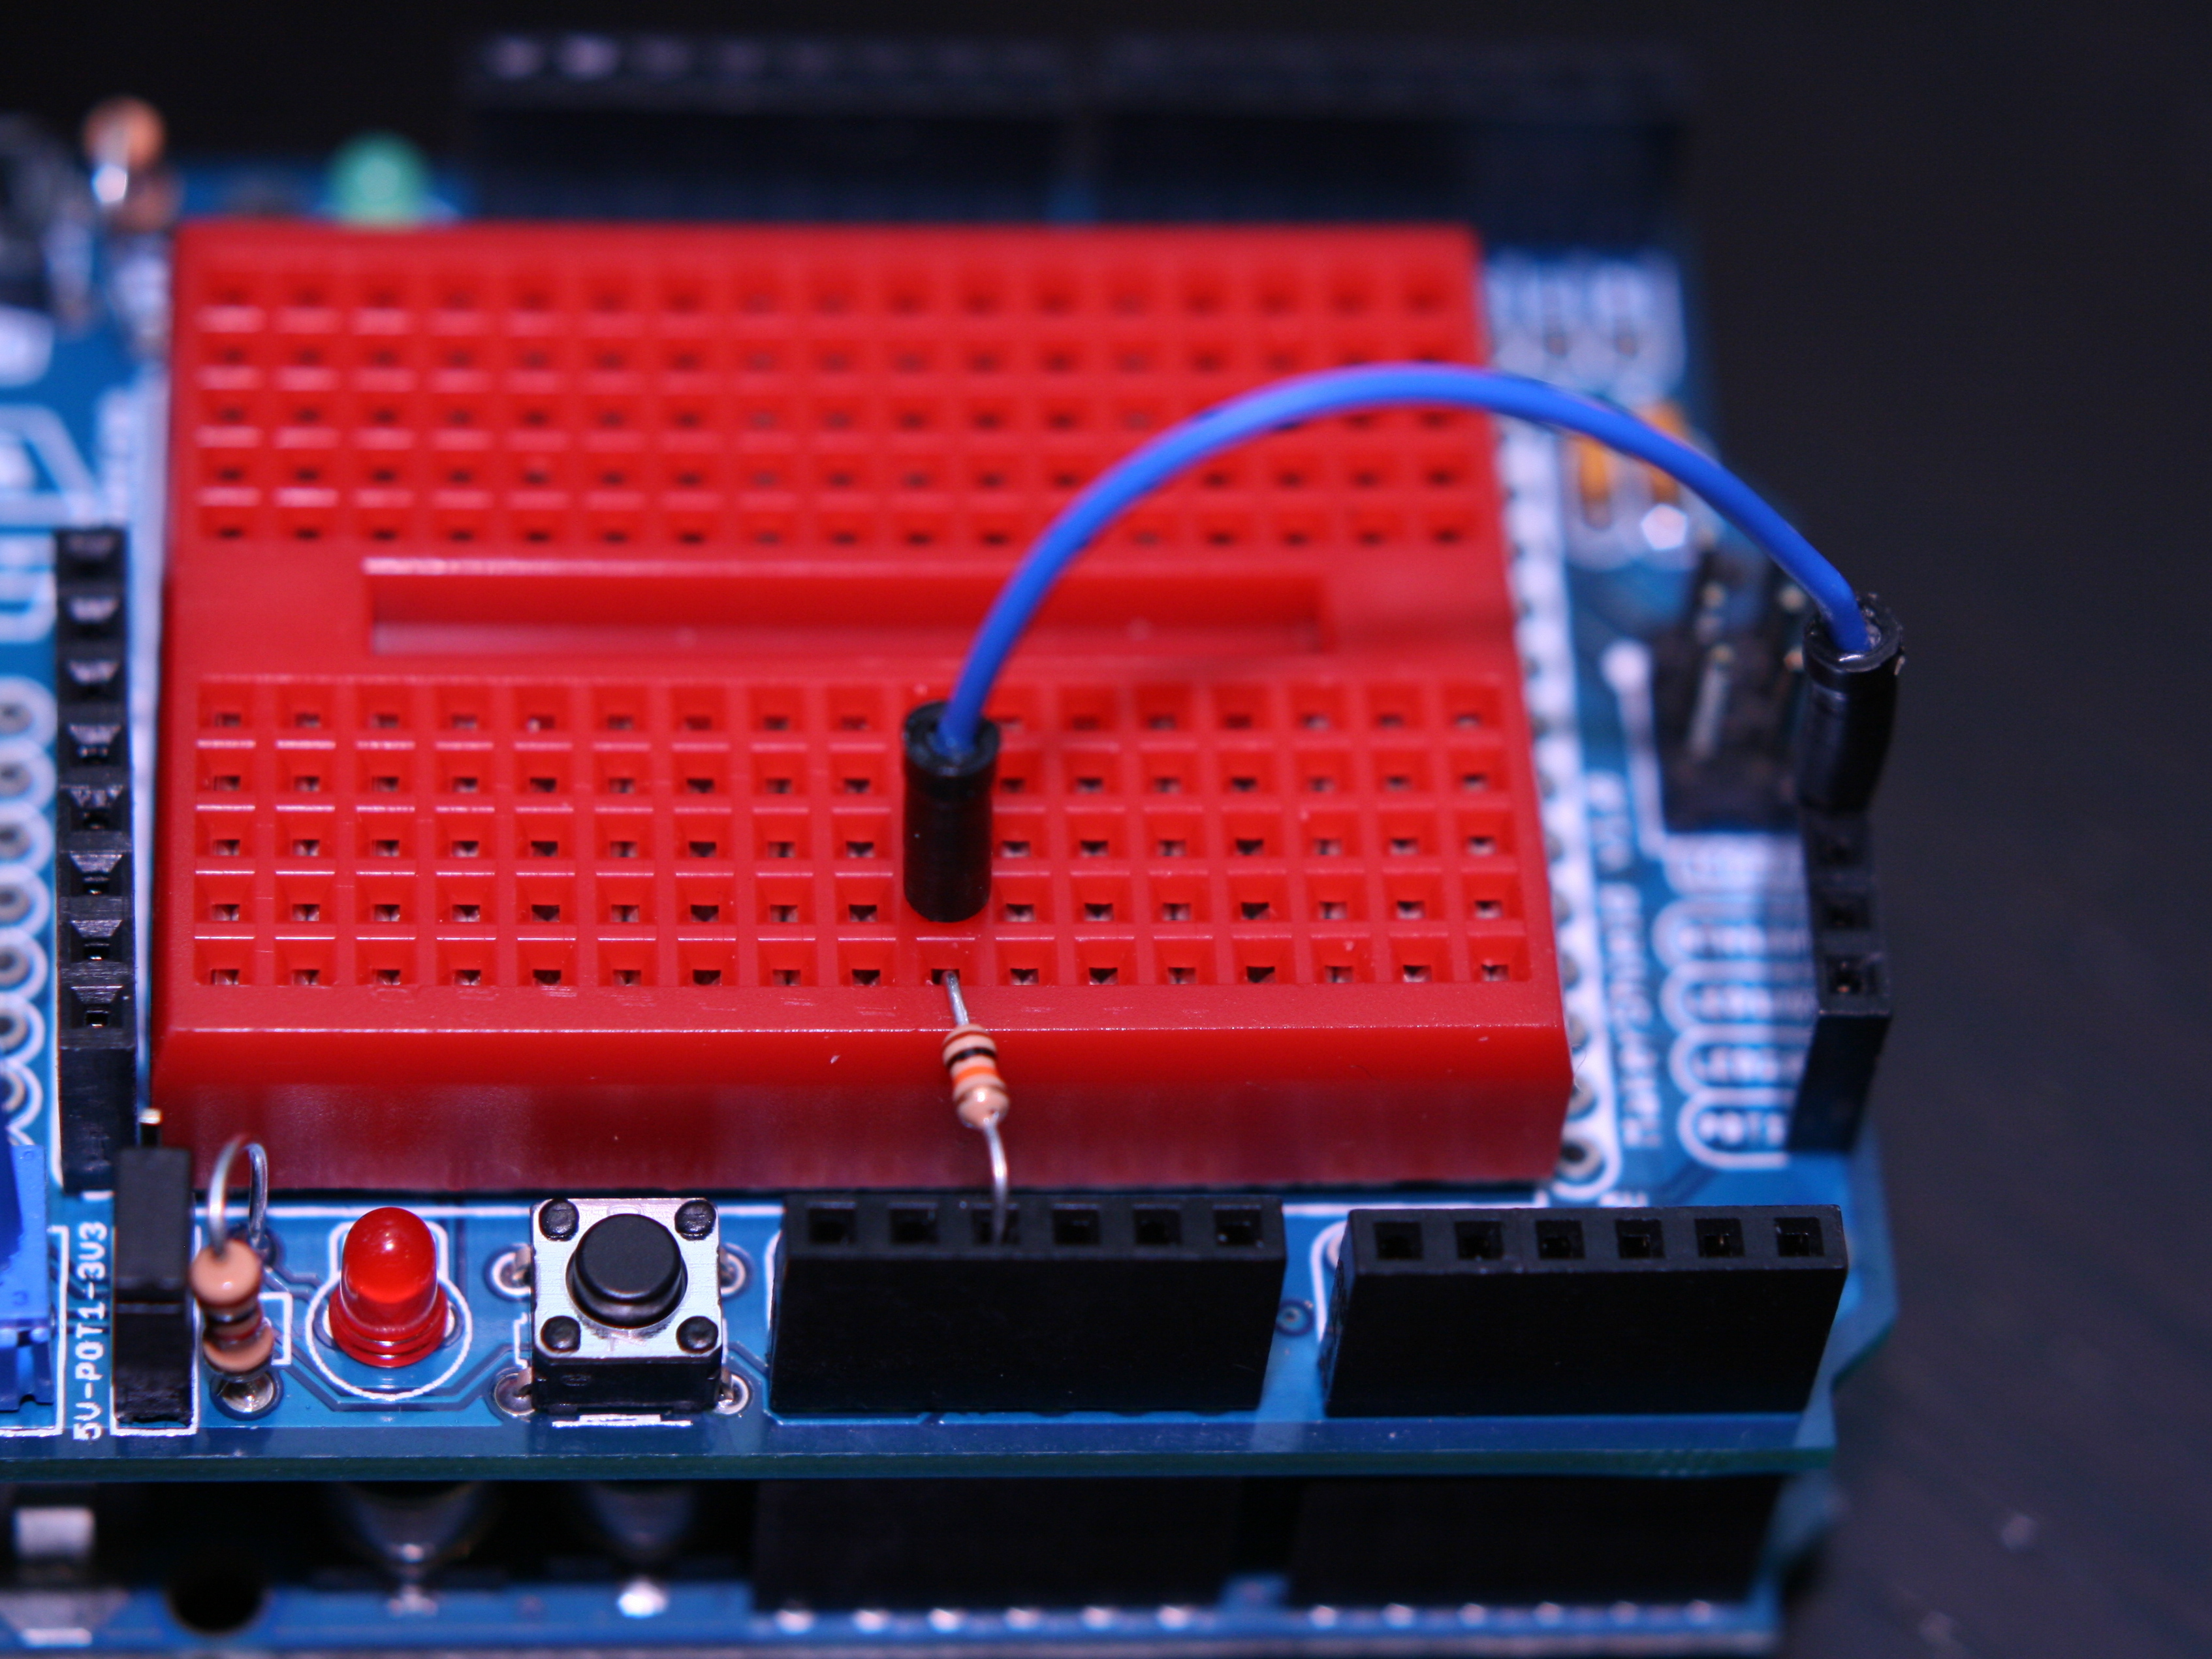
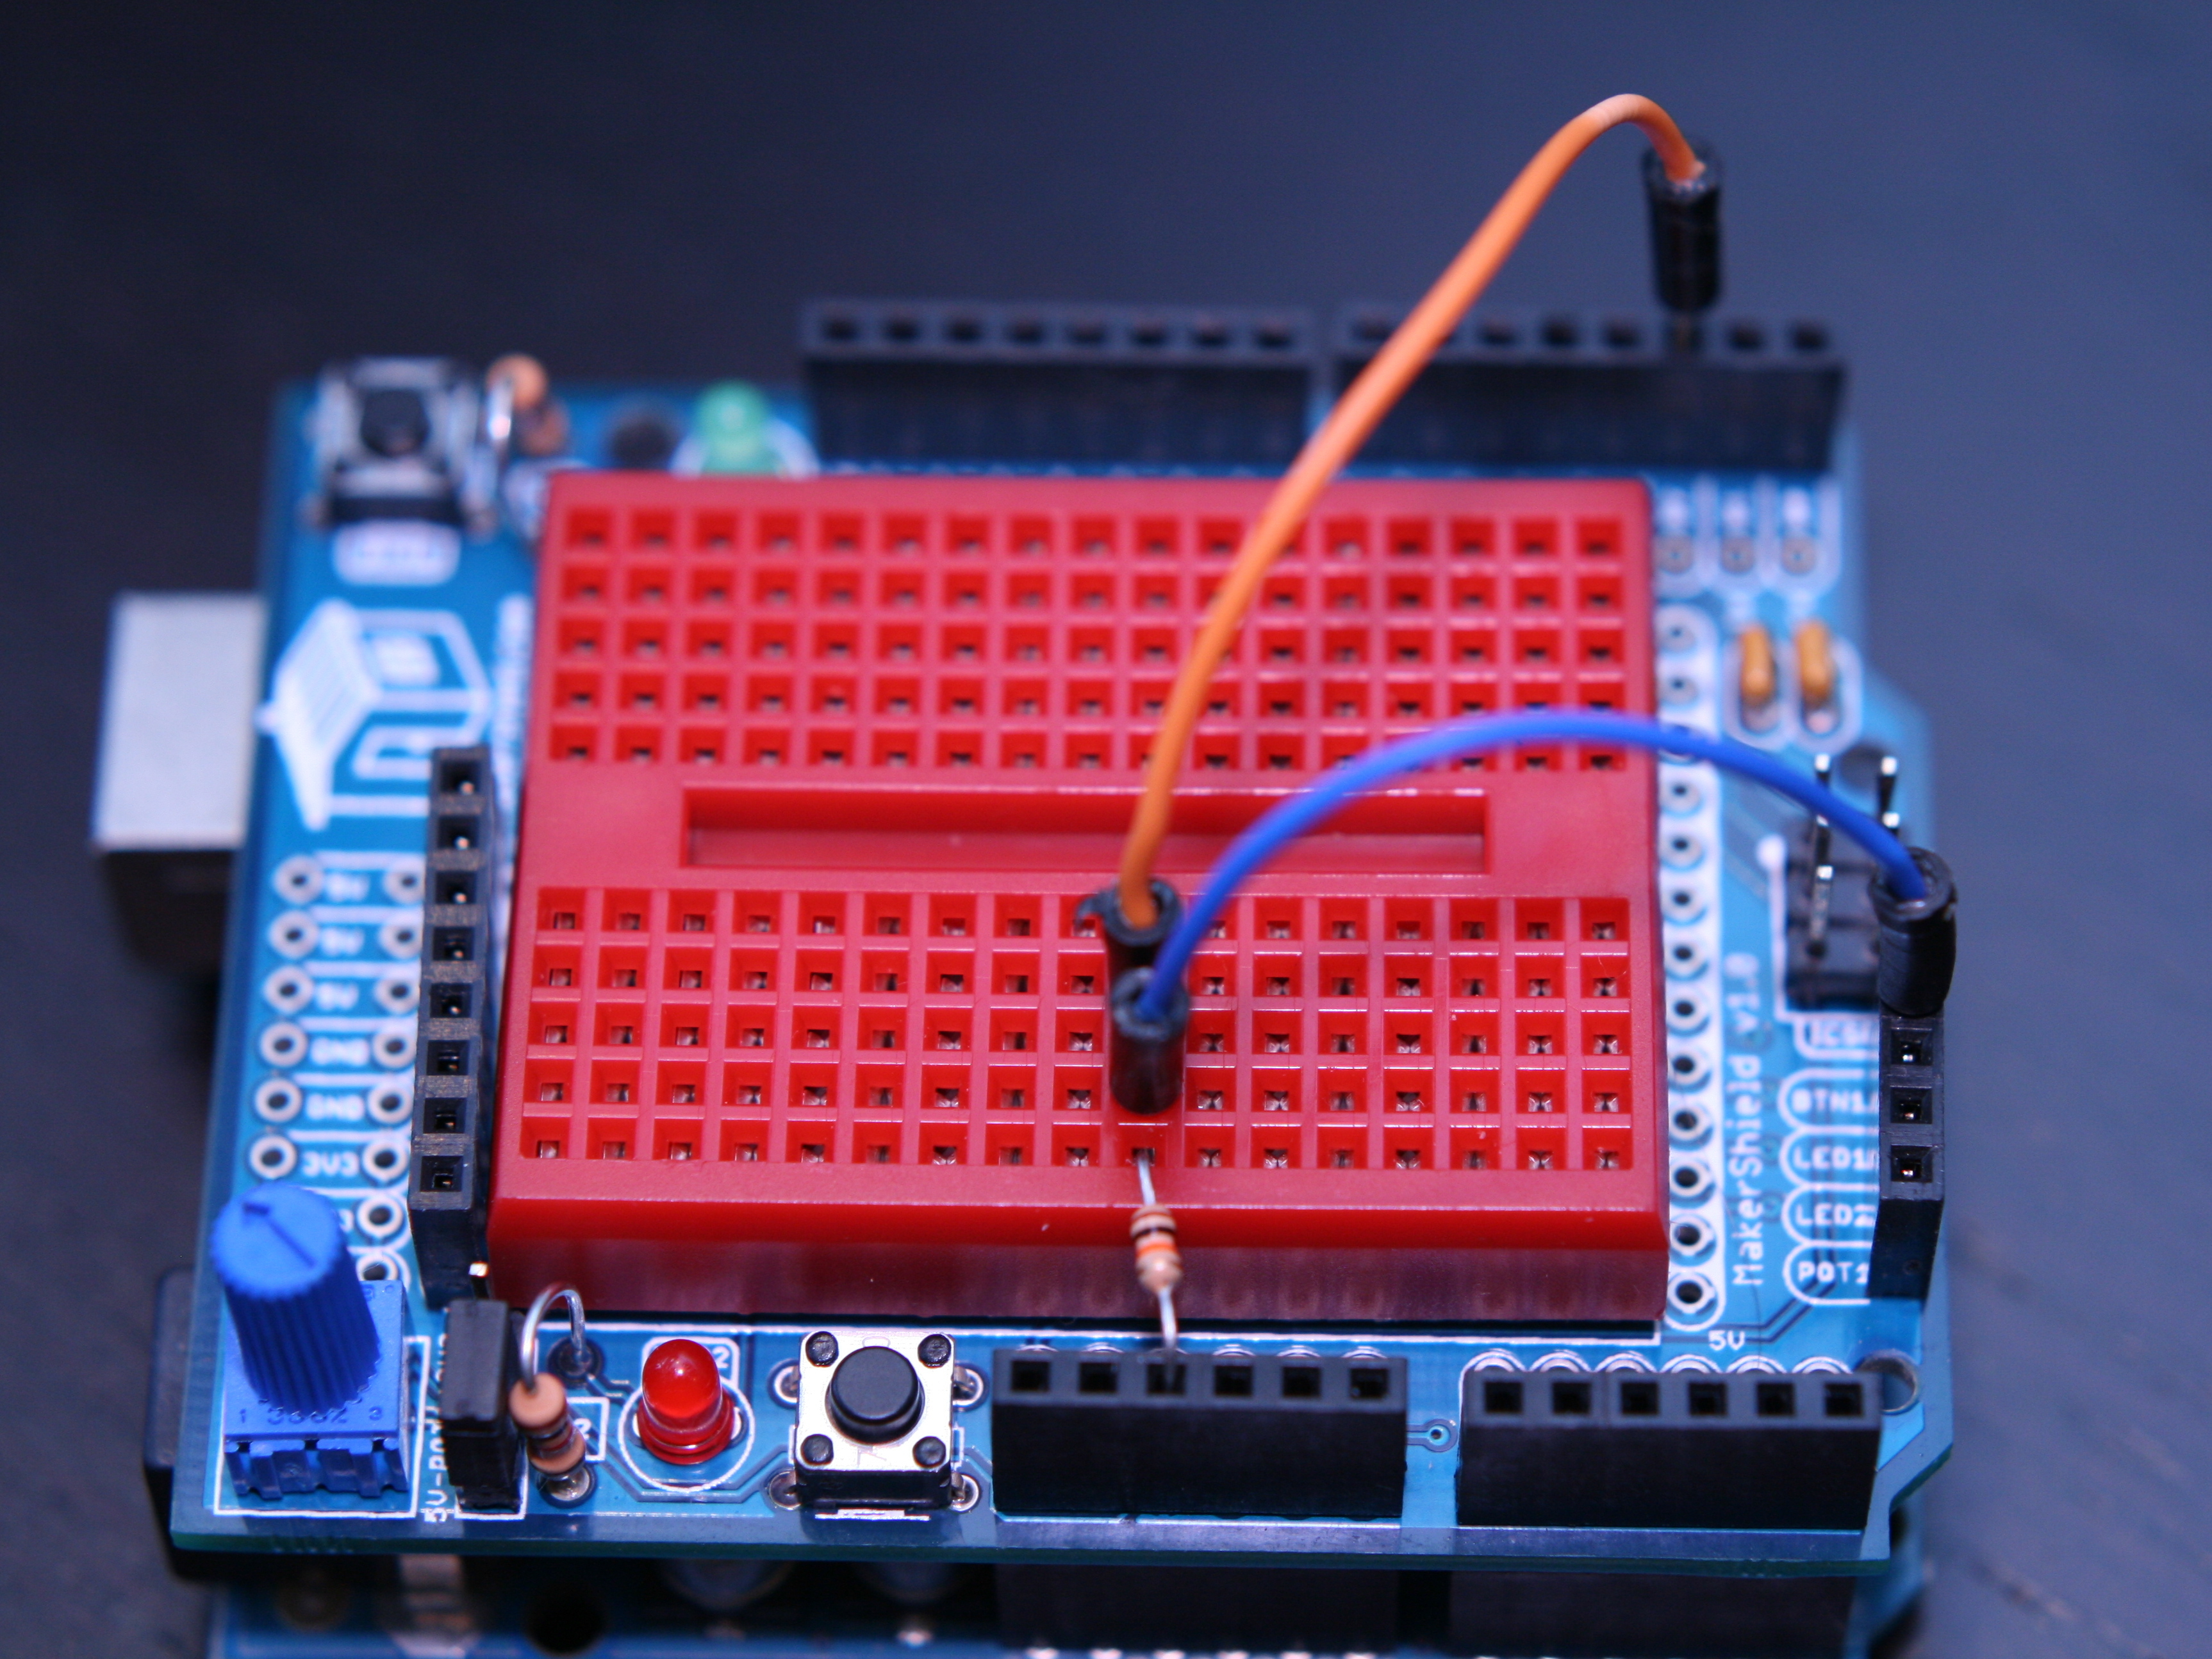
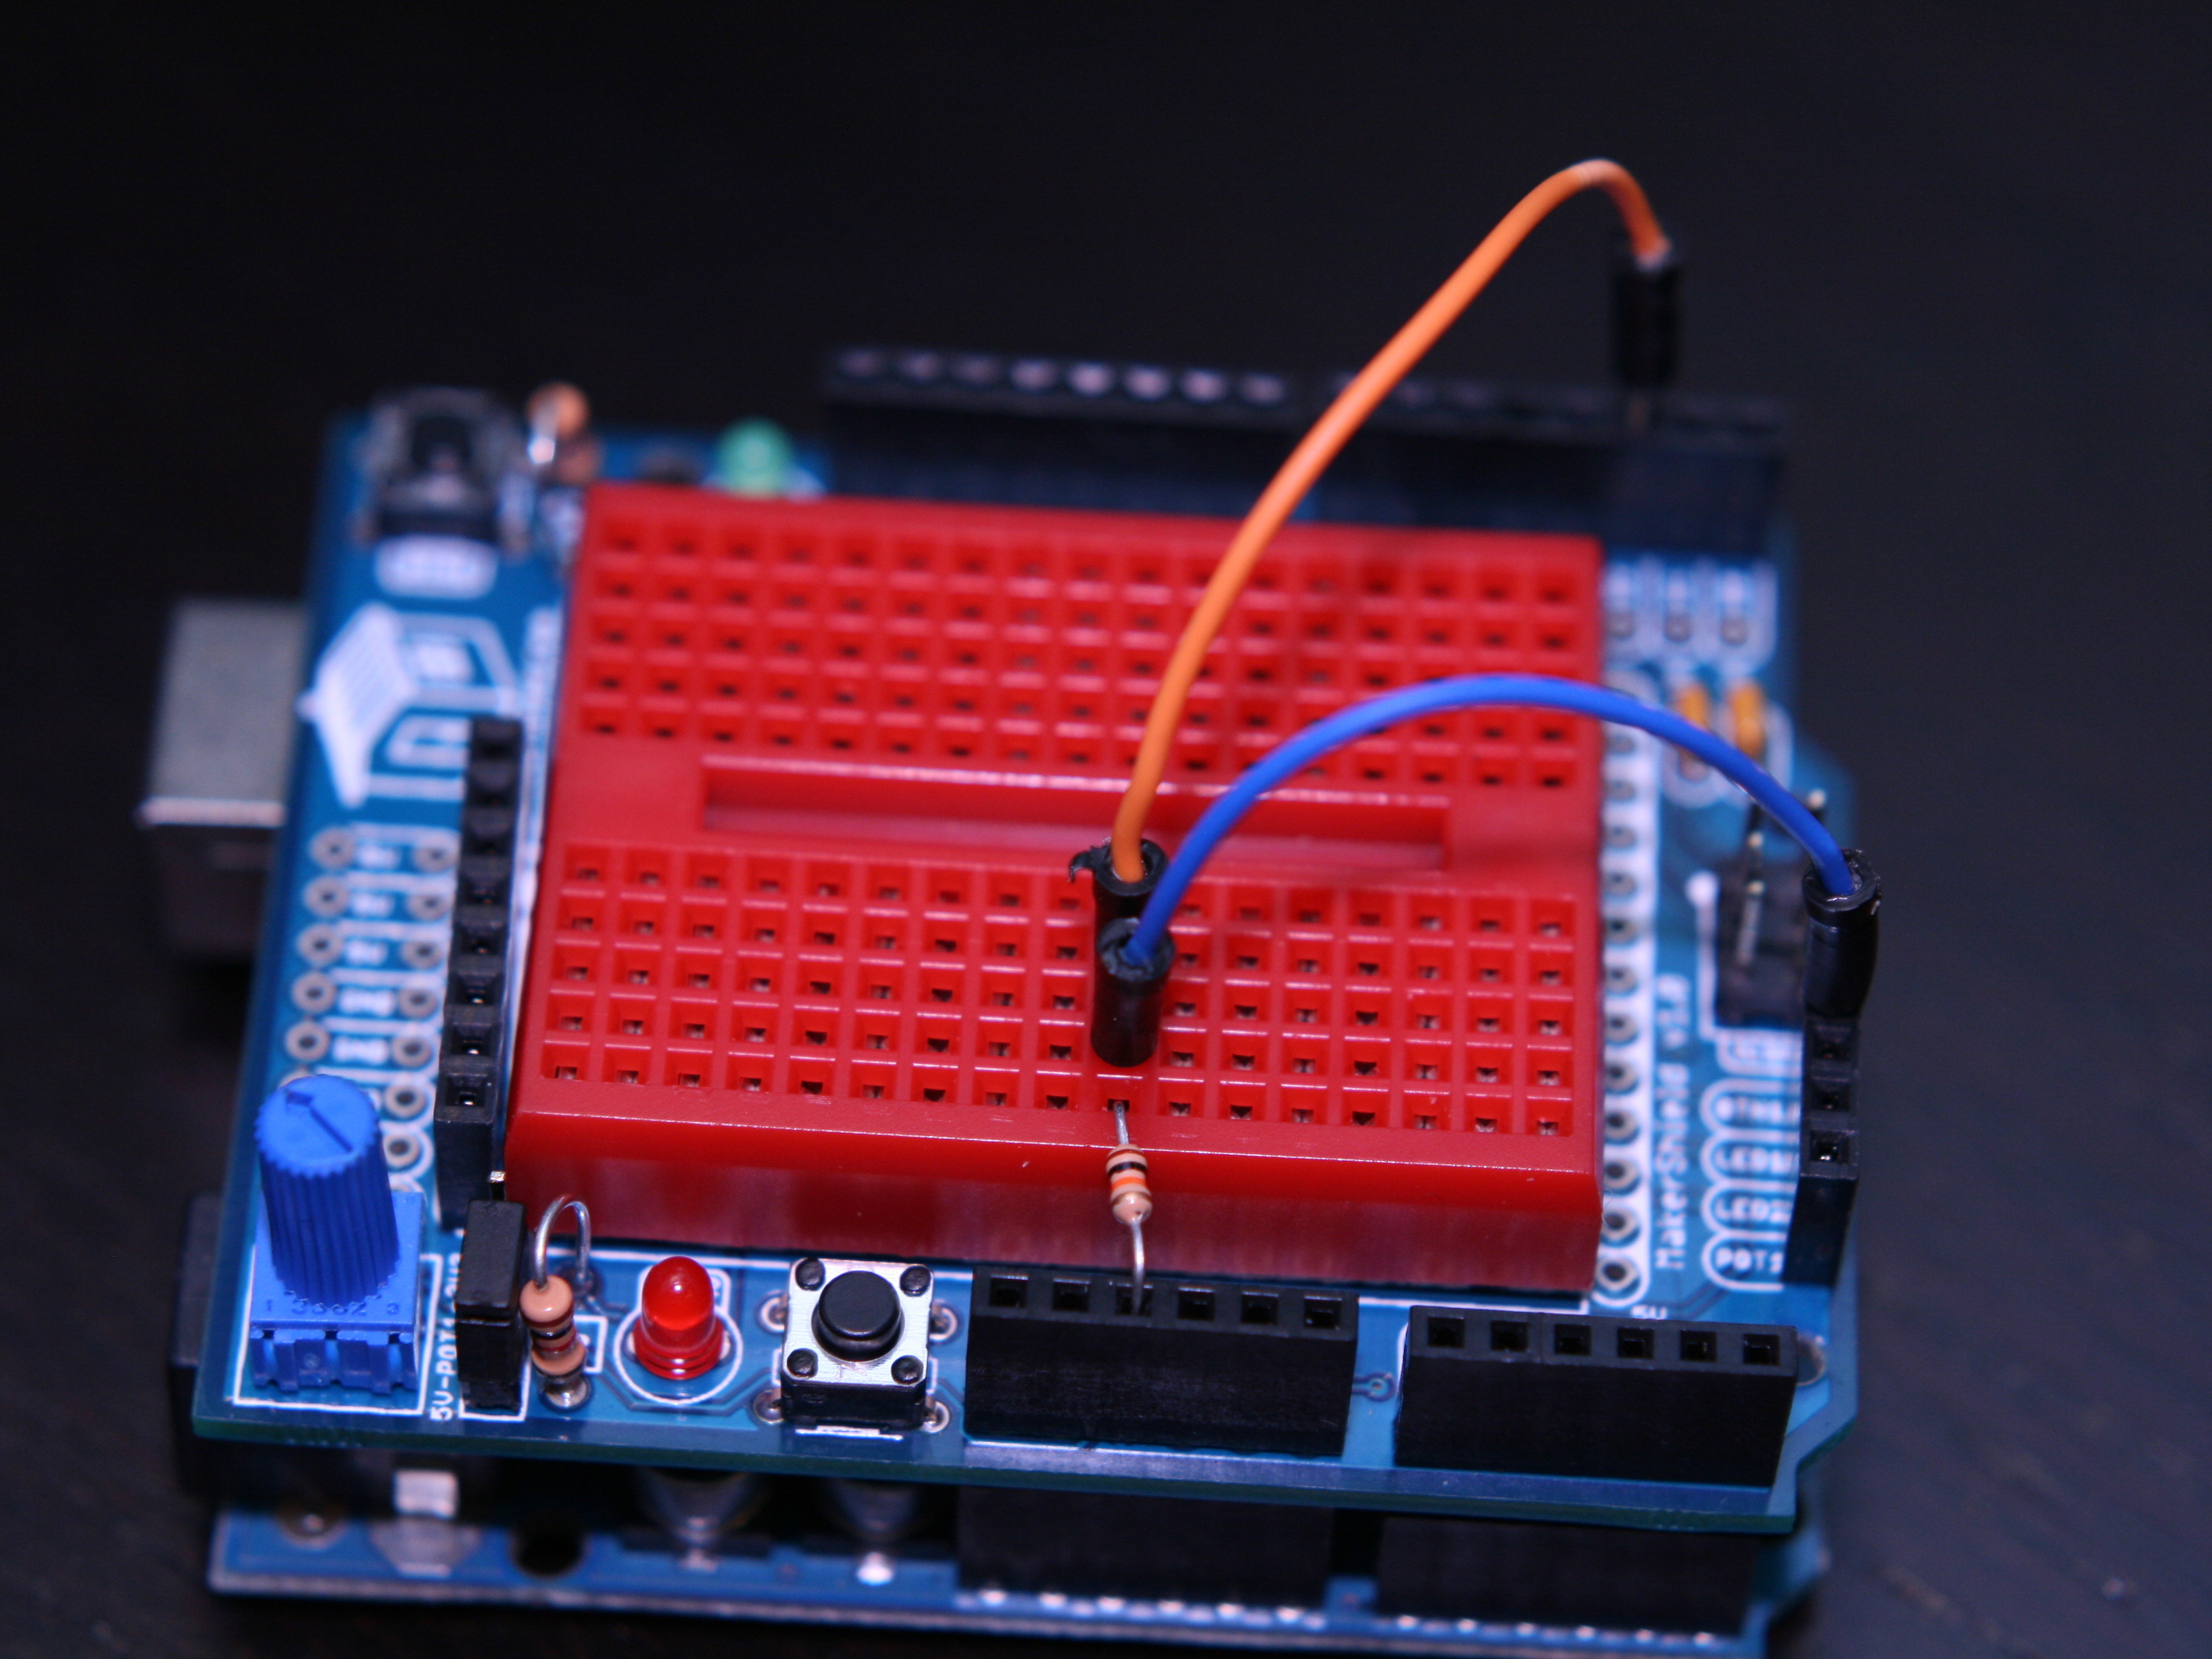
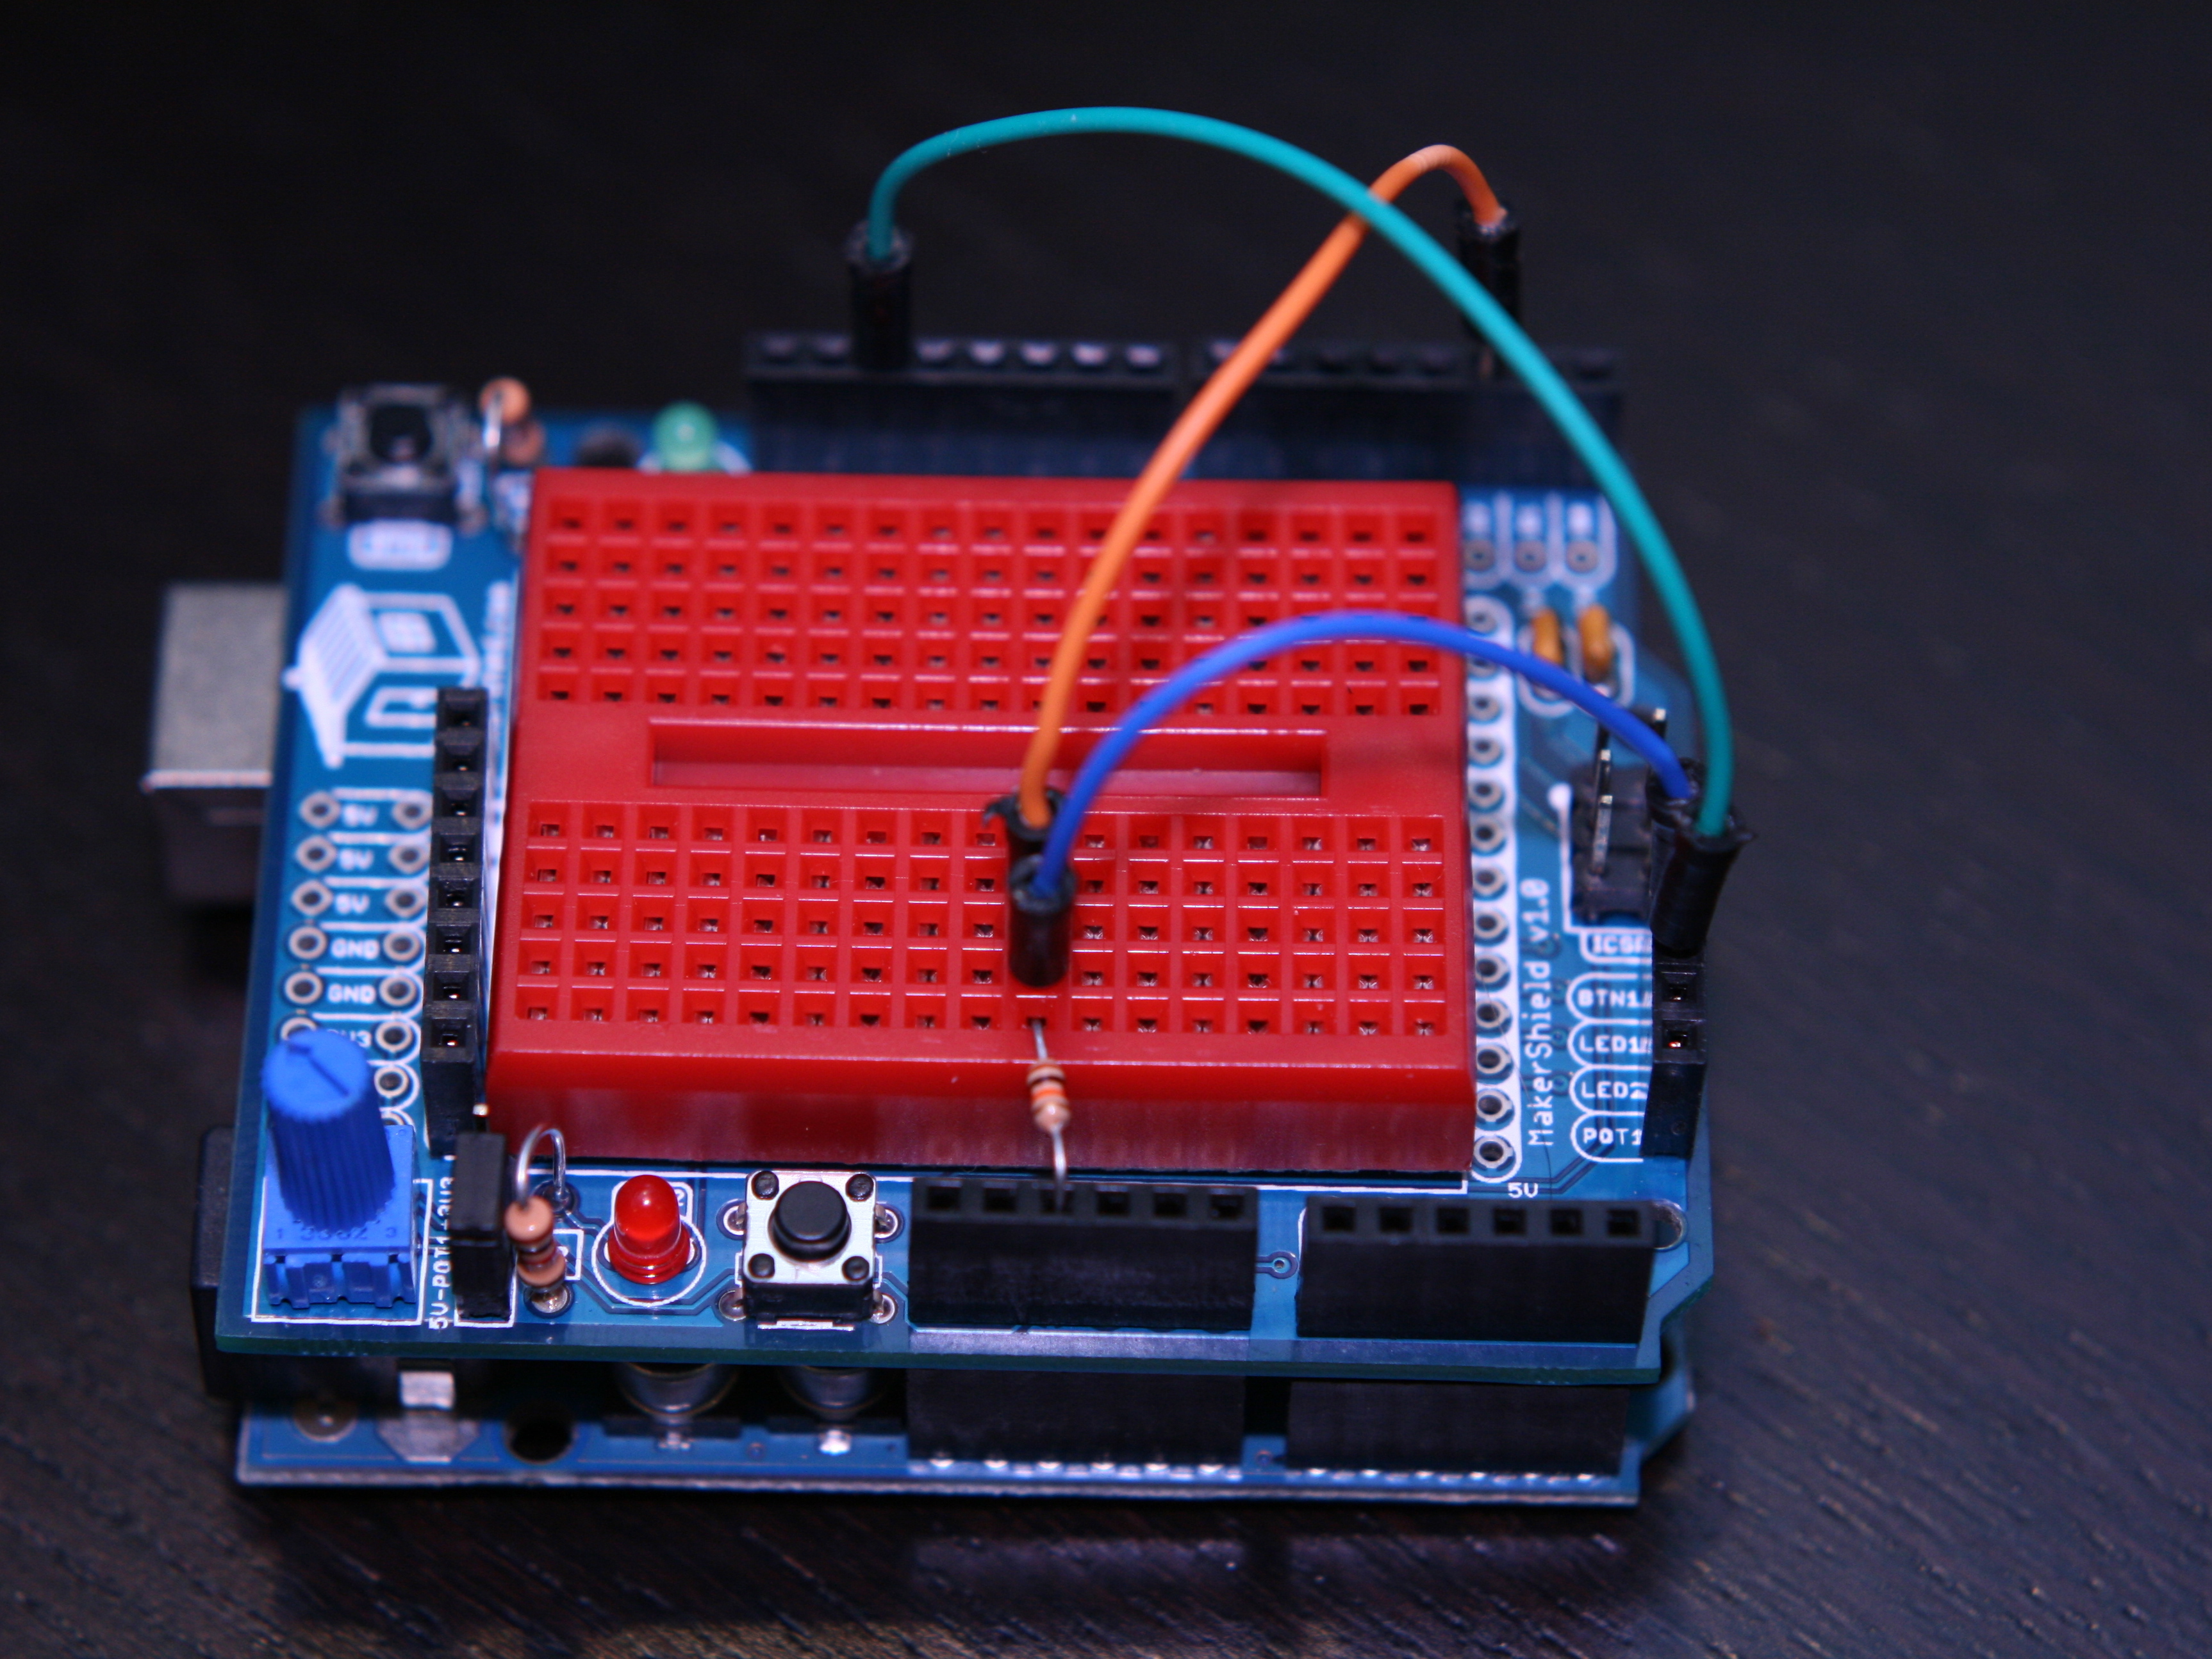
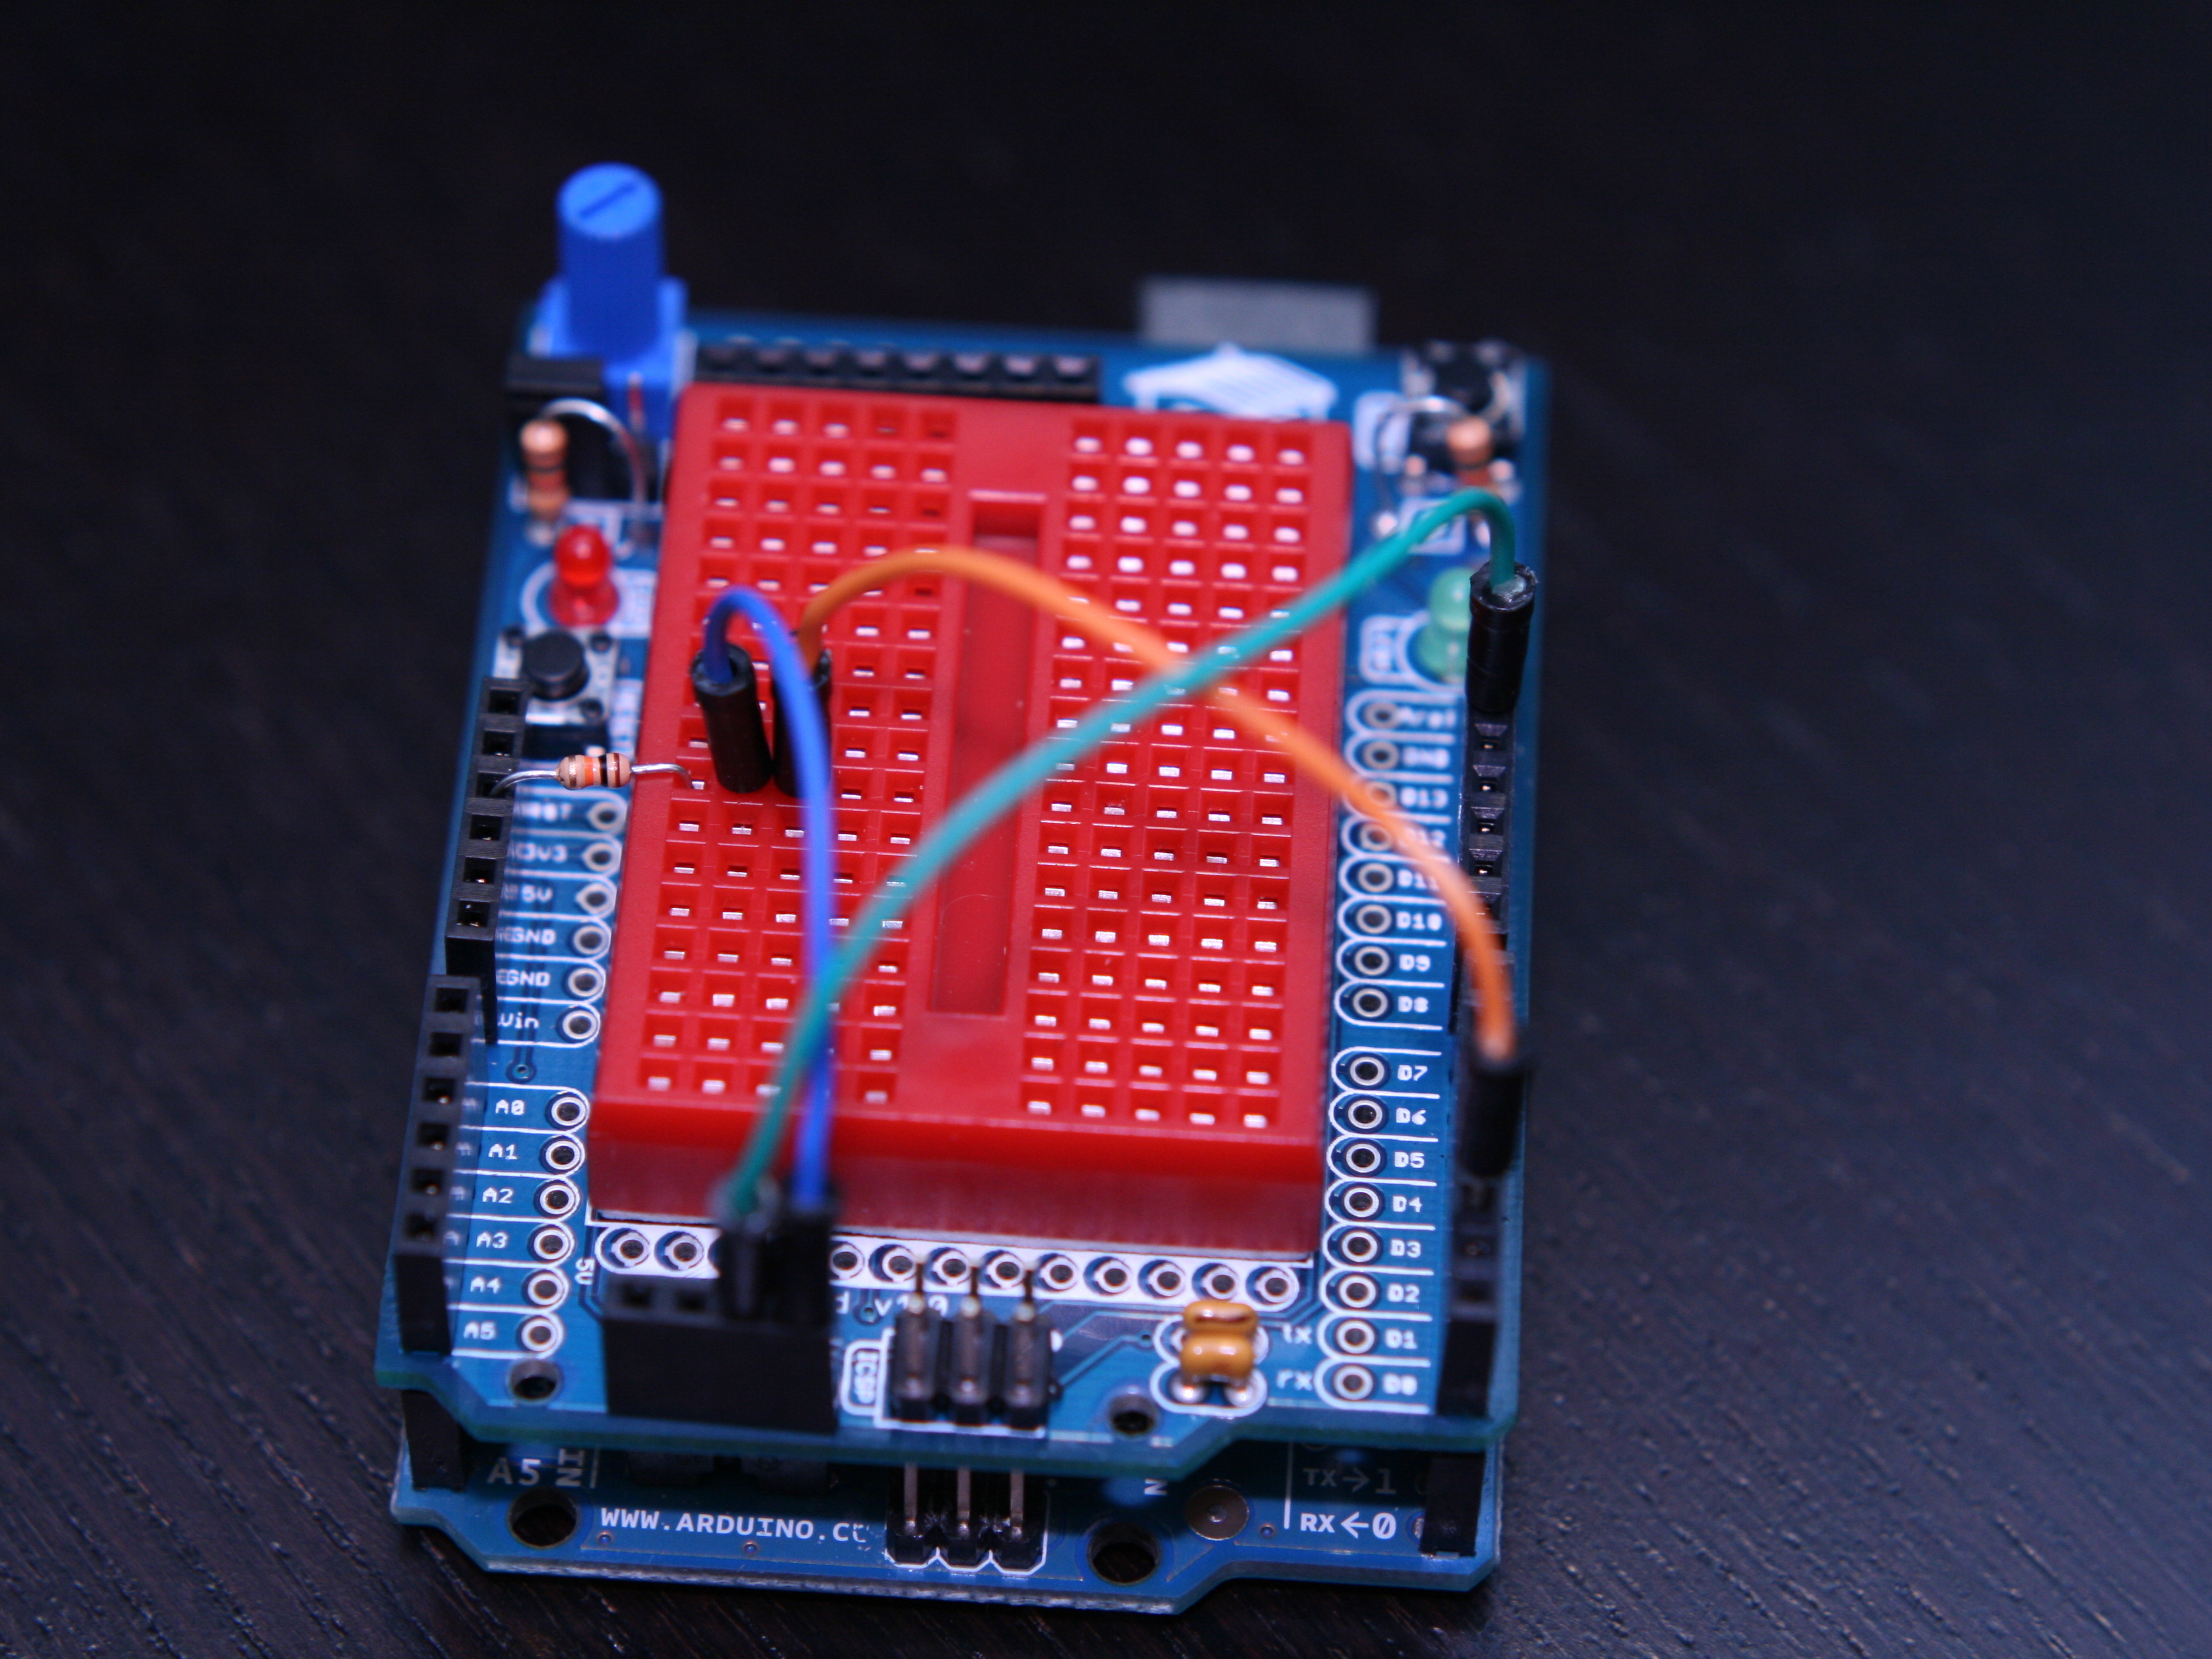
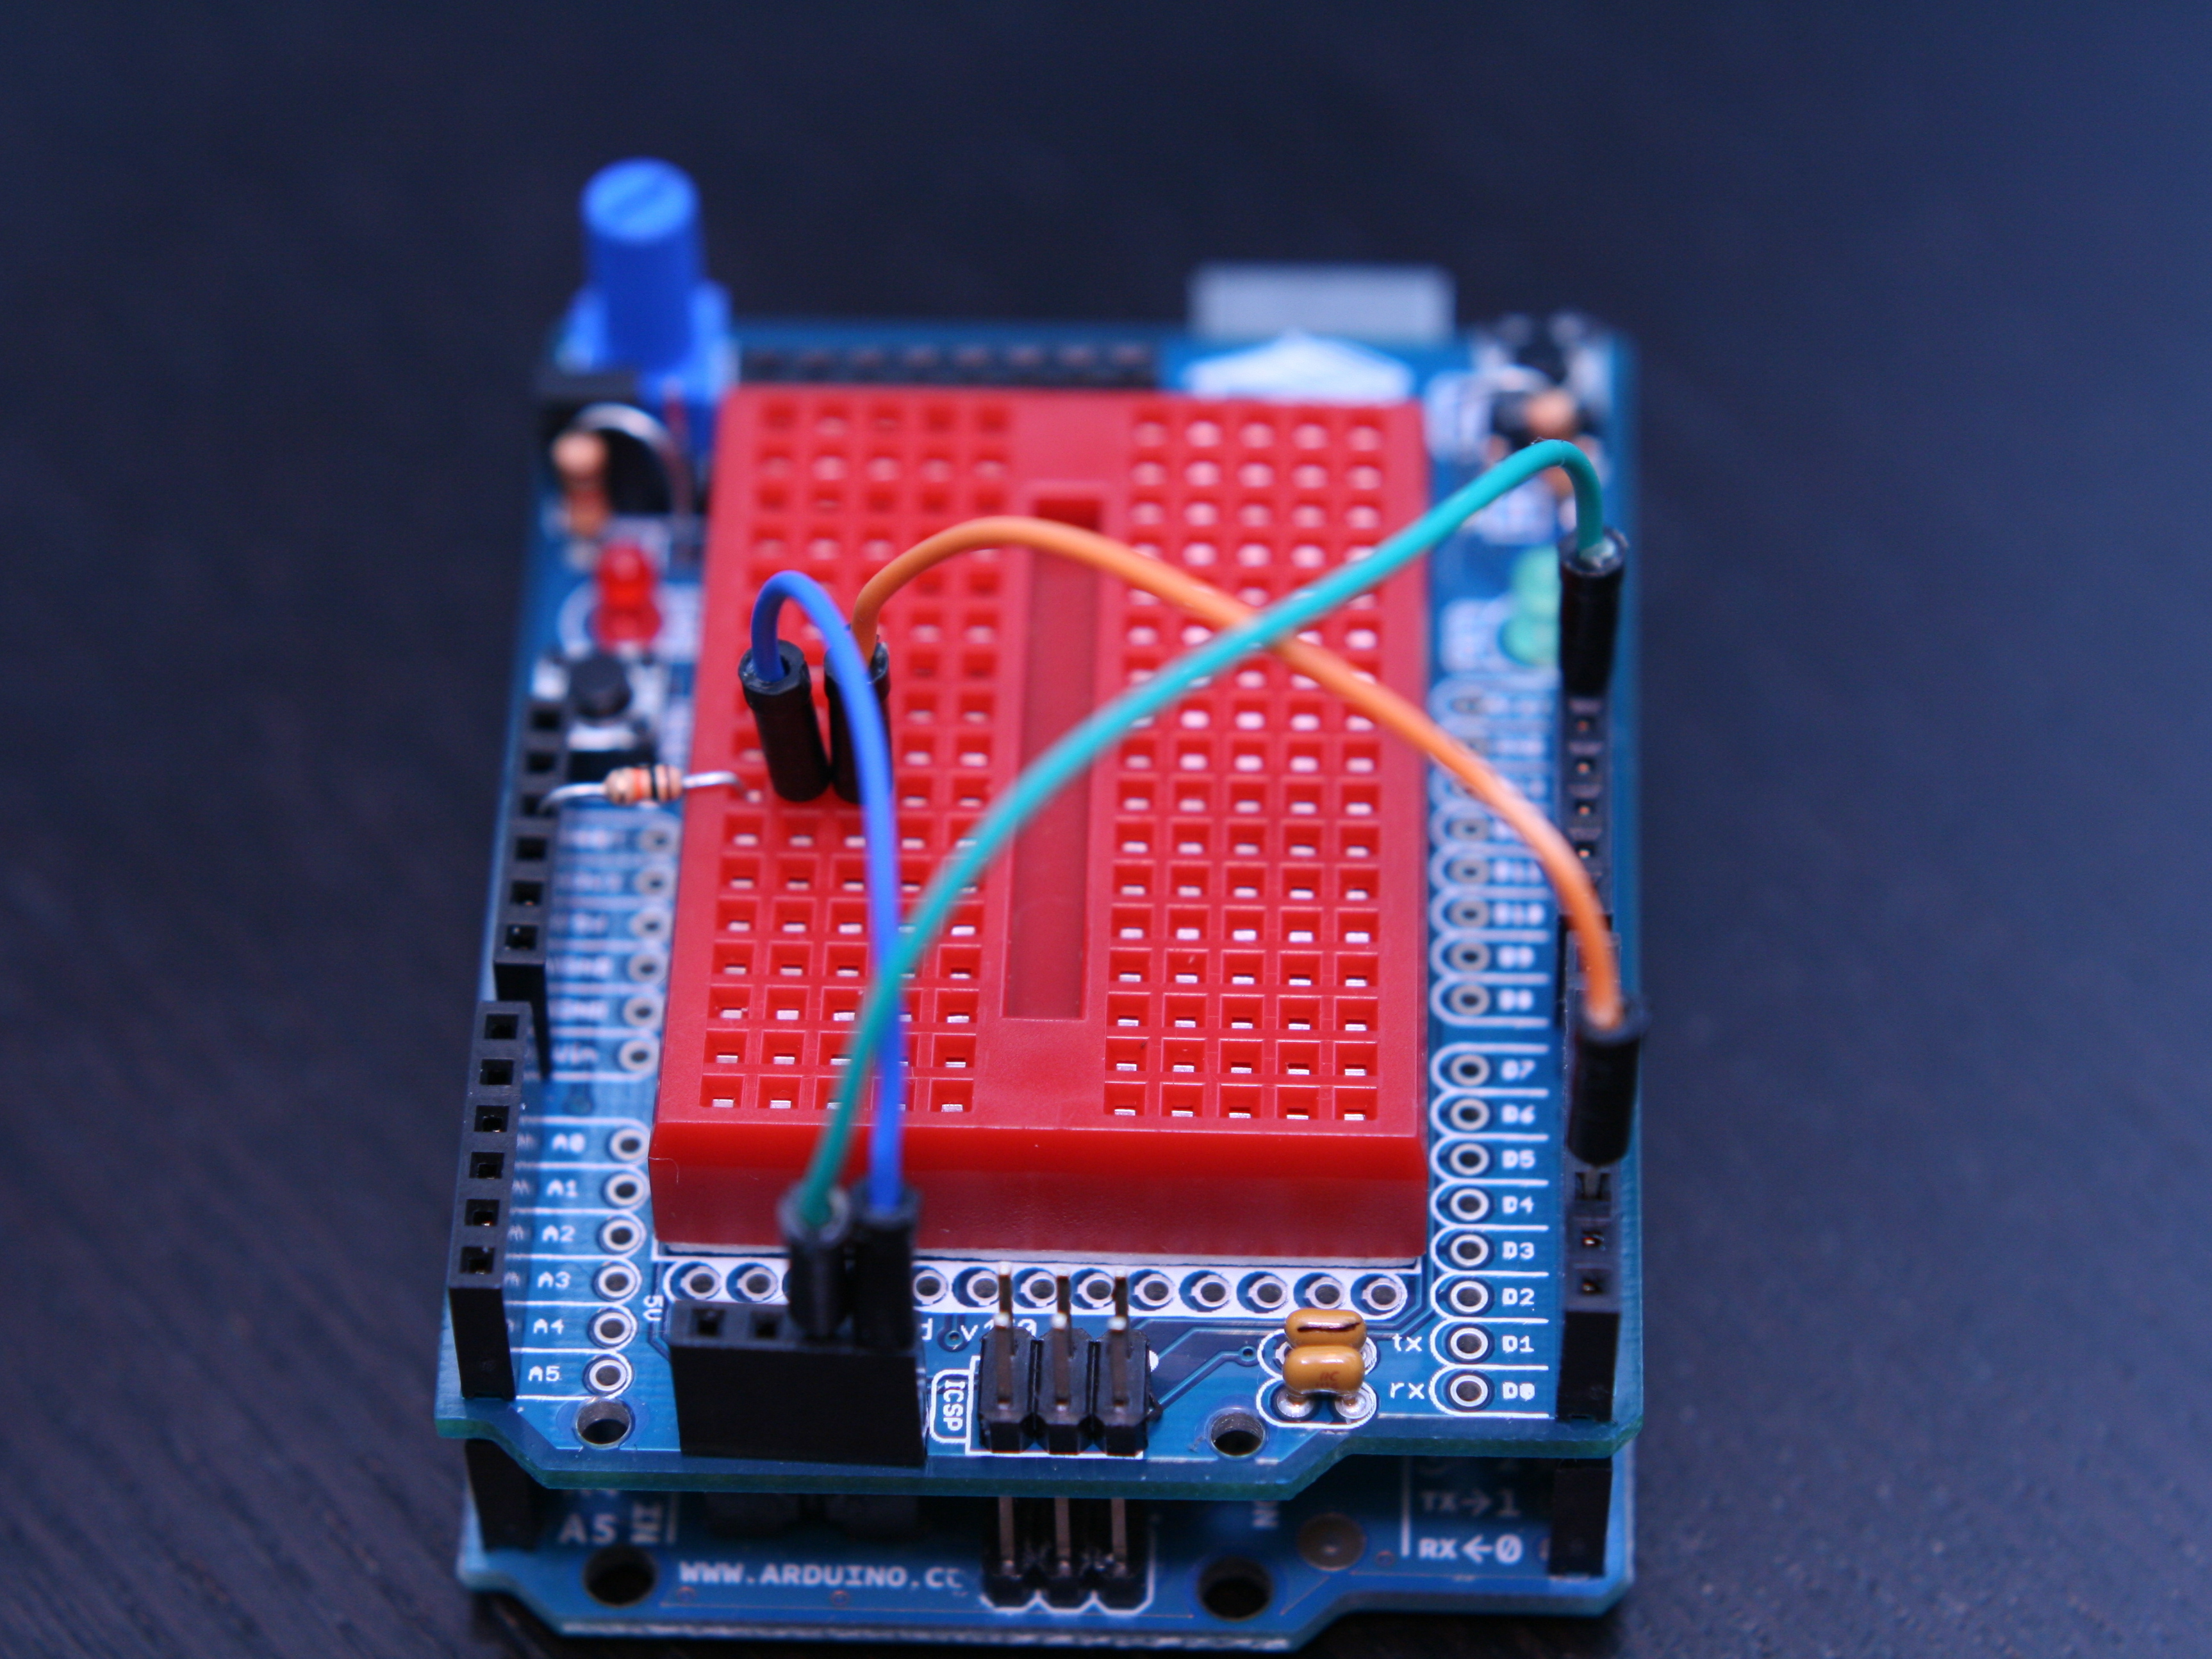
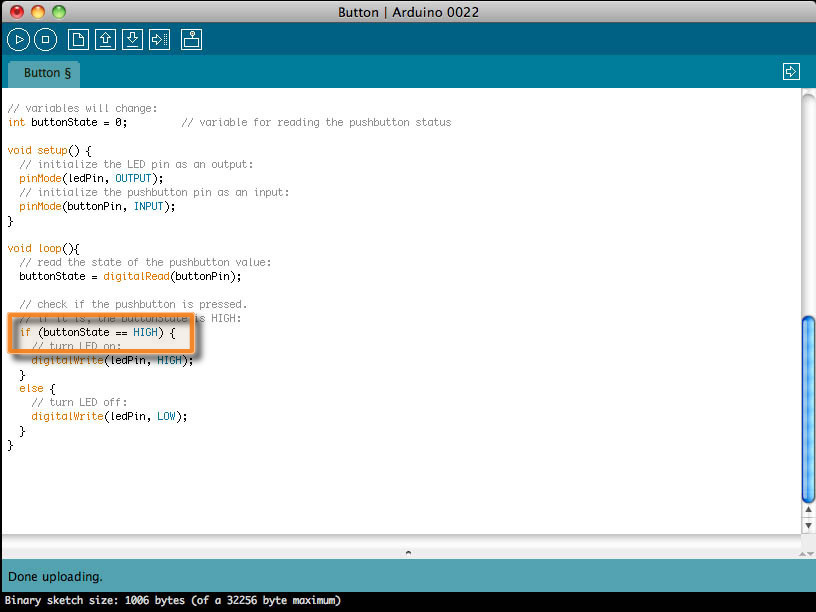
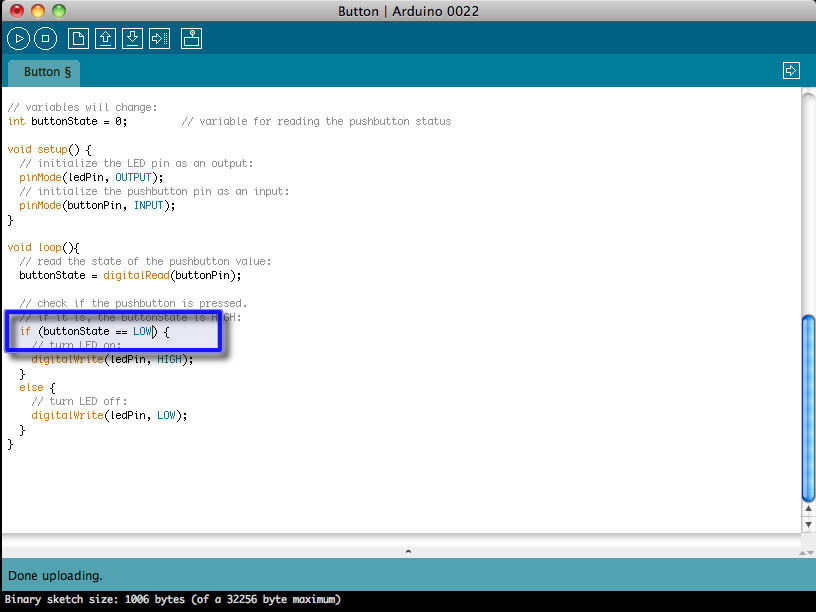
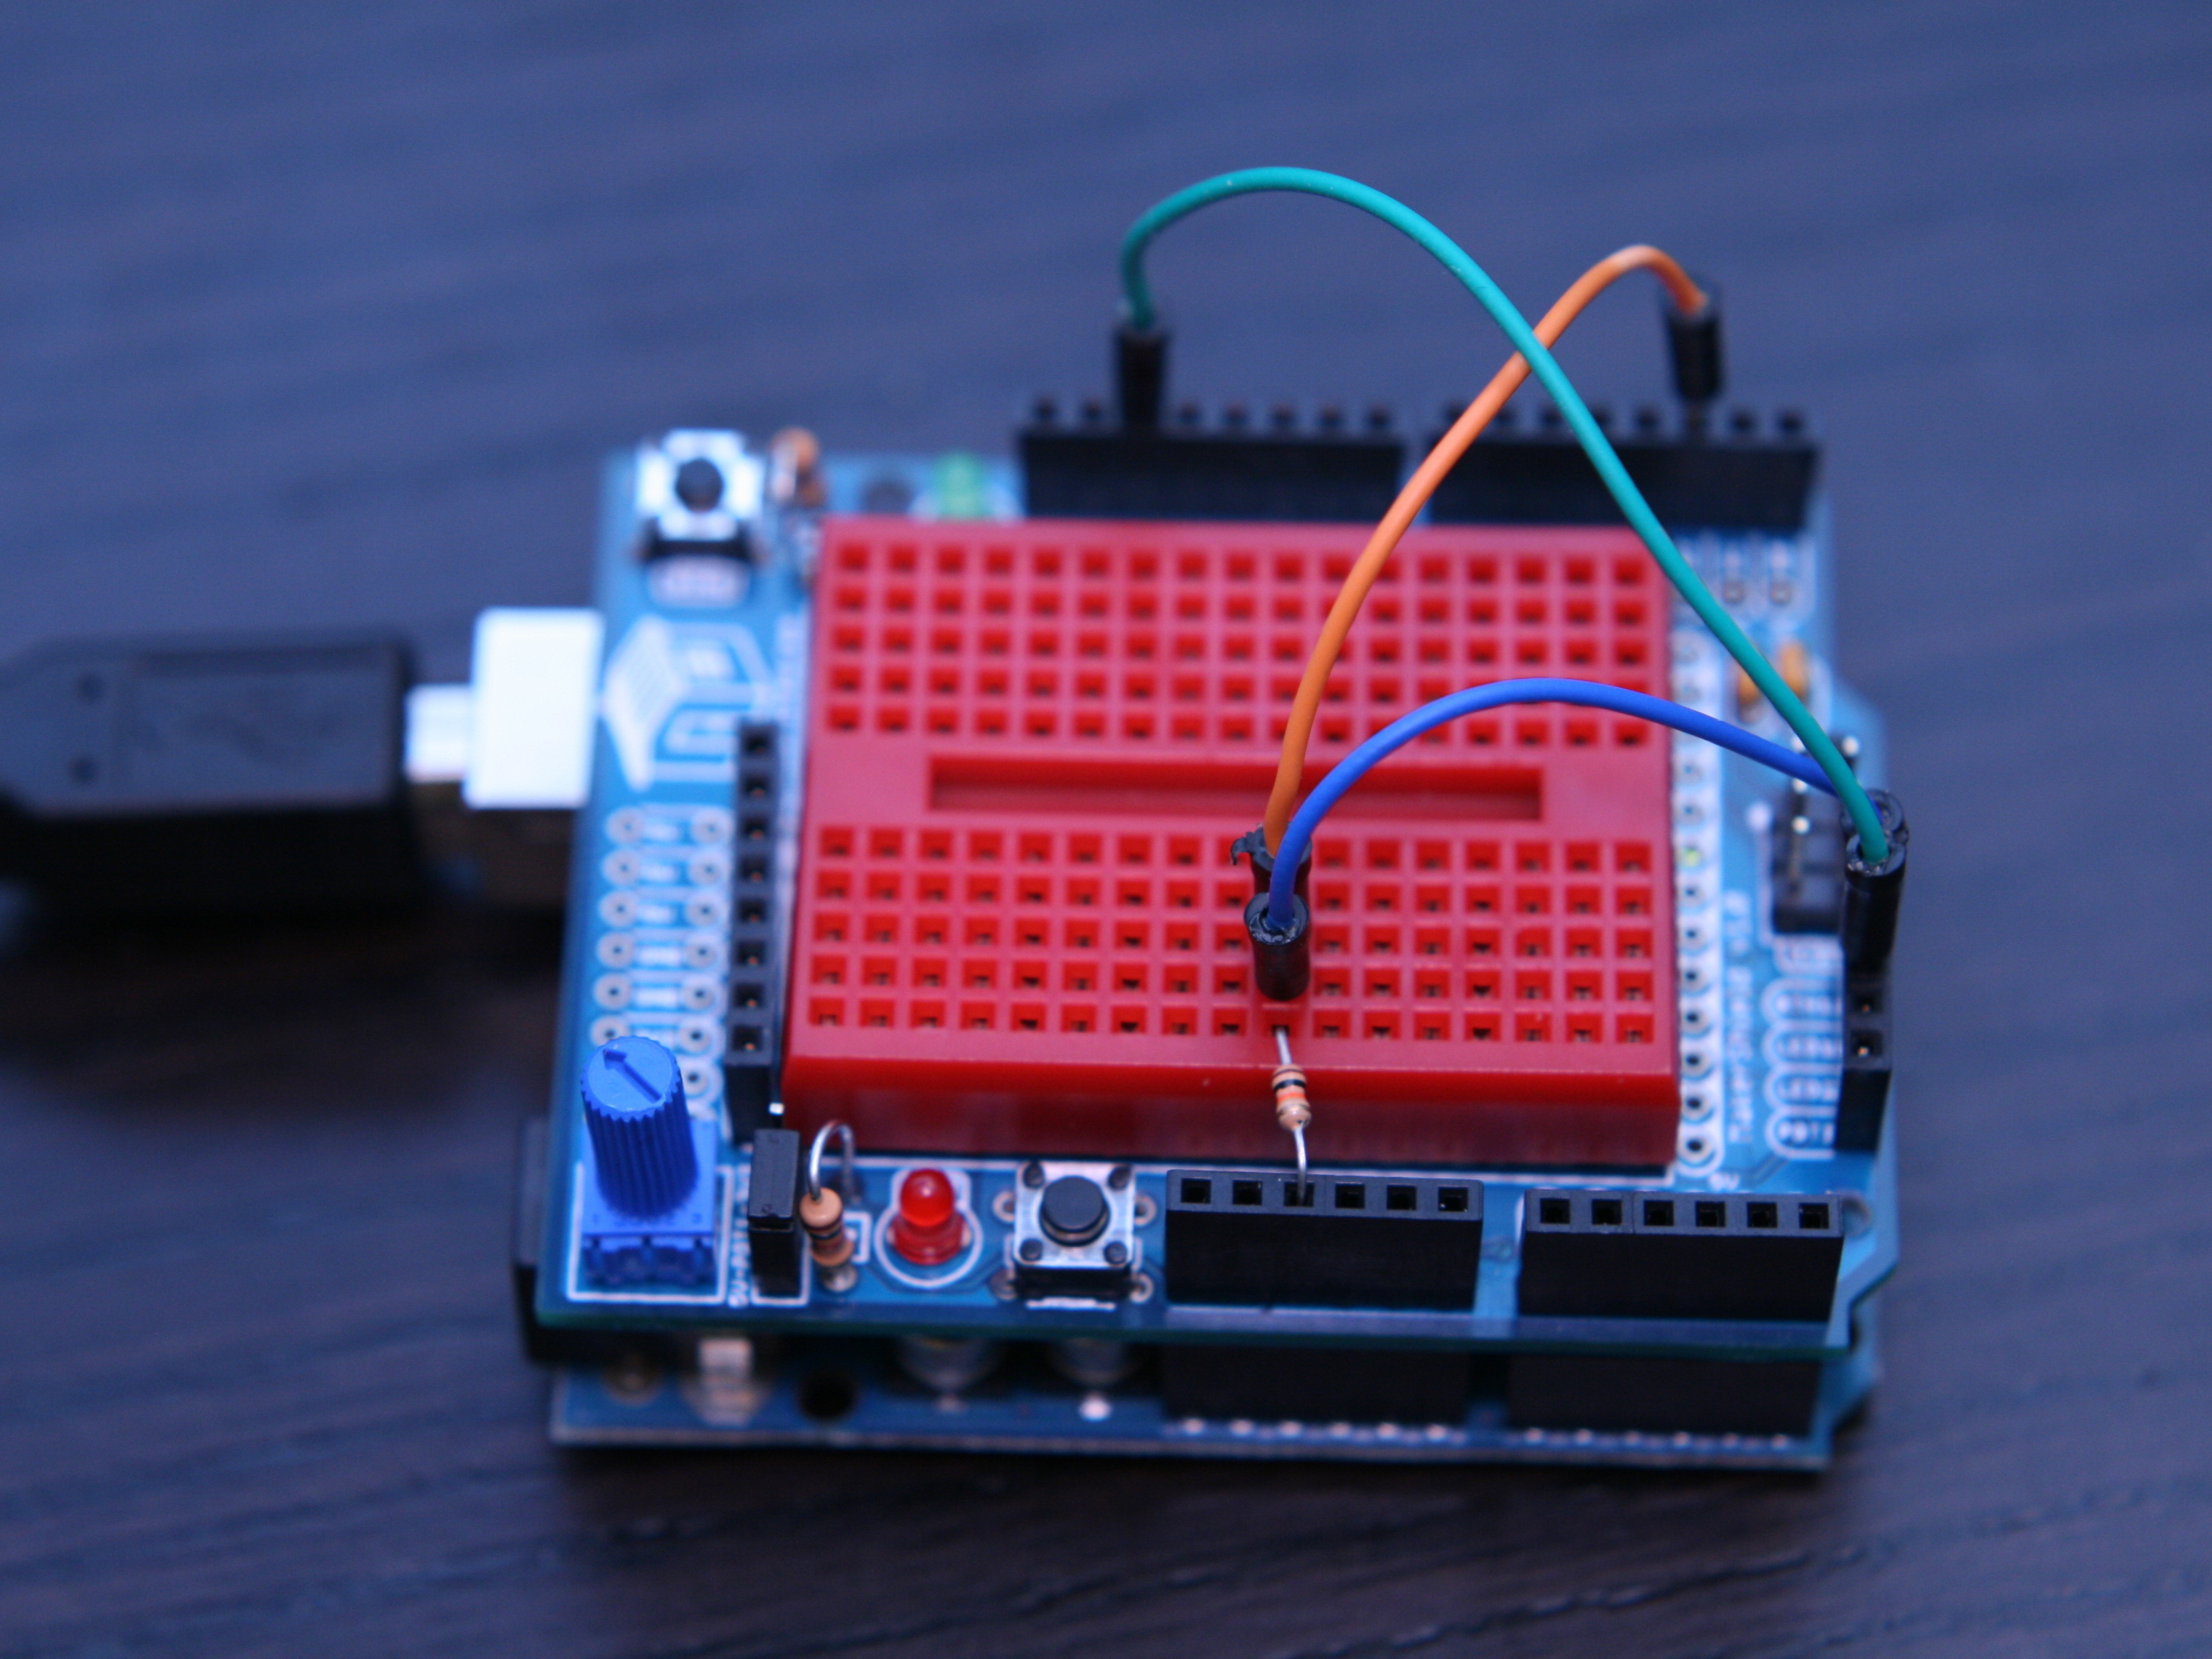
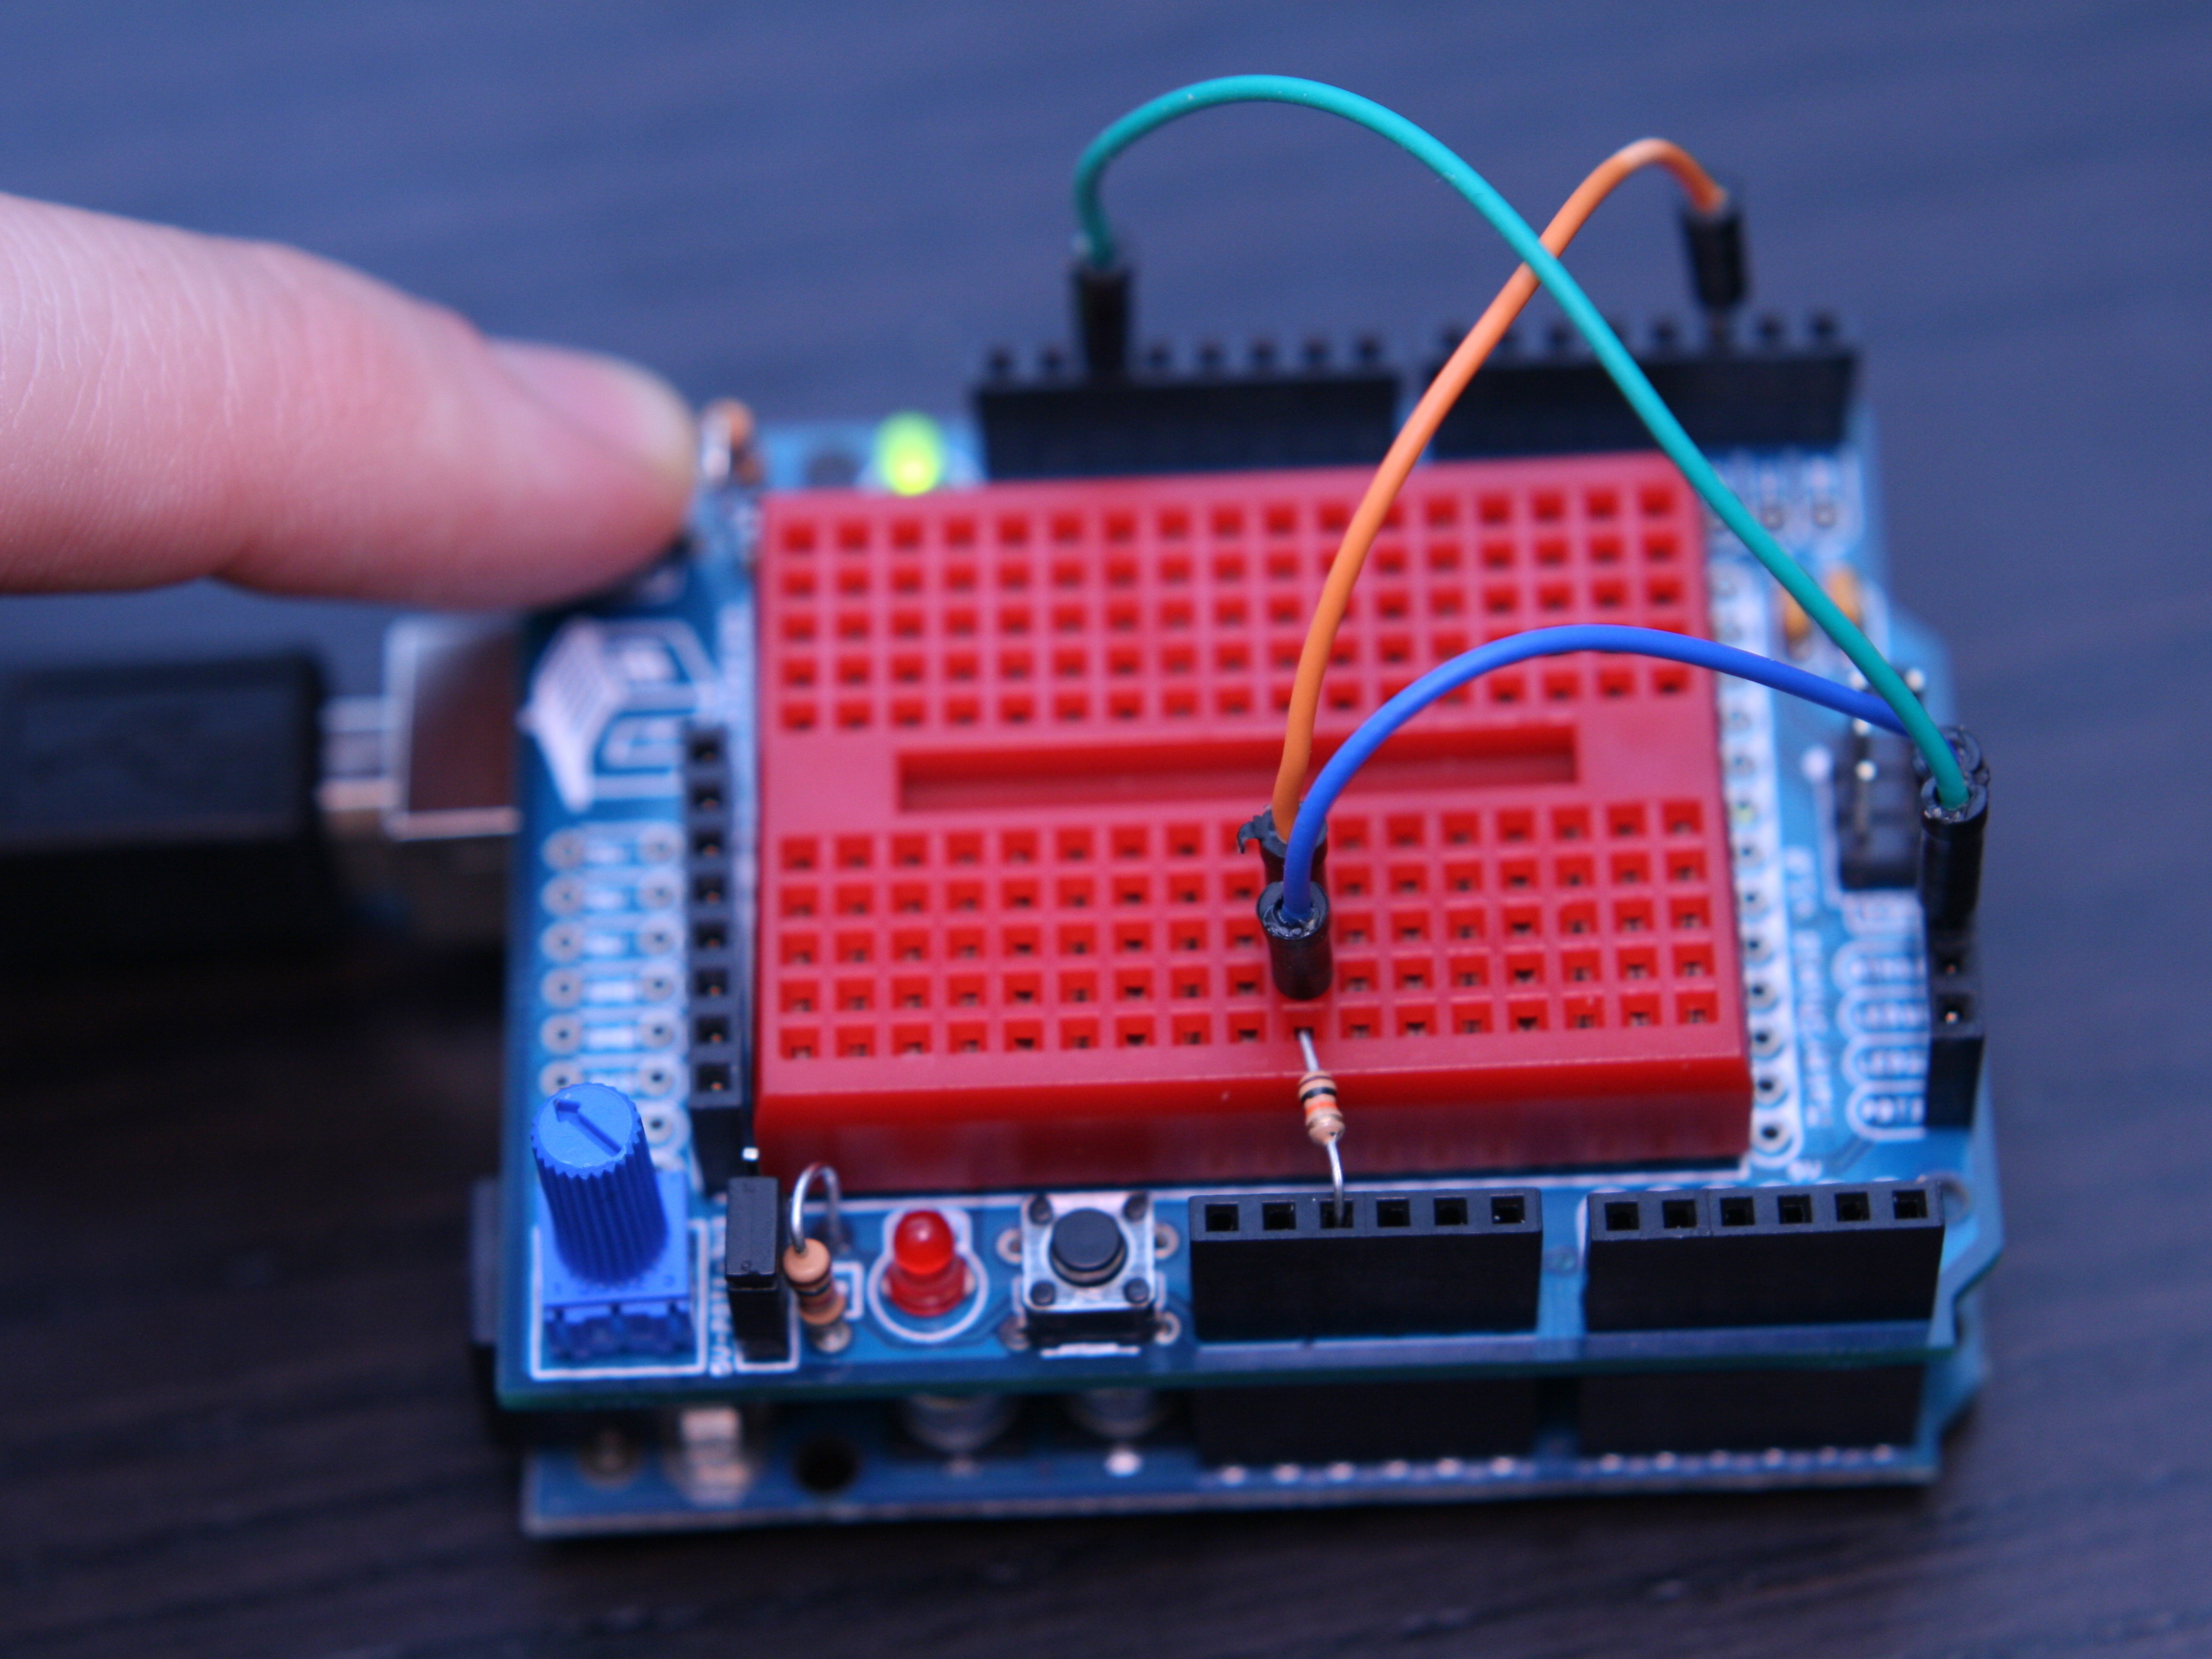
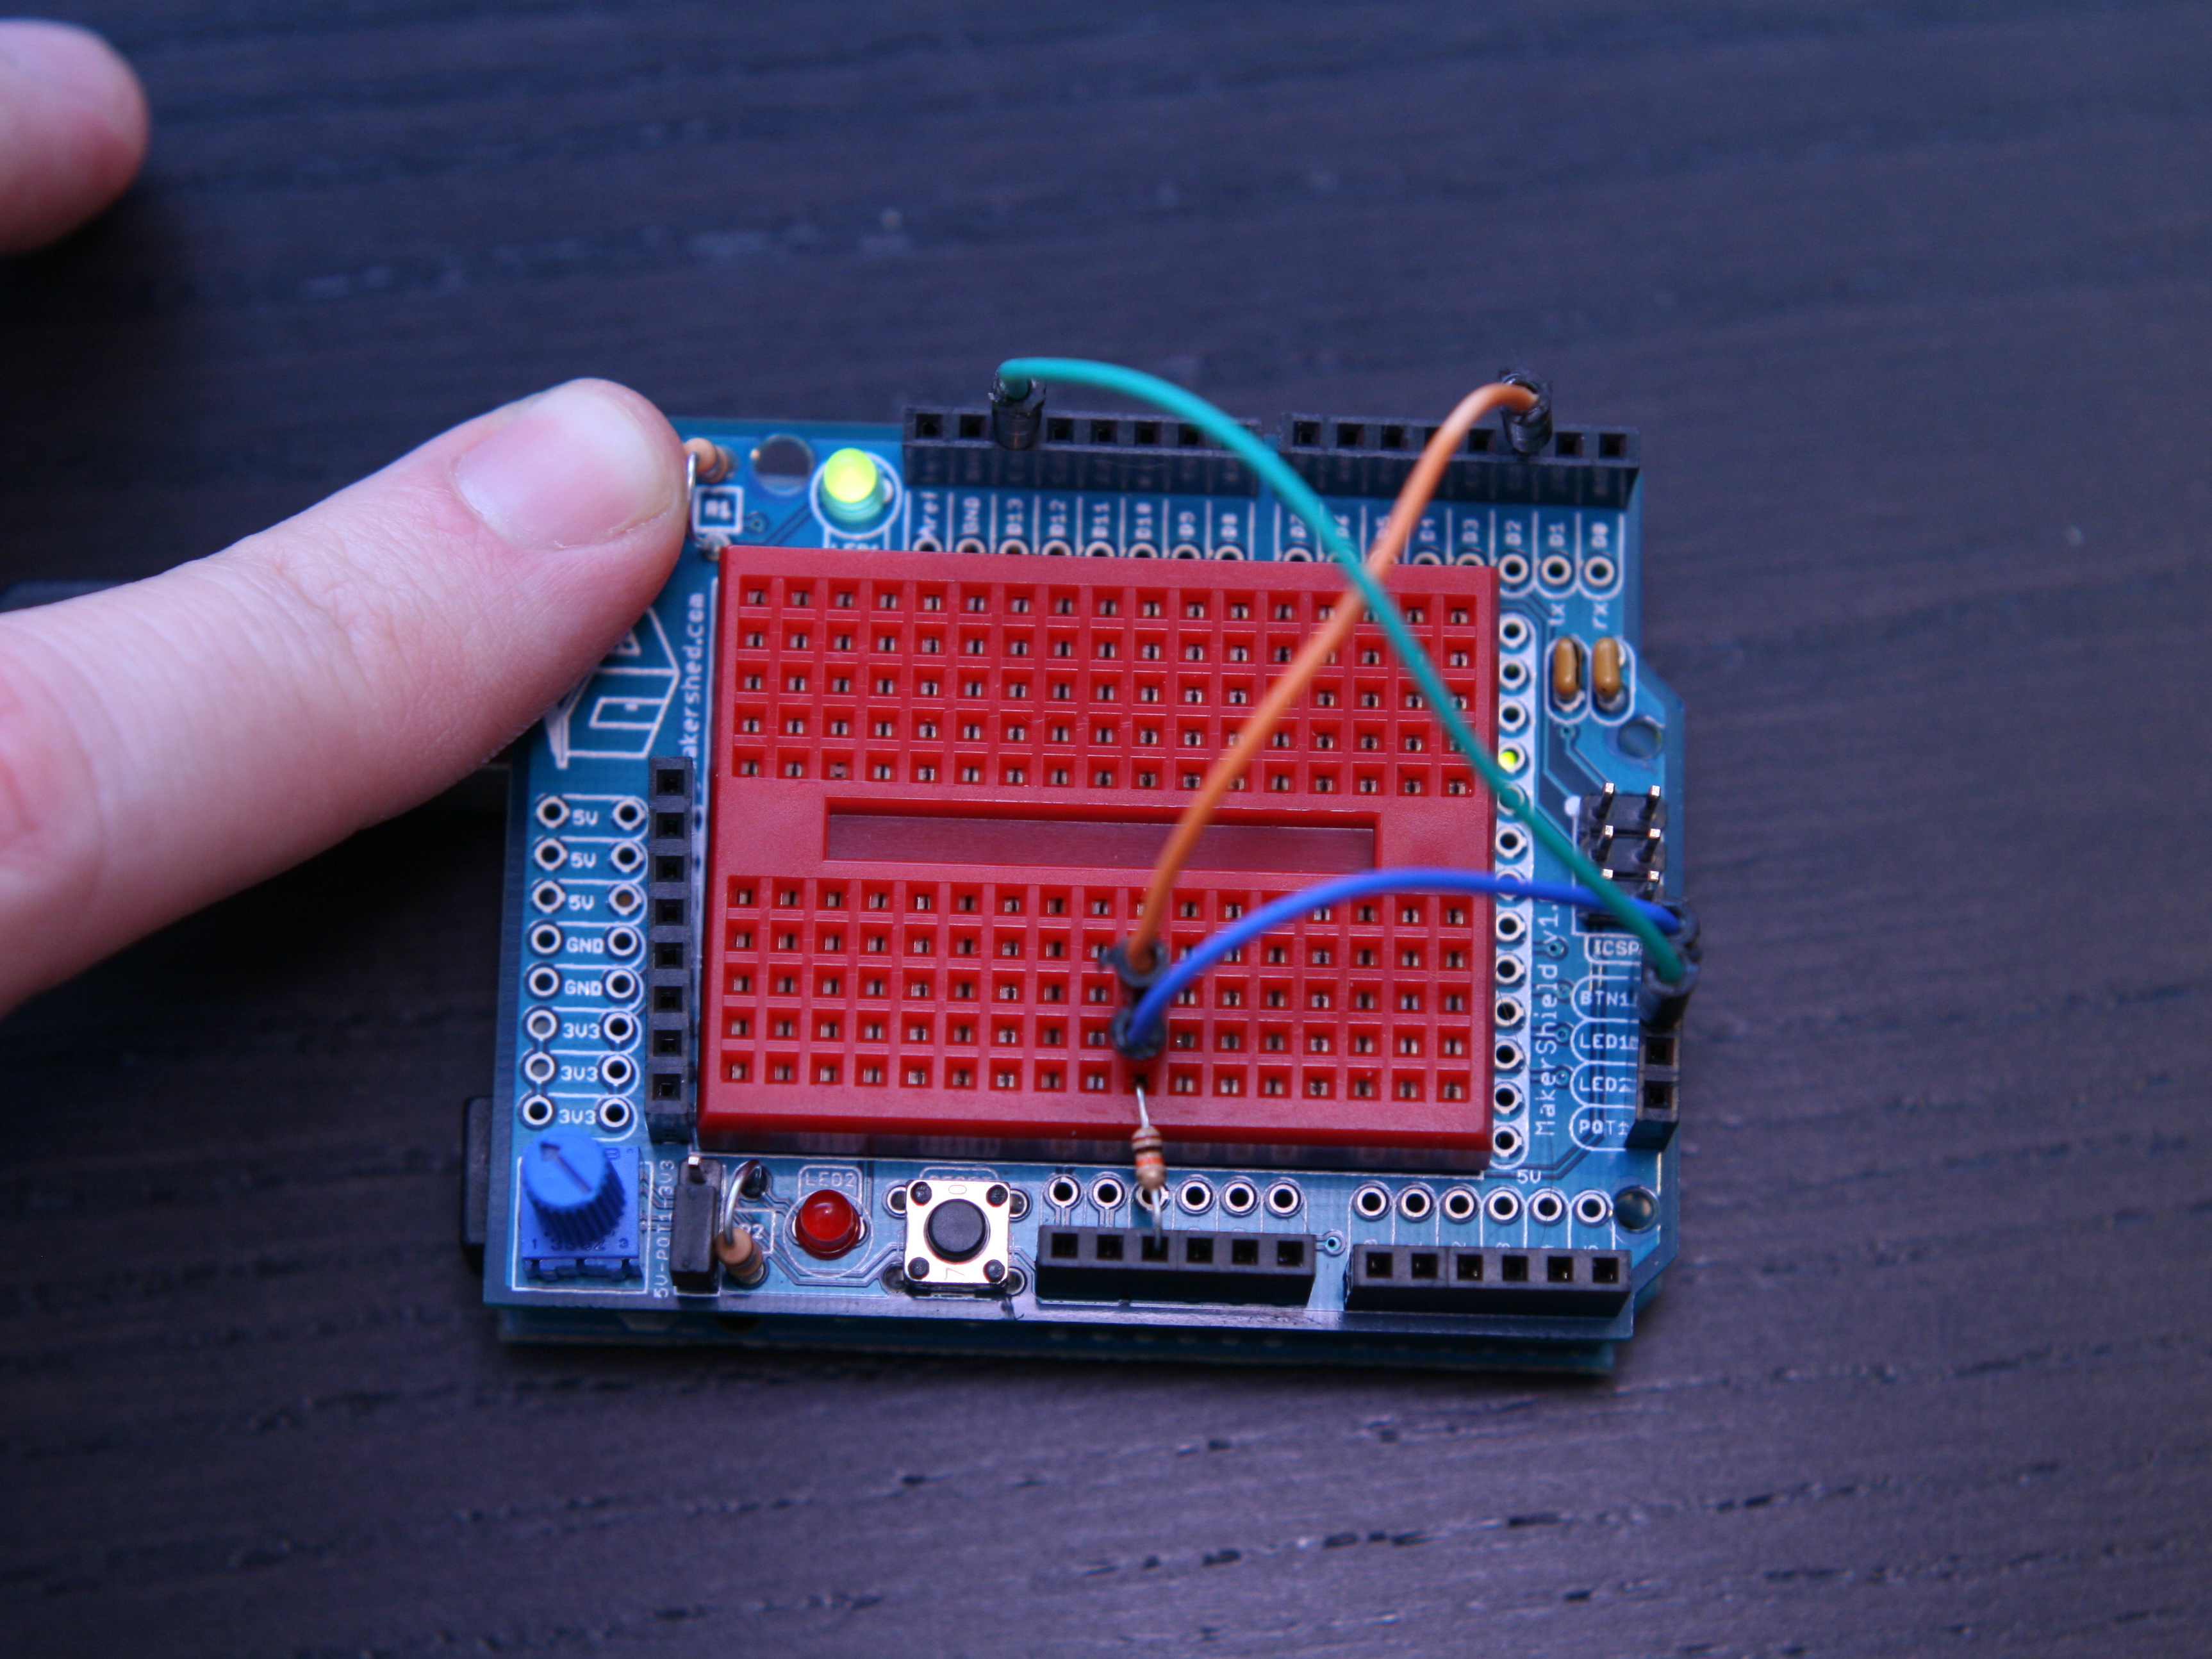
The MakerShield is a great prototyping shield but the button can be a little confusing to use. Since it connects to ground when pressed, it takes a little extra wiring and one change in the code to get to work with with the Arduino example sketch. Follow along!
Projects from Make: Magazine
Using the MakerShield – Button
Learn how to make the button on the MakerShield work with the "button" example sketch in the Arduino IDE.
- Like
- Digg
- Del
- Tumblr
- VKontakte
- Flattr
- Buffer
- Love This
- Odnoklassniki
- Meneame
- Blogger
- Amazon
- Yahoo Mail
- Gmail
- AOL
- Newsvine
- HackerNews
- Evernote
- MySpace
- Mail.ru
- Viadeo
- Line
- Comments
- Yummly
- SMS
- Viber
- Telegram
- Subscribe
- Skype
- Facebook Messenger
- Kakao
- LiveJournal
- Yammer
- Edgar
- Fintel
- Mix
- Instapaper
- Copy Link
Steps
Advertisement
Step #1:
- First, let's lay out our parts. You'll need a MakerShield (assembled), a mini breadboard, an Arduino, 3 male jumper wires, and a 10K Ohm (Brown, Black, Orange) resistor.
- Next, take your MakerShield (with mini breadboard attached) and place it on top of the shield headers. Make sure the pins are lined up and press it into place.
- Great Job! Let's continue.
Conclusion
Easy, huh?