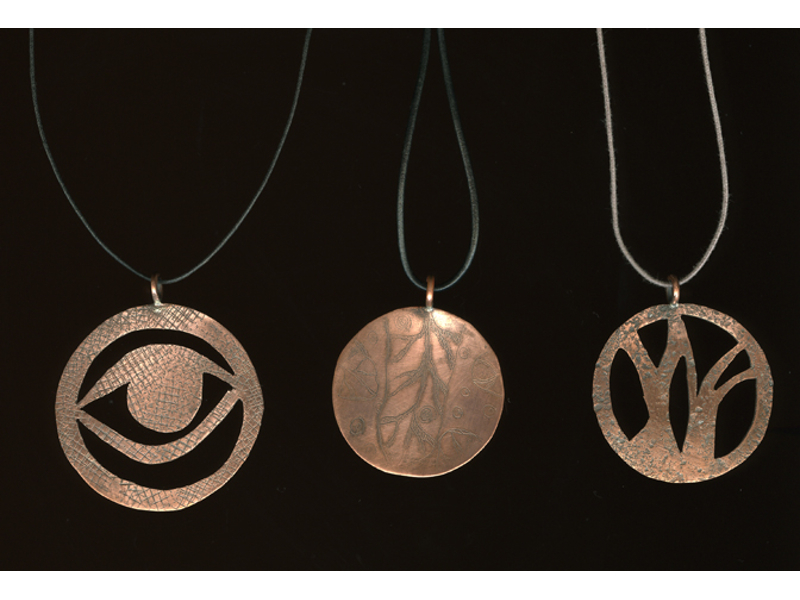
The pendants shown here are round (although you can make them any shape you like). If you don’t have a circle template, you can use the lids of vitamin or baby food containers, or even the bottom of a teacup.
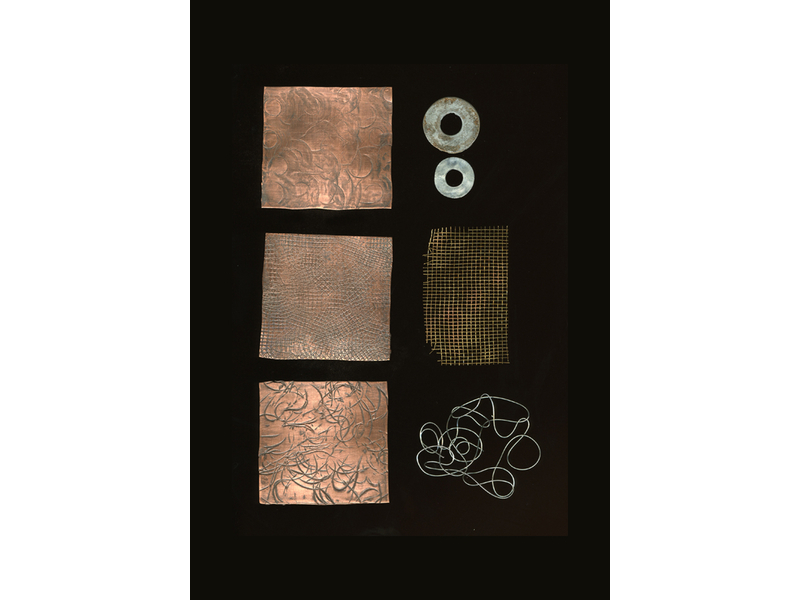
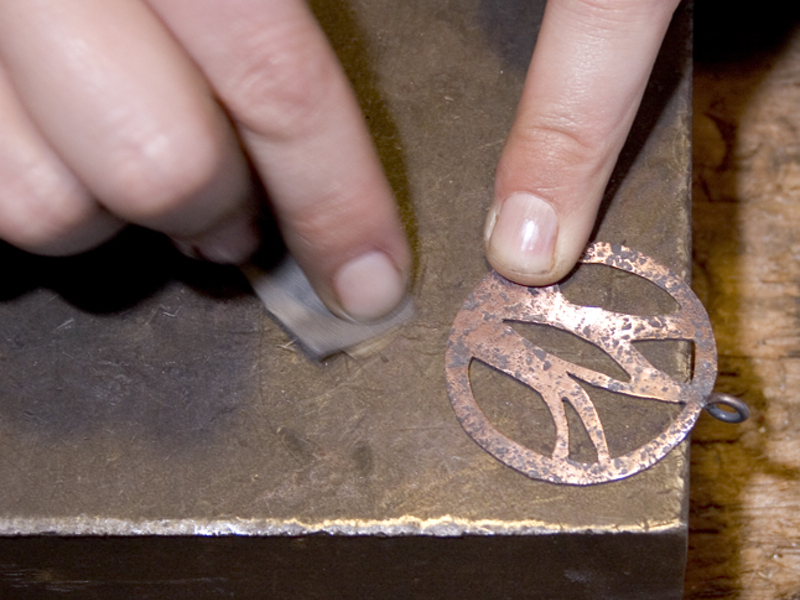
Once you’ve chosen a form for a template, use the Sharpie marker to trace the shape onto the texturized copper sheet, then cut it out with metal shears or a jeweler’s saw. This takes a steady hand and patience.
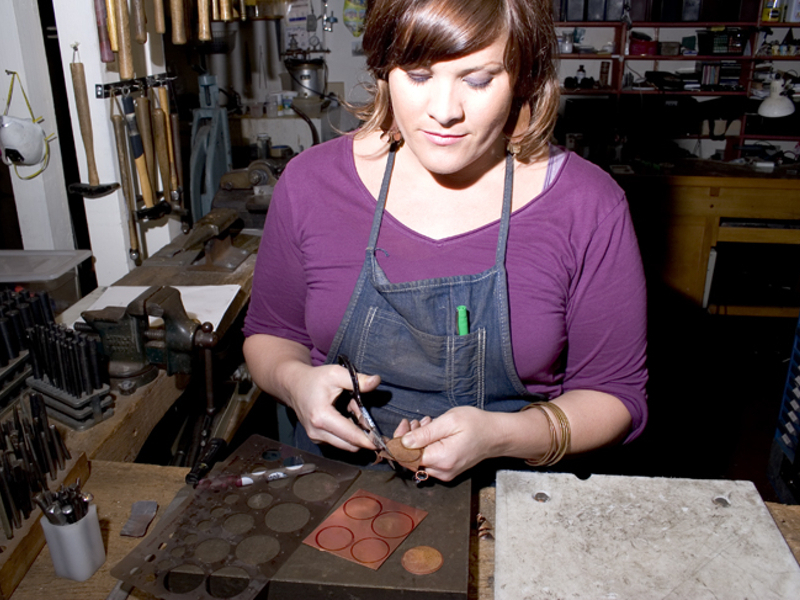
Be aware that if this is a first attempt with the jeweler’s saw, you will want to have extra blades on hand. Using your flex shaft or Dremel tool, drill a hole along the inside perimeter of the design. Place a saw blade in the top clamp of your jeweler’s saw, threading the blade through the hole in the sheet (design side up). Secure the blade in the bottom clamp of the saw.
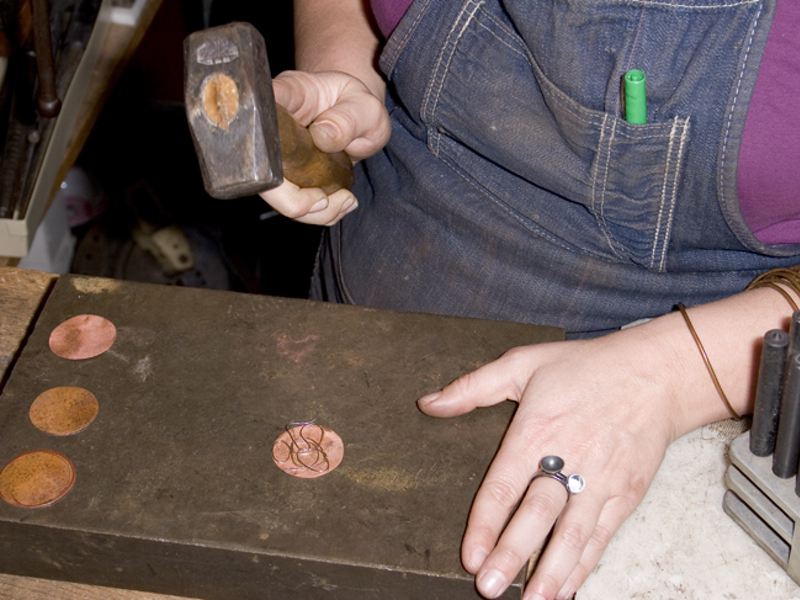
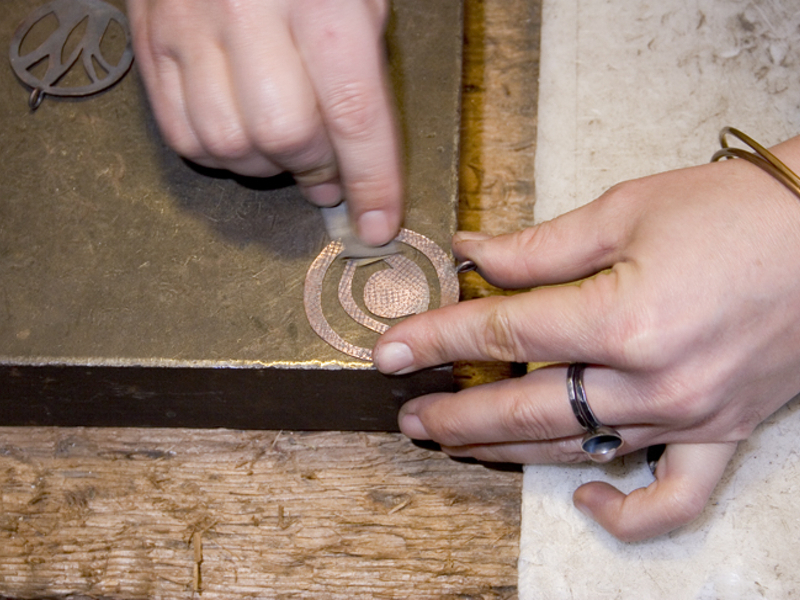
Brace the metal sheet against your bench pin by clamping your fingers against the top of the sheet and your thumb under the pin. If you do not have a bench pin, try using a brick on a tabletop.
Make sure to wax your blade, as it eases the movement through the metal — you can use beeswax or candle wax. Following the design you’ve traced onto the metal, take your time, and try to keep your saw vertical (side-to-side motion will break the blade).