WebHeads! Create Spiderweb-Trapped Doll Heads for Halloween
A simple prop for Halloween. Wrapping recycled / reused doll parts in webbing sold at Halloween. Use these in props & decor as 'captured victims' of spiders.
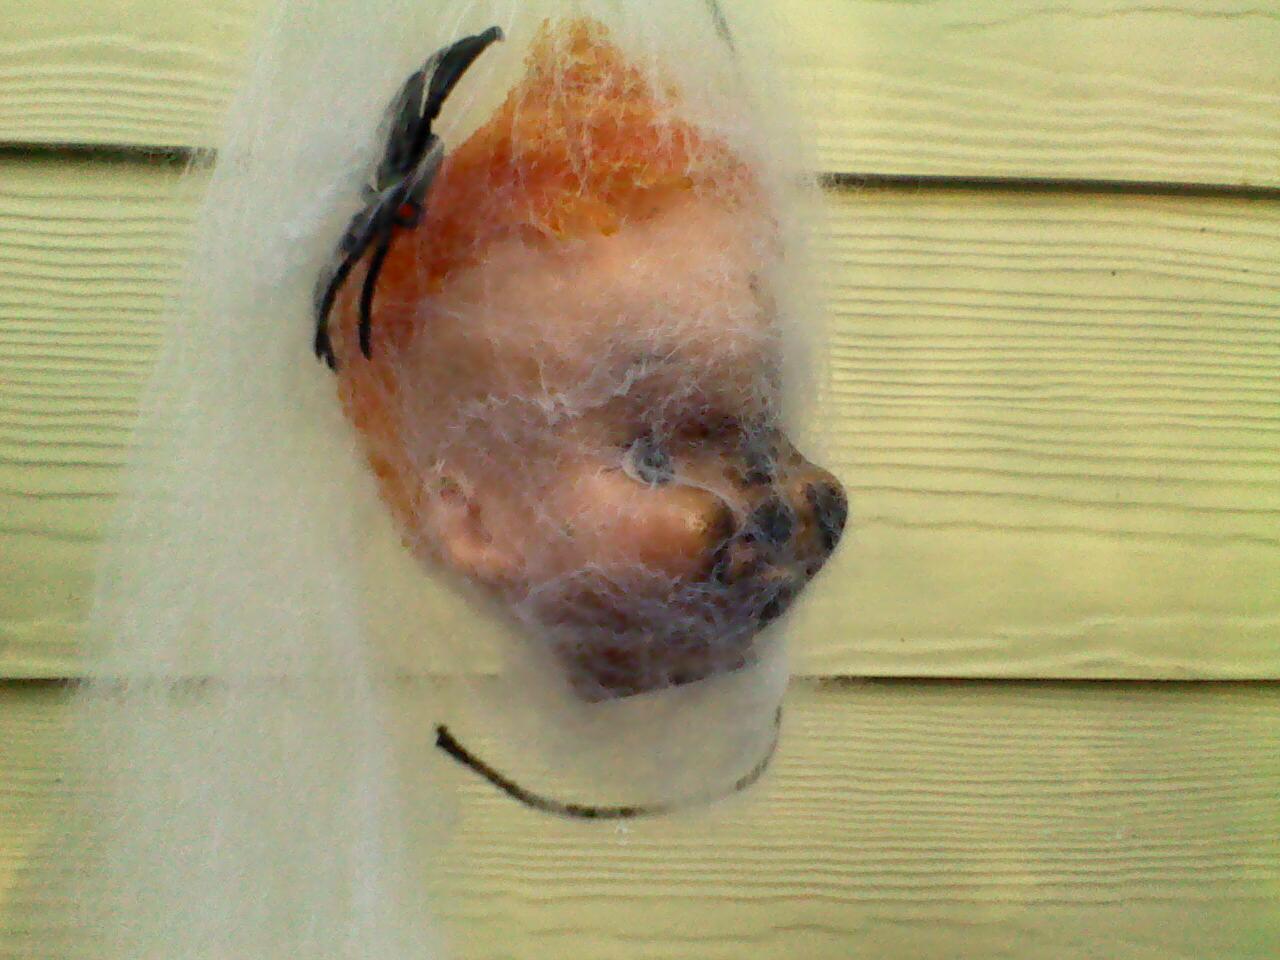
This year we are going with a spider-themed house and we will have a “Hedge of Heads” that showcases spiderweb-wrapped heads, etc. (doll parts) trapped in webbing on the hedges or bushes (creepy both day & night). This simple guide will show how we create creepy web-wrapped heads.
Doll parts!! The more the merrier! Here is a pile of whole heads and half-shells of doll faces .... doll arms ... doll legs .... you get the idea. Some have been scorched from a previous year's zombie theme or ???
You will also need some webbing they sell for spiderweb decor at the party stores, etc. It comes in a sort of sheet of threads that you can spread apart into webbing. I tear off small bits for the wraps.
Tear a small (1/2 inch or so) strand off the webbing mass. Yank or pull on this to "fluff" it up, then spread it out on a smooth surface.
Fold layer over once to create a thicker rectangle of webbing.
Place doll head in center of web.
Cup the head and pull the webbing up around the head, like wrapping a gift basket from bottom to top. Stretch out the strands to fully envelop the head.
You should end up with a "ponytail" of webbing on top of the doll head, ready to tie off.
Once you have the wrapping up around the head you need to tie it securely with a length of string. I am using black string so it will disappear in the dark but it really does not show much if it's another color.
You can use the string to hang the head or secure it to a bush branch to help keep goblins from running off with your props.
The previous example wrapped the web around the head in a "gift basket" style (bottom to top). This example will roll the head in the webbing in a "cocoon" style. Great for half-shell heads and small parts.
Lay the head on one side of your web. Fold web over in a criss-cross fashion, roll over once, then tuck in web to secure. Continue rolling up head until 3/4 of webbing has been used.
Turn head sideways so that remaining webbing is above the head.
Wrap up other little bits to strew here and there in your decor. Make sure enough of the item sticks out so people know what it is; not just a wad of cotton-looking thing.
Quick and easy. Next I will place them into the hedge and then spread out more webbing over the entire hedge. Then add the big spiders, etc. I'll post a hedge pic soon.
Our websites use cookies to improve your experience while you navigate through the Make: ecosystem. Out of these cookies, some are categorized as essential for the working of basic functionalities of our websites.
We also use third-party cookies that help us analyze and understand how you use our websites. These cookies will be stored in your browser only with your consent. You have the option to opt-out of these cookies. But opting out of some of these cookies may have an effect on your browsing experience.
Your choice here will be recorded for all the Make: Community Websites.
Allow Non-Necessary Cookies
Send this to a friend
Awesome!
Thanks for signing up.
The reCAPTCHA box was not checked. Please try again.
0 Responses to WebHeads! Create Spiderweb-Trapped Doll Heads for Halloween