windr2-feature

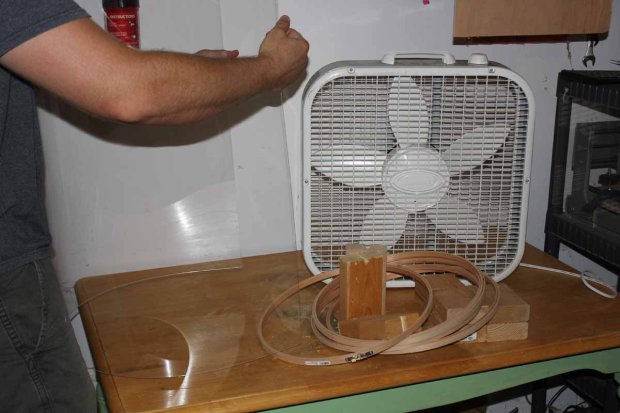
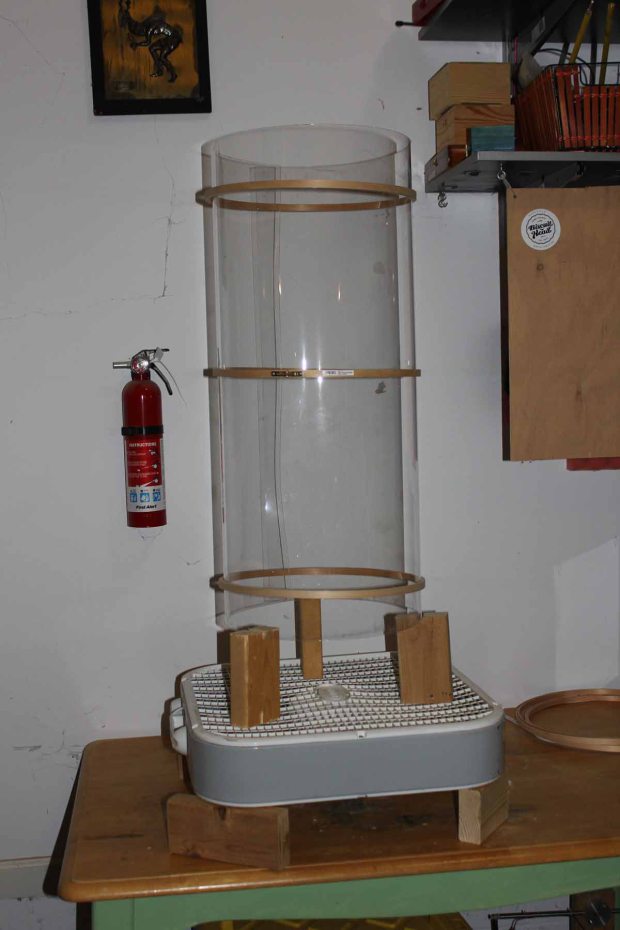
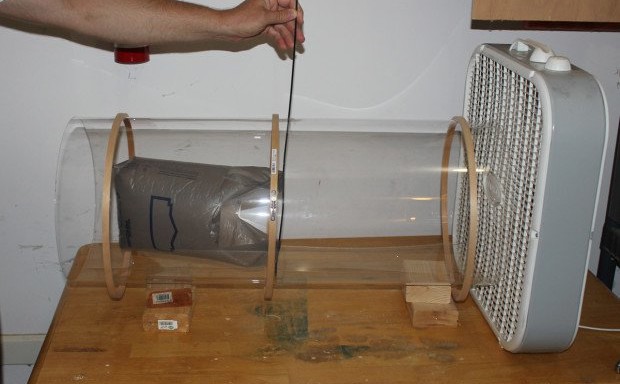
A wind tunnel can be used to test airplanes, automobiles, or anything that you want to see how well it passes through the air. Besides military or automotive facilities, they can often be found in museums and educational science centers, where one could test out a wing shape or even a DIY parachute!

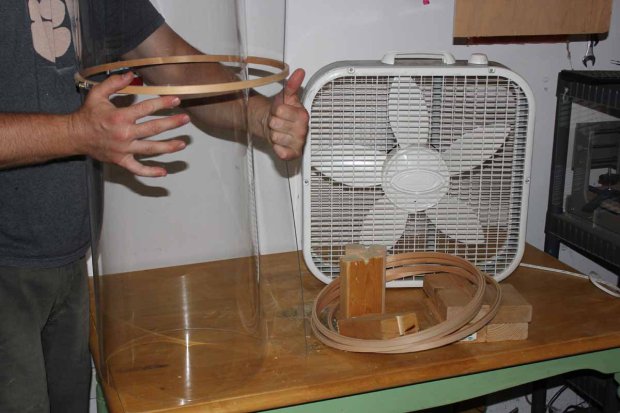
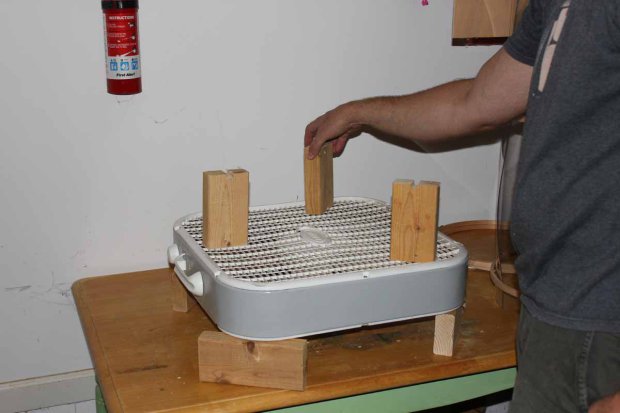
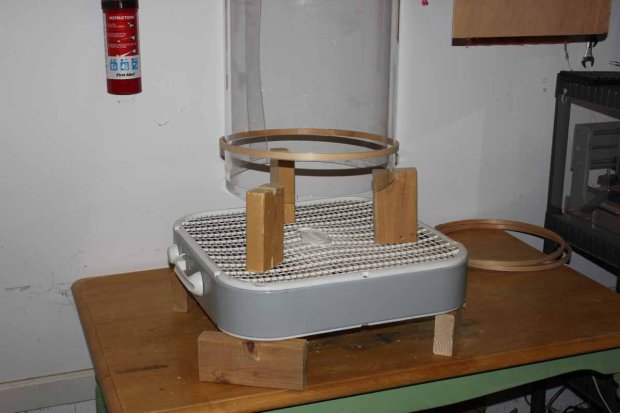
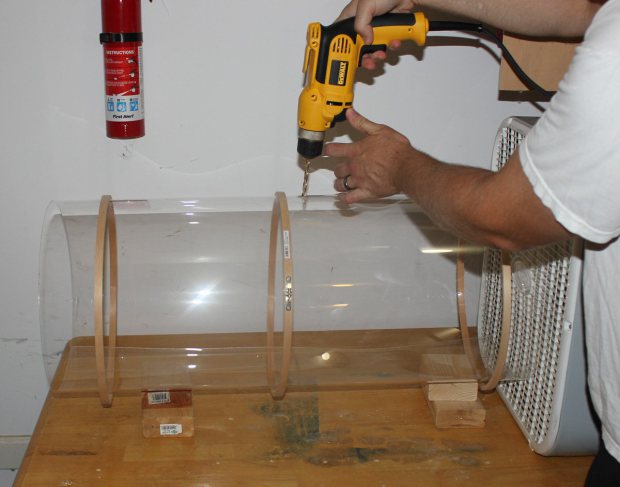
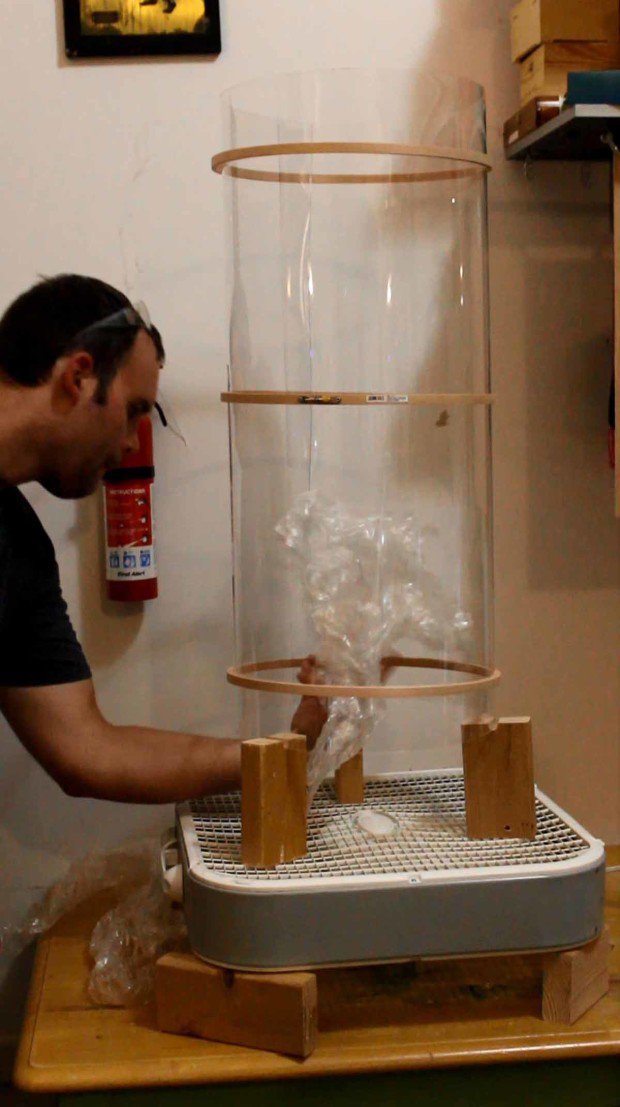
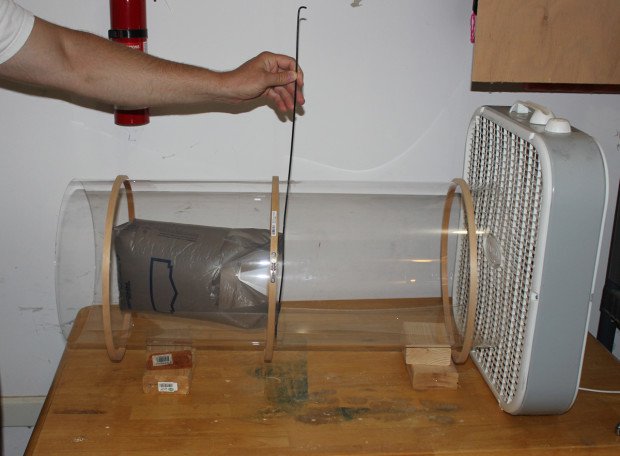
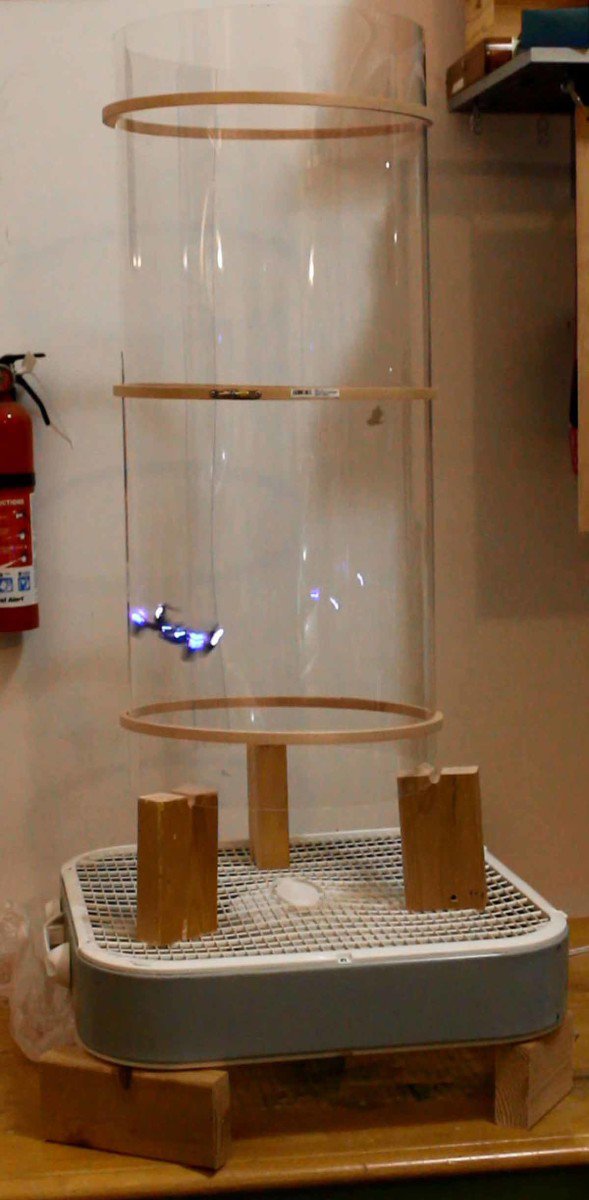
You can also build your own, as shown in the following instructions. It can be mounted vertically or horizontally, depending on whether you want to test a miniature parachute vertically, or measure the drag coefficient on your pinewood derby car in horizontal mode!


Project Steps

Cut spacers to size

I cut the 3 two-by-four spacers 6″ long. You can, of course, use whatever sawing method available, but my miter saw made quick work out of it.

Cut the remaining wood into 4 pieces around 4″ long. The length of these is not critical, as they will simply be holding the fan off of the floor.

Cut holes in spacers

In order to properly hold the wind tunnel off of your fan, cut a notch in the side of your spacers as shown. This will allow the cylinder to sit in the middle of the wood without sliding everywhere.

I used a milling machine with a ½” mill attached, but if you have a bandsaw, the wood could be marked, and a “v-notch” cut into it. Just make sure the depth is reasonably consistent between the pieces.

Optionally, you can cut a hole in the other side of the wood to allow it to be attached to the fan with a zip-tie. One would thread the tie through the fan’s grating and loop it through the hole, but I didn’t see that as necessary for my build.

Bend clear plastic and wrap with hoops

Maybe the most difficult part of this is getting the plastic into a cylindrical shape. I accomplished this feat by bending the plastic in the 44″ side beyond where it needed to be and sliding the hoop over with a free hand.

A helper would be ideal here, and I’d recommend caution as well as safety glasses since it’s possible that it could shatter or even crack while under stress.

Slide the first hoop to roughly the middle of this circle, then add another hoop to the top and bottom. Ideally, the outside of the hoop should be able to hold the clear material by itself, while the middle sits on the inside to give everything shape. My hoops didn’t seem quite strong enough to take this type of stress, so I kept the outer and inner hoop assembled.

Although, in theory 44″ should be nearly perfect for a 14″ sewing hoop (3.14, pi, multiplied by 14″ is 43.96″), the sides looped over a little, which is fine. You can cut this down if needed and seal the gap with duct tape if you’d rather not have an overlapping section.

Prepare spacers and fan

Place the 4 non-drilled spacers underneath your fan to allow it to suck air in from the bottom. Set the 6″ spacers up on top of the fan. They should be evenly spaced and centered at approximately the diameter of the wind tunnel.

Add tunnel

Carefully place the clear assembled tunnel on top of the wooden spacers inside the notch.

Once satisfied with the position, you can (optionally, not shown) zip-tie each of the spacers to the fan’s grate using the drilled holes.

Horizontal mounting

If you’d like to mount your tunnel horizontally, you can forgo the three-spacer vertical assembly.

Set the tunnel on pieces of two-by-four as needed to get it close to the center of the fan. Drill a hole in the top as shown (¼″ hole drilled here), then obtain a piece of a metal shirt hanger or other rod to hold the test subject.

Test it out!

You should now have something that nominally looks like a wind tunnel. Turn the fan on, and you will feel air blowing out the top of the “stack.”

As seen in the above photos, I first tested it out vertically with the wrapping material that the clear acrylic came from. It eventually came out of the top after rolling around for a while. Horizontally, a small plastic bag worked well, then a paper airplane stood up to the “mighty wind.”

I also tried to fly my little Hubsan quadcopter up it, but the results were less than stellar. This wind tunnel is definitely an interesting project, and one that could easily be done in an afternoon!