When I first started building homemade instruments, I used a piezoelectric buzzer from RadioShack as a pickup (see http://onestringwillie.com for details). But while it’s cheap and simple, the piezo transducer has downsides: it has a low signal output, it picks up a lot of handling noise and can go into uncontrollable feedback at high volume, and it sounds thin and not nearly as authoritative as an electromagnetic pickup.

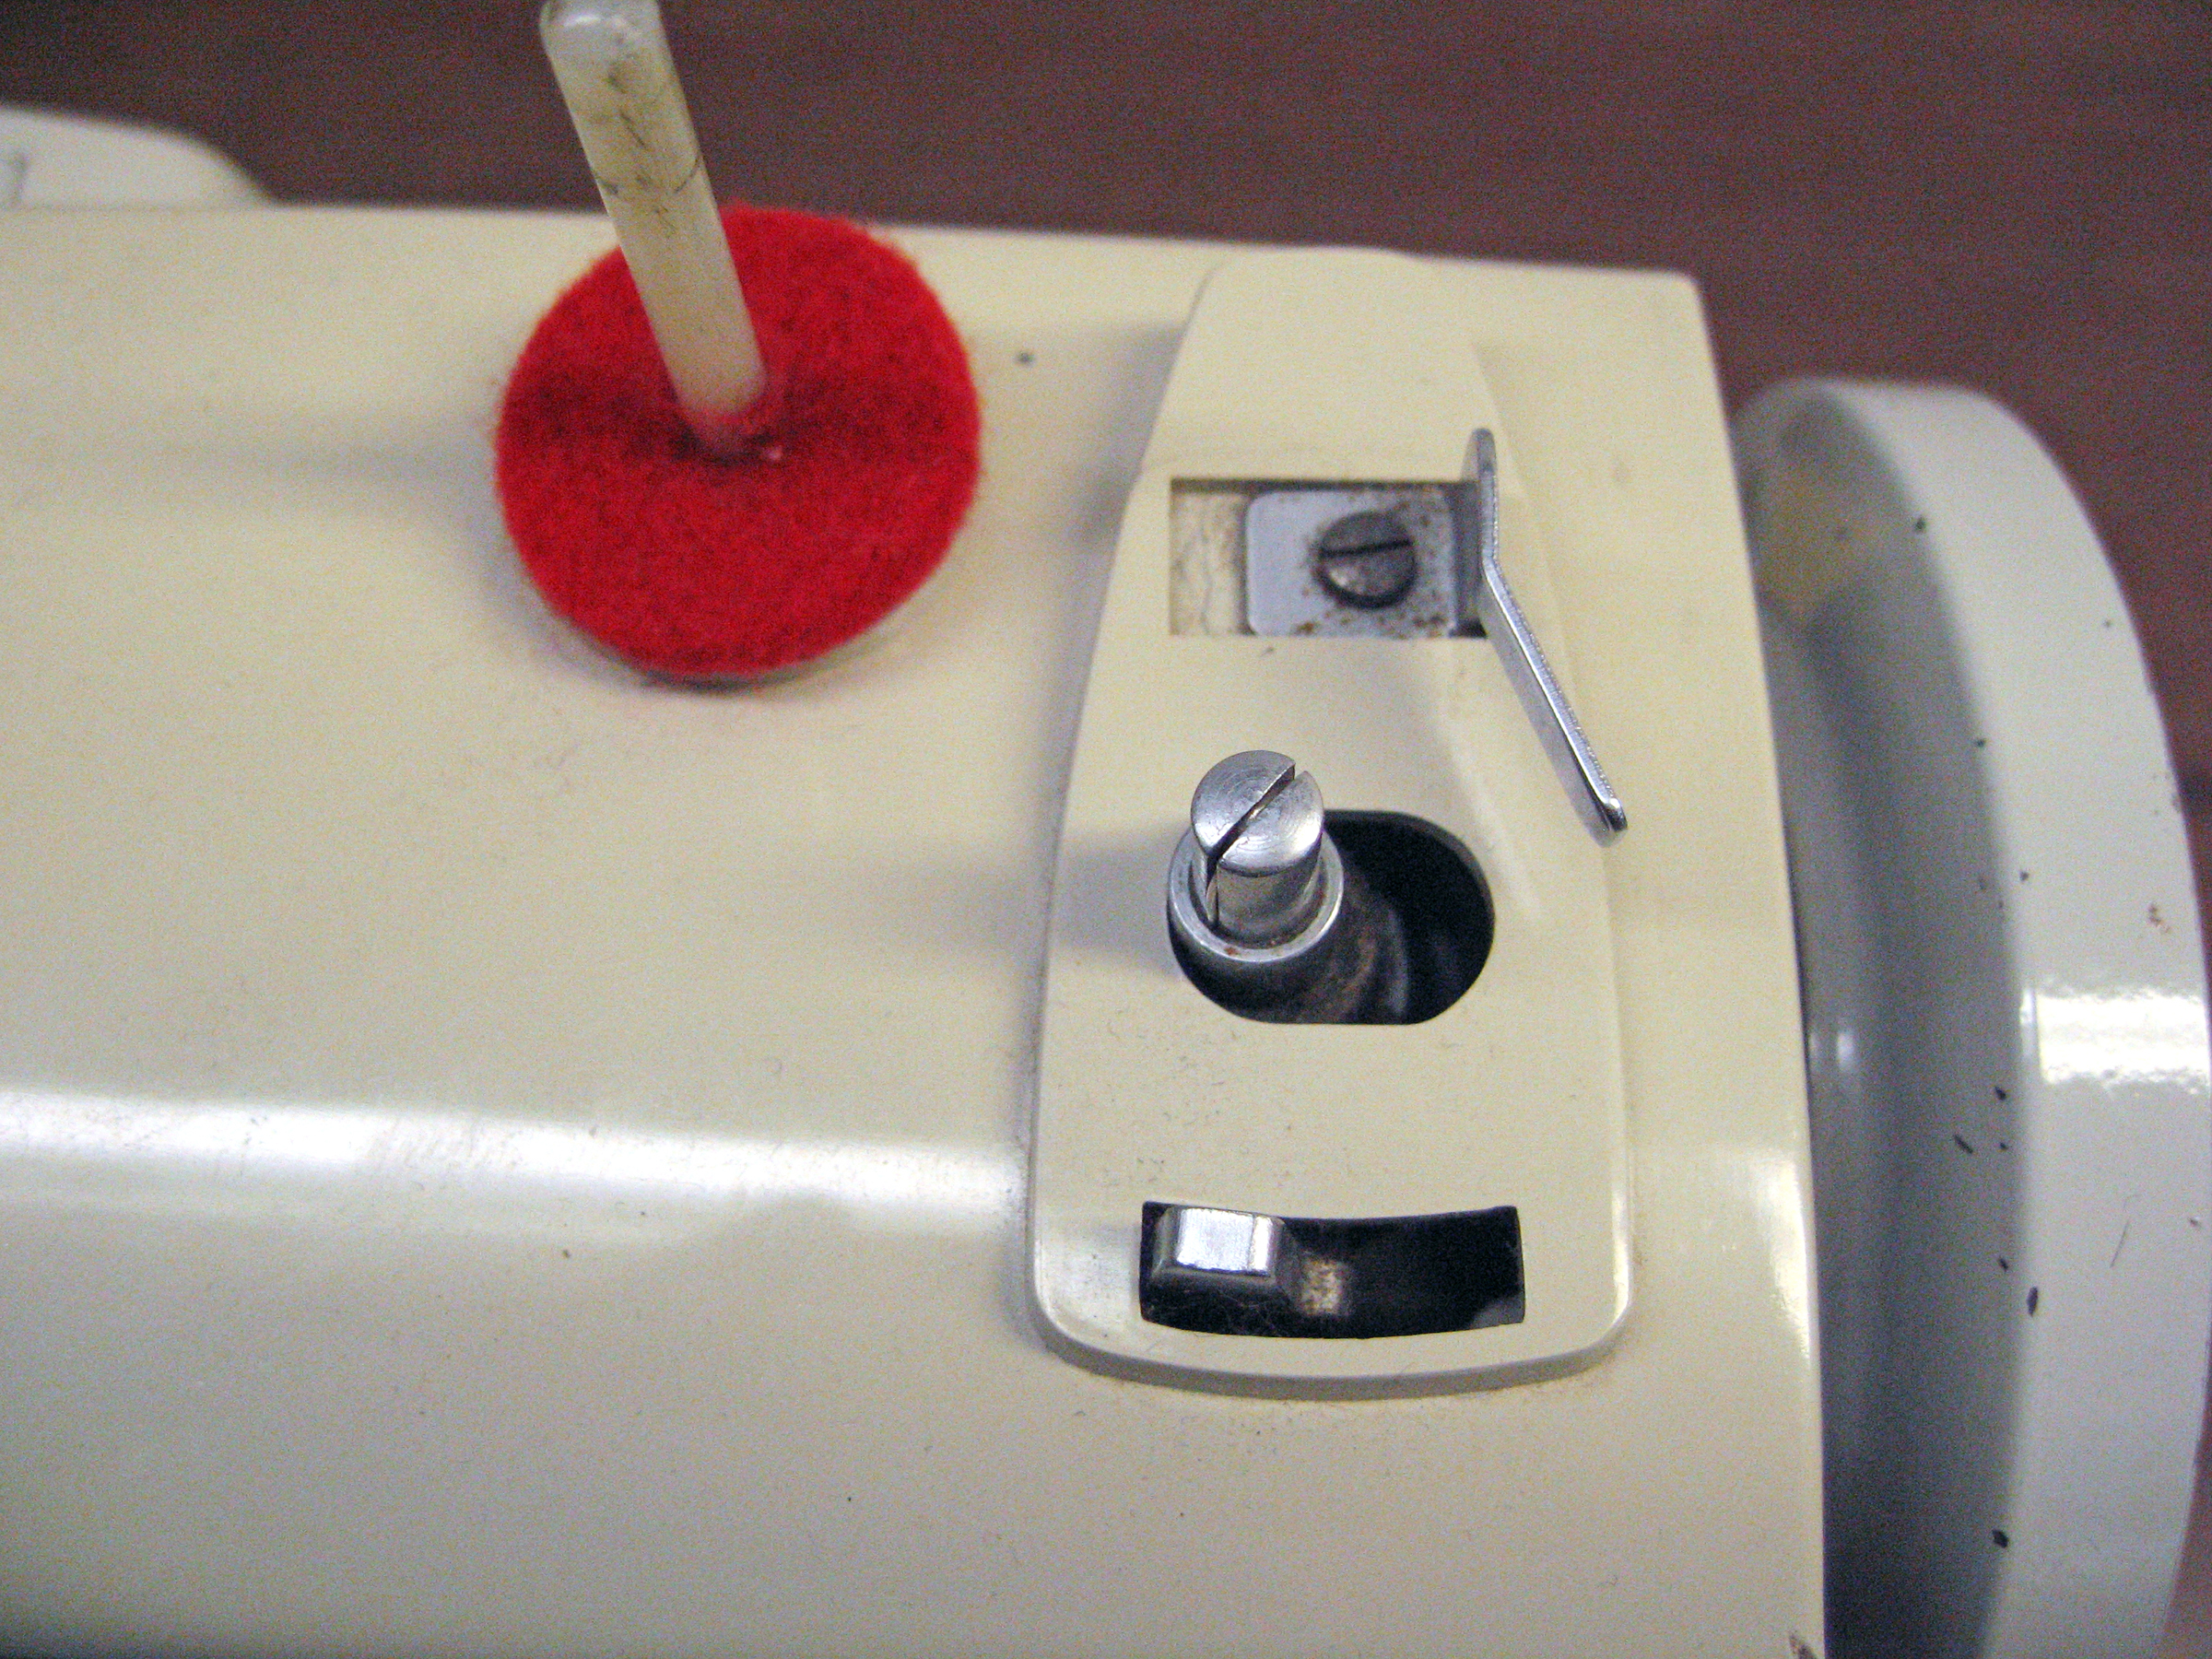
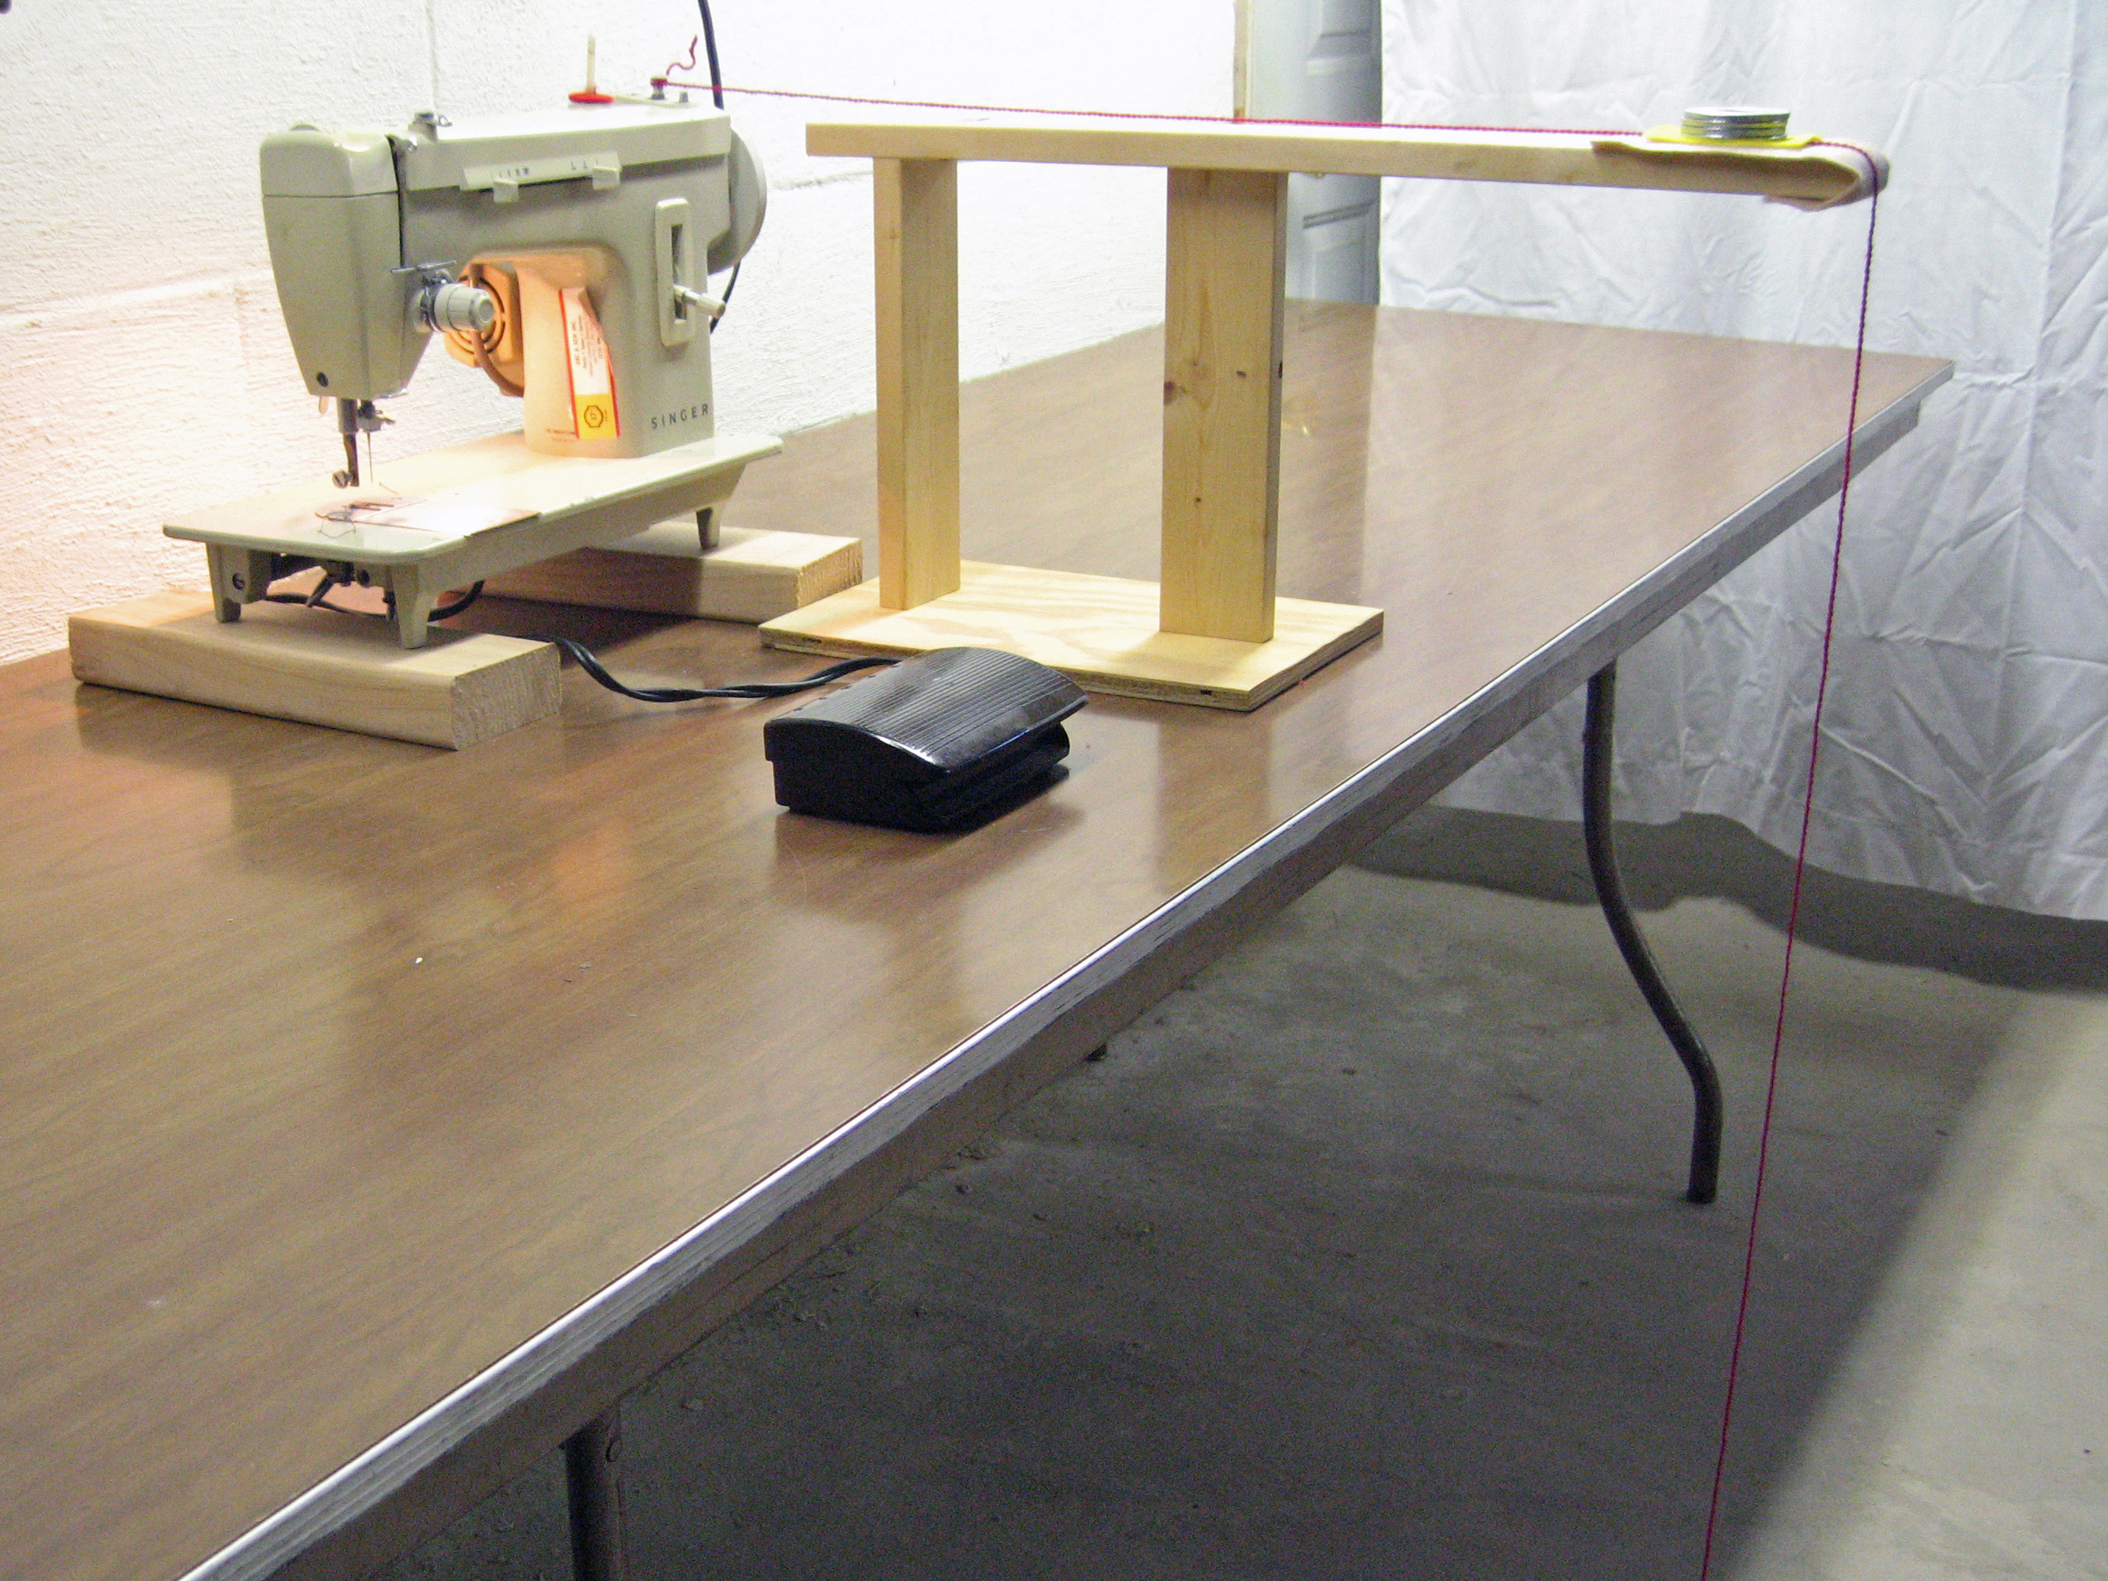
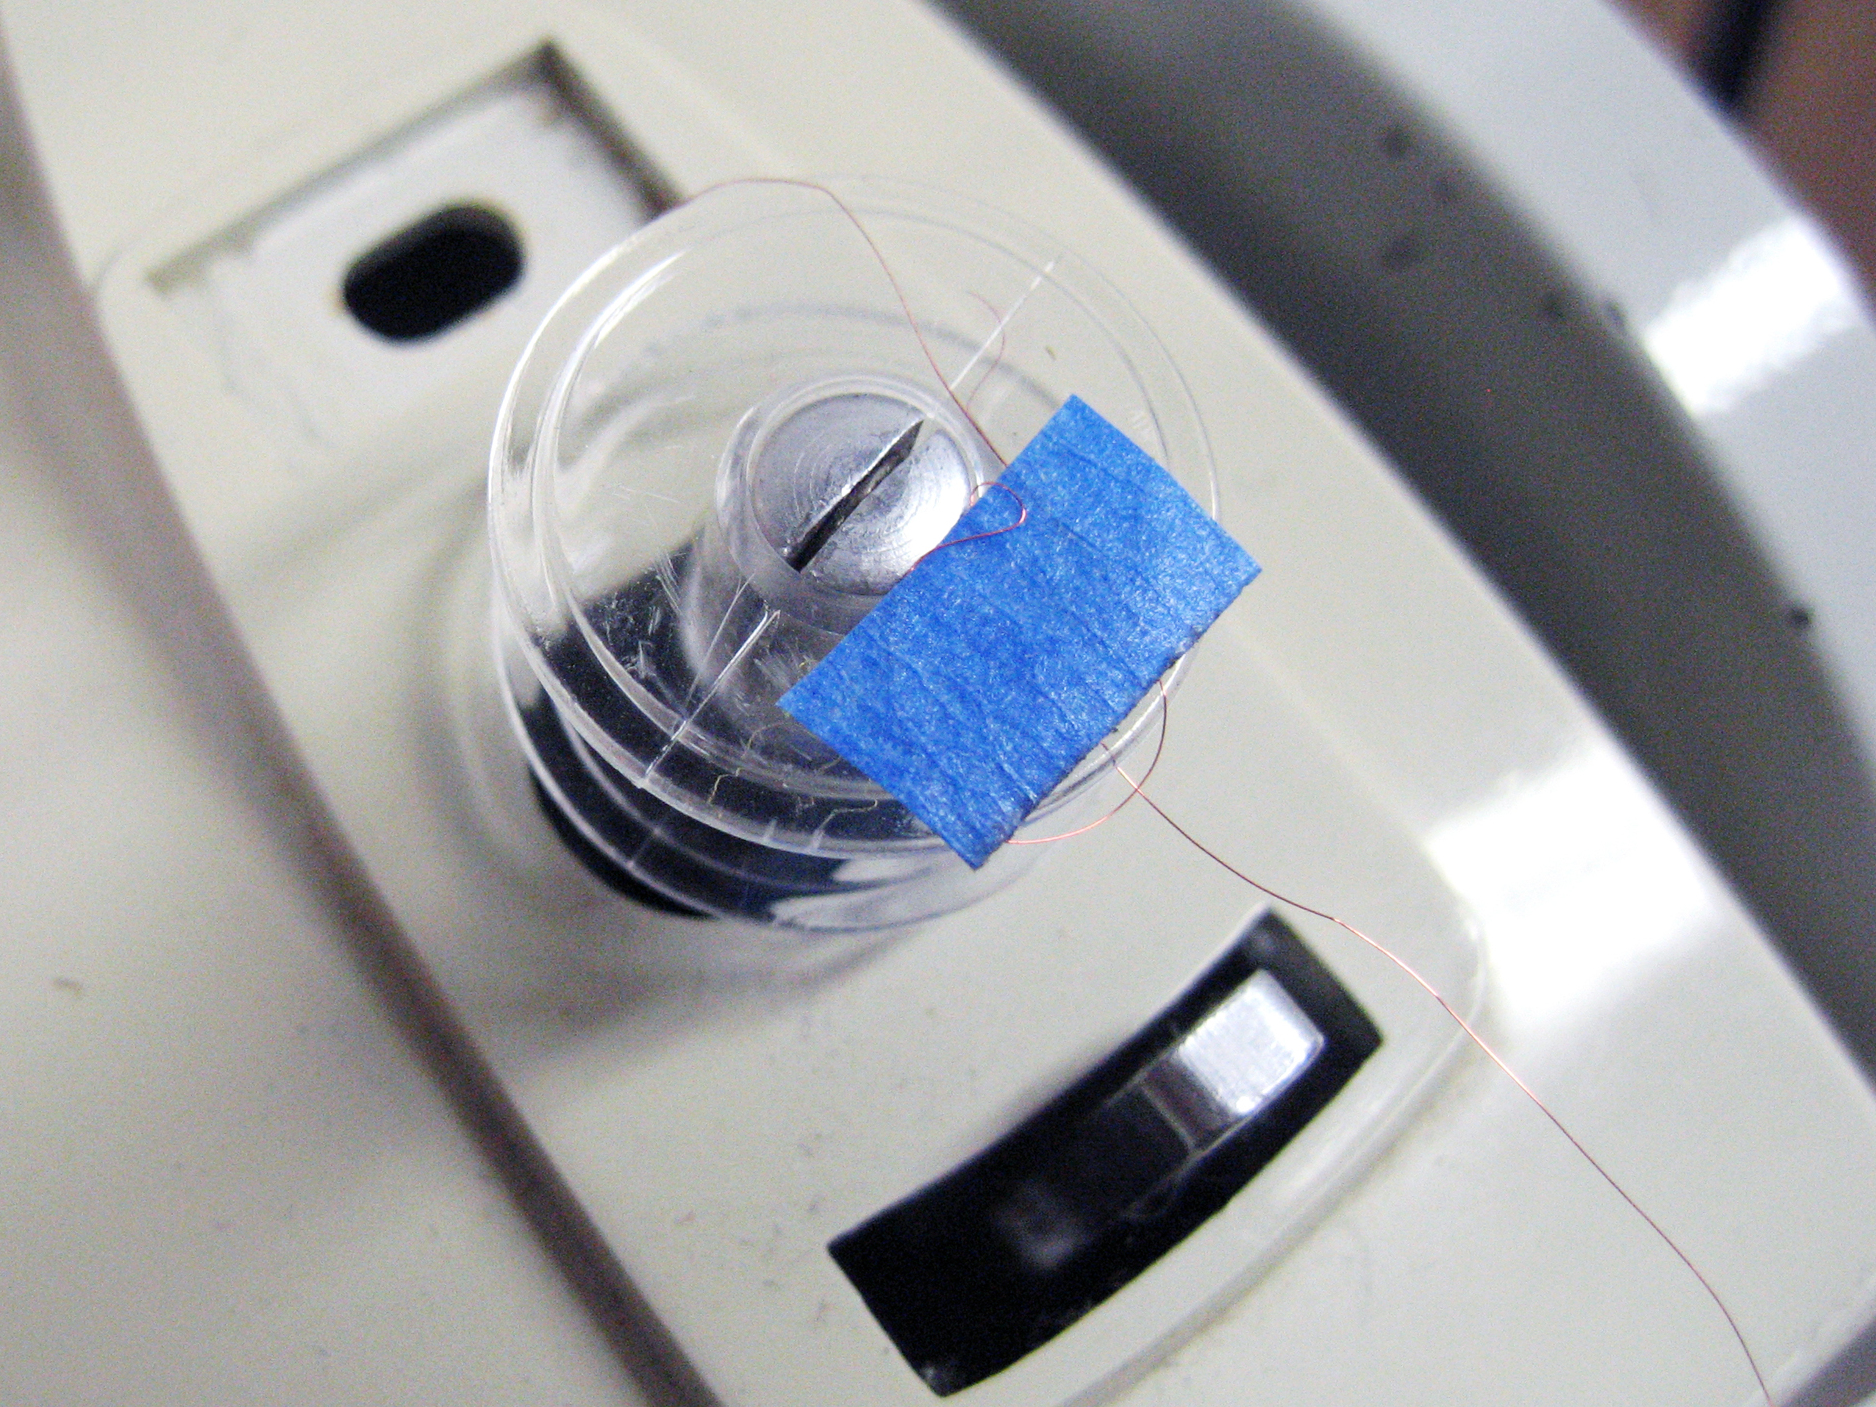
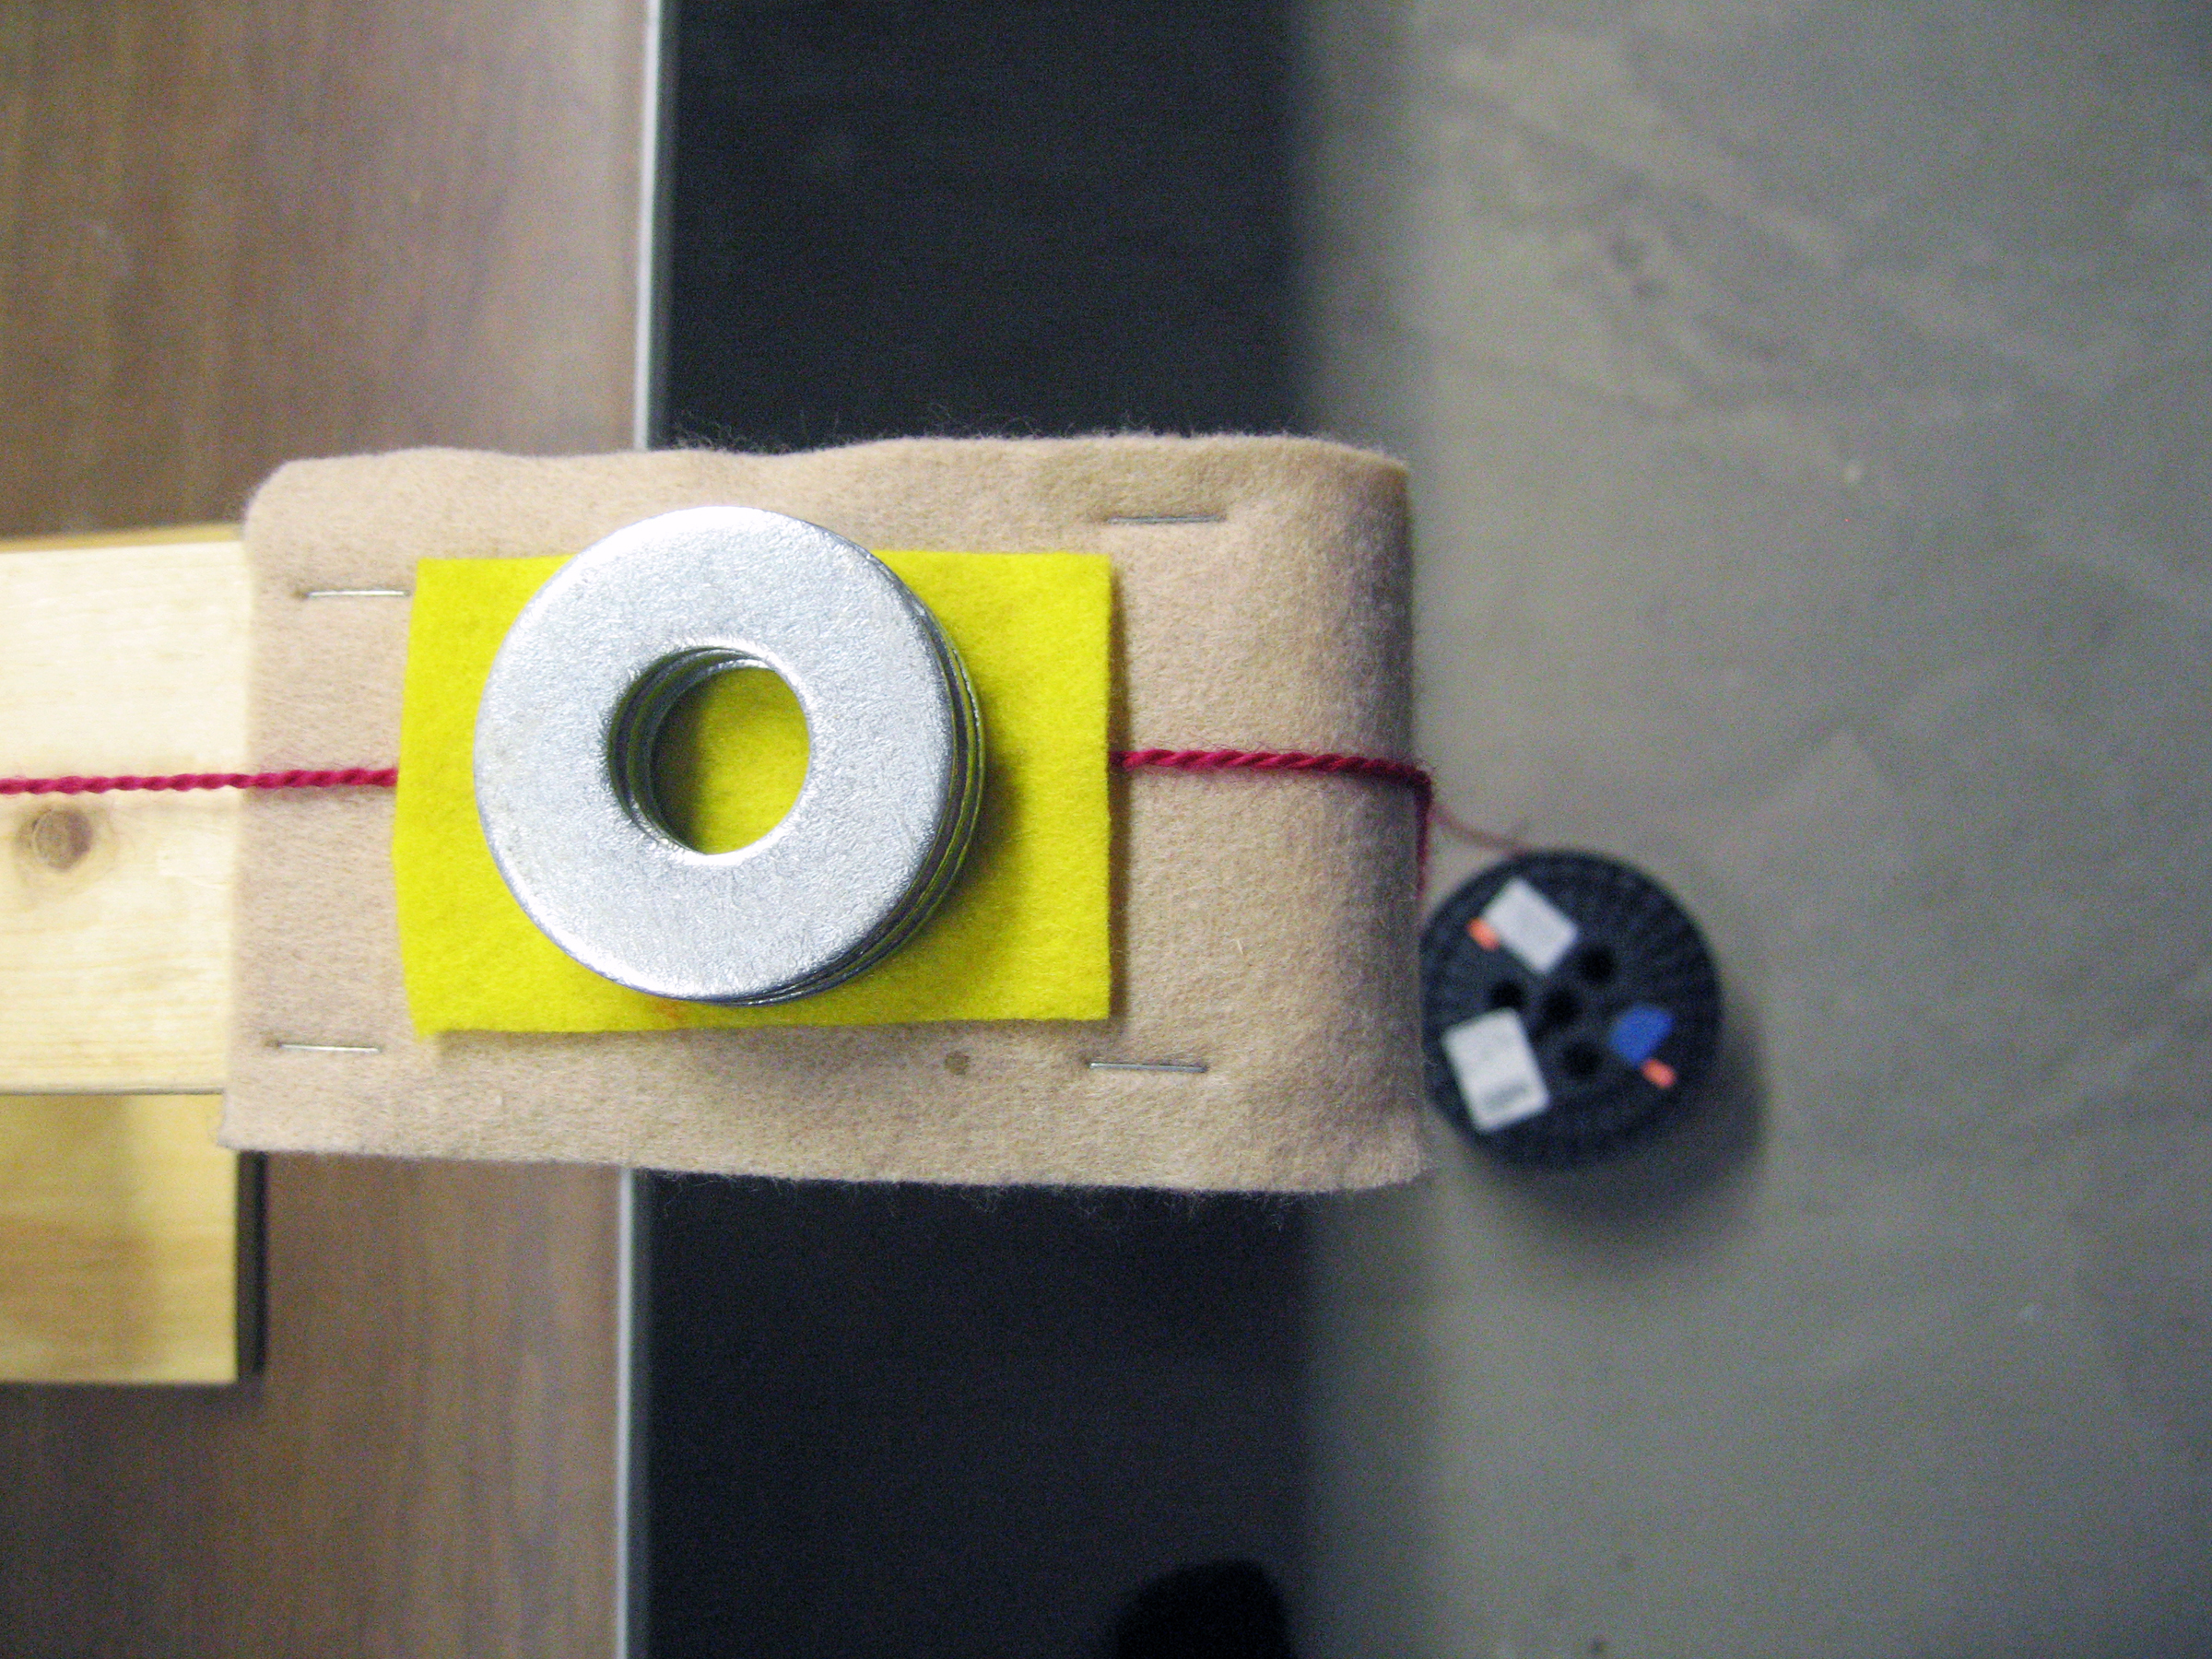
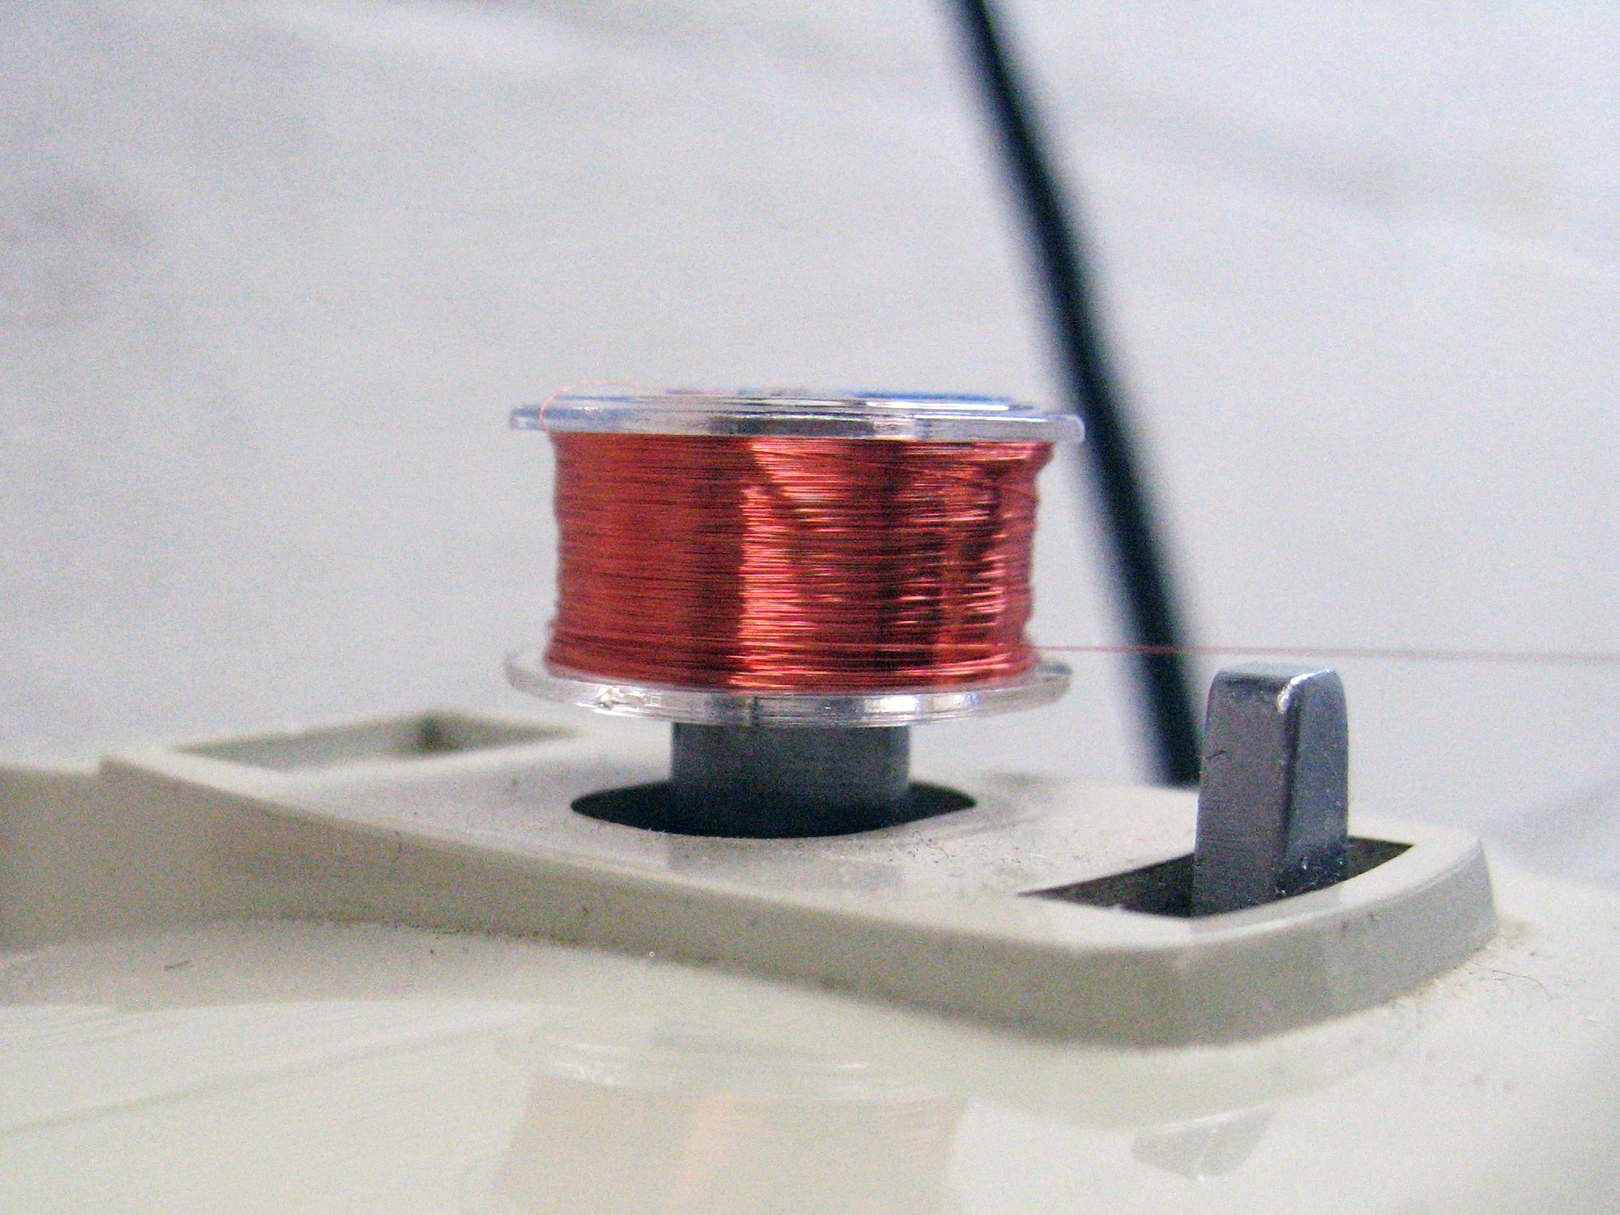
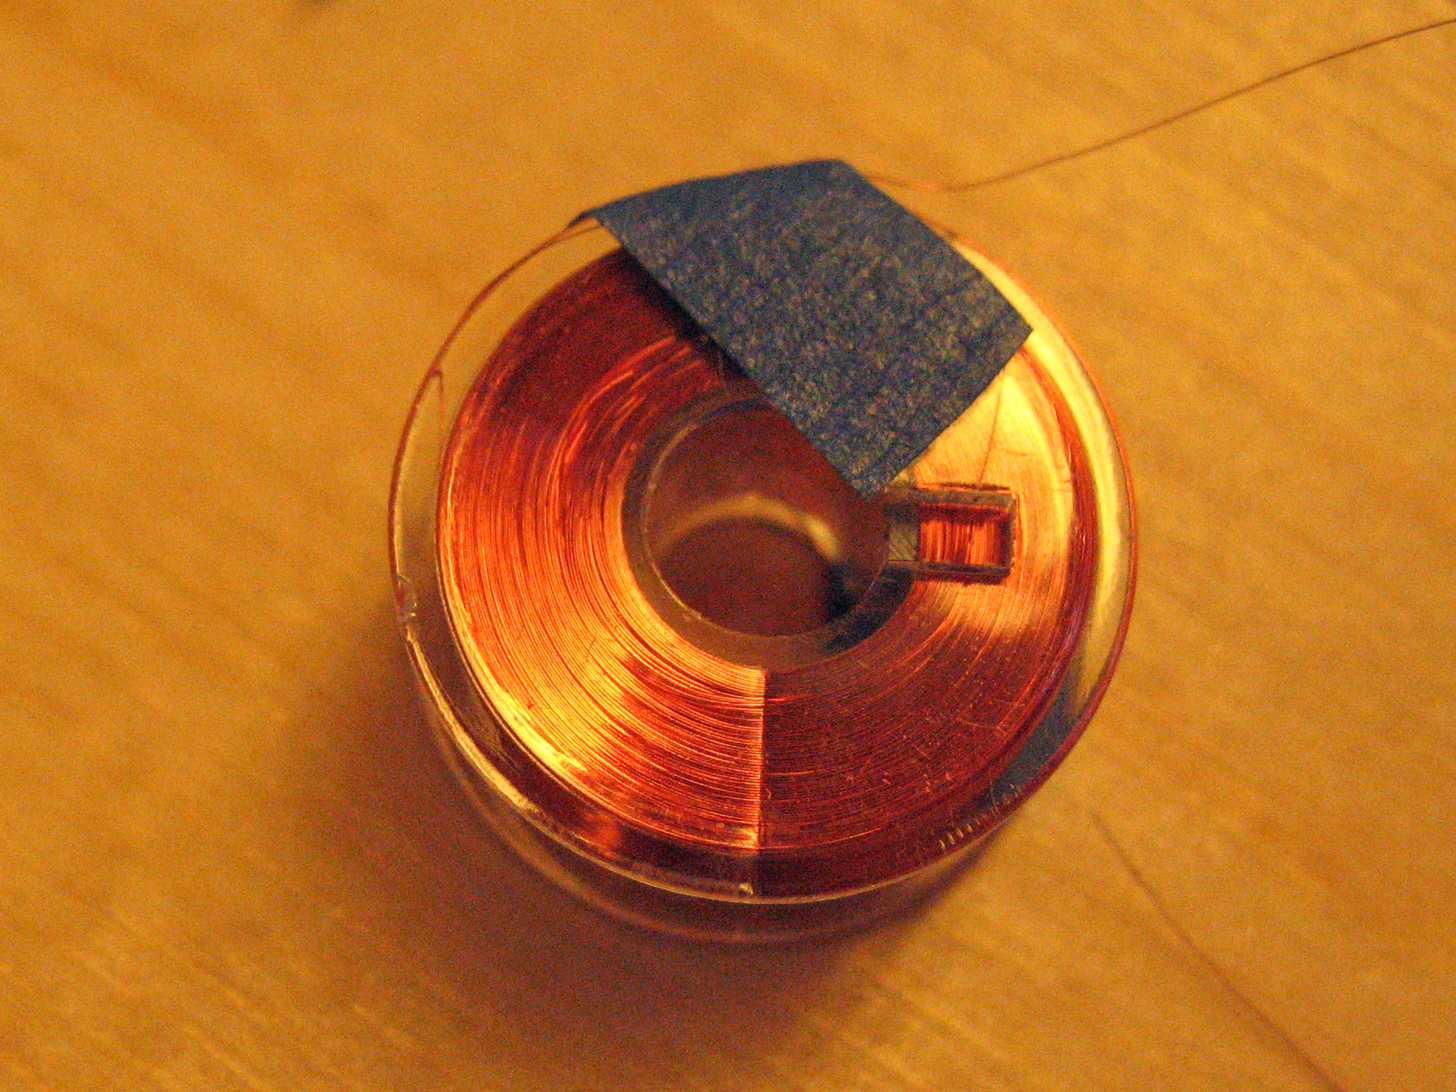
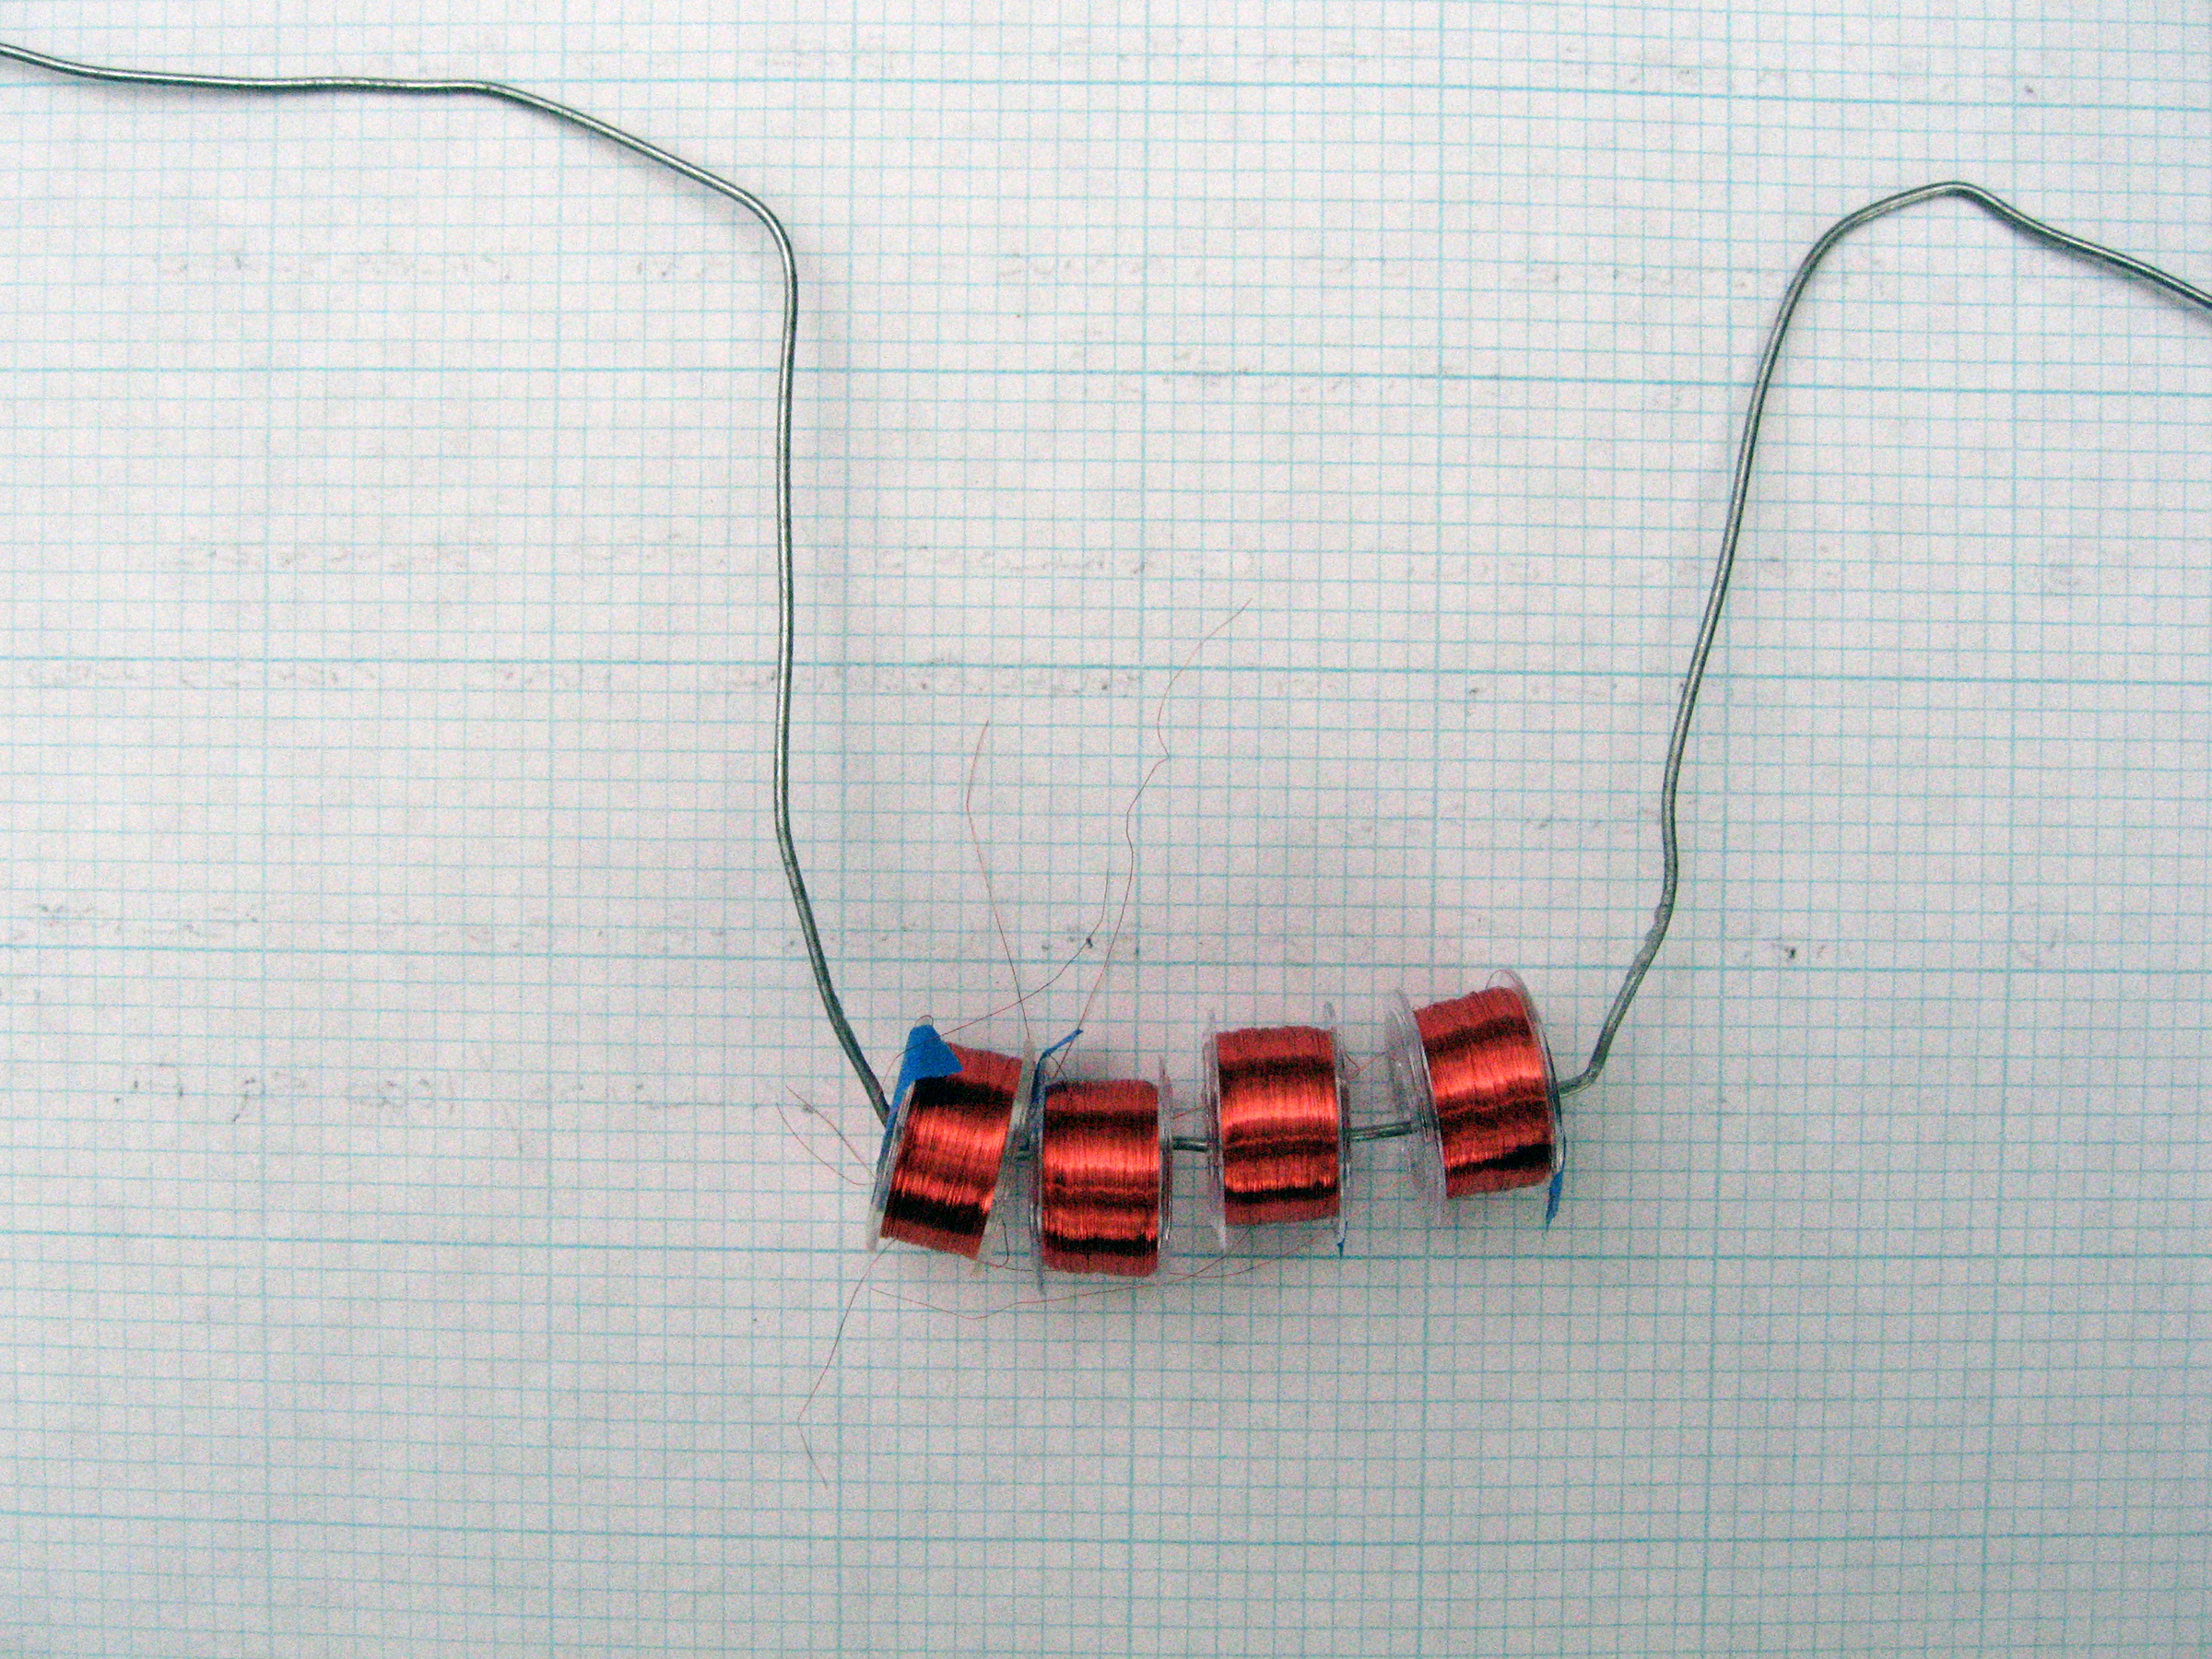
If you want to crank it up until it sounds like you really do have possession over Judgment Day, an electromagnetic pickup is the way to go. In this article, I describe how to wind your own electromagnetic guitar pickups on sewing machine bobbins.

Project Steps

Wind the wire onto the bobbins.

Find the end of the wire, and use a small piece of blue masking tape to stick it to the end of the spool so you don’t lose it. 42 AWG magnet wire is only about 0.0025″ in diameter, not much different than a human hair. Set the spool aside.

Learn how to use your sewing machine’s bobbin winder. Near the bobbin winder post is a small metal finger called a brake that pushes on the bobbin when it gets full of thread. You don’t want the brake to push on your bobbin of wire, so I suggest you remove the brake before winding your pickups. Typically the brake is held on with a small screw and nut, and the nut is on the inside of the machine. Make sure you can retrieve the nut before you try to remove the brake — don’t lose the nut into the machinery!

Set up the sewing machine at the back of your work table. Put the foot pedal on the table in front of the machine.

Build a wooden platform that sits on the table at the height of the top of the sewing machine, a little lower than the bottom of the bobbin winder, and hanging over the front edge of your work surface. Round off the front edge of the platform and cover it with felt. The spool of magnet wire sits underneath this edge on the floor.

The wire comes up from the spool, over the felt-covered edge of the platform, and onto the bobbin, allowing the wire to feed straight onto the bobbin. (A length of yarn is used in photo 1 to clearly show the wire path.)

Before threading the wire onto the bobbin, tape it to the platform and lightly rub its free end with 600-grit emery paper for a few strokes to remove the insulation, so that you can solder it later.

Thread about 2″ of wire through the small hole in the top of the bobbin, and tape it in place on top with a very small piece of blue masking tape. Near the felt-covered rounded edge of the platform, place another small piece of felt on top of the wire and then place a small weight on top of the felt: the wire is sandwiched between 2 pieces of felt, and the weight provides constant resistance for the bobbin winder to pull against.

For me, weights between 50g–200g (2oz–7oz) worked well. Put a few very small pieces of masking tape somewhere on the platform so they’ll be available when you cut the wire.

Using your left hand to control the foot pedal, carefully wind the wire onto the bobbin, moving it up and down slightly with your right hand to distribute it fairly evenly. There’s a narrow rim on the bobbin, and I fill it to this point.

When the bobbin is filled, tape the long wire to the platform and use emery paper to strip the insulation from it, rubbing toward the bobbin. Cut the wire in the middle of the stripped area, holding onto the wound bobbin with your fingers.

Take the bobbin off the winder, holding the wire coil in place, and wind the remainder of the wire onto the bobbin toward the top, leaving a tail about 2″ long. Remove the tape from the original wire end on the top of the bobbin, and tape the tail onto the edge of the top, leaving the center hole open.

Repeat these instructions to wind as many bobbins as you have patience for — the wire is very fragile, and the pickups are easy to damage until they’re mounted, so it’s good to have spares.

Check the resistance of your windings.

Use a multimeter to check the resistance between the 2 ends of the wire on the bobbin. In 8 bobbins, I got an average resistance of 1,360 ohms, with a variance of 3%.

For 3 of the other bobbins, I allowed the wire to go above the bobbin and it got caught on the tape; 2 were useable (but well below the resistance of the others) and one was not.

Pot your windings in wax.

Pot the pickup assemblies in hot wax (by weight, 80% paraffin, 20% beeswax). Potting reduces microphonics — sounds made when the wires in the pickup pick up mechanical vibrations from the guitar or sound system.

WARNING: The vapors this wax mixture gives off when hot are highly flammable. To minimize fire hazard, do this step outside. Don’t allow anyone to smoke near the can of hot wax.

Outside the house, I put 16oz solid paraffin and 4oz solid beeswax into a clean, empty 1qt paint can. Inside the house, I boiled water in a pot. Then I took the pot outside, placed it on a cork pad, and put the can of wax in the pot.

While it warmed, I went back inside and heated a second pot of water. I continued alternating pots of near-boiling water until the wax was melted. I stirred the melting wax with a wooden paint stirrer until it was completely liquid. The point here is that the wax was outside, and the water was heated inside the house, so the wax was never near the fire.

Thread a loop of heavy wire through the center holes of the wound bobbins and dip them into the liquid wax. Let them sit in the wax until bubbles stop coming out of the windings, indicating that wax has penetrated the windings. Pull the bobbins out and let them air-cool.

Add magnets to make pickups.

Cut a piece of waterproof adhesive tape about 2½” long and about 9mm wide to fit between the sides of the bobbin. Using a metal ruler and razor blade makes a neat job of it.

Wrap the wire coils with the tape to protect them from damage, and try to get both wires on the same face of the bobbin. Write the resistance of the coil on the tape with permanent marker.

Use the magnetic compass to mark the polarity of each magnet, and then insert the magnet into the center hole of the bobbin. Make sure the magnetic poles for each magnet are all pointing in the same direction with respect to the side of the bobbin where the inside end of the wire comes out. (The exception to this is if you’re preparing a pair of coils for a humbucking pickup — see Going Further.)

Wire your pickups.

To mount the pickups for wiring, I drilled 2 small holes in a piece of very thin plywood, inserted 2 brass escutcheon pins on the underside of the plywood to use as soldering posts, passed the magnet wire leads through the holes, and mounted the bobbin using a dab of hot glue or silicone caulk.

After carefully sanding the coating off the ends of the wire, I soldered the leads to the escutcheon pins. I prepared a short length of shielded cable by cutting a couple of inches of insulation off each end, separating the strands of the shielding and cutting off all but a dozen or so strands at each end, and then twisting the shielding strands together with the stripped black conductor on each end. (If you use plain wire instead of cable, keep the wire lengths short from the connecting posts to the soldering points on the ¼” phono jack.)

One end of the cable was soldered to the escutcheon pins and the other onto the lugs of the phono jack. The black conductor/shielding was soldered from the bobbin’s wire to the lug that connects to the phono plug’s barrel, not its tip. Use the digital volt-ohmmeter to make sure the connections are good.

Mount your pickups and play.

You can work out for yourself how to attach this assembly to your instrument, but remember that the fine wires from the coil break easily if the coil is jarred loose from the plywood — make sure you mount it so the coil and wires are protected.

One pickup will be good for 1 or 2 strings (mounted directly beneath or between the strings, respectively). For more strings, wire the pickups in series, with the outside wire of one pickup connected to the inside wire of the next.

Conclusion

Going Further

With this basic pickup winding technique in hand, you can experiment with different configurations.To make a humbucking pickup, mount 2 coils with similar resistances to go under one string, joining their 2 inside wire ends together, and inserting the magnets into the 2 coils with opposite polarities. The free outside ends of the coil wires will be connected to the 2-conductor shielded cable.

This project first appeared in MAKE Volume 22, page 127.