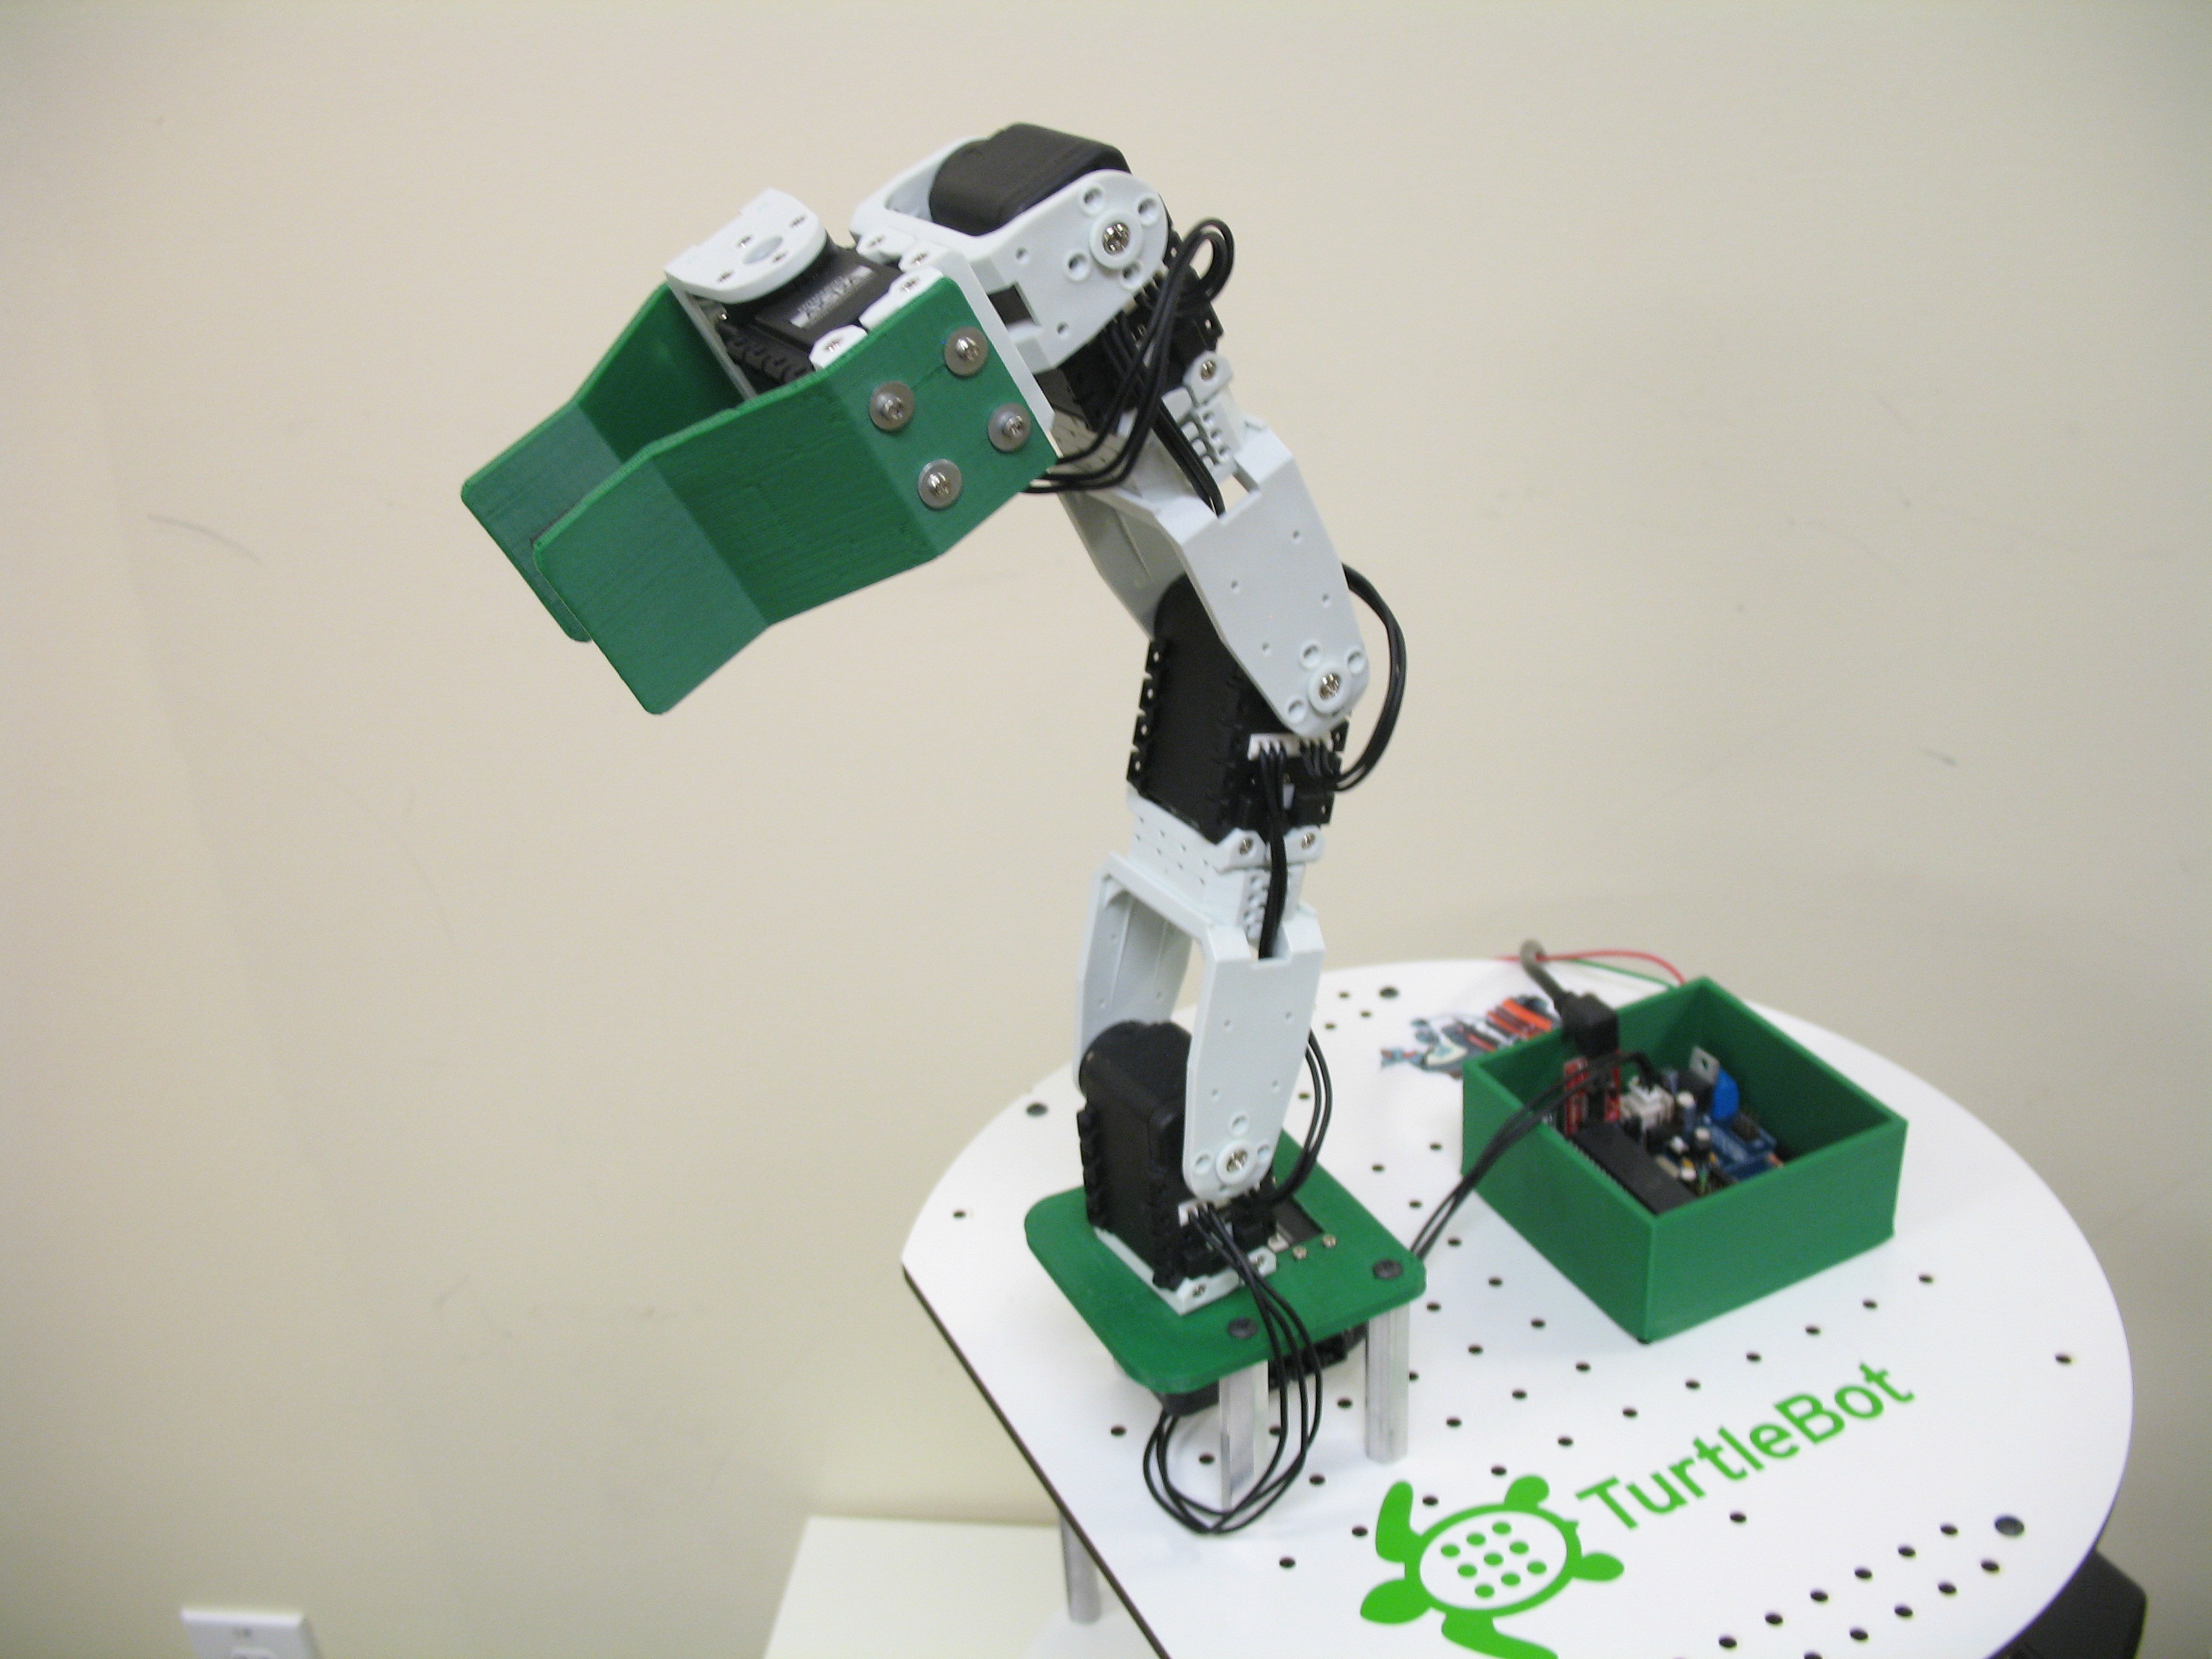
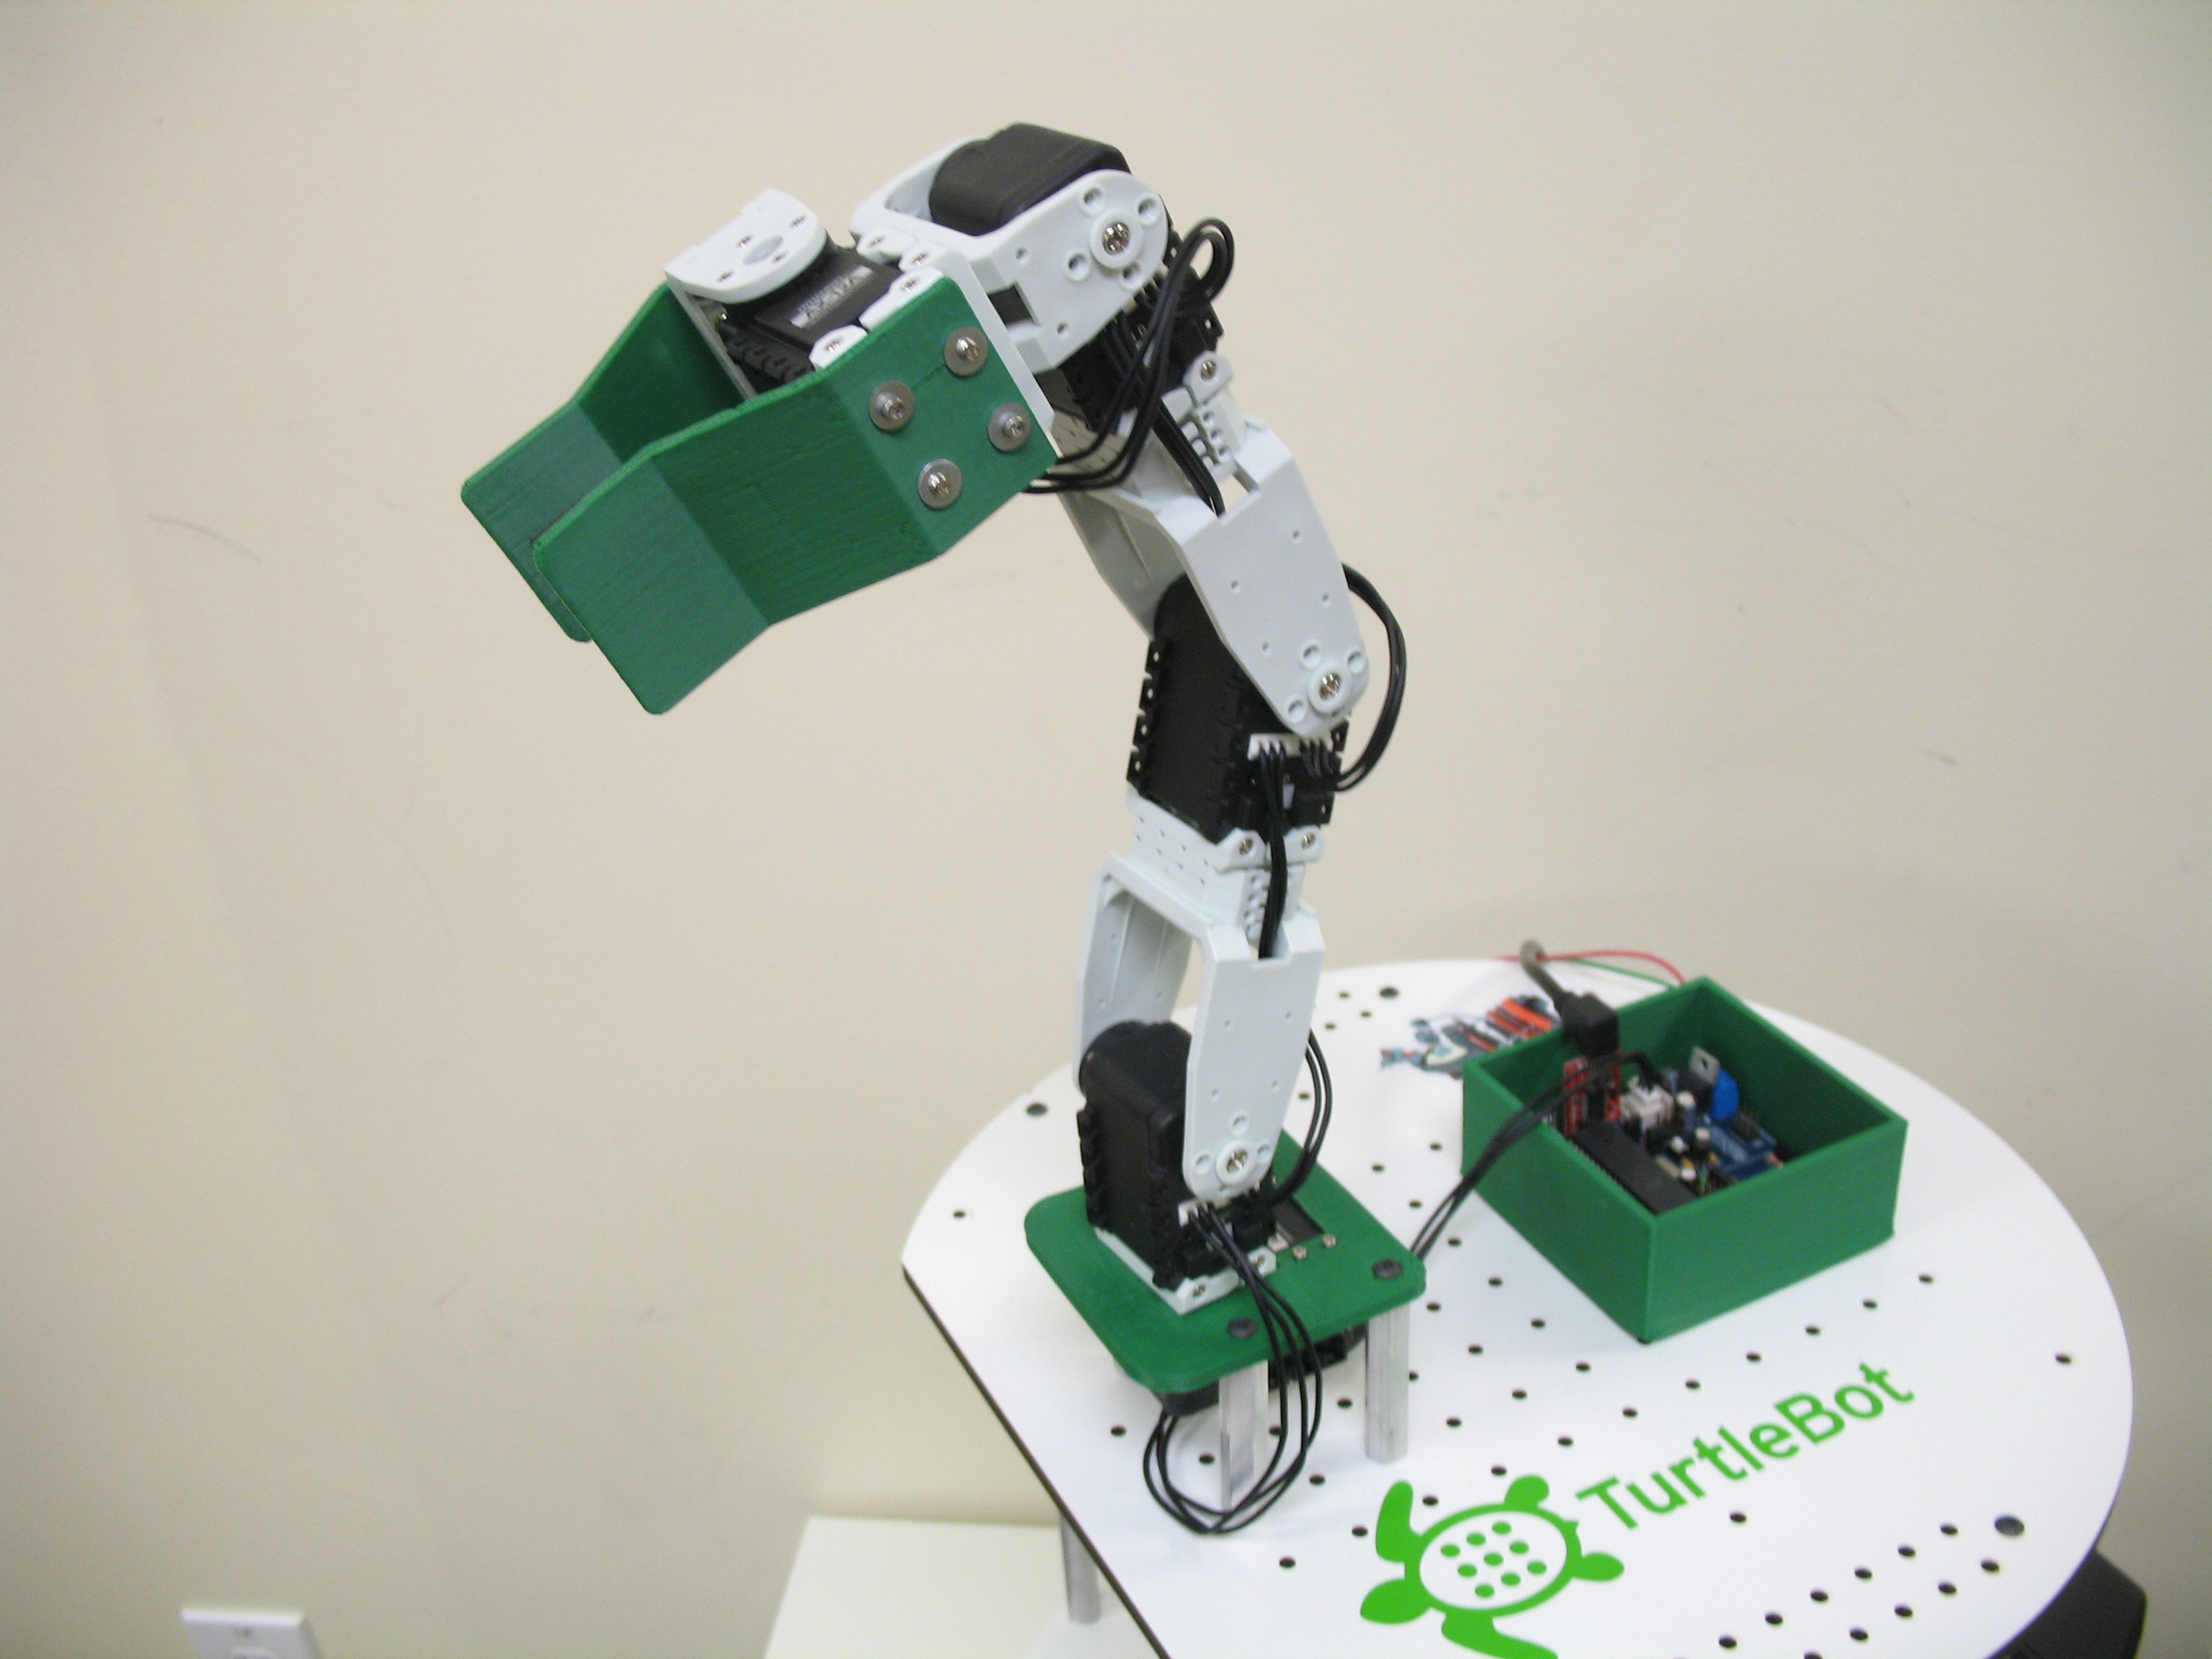
The TurtleBot mobile robot is designed for both academic and hobbyist researchers. The open-source hardware design provides excellent documentation for adding modifications and extending the capabilities of the robot in hardware or software. The robot is available for purchase as a kit or, if your research budget is limited, this guide will help you extend your TurtleBot by adding an arm.

Project Steps

Attaching the ArbotiX Board

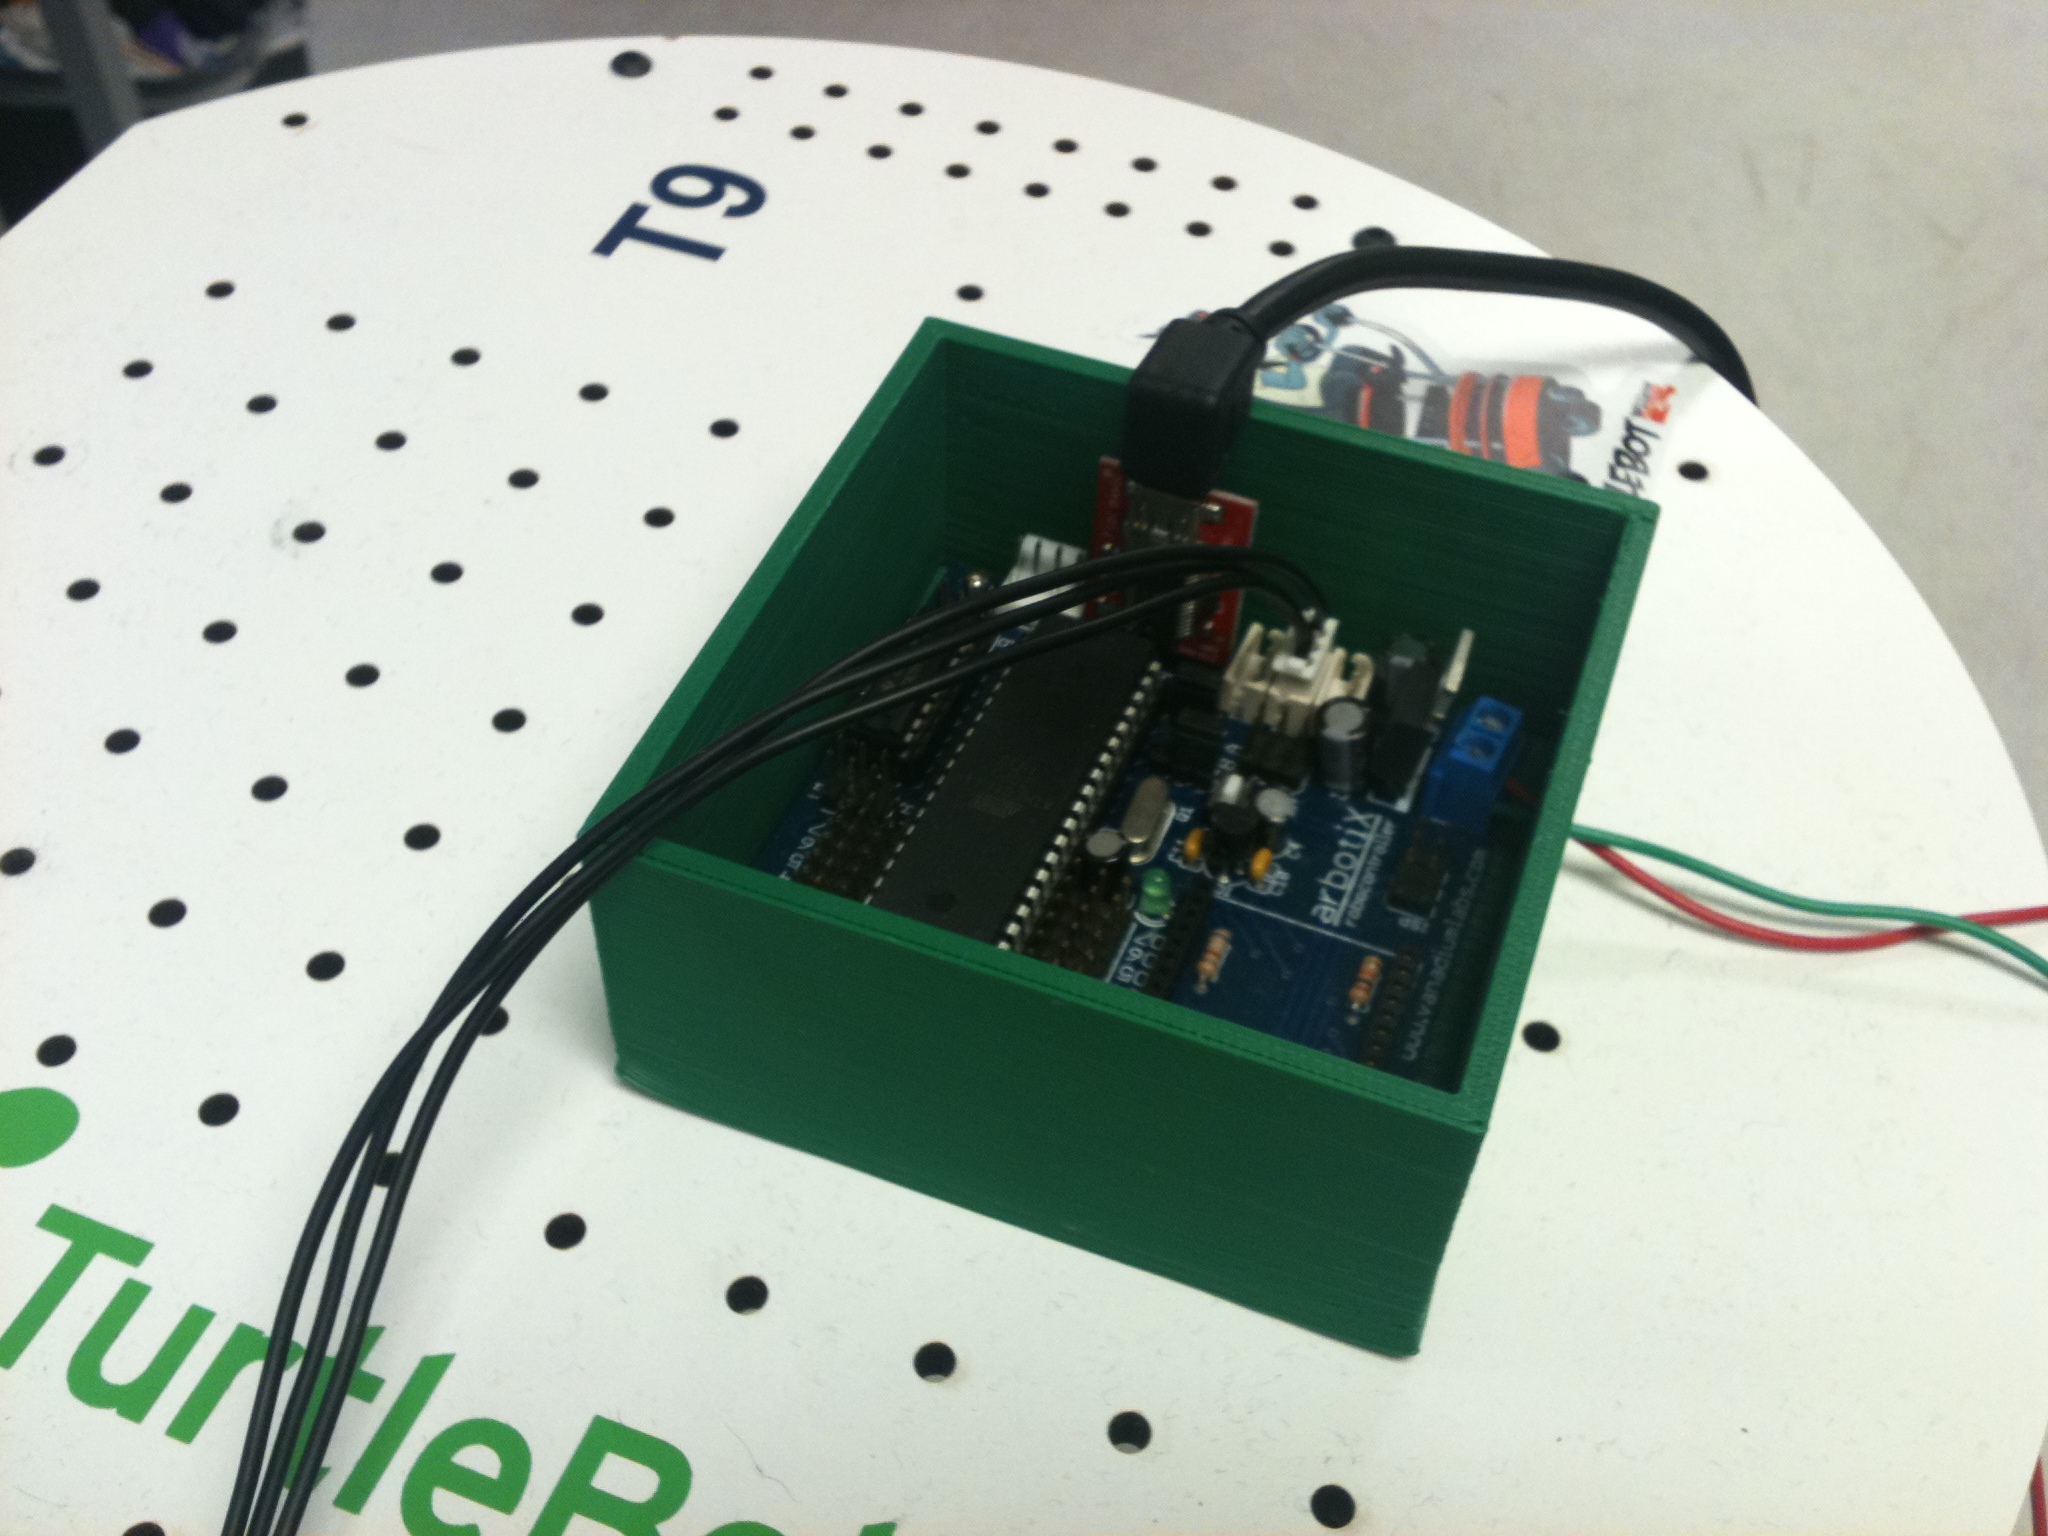
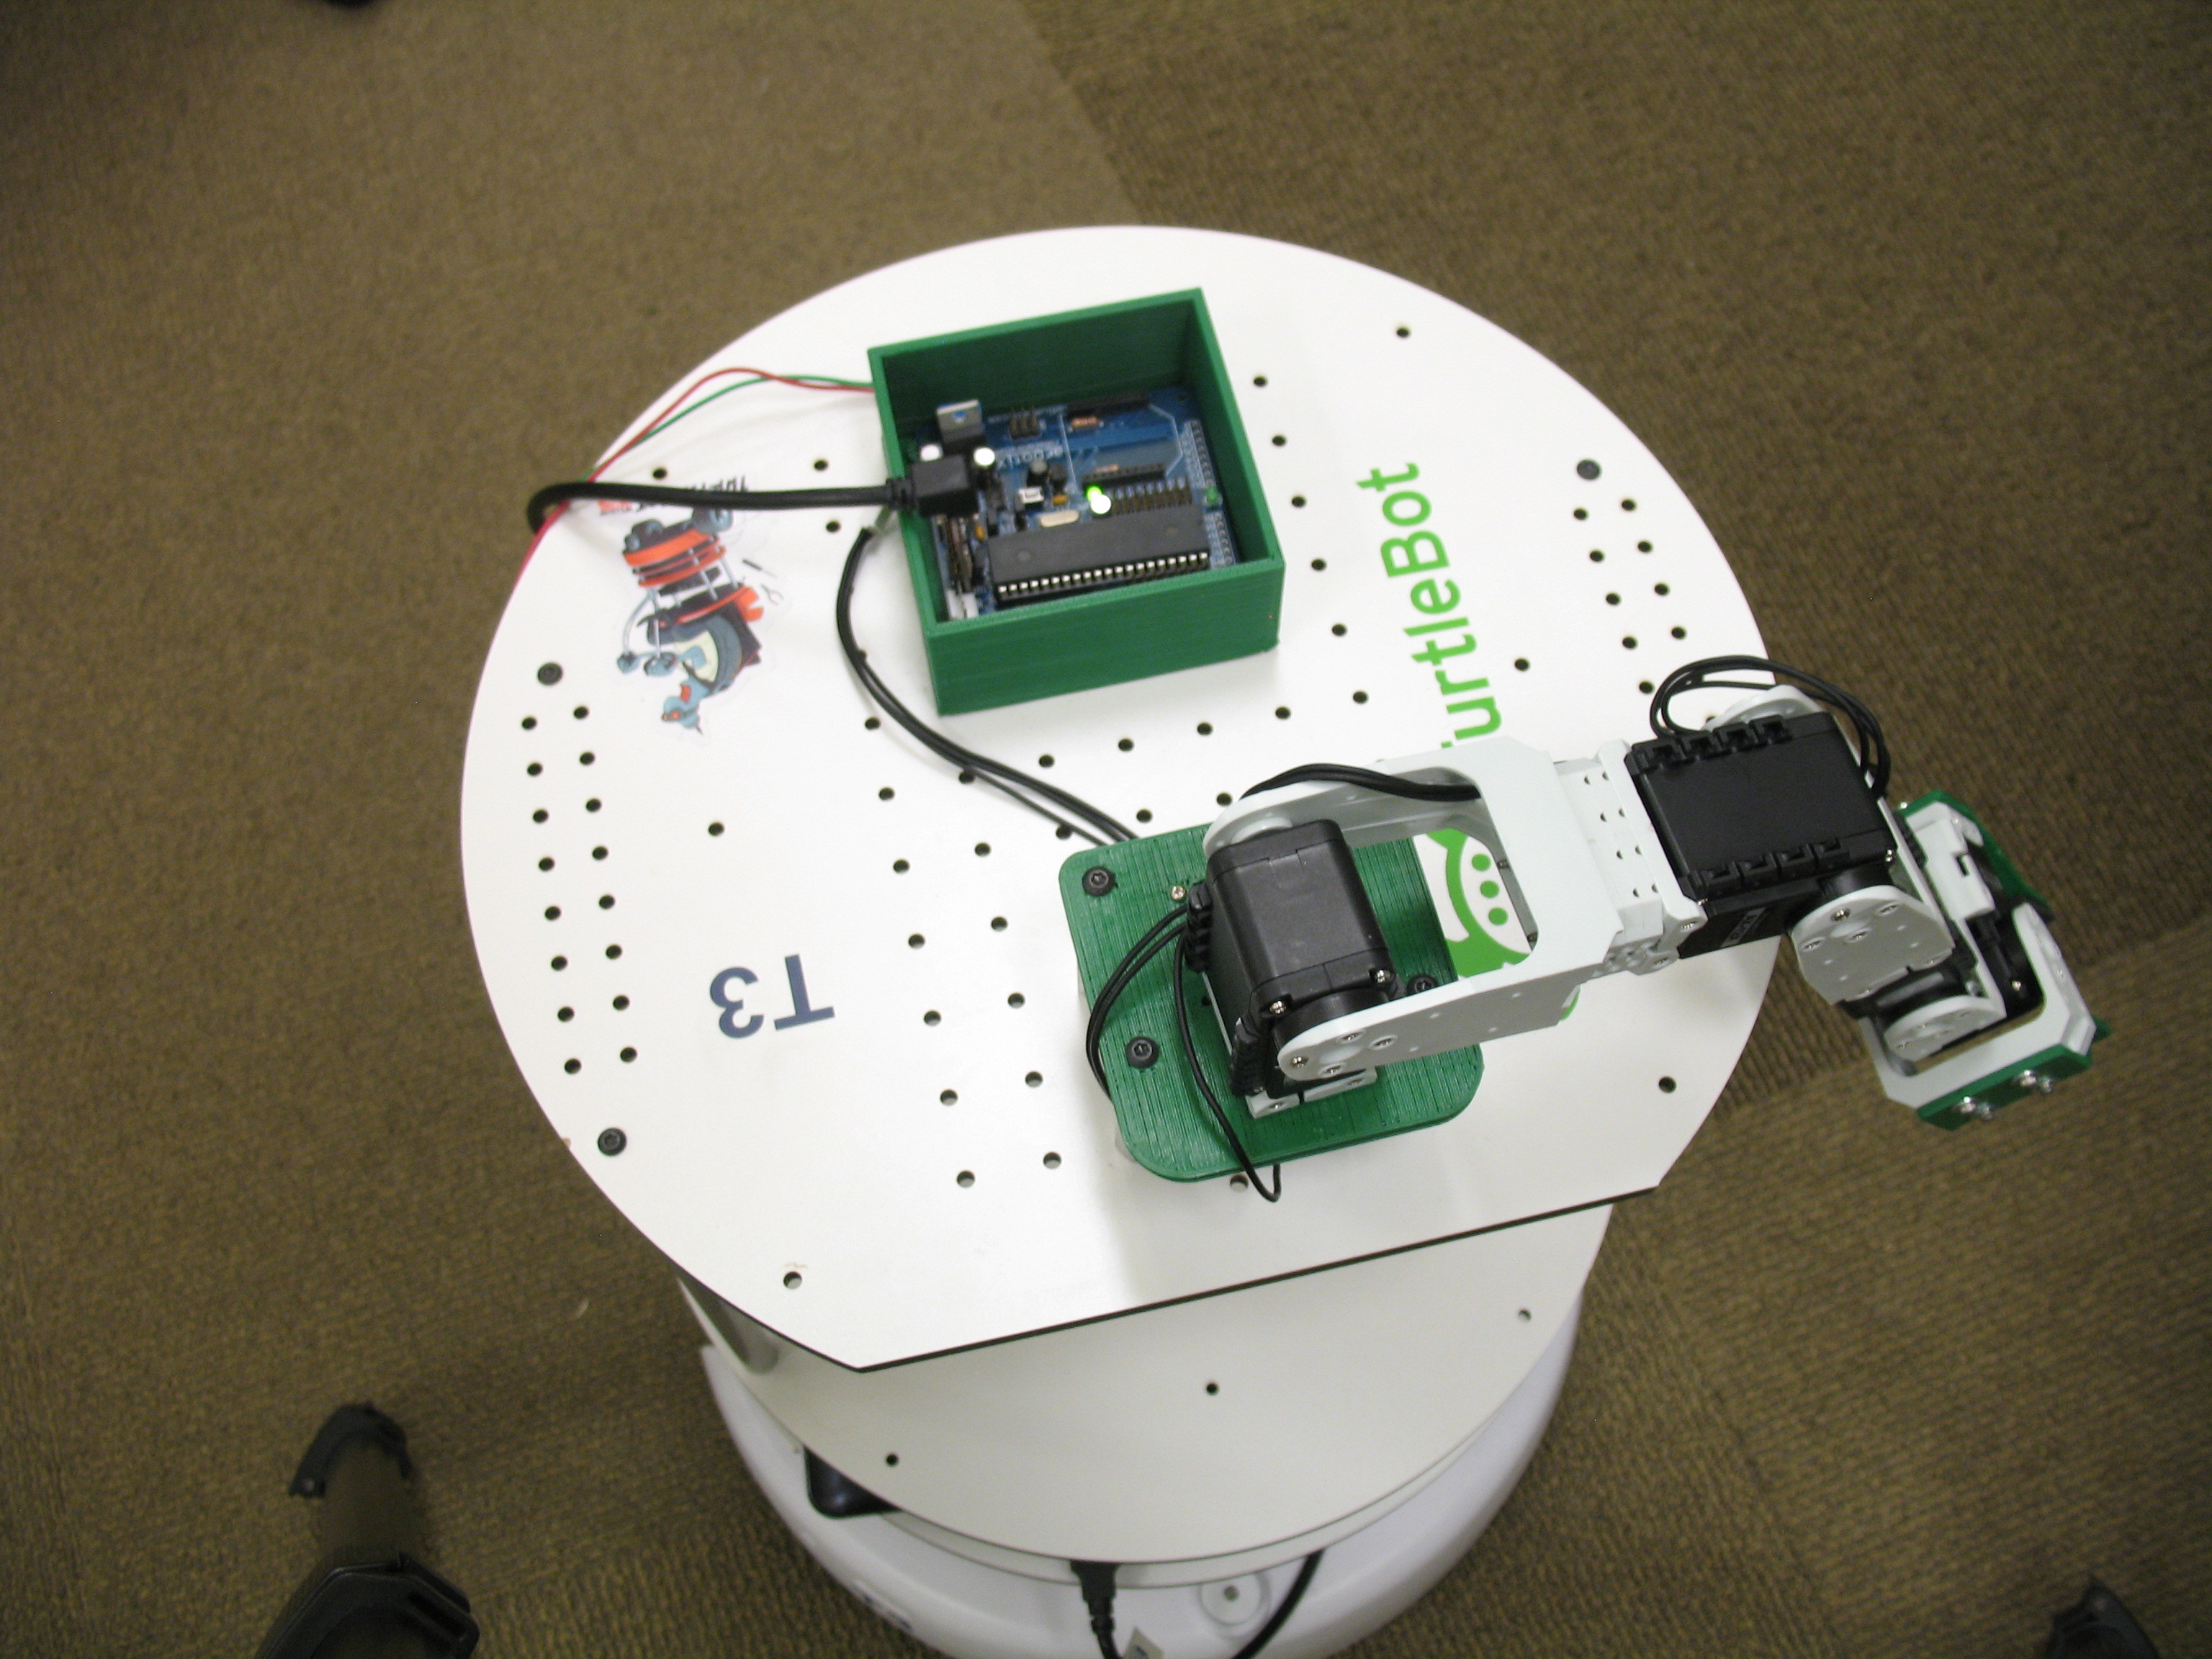
Attach the project box for the ArbotiX board to the top of the TurtleBot. Anywhere on the top plate will do.

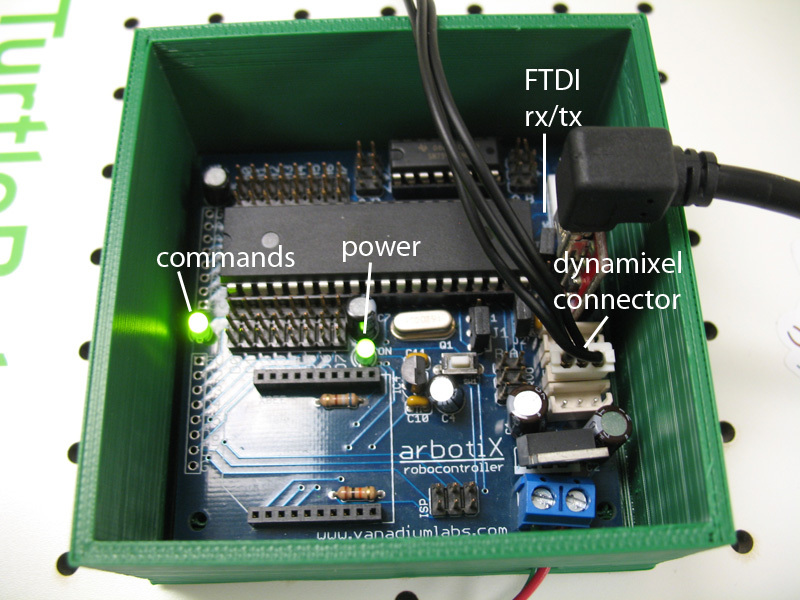
Then place the Arbotix board inside with the FTDI breakout board and power cable attached.

Wiring the TurtleBot Arm

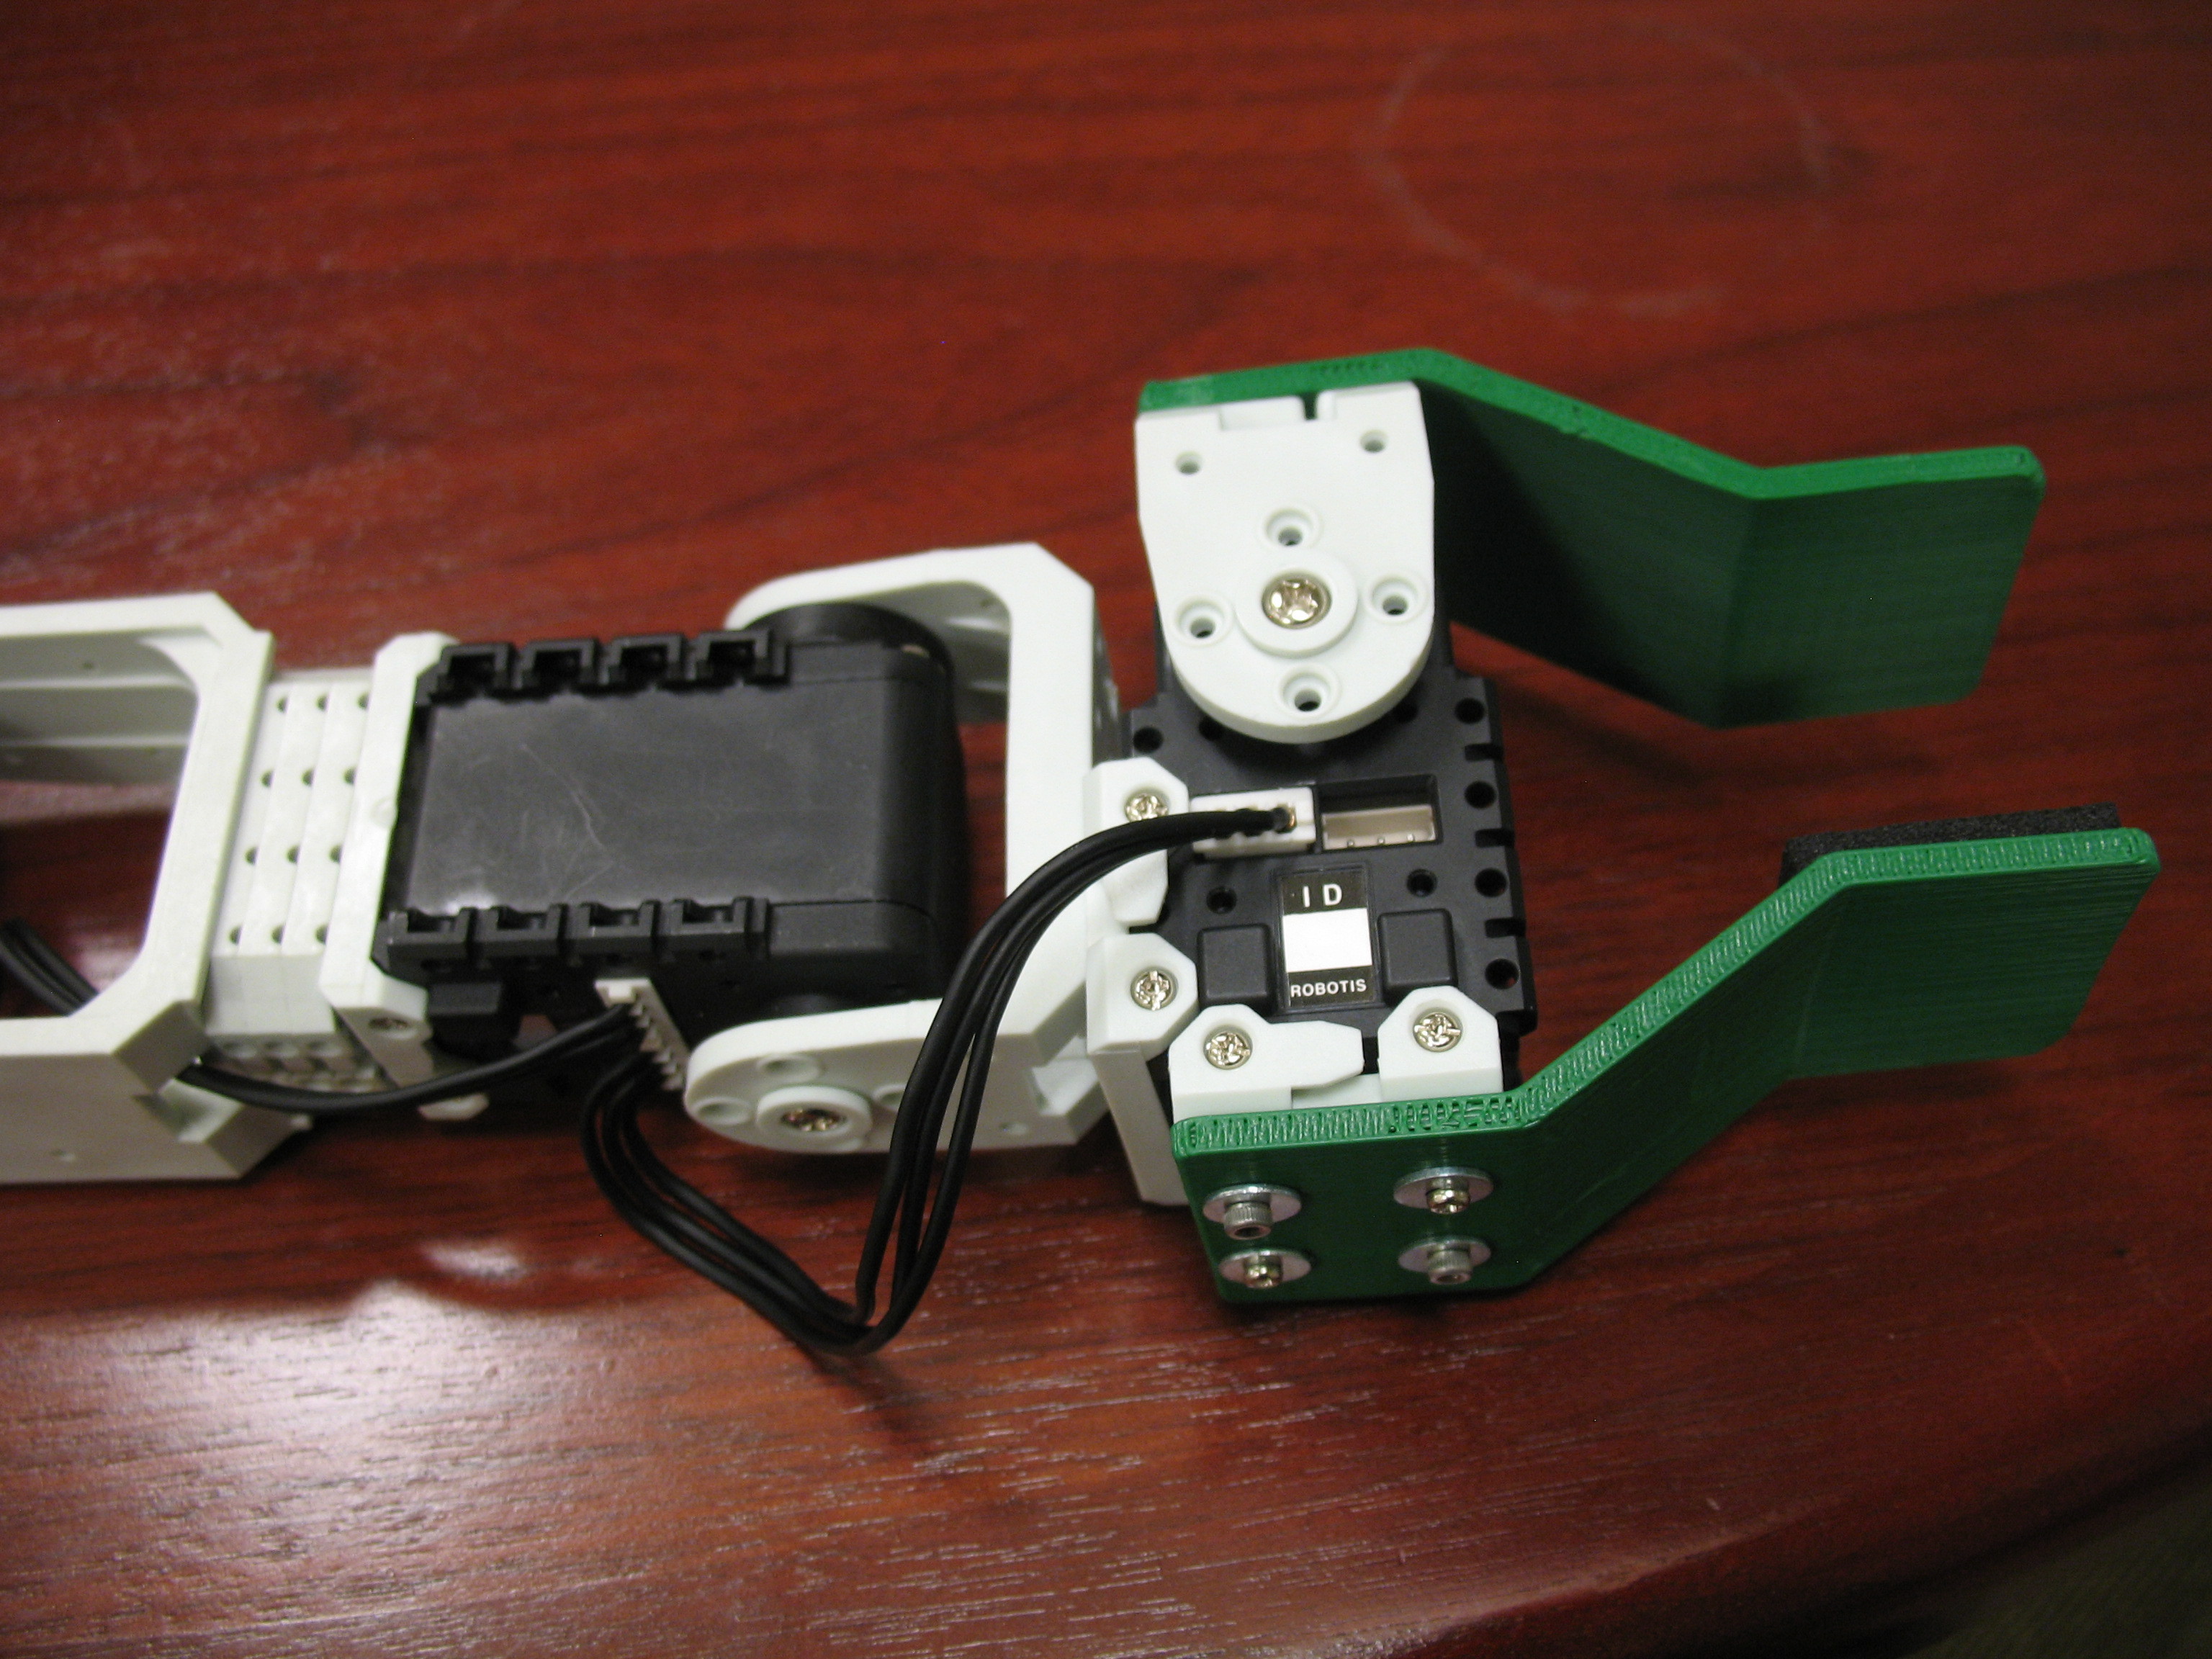
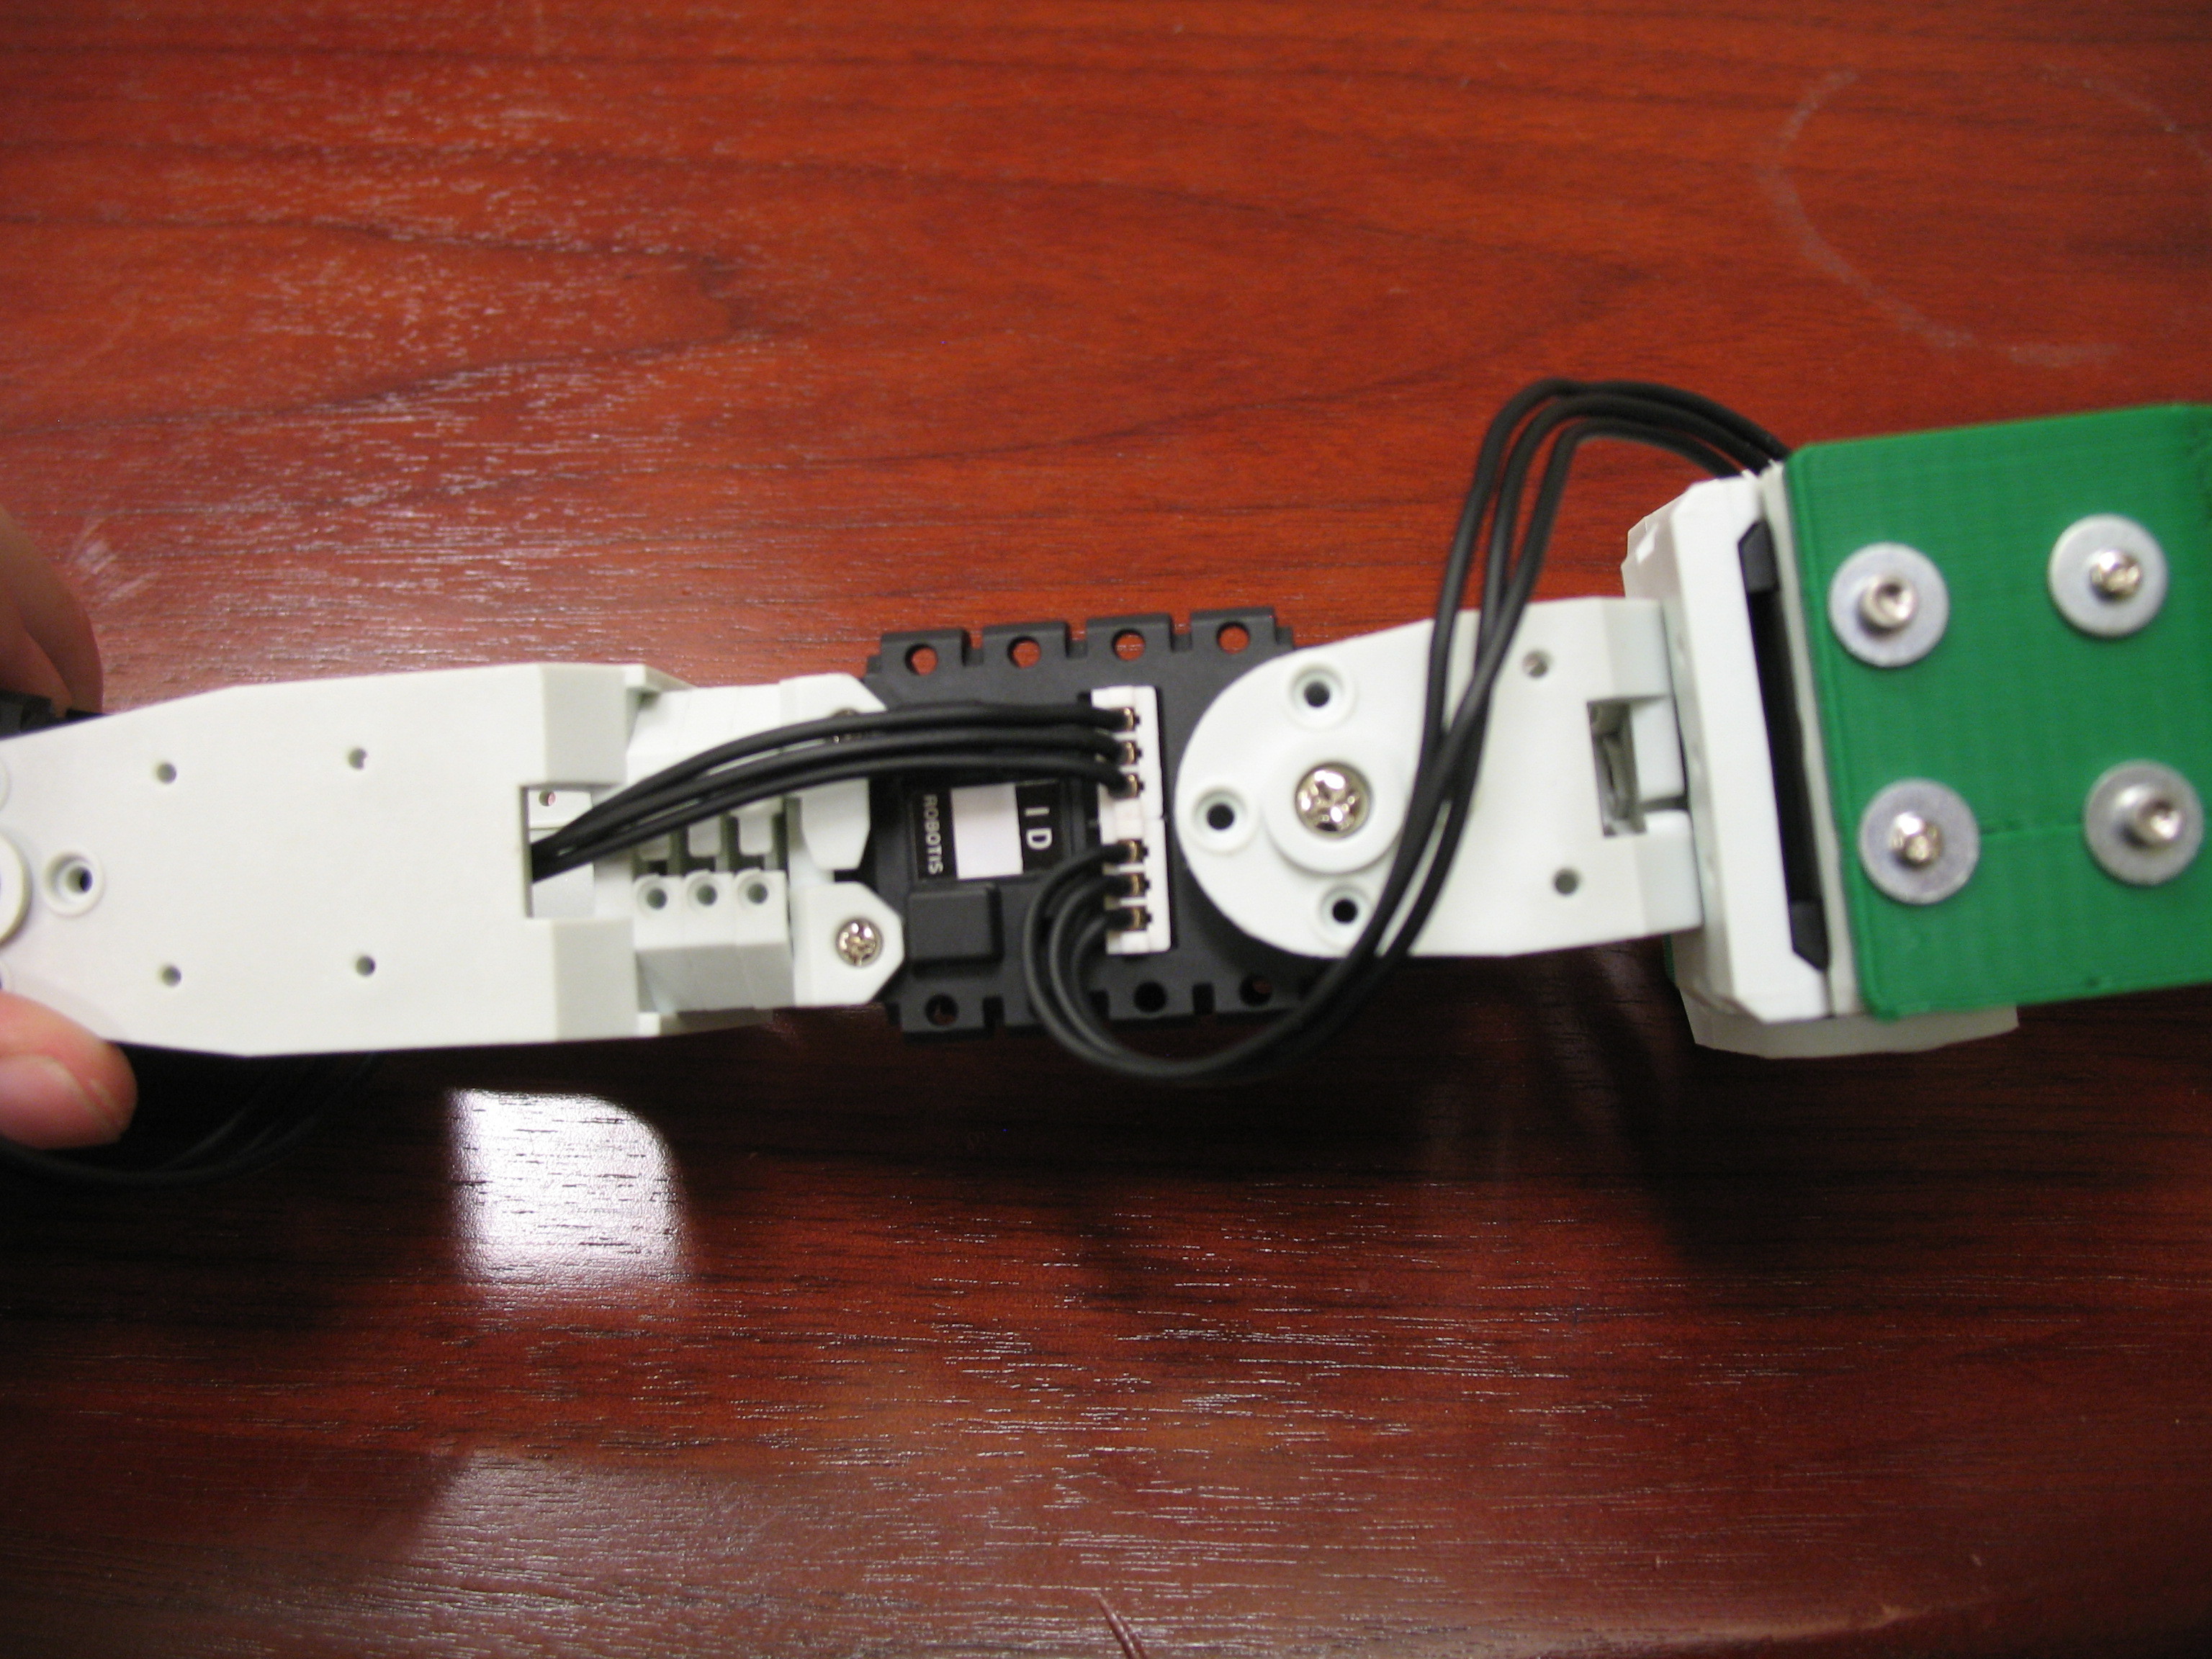
Use Bioloid 180mm 3-pin connectors to daisy-chain the servos together.

Start with the gripper joint, and connect each successive joint to the previous one.

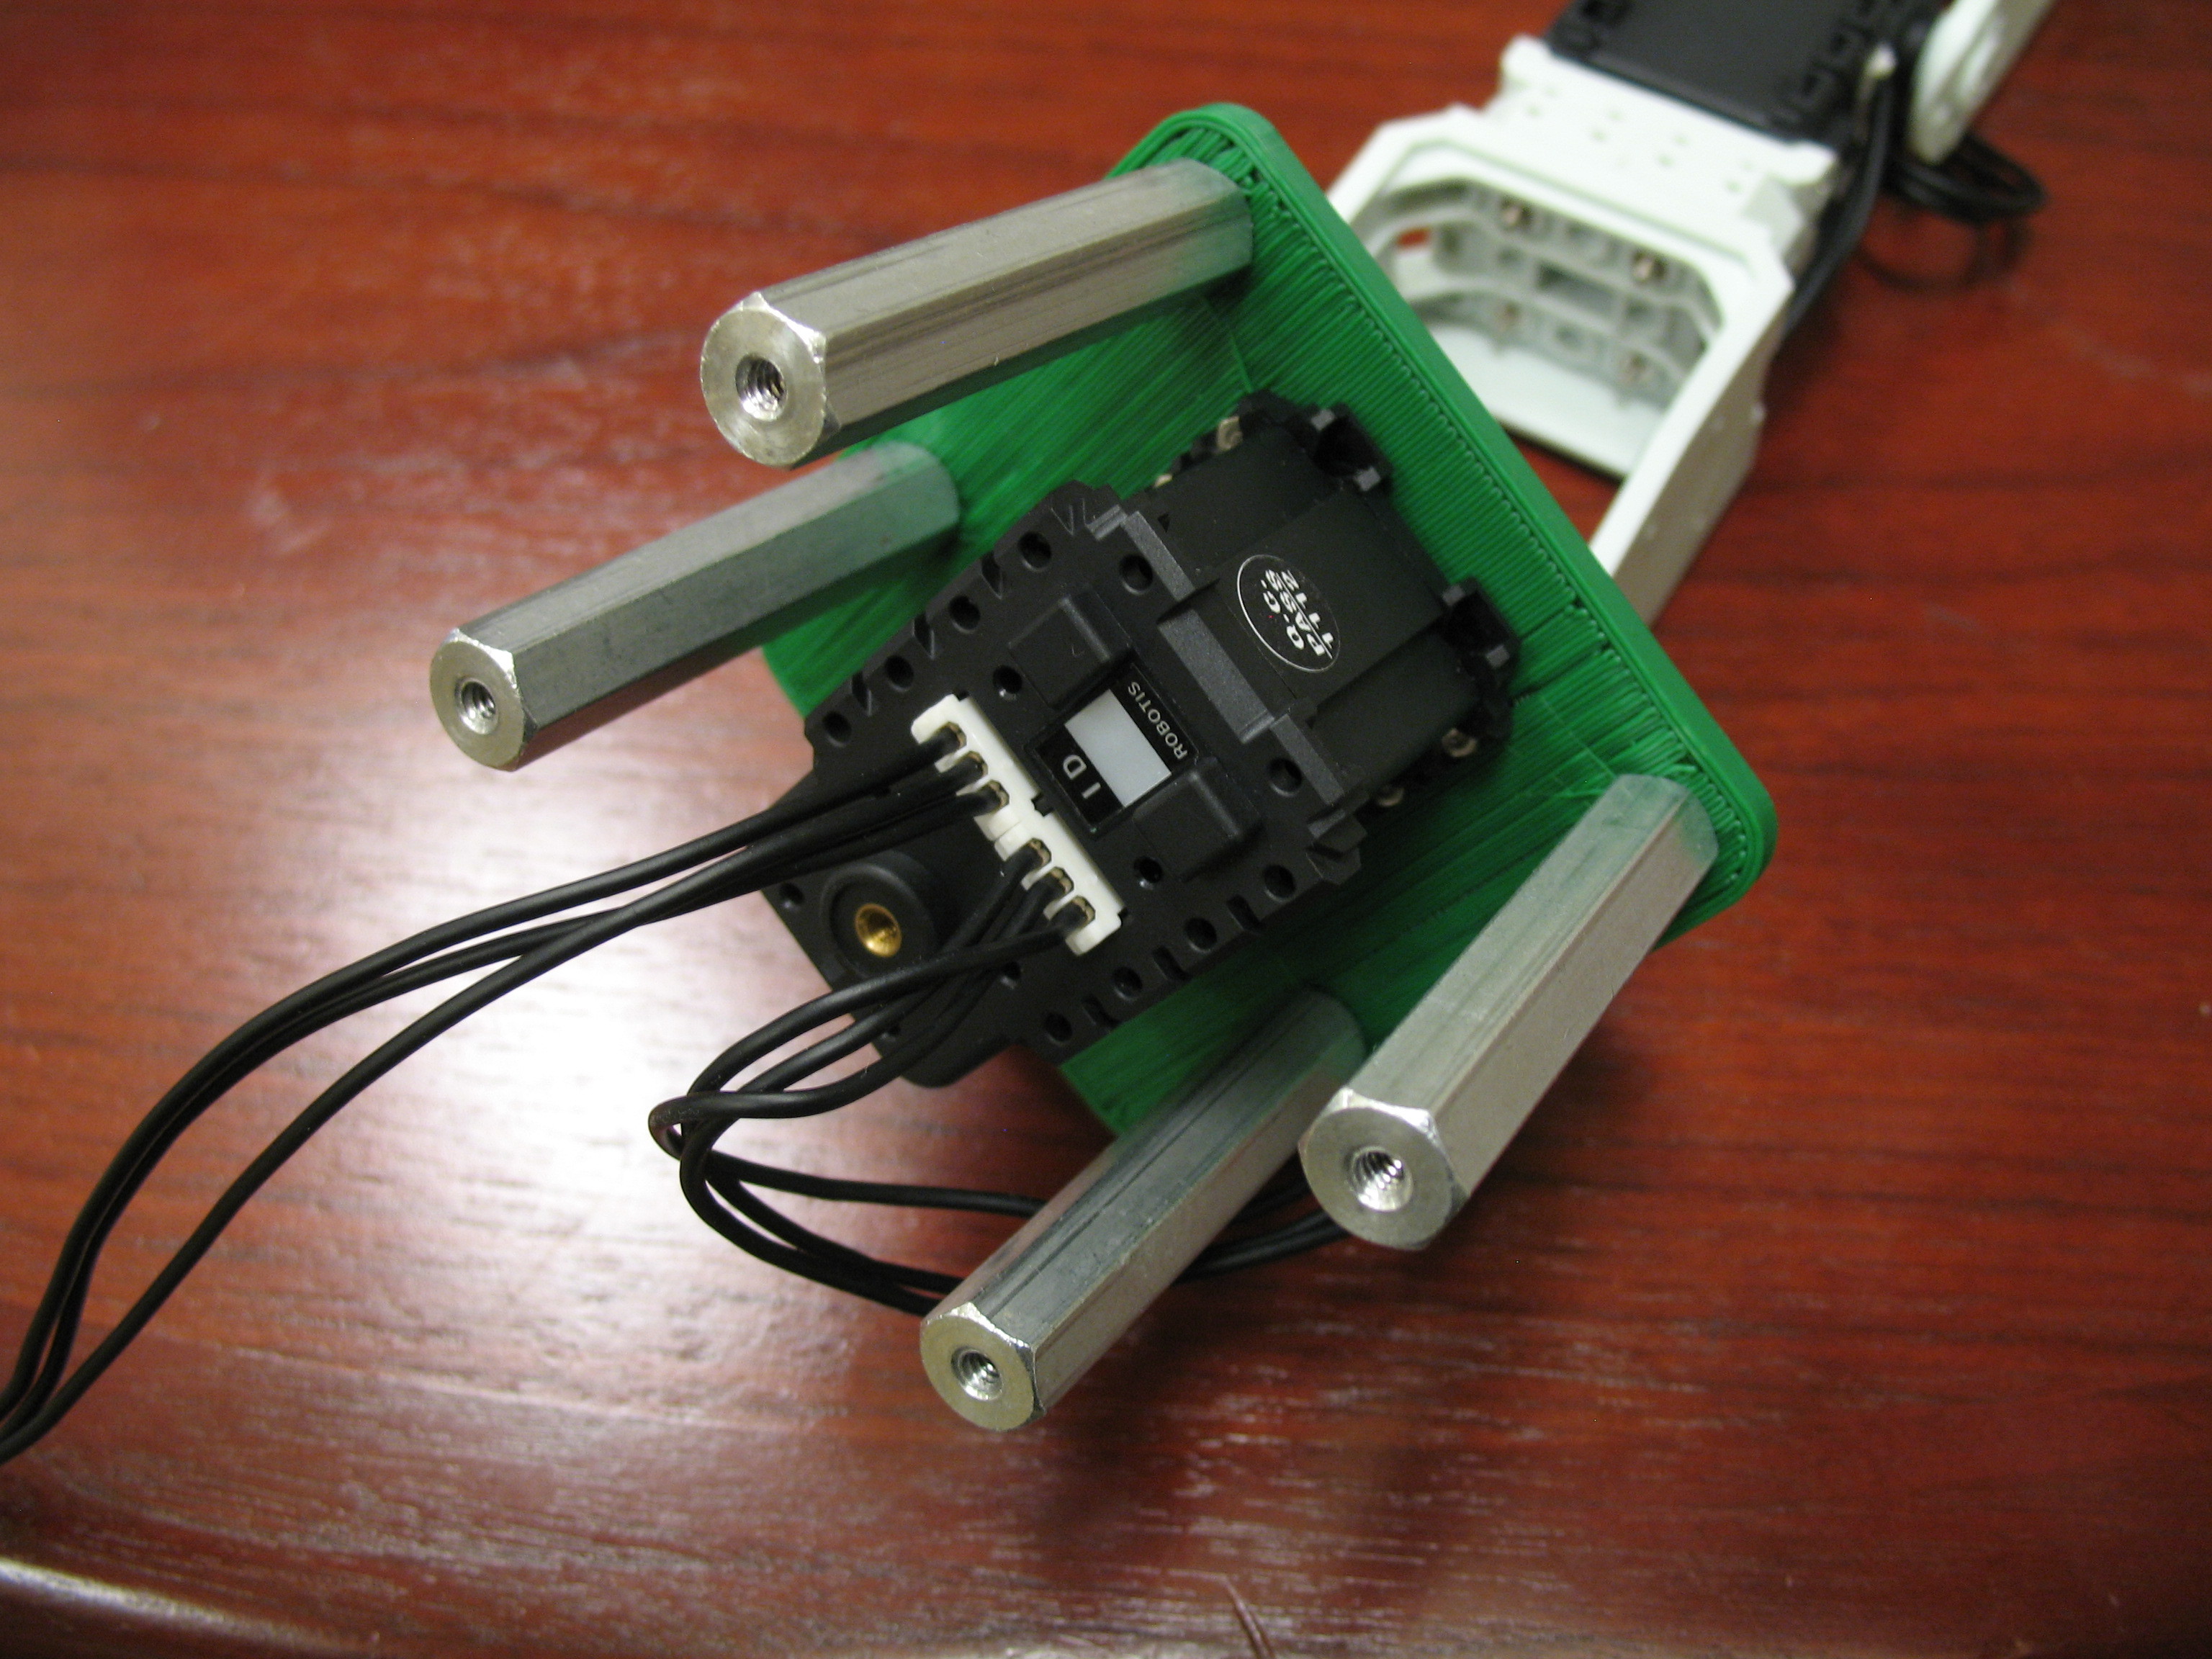
Finally, attach an extra connector to the base joint. This will attach to the Arbotix board.

Attach the TurtleBot Arm to Your TurtleBot

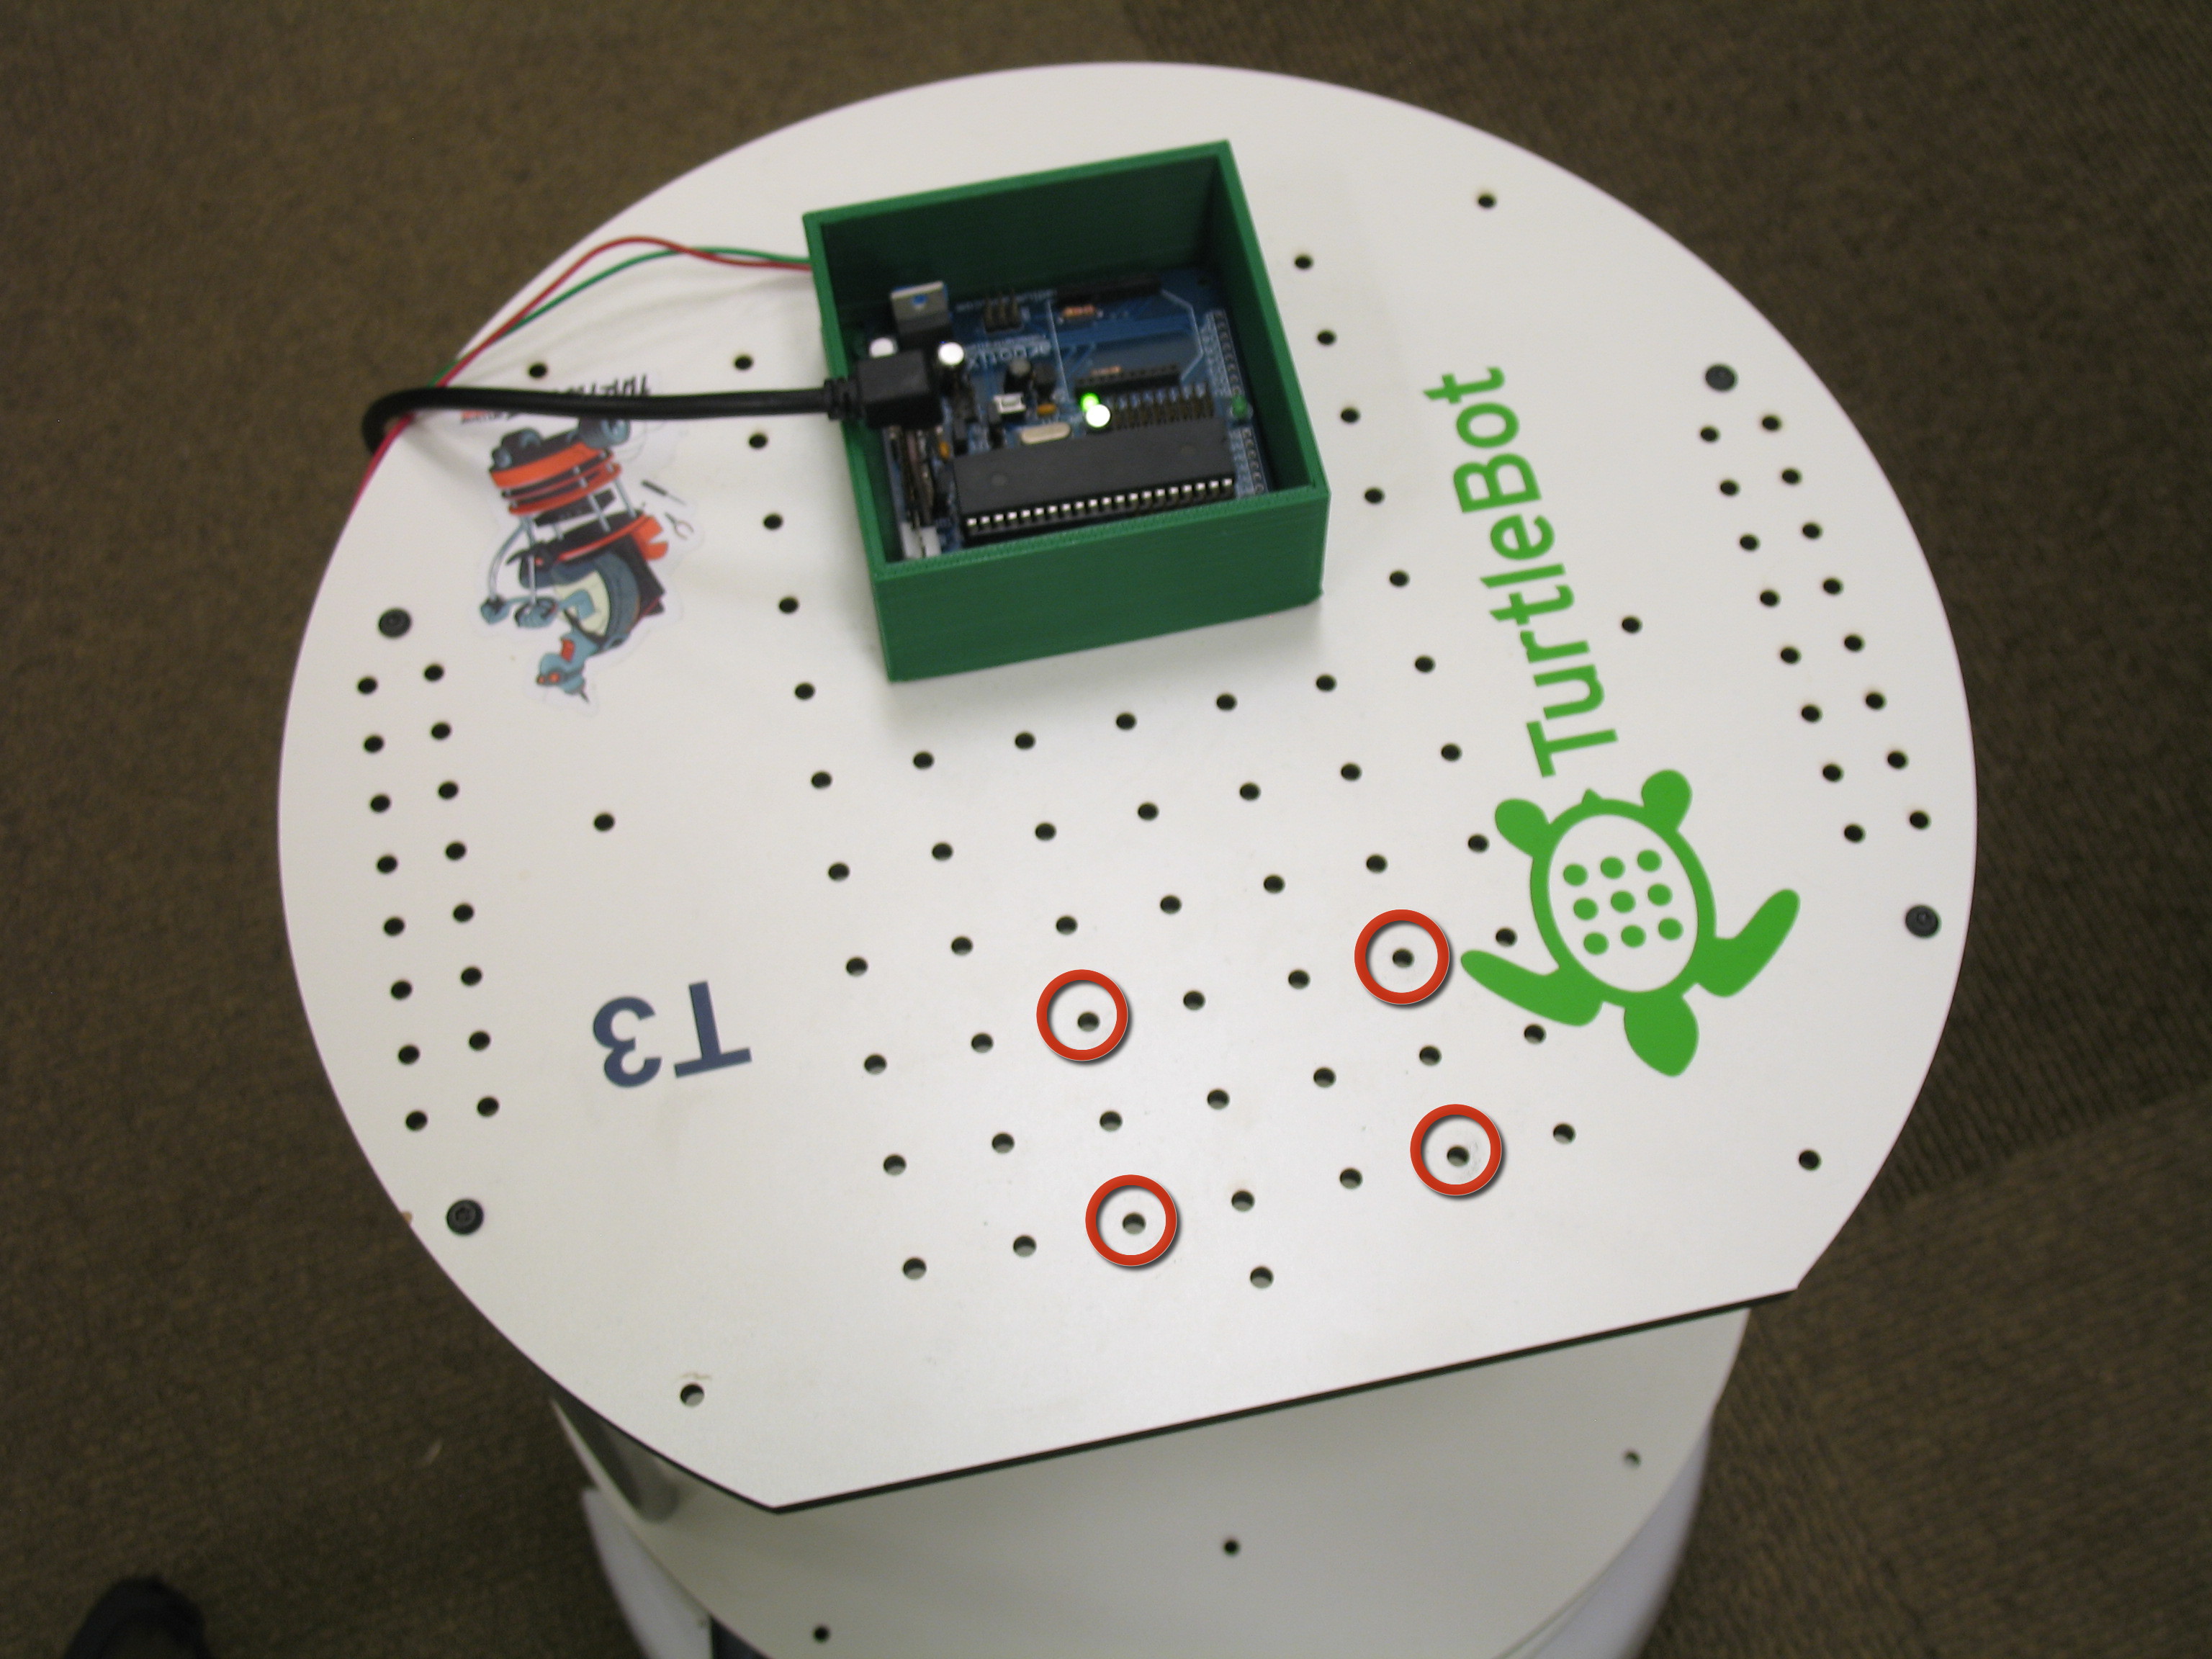
Attach the arm base standoffs to the 4 holes highlighted in the picture using 4 6-32 x 3/4″ screws on the bottom of the standoffs.

Make sure that the rounded protruding edge of the base is facing forward: that is, so that the arm gets the most reach over the edge of the robot.

Finally, attach the loose Dynamixel cable to the Arbotix.

Power the Arbotix Board.

Disassemble the decks of the TurtleBot to have access to the iRobot Create and TurtleBot Power Board.

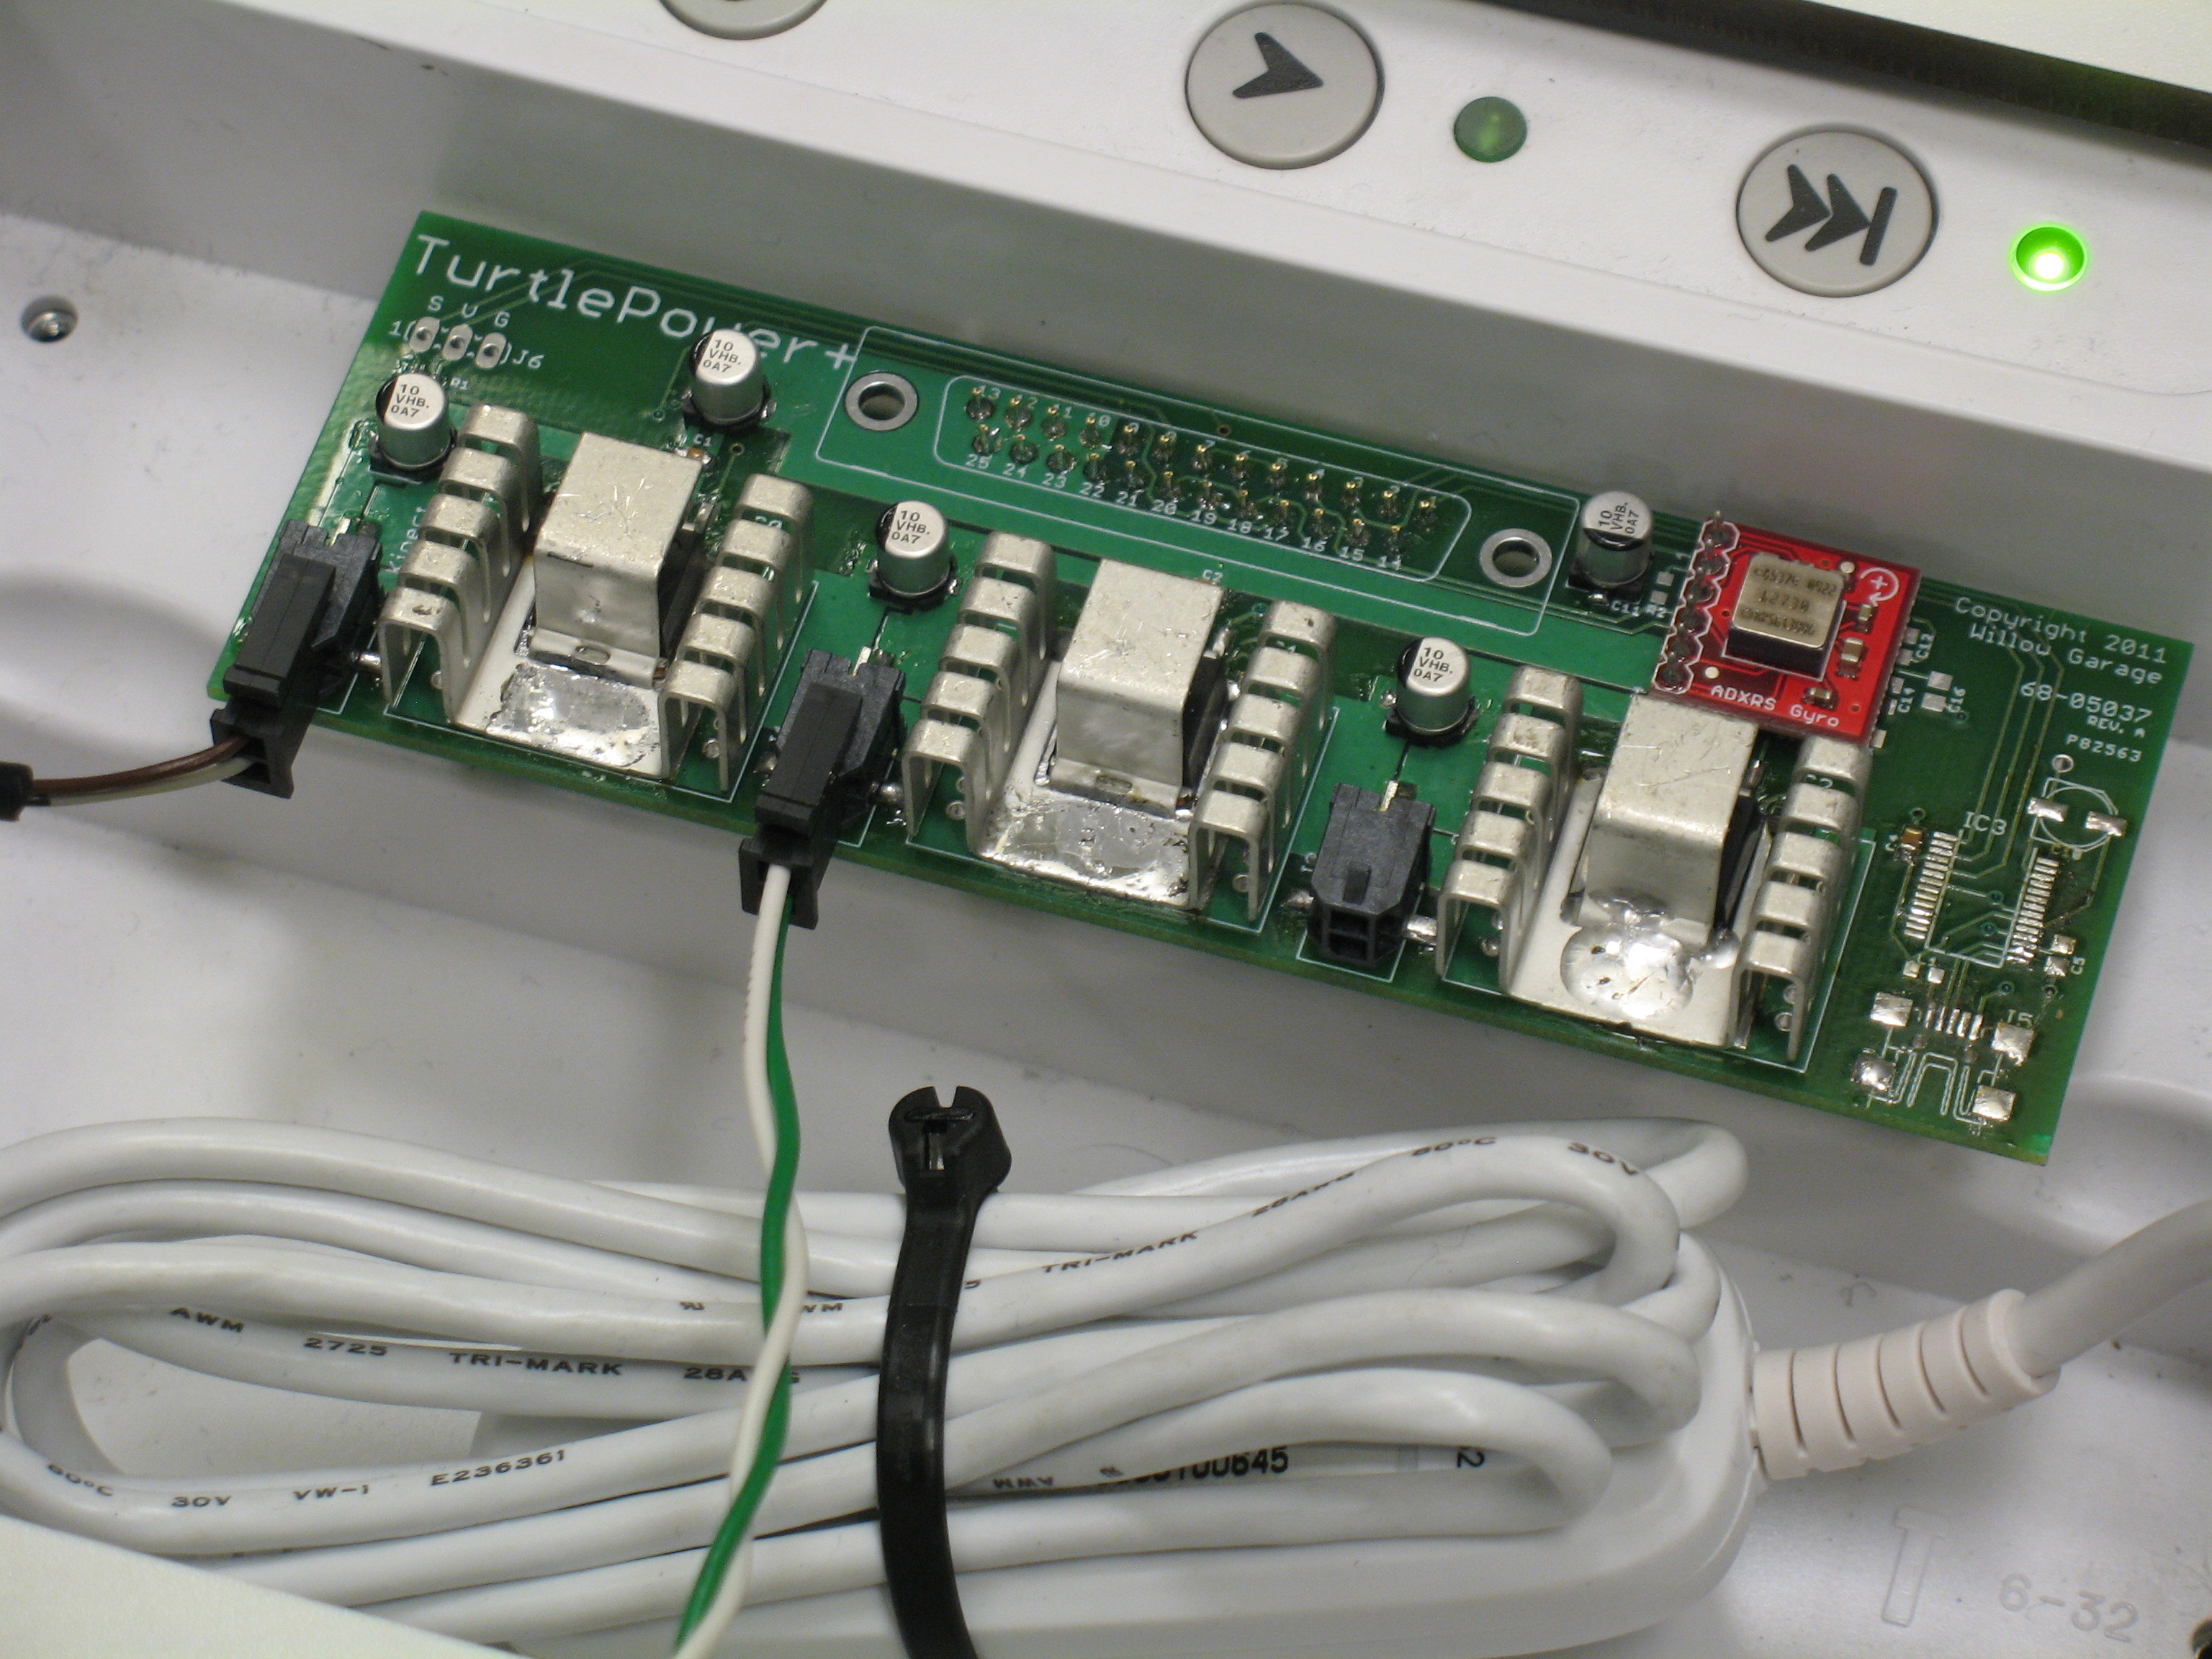
Attach the power cable made in the TurtleBot Power Board cable tutorial to the TurtleBot Power Board in the base.

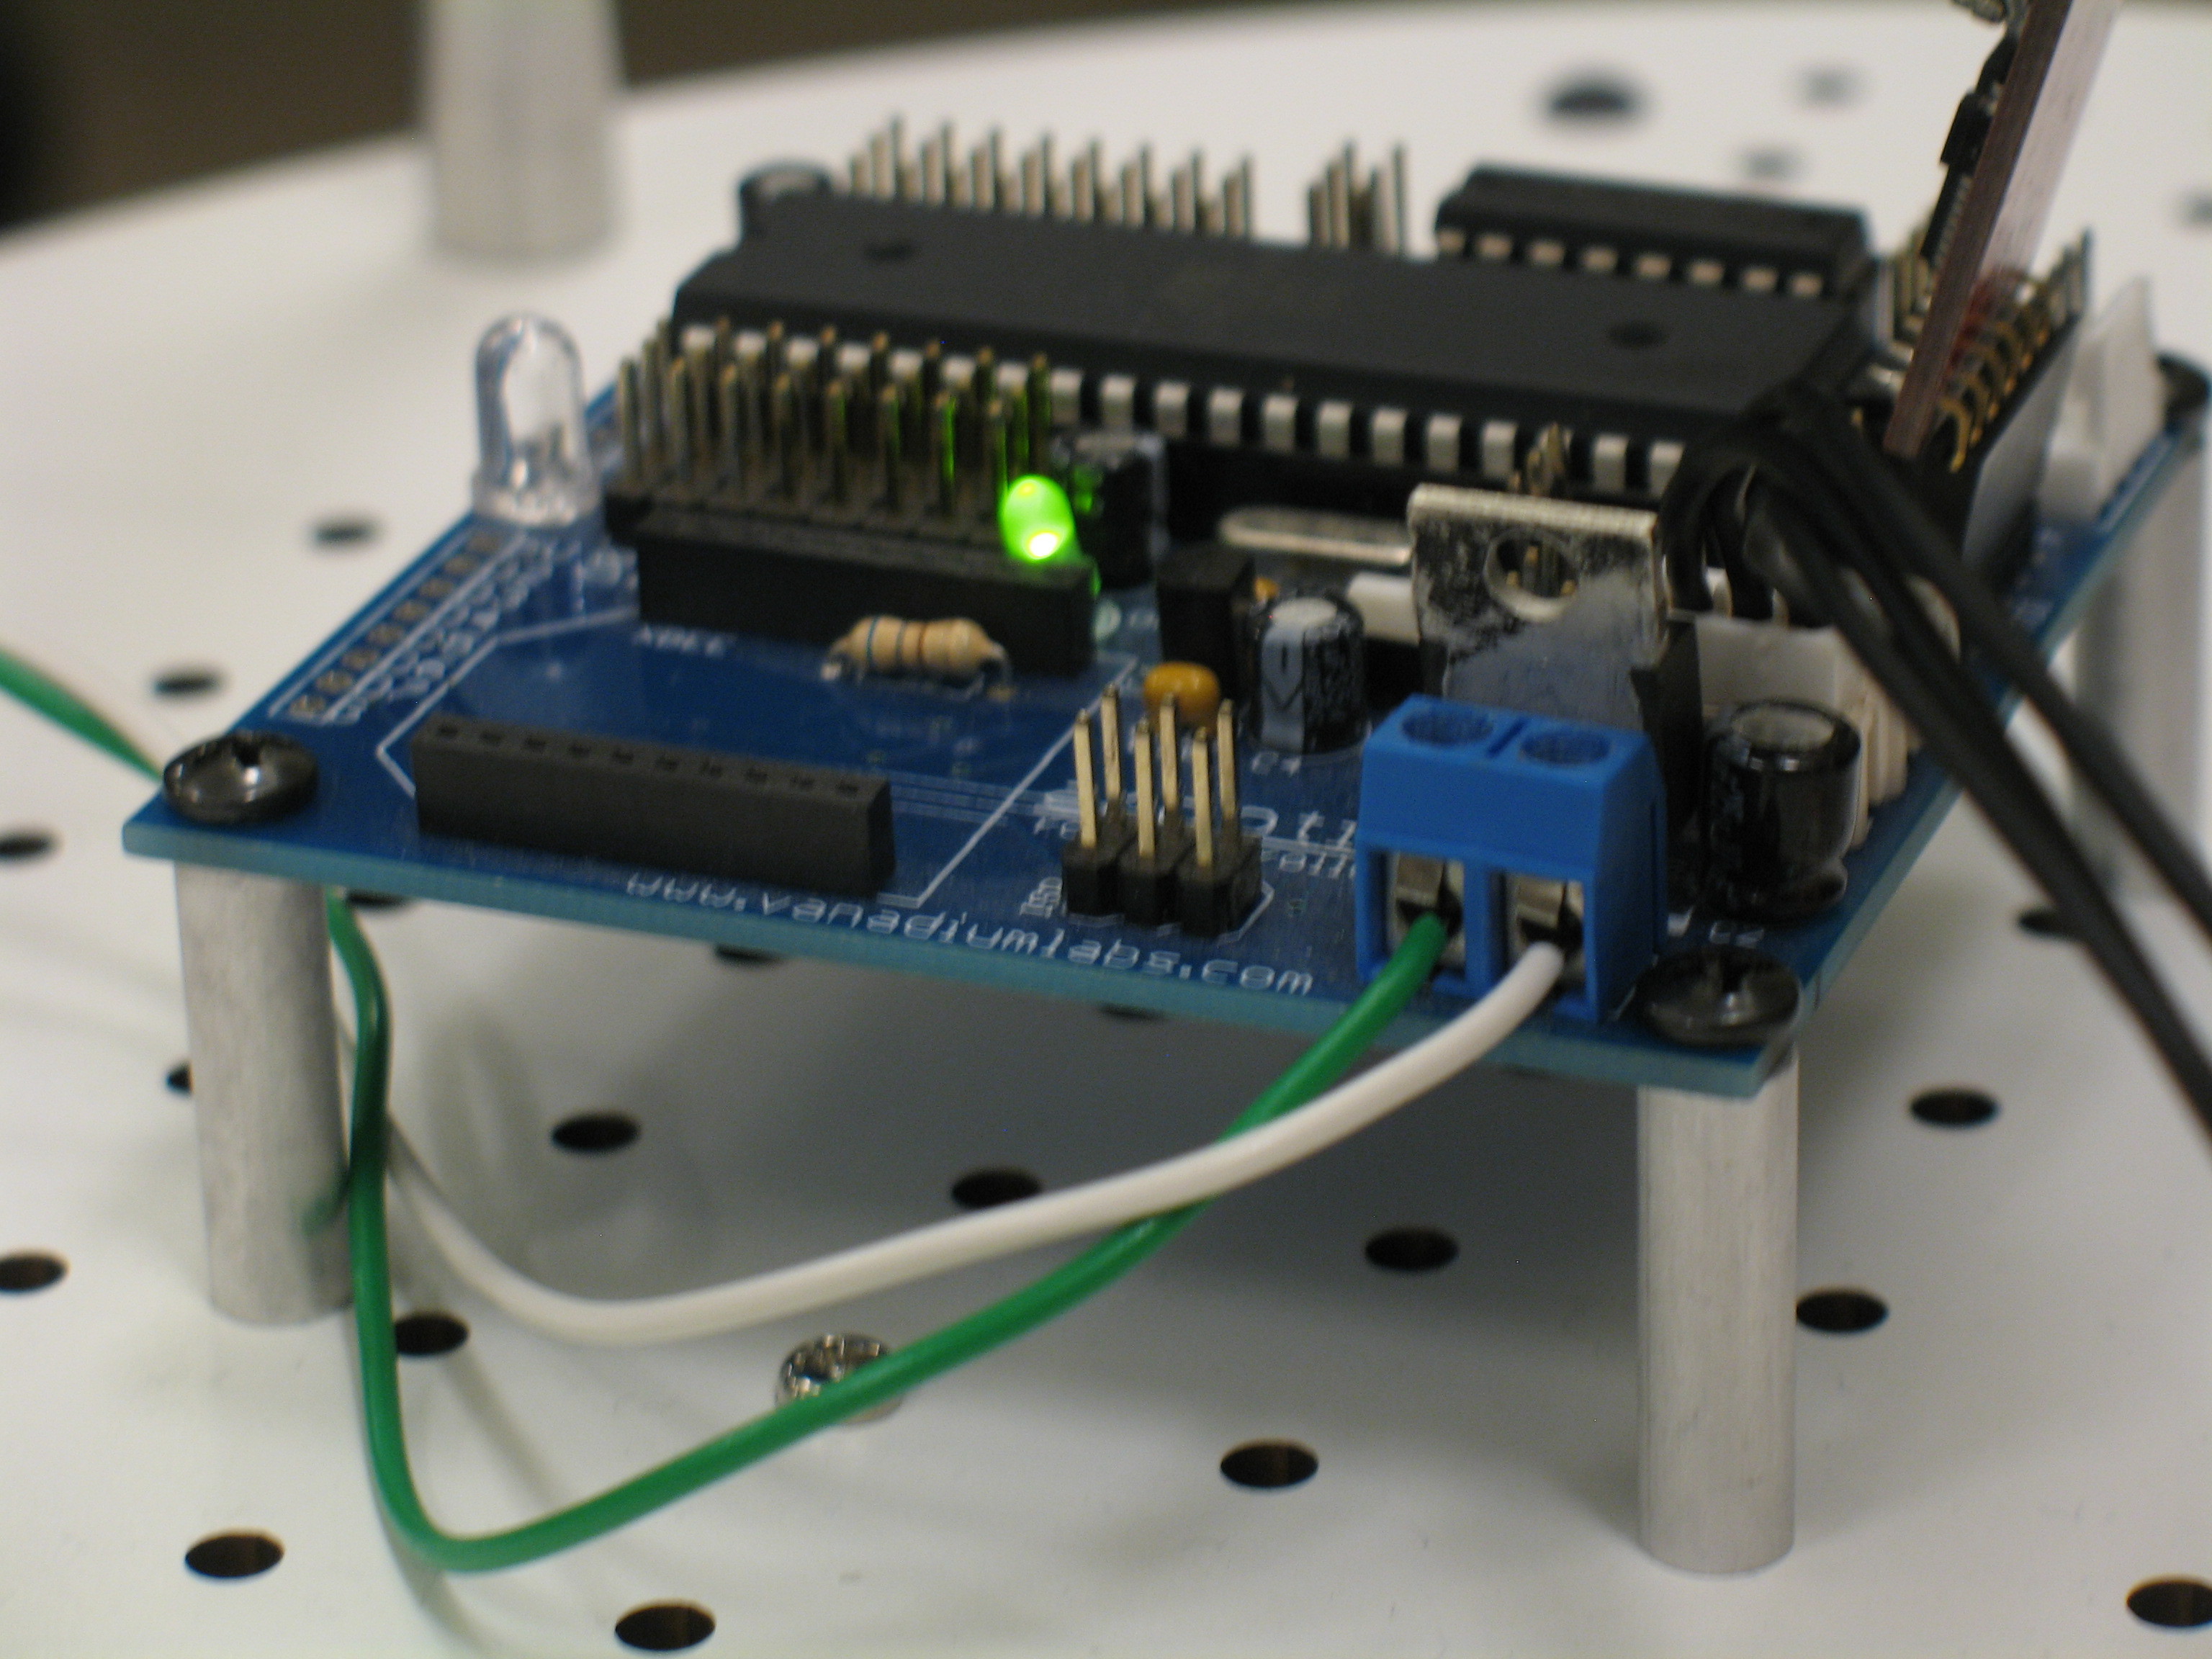
Attach the other side of the power cable to the screw terminals on the Arbotix.

Green is ground, and white is power in the images. We suggest you use a better coloring scheme in your build.

Play with Your New Arm!

Follow the tutorials on http://www.ros.org/wiki/turtlebot_arm to set up the software.

Conclusion

Now that you have wired and attached an arm to your TurtleBot visit the turtlebot_arm stack for setup instructions. http://www.ros.org/wiki/turtlebot_arm/Tu...