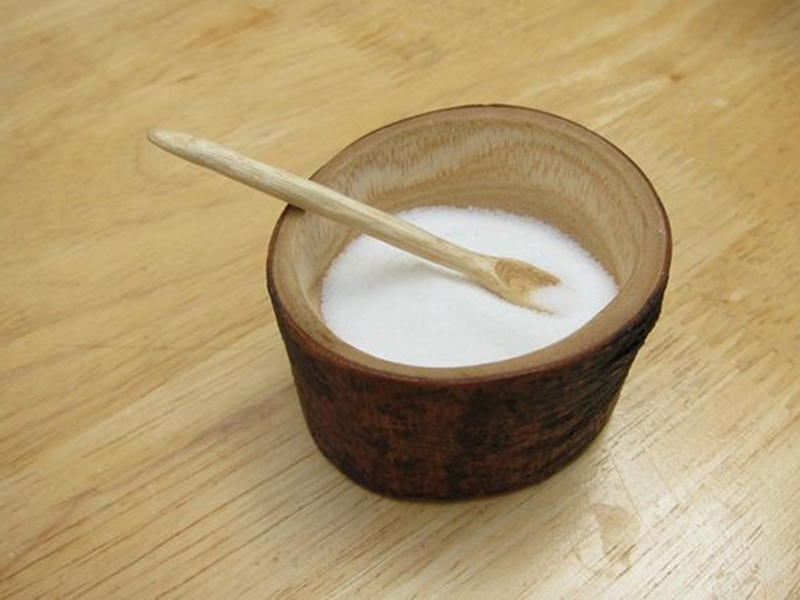
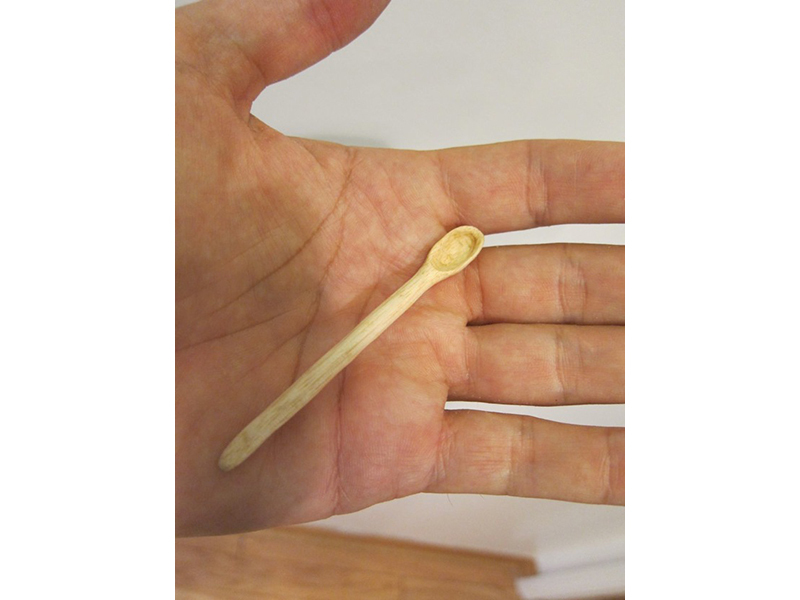
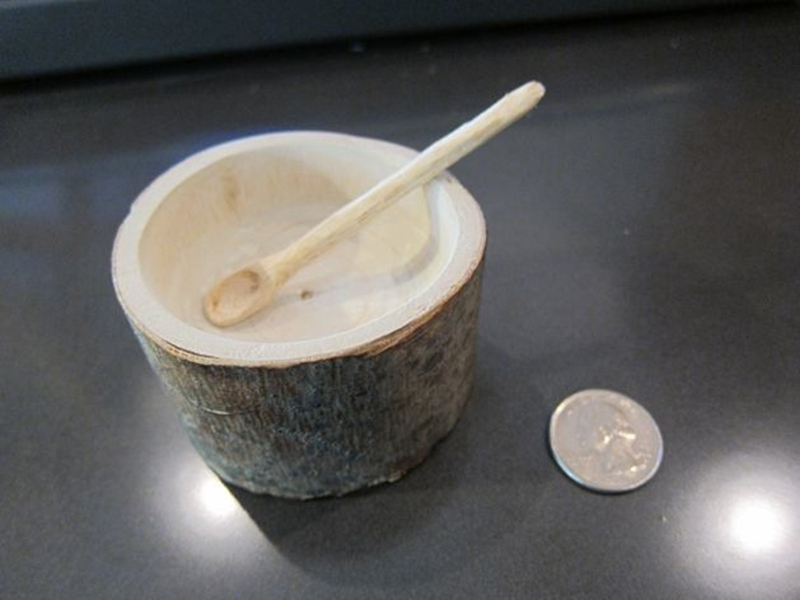
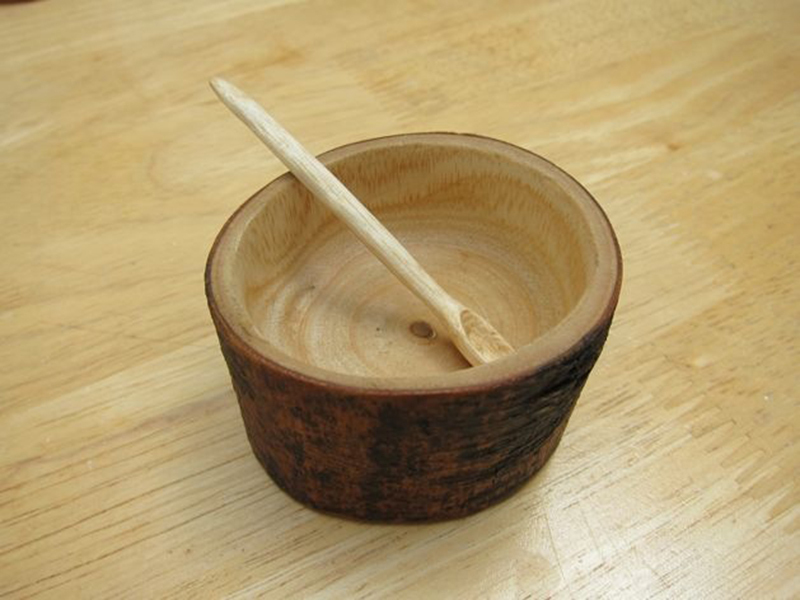
A couple of years ago I whittled a wooden spoon as a thank-you gift for our family friend Valerie, who was my daughter’s elementary school art teacher. Valerie appreciated it so much that my wife asked me to make another wooden gift for Valerie’s upcoming birthday. I thought about it for a while and decided that a salt cellar would not tax my meager skills.

Project originally published on CRAFT.

Project Steps

Cut the branch.

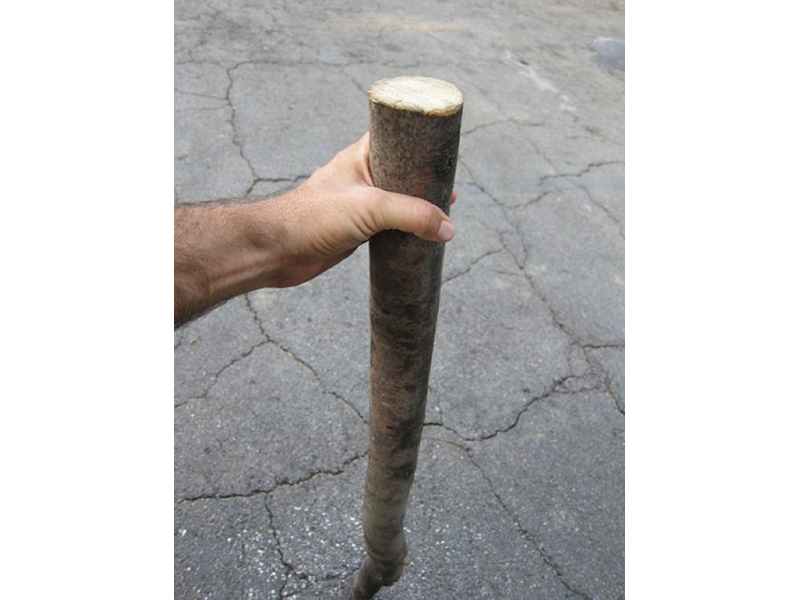
I started out with a branch that had fallen off a tree in our backyard. I think it is an ornamental plum or cherry tree, but I’m not certain. The only thing I know about the tree is that once a year, it produces about three dark red, cherry-sized fruits that are tasty.

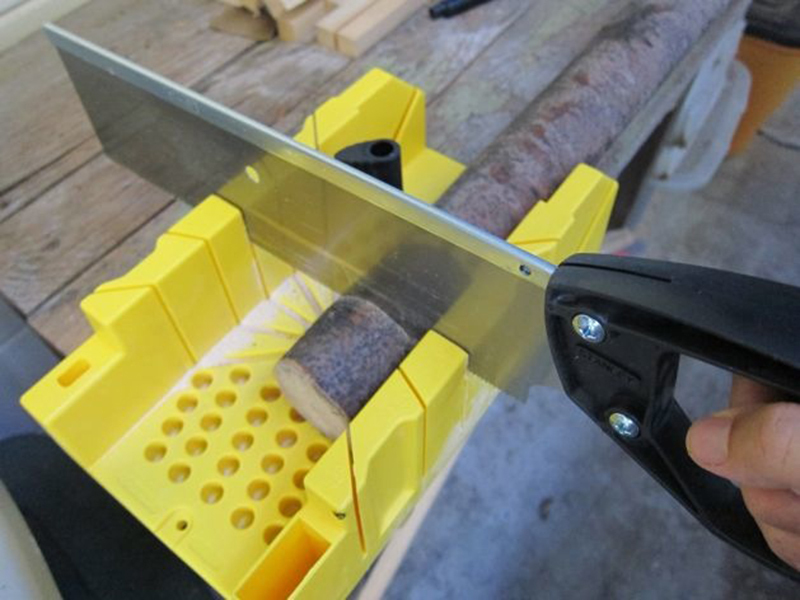
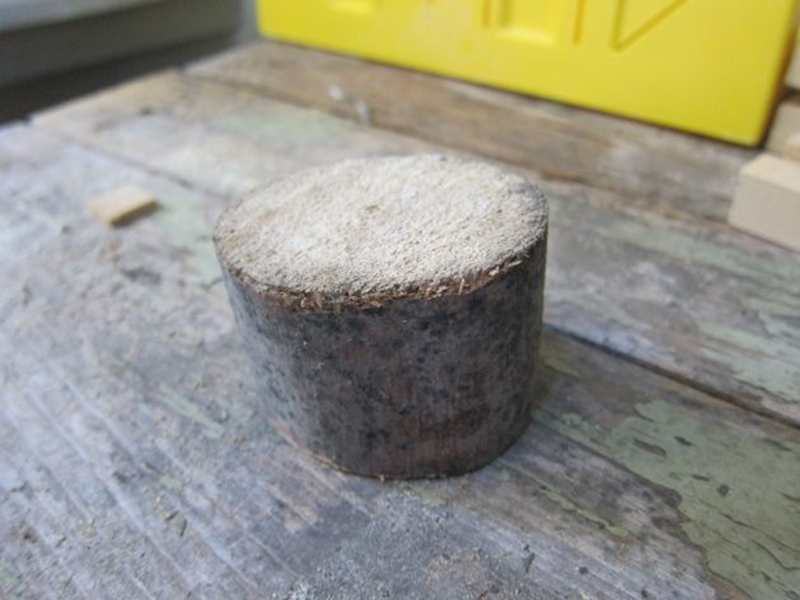
I sawed off a 3″ section of the branch, using a miter box. If you are unfamiliar with this handy tool, read the miter box tutorial I wrote for CRAFT.

The piece I used for the salt cellar is about 3″ high and 3″ in diameter.

Drill holes

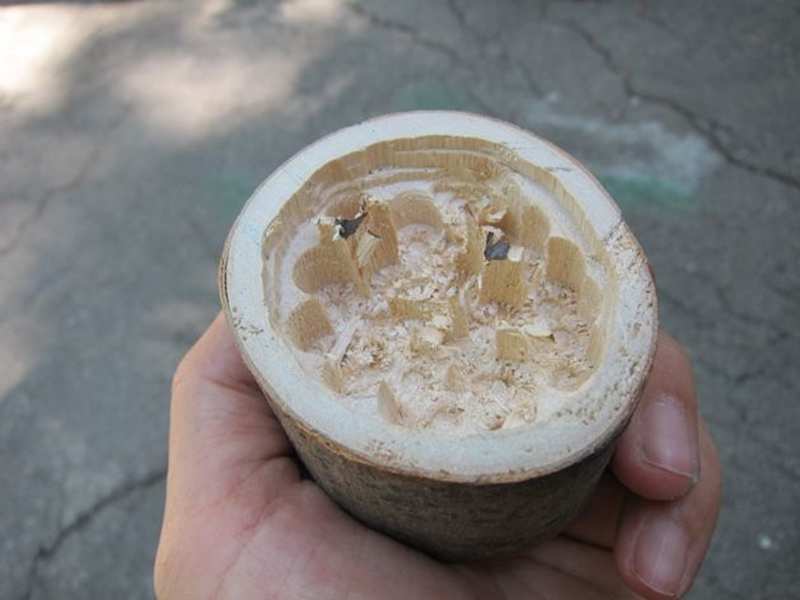
I put the biggest drill bit I had into my drill press and started drilling a bunch of holes into the wood. I adjusted the table height so the drill bit stopped about 1″ from the bottom.

If you use a hand drill to complete this step, you can wrap a piece of masking tape around the drill bit to serve as a visual signal for when to stop drilling.

Take care not to drill too close the edge of the circle!

Sand

I used a sanding drum attachment on my Dremel to clean up the drill holes as much as possible.

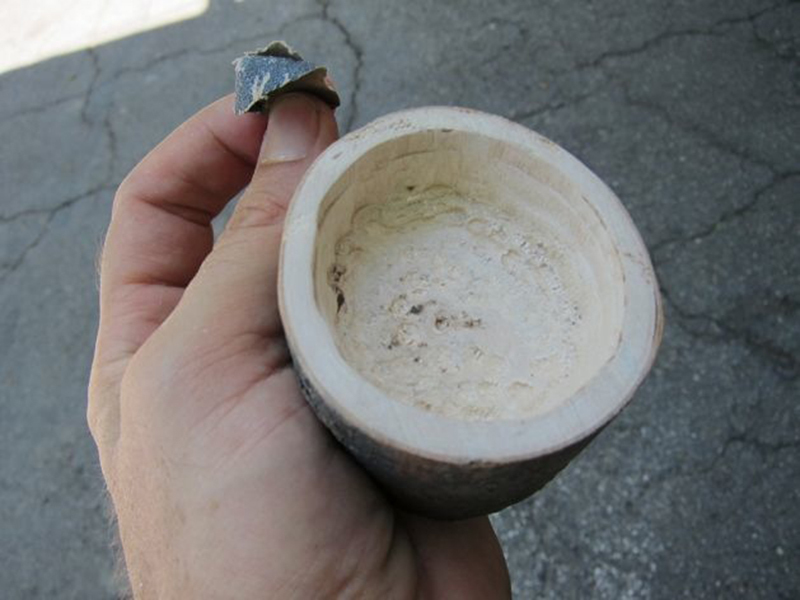
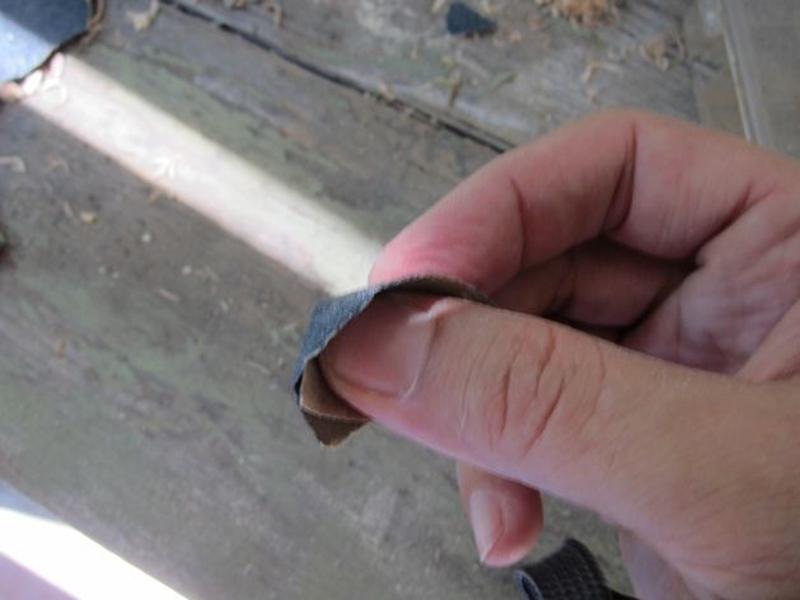
The above steps took fewer than 20 minutes to complete. But the next step – sanding – took hours. I started with coarse sandpaper. I cut out a small piece of sandpaper and formed it into a conical shape that fit the pad of my thumb. Then I started sanding away, swapping in a fresh piece of sandpaper every once in a while.

I got a blister after about an hour of sanding. I set the cellar aside for a couple of days. When the blister went away, I started sanding again. The blister returned, like an old friend. I listened to some podcasts during this step, which made the process more pleasant.

Once you get rid of the drill gouges, switch to a finer grit sandpaper. Keep going. When you can no longer stand it, declare victory and set the cellar aside. It’s time to carve the spoon!

Carve the spoon

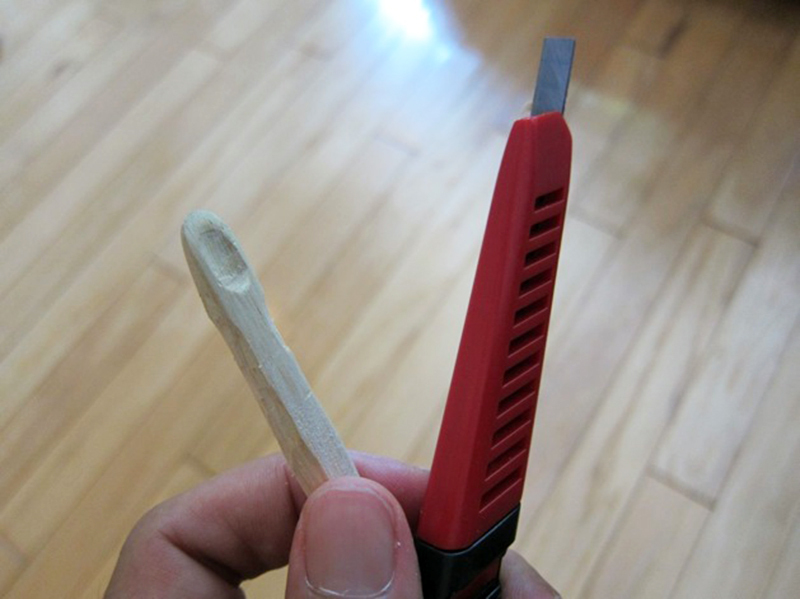
I cut a 4″-long stick from my branch, and began whittling out the rough shape with a cheap snap-blade utility knife.

I hollowed out the business end of the spoon with my Dremel tool.

I used the knife and sandpaper to finish shaping the spoon. I made sure the hollow part was deep enough to heft a good dose of salt. (We don’t care for low-sodium diets around here.)

Try out your spoon for size. Does it stay in the cellar? If it falls out, your handle is too long.

Finish the wood

I have some beeswax from my beehive, so I melted a chunk of it, along with a little olive oil, to make a finish. I used a rag to rub in thin layers, giving it time to soak into the wood. After a couple of applications, I let it sit overnight and repeated the process.

I bought some pink Himalayan salt (Trader Joe’s sells it for cheap, or you can be foolish like me and pay double at Whole Foods) to go along with the cellar. When my wife presented the cellar and salt in a nice gift box to Valerie, she called me on the phone and told me how much she loved it. After the call I looked at the blister on my thumb and told it, “You lose!”