

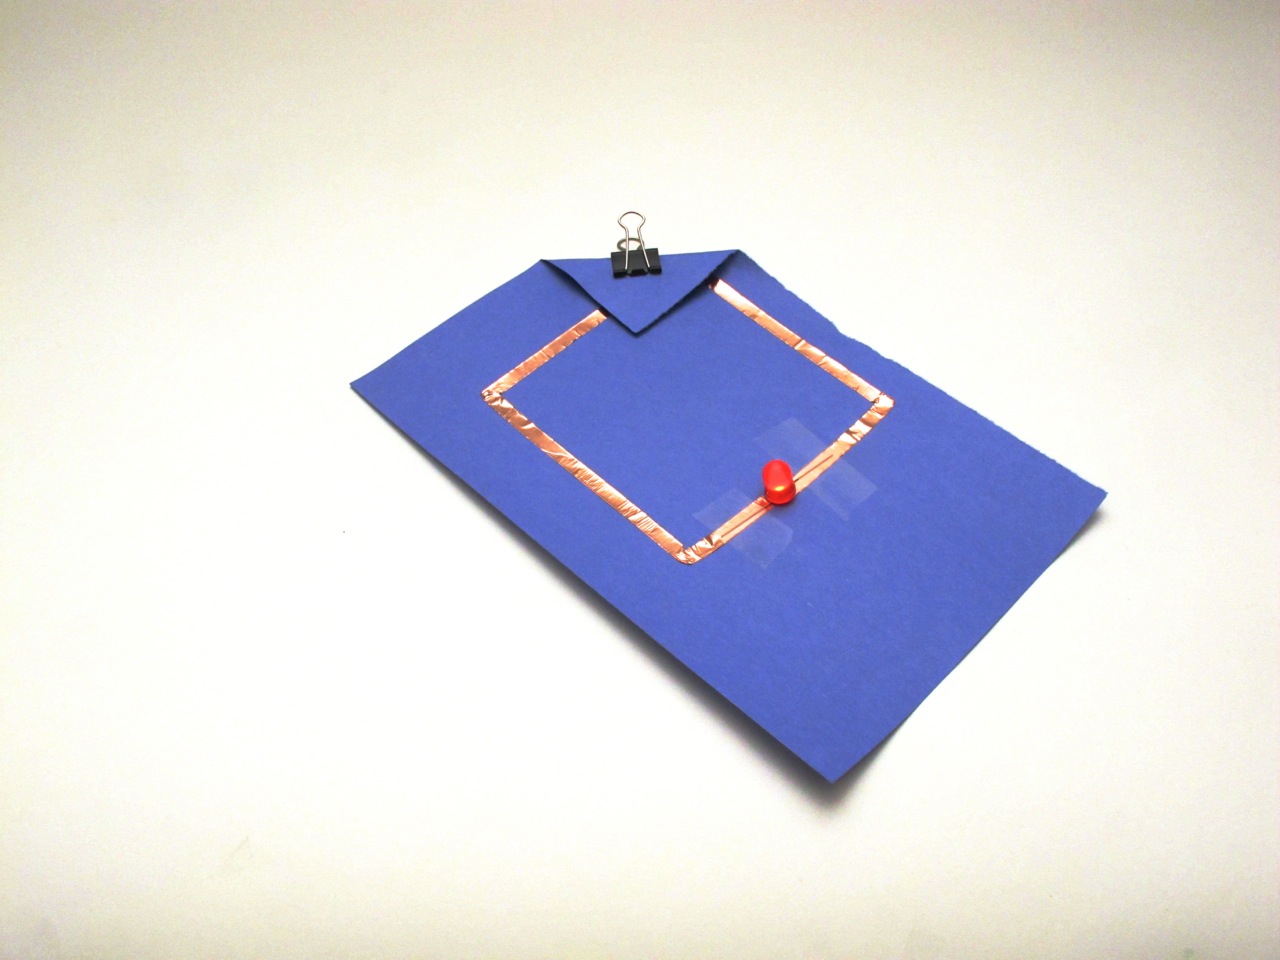
Paper circuits are a great way of adding light to your drawings, origami, or papercraft creations. Instead of using wires to connect a battery to LEDs, paper circuits use conductive metal tape.
Copper tape can be found online at places like Amazon, Sparkfun, and as part of the Circuit Stickers kit at Maker Shed. It can also be found at hardware stores as “slug tape“. Or try cutting long, narrow strips of aluminum foil tape, used for repairing HVAC ducts (but not duct tape!)
Popularized by technology-oriented artists like Jie Qi and Evil Mad Scientist Laboratories, refined in places like the Tinkering Studio and nexmap, and now a wonderful product by chibitronics called Circuit Stickers, this lovely synthesis of art and technology is a great way to introduce artists to electronics, and engineers to art. Click any maker link in this paragraph to discover their paper circuit resources.
This Make: Project is just the beginning of what’s possible. Add multiple LEDs in parallel referencing the Make: Project for Paper Circuits: Parallel with Pressure Switch, use the copper tape to make a design, try surface mount LEDs, add an ATTiny85 microcontroller for programmable circuits, or even control bending wings.
You decide if you want your copper tape circuit to be part of your drawing or hidden from view, with just the LED poking through a top layer of paper. Either way, it’s pretty amazing.
When your LED stops lighting up, replace the battery. The battery will stop working long before the LED does.
Download a one page paper circuit PDF here.


