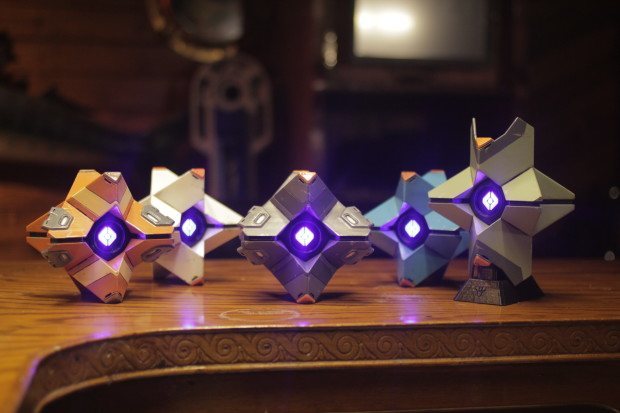
If you’ve never 3D printed something you might have the impression that you simply press a button and out pops a finished item in the form of whatever useful part or sci-fi prop that you need. Unfortunately, things are not that simple, and to get something that looks really realistic, you have to put more work into it. As for how to do this, Brian Westgate, in the video below, shows us “how to go from a raw print to a finished replica.”
Westgate’s model, in this case, is the “Ghost,” from the game Destiny. As he puts it, he was “too poor” to purchase the collector’s edition of the game, which included a motion activated model, so he instead designed his own. The lights inside these models are “tea lights” from ebay, which are reasonably priced and look quite good in the device.

Westgate learned many of his skills from building plastic model airplanes as a child, and, as seen in the video, “Tamiya” putty was his first idea for covering the ridges from printing. He also reports that he formerly worked in the film industry as a visual effects artist, so he took some of his weathering techniques from that job. As he puts it, “Experimenting is a big part, it’s not that simple taking digital painting techniques in Photoshop and applying it to a physical object.”
The final results are quite good, and the tea lights really finish things nicely. To get such great results, however, it took about three hours of work, spread over two days to let everything dry. Though not trivial, it’s less of a time commitment than some of the projects we see here. On the other hand, these techniques have been perfected by Westgate over many iterations, so your first try at something like this may take much longer.
ADVERTISEMENT
Join Make: Community Today


